Transcripts
1. Introduction: Hi, I'm Freya Redlin. I'm an artist and surface
pattern designer, and I'm very excited to bring
a class to you today all about how you can
use Adobe Photoshop to speed up your design process. This is a bite size class designed to make sure that
photoshop works for you, and you're working smarter, not harder because photoshop
doesn't have to be hard. I'm going to show you exactly why smart objects
are so amazing. We'll go over the basics of what smart objects are and
how you can create them. And then we're going to create some sweet sweet
pattern templates that you can use
over and over again. The beautiful thing
about pattern templates is once
you've created one, you can just focus on making your art
because you know that your pattern is going to repeat perfectly every single time. I'll walk you through
the whole process. And once you're done
with this class, your project is going
to be to create your own pattern
template and then start designing some
beautiful patterns. I can't wait to dive
into this with you guys. So let's get designing.
2. What's a Smartobject?: Okay, you might be wondering, what is a smart object anyway? Smart objects are basically
a sub file within your photoshop file that
protects the original artwork. You can manipulate the
smart object layer within your file as
much as you want, and your artwork
is not affected. One huge benefit of smart object is that
when you scale it down, you can scale it back up in photoshop without losing any of the resolution because
your original artwork is preserved in that sub file. If you've ever scaled down your artwork in photoshop
and then scaled it back up and realized
it got really pixelated, you know
what I'm talking about. This is a huge deal.
Smart objects are a huge time saver for designers in a couple of different ways, and I'm going to show
you exactly how. So let's just get into it.
3. Smartobject Basics: Okay. Let's take a look at
how to create a smart object. Here I have a
flower motif that I created that has multiple
layers of colors. I have this base layer that
is this beautiful pink. I have veining. I have pollen in this
beautiful orange color. Then I also have this
dark blue outline. Now, if I want to
create a pattern with this motif and reuse it over and over again
in the pattern, it's going to be a
huge hassle to keep selecting all of these
and copying all of them. You end up with lots of
different layers and it just gets really complicated and
overwhelming really quickly. That's why we want to
use a smart object. Here's how you're going
to create a smart object. We're going to select
all of these layers, right click and say,
Convert to Smart object. Now that we have a smart object, if you double click into it, it's going to open it into a new file that still has all
of these layers preserved, that you can edit as you always would anything
in photoshop. None of these layers are
affected by what you do with a smart layer in
your editing file. Now, for example, if you want
to use this in a pattern instead of ending up with 1 million layers in
the layers panel, you can just copy this one layer and use it over and over again. I'm going to hit Alt on
my keyboard and then click and drag and that
creates a new layer. You'll see it pop up right
here in the layer panel. I can just do this
over and over again, creating a little pattern here, maybe have a little
flower field, maybe move that up,
that will layer on top. There we go. Maybe I'll flip this
one too so that we have a couple going in a
different direction. Now, let's say you
want to change the color of all
of these flowers. We're just going to
double click into one of these smart objects
because they're all pulling from this
exact same file because they're all originally from the same smart object. I'm just going to go ahead and
change the colors in here. I'll make this yellow, maybe some white pollen, let's go ahead and lighten
the outline here as well. Maybe this. Oh, I left
that layer unlocked. Got to lock it first.
Let's do this light brown. Now I'm just going to hit Save. So on your keyboard, that's command plus Control S. And click back into this file and everything has updated into new colors. That is the easiest
way to recolor here. One more trick. Let's say
that you want to have a flower field with lots of
flowers in different colors. How are you going to do
that with smart objects? If you know that you want
to have maybe a combination of yellow and pink
and purple flowers. Here's what you're going to do. You're going to go into one of these and right
click on it and say, new smart object via copy. Then we're going to delete
the layer right below this new copy so that
we don't get confused. But this is our
new smart object. This is no longer tied to that original smart
object that we created. It's its own sub file. I'm going to double click
into that and you can say it says Layer 43, and the original layer was layer 42. There are different files. Now I'm going to change
this color and say, let's make it this color. I'm just going to hit command
and save again to update. And it has updated just
this one smart object. Now I can also make
as many copies as I want of this
color and distributed. These are all going
to reference back to that same smart object again
that we made the copy of. You can just repeat
that process as many times if you want more colors, you can do another
smart object via copy. Delete that original, so there's no confusion and then
double click into it. It creates an entirely new file. Maybe we make that
a purple flower. Let's see how that looks. And hit command S to save, and we have yet another
color in the mix here. This is really how you can use smart objects to your advantage. Now if I want to
change the purple, I can change all three of
these purple ones at once, the pink ones at once, and
now the yellow ones with just one of these clicks right
into each of these files. This makes it really
easy to recolor if you're using a lot of
motifs that repeat. The next lesson, I'm
going to show you how you can use smart objects
to really speed up your pattern making
process and make sure that your pattern repeats
perfectly every single time. You don't never have to
worry about whether your repeat square is
technically correct or not. See you there?
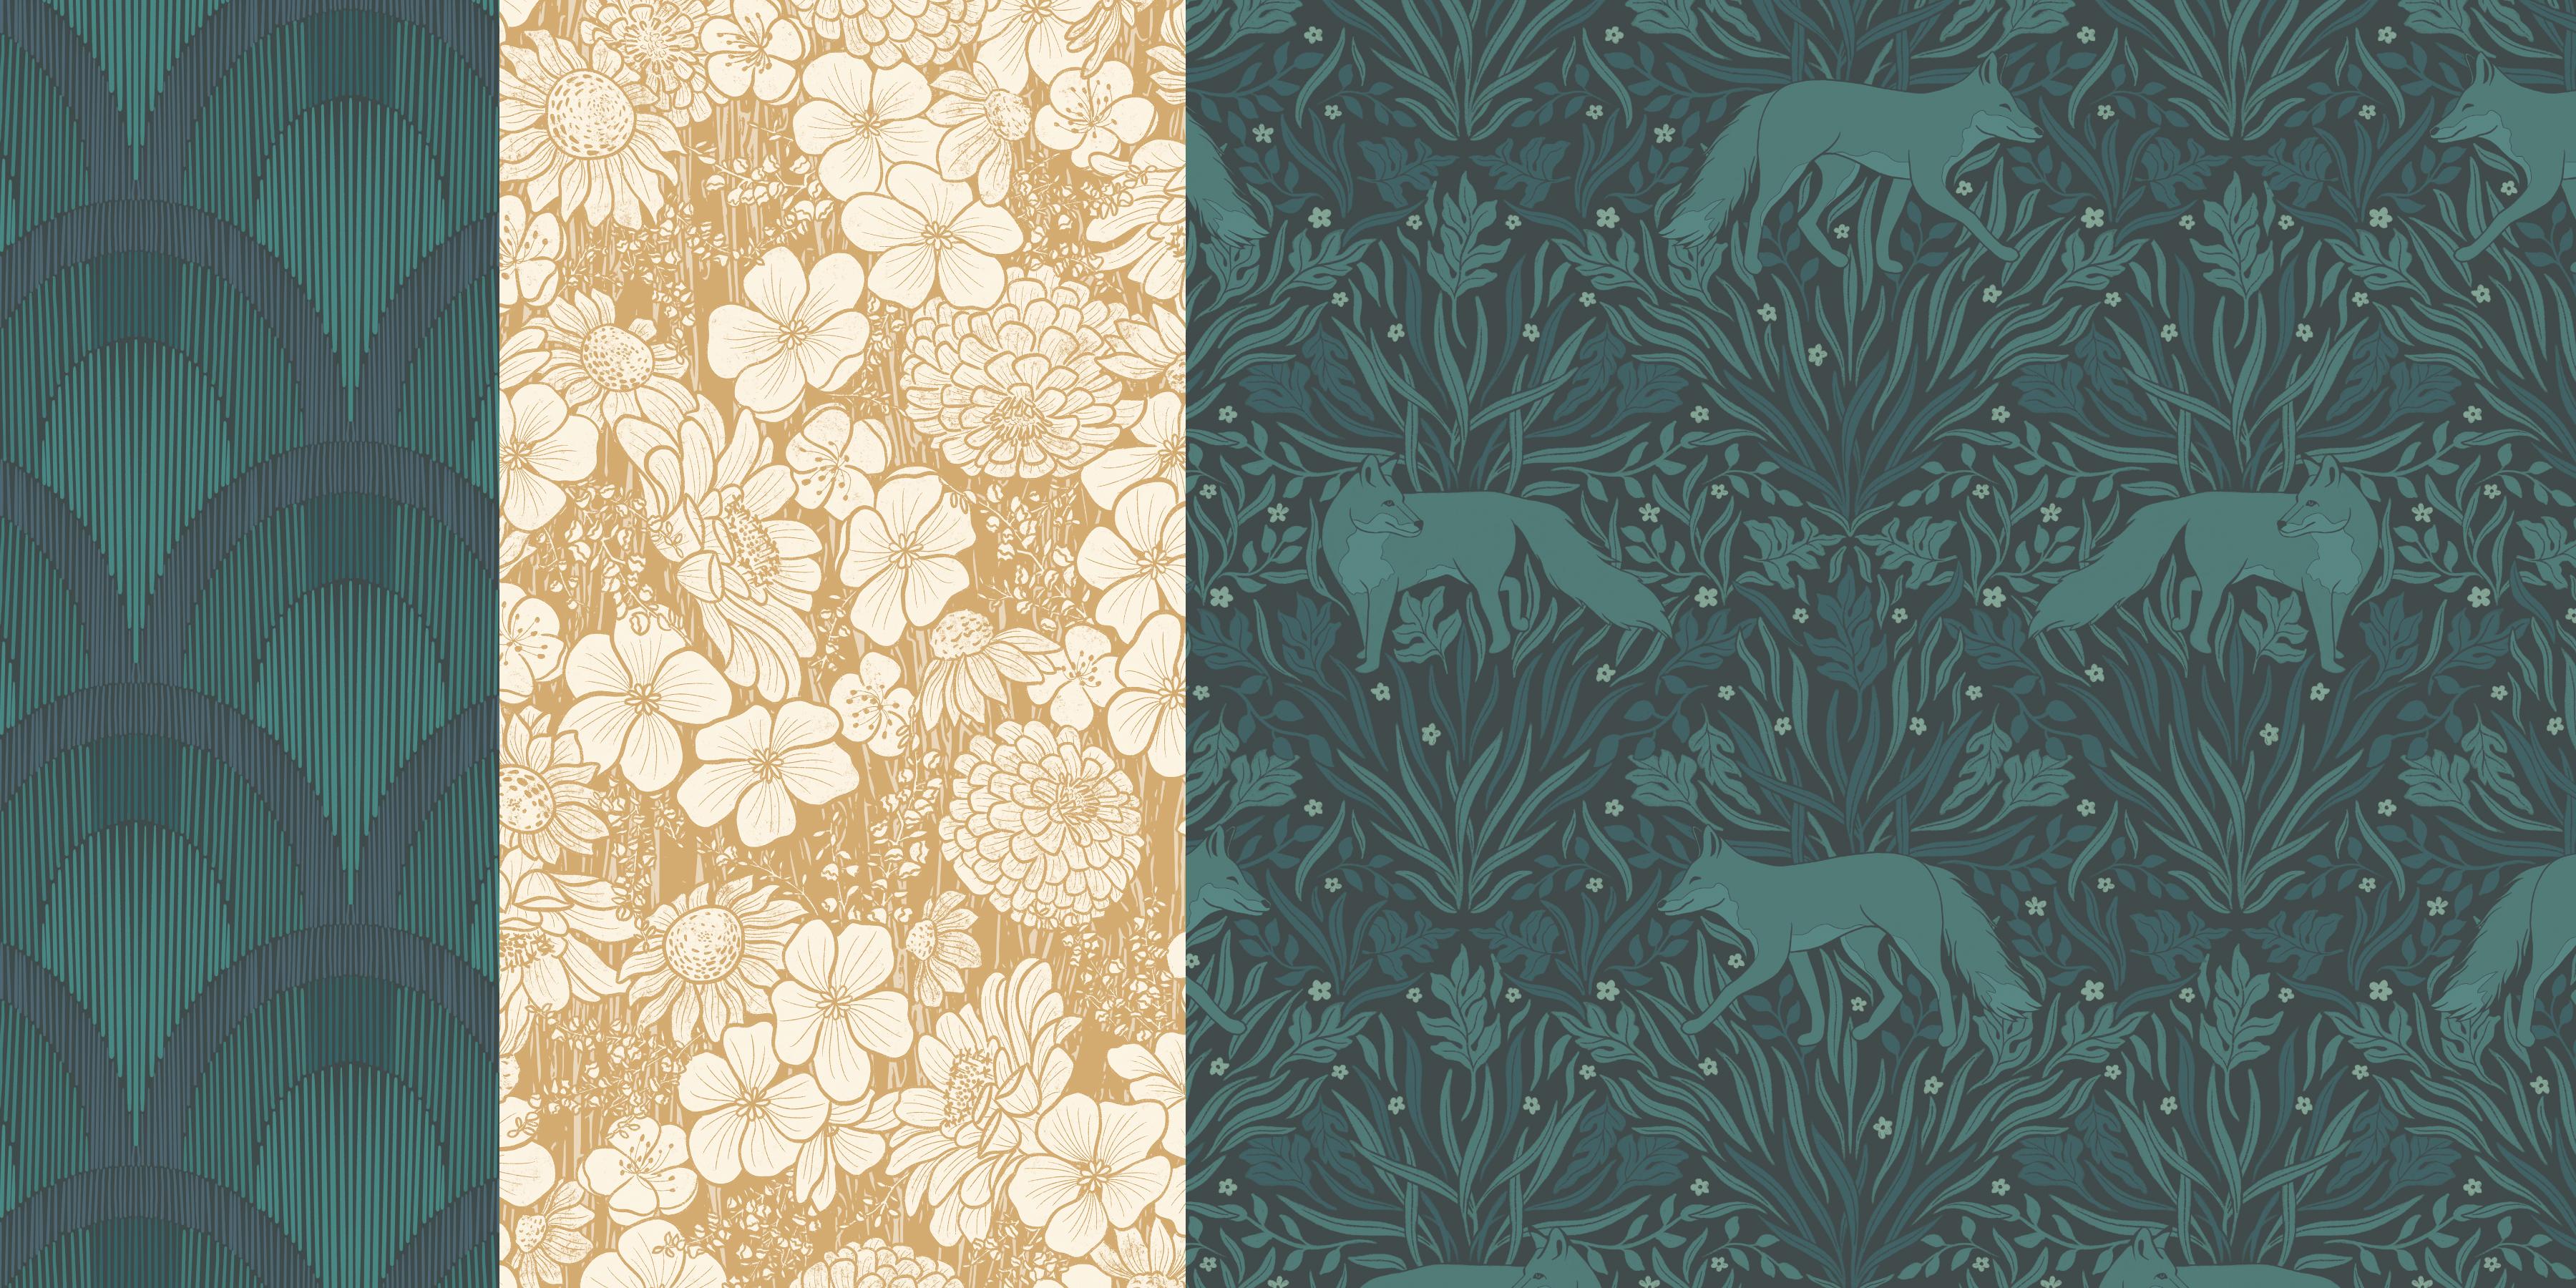
4. Create Your First Pattern Template: I'm going to show
you how to create a template for a
scallop style pattern. This is a technique
that you can use for many patterns moving forward once you understand
the principle of it. So the first thing
we're going to do is create a new Canvas. Go under file and new, and I like to use
a 12 by 12 Canvas. You want to make sure
that you have 12 " by 12 " at 300 DPI. This is going to
serve you perfectly for designing fabric
or wallpaper, and then you can always size
things down if this ends up being too large or too high of a resolution
for what you need. But 300 DPI is the ideal resolution for printing. That's what
you want to go with. I'm going to click Create.
Okay, the first thing that I'm going to do is select this ellipse tool down here. Make sure it's selected as a ellipse when you write click. I'm going to just click and hold down the
Shift key and drag. And it's going to create
a perfect circle. I'm going to want the
circle to be 12 by 12 " so that it's the
width of the canvas. Since this is still selected, you can see up here
in the toolbar that there is a
width and height. I'm going to make that 12 ". Now I'm going to move
this to the center and you can see how both of these
pink lines are showing up. That means it's perfectly
centered within this canvas. This is exactly the
diameter of the Canvas, and that's exactly what we want. Now we're going to
make two copies and we're going to change
the color of each of them. Stick with me here. There
is a method to the madness. I am going to select on my keyboard command plus
J to create a new layer. Then I'm just going to
click into another color. We'll make this
beautiful green color. Then I'm just going to
do that one more time and select this beautiful
mayor gold color. Now what we want to do is move the top two layers down so that by default, we
create a scallop. You'll want to click Control T to get the controls up here, and then click into x and say -6 " to move it to the left. Then click into y and say 6 ". That's going to move
it down by 6 ". Now that's perfectly aligned. Now we're going to
do the same thing for the green and
move it to the right. Hit Commander Control T, and now we're going
to move it plus 6 ". And then again, 6 " down. You can see that the blue shape is now a perfect scallop that also fits this 12 by 12
inch canvas perfectly. Now we're going to
select all three of these layers to go under layer, click combined shapes and
say subtract front shape. That gets rid of
those other colors. Now, because you can still see the traces there of
the other circles, they're still registering
and photoshop. What we want to do
now is right click on this layer and select
Rasterize layer. Then there's one
final thing that I want to do because
it's going to make it so much easier to see where the shape is once we've
created the pattern, because it's going to
cover the entire canvas. I'm going to right
click on this layer and I'm going to select
blending options. Then click on stroke. I'm just going to
change the color so that we can see
what we're doing here. I'm going to select
this dark blue, and I want it to be a
reasonably thin stroke, which I think this is okay. I'm going to click k on that, and now we're going to convert
that to a smart object. Now we're going to build
a pattern out of this. I am going to select again Commander Control J and Commander Control T to move
this. Here's the funny thing. Once you have created
a smart object, sometimes clicking
the Delta button isn't going to get you
back to zero anymore. What you actually need
to do is subtract from whatever the existing value
is instead of replacing it. Now I'm going to select -6 ". Notice I have to type in n four inch or it's going
to assume that it's pixel, which is the previous value. I'm going to select the tab key that takes me to the y axis, and again, click at
the end and say -6 ". Now it's going to
perfectly align into that empty space in
the corner right here. Copy this one again. Now let's move it all 12 " over. Again, clicking to the end, we say plus 12 ", and now I can select these
top two layers because they are the two
that are going to be moved down to cover
the bottom corners. Select Commander Control T and
then move those 12 " down. Okay, now you've actually already created your
Scallop pattern template. But before we do anything else, we're going to save this
file because we want to make sure that we do not
lose this as a template. You're going to want to reuse
this over and over again. Let's go into file and
then click Save as. I actually have a file called Unfinished Patterns
for all my drafts, and that includes a file
called Pattern assets, and I have a whole file
just for templates here. I'm going to call this a
scalp template and it save. Now you can use this template
over and over again. Let's double check the template by putting in some art, ready? Open the file with the artwork you'd like to use
for this template. I'm just going to copy this
entire folder of artwork, and I'm going to
double click into just any one of
these smart objects. Then just copy the art on top and I'm going to move it down a little
bit to center it. Now I'm going to hide
the background and hit command or control
plus S to save. There you have it. I'm going to change the background color as well to something
more like this. And with that, we've already
created a perfect pattern. Now if you press shift command and A, you can preview this. Although, I have to warn
you that with smart object, sometimes the pattern preview
can be a little bit funky, especially at the corners, but it's working prey well here, and this is a ple pattern, so we're all ready to go.
5. Other Template Ideas!: Here are some other
pattern templates you can create using these same
design principles. Fill a layer in your
square canvas with color, rotate that layer 90
degrees and making sure it touches
each side equally, and then just convert that to a smart object and go ahead
and create your pattern. Using the principles
that you just learned, you can also create a
complex diamond pattern with four different
types of square designs. And you can also use that to
create an OG pattern out of the scallop smart object that we've already
learned how to create. I can't wait to see
what you create.
6. Bonus: Managing Complex Patterns: I have one last trick
I want to show you, and this is for patterns that
are really dense and tight, where you might
want the leaves and patterns to intertwine and
your smart objects to overlap. So let's take a look
at how to do that. Here is the original
repeat file, and you can see
that these branches are really beautifully
intertwined. Here's my motif, and I duplicated
them to all the sides. You'll notice that
the main motif is either always completely
behind one of these branches, or it's all the way on top. But they can't intertwine because they are on
separate layers. What we do is use layer masks. I'm going to select
this smart object here in the top left corner. We're just going to
zoom in and see that there are two overlapping
smart objects. The one that is on top, I'm
going to add a layer mask. I'm going to go down here
in the layers panel and click on this little symbol that looks a little bit
like a camera. It's going to add
this layer mask here and you'll see that these colors switch
to black and white. You'll want to use black
whenever you hide something and white if you need to
add something back in. Layer masks are a non
destructive editing. That means that the original
artwork stays preserved, even while it looks like
you're deleting things. This is really helpful because your original artwork
stays intact, and you can easily
correct any mistakes. To make this look like these branches here
are intertwining, we're going to use
this layer mask to hide parts of the branch, and I'm just going to
click into this layer here really quickly and
lower that capacity. We can see where the overlap is. Let's make that about maybe 80% or so and then really zoom in. Now I can take my brush tool. I'm going to make
that somewhat larger and then click into
the layer mask again, making sure it selects
black as the color. Now I'm just going to use my
brush to hide those pixels, and you can see the layer underneath starting
to emerge again. Just remember that
you can select whatever type of brush or other tool that you
want to use here. I'm using this little
bit rough brush to get just a slightly more
natural edge to it here, especially when I'm
getting to the outlines. But if you want to go click next to the swatches panel
to the brushes panel, you can select any other
type of brush that you want. We have the first
intertwining complete. And now I'm just going
to go down here again. This leaf is ducking
behind the other branch, and then I want the
tip of these leaves to just be on top of
the other branch again. Let me also hide the branch that is in the way here again. And now all I have to
do is click back into the smart object and turn
the opacity back up to 100. And now we have this beautiful intertwining branch right here. So now you can do just that for every place where your motifs
are overlapping. And you'll end up with
a pattern that has beautiful intertwining
branches. Oh.
7. Next Steps: Alright, everybody,
that is a rep. I hope you learn something new and helpful in this class today. If you enjoyed it, please let me know by
reviewing the class, it makes such a
huge difference for other folks to be able to
find this class as well. Honestly, the best part of teaching is seeing
what you create. So please please please upload your new designs and templates into the
class project section. I want to see you admire
all your beautiful work. As always, if you have any
questions, let me know, you can contact me through
Skillshare through my website or on
Instagram ad Draws. Thanks so much for watching stay tuned for the next class, and I'll see you soon. Bye.
 Freya Riedlin, Designer, Illustrator, Plant Lady