Transcripts
1. Intro : You don't have to
be an artist to create your own
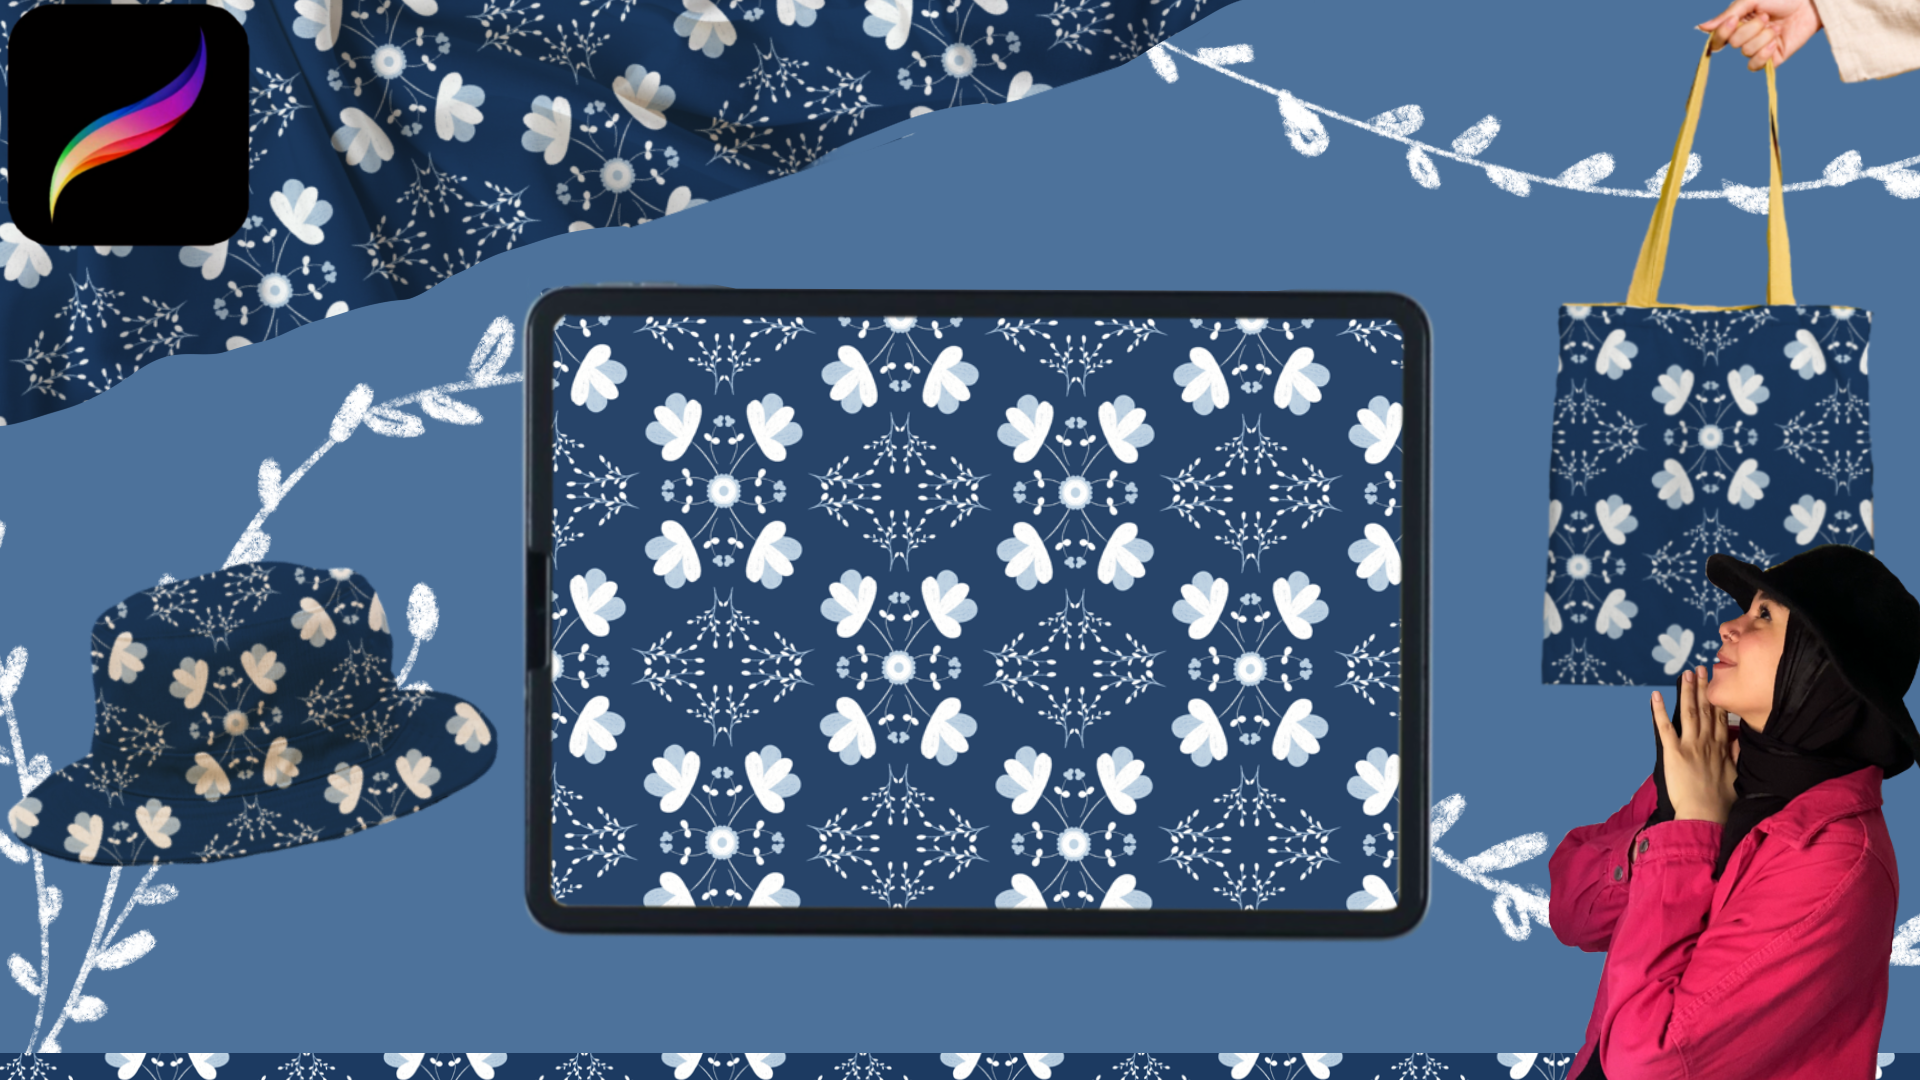
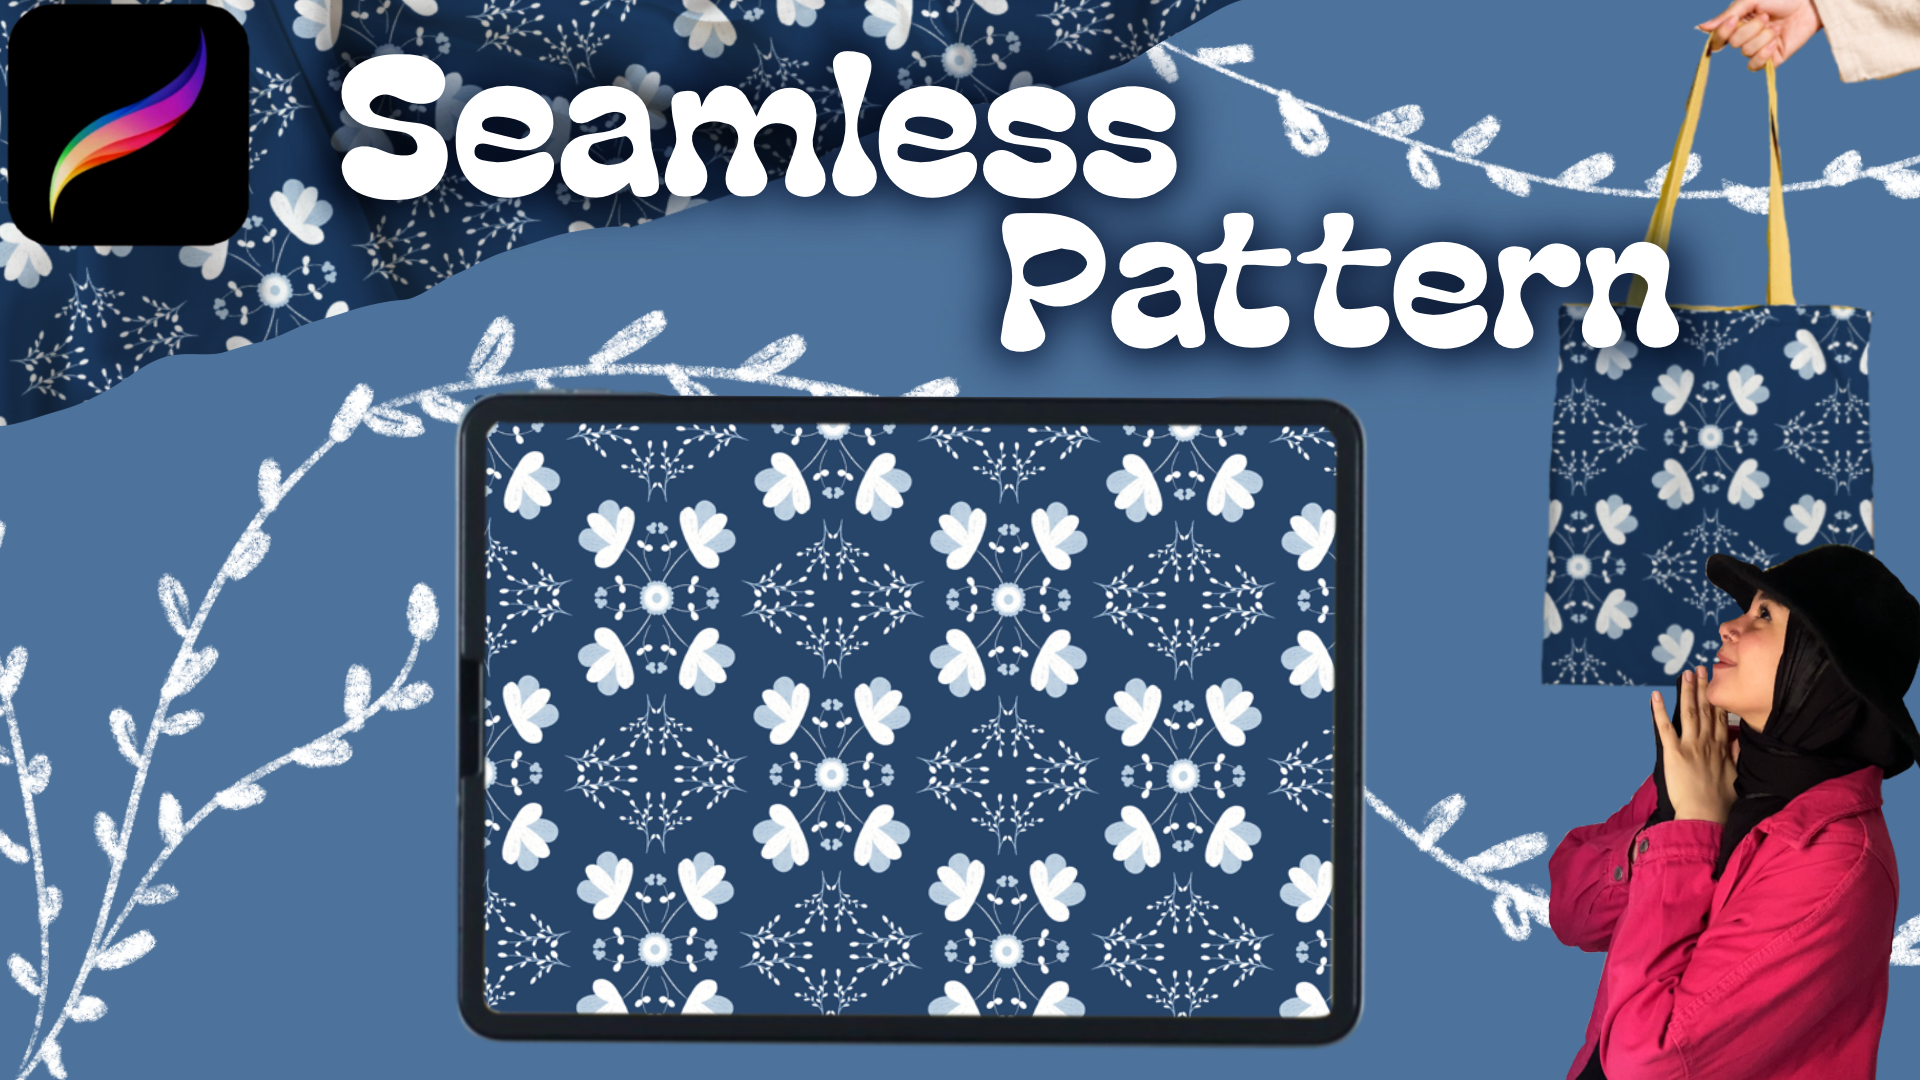
seamless pattern. All you need is your iPad. Because in this course, we will learn how to
create this beautiful, elegant pattern from scratch. We will go step by step, and you will learn
a lot of tips and tricks that will help
you with drawing later. You will learn how to create your own printable
pattern canvas. What is symmetry
and how to use it? How to make your line smooth. And what is the importance
of clipping mask? Saving formats and what's
the best for selling on websites or printing
on your own products, how to create Maps in procreate without using
Photoshop. And more. Hi, I'm Sarah. I'm an artist, illustrator, and
content creator. I do content in Arabic as a
Egyptian and English as well, and I can't wait to start
this course with you. So grab your iPad, your Apple pencil, and let's
get it started. That's it. I hope you enjoyed this course and you found it useful for you. I'll be waiting for your
opinion and your project. See you in a new course. Bye.
2. Sitting up the canvas: To create a new canvas, we click on the plus
sign in the corner. As you can see, I already have a canvas with a good
size for patterns, but since we're making
a new one from scratch, I click on the file
that has plus sign. Once I click on it, I
enter the Canvas sittings and the first thing we start
with is the dimensions. I'll choose my size in
pixels and sit the width and height to 3,000 by 3,000 pixels. This size works well for small printer items
like tool bags, caps, small tablecloths,
costers or phone covers. But if you want the
pattern to be printed on large size like bit
sheets or curtains, you can set it to
4,500 by 5,400 pixels. But here, I'll keep
it just 3,000 by 3,000 because I know the
products I print on, and if later I want
a bigger size, I can place my pattern
inside a bigger canvas. Let's move to one of the most
important things the DPI. You're going to print, so it should be 300 at least. Higher is okay, but never go
lower if you're printing. This is because DBI controls how clear the details
look when printed. So make sure it mustn't
be less than 300. The second important thing I'll adjust is the
color profile, and I'll make sure it's
set on CMYK at RGB. Why? Because CMYK stands
for cyan, magenta, yellow, and key black, and these are the colors that
printing machines use. But RGB stands for
red, green, and blue, and these are for screens which look brighter
and more vivid. What happens if you draw in RGB, and then you try to print? Your colors will look dull, and many of them won't have the same brightness or saturation
you saw on the screen. And to put it simply, RGB can show around
16.7 million colors, but CMYK shows around
1 million colors. Can you imagine the difference? The printer converts
your RGB colors into the closest value in CMYK. So the result looks less brighter than what you
saw on your screen. And unfortunately, this
is a mistake many people make because they don't know the difference
between CMYK and RGB. They choose RGB because the colors look brighter
and more vivid. And when they go to print, they are surprised the colors look washed out or
totally different. That's why it's very
important to always set it to CMYK if
you're going to print. I will not change anything in the time lab settings or
the canvas properties, but the last thing I'll
do is rename the canvas. I'll do that by clicking on untitled Canvas and
typing pattern. Then I click Create, and now our canvas is
ready to start working on. Now, why do rename my canvas? Because if I go back to
the gallery and want to create a new canvas with
the same pattern size, when I tap on plus sign, I need to start from scratch, and I'll find the
set size below. And just by clicking on it, I'll get ready to use
Canvas. And that's it. We're done with the
first important step, how to set up the
canvas and the colors. Next time, we'll start drawing the pattern together and
learn more about layers.
3. Background: In this pattern, we'll
be using four colors. The first color will be white. The second color will be the background,
your fabric color. So choose any color you like. For example, I'm going
to choose a darker blue, but you can pick purple, baby blue, green, yellow, orange, whatever color you like. You could even go with
this reddish brown shade. It would look really nice. But for today, I'll stick with the dark blue and the one that leans slightly
towards Navy. Now, the third color will be the light shade
of the background. So since I choose a dark blue, my third color will
be a light blue. If you choose a darker green, then your third color
should be a light green, great, and so on. So if the background
is a dark yellow, then the third shade
will be a light yellow, and that's how you
decide your third color. So, what about the fourth one? Fourth color will be gray. Look, we want to use gray in the pattern to color it
or something like that, but we will need it to help us mark the area where
we will be drawing the pattern because
we will be only drawing the pattern inside a specific section
of the canvas, and the gray will simply act as a guide to help us know
exactly where to work. Now, I'm going back to
the dark blue color I told you about the one I'll
be using for my background. Since this will
be my background, I'll open the layers panel. You see the background
color here? We are going to
hide it completely. We won't be using it as
our main background. Instead, we will use layer one as our actual background
for this pattern. The reason is that
we will need to duplicate this layer later, and we need it to
stay with us when we convert the pattern
into a seamless one. And the default
background color layer cannot be duplicated. So we will turn it
off by tapping on the little check mark
icon now Layer one, as we said, will
be our background. So let's rename it. Tap on the layer
once, choose rename, erase layer one, and
type back ground. Always remember that naming your layers is really important. When you end up
with lots of layer, you don't want everything
to be called layer layer, layer one, layer two,
layer three, and so on. It makes look messy
and confusing. Instead, when your layers
are properly labeled, you stay organized and come. And if you ever need to
edit something specific, you can easily go straight
to its layer by name. So don't forget to
name your layers. And after we have chosen the background color
we want to use, all we do is drag the color from the color wheel and drop
it onto the canvas. So we grab it like this, pull it over, and drop
it onto the canvas. And just like that,
my background is now filled with the dark
blue color I choose. So tell me which color did you
use for your fabric color? I'm sure that you choose
a very beautiful one, so just let me know which
color did you pick. Now we're going to create the borders where we will
be drawing our pattern. So what do we do? First, go back to the
Layers panel and create a new layer by tapping
the plus icon here. Now, I have a new layer. This one will be
our borders layer, and as we agreed, we are naming our layers, so I'll tap on it once, choose rename, and
call it borders. Next, we go to the color
wheel, choose gray. A gray shade is fine. The exact doesn't matter, and we drag and drop it onto the layer to
fill it completely. Now, the borders
layer is covering the entire canvas and it's on top of the background layer. Okay, so now we will zoom out a bit so we can position
the borders properly. Then we will select
the move tool. And it's very important
that the move tool is set uniform and that
snapping is turned on. So we tap snapping and
then we enable magnetic. And we make sure that all
the options are set to max. Now, what are we going to do? All we want to do is to move this green marker over to
this exact side right here. That way, instead of being
positioned as a square, it will turn into
a diamond shape. To do that, we will tap and
hold on the green circle, then drag it to the
right, just like this. As you can see, now
looks like a diamond. But part of the diamond
is outside the canvas, and we want the entire
shape to be fully inside the square canvas
because this is the area where we will
be building our pattern. So from the right side, I'm going to drag
it slowly inward. You can also start from top
to bottom, if you prefer. I personally like
starting from here because it snaps
perfectly right away. So I drag from the top downward, and you will notice a
thin line that appears. That line tells
you that you have reached the exact
edge of the canvas. And once it appears, left your Apple pencil. Great. We're going to
repeat the same process, but now from the bottom, look, if we started from the right, now we go to the
left and after that, we adjust top and bottom. At the moment, I'm
adjusting from the top, so now I'll do the bottom. I'll drag it inward
until it's aligned. Perfect. Now the shape is
starting to fit properly. So next, I'll adjust
it horizontally. I'll pull the right
side into the canvas, and you will see the yellow
snapping guide appear. That's how you know it perfectly looked into the
border of the canvas. That's exactly why snapping
and magnetics are so useful. They handle precision for you. Then I pull the left
side inward as well. Now the shape sits perfectly
centered inside the canvas. So turn off the moving
tool. And that's it. The diamond shape is now sitting inside the
square canvas, but here is the issue. If I start drawing on
the solid gray layer, I won't be able to judge
my colors properly. The main background of
my pattern is blue. So drawing on gray will throw off my color balance and
make everything look dull. To avoid that problem, we will go to the borders layer. Up on the blend mode, then I can here and it will
show you two sittings. One layer opaste the second one is layer mode,
normal, darker color. From the modes, we
will choose the first one up there, multiply. Now the borders blend rather than blocking
the background. Not only that, we
were going to reduce the opacity of this
layer so we can still see the original blue background clearly while keeping the
borders visible to guys. So we will lower it
until we can see both the blue background and the border lines without
one overpowering the other. And around 27 opacity
feels perfect for me. And now, our background
is fully prepared, and we are ready to start
drawing the pattern.
4. Pattern design: Now I'm going to
create a new layer. I'll open the layers panel, tap the plus icon, and make sure this new layer
is above the borders layer. I'll tap on at once,
choose rename, erase the word layer, and name it pattern. Next, I'll pick a color. So I go to the color
wheel and I'll drag my pencil all the
way up to select white. After that, I'll go to the
brush tool and then to sketching and I'll
choose the six B pencil. Now, if I start drawing, I'm drawing in an empty
place on the canvas, and I don't want that. I want what I draw here
to appear here and here, and here in the four
parts of the canvas. To do that, I activate symmetry, and I choose something
that lets me draw in the four
areas on the canvas. But first, let me show
you procreate symmetry. To activate symmetry,
I go to Actions, choose Canvas, then
turn on drawing guide. After that, I choose
a drawing guide, and I choose symmetry. Do you see this
line in the middle? It's not visible because the
background is a cloudy blue. So here I can select
the color of the line, choose white, and press done. So what does symmetry do? Symmetry makes what I
draw here appear here. It's an option that makes
drawing much easier, especially if you are
drawing something from the front view like a vase, like when the right side
looks exactly the left side. So instead of drawing here and then go to the other side
to continue drawing, you are ready prepared
because symmetry is on, and you draw here, and the drawing appears on the other side
exactly the same. Let me increase the brush size. Okay, we said that we want
what we draw here to appear on the other side
here and also here in other places right
and left at bottom. So to activate the
thing that makes my drawing appear
in four places, I go back to actions, a drawing guide, and press
Can you see symmetry here? Press options underneath it, and we will choose quadrant, the third option here. Then done. Now, when I draw in one
part of the canvas, it will automatically
repeat everywhere else, which makes drawing
so much easier. Because we will draw
in one triangle and the other triangles
will copy what we drew. And that's because we
activated the quadrant. So before we start drawing, I want to show you the texture
of our brush for today. So let me just scratch. And Zumen, this is the
texture of our brush. And honestly, this texture in this pattern will look very elegant and very
nice on the pattern. But the only problem
with this brush is that it's not
easy for coloring. For example, if I
draw a circle and I want to fill this
circle with white color, when I try to fill it, I'll drag the color
from the color circle and the whole canvas
will turn white. And why does this happen? Because my brush
has open textures, not solid one, but it's
very nice for shading. Its texture is really beautiful. It gets darker in some areas
and lighter in others. However, if you
want coloring to be easy and you want a solid brush, you can go to the brushes, then choose inking and
then choose technical pen. This way, when you draw with a technical pen and
then add the color, only the circle will fill
with the color you want. But honestly, I will go
back to the six B pencil. I want this pattern
to look different, and I will also upload it
later on selling websites. So when you do something, we need to make it perfect. So when the customer
sees the final work, they see it done neatly, not just a simple
pattern, drawn quickly. You know. Now, let's start
drawing our pattern. And as we said, we will
work in this triangle, and the other
triangles will work by themselves because
of the quadrant. So what will we do? All we will do is
make an arc like this and connect it to
the center of the grand. Now, let me zoom in and show you something until
you are a tip. Look, my line is not smooth
here, if you notice. There is a part that
it looks bitty shaky. So what do I do to
make my line smooth? Let me leave this
one as it is so I can show you the difference
between what I'm doing now. So I'll go to actions, then choose prefs, then choose
pressure and smoothing. After that, you increase the
stabilization to around 50, 51, 49, just be around 50. Now, if I draw the
same arc again, do you notice how
smooth the line is now? See this shaky part here and
see how smooth it is here. So we will start drawing with our brush after we adjust
the stabilization. And as we said, all we will
do is make a small arc, a small curve, and connect
it to the point in our grid. I don't know. I
don't like this one. Let me draw it
again. Much better. And now we will start drawing the easiest flower in the world. Any child can make it. This flower will be made of
three parts, three petals. We will draw one, two, three, and
connect them together. Let me make this
sport a bit bigger, so it looks more similar here. And this is our simple,
cute little four. I think nothing is
easier than that. Okay. Note that we didn't go
outside our borders. Now, what will we do? I reduce the size of my brush, and here in between
every two flowers, we will draw a small flower. Actually, we won't draw
the flower itself, we'll draw its branch
with two small leaves. So we'll draw them between these two flowers and also here. So we'll start with
this part first, and we will make a
small curve here, when I made the curve, the open side of the curves
was facing the right. But this time here, we will make the curve with the open
side facing the left side. So we'll do this, and then we'll draw
a small leaf here, another small leaf here, and it becomes like this. The same thing we
did here exactly, we'll do in this part. So we rotate our canvas
and zoom into the area. We're going to drawing and we will make a
small curve here, too. But here, it will be bigger than this one because
this area is wider, and we draw a simple
rounded leaf like this. And this is how our small
flowers look branches. Okay, here in the
middle, what will we do? We will make a big flower. This flower will connect
all these flowers together. All we do is a
circle, nothing more. And because we want to draw the circle
from only one part, we will draw it in this area, and it will automatically appear in the other
parts of the grid. This makes drawing
the circle very easy. And this is our circle. It connects the main
big flowers together. Okay, my be for artists. Now we're ready to color
everything we drew in this part. And yes, you know, we are going to color one part, and the other parts will
be automatically colored. So let's start coloring this part before
working on the details, which honestly will
complete our pattern. But for now, let's start
coloring our flowers and leaves. Okay, I want to
tell you something. I don't like coloring
with my brush when the stabilization
is set to 50. The brush doesn't move freely, so I go to press and I reduce the stabilization
back to zero, then the brush becomes easier
for me to color we so speed up the video or
pause it until you finish coloring all
the parts you drew. After you finish,
come back again. So I don't make the
video too long. Take your time, color slowly, and give each part its right amount of
coloring and come back. Do you see how beautiful
the brush texture is? It's very nice, very
soft and velvety. And the nice thing
about the quadrant here is that when I draw
or color in one part, the whole part will be
colored automatically. I don't have to
go back and color this part or the third
part or the fourth part. I only color in one place
and colored automatically. Let's color the leaves. This one, this part. And the last thing I have is the big circle in the middle. Now, look, I'm done. But if you want to
make any part darker, you can make it darker if you want to adjust
anything in this part. Adjust it so the
shape looks nicer. Here, I made the flowers
at the top a bit darker. I also darkened these branches again and the small
branches, too. So I reduce the brush size and go over them again
to make the side darker. And this is the look of the
first part of the pattern. Now, we will start building
the rest of our pattern. We will still use
the white color, but we will also
use the third shade I told you about the
last shade we need, which is the light blue color or the lightest shade of
our background color.
5. Details: Okay, so now we're going
to add some details, and we will make the
details on two layers. So go two layers, tap the plus icon twice. So the first layer, I'll move it under
the pattern layer and the second layer, I'll leave it as it is
above the pattern layer. Most of the work will be on the layer that is about
the pattern layer. But here it will
be very easy to do the details on the layer
under the pattern here. So let's start with it, and we'll start with tapping on the layer once and tap rename. Then I erase a layer four and rename it details
D, details down. Let's rename the other
layer, so tap, tap, rename, then I rename
it details up. Now we'll move to details down. And with the same
brush we are using, which is six B pencil, we will choose a color lighter
than our background color, and this is the last
shade we will work with. And to get the background
color with my finger, I tap on the background, and the color would appear here. The color picker,
the search icon will give you the color, no matter where you
tap on the canvas. The shade is shown here. Like here when I
move to the flower, it gives white, the
dark blue here. But here, I'll move my
finger to the background. And now we have our blue shade. So go to the color wheel, and all we're going to
do is drag your pencil all the way up and pick a lighter shade of
your background color. Let's try the shade. Great. It's very nice. So, look, I will not roll
with my brush like this. I'll set the
stabilization again. So I'll go to actions, preps pressure and smoothing and increase the stabilization
to around 50. Let's try it. Much better. Another thing to be mentioned. If I draw on this triangle, the other triangles
will not be affected. Why? Because this layer
is not set to as cest. Let me show you something. When I go to layers, can you see here pattern layer? It has assisted underneath it. This means when I draw on
any part of the canvas, the rest will also be affected. So how do we enable assisted for details
down and details up? I simply tap on the layer once, and all I do is choose
drawing assist. Now it shows assested here. So when I draw, it will draw
in the other areas too. Let's also enable it for
details up so we don't forget. So tap on it once and
tap drawing assessed. Go back to details down, and let's start adding
our details here. And all we're going
to do here is to connect the two
petals together. I just like we're going to draw a bridge to connect
them to each other. So all I do is draw like this. And draw like this. So this is how it looks, and for my flowers here, small flowers, we will work on them on the details up layer. For now, let's finish
the details down layer and color the petals
that we added. So take your time with coloring, make your work neat and clean before we move to
details up layer. And here we go. Now let's
move to details up layer. So let's start with
our small flowers. But let me first
reduce my brush size. Good. Okay, so we're going to draw three circles to
make this flower, one here, another one here. And the third one let
me fix this part. Looks nice. The same
thing we did here, we're going to draw
it here in this part. But we'll make the
circles bigger. So one, two, and three. And make sure that they are
not connected to each other. So the third thing
that we're going to work on here is this circle. This is a flower, so
it needs some petals, cute petals like this. I'll just work in one quarter. Yay, they look so nice. But let me erase this part and tell you
something while we erase. If you want to erase
anything from your artwork, it's better to erase it with the same brush
that you are using. Like here, the eraser
is set to heart blend. Look what heart blends do. Oh, okay, so let me reduce it. Okay, so it erased nicely, okay, and everything is fine, but it's not a professional way. The professional way is to use the same brush that
you are drawing with. And trust me, this step
will help you a lot with drawing later with bigger
artworks or with characters. So let's go back to the eraser and choose the six B pencil. Another way to get
the same brush that you are drawing
with without searching, you can just tap on the eraser, tap on it till you
find this node that tells you eraser
with current brush. And now we can use it
and erase this part. Let me see if there's another part that
needs to be erased. Maybe this part. Okay, it's fine. Now we're going to draw a circle in the middle
of our big circle. Just a circle or oval shape. It would be like this.
And let me reduce my brush size and draw
another circle here. Great. The last thing
we're going to draw will be in this empty part, and we're going to draw
the same thing here. But first, let's color the circles and the
flowers that we drew. So stop the video, finish coloring, and come
back again to continue. I'll start with
my small flowers. Then I'll move to the circles in the center,
color it like that. Then color the petals
in one quarter, and the others will be affected. Before moving to the last part, drawing in the empty areas, I'm going to make sure that everything that I drew
is perfect to me. Like I'm going to
darken this area, erase anything
need to be erased, and we are done. The last thing we're
going to draw is some branches in the empt areas. But first, let me erase this. So in details up layer, I told you that we will also do something here in
this empty part. We will draw small branches and small leaves using the same light color
of your background. After that, we're going to use the white color to
draw the leaves. But for now, with the same
brush that we are using, we're going to draw
a branch like this. Another one like this. And the third one,
I like this one. Let's draw it a
little bit down here. Another one from other side. This one looks nice for me. So let's draw the same
branches on the other side. Let's start with a
curve another branch, another one, and
another one here. For sure, they don't have to
be the same, but you know, the concept of drawing the
branches, and that's it. Be free with your drawing. Now, let's move to the leaves. So put your finger
on the white color or just grab the white
color from the color wheel, and we'll start with the
edges of the branches. We're just going
to draw a circle, an oval shape, just like this. I set my stabilization to zero again just to go more free. Yes, much better. So I'll finish the edges
of the branches. Now we're done with the edges. Just draw a lot of leaves
all over the branch. So I'll draw one here, another. And the last leaves
will be here. Great. They look so nice. Now we're going to do the same thing that
we did in this part, start with the edges, and then distribute the leaves
everywhere on the branch. Draw small, large leaves. Just go free with your drawing. And now our pattern
is like this. Now I can tell you that
we're done with our pattern. I mean the drawing, but we'll continue
the pattern and fill this empty part by
the main pattern. We're not going to draw
anything after that. We will turn our pattern from a regular pattern
to a seamless one.
6. Design 2: Right, let's continue
building our pattern, but without drawing
anything new. We're going to use
the same pattern we drew to complete our design. After that, we will turn it
into a seamless pattern. So for now, let's go to layers. And do you see the border layer? Well not use it anymore, so I'll drag it under the background layer and
hide it by tapping this on. Drag it to the
left and tap lock. Now we're going to
select our layers of our drawing so we can
group them together. To select multiple layers, we just swipe them to
the right like this, and they will turn blue. That means that these
layers are selected. Now, let's add the
border layers too, and then we'll put
them into a group. So this group contains
our main artwork, and it's really important
to keep it as it is. We need this backup in case we ever want to make it clatter. That way, we don't mess up the original drawing or struggle to fix
something at any time. We can simply go back to this clean layer structure
and continue from there. So this is our first group, and we're going to duplicate it, swipe to the left,
tap duplicate. And for this group, we're going to lock it. So swipe to the top, lock and then hide this group. Now, what do we want from
this duplicated group? We only need four
layers from it. Details up, details down. The main pattern layers, the one we group. And our goal is to merge them
all into one single layer. And we have two options
to merge layers. Let's use the first option
and the easiest one. Place one finger on the first layer and another
finger on the second layer, and all the layers in between
automatically get selected. Like this, only selecting the wrong pattern layers and
not the background, okay? Once they are selected, we simply drag them
above the group. So they sit as a separate layer outside the group instead
of being inside it. Now, tap on this
separate layer and tap on robbing assessed
to turn it off. Okay, now I want to
show you something. When I tap on the moving
tool look what happens. It only selects the exact
side of my pattern, not the entire canvas.
I don't want that. I want the full canvas
to be selected so I can move the pattern properly without it getting
out of the place. And to fix this issue, we'll simply extend the pattern to touch the canvas edges. How, first, make
sure that you are on the drawn pattern layer and that you are using a white color from
the color palette. And now we will go to the
corners of the canvas, just two corners and draw a tiny little triangle and another one on
the opposite side, just a tiny mark. I know. They are barely notice, but they are super important. Now look, when we choose
the moving tool again, it selects the whole canvas, which is exactly what we want. Now, open your layers panel, and now we're going to
duplicate our layer five times. But first, let me rotate it back to how it originally was. We had drawn it with the wider part
positioned horizontally. Alright, now let's duplicate
the pattern five times. Swipe to the left, Duplicate,
Duplicate, Duplicate. Duplicate. One, two,
three, four, five. Great. Now I want you to
concentrate with this part, and we're going to start
moving the first layer. How, tap on the moving
tool and make sure that you are on uniform and
the magnetic snapping, everything is turned on. Now we'll start dragging this layer from the bottom
to the center of the canvas, then from the left to the
right corner of the canvas. Let's do it together.
Drag from the bottom. To the center, wait
for the orange guides, then drag from the left to the one quarter of the canvas
from the right. Great job. Let's go back to the
layers and continue. I'll do the exact same
thing with the next layer. I drag it from the
bottom to the center, then the right towards the left. For the third layer, this time we'll move
it from the top down to the middle of the
lower half of the canvas. Just like this, you see
the orange guidelines. Then from the left
to the right, great. And for the last layer, we will move it from
the top to the bottom, then from the right to the left. So now my pattern
looks like this. But notice something here. There is a blue part that isn't actually
from the drawing. That's coming from one of the pattern copies
we moved earlier. So let's erase it together. I delete this one. And the other one
is in this layer, so I'll remove it too. And this is now
our final pattern. We only drew one single section, just one triangle of the canvas, and from it, we created
this whole amazing pattern. So now we are officially
ready to turn this pattern from a regular
one into a seamless pattern.
7. Seamless pattern: Right, let's turn
our pattern from a regular pattern into
a seamless pattern. We will go into the layers, and we will select
all of these layers, just swipe them to the
right, then tab group. This group will be
our main group, so we will duplicate it, swipe it to the left,
choose duplicate. Then lock this main
group and hide it. So I always have a clean copy to go back
to later if I need it. Now the duplicated group, we want all of its layers
to merge into one layer. So we'll tap on the group
and choose flatten. Flatten is the second
method I told you about. Instead of pinching layers together with your
fingers to merge them, you can simply group
them and then tap flatten to turn the whole
group into one single layer. And now we will duplicate
this layer four times, swipe to the left, Duplicate, Duplicate, swipe and doblicate. Great. Now we are going to start working on
the first layer. So tap on the moving tool, set it to uniform and
don't forget to turn on the snapping magnetics and
all the options to the max. And let's start
shifting our layers. So for the first layer, we will drag it from the bottom right to the top left until it snaps perfectly when
you see the blue lines. Great. What about
the second layer? The second layer goes from the bottom left
to the top right. And make sure that you
snap everything perfectly. The third layer
will move it from the top right down
to the bottom left. And the last layer, the fourth layer goes from the top left down to the bottom. Great. So keep adjusting
until all four pieces align perfectly in the center to form one seamless square. And just like that, we have transformed our pattern
from a regular one into a seamless pattern with zero effort and 100% success. The pattern is perfectly clean. No white gaps, no
misaligned edges, no half flowers
sticking out anywhere. Everything connects
smoothly and with no gaps, which means you
officially nailed it. Now, let's have a bit of fun and pretend that our fabric is
ready to be sent to print, and we already know the measurements we
want for our fabric. So we'll start preparing it. And first thing to
do is we're going to merge all the layers together,
including the background, so I'll move the background
layer to the top, then merge it with the pattern, so the whole design
becomes one colored unit. Now, tap on at once, choose Cuppy, then head
back to the gallery. From there, we will create a new canvas and set the
units to centimeters. And let's imagine our fabric is maybe 50 centimeters wide, and I don't know, maybe 75 centimeters long. For example, head on, and this will be the
layout of our fabric. Okay, now swipe down with three
fingers and choose paste. So now you have
your fabric here. I mean, our pattern in
place on the fabric. And drag it all the way
up to the top here, making sure it's aligned with
the edges of the canvas. Then duplicate it and drag the
copy down here and connect them together. Let's zoom in. Look at the pattern. It's lined perfectly. It's matching nicely. There are no weak spots at all. There isn't a single white line showing between the
pattern blocks. So we did a great pattern. Now, let's merge these
two layers together. Duplicate the merged
layer and start dragging it again
until they meet. And I think this is good. But let's try to zoom in
so we can clearly check if there are any gaps
or misalignments and connect them
properly like this. Da da. Now our fabric
looks like this. We can repaint the
process again, and that's what our full
fabric sheet looks like. Now, let me tell you something. Some factories require
you to prepare the pattern stack according to the exact fabric dimensions, while others might say, just send us the PD and we will adjust it to our
fabric size ourselves. So yeah, this is how our
final fabric sheet looks, no gaps, no white
lines anywhere. Which means you
have successfully created the pattern and turned
it into a seamless one. Now, let's talk about how to create mockup and
procreate without using Photoshop and
also the saving options and when do we use them?
8. Saving methods: Now let's talk about the most
important saving formats. And after that, we
will talk about how to create a mockup in procreate. Let me go back to our main
pattern that we created, and let's talk about
the saving methods. So tap actions, the
wrench icon, then share. Then we have share Image, which means it will
save only this picture, and I can save it as
PSD, PDF, GPG, PNG. These are the most important
formats we will use. Or you can do share layers, which means all
the layers will be saved as a PDA or PNG file. Let's talk first about the PSD. This format saves the
file as an open file. It means all the
layers that we drew stay exactly as they
are, and like that, I can open the file in
Photoshop and edit it easily and make designs or
mockups in a professional way. Now I press PSD as
the saving method. After that, I choose to save in my files and I start
naming it anything. For example, I name
it pattern PSD. Then save. Okay, what is the second format? The second format
I have is the PDF. This format makes
the file closed. It means no one can
edit the layers, and that's why if you
are sending a design, a pattern or any drawing you made to a printer and
you want to print it, then you send it as a PDF. When I choose PDF, options will appear for me. Do I want to save it as good, best or better quality? I usually choose best, and I will also save
it in my files, and now we will name
it PDF and save. The third format is the image
formats like PNG or GPG. We use this more
when we want to make a up or if you are going
to sell your pattern line, some websites want the file we are selling to be a
PDF and also an image. So here I save it as a PNG. And honestly, all the websites
where I upload my work, I upload it as both
a PDF and an image. Now we talked about the
most use saving formats when working with patterns or anything we will print later. Okay, so how do I make
a lookup on Procuate if I don't have Photoshop or don't know how to use Photoshop?
9. Mockup: Now, let's learn how to make
a mo upp and procurate. But first, what is a mockup? It's simply a way to showcase
your design on a product. For example, I can use my
pattern on different products, fabric or even solid items. I want my client to see how the design will look on a hat, a bed sheet, a phone
cover, or anything else. So if you plan to sell
your pattern online, having mockups is very
important for marketing. Now, how do we choose
the right mockup? First, you need to know what
product you're printing on. Second, choose a mockup with
a white or light background. Don't choose dark colors or mockups that already
have a design on them. So download yours and
let's get it started. Okay, now we'll go back to
the gallery and we will insert our Mup either
by tapping photo, if it's in my photos or import if it's saved
inside my files. Mine is in files, so I'll tap import, and choose the moup I picked. Once I tap it, it gets imported
straight into the canvas. Now, we're going to
use the Select tool, and we will make sure
it's set to freehand. And what are we going to do? We will select the exact area where we want to
place our pattern. That's where we
will apply the up. So we are going to select the bit cover area and take your time while
selecting no rush. I'll carefully outline the area that I want to apply my pattern. And of course, you can
do that on Photoshop, and it would be much easier. You could simply use the Magic Wan tool or
Quick Selection tool, select the bitcver and
drop the pattern by then. So yeah, if you are
working on Photoshop, you can do this
part on Photoshop, and I'll tell you in a
second what to do next. Let me move a bit faster now, and I don't want you to rush. No rush. Take your
time. Don't do like me. I just want to go faster, so I don't waste your time. And you already know
the concept of select the area that we want to add
our mockup, our pattern in. So once the selection is closed, we will use three
fingers and swipe down. Then choose cut and paste. So what happens now, the bed cover is cut out and
placed on a separate layer. Let me turn off the snapping
here so I can move freely. Now we want to bring in our pattern so we can place
it inside the bit cover. So we'll go back to the gallery, open our pattern canvas. Whether it's the
main sins pattern or the large ssparated one that
we did, it doesn't matter. For me, I'll go with the
original source, and from here, I'll go to layers, tap once on the layer,
and choose Copy. Then we will return
again to the gallery and open the canvas where
the moo cup is placed. With three fingers,
we will swipe down on the screen
and choose paste. Now, we'll start
adjusting the pattern so it covers the entire
bed cover properly. Great. So now we'll
go to layers, tap on our pattern layer. And choose clipping mask. So clipping mask
means that this layer will only appear inside
the layer beneath it. As you can see, there
is an arrow here that point to the
layer underneath it. So the pattern will only show inside the bed cover
we cut earlier. So it looks like this for now, but let's make it
look more realistic. Right now, the pattern on
the bed cover looks flat. There is no lighting or
shadow areas to fix that. We will go here and change
the blend mode to multiply. You do the exact same step in Photoshop after placing your
pattern inside the mockup, switch the layer to multiply, so the shadows and folds of
the fabric show through. Like here, you can see a
slight crease in this area, and here is another
fold showing through. Of course, if the fabric Mup
has more wrinkles or folds, it will look even
more realistic. And that's it. This is our
bit cover Mup and we're done.
10. Ending : That's it. I hope you
enjoyed this course, and you found it useful for you. I'll be waiting for your
opinion and your project, see you in a new course. Bye.
 Binoo's Studio, Artist & Illustrator