Paper Wrapper for Books: A Beginner-Friendly Bookbinding Project | Ido Agassi | Skillshare

Playback Speed


1.0x


  • 0.5x
  • 0.75x
  • 1x (Normal)
  • 1.25x
  • 1.5x
  • 1.75x
  • 2x

Paper Wrapper for Books: A Beginner-Friendly Bookbinding Project

teacher avatar Ido Agassi, Book Artist

Watch this class and thousands more

Get unlimited access to every class
Taught by industry leaders & working professionals
Topics include illustration, design, photography, and more

Watch this class and thousands more

Get unlimited access to every class
Taught by industry leaders & working professionals
Topics include illustration, design, photography, and more

Lessons in This Class

    • 1.

      Intro

      0:49

    • 2.

      Tools & Materials

      1:20

    • 3.

      Creasing & Folding

      8:35

    • 4.

      Cutting The Shape

      6:30

  • --
  • Beginner level
  • Intermediate level
  • Advanced level
  • All levels

Community Generated

The level is determined by a majority opinion of students who have reviewed this class. The teacher's recommendation is shown until at least 5 student responses are collected.

144

Students

2

Projects

About This Class

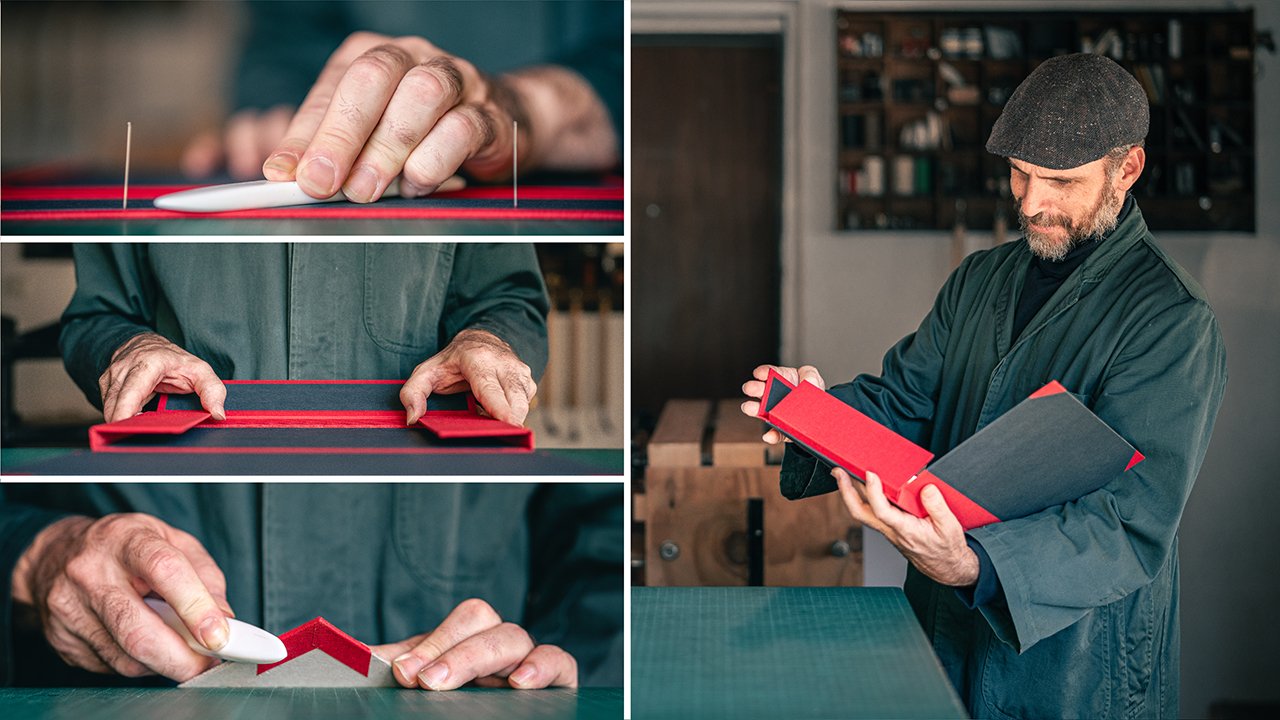
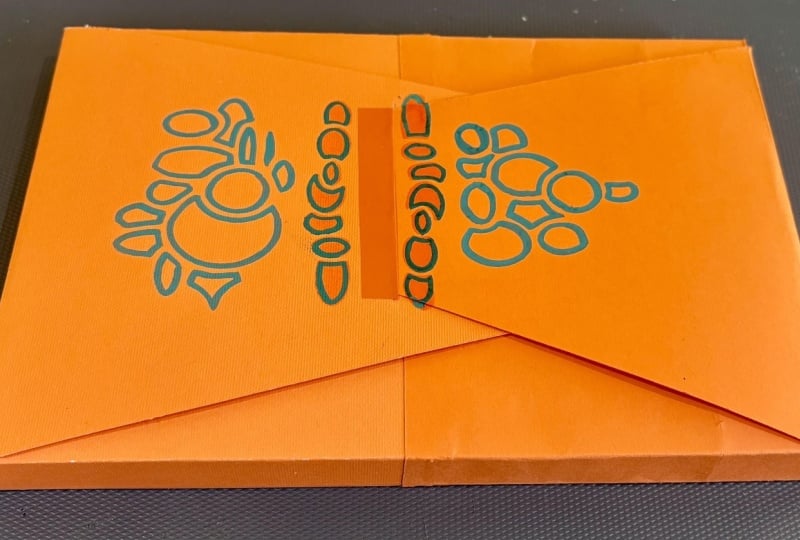
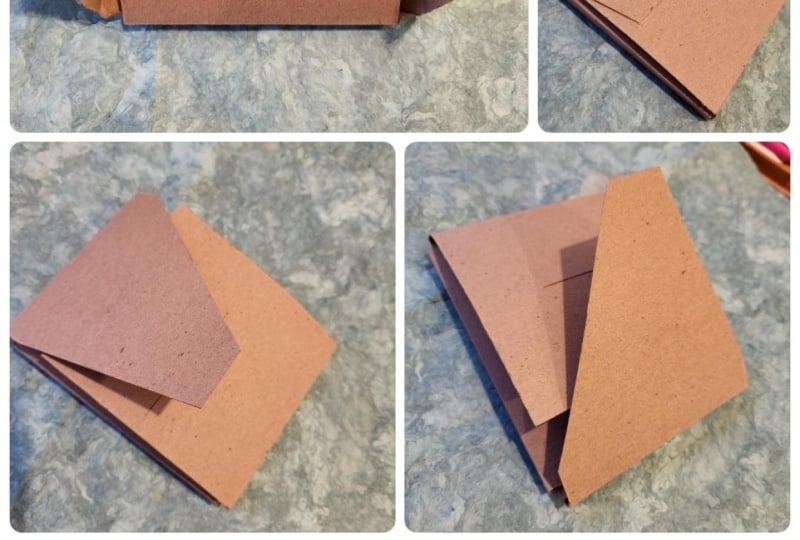
In this class, you’ll learn how to create an elegant Paper Wrapper that protects your books. Using simple tools and sturdy paper (200-350 gsm), I’ll guide you step by step through measuring, creasing, folding, and cutting to build a custom-fit wrapper that can be adapted to any book size or thickness.

This project is perfect for bookbinders, artists, and craft enthusiasts who want a beautiful yet practical way to protect single books or even small sets. 

You’ll discover how to work with precise measurements, make clean folds without special equipment, and add clever design details like slots and flaps that keep everything secure.

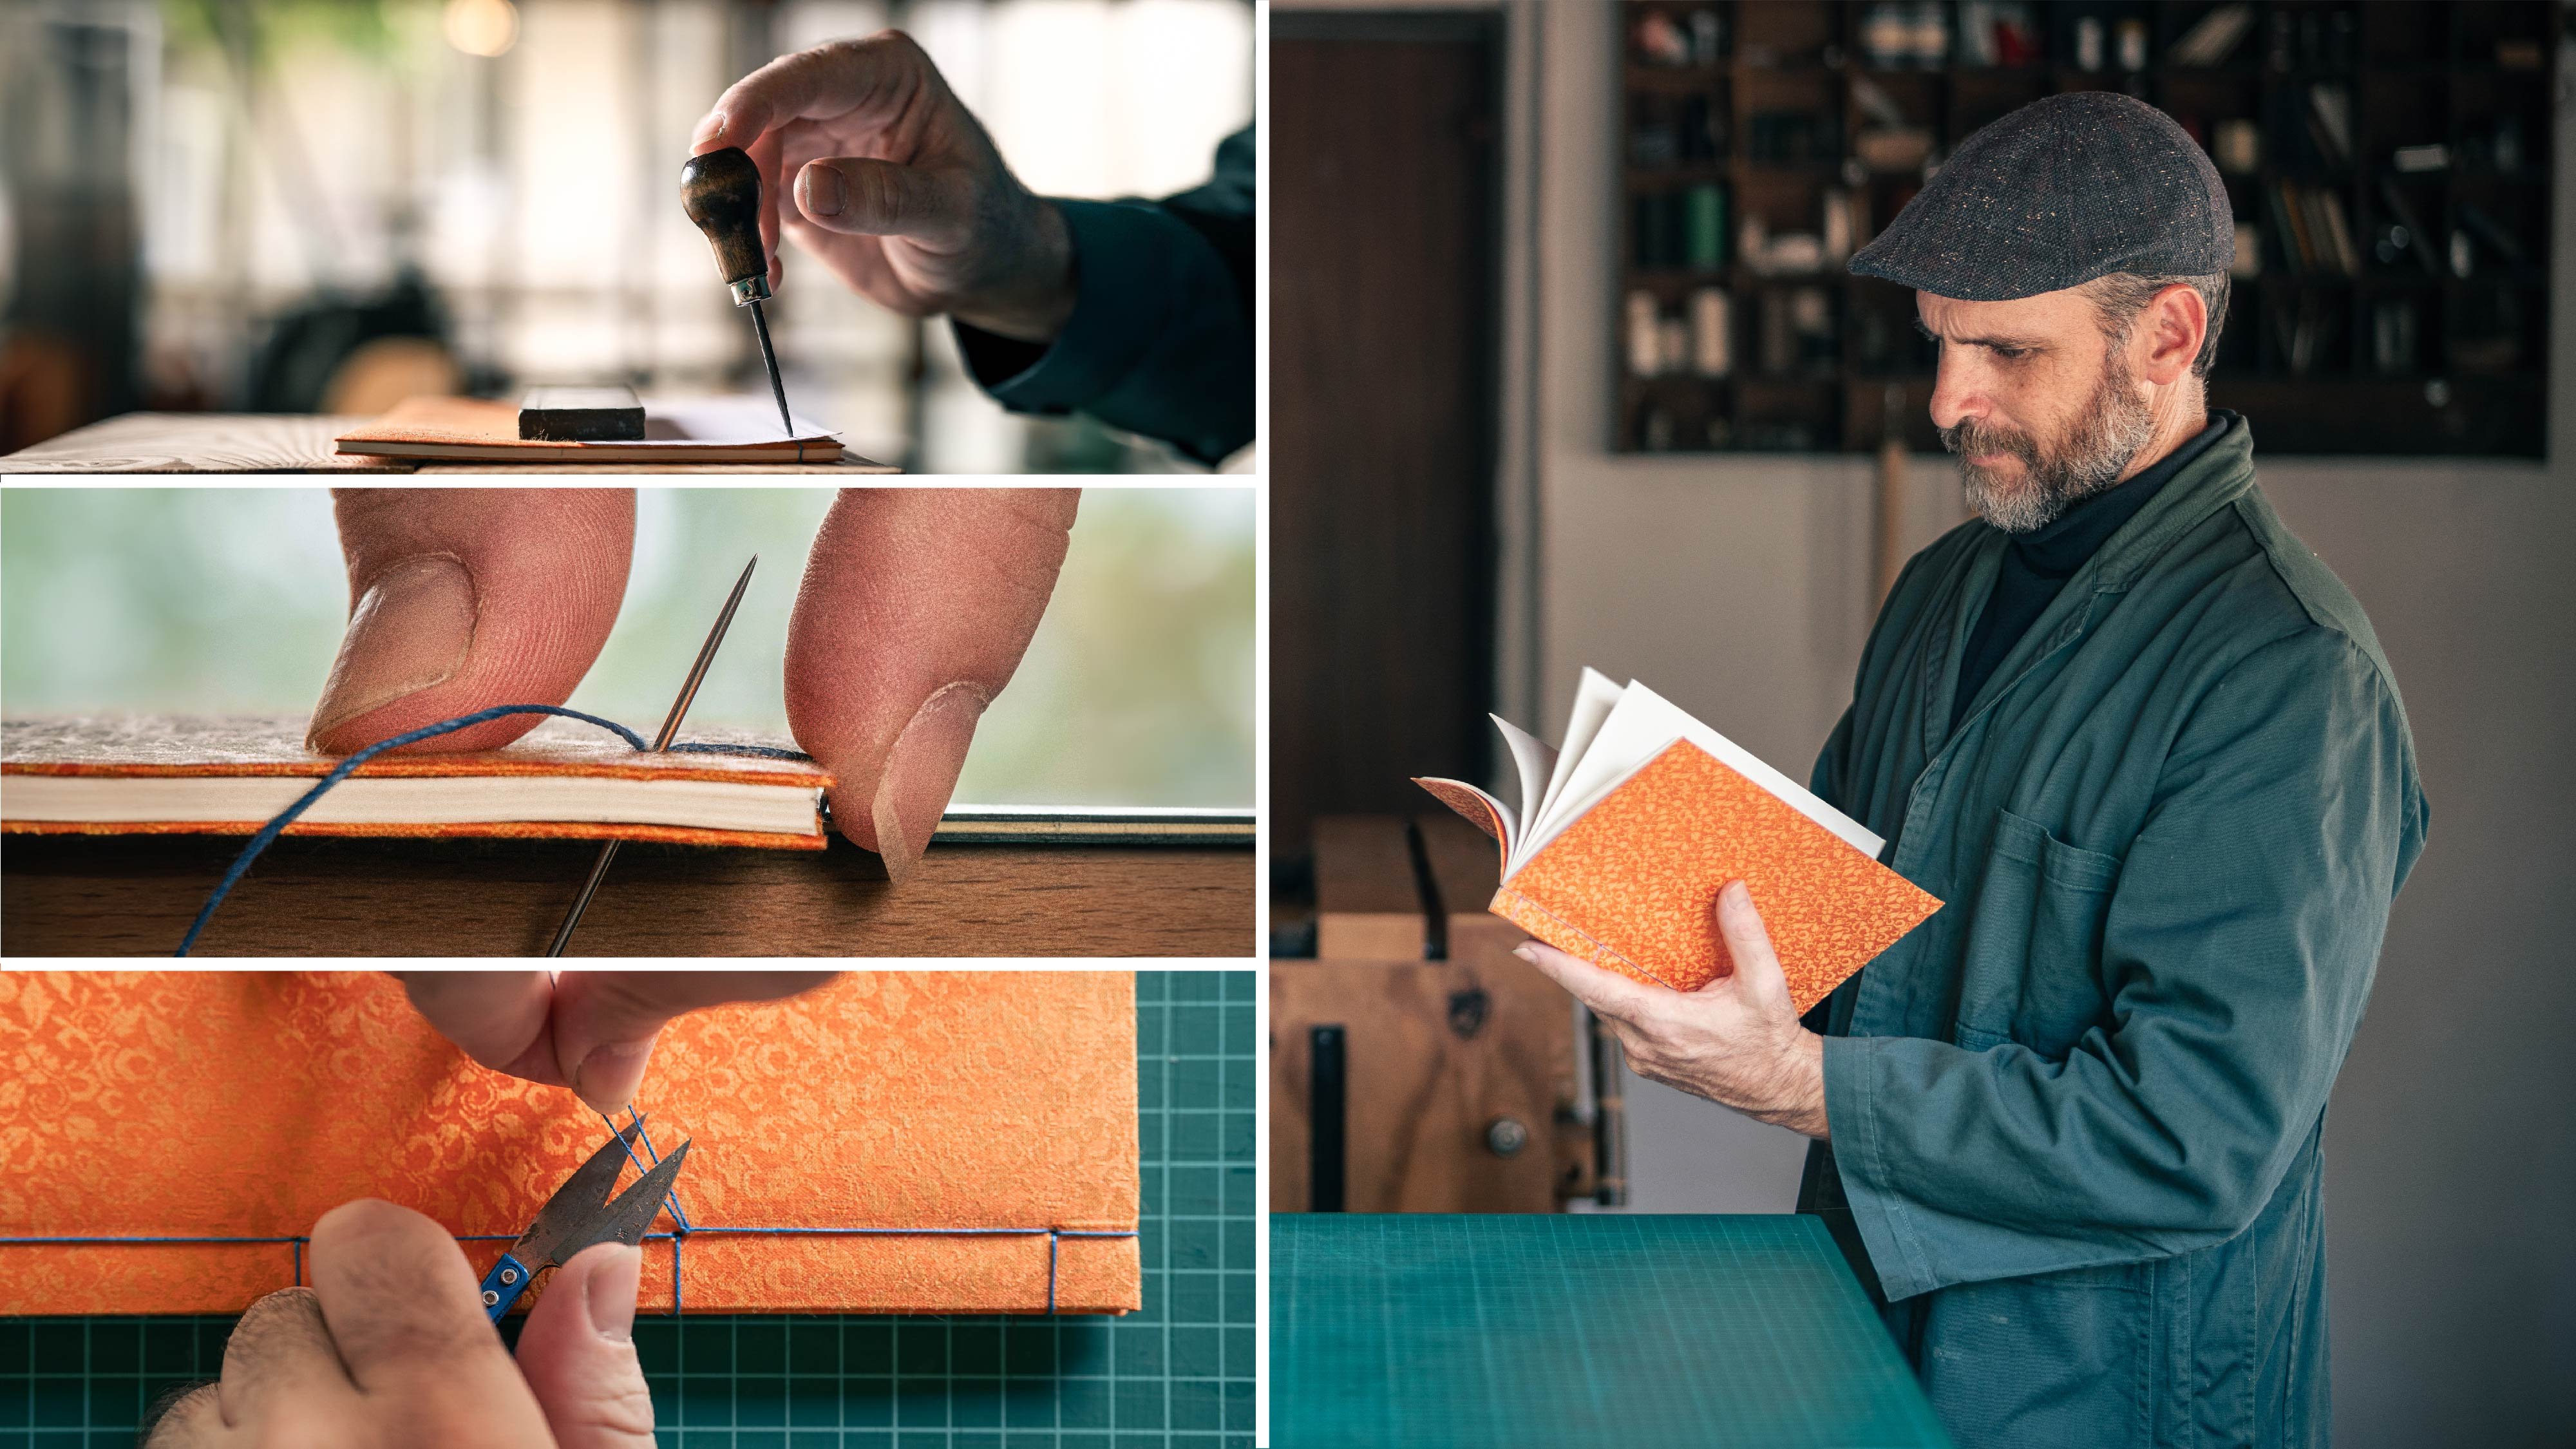
This class is also linked to my previously published class on Making A Japanese Binding. If you’d like to learn that binding style and create a handmade book to house in your new wrapper, you can find the class Here

By the end of the class, you’ll have the skills to:

  • Design a wrapper for any book size or thickness
  • Use basic tools (or household alternatives) for creasing, folding, and cutting
  • Add thoughtful finishing touches that make the wrapper both functional and elegant

No previous experience is required, this is a beginner friendly class that balances precision with creativity. Whether you’re a bookbinder, a DIY enthusiast, or simply looking for a rewarding paper craft project, you’ll walk away with a professional looking wrapper and the knowledge to customize it further.

Meet Your Teacher

Teacher Profile Image

Ido Agassi

Book Artist

Top Teacher


My Name is Ido Agassi and I am a Book Artist,

Combining the crafts of Bookbinding, Letterpress printing and Box making to create my art in the form of a book.

I have the pleasure of making books most of my life, nearly 30 years.

I invite you to join me in this wonderful journey to the world of books

Instagram YouTube

See full profile

Level: Beginner

Class Ratings

Expectations Met?
    Exceeded!
  • 0%
  • Yes
  • 0%
  • Somewhat
  • 0%
  • Not really
  • 0%

Why Join Skillshare?

Take award-winning Skillshare Original Classes

Each class has short lessons, hands-on projects

Your membership supports Skillshare teachers

Learn From Anywhere

Take classes on the go with the Skillshare app. Stream or download to watch on the plane, the subway, or wherever you learn best.

Transcripts

1. Intro: Hello and welcome to my studio. My name is Idoagasi and today I want to teach you how to make an elegant paper wrapper. For the inside, I'm going to use the measurements of a book I made in the Japanese fo ho binding class here on Skillshare. So if you want to learn how to make this binding style, I would link the class in the description. And for the paper, we are going to use paper around 350 gram. You can go down up until 200 grams and go up as you want, because we want the wrapper to be firm and hold the book. I'm going to work with this measurement, but you can also make it thicker for a couple of books. It works the same. 2. Tools & Materials: About the tool, these are very basic tools. You need a ruler, a craft knife. You need a bone folder, but you can also find something in your house like the back of a spoon or a flat head screwdriver, I could work also for creasing and a needle. The needle I use just to mark the points for tresing and also for cutting, but you can also use a pencil. I'll start with measuring the book because I want you to apply it to different thicknesses and sizes. So this book is 15 centimeters on 23.5, and the thickness is 0.7. But as I said, you can change it as the book or what you are going to wrap. I'll bring my paper The paper is already cut to 35 centimeters, which is twice the width of the book, twice the thickness of the book, and a bit of extra just for an overlap. The length is 70 centimeter, which is overlapping the whole book. 3. Creasing & Folding: I'll bring my ruler and see everything is centered. So I have 10 centimeters here and 10 centimeters here because this is 35. What I would do is bring my weight as a guide for a line, and I'm going to take a needle. This is a needle just connected to a piece of plastic and because I want the points exactly the same, that is why I'm using a needle. So I'm going to mark ten centimeter here and ten centimeter here. I'll bring my long ruler, which was hiding all the time here. I'll bring my bone folder, put it between the two dots. I'm taking my bone folder, locating it on the ruler, and I'm going to crease three times. Once. Twice. And one for good luck. I'll take another bone folder, lift the paper, and bring it to the ruler. Now I can move the ruler and let me fold it completely. Great. Now I'm going to take my ruler and measure the width of the book plus 1 millimeter more. So I'm going from the folding line, and I'm going to mark 15.1. And over here also, 15.1. Let me flip it over. I would locate my ruler between these two dots. Take my bone folder, and again, once, look that I'm moving my fingers so the ruler won't move. Take my bone folder and bring the paper move the ruler and fold it completely. Now I want to measure the thickness. So I'm going to take my ruler and mark 0.8. And here also 0.8. Flip it over, take my ruler, locate it between these two dots. Move the ruler and fold it completely. Great. Let's do it to the other side. I'll measure 0.8 and 0.8. Take my ruler and I'm going to make the crease. Fold it completely. Take my bone folder and make the entire fold. Great. Now, let's check that it worked. Let's put the book inside and see it fits nicely this side and this side. Great. Moving on to the next stage, I want to find the center over here. So I will measure it's 24. This is 22.5. So I need around 23.2 here, 23.2. Yeah, that's good. Okay. So I'll take my weight. And I would measure 23.2. One mark, and another mark, and I'll bring smaller ruler. I'll bring my bone folder and make a crease. It's folded completely. Now I'm going to measure the length of the book. So we need 23.6 23.6 twice. Take my ruler between the dots and run my bone folder. H. We fold it completely. Now I want to measure after the fold, 0.9. So this is 0.8, and this is going to be 0.9. One mark 0.9. Another mark. I'll bring my ruler, put it between the dots, and go once, twice, three times. Folding it completely. Let's move on to the next side. I'll measure from the fold, 0.9 and 0.9 here. Put my ruler between the dots, and I'm going to make the crease. Fold it completely. Great. Let me check. It works. Okay, it's working. 4. Cutting The Shape: Now, I'll take my craft knife. What I want you to do is cut from the inner fold in each side. So I'm locating the ruler and cutting the inner fold here. But the outer fold here, I want to leave a triangle here. So I'm going to cut this and here I want to cut until this line, not more. Okay? Don't get confused. So up until here, let me do it to the other side. In a line up until the outer line here. So stopping here. Great. Now, I'll cut this one. And from the two cuts here, I want to leave a triangle. Let me make one here. And between these two dots here, I'm going to leave a triangle. Great. Now, let's do this one. Cutting from this line. And I want to cut the triangle. Now, I'll cut here and the triangle. All I've got left to do is cut this one here. Great. Now before we check, everything folds nicely, what I'm going to do is take my bone folder and crease the triangle like this inside. One, two, three and four. Let me check. Everything is correct, folding first, this one, and then this one. Now I'm taking my fingers and just inserting the triangle, and I'm going to fold this. And I'll use my fingers here and fold this. Okay, everything fits. Now, let me put the book aside. What I'm going to do is take my ruler and mark 3 centimeters from the fold over here and 3 centimeters from the fold over here. Great. Now I'm going to measure from here from this side 4 centimeters. And from this side, 8 centimeters. I'm taking my ruler and cutting between the four and the three taking out material. Like this. And now, between the three and the eight, I'm going to cut also. On the other side, I will mark 3 centimeters from the fold here, and 3 centimeters from this point. I'll take my ruler, put between the two dots and cut About the side, you can leave it straight as is, or you can also give it a bit of an angle if you want. Now what I'm going to do is place the book inside and place a leftover piece so I won't damage my book. I'm going to close both sides. Close this one and close this one. And I'm going to measure 12.5 centimeters from the edge here and mark on the lower level here. And I'm marking here 12.5. I'll open it, and I'm going to cut between these marks. Now I'm going to close it and take an insert tone in slot. Let's see everything fits. Beautiful. Let's open it. I'll take out the piece of paper. Of course, you can play with other designs and other shapes. But the importance is after you make the shape, you measure the two points and cut just a little bit extra. So when you insert the ton inside the slot, you want to cut or tear the paper. So that's it for this class. I would love to see what you have made. So please share it with us in the class projects. I promise to see each and every submitted work, answer questions if you have any. Also, if you can write a review that helps me tremendously and also help others find this class. So thank you for being here and for watching, and I'll see you in my next class.