Transcripts
1. Palette Knife Portraits: Loosen Up & Paint with Freedom: You, me, and a palette knife. We are going on a little date. Together, we will
spend a little time in our day to create quick and
loose little portraits. We're going to let them
be wonky as usual, and we're just going to
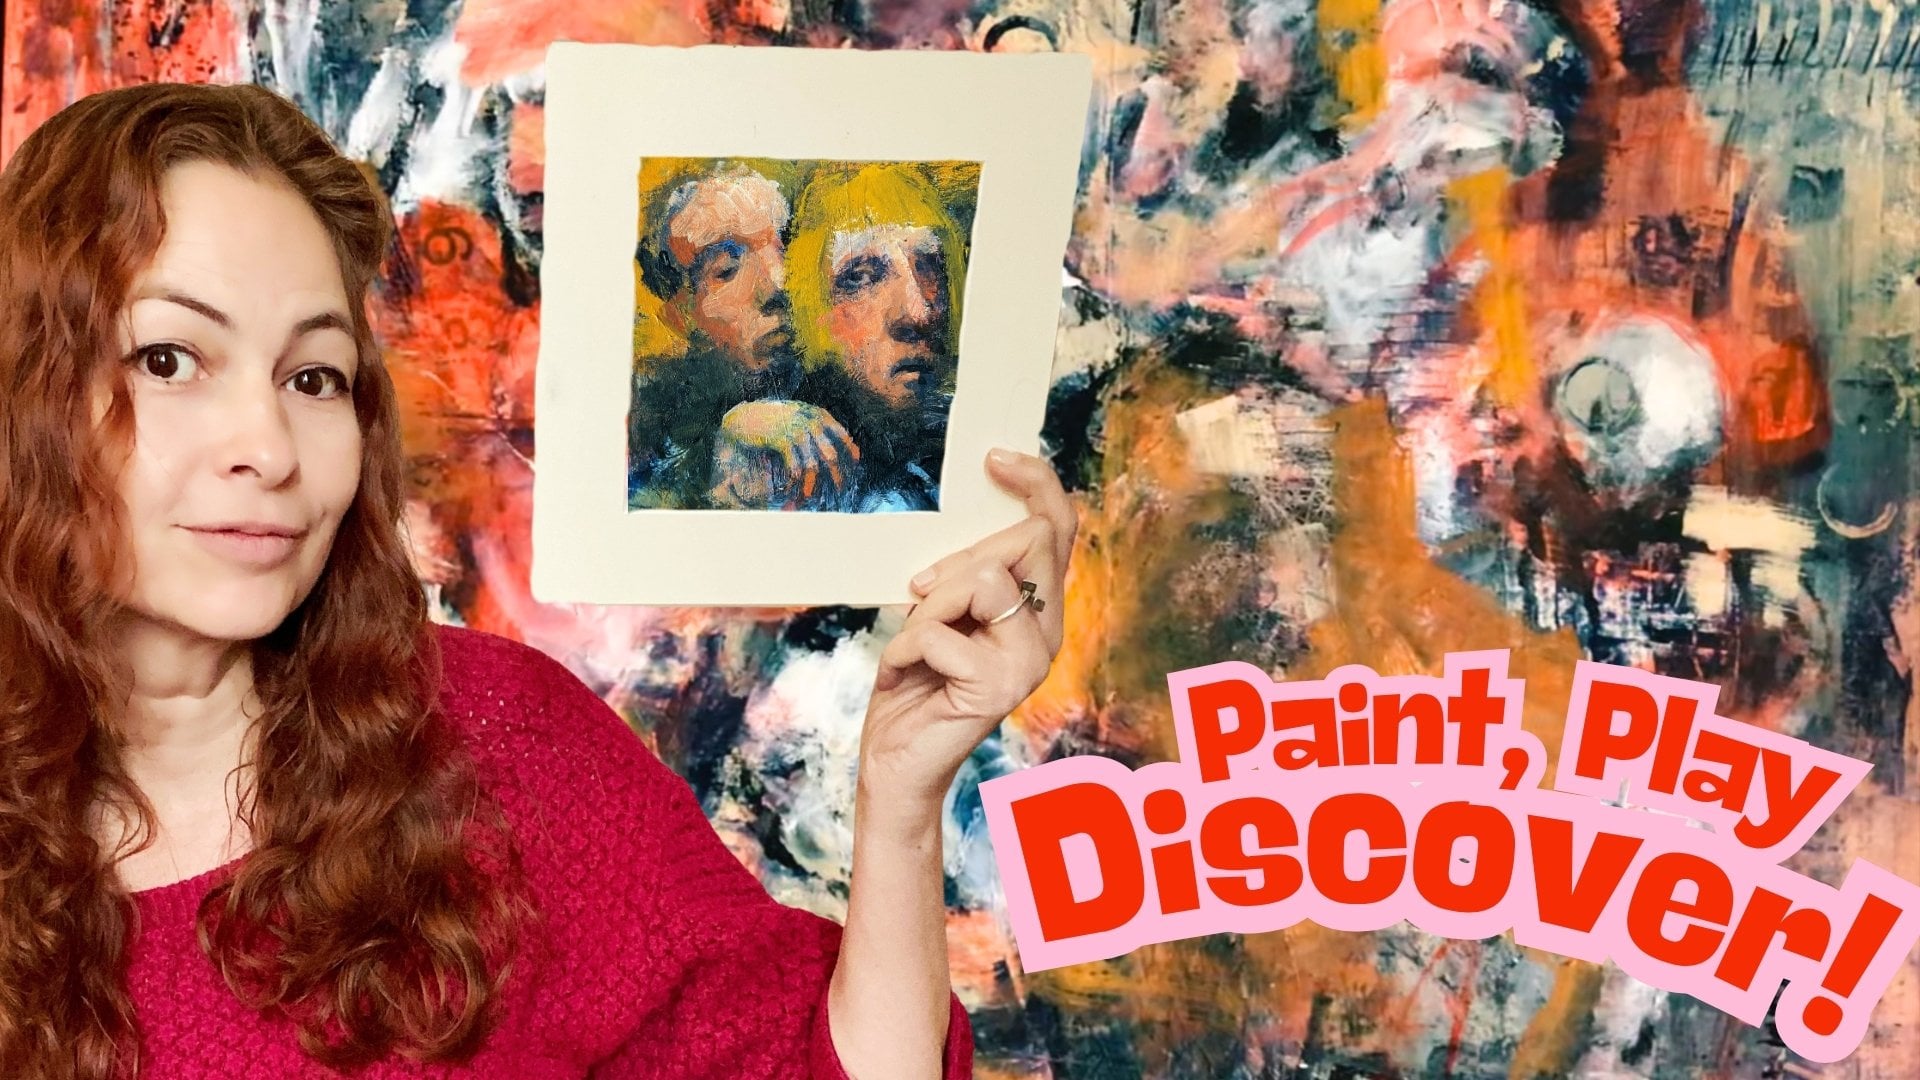
have some fun with it. If you don't know me yet,
my name is Journey Marisa. I am a Dutch art
teacher living in Antwerp with a background
in art therapy. I use my knowledge
to convince you guys that art making is not
as scary as you might think. I'm a huge fan of quick
and fun exercises. That focus on very
specific art goal so that it won't be too
intimidating or overwhelming, just going to have some fun. And this class is no different. In this class, you
will learn how to work more loosely just by giving
up a bit of your control. That's what this
little thing is for. If you don't have
a palette knife and you still want to join in, I applaud you and you can
just use your finger, because it's big and stumpy and you won't be able
to go into details. This class is perfect for any artist who is
willing to go on little adventure and experiment with new ways of creating. So if that sounds
good, then let's go.
2. Art Supplies and Substitutions: For this class, you
don't need much. This is very handy to have. So black mixed media paper. If you don't have that, you
can paint your paper black, but this is easier. Less time consuming. Of course, some gesso,
regular white gesso. One of my favorite art supplies. I use this rather than acritic paint
because this is cheaper. If you don't have gesso or you would like a thicker
consistency, you can use heavy body acrylics. This one is way more liquid. That's it, then
you're good to go. Like I said, if you
don't have this, then use your finger. Going to do a quick
surprise demonstration. Just put in a forehead of
some sort and a bridge of the nose and there It's a very ghostly vibe
that you're getting. I really like doing
it as well. There. Okay, but enough of that, let's take our palette
knife and go to town. Okay.
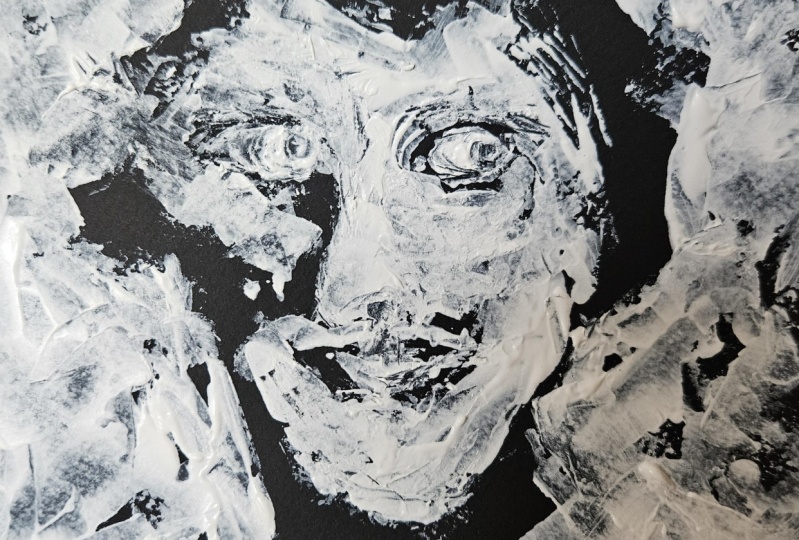
3. How to Create Palette Knife Portraits: Let's work on this guy. This is an old mugshot and I
thought it was interesting. I'm starting with his
forehead right here. Something like this. Then I'm going to try to get his nose in there,
something like this. There. Maybe a little bit longer going
around those eye sockets. Let's see if we
can give him a bit of a background because
that helps as well. We're going to scraping
in those negative shapes. Again, it's not about
getting it absolutely right. If you're looking at your
quickie port and thinking, Oh my God, this is going
nowhere, keep going. Just keep going. It
will come together. It will be interesting. You will find the beauty of imperfection, something like this, maybe. This will teach you
about working loosely. And we need to mess around
for a bit, you know? And when we can do it in these little ones where there's
no pressure, eventually, we will do it on our journal
pages or the canvas. There. I'm going to let
me see. What can I do? Because the eyes will
be a little bit tricky, maybe I can try them. You can always close your
eyes if you want to. But I'm going to try and put those whites
of the eye in there. Something like this. You have to not mind that they're going to look
a little bit funny. Because we're working
with a palette knife here. This is good for me. Maybe he has a little bit
of highlight right here. Just a tiny bit. There.
That's cool, right? And anyone can do this. Just try a couple of
them in a row, you know, because you have to find
your groove to keep going.
4. Give Yourself Time to Learn: Before we begin, let's have a little chat about
allowing yourself to take the time to learn because I think I
speak for a lot of us, you're truly included that we are very harsh on ourselves. And if we do something
that we don't like, we're going to make
that very personal. We're going to tell ourselves
that we are not an artist, that we can't do anything. And that's just Nonsense. Let's leave it at that. Um So, yeah, especially when you are choosing a new and kind of
complicated reference photo, just do your best to catch the essence and only try to observe the
lights in the darks, and that's it, you know? You don't even have
to get it right. Just take the time to practice, and that is just
the first attempt in a little series, you know. We tend to get better
at observing overtime. So, let's take our time. And more importantly,
be kind to yourself. Now, let's get back to
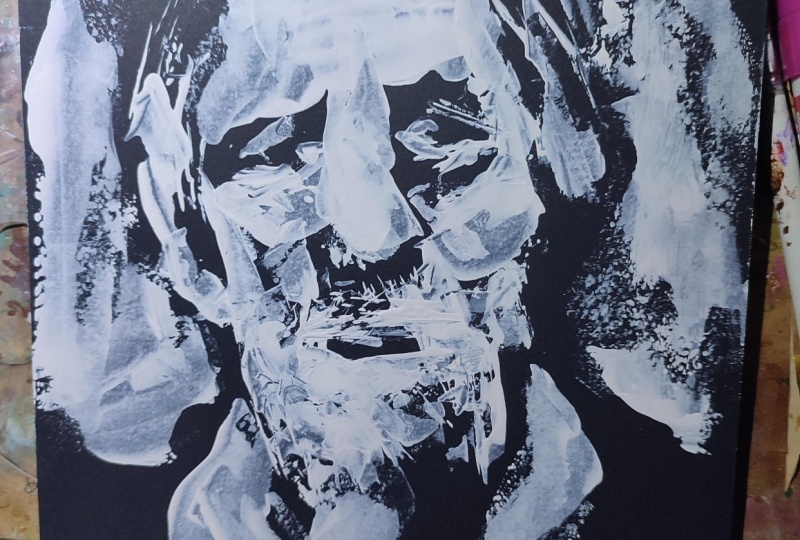
business. Let's see. This one is challenging. Um, but we're going
to do it anyway. Okay. So something like this, we're tackling the forehead, trying to get in those angles. I'm going start with a bridge
of the nose because that will allow me to kind of start to see the
rest of his face. It's a little bit longer
than in the reference photo. Maybe I can just bring this
down a little bit there. There. Okay, let's see. So there is a little bit
of white next to his eyes. There's something like that. Put in a little bit
too much of the light, but we're not going
to worry about that. If you think this reference
photo is interesting, you can try it a second
time or a third time. It can be his own person.
Something like this. Okay. Observe space around the figure. Then you will catch
his body language. Let's see. Something like that. So it's nothing like
a reference photo, and it's still
pretty cool, right? There. Yeah, I like him. Let's try him again,
and then I'll show you how different
they can turn out.
5. Give Yourself Permission to Go Rogue: Here I am again. This time, I want to talk to you a little bit about giving yourself
permission to go rope. A lot of frustration comes
from trying to get it right, get stuck in our perfectionism. So why not make a deal with ourselves that we can just take the reference photo
as an inspiration and we can change up anything
that we want to, you know? There's freedom in that.
So Let's keep that in mind as we are taking another shot at that
same reference photo. Let's try this again. I'm going to put him
off a little bit more towards the left because I want to get his
shoulder in there. Okay. Et's see. We're going to put in a nose. Their something like that. Okay. A little bit more forehead. Sometimes you can see it
after you put in the noes, you know, that you need
a little bit more. Okay. Now, a little bit
too much. That's okay. Okay. Because we're still trying to understand this face. It's going to become a really
different face this time, and that is okay, you know? Let's make him a little
bit goodish. Why not? And I can show you that even though it's not looking anything like the
reference photo, and it's so imperfect, it's still going
to be pretty cool. Because I really want to convince you guys
to give this a try. Just wing it like
I'm winging it. There. Now I'm going
to put in a shoulder. Cool. You can go
around that figure. M him disappear into the
background a little bit. Whatever, you know? Whatever it takes to get something
that's fun and free. I. The shoulder is a
little bit higher. Something like that. You
can really get rid of that. If you think that
head was too weird, you can just get rid
of the black entirely. You can try to just scratch into the paint if
you can still do it there. It's a little bit
too thin maybe, but you can go over it again. Maybe something like this. You can still just look at your portrait and see
what it might need. No. Maybe I want this to
be a little bit more. I think this is a pretty
cool quick portrait. Even though I messed
up about everything. If you're looking for
realism or likeness, then I did a pretty bad job, if that was the
goal, but it wasn't because we just want to do
quick little portraits, have some fun with
our palette knife, and learn about painting loose, we can intensify the
white in the background. It also has an impact on on the portrait.
You know, experiment. And the ones you
like, put them up in your studio so you
can see them often. There. Well, I had fun. I
hope you will join me and just do a
whole bunch of these. You'll learn so
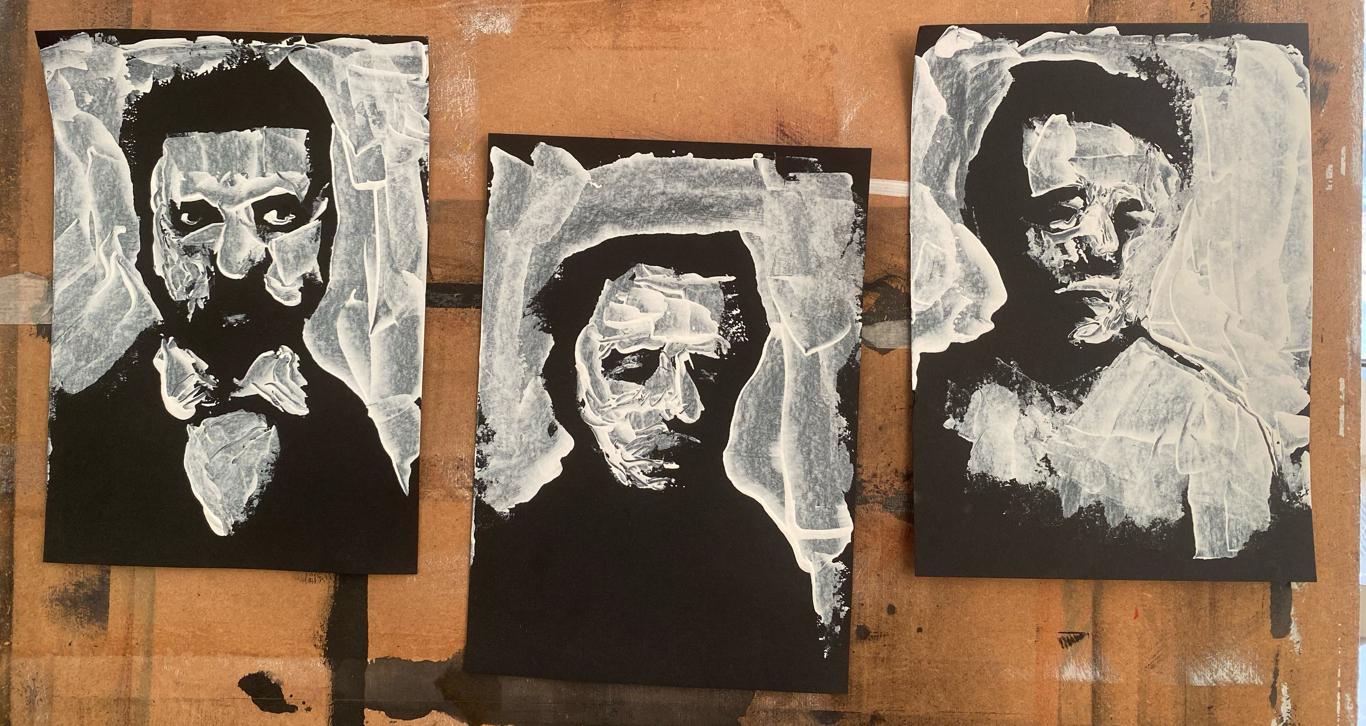
much, I promise you. And take a look at these two. They are wildly different
from each other. Even when we use the
same reference photo. So go ahead, take
your reference photo and do about three or
four portraits from the same one and see how many different portraits you can create and you can
pick your favorite one, and maybe you can use that for either a whole new project or you can do some mixed
media on top of it, have some little bit
more fun with them. You know, keep playing.
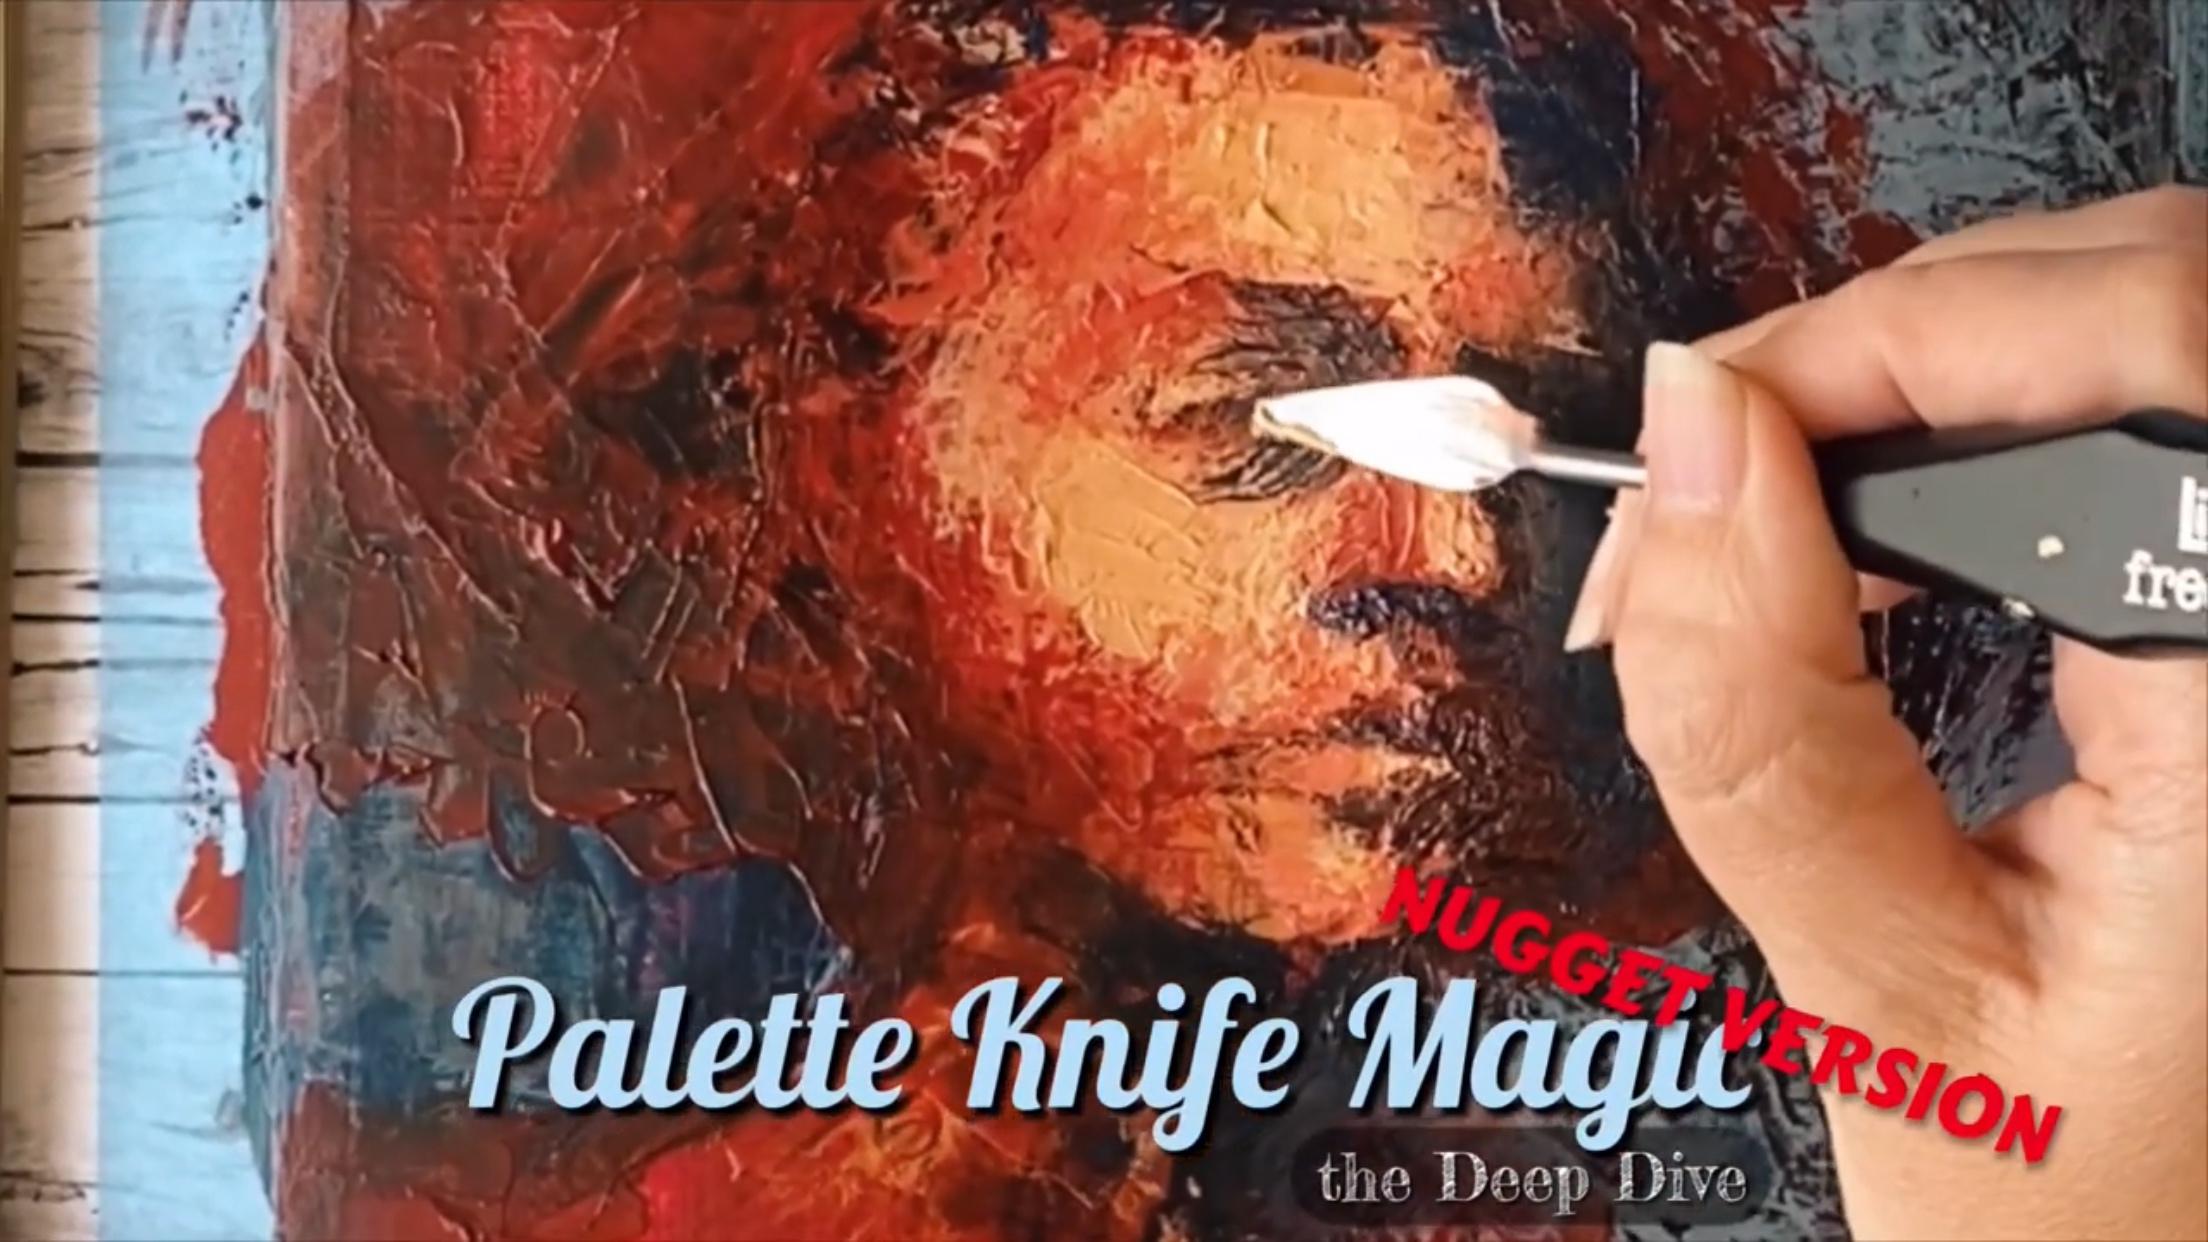
6. Your Turn! Let's Play Hard!: I hope you enjoy that. For the class project, I just want you to play
and have fun, you know, exactly as I did or
maybe in your own way. And if you feel
really adventurous, then you can try to pick a couple of colors
and just layer them on top of each other
while you are observing your reference photo and
see where that takes you. And if you want to, you
can watch me create this colorful portrait
from start to finish. I will put the link
in the PDF you can find in your
class resources. And if you would like to go on another little art adventure, then check out my other classes. And don't forget to
follow me because that's the way you will get an email whenever I
publish a new class. Yeah, that's about it. And thank you guys for the reviews.
It really helps me. I creating.
 Jerney Marisha, Making Art Fun Again