Transcripts
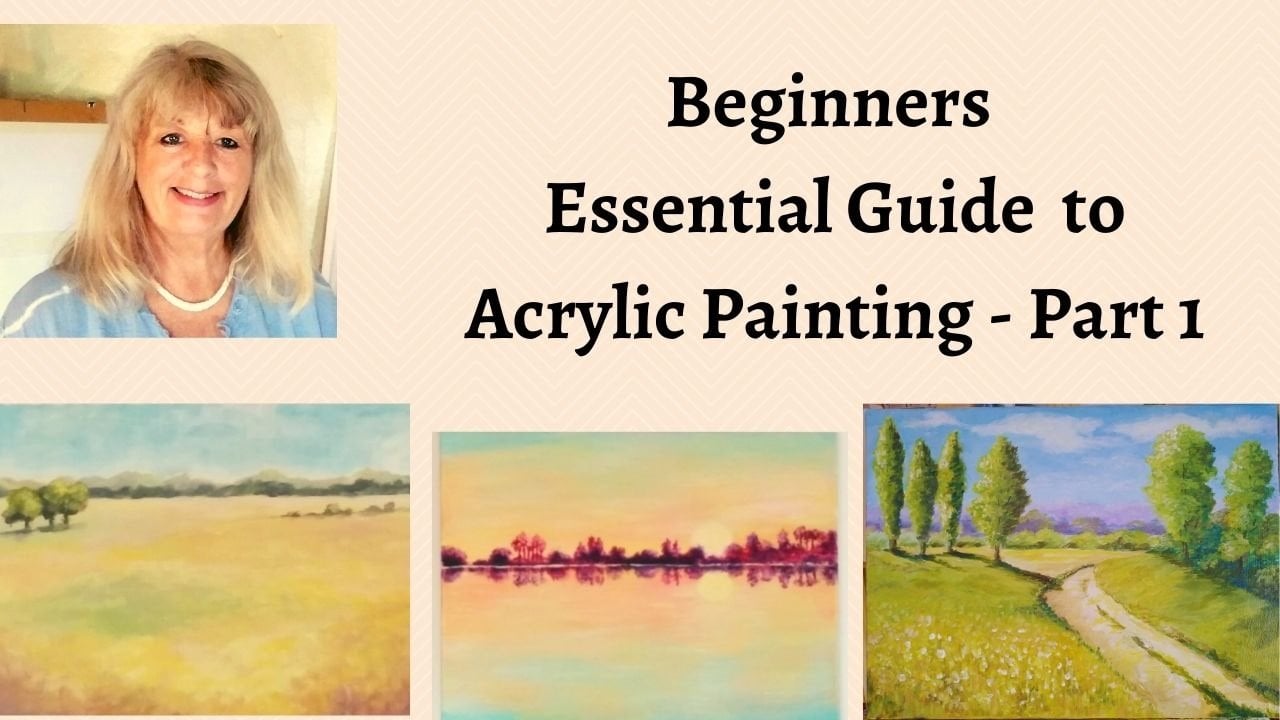
1. Hello and Welcome to Painting a Lily Pond in Acrylics: Hello, and welcome to this class on painting a Lily Pond in acrylics for beginners. I'm Joy, and I'm an artist and teacher and had been painting a very long time and teaching a very long time unit. A painting to me has been a lifesaver. I started painting in my early twenties after a very traumatic situation happened. And really it was a therapy to me. And, you know, it took took me over and helped me refocus on new things. And I've been painting ever since and started teaching oh, 20 years ago. And I love it. It's wonderful to see people starting to pay him to Alan enjoying edge and maybe, you know, helping them or maybe helping you get over different situations. So today it's been inspired by Molly painting a Lily Pond. So I'm going to take you stage by stage two, how you can paint this lovely picture and be something that you're really happy with. So without further ado, let's get started.
2. Materials : Just before we start, I'm just going to show you some of the paints that I I'm using. Now you can obviously use your, your own acrylics. I've got different ones here and different makes, but I'm really using a lot of the ultramarine blue. This is by a company called the halo. And because I'm in Spain, and this is a very, very popular make. But also Amsterdam do a whole range of lovely colours. Titan. So I've got ultramarine blue, I've got Prussian blue and solo blue. So I've just got those. If I want to make some, I've obviously got some white, have a nice big one here of titanium white and some yellow or cra and some cadmium yellow. Now you know, you might get a nice little set of acrylics here. Some that I had an acetylene is little ones here that I have here. Which would be great. So you can, you know, you can choose what you want. And mainly using this sexual Gesso brush, which I mentioned in the video. I use lots and lots of these because they're, they're really lovely. You can get a straightedge, but you've got also a very good covering. And I did mention that I use some glaze. And again, I use the Valais WHO glaze, which I mix instead of water, but you use water as well. So that's just gives you an idea of some of the materials that I use. And then obviously I have a canvas and you can choose any canvas size that you like. And it's completely up to you. And you can get campuses really inexpensively. So those are your paints. And let's get going.
3. Blocking in Colour: So it's important to get to organize before you start. I prepared my canvas here. I put a base of gesso, white gesso on it. And then I've, I've actually put a layer of ultramarine blue just too, give me a foundation for starting it. So now I sort of slowly start to build it up and putting just layers on with some glazes. Now you don't have to use glaciers, you can just use water that it gives a nice effect. If you have a Glaser very easy to get and you use it as if it was water, but it gives a lovely consistency to the acrylics. I'm sort of blending atten, and using this lovely Gesso brush, which is small brush. And it's just kind of easy and nice to use. Not expensive and, and lovely to just be free with the painting. So I'm just adding some whites and blues. And how I'm feeling about this water. You know, it's interesting because you can, you can get in the zone with your painting. Everything else sort of disappear. And you just kinda get completely focused on what you're doing. And I imagined myself looking at the water, feeling the color of it. I'm using some ultramarine blue here, but I'm also mixing may be a little bit of failover blew into it or Prussian blue. But you can use whatever colors that you like. And you're building up the layers. As you go, very sort of easily relaxed. You just keep going over it and you just feel into it. Feel as if you're looking at the water, how it's flowing. And it's lovely using acrylics because you can do so many different things within it. You make a mistake, then it really doesn't matter. And you can just kinda keep going over it till you feel okay. So again, I'm just blending in the whites and the blues. And you feel free to actually experiment with this for yourself. And providing the paint stays wet, damp, you can still blend it and you can add the color as you go on the actual canvas. You don't have to mix all the colors in. But I kind of talked to myself as I go and I'm thinking about how, how that water is, how the reflections are, you know, and it's not just the surface of the water. Kind of think about it as a body, you know, it's really heavy and you don't know how deep this ponders. So you kind of have this conversation going on with your, in your mind. It's about really painting what you feel and an identifying with the water, if you like. And allows we go the lilies and you can sort of visualize yourself being there and how it feels there and the smells and the grass and the trees and everything. That's kind of how I can get myself in the zone. It's, it's sort of bearing meditate tree in a way and I never worrying about it. So you can see I'm just adding more color onto the told, which then you can leave a little bit of the color underneath and blend the colors in together. And it will create different shadows, different movement in the water. And you can see how free I am. I'm not I'm not being precise, I'm just allowing it to actually happen. And then you can sort of start thinking about what sort of day it is. Is it a lovely sunny day? How is the sun reflecting on the water? And of course they're going to be trees around it. So you get some reflection from that. Kind of be thinking about it as your, as your working and being interested in how that comes together. Now, obviously the background is going to be softer than the foreground. You build the color and the depth up as you come forward to give yourself some perspective. So you can see here that I'm actually coming darker as we come forward. I don't want it to be too dark, but wants to be a difference between obviously the background and the foreground. And then all these strokes are time doing makes it feel as if the water is moving. It's not static. You don't want sort of just a flat surface. You want to kind of feel about that water. So I'm just continuing to build up the blues and, and bringing it darker into the front. In other words, not using so much white, abused a lot of white in the background, and not so much white in the foreground, but you can mix the blue. So I could mix the ultra Marine with the failover and get, you can get different effects by mixing those blues together. And you can blend them in on the actual canvas. So that the foreground is now becoming quite dark. And it kind of throws your eye into the painting. You know, I tend to put the dark, the dark hysteria into the corner because that pushes you into the center of the painting. It kind of frames it if you like. And if you have a look at many, many paintings, you'll see how the dark, maybe not in all the corners, but the dark has an a corner so it throws your eye into the painting.
4. Adding the Lily Pads: And we want them to, once we've kind of got our basic down, let's then think about our composition. So if you imagine dividing your canvas into thirds, thirds coming down, and then to lines across, you'll have centers where it, where it crosses. You have the New York composition points. So we don't want to aim for something dead center. You want the AI to travel around the painting. So let's have a look at how that can work with where we're going to, for example, put our lilies. So you do, you have Really, if you like, a grid where you put your focal point and it's called an interest point or a focal point, just because it creates an interest in that area for your eye to travel around the painting. So nearly got the first lay down now. And it's starting to get a little bit of movement going. And we've really done offers blocking in. So now the top part of it is dried and I'm going back into it to create maybe some more light at the top. So it will have a nice contrast between the light and the dark. And then you can have a field about where is the sun shining from and where the light is coming from, it will create a shadow later. So if the, if the light is coming from the right-hand side, then your shadows are going to be on the left-hand side. So now we're going to start putting some of the lilies and deciding where they're going to go. And feeling again like for the composition. So I've sorted on this focal point in the, in the right-hand quarter of the painting. And the alleles are relatively interesting shape. Sort of like a half circle with an indent in. It's very, very simple, lovely shape. And we don't want to do anything in even numbers. We're doing it in odd numbers. 357, we don't really want to be doing things in force. The eye much prefers. Don't ask me why that we do things in odd numbers. So I'm doing the limit in all different kinds of greens and mixing some blue with the green, some yellow with the green. So you're getting a nice different tones and, and differences. Not everyone is the same, the same basis, but they're all going to be catching the light in a different way. So they've got different tones on them. So each one is slightly different. So you can be adding and taking away some of the green, some yellow, some of the blue. And obviously they're all different sizes. Some are going to be more round and again to be bigger, some are going to be smaller. There's kind of imagine how that actually is in real life. You know, they're not all exactly the same. So the front, you know, you've got more of a, a round shape. And that's they received to the back, they go flatter because obviously you don't see the top of them in the same way. So you see here how I'm doing these really kind of quite big. And you can see the whole part of the lily pad. But the adult go further back that flatter they go. So you know, your idea is to kind of have a, he like build up a story about somebody looking at this lovely pond or the feeling that they are going to get when they see it. It's a lovely, gentle, relaxing, sort of quite romantic feeling. To looking at that pond, it takes us into all kinds of wonderful images so you know, our imagination. So we're going to start soon putting some of the flowers on and the flowers are really quite significant. You know, similar to the lotus flower. And that's the kind of the shape of them and a very symbolic. And I think that's why people really, really love looking at the lily ponds and those beautiful flowers that open up to the light and they close at night. So now I'm going to be looking at the ones at the back and of course they're flatter. You can see that flatter. And they're a little bit bluer because they recede of blues go into the background and more reds come into the foreground. So it pushes our eye back. So the greens at the front of more intense and the greens in the back are very much more blue. And obviously the garbage smaller. And the shape isn't quite as defined because they're that much flatter. You know, when we're doing these kind of paintings really helps us refocus where we are. It, it helps us observe nature. Having a look at things that we haven't, they don't always there, but we've never really looked at before. When we're sort of going for a walk in nature, we just see the trees and the grass and flowers. But when you stop painting, you start looking at, you know, where's the sun, whereas the shadow, what's the difference in the color between the light and the dark? And we start observing so much more because of our painting. And when you think about how many different shades of green there are, there are hundreds of different shades of green. So it really kind of titillated our imagination and helps us to really have a new appreciation of our life and our surroundings, of the nature and everything. And once you start looking in that way, you'll see how magical it is. And if you can, and you translate that into your painting, you see, oh gosh, yeah, I never seen that before. Let's see what we can do with that in a painting.
5. Adding the Petals: So now back to the painting. You can see that I'm now building up the composition. So we've got a bit of space in the middle to give our eye time to travel, if you like, through the painting up to the top. And you start to get a feel of the composition and allow yourself that intuitive feeling about where things are going. You don't want to think about it too much. Just allow yourself to explore those possibilities. And then we're going to have a look about where the shadows are underneath because the light is coming from the right-hand side. So we can start then looking at how to bring some structure and fall into the alleles by then adding some shadow. And you want to feel that there's a relationship between the water and alleles or local alleles are on top of the water. There's a lot going on underneath the water so you don't want to feel as if they're just kind of floating randomly on top. You want to feel as if they're actually, there's something underneath all the routes and all those things that are going on underneath the water pushed the Lilia on top. So you don't want it to just feel as if it's just the top. You get that feeling that it's coming from underneath. And by putting the shadows in both on the allele and on the water, you get that feeling that they're connected. So you talking to yourself about how they are growing and you know, thinking about the color changes and how beautiful they are. So you really get into the zone when you're painting and everything else disappears. Any other worries that you might have of, you know, what's going on in your life that you don't want to think about too much. You'd completely can override that when you're in the soul and painting. That's why I love it settlement. And I don't have anything to worry about when I'm painting. I'm just so involved in it. And it's very much like in meditation really. Because you're, you're concentrating and focusing on what you're doing. It keeps you very much in the here and now and in the present moment. So now here adding some more to the shadows. And the shadows actually on the alleles as well on the water. And it doesn't all have to be uniform. It's all a little bit different because, you know, you've got the waves and the movement of the water which affects, you know, although shadow patterns. So just kind of allow yourself to feel into it where they would go, how the water is. And, you know, one can completely understand how money could be so obsessed with his Lily Pons because they're so fascinating. And I can remember when my son was young, I used to live near a beautiful park and they had a lovely botanical garden in the park with a beautiful swell small pond. I all Lake a lovely bridge over it, which always reminded me of a Manet. And I used to have a wonderful time taking him for a walk there and spending hours just sort of watching the water, seeing the shadows and obviously the alleles that were there. And so it has a lovely feeling for me, takes me back to some very happy times or my son was very hungry. So now I'm going to put the actual leaves on the top and the flowers on the top using a mixtures of some creams and, and paint. Now again in the foreground that the flowers of n to be bigger. So you're going to see it more in the foreground and you obviously are in the background and where the lightest catching it. Some using some whites and paint, a little bit of yellows, Alizarin crimson. I'm, I've mixed with some white and just kind of touching to get that feeling of the petals. And maybe mixing a tiny little bit of yellow up crudest gives it a little bit of warmth and variation and a little bit of contrast. And they're not just being plunked on the top. You're going to give them a little bit of shadow underneath. And how they have grown actually out of the lily leaf. So sort of grounded in it's not just kind of floating on the top. So your shadows and your contrast here are really important. And that really applies to every kind of painting. You're contrasts, the difference between the light and the dark. So the flowers here you can see in the foreground and much bigger and in the background are that much smaller. And you build it up slowly. And you don't want to put flowers on every leader want to overkill it. But you kind of feel again compositionally, where is it taking you? So you can, you can actually move around the painting, not just get stuck on one area. So you can see I'm putting You know, some extra lights on so you know where the sun catches the side of the lily. So you think about where you're putting those lilies to make it as interesting as possible. You don't want to blast all of them because then it just becomes a bit of a blur. You want to make it very interesting and intriguing and more, you know, in that sense, realistic. But the imagination always kind of fills in the dots. So you're giving an impression of it being there and an absolutely accurate, but it's not that the mind does the rest for you. So you'll be thinking about how they're growing. The differences in the color shades are they're all the same or a different. Some lighter, some darker, some more intense color on some of them, some lighter color on the other. So you get so involved with what you're doing, everything else disappears. And, you know, you can sort of feeling yourself, how it's building up. And you know, you really sort of dedicating your time and your energy and your focus. And it's just a wonderful time to be involved and being in yourself. And I think that's why so many people love painting because it takes you away from so many harsh realities. You can just go off into a wonderful dream world of, of this, this painting. As phi, i love it. You know, you start a painting in the morning and you just saw involved and at the time flies. And nothing else is on your mind other than just what you're doing. And then you come back to reality and you've got a new perspective of it. So it's so wonderful. So now I'm, I'm just kind of adding some differences in the water. Now I've got the lilies in thinking about how the light is, is working. Adding a bit of movement to it. And you know, parts of you, if you're feeling great about it, it's fine if there are parts that are jumping out at you that say they need a little adjustment. You know, you can go in and adjust it. You can carry on doing it for as long as you want. And you get the feeling when it's come together, you know, sometimes I'll stroke and then I'll sit and look at it for awhile. See what is jumping out at me. See what feels balanced, solid's, there are parts of it that I am not happy with. I can go back in and just make a few adjustments. And then when you think about all the different paintings that Monet has done in all the different colors. You don't have to do it in these colors at all. You could change it completely. You know, Mani did so many different kinds of paintings of that lily pond in so many different amazing colors that you can use some of those for inspiration and see how you can do your own thing. It doesn't have to be in these colors. This is my interpretation. You know, your interpretation obviously is going to be special and unique to you. But this just gives you an idea of how you can build it up. You know, being mindful of where the light is, where there's shades are, and your composition, and how you can have the difference between the foreground and the background. If you've got those principles and those elements in place, you're painting will come together.
6. Video 6 Final Touches: So I really hope you've enjoyed doing your painting. Let's just have a look at some of the detail. Just to finish it off. What I do is once I've completed the picture, I stand back and haven't looked at it and see what extra it needs. So on this, on this painting, what I've done is I've added a few highlights on the lilies, as you can see here, I've put a little bit of cadmium yellow, a few little dots, checked over the shadows underneath which you can see here. And, you know, stand back again, have a look, see if there's anything that you feel that you might like to add, maybe the some extra highlights. And you can see here the close-up of the lily. You can see that the highlights that I've added to the petals, you might want to do the same. So, you know, till you feel kind of you've got everything there, nothing's jumping out at you that you could, you know, that's wrong. You want to just kind of feel into it. See how your eye goes round the painting, where your highlights are. So you can pick up the light and where your shadows are. So then you've completed the painting. Now, I've put some copies of this in the resources copy of actually the painting and also the closeups. So you can use that as a reference. And then if you would like to share your picture, it would be lovely to see. I'm, I'm always amazed at all the different interpretations of the same scene. So it would be wonderful for you too. Share your picture which you can download into the projects. And if you've got any questions, please just let me know. I'd be happy to help and thank you so much for during the course. I really hope you've enjoyed it and you've got a lovely picture that you feel really proud of. And I hope to see you again very soon. Happy painting, bye for now.
 Joy Fahey, Joy of Art