Transcripts
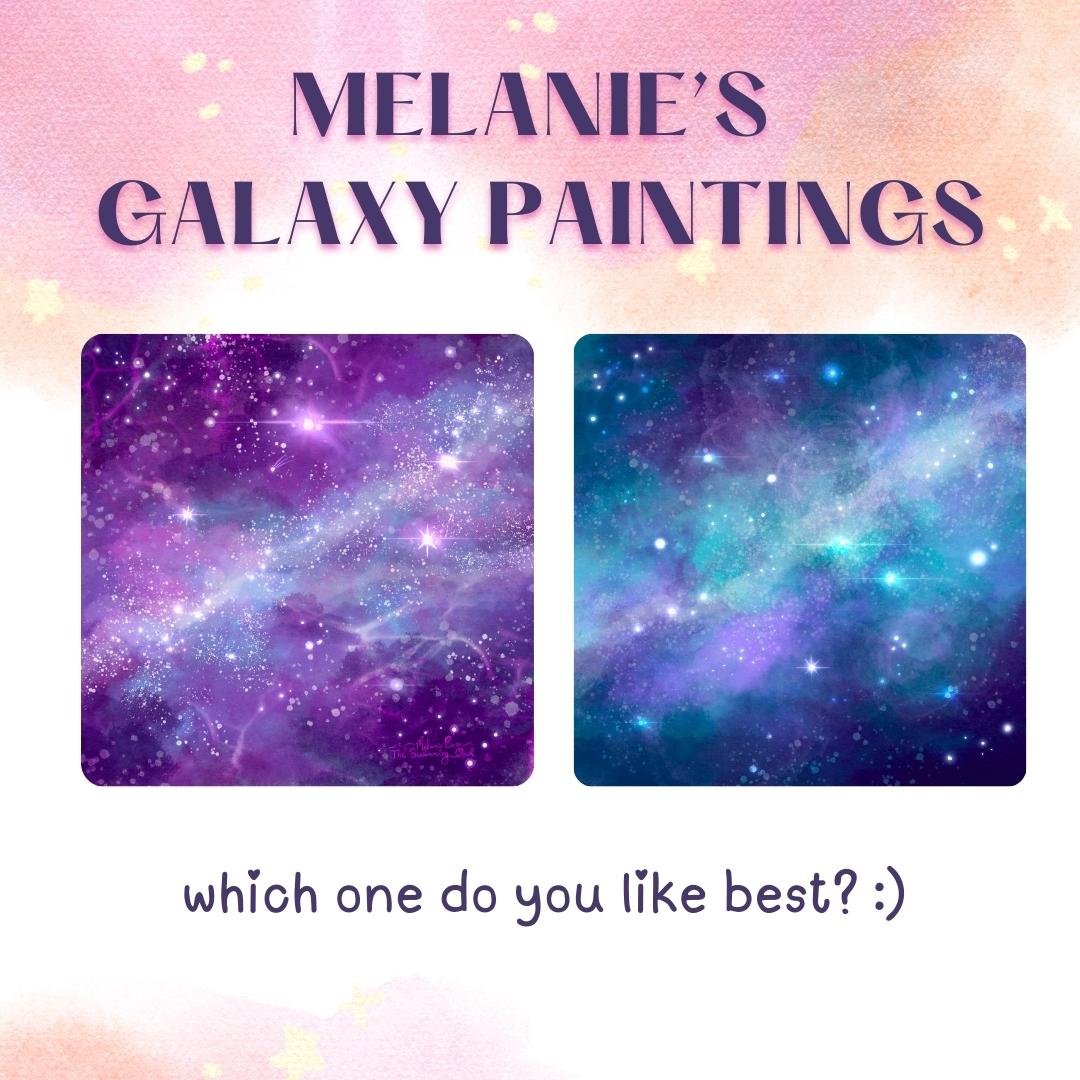
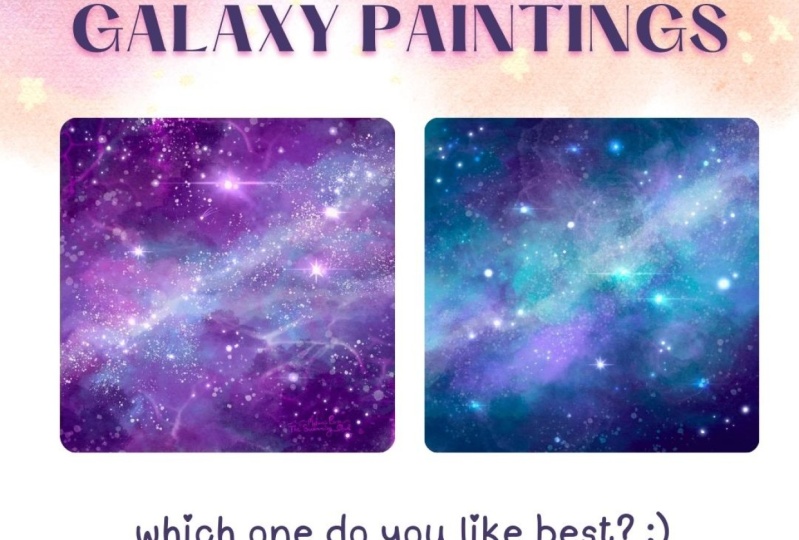
1. Painting A Galaxy in Procreate To Get Your Creative Spark Back: Hey, creative friend. Let's paint a dreamy
galaxy right now. Sometimes we find ourselves in a tricky space where we're
in the mood to create, but we feel stuck on
what we want to make or maybe we're even facing a little bit of
the dreaded art block. And whenever I'm dealing
with a bit of art block, one of my favorite things to
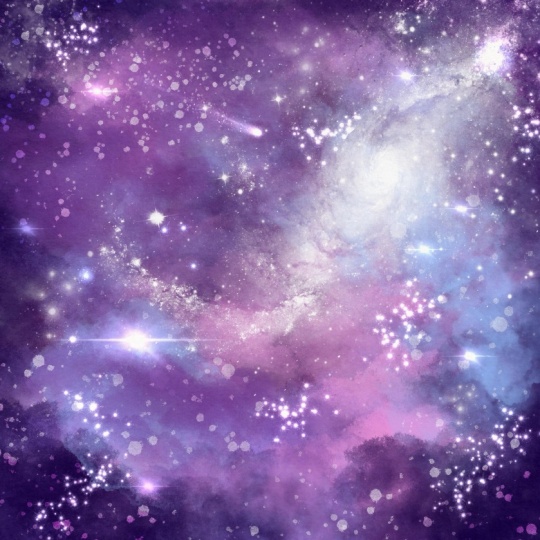
paint is a super colorful, textured star filled galaxy. Now, I normally do this with
traditional watercolors, but today let's
make one digitally. So if you're feeling a
bit creatively stuck, this quick class will take the pressure off and you
can just follow my lead, and together, we're
going to create a super magical painting
in one quick sitting. Real quick, if you don't know
me yet, my name is Melanie. I'm a full time
artist and a teacher, and I just want to be your
creative cheerleader today. I love to create
colorful whimsical art, and it's usually for cozy
products and coloring books. You can also find
more videos for me on YouTube if you'd like even
more happy art in your life, and don't forget to follow me here on Skill Share, as well. So you never miss
an announcement about a new class for me. You just have to hit that green follow
button next to my name. Okay, so grab your iPad
and your Apple Pencil, and let's start painting
some dreamy galaxies.
2. Your Project : By the end of this paint
with me style class, you will have completed
an entire painting on your iPad by using an assortment of native
Procreate brushes, meaning these are brushes
that are already built into the Procreate app to create a one of a kind, dreamy galaxy. Please always feel free to
make any changes you want throughout this
painting process and add your own colors or flair. Once you finish your galaxy
or multiple galaxies, I encourage you to
share your painting in the projects and
resources tab below, as well as on social
media so we can all admire your beautiful
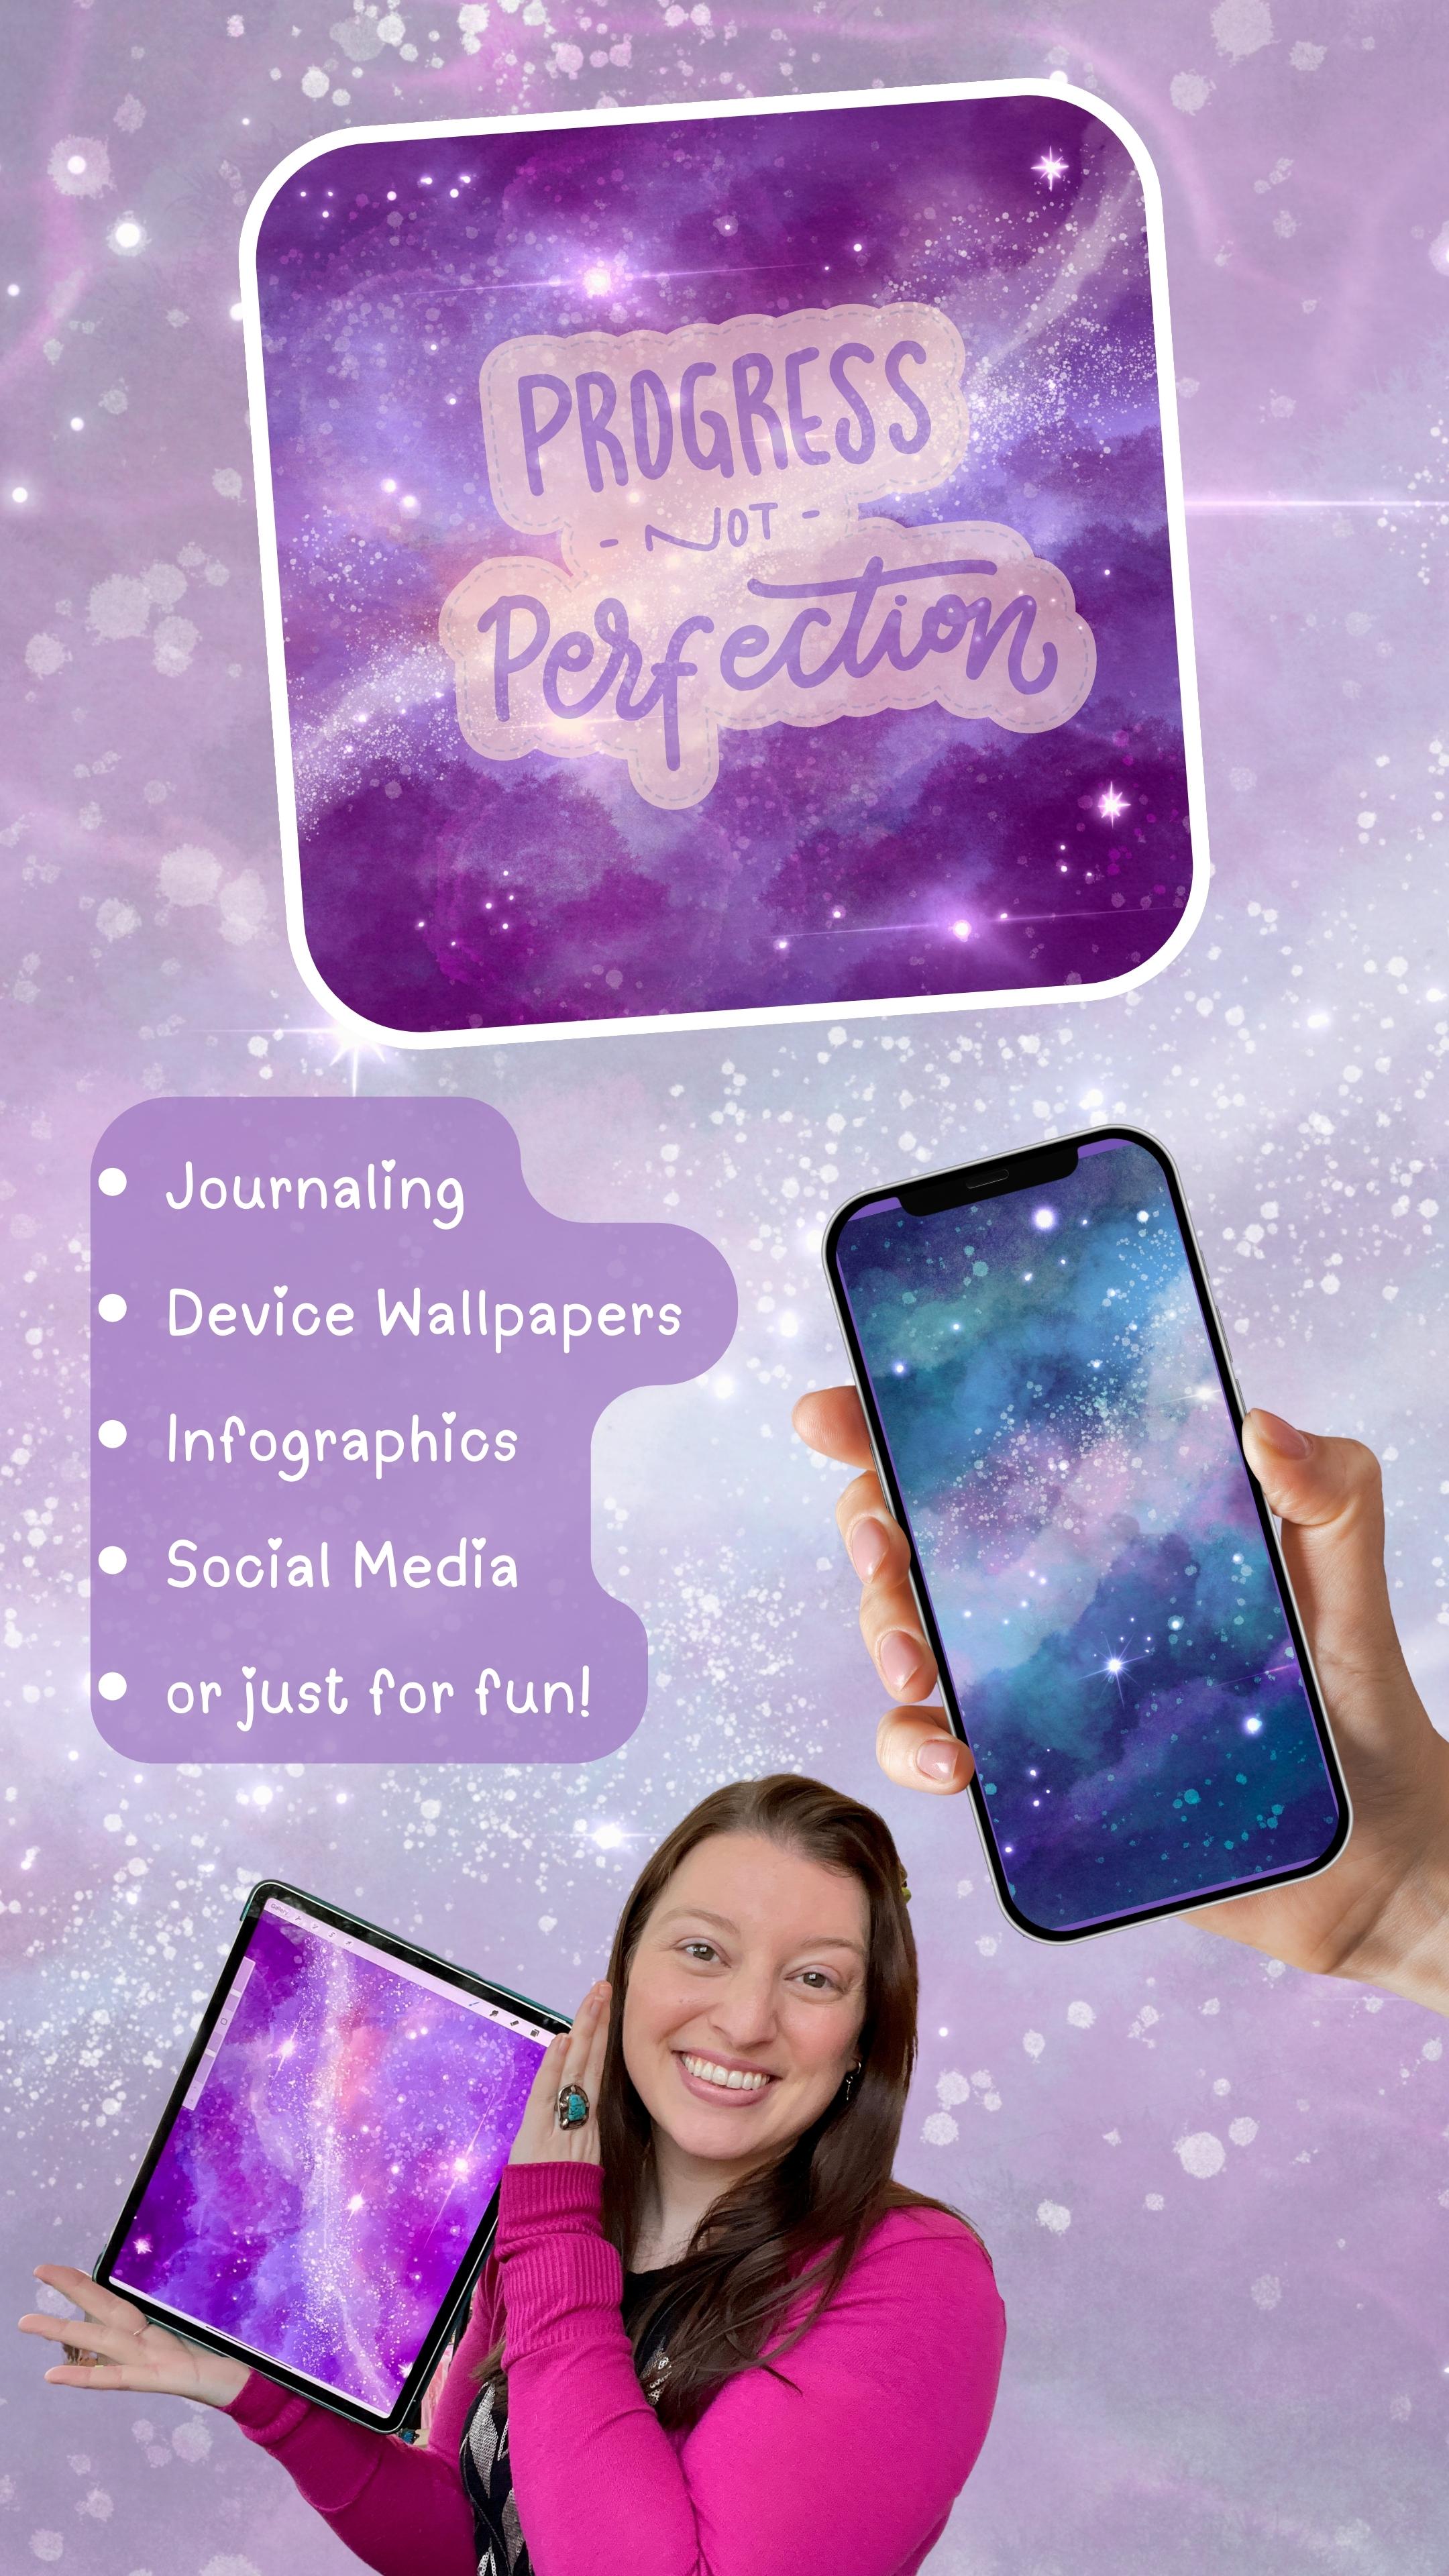
dreamy painting. A few ways that I
personally love to use these types of
paintings include using them as backgrounds
for my graphics or on my devices like
my phone or my iPad, and also as backgrounds for things like
creative journaling. You could layer anything over the top of
these fun paintings. Alright, let's talk
supplies real quick.
3. Supplies: For this class, you will
obviously need your iPad, the Procreate app, and
your Apple Pencil. You will also need to download a few things from
the resources tab. For instance, I have
provided a Canvas for you, which is a Procreate Canvas
file that is already completely set up
to the right size DPI and has paper
textures in it, so you are ready to roll. It'll look like this.
I'll say Galaxy Canvas, and you are simply
going to import that and you'll be
ready to paint. If you have trouble opening
the Procreate Canvas file, you can also set up
your own Canvas page and add the paper
textures yourself. I am also including a
color palette called Galaxy and a brush set
file called galaxies. So that way, you will have all
of the brushes that I will be using today in a neat
and tidy little folder. Once you have
everything downloaded, we will be ready to set
up our canvas and paint.
4. Canvas Set Up: Okay, so as I mentioned before, I have included a ready
to go canvas for you, and all you need to do is
import the Procreate file. Go to the Import
option at the top of Procreate and locate wherever
you have saved that file, whether that's on your iPad or maybe it's in Dropbox
like I save mine. And then you're simply
going to tap it, and it's going to pull
in ready to paint on. So here I'm inside
my Dropbox folder. It's called Galaxy
Canvas, dot procreate. The Dt Procreate tells you
it's a Procreate file. So I'm going to tap on that. I'll download and pull in. It'll immediately open, and it's completely ready to roll with all of the layers
here that we need. It's at the right size,
DPI and everything. If for some reason you
have trouble opening that, you can create your own
canvas by going to the plus, hit the plus again, and you're going to make
this inches and you're going to go
eight by 8300 DPI. I would keep your
color profile on display P three for
digital display. Then you can name it
if you'd like to. Hit Create. And the next thing that you can do
this is optional, you can add the paper
texture layers like I do, which creates more of a traditional feel
to your painting. So come up to the
wrench and hit Ad. I always save my paper
textures as photos to my actual iPad that way they are easy to locate again
and again and again. So I hit Insert a photo. You might need to hit Insertifle depending on where
you've saved them. So after you've added
that paper texture, resize it to fit
the whole canvas, and you're going to
duplicate this layer. So now there's two of
them, two paper textures. One, I'm going to put
into multiply mode, so tap the N and
come up to multiply. And the second one, tap
the and put to color burn. Next, I'm going to come back
up to the one and multiply, and I'm going to lower
the opacity to, like, 55 to 60% somewhere in there. Then I also like to flip it. So I tap the arrow and hit flip horizontal
and flip vertical. That way, the textures on
the two pieces of paper aren't exactly overlapped
in the same location. It puts more texture
in more areas. Then I'm going to swipe
on these and group them. The next step you could
do just to make sure you never paint on them is
swipe and hit lock. Then you're going to
make your new layer and drag it beneath
your paper textures, and all of your
painting will now go beneath your paper
texture layers. And now you are officially
ready to paint. Alright, I'm going
to switch back to my Procreate Canvas file, and then we are going
to start our galaxy.
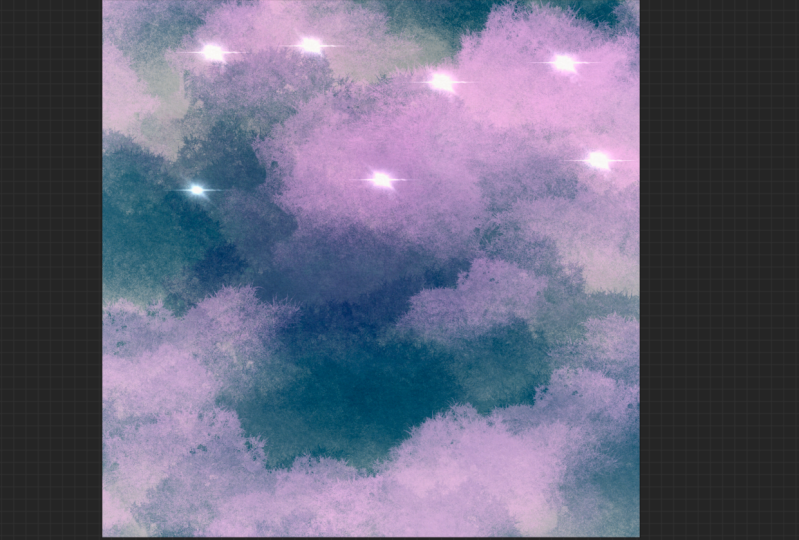
5. Paint Your Galaxy: Okay, let's start painting. And like I told you before, please feel free to use completely different brushes
and colors than I am. But if for this first one, you want to just follow along to decrease the stress
of making decisions, then just follow me, my friend. Okay. First things first, let's open up our brushes. One thing I want to note about
this brush pack here for you is they are
intentionally ordered. So they go from our big
broad brushes down to our detailed and final brushes like our star making brushes. That way, you can easily
remember where we start and where we finish
when it comes to our brushes, making things very orderly and giving you a quick
process to follow. Okay, so we're
going to start with our rainforest brush
at the top here. For colors, I always like to start dark and work
to my light colors. So I'm going to come
to my palette here, and I'm going to
choose something over here on this dark end. These three colors
are pure white right here to kind
of separate things, but these are the colors I
usually like to begin with. So I'm going to start with this dark purplish
blue color here. And this rainforest
brush is really fun. If you zoom in on it, you'll see that it actually
has a leafy texture to it. But when used really large
and at different opacities, you don't even notice
those leaf textures, and it just makes
this beautiful, cloudy sky texture,
in my opinion. I like to start really large, and I sprinkle this around. This brush does have
pressure sensitivity, so the harder I push, the more paint that gets
put down onto my page. I also like to experiment with tapping versus brushing.
So go ahead and play with. I like to leave
some light areas, and I always like to make my
corners quite a bit darker. At this point, I'm going
to switch my color. I'm gonna come over here now. Maybe this kind of
saturated purple, feel free to use any of
the colors over there. I'm gonna adjust my size. I'm gonna go even brighter
now. You can't do this wrong. So please just feel
free to play right now. I'm kind of liking this. I think I'm going
to sprinkle in, maybe just a little bit of pink, maybe a little bit larger
and just tap some of these. That's too much. So
I'm going to use two fingers to
undo, tap and undo. That's better. Now,
let's just see. Let's change our brush
to our clouds brush, and I'm gonna come to one
of my more blue colors. Let's see about that one. Yeah, I kind of
like that effect. Again, playing with the size and opacity and the difference
between tapping and brushing. This is just so fun
and therapeutic to me. You are just throwing
color and texture on here until you get something
that you really love. I love how buildable
these two brushes are, so you can just keep
layering things on top until you get an area
that you really love. Okay, I'm going
to switch over to my fresco brush
really quick here, and I don't do a lot
with this brush. I just do a few large
taps with this one, usually, and I lower
the opacity on it. Kind of, something like that, which might not even show up
very well on screen for you. But this one I use
very sparingly. I just kind of like how
it adds this kind of watercolor line
here at the edge. I think it looks really pretty. Okay, so take a few
minutes to play and get your background in a position that you
really love it. Make sure the colors
are the way you like. And then I will meet you in just a second to start
adding in our fun details. Okay, we are ready to start adding in some of
our light and stars. The next thing I want you to do is come up to your layers, and you will see that I already have some new layers
in here for you. The first one we're
going to work on is this one called
flicks with Stars, and it's in a color dodge mode, which means anything we
put on this layer is the colors are going to
interact with each other between what's beneath and
what we're painting with, and it's going to create
a lighter version. So click on this one here. Come to your brushes, go
to your flick brushes, and choose some of
the light colors. And remember whatever
color you choose is going to interact with
the color beneath it, which can be really,
really fun and completely change the look
depending on what you choose. So I'm going to choose
a light purple. I'm going to start really large with this brush
at a low opacity, and I'm going to tap
some of these in, and I'm actually going to
lower the opacity even more and a little bit larger. And I'm just going to sprinkle these around until
I'm happy with that. And I really love this area here where the color interacted with that deep dark purple beneath. I love that effect. Now I'm going to
make the brush a lot smaller and the
opacity much higher, so they show up even more. And I'm going to
make trails of stars or more concentrated areas. I always tend to go in these
kind of diagonal lines, but you do not need to
go in that pattern. Feel free to put your
stars wherever you want. All right, once
you're happy with the amount of
sprinkled in stars, let's move up to the
next layer and add in some more light with the light
pen and the light flare. So come up to this next
layer that's in ad mode. This is going to be even
brighter than color dodge. Next, I'm going to come
down to my flare pen, and again, you can change
the color or leave it as is. I'm just going to leave
mine at that light purple. And I like to sprinkle in
just a few of these flares, and I change their size as well. I like to do maybe
one or two large ones and a couple small ones. So let's see about and I have
a feature on that allows me to preview the brush before it's put down, which
is kind of cool. You can find that under your preferences with
the brush cursor. So you can turn
that on and off if you like being able to
see what might happen. And this is pressure sensitive. So if I press really hard, it will make a little
bit more of a light. You can also double tap
to make it brighter. And I'm going to
change the size. And I have to be really
intentional about not making, like, a perfect
straight line of them. And let's go. A couple
of tiny ones somewhere. I think that looks pretty good. Next, I'm going to switch
over to my light pen. And this is like
drawing with light. So it is just super fun and makes really glowy
beautiful stars. And at this point, you can
put these wherever you want. And the more you press down, the more the glow intensifies, because this is also light
pressure sensitive, excuse me. Now a fun idea for you here. If you are into star signs
and the constellations, you could definitely
tuck a few of those in here that might have some
personal meaning to you, or you can just let it be
kind of random and fun, which is what I tend
to do just because I find this therapeutic. And I'm going to definitely put some in here in this trail. And by pushing harder or softer, I vary the size of them. I definitely like to sprinkle
some really tiny ones in and then a few larger ones. And not forgetting that
changing the opacity and size also will give
you some variation. And if you can see that, the more you kind of
press and push around, the more the glow starts
to spread, as well. Alright, I've gone pretty
star crazy at this point. The last thing I
usually like to do with this pen is on a couple
of these flares. Sometimes I like to add
even more detail to them, like some little
spiky light lines. You could add in, for instance, those ones they are
a little intense. I'm going to redo them and
lower the opacity and size. You could also add in, like, some shooting stars. Okay, so if you wanted to make a shooting star,
you could pick one. I would lower the opacity and make the lines pretty
small. Let's see. How about maybe this one here? And just add in
some trailing lines like that. So that's fun. You could do that as many
times as you wanted. And then the last two
things that I will occasionally do
is add in kind of a milky way line or even some of these water lines that create really fun textures
in the background. If you want to do
either of those, I would make a new layer, so hit the plus and put
it into color dodge. And then you can play
with these as well. So the wild light brush, I'm just going to choose
like a pink color, creates this really
kind of milky texture that you can kind of
sprinkle in here. And what I like to
do then is choose the smudge tool using
the same brush. So holding down on
the smudge tool will choose the same brush you were just painting with
the wild light brush, and I like to then
make this size larger. I like to soften this
out along the edges. And it creates this
really cool trail of light. So that's optional. Definitely not necessary
for the galaxy. The other thing that's
kind of fun to play with, I'm just going to make
a new layer so that I can turn one of these
off if I need to, hit the plus, do
color dodge again. And this is another fun option. Come to your brushes and
choose the water brush. Make the size nice and
large and the opacity. Let's bring it down
to, I don't know, somewhere 50-60 and
just kind of holding down you can put in more kind of light
trails in the background, and I like to put them in the
darker areas on the galaxy. And this is a buildable brush. Again, you can add
even more texture the more you touch down. And each time it will put in a new shape, a new light mark. So even though technically this brush is supposed
to look like water, like sunlight shining
through water, it creates a really beautiful
texture in a sky, as well. So this is a little bit
overdone at this point. It was just to kind of
show you how those work. I'm going to go ahead
and undo some of those. They're a little
bit too intense, but you get the idea for
ways you can play with this, ways you can customize it. And I think you're
going to want to make 1 million of these now. I am hoping that
you enjoyed this. I love making
these. These always help me get my
creative spark back. Alright, so now that I
think mine is finished, I'm going to go ahead and
sign this masterpiece. I'm going to make a new layer. I'm going to put it
into color dodge mode, and I'm going to use
my signature stamp. This is a stamp I've
created with my name and business on it that I can add to all of my artworks with a quick little stamp
just like that. If you would like to
learn how to make a quick and easy signature
stamp like mine, I have another skill
share class that teaches you how to make one
in about 20 minutes. It's super easy and instantly levels up
your digital artwork.
6. Bonus: Color Alterations: Okay. I always have so
much fun with this step. We are going to make
some color alterations. Let's start by duplicating our canvas so we don't alter
our original painting. What we want to
do is back out to our gallery by tapping gallery, swipe on your painting
and hit Duplicate. Now open up that duplicate. And we're gonna mess with
the color just a little bit. The first way that
we can do it is by simply tapping
on the magic wand. Actually, first, come
down to the layer where your paint is. So
come to your layers. Come down. Don't do any
of these lighting layers, the one where the majority
of your color is. Then come to the magic wand and hit hue saturation
and brightness. And the first way we can change things is by simply sliding the hue bar all around and checking out
the different options, which is super fun. I usually like to make one
that's a little bit more blue or purple based on
what I started with. Then you can also bump up to saturation. You can
make it darker. And you can preview
this before committing to it by tapping somewhere on your canvas and holding down on a preview button will
allow you to see the change that you made
before you apply or cancel. I'm going to cancel this one
for now because the other thing I want to show
you are gradient maps. So magic wand again
and this time, come down to gradient map. Now, the trick to getting
these to work and not look too crazy is to lower the opacity or intensity
of this gradient map. And to do that,
take your finger or your pencil and
slide to the left, and you'll see this blue
bar moving this way, and it's lowering the
opacity of the gradient map and how intense that
application's going to be. So slide it to where you like. Typically, I will
go anywhere 25-60%. So I'm going to go
to 25 ish for now. Then you can work your way through the options that
you have at the bottom. You may see more in mine
than what you have, and that's simply
because I tapped the plus and made my own. These are so fun and so
addicting to mess with. And again, don't forget. You might find one
that you like, but you want to up
the intensity on it. That's really fun. And if you want to experiment
with making your own, so you have from white to black. So the blacks in your picture, maybe you want them to be red. And the midtone in your picture, maybe you want that
to be kind of orangy. And then the whites
in your picture, maybe you want them to be blue. That's how you would
make your own gradient is you tap in here to create more color selections to change the brightest areas and the darkest areas to
different colors. And it creates your
own gradient map, and then you can name
it and hit done. Same ideas before if
you want to preview your change, use
this little menu. You can apply or cancel, and that is how you can turn your one painting into a dozen. And then you can
save this and use it on one of your devices or as a background for your
journaling or art making or anything you can imagine. I hope you had so much
fun creating these, and I cannot wait
to see what you created down in the
projects tab below. Please definitely share it with us so that way we
can all look at it, and I will always
leave you a comment and cheer you on in that
projects tab below.
7. Bonus: 5 Minute Galaxy: Okay, I've got one more
bonus video for you. For this one, I thought it
would be kind of fun for me to show you my process in
more of a real time, no talking and explaining
as I'm working. I'm just going for it. I thought it could
be interesting for you to see how you
could incorporate this so quickly and easily as a creative warm up or maybe even a creative wind down
at the end of the day. Because, as you're seeing here, this galaxy took me
about 5 minutes or less. So it really is a quick
practice and can be something to help you get that creative spark
back super quickly. You'll notice I'm following the same steps that
we already followed. I'm using the really big
textured brushes first, starting with the
darker colors and layering things in until I get a background
that I really like, switching to the clouds brush, and then I'll come in with
those more light layers. You might also find that this is a really good creative thing to do with your hands while you are watching TV or listening
to an audio book at night instead of any kind of
scrolling or doom scrolling. This is a great way to be
creating instead of consuming. So by playing with
this color and texture and light and
creating these galaxies, you are using the best parts of your brain and
keeping your hands busy while maybe also watching a show or
listening to an audio book, but you're not necessarily just sitting on social
media all the time. So that's one of the
things that I love about this kind of creative
practice. It's easy. Once you have the process down, it does not take
a lot of thought, and you just get to
play and experiment. So I hope that you find that
that works for you as well, and I hope you enjoy
creating these, and I'm very excited to see all of the galaxies
that you create.
8. Thank You! + What's Next : Thank you so much for joining me for a fun and fast painting. I hope you found a
new way to fight off the art block by playing with lots of color,
texture, and light. You can't possibly make too
many of these galaxies, so go make as many as it takes to get your
creative spark back. If you liked this class
and you haven't already, don't forget to hit
the follow button so you get notified
about my next class, and please consider leaving a quick review in the
review tab below. Your review will let me and other students know that this
class was fun and helpful. Let me know which part of the class was your favorite, too. Okay, so here's where I'm
gonna leave you for today, but I really hope to see
you in a future class. Thanks so much for being here.
 Melanie Bess, Painting By The Light Of The Moon