Transcripts
1. Introduction: Two things I've noticed people struggling with
when they're learning watercolor are the wet in wet
technique and tonal value. And one of the
reasons they struggle with the wetting wet
technique is that the first layer of
paint that they put down is either
too wa cherry, too thin with not
enough pigment, or it dries too quickly. And if the first layer is wrong, then the wetting wear
technique won't work. So I've come up with
a fun way to master this by making quick
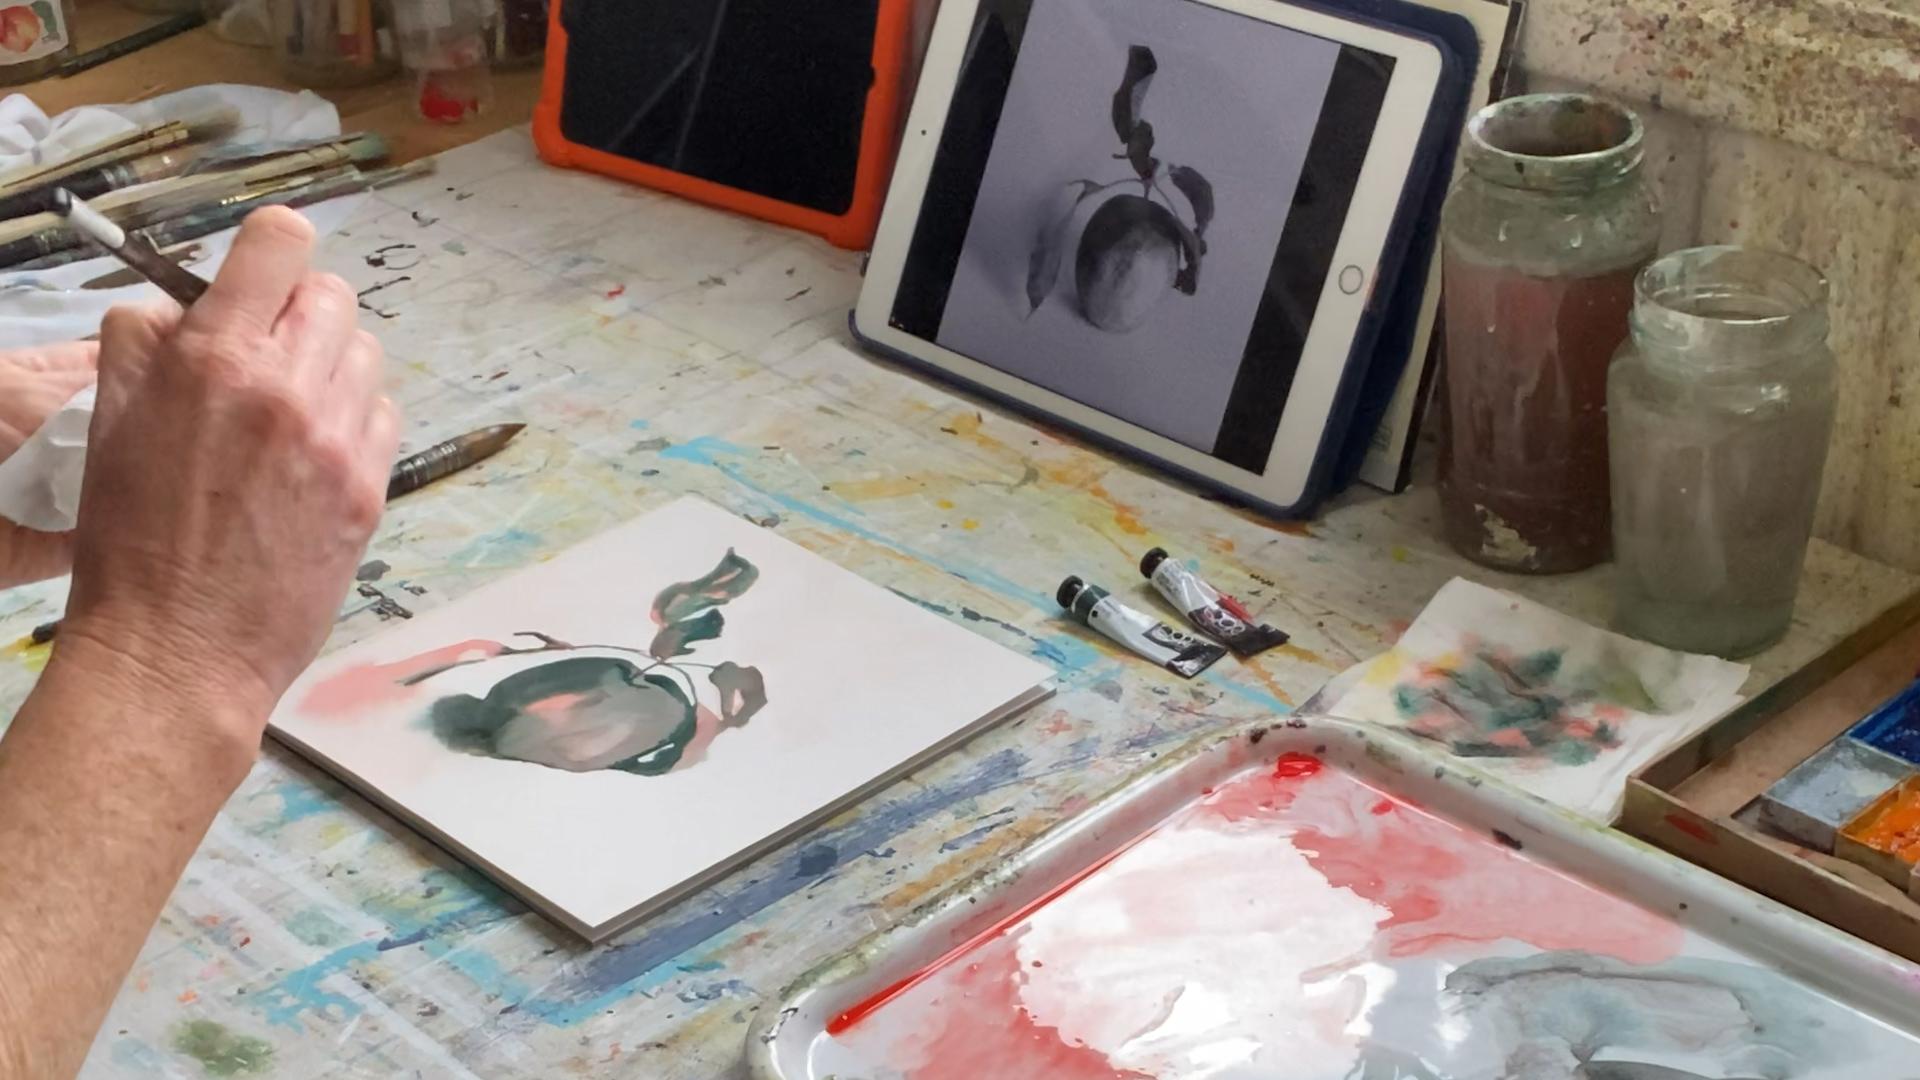
paintings of an apple. We will first underpaint
using just one color, and we will look at what
makes a good first layer. Then we will shape the apple using a
good rich black that we have mixed ourselves. We will focus on
tonal values and on achieving beautiful
wet and wet effects. I'm Catherine Jennifer. I'm
an artist and art educator. I teach in person
watercolor classes. I run an art club in my village, and I'm a top teacher
on Skillshare. And I love helping people to discover the
joy of creativity. This class is a follow
on from my class called Paint Wi Confidence five
minute Luscious Landscapes, in which the focus
is on building your confidence with putting down paint loosely and quickly. You may also find it helpful to check out my class called
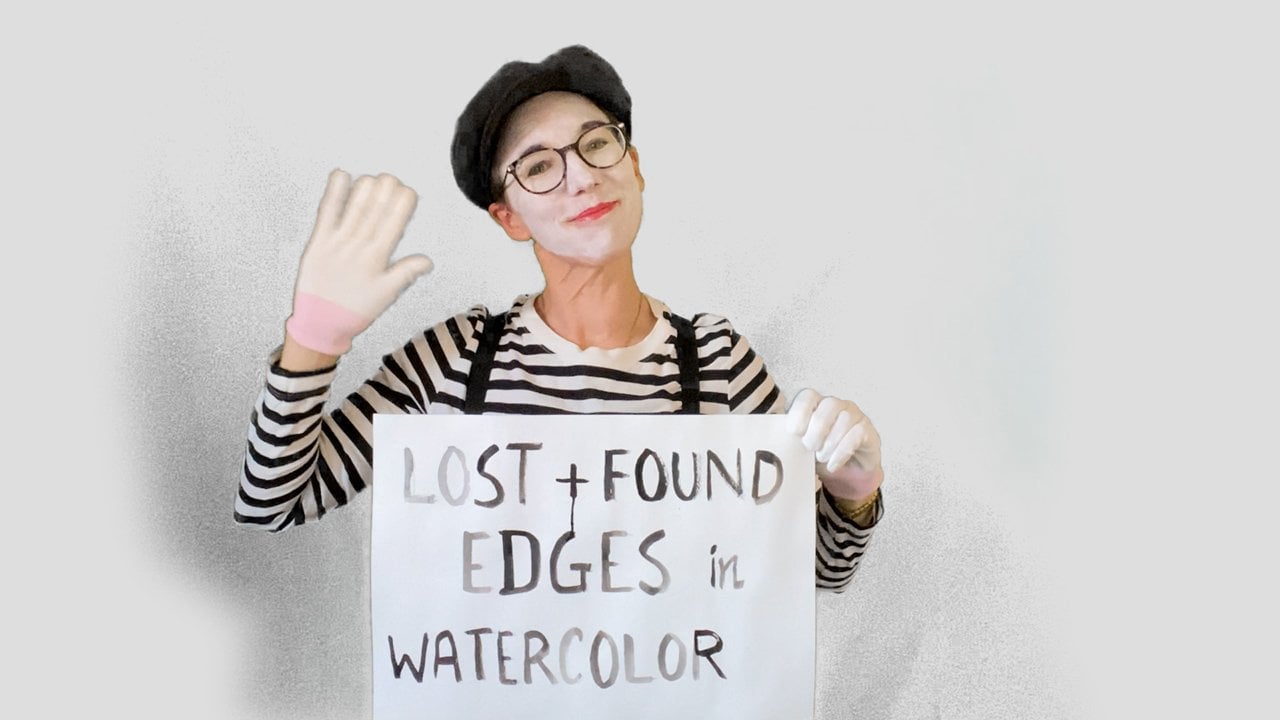
Lost and Found Edges in watercolor painting
because I will refer to Lost and Found Edges during the wet and wet
painting process. In that class, you
will also meet my alter ego who hasn't made an appearance
in this class yet. So two colors, two
steps, one apple. Let's practice building our
confidence with watercolor. A
2. Project: The project for this
class is to paint an apple using a
colored underlayer and then working into it with your mixed black using
the wet in wet technique. In the class resources section, you will find
photographs of an apple. I took these photographs and each time slightly
adjusted the angle of the apple and the
lighting so that the photos are similar but slightly different
in each case. You can paint just one apple, but you'll learn the most if you practice painting the
apple a few times. It's really fun to try out different colored
underlayers and see how each underneath color affects the layers
that you put on top. Each painting should
take you 10-15 minutes. When you've finished
your project, please take a quick
photo and upload it into the class project
gallery so that I can offer you some
personalized feedback. Let me know how you
found it and if there was anything you found
particularly difficult.
3. Materials: Materials you will need
are watercolor paints, a few different colors,
and some colors that you can mix up a good dark.
I'll show you how to do that. I'm going to be
working on a smooth watercolor paper, hot pressed. You can work on whatever you've got. It doesn't
really matter. And there are photograph
for you to work from in the class
resources section.
4. What Makes a Good First Layer: So for the wet in wet technique, the first layer is
very important. But if you are doing this
on your own at home, how do you know what
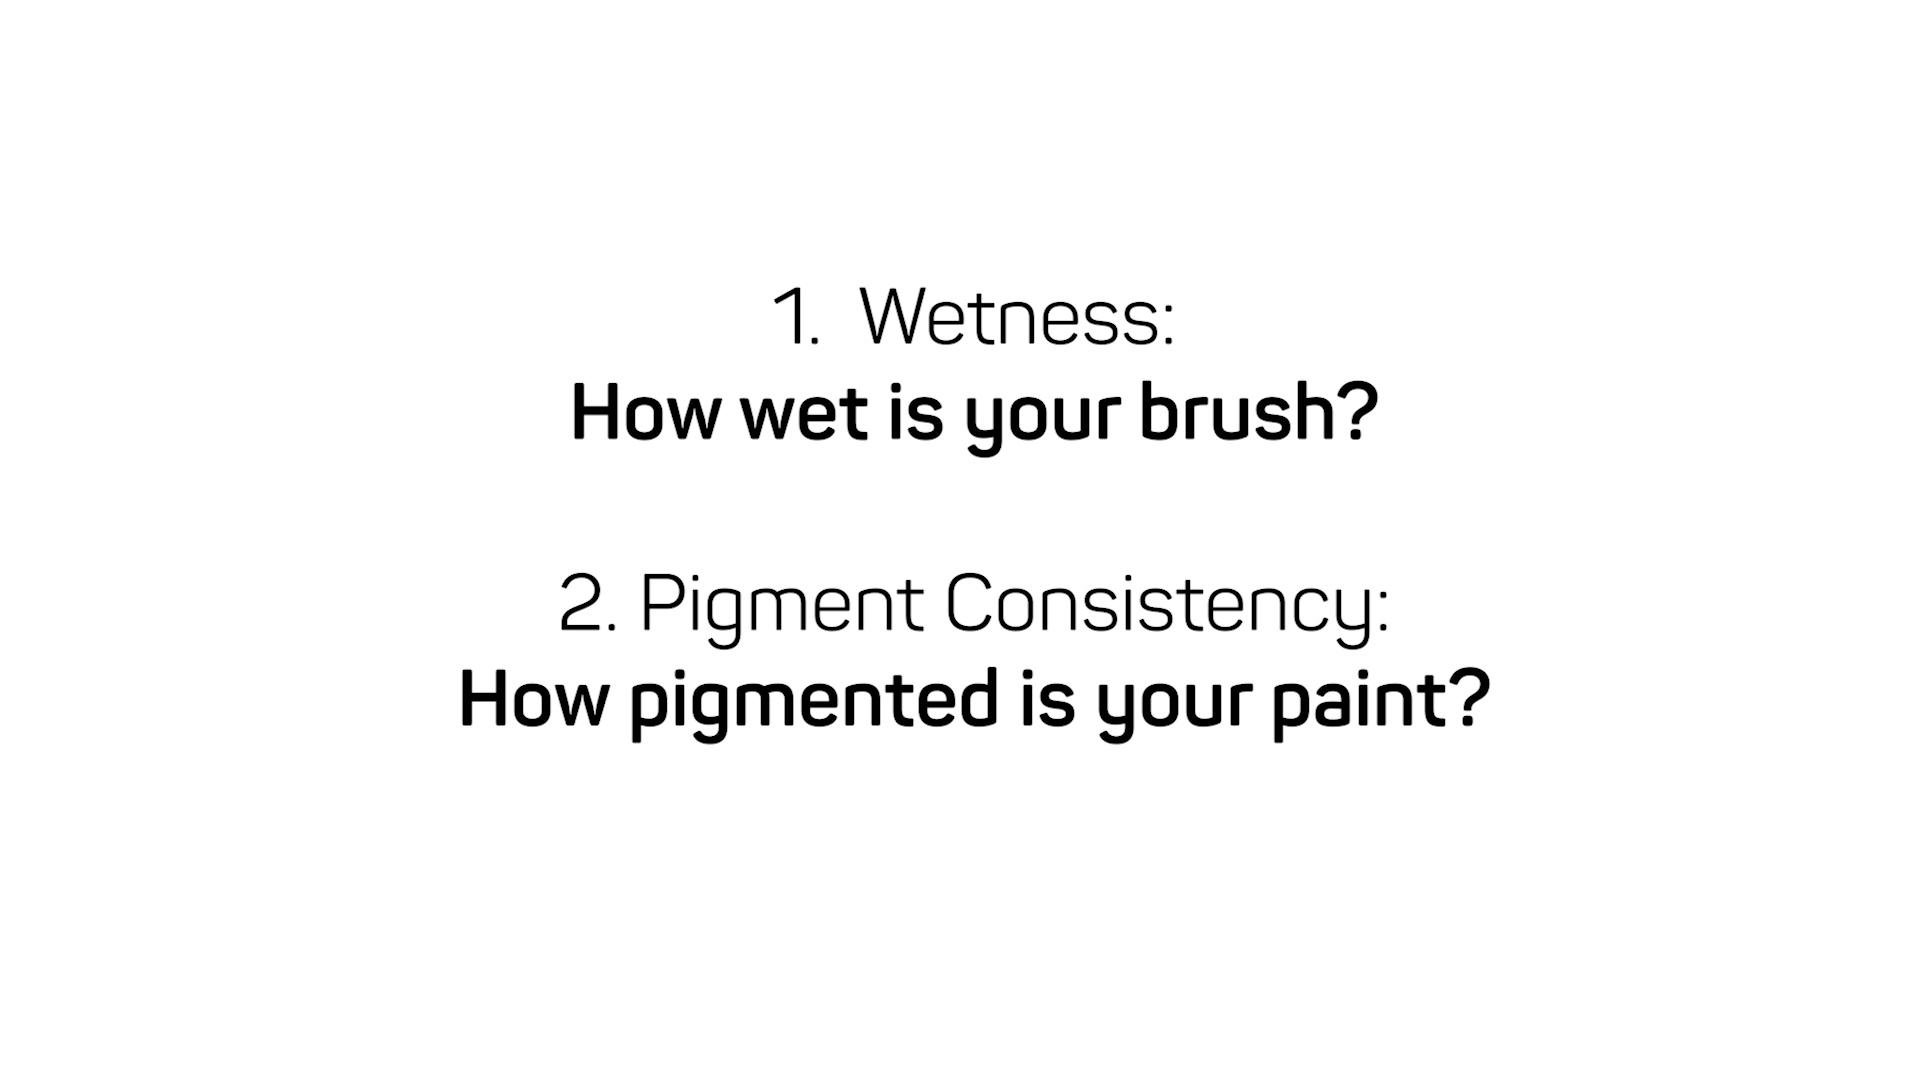
makes a good first layer? It basically comes
down to two things. The first is the wetness, how wet is your brush. And the second is the
pigment consistency. How pigmented is your paint. Before you start painting, you need to prepare your paints. So if you're using pans, these are Kurataki pans. You might be using Windsor
and Newton or another make. What you do is you get them all nice and wet with
a spray bottle first. I've seen a lot of beginners painting with very
dry pans of paint. This makes your job
even more difficult. So get your pants nice and wet. After two or 3 minutes,
you'll need to do that again. These are actually tube paints, these core paints
made by golden, which I've squeezed out
into empty kiataki pans. And same as with
my kiataki paints, I will spray them
all down before I start painting. Like that. If you are using tubes and you're just going to squeeze them out straight
onto the palette, which is another way of working, then you'll put your
little paint down, and you will probably need
to get it slightly wet. So to get the first
layer of paint right, the first aspect is the wetness. Now, how do you know if
you've got the wetness right? Well, first of all, you need
to fully load your brush. So I'm doing this palette work. I'm moving my brush backwards
and forwards on my palette. And what I'm doing is not only getting a feel for
how wet it is here, but I'm soaking up the paint
right up into the bristles. And hopefully you can see, it's not just paint on the
end of my brush there. It's all the way up. You get the feel for the wetness
by painting a lot. But if you are new to
it and you're still trying to work out, what's
a good first layer? What's a about first layer, you can do a few tests. So just on a rough
piece of paper, you can I I put that down, that is actually quite
a good first layer. It's wet enough that
it's got a nice shine, but it's not so
wet that I've got a swimming pool sitting on top or little pools of
water in different places. If I'm going to purposefully, do a layer that's too wet so
you can see the difference. So if I'm taking lots of water, and if I do that here, and I rarely get
all of that out. I hope you can see, that's not a good first layer
because it's too wet, the paint isn't evenly
distributed in the water. And it just is going to make my second layer much more
difficult compared to that. On the other extreme
end of the scale, if your paint is not wet enough and you come in
with your first layer, so let's say I haven't
properly prepared my brush or I've tapped out too much and
my brush is too dry. If that's my first layer,
I hope you can see, it's going to dry so
quickly that there's nothing there for my second
layer to interact with. Can you see how wet
that layer still is? Whereas that one is doing a beautiful soaking in
ready for its second layer. It's almost too late
to ready for that one. So you want it to be just
the right level of wetness. And you probably if you're struggling with
the wet in wet technique, it's probably that either
your first layer is too wet, or you can see how it's
even running on that page, or it's not wet enough, and it's drying so fast that nothing can
interact with it. The second thing about
getting your first layer right is how strongly
pigmented your first layer is. So if I come in with exactly the right
pigmentation level, something quite strong
but not too strong. See if I can get a good one now. So let's say that's
my first layer. So that's quite strong. Quite dark, maybe a
little bit too dark. But if I come in with
my second layer, there's lots there that my second layer
can interact with. If I make it even stronger, just to illustrate my point, almost pure pigment as my first
layer, that's too strong. Okay? When I come in and start trying to work a
second layer into that, it's already too
loaded, too intense, and you're going to end up with a sort of heavy hot
mess if you do that. On the other end
of the spectrum, and this is what I've seen
most often with the beginners, is that they don't have enough pigment in their first layer. So let's say they're
a little bit nervous. You know, this is all
very new and terrifying. So they do their first
layer, a bit like this. Now, if it's nice and
wet, that's fine. You will get wet
and wet techniques. But if it's very unpigmented
and it's very dry, let me do a dryer one like this, if your first layer
is as weak as that, so it lacks pigmentation
and it lacks wetness, then your second layer
isn't going to give you nice wet and wet effects. So as you do this, really, take your time to get your
brush properly loaded, and then really pay attention to how wet your first layer is. I use the term juicy.
If it's juicy, then it's right, okay? Really pay attention to that. And if you're struggling,
ask yourself, was it too wet? Was it too dry? Did it lack pigment? And if it's any of those three things, then you know what to do
to fix it the next time.
5. Mixing a Good Dark Color: So let's get started on painting
some wet and wet apples. Before I start my painting, I'm going to mix up
a good dark color. So I'm going to use this Thalo
green as this core paint, which is made by golden. I'm going to use a little
bit of this parle red light. And I'm going to mix those two together and add a little
bit of black as well. So just off camera here, I've got these
AkitakiGanzi tambi paints, and I'm just taking a bit of the black and going
to put it there. And then when you mix your red
with your green like this, it gives you a very lovely dark. But the dark can
be slightly brown. Brown. It's a beautiful dark. And it's really lovely, but I'm just also going
to pop in a bit of black. So I've got a lovely, rich black mixed up
and ready to go. The advantage of mixing your own black is
that when it tints down in your paint or when you use it as a
transparent color, the colors that make up
the black become evident. You'll see it as we go along.
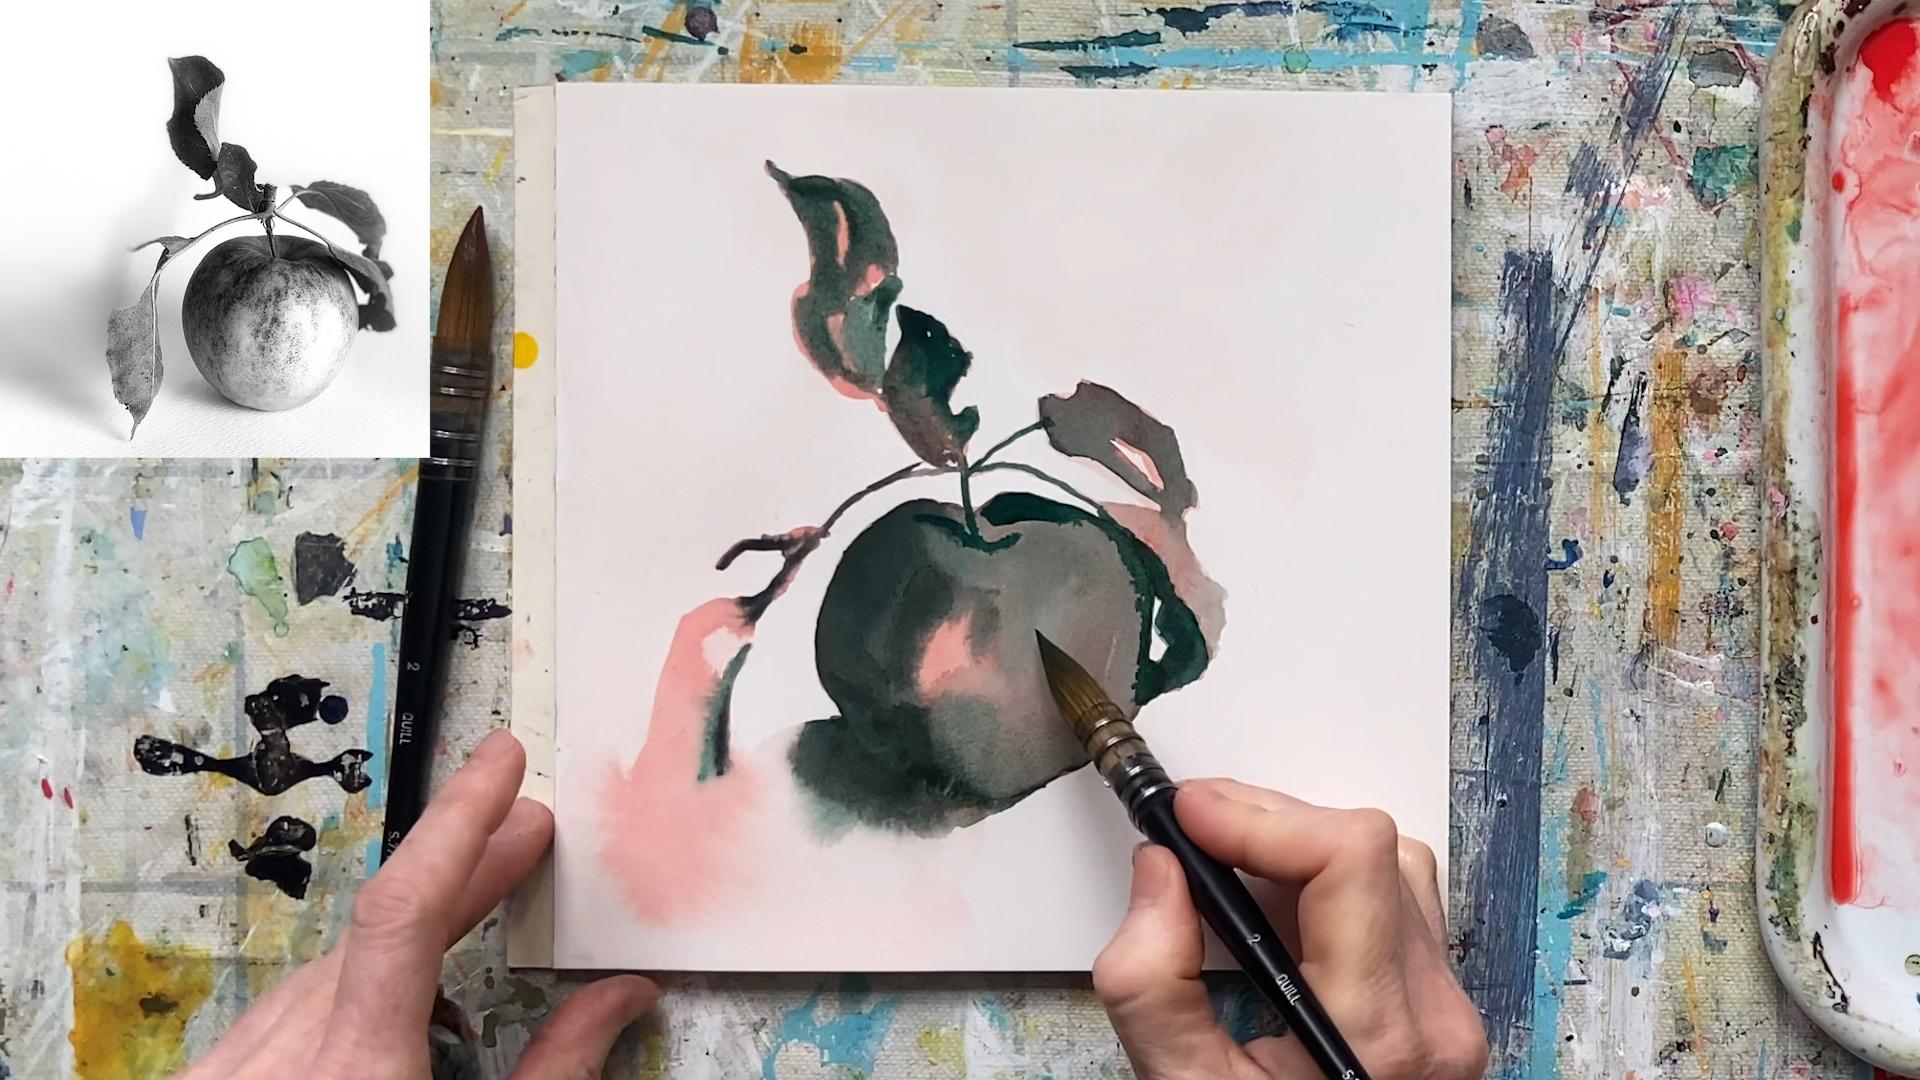
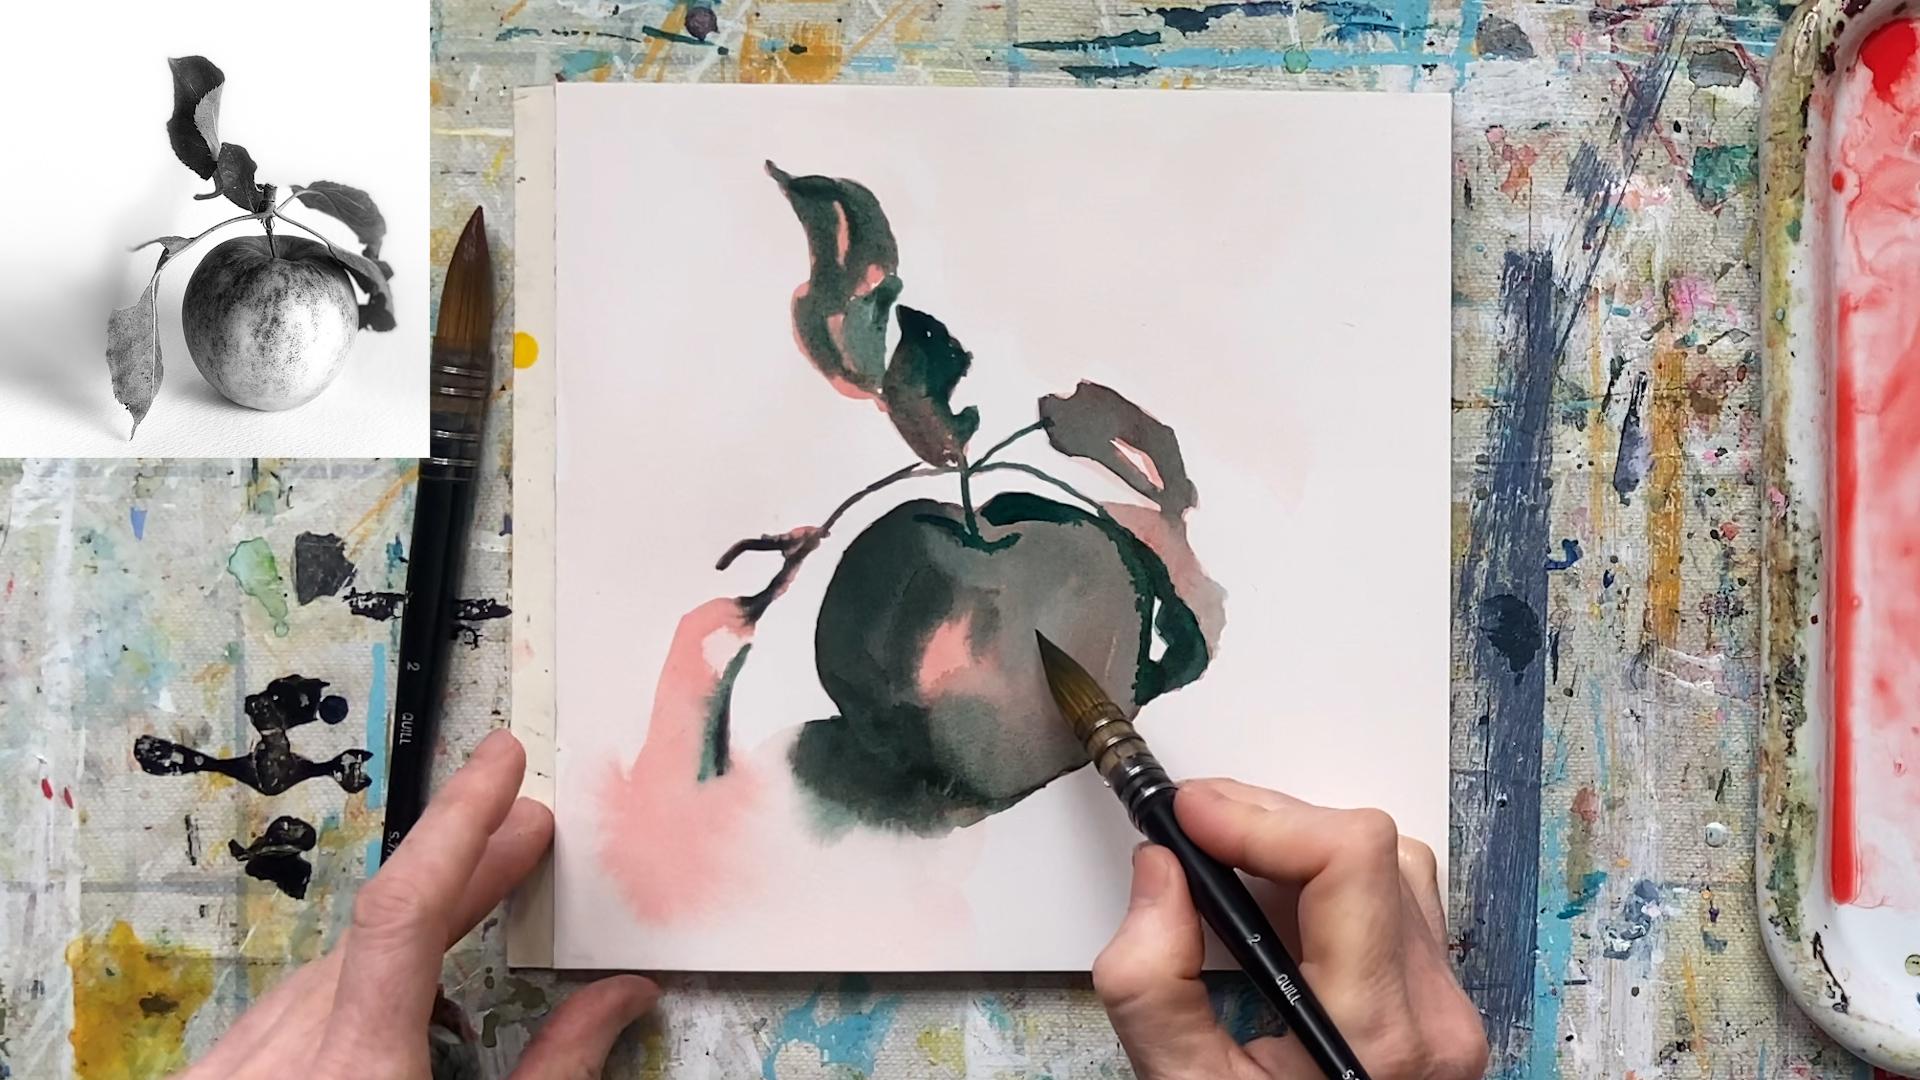
6. Apple 1: So now I'm going to have a go at painting this apple,
which I photographed. First, I'm going to
paint an underlayer, then I'm going to come
in with my darks. I'm going to set a
timer for 10 minutes. Now, this is going
to be a guide. If I go over slightly by a
few minutes, that's okay. But what I don't want
to happen is it turns into a great long painting
because the longer it is, the more you fiddle and it loses its freshness
and its spontaneity. So when you're
doing this at home, if you have an element
of a time limit, maybe start with 10 minutes. If that feels too short, you can try 12, 13 minutes. You don't want to be panicked
and rushing, but equally, you want to push
yourself to work a little bit faster than
you might otherwise. And that helps
keep the freshness and the spontaneity
in your painting. I'm getting my paint
ready on my brush, and I've also got tissue
in my non brush hand. This is important for helping
me control that wetness. Now, I can feel on the palette that it's a little bit too wet, but the color is
probably about right. Maybe it's a little
bit too strong, as well for my first
layer, the pigmentation. So I'm going to tap out
this is my water jar. I'm going to take if my
pigmentation is too strong, I'm going to take out a bit of the pigment by
dipping in my water, tapping on the side, and
then coming back in here. And I can control, let me just clean this so you
can see what I'm doing. I can control the consistency
of the pigment that way. Okay, so I've got a
stronger mix at the top. I've got a medium mix here, and I've got a slightly
less pigmented mix here. And now I'm ready to start. So I'm going to press my
timer. And we're going. I'm going to start
with the basic shape of the apple and
just get that in. I chose an apple because it's quite an easy thing to draw. It's basically just a circle. So we want to focus on mastering the timing and the wetness with a subject that's not
too complicated. As the light falls on the apple, I'm taking out some of
that pigment so that I can start to create
these tonal differences. But I want to keep
it nice and wet. So it's a balance between
having a lighter tone, but also keeping
it wet and juicy. That's not as even as
I would like it to be, so I'm going to just
come in and try and even out some of the pigment. Okay, and start on these leaves. Now, when I do the leaves, watch what I do with the brush. I'm going to use more
weight through the brush, pressing down harder so that more of the bristles
touch the paper, and I can make that leaf
shape very quickly, almost in one movement. I'm not just using the tip
of my brush and going, Tap dab dab dab dab. Okay? One movement,
push down and use the weight of your brush so that you can get to
that shape really quickly. And that also gives you much
nicer watercolor effects. Lovely. And all the
time, I'm watching this. And when the moment
is exactly right, I'm going to come in
with my second layer. So just start getting
these leaves in. And where it's very, very dark, I'm going to deepen
out my pigment. Now, where I've got
shapes touching, I want to create lost edges. And if you haven't already watched my class on
lost and found Edges, I highly recommend you go and have a look
at that because it explains what lost
and found edges are and how to create them. But here, what I'm
effectively doing is losing the edge between the
apple and the shadow. Now, I want to
soften this shadow, so I'm cleaning my brush, and I'm going to come
from a distance. I call this approaching by
stealth just with water. And then as I get nearer, I'm just touching on that
shadow to soften it a bit. Okay. And there's going to
be a shadow here, so I'm very loosely and quickly
putting that shadow in. Working fast like this forces
us to be more expressive, and that's what I'm aiming
for with this painting a painting that's looser and more expressive than
I might otherwise do. So now this here is pretty
much ready for my dog. In fact, I might even be too
late. Let's have a look. When I come in with my dark, no, it's fine. It's perfect. But there's a golden rule for wet and wet painting,
and the rule is this. When you bring a second
layer onto a first layer, make sure that what's
in your brush is less wet than what's
on your paper. And how you do that is you load your brush
with your paint, and then you tap off
onto some tissue. Before you come onto your paper, and that enables you to
control your second layer. Just remember, second
layer needs to be less wet than what's
on your paper, and it's always your brush is always wetter than
you think it is. So that's a good tip. Now, my black here is too dark. So I've tapped out a bit of
the pigment into my water, and it's also very green. But here you can see I've changed the
pigmentation strength. Now I'm tapping off,
and I'm going to come in here with
my lighter tone. And I want it to move in
the layer underneath. Okay. Lovely. And then it's a lighter tone through
the back and then over here. So the underneath layer
is sort of a guide almost showing me where to deposit
my paint in my top layer. It's a different
way of painting, but I find it quite fun, and you end up with these
lovely soft effects. Then I want a third,
much lighter black. So I've taken out even
more of the pigment. I'm tapping it off, and I just want to pop a
little bit in here. It's too wet still in my brush, and if it's too wet, the risk is that you might
get a cauliflower. So that's what you
want to control. Now, the leaves here are
getting dry rapidly. In fact, they probably already too dry. This one is still good. So let's come in with
our black for this one. Yeah, that's fine. I just want to get
something in there. And then the sleeve,
the tone is lighter, so I'm coming to a lighter
tone here, tapping off. Get that light gray tone
in beautiful. Okay. This leaf is dry. So I'm going to come back
to my under layer and just reactivate it with a little bit more pigment
and a little bit more water. So I'm re wetting it.
Okay. And while I'm at it, I'm going to paint the
next leaf in here. Remember doing to put
weight through my brush. Okay, use the full amount
of bristles that I can. So here, I can just pop in
this leaf, bring it around. Bring it down here,
and then there's a leaf here coming down. I'm not too worried about
completely copying the photo. What I've got here are
some nice washy effects, which I was hoping to get. So that's great. Now, the
gray hair is drying rapidly, and I'm getting a cauliflower. So I'm going to see if I can fix that by bringing
in a little bit more of my dark and
just coming over here. I think that
watercolor painting is a lot about knowing how to
fix when things go wrong. And this is one way you
can fix a cauliflower. So I've come in again, and I'm making sure my
brush is not too wet, and I'm just putting a little
more pigment down there. We won't know until it dries whether I was successful
at fixing that. The less hope so.
Okay, the shadow, I might just soften
out that shadow. A little bit. Okay. And then I'm going
to come in with my dark paint into this leaf. So timing your top layer
is really important. If you come in too soon, when your bottom layer is still pooling like
that and shiny, then you won't be able to
control your top layer. You want the bottom
layer to have soaked in a bit but still be moist. And if it's soaked in but moist, that's the perfect time to
bring in your top layer, and you will get this
lovely movement of paint into the layer below. I'm nearly at my 10 minutes, and I'm not going to panic, but it's telling
me that it's time for me to think about
finishing this painting. There we go. That's
my 10 minutes. So my last step with
this is that I'm checking my tonal values and just punching up the darks
where I want them even darker so that I've got a full range of tone
from light to dark. I'm just going to
add a bit of dark. Here, my black has turned
pretty much almost green. I'm just going to try and
adjust that that. There I go. So having the discipline to stop it's quite important
and also quite tricky. And then for this leaf,
because I've run out of time, I'm just going to
put some darks in and let them move
however they want to. And for the folded bit, I'm taking out some of that pigment and
just going through very quickly. Do that. And as a final step, I'm going to try and
see if I can lift out a little bit of paint
here to create highlights. So I've cleaned my brush. I'm drying my brush, and now lifting out Lifting? Yes. And clean again. Dry again, lift. And that's how you can just as a final moment in your painting, create a few extra
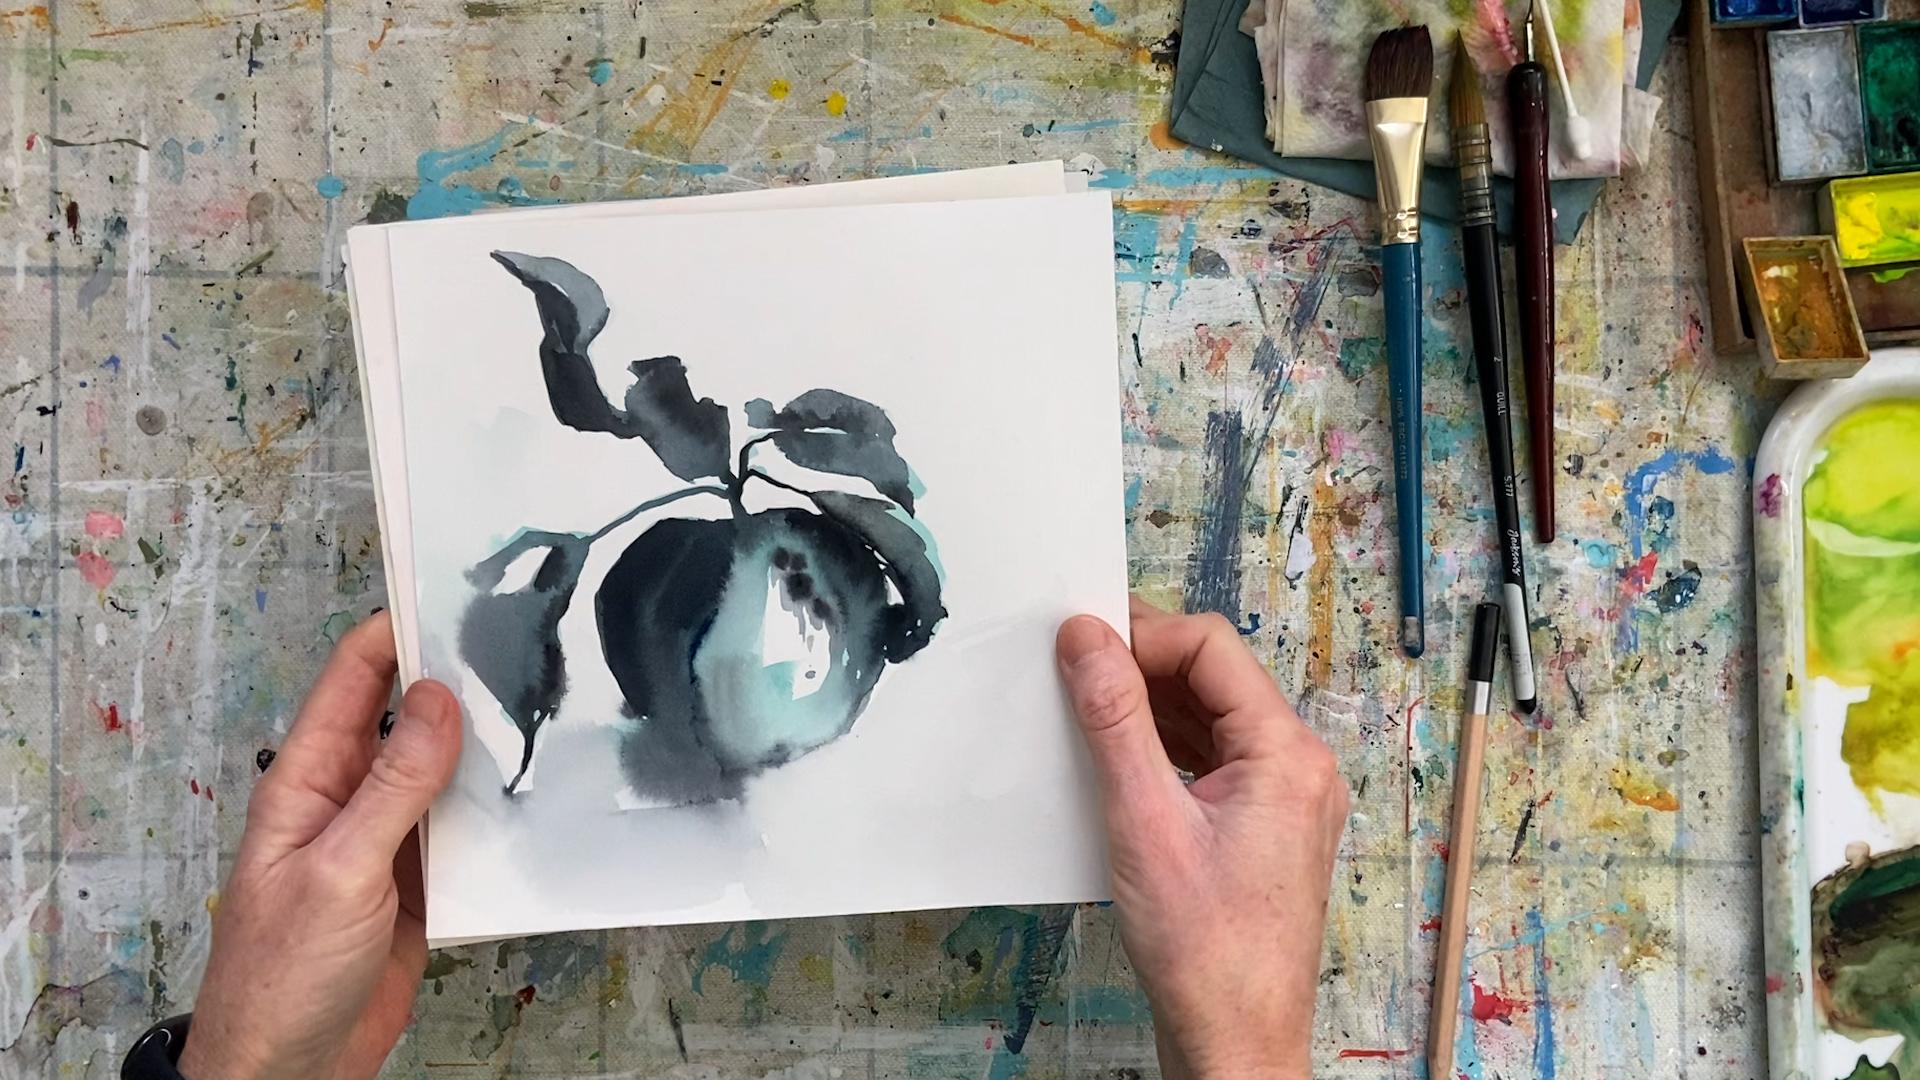
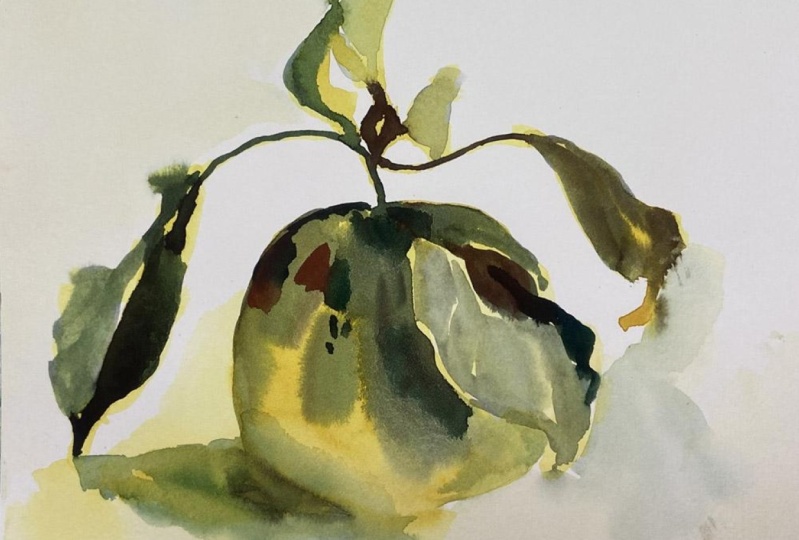
highlights and details. And there we go. So that is my
finished apple using an underpainting and
then coming in on top to study the tonal values.
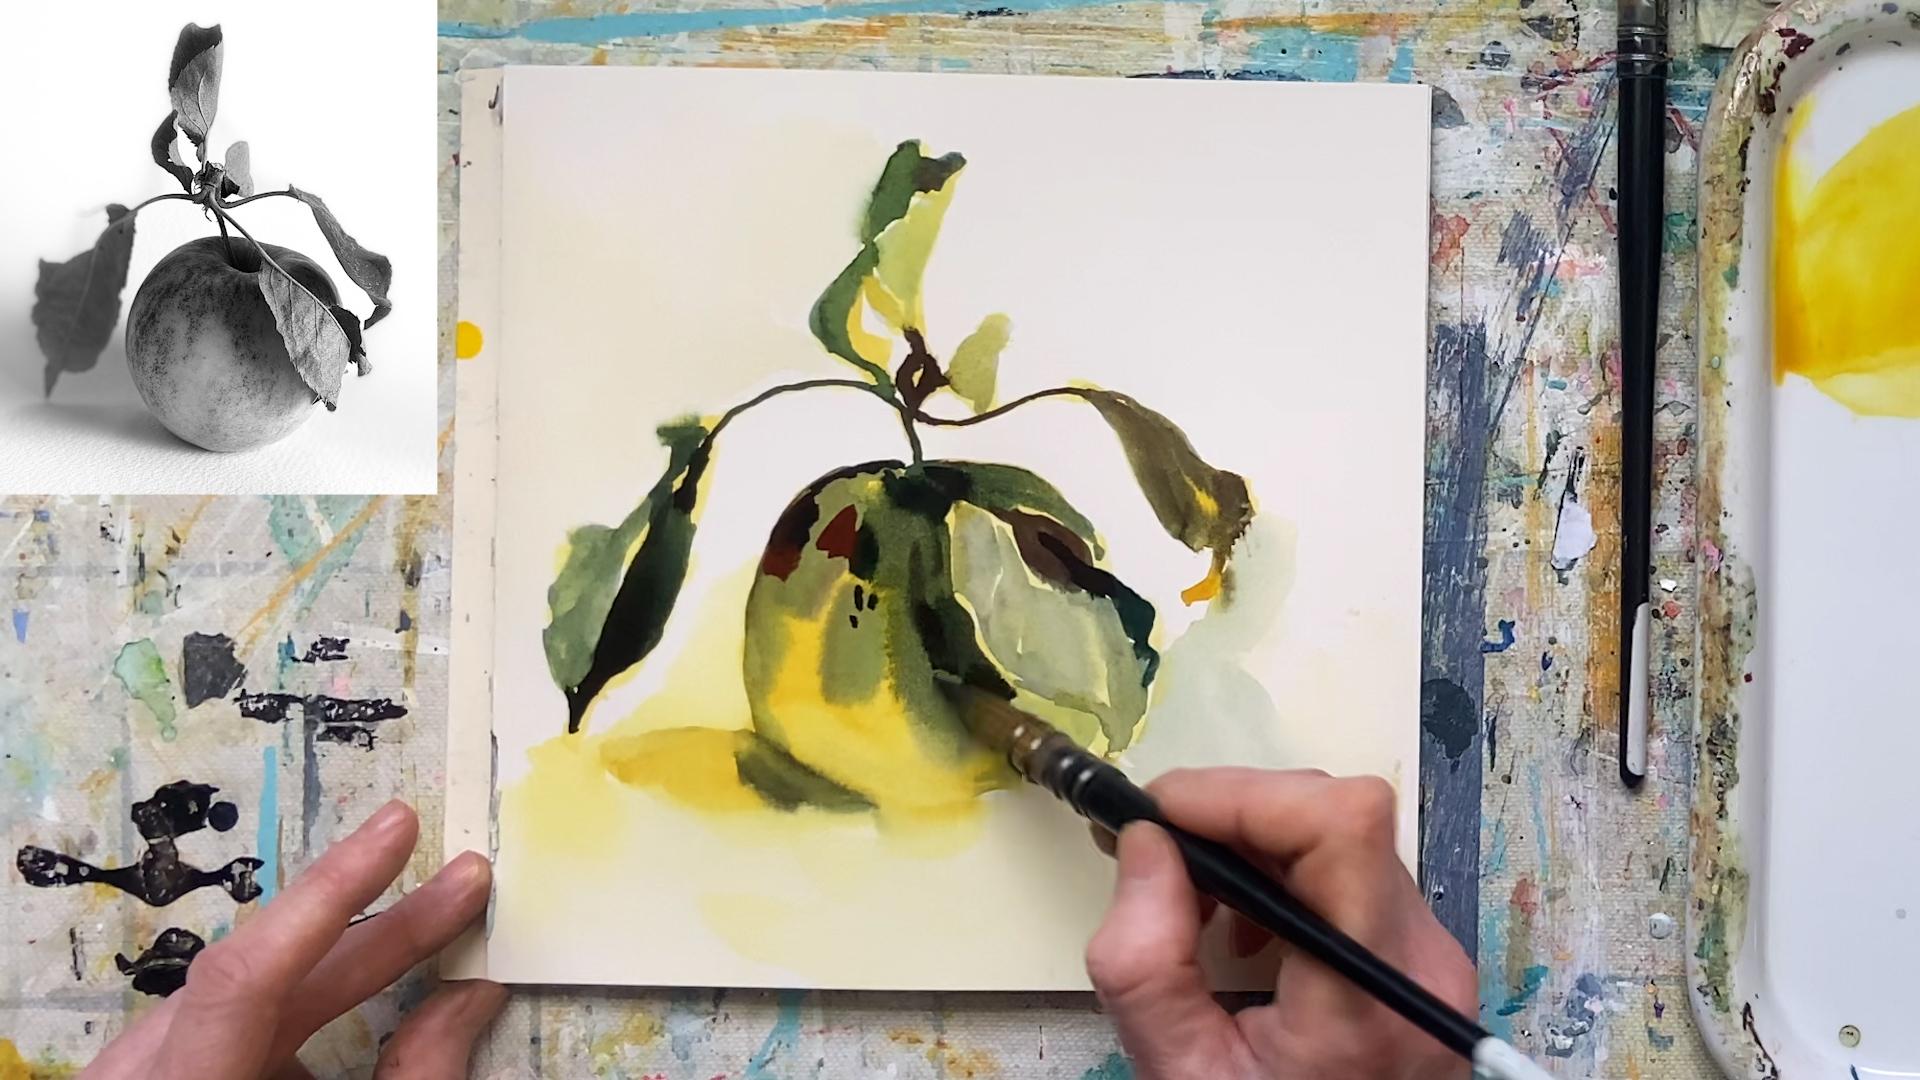
7. Apple 2: For this next one, I'm going to paint a slightly
different photo. It's the same apple just at
a slightly different angle. And I'm going to use a different color as
my underpainting. I'm going to use this it's
called Nickel Azo yellow, and it's made by core. It's a very beautiful
warm yellow. And I'm getting it right on
the palette before I begin. And I'm going to have my
clock set for 10 minutes. So, same as before, I'm
going to come in with the basic shape of
the apple first, try and make it a bit
bigger this time. I'm using the whole of the brush to get the shape in
as quick as possible. And there's a leaf here on top, which is less which
is lighter in tone. So for that, I'm
pulling the pigment down a bit drier to
get that lighter tone. And then on the
side of that leaf, the tone gets darker again. And it comes out here. And there's a funny
sticky outbid there. It's such a beautiful
color, this yellow. And then the stark
comes up and it comes out and into this leaf. And just get the basic
shape of the leaf. Down. Once again, I'm going to put more weight through
the brush and pull up to get the shape done
as quickly as I can. And I just come in
with this leaf. So same as with the other one, the wetness of the paint
is the key thing here. I want everything
to be quite juicy, quite wet so that when I
come in with my next layer, everything is still
active and ready for me. It's lighter shade here, so I'll just bring
it down a bit. And then there's a
little leaf here. Stem coming out. And once again, I'm going
to put wrong wrong yellow. Put a bit more weight through my brush as I
bring this leaf down. And get that angle in there
and wait and get it in. Now, before it's too late, I'm going to just come in again. So if it's starting
to get a bit dry, I'm rewetting it and then
bring this shadow in. And then I don't want
anything to get too dry, so I'm just rewetting
those crucial areas. Okay. Now, to get that
shadow to soften, I'm going to take cleaner water. I'm going to come
from a distance. And just lightly touch into
that shadow to soften it. And same thing over here. Just lightly soften that edge, and then let the paper and the paint do its
thing naturally. Now I'm ready to go
in with my top layer, and I'm using a different brush, and I'm getting my paint ready. I'm going to start with
the darkest part and just bring in that color with as clean and simple
a brush stroke as I can. That was beautiful. And bring that stalk in. Lovely. And again, I'm just looking for the darkest areas
and get those in. You can see here the
green that was part of my black is coming evident
as the paint separates out. And that's one of the
reasons why you want to make your own black is that
if it's a mixed black, you get all the beautiful
tones that make it up as you do your painting. And then the leaf here
is more of a mid tone. So I'm taking out
some of the wetness. The really important thing
to keep in mind is that your paint on your
brush needs to be drier than the paint
on your paper, than the paper that
you're going into. So I'm coming in with
my dark color now and just going to try
and see what it needs. Now, it's already quite dry. And if this happens, then I'm going to come back
in with my first brush, my yellow brush, and just
activate things again a little bit like that. And same here. I'm just coming in
with my original brush and reactivating that
underneath layer. Okay. And now back with
my dark brush and bring in and try and be quite Oh,
now what happened there? My brush was too wet.
I forgot to dab. This is a common
mistake we all make. So now I'm going to fix
it by drying my brush and lifting out some
of that excess. I think a large part
of watercolor painting is knowing how to rescue your painting
when things go wrong. And lifting out in that
situation can save it. So that's looking nice. I want to deepen my dark tones, but let me first
just try and get this leaf in a little bit. The darkest part of the
leaf is actually this side. And I want to make as few marks
as possible on the paper. I've smudged my paper here. So if I'm very quick, I can come in and try and fix
that. Same thing up here. I want this to be kind of painting that sits together and is
quite expressive. So if I am quite quick, I can create a bit
of softness there. There we go. Now, back to this leaf. The darkest part is
sticking out here. I've got just over
2 minutes left, bringing it round and join
those two things together. And then here, I want to darken
up what's happening here. Now, the leaf itself is
actually quite a light tone. So I'm taking out some of
the paint from the brush, and as you can see on my palette it's a much lighter tone. I'm drying it a crucial step, and I'm just going
to try and come in and indicate this
leaf a little bit. Just going for an
expressive kind of thing, nothing too detailed
because I just don't have time. There we go. Beautiful. Then if
I squint my eyes, the toe behind the leaf is actually kind of
darker mid to dark. I'll just try and get that in. Like that. There we go. Got just
over a minute left. So I'm going to come
in on this bit of leaf and just see if I
can finish it off. The beauty of this method is that you get expressive results that you wouldn't
necessarily have got if you were trying to
control every single thing. So if you're wanting
to move towards looser and more
expressive watercolor, this method can be your friend. The leaf up here needs
just a little bit of gray. And then final touch is just to deepen out the
very darkest darks. So here, and I want to go
less is more for this. That came out a little
middle orange than I wanted. And I want to get in
the sense that there's a dipper in the apple. Add a few details. But I don't want to do
too much. Here we go. And last thing I might do with my last few
seconds is just see if I can improve the shadow
ever so slightly. Like that. There we go. My
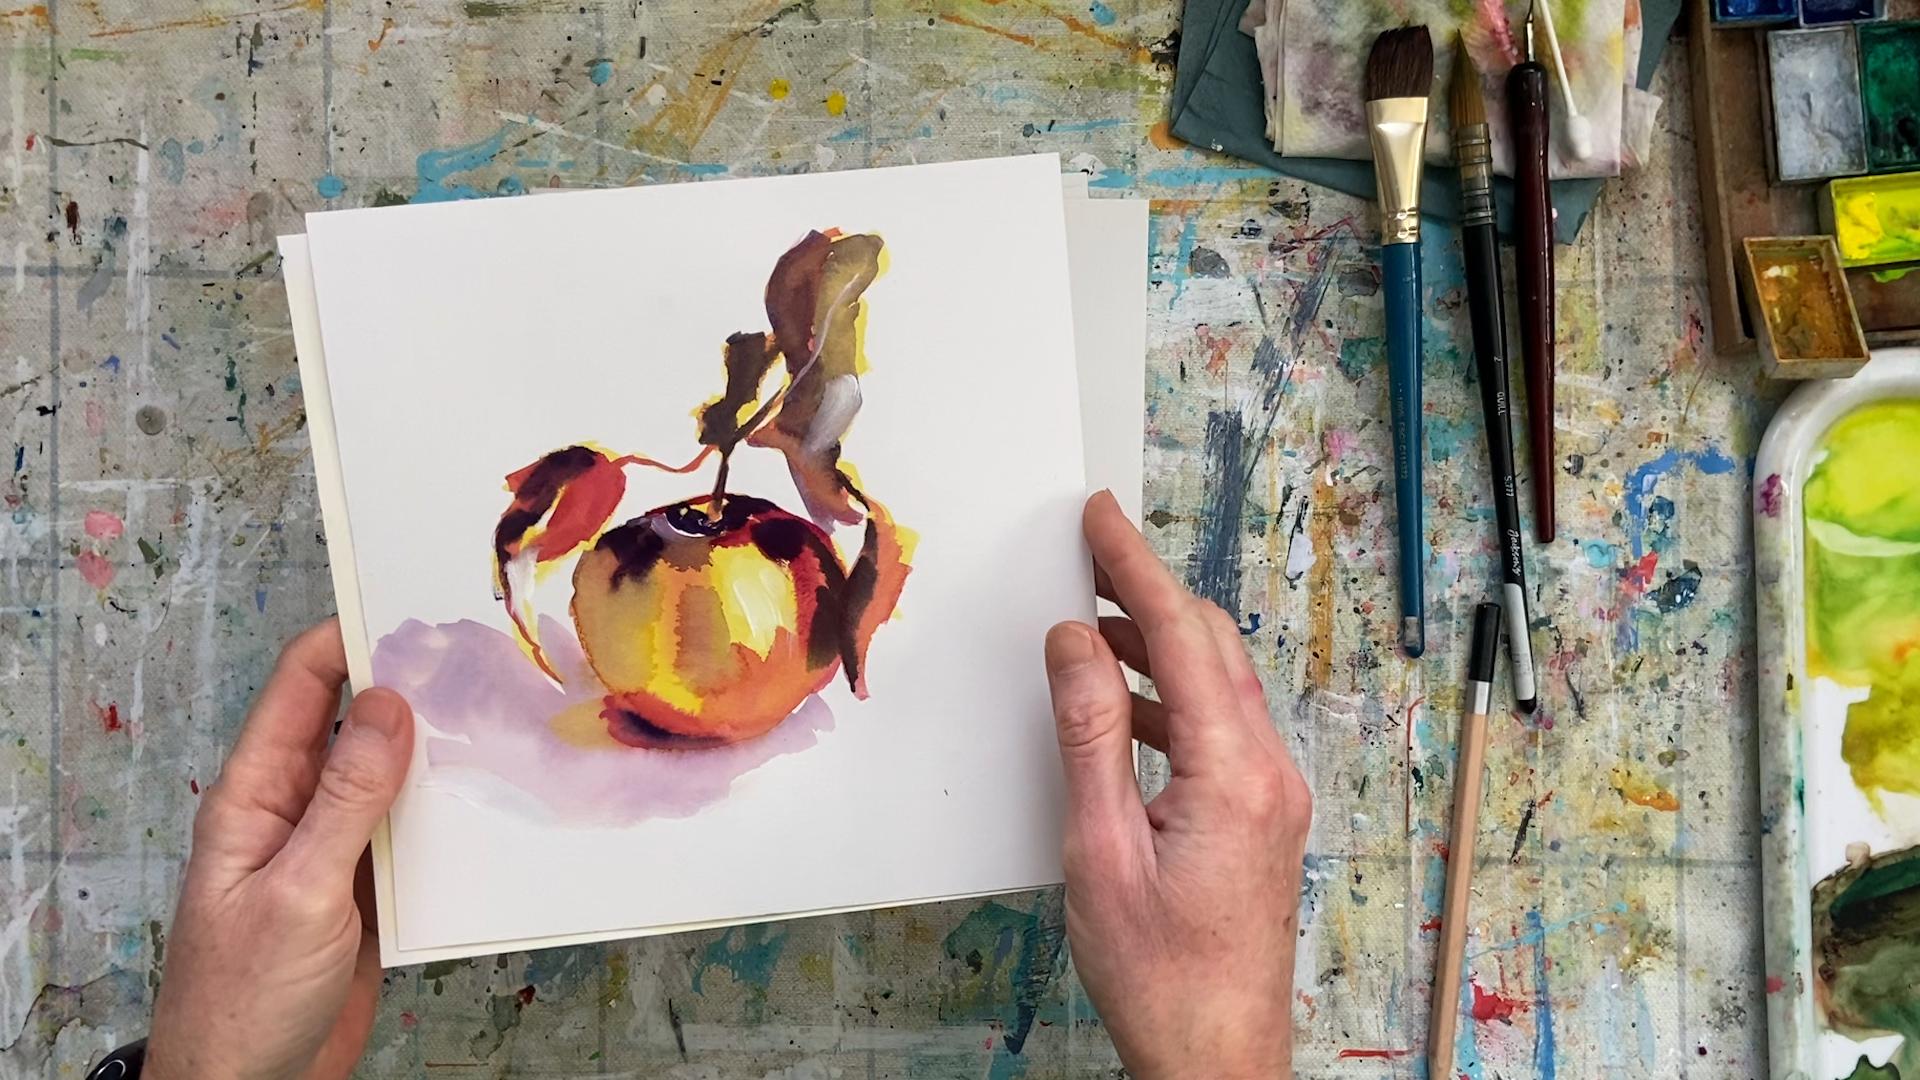
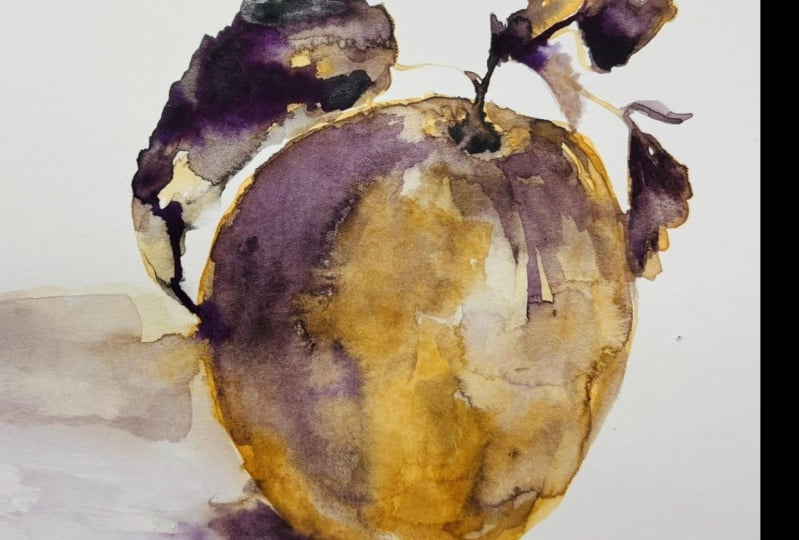
10 minutes is up, and there you have
an expressive wet in wet watercolor apple using a different color as an
initial underpainting. It's a really fun way to
loosen up with paint.
8. Conclusion: I hope you found that useful, and I hope you feel more confident working in the
wet in wet technique. Remember that the first layer of paint that you put down
is really important. You don't want it to be
too thin or too watery. You want it to have just
the right consistency so that when you come in
with the second layer, you can get those beautiful
wet and wet techniques. And when you do come in with your second layer of paint
or your second color, remember to keep the brush
less wet than the paper. And in general, you want the brush to be
drier than you think. So a quick tap on a
tissue will take out that excess moisture
and you'll be surprised by how wet
the paper still is. You can do as many of
these as you want. Just have fun. It comes. The more you practice it, the more successful you will be. I would love to see
what you have painted, so please don't forget to take a quick photo and then upload it into the class project
gallery so that I can offer you some
personal feedback. And if you enjoy the class, I'd be really grateful if you could leave a review
on Skillshare. If you'd like to connect
with me on Instagram, I am at Catherine
Jeni for Designs, same on Facebook and
same on YouTube. And don't forget that if
you enjoy this class, head over and check out
my two other classes, Lost and Found Edges in
watercolor painting, which goes in depth into
lost and found Edges, what they are, how to make them, and also paint with confidence five minute
luscious landscapes, which is just a really fun way to build your
confidence with paint. Until next time,
thanks for watching.
 Catherine Jennifer, Artist, Art Educator, Designer