Transcripts
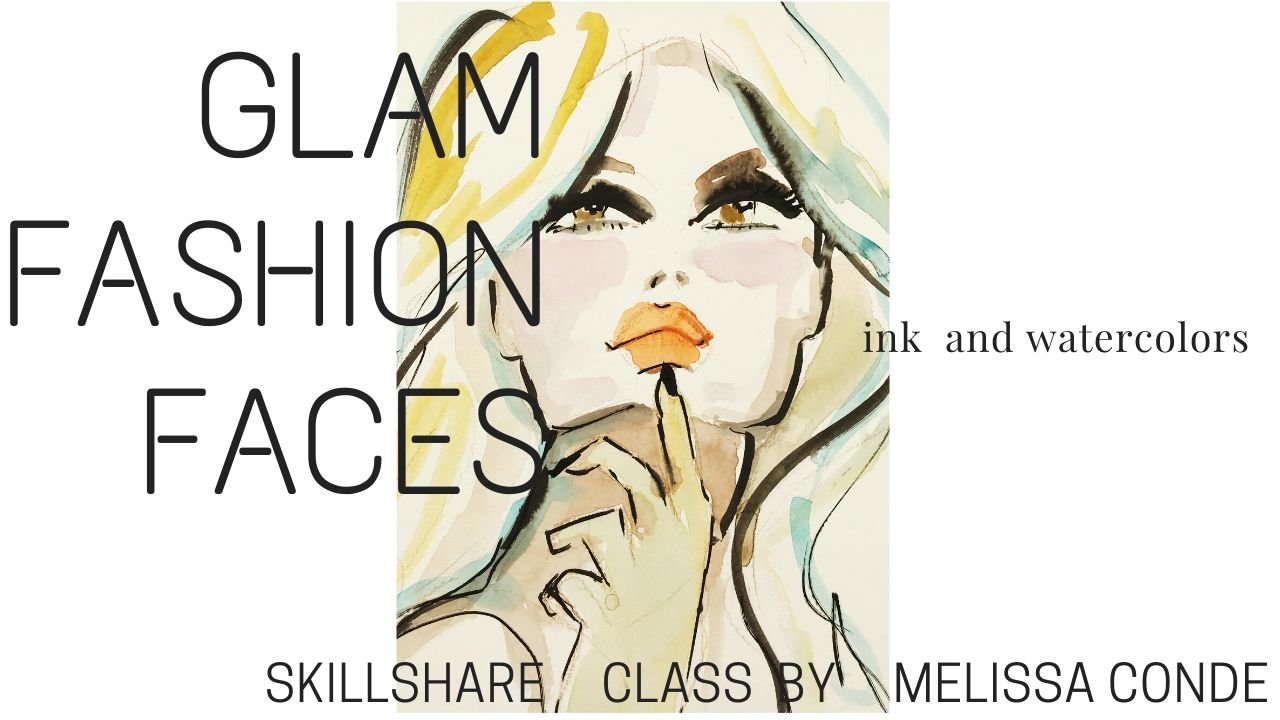
1. Intro: Hello. My name is Melissa Conde. I am an artist, illustrator, surface pattern designer,
Wall Skill chatty. Today, I welcome you
to my new class, where we're going to be painting and drawing
cute animals, could be a chicken, a puppy, could be your pet, a cat. You do not need previous
experience painting and drawing for this class, is very simple to follow. I have always painted analogs,
watercolors, acrylic. And for a couple of years now, I've been scratching on digital painting and
figured out this technique. I don't know if I made it up, but I will show you how I do it, and it's really simple, gives artwork a little
movement. It's pretty cool. All you have to do is have some experience using
gadgets such as procreate, Illustrator, photoshop, whatever you have
available to you. For the class project, you will use the simple
technique to paint your little animal from
a picture or real life, meet you in the next video, and let's get started.
2. Painting shapes on Illustrator to build up the Pet: All right. In this video, we'll be creating
a new document. So click on file
new on Illustrator, and we will start something new. Here you can choose
arts and Illustration. And the size of the image you're going
to do your painting on. I'm choosing poster,
and here on points, I will choose pixels. And advanced options, I am
choosing the definition. I am going to leave
72 PPI because I intend to use it on the web. Now, click on file place, and we will choose our
puppy pat, cat or dog, whatever picture you
have selected there that you want to
use for this class. I have this dog here. Clicked on that, and then
anywhere on your artboard. The image is very small. If this happens to you, you just click and
drag pushing on shift, and you can make it
whatever size you want. I'm going to make it bigger, but not the whole page. I'm going to leave
a frame for later. Here on the side bar, you have many things, and we are going to
look for the layers. If you don't see it there, you click on window and go
down to layers, click on that. Here we have the layer
of the artboard, where the picture is. We want to make a new layer. You see? We want to
paint on a blank page. Make sure that is lit up. If you click twice, you can name it Dog or whatever. And This is where we're going
to do all our painting, not on the bottom one. Make sure that's clicked on, and now we are going to use
select the blob brush tool. It's very simple. Sometimes you'll have to click
here in pick blob brush. We're going to do
the whole painting the first part with
the blob brush. Here we pick the color. I'm seeing brown and white. You can paint whatever
color you like. Play pick and choose and always
come back and change it. I pick this yellow
for the brown parts because I don't want to
make just like the picture, I want to make it more fun. You see the size of the brush, and if you want it
bigger or smaller, you click on the left
or right bracket. And there I have a
large blob brush. I'm just going to go around
painting the brown parts just making a shape with the
same width wherever I can. Now I want to make a smaller one to close the ears here and there and look for other
places where I can see the kind of brown
color here on the side. Mm and I'll go even thinner
to make this part here. Okay. Now I want to see it. I go to the artboards
and click on the eye, where the picture
was, and I will see where I missed
and what I have. Now I want to make
the tongue nice pink. I'll click up here higher. That's pretty cool
like a bubblegum pink. Zoom in and just paint away, not worrying very much about
perfection at this point. Just fell in the the shape. I'm going to leave this
part here for a darker red And that's that. I'm not gonna worry too
much about this now. Now I'm going for the body. I'm going to pick, let's see. Could be a fun
color or Let's see. Now, I'm going to
I'm going to stick with the white at first. And it's a kind of
pinkish white of white. And I'm going to
cover again with the block brush all the
white parts that I see. You can go ahead and
do that with me, or you can watch it and then start over,
pause anytime, okay? Don't rush it. And you can go over the
picture like outside the picture because you
have that page the frame, I said, and you can
paint on that as well. Making the brush bigger, so I can cover more space. Starting to look
like a super dog. T Okay. Almost done. I am using a Wacom
tablet with a pen, but you can totally do this
with a mouse cause you see it's not very detailed
intricate detail thing. It's pretty simple. This is a class for beginners or for people that just want
to try something new, a new way to draw your pet. Okay. We're getting somewhere. Now I'm zooming in, and I'm going for the ice. My favorite Just one click
here and one click here. And let's see, see it
looks a little crazy, so small that brush, and let's make the eye
contour there and the nose, Wherever it's dark, I can
use this brown dark brown. Let's see. O Okay. This node is not great, but we'll fix it. Let me just do a couple of
dark places here and there. Yeah. We're going to make it. Let's see. What else
make the eye drop tool. You just press eye
and click on it, and you will have the color
that is in the picture. I mean, the closes tone. See? Oh. I'd rather use new
colors, though. I'm just going to put some
gray here on his nose. So when we get to
the next video, we're just going to
use the simple lines to finish it and make him alive. Like a real dog. I hope you're enjoying this and meet me in the
next video. Okay. Thank you. H.
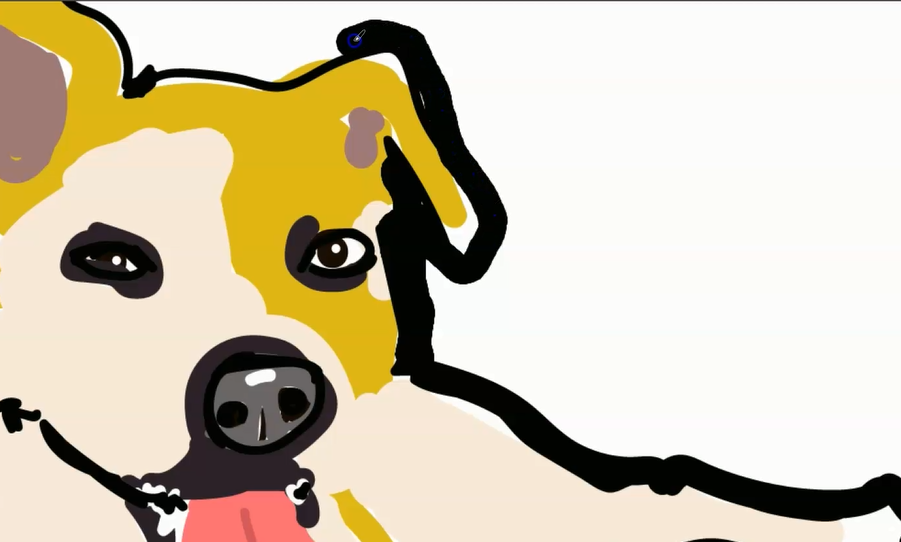
3. Painting the dog part 2 outlining the Dog digital painting : Okay. Now it's the
real fun part. We're going to outline
the dog or the pet. We have the same painting here. We did previously. And now we are going to always
when you make a mistake, you can always pick the razor tool and erase
that or click Control Z. You can also draw
with the eraser. Since the background is white, can make his nose shiny, can make some teeth here. Twinkle on the eye. You could use white, but since the
background is white, it's okay to use
the eraser as well. I can make some teeth. Let's make this better. Zoom in and out as you go to
see how it's coming along. Here I'm picking a dark color and I'm just going to make
sure I'm on the right layer. Take a look at the details. Where does his mouth goes to, and I'm just going to go for it. Don't think too much,
just, you know, start making it and
let it come out. Because this is where
it really comes alive. Here his paws. I like that the line is not
like perfectly around him because that's what
it makes it kind of like having a movement or, you know, shaky things. T. It's already much better. To me in. So you can take your time and
go back and forth. There's a dock here. I'm just going to
make this thick line with the same brush just to. You know, it's more
interesting to the eye when you have
more things to look at. It also gives it some shade here and there. Look at the picture again. When this little box comes up, it's probably because you have
to while you're painting. Like that. And if you do something that
you like this is not right. So I could erase it or
I'll just, you know, click on control and pick that line like did
last and like so. I'm going to try
a different way. Little whiskers marks. And the. I love those on the nose. This time I'm using
the white color. What do you think? It's hard to say
when it's finished. So I'm going to keep on going, and you do the same. I think a little bit more of this black is going
to look good. Now, we have the background. You can try and do a
background, if you like. So scribbles, imitating grass. I'm just going to do it
and see how it turns out. Like I said, we can always go
back and de it if we don't like it because it's just
so much fun, coloring it. Let's see how this
one turns out. Yeah, so I think
this brown is too heavy comparing to the dog. So I just select it
and I'm deleting it. This line also doesn't
have to be here. Now the dog is the star of
the show as it should be. And what you can do, if you want is write
his name on top. I'm just going to write Dog. Make a little hard. Or just the actual
name, whatever it is. Now we're going to save this
puppy. How do we save it? Click on file, go to Export, Save for web. Click on that. Wait for it to come up. JPEG and make sure it's on
art optimized and save. H save. You can save it in the same folders with
the other pictures. I'm going to name this
dog Illustration C, Ma Conde, and H save. We're all done. I hope you like.
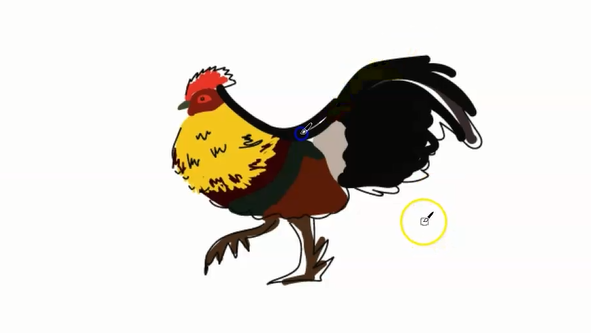
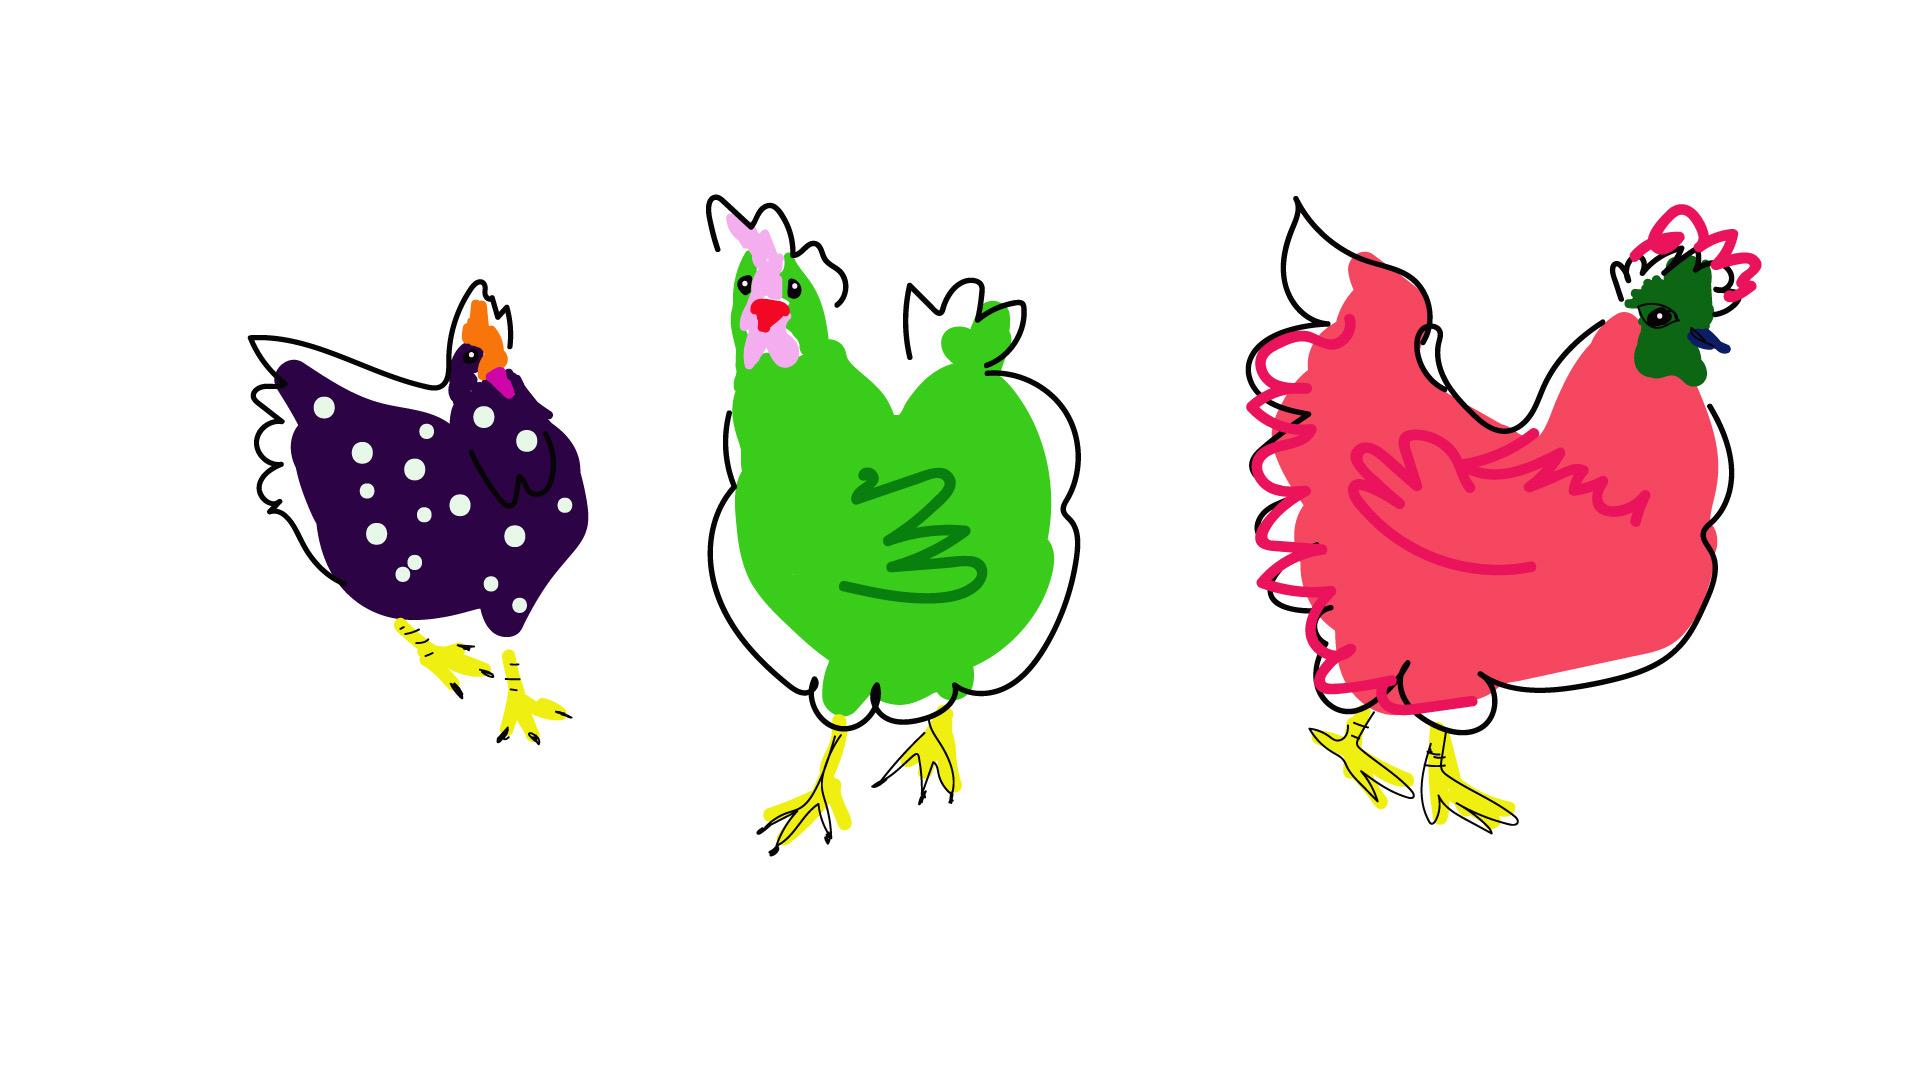
4. Rooster digital painting shapes on adobe illustrator: Open your illustrator and
let's create a new document. Click on Create, and file. Then go to place,
click on place. Here I have a
folder where I have separated a few
images I found on the Internet related
to chickens, hens, roosters, and this
one looks pretty good. And click on place, and there we have our image. Now, if I Shift and
drag the image, I can change its size. I'm making it bigger
so you can see better. Now I'm going to
object, lock selection. This image will no longer
be movable during our work. I created a new layer, which is where we
are going to paint. Make sure the layer is selected, and then I will be using for
this one the blob brush. You can zoom in and out. Click on blob brush.
And try it out. Here's the color selection. You can pick and
choose as you wish. Let's try this yellow here. I'm going to try to be faithful to the tones
of the picture. I can also go on the eye drop and pick a
color from the picture. But I chose this yellow. I'm just going to use the
blob brush to create shapes. Here, I want to do
different colors. I use the eye drop
tool where I pick this burgundy color to do
the middle of the rooster. I don't even change
the size of the brush, but you can make it
bigger and smaller. Depending on what image
you want to to paint. Now I'm just roughly
picking colors and filling up the
shapes of the rooster. Here's a gray. Like I said, I'm going to try to paint along with the colors that with the
natural colors of the rooster. Later on, we are going to big different colors and
make it another portrait. Here you can click
on the eye over there on the right to see what you have painted on
top of the image. You probably know that,
but anyway, here, you see, you can see there are some gaps and fill
them up as you go. Now, the face, I'm trying to get this red and again, just a blob, as the brush says. And now a brighter red
on top of his head. When you click on it
and this little window appears like it did just
a minute a second ago. It's because probably
you have to zoom in. So you just click
outside of it and zoom in and the paint brush
will work just fine. Now, the beak it's a green. And now the eyes, the eye. I want to make you see, zoom in, and then it works fine. P simple. Let's go for the feet. Here, I'm going to make this dark brown and roughly Oops. Control Z for any
mistakes or step backs. There you go. Let's take a look. See, it's coming out nice. You can see the gaps
and fill them up. Again, clicking on
the eye drop two, you get the same color and just fix any thing
that is bothering you. We are not aiming for perfect, we are just practicing. I want to make these feathers some in a way that it's simple. I just sketch a little bit
with the smaller brush. It's the same brush
as the blood brush. You just hit left bracket
and right bracket for bigger and smaller strokes. Feel free to paint without
thinking too much about it. Don't overthink it. Let's go along what your
hand wants to do. See, it looks pretty good. Meet me in the next video.
5. Rooster sketching the outline: Rooster finishing
touches. Bring it home. Now that we have done
the rough painting, the block painting of
shapes and colors, I will Do the final
touches using the same blob brush and just picking this
white color here. I will bring a twinkle
to the rooster's eye, just like that one
touch here and there, and we will round it up. Let's see. We can sketch so like really close to the colors, doesn't have to be I
shouldn't be too perfect. L et's try this and
see how it goes. Or we could just control Z and make it farther from
the shapes and colors, and you see how it gives the
rooster more of a movement, and it's just more fun to me at t. So I'm going to keep
on doing that freely. Wherever I want, and
you should do the same. Here, just with these
little touches, we can make the
nails, Isn't it fun? It just It's just so
cool. I love this. I hope you're enjoying
it as much as I am. Now I'm going to try
to fill this gap here, see what it could look like. Let me see. With
the right bracket, you make a larger brush and then cover the parts
you want. Ticker. Yeah, I think I like that. Not too much. No problem. Contros,
contros, contros. Zoom in. Check it out. Give it some character. You see, just a few lines
makes a whole difference. There he is. Now he's looking to the side.
Now he's happy. Just a simple, small line can
make a whole mood change. I want you to notice that. L et's see what else? What else? More white. Let's make
this eye brighter. No too much. There. Yeah, is always very important. Now, he looks all mighty. So instead of feeling
that with black color, I'm now using the as
to paint with the as, which is another
thing you should try. See? It's a little too much. To much information. I'm trying to see what I can do this thick line that turns
into that thin line. So I just select it all
and take it off, deleted. It turns out it doesn't need
a line up there, does it? Mm. Just something to smooth out these
blocks of color. Like so. Yeah, that looks better. Okay. Again, because I deleted
the whole top line. And I think it's
ready. Isn't it? Click on file, save
it as a JPEG or PNG, and we are done
with this rooster. See you in the next video.
6. Thankyou : Hank you so much for joining
me in this learning journey. I hope you had a wonderful time and learned something new. I please ask you to if you will, post your class project in
the class project session. Also hope to see you
in my other classes. Follow me for new stuff
coming up as well. Bye
 Melissa Conde, Melissa