Transcripts
1. Welcome!: Are you new to watercolor? And I'm wondering
where to start, where maybe you've been
on your watercolor journey for a little while, but you're interested in branching out and
playing with texture. And this is a class for you. Hi there, I'm Charlie. I'm the artist behind
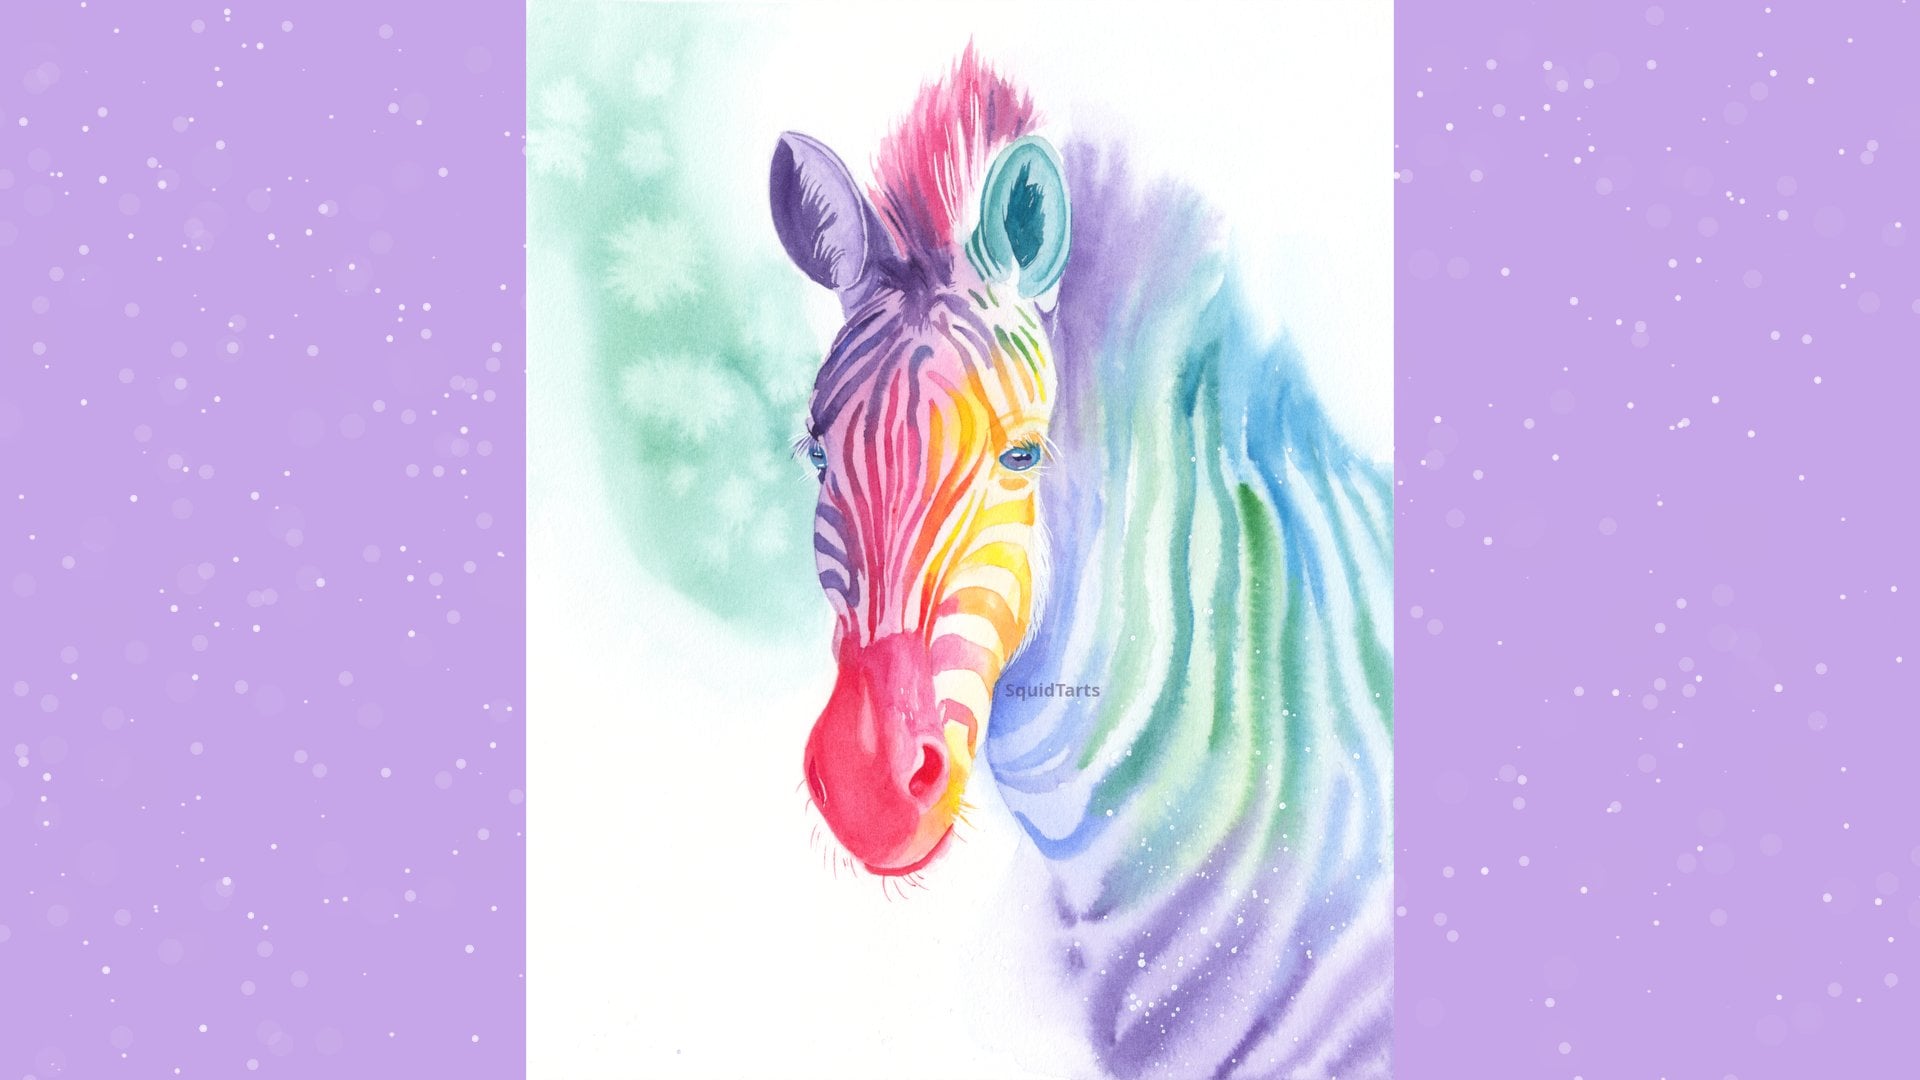
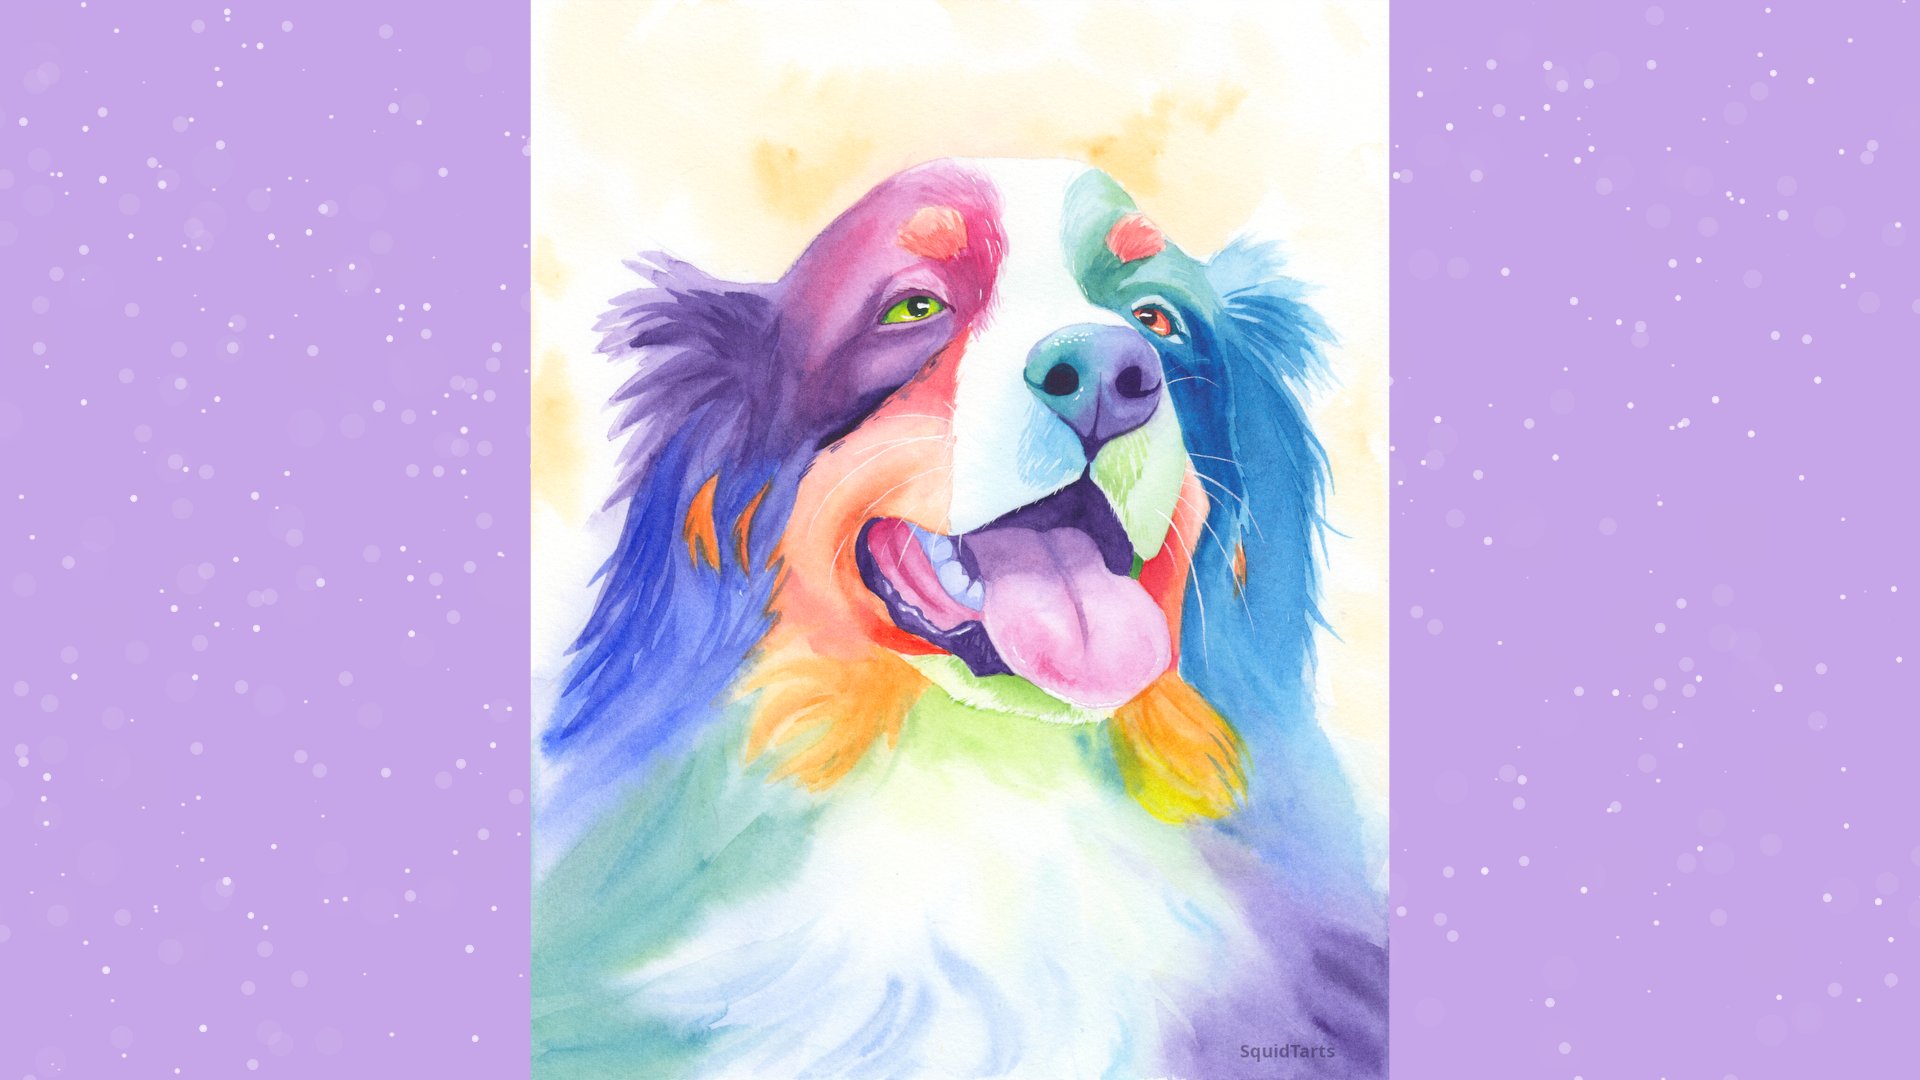
Squid tarts Art. I'm a Watercolour and textile
artist and Atlantic Canada. And I specialize in
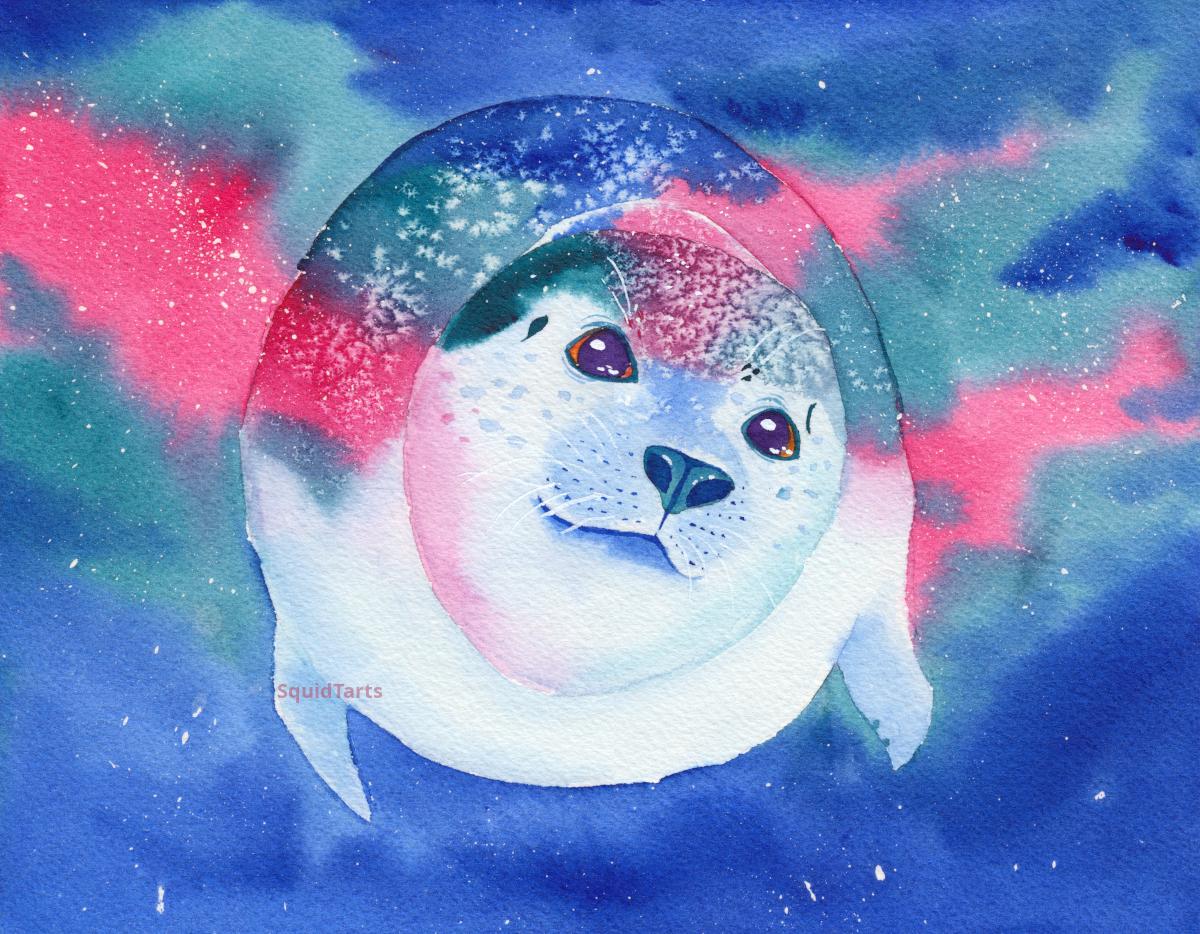
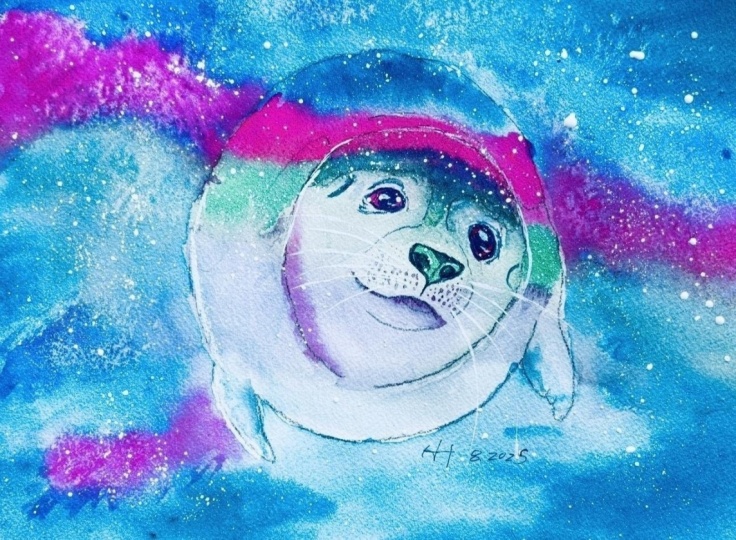
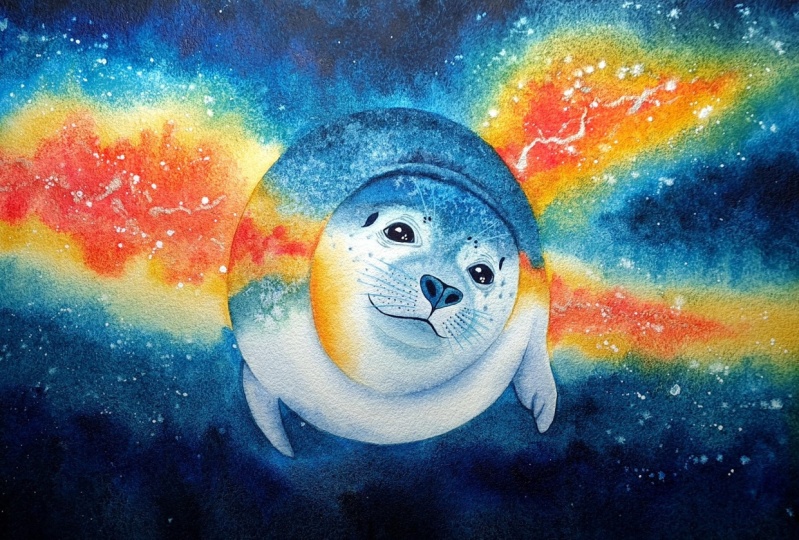
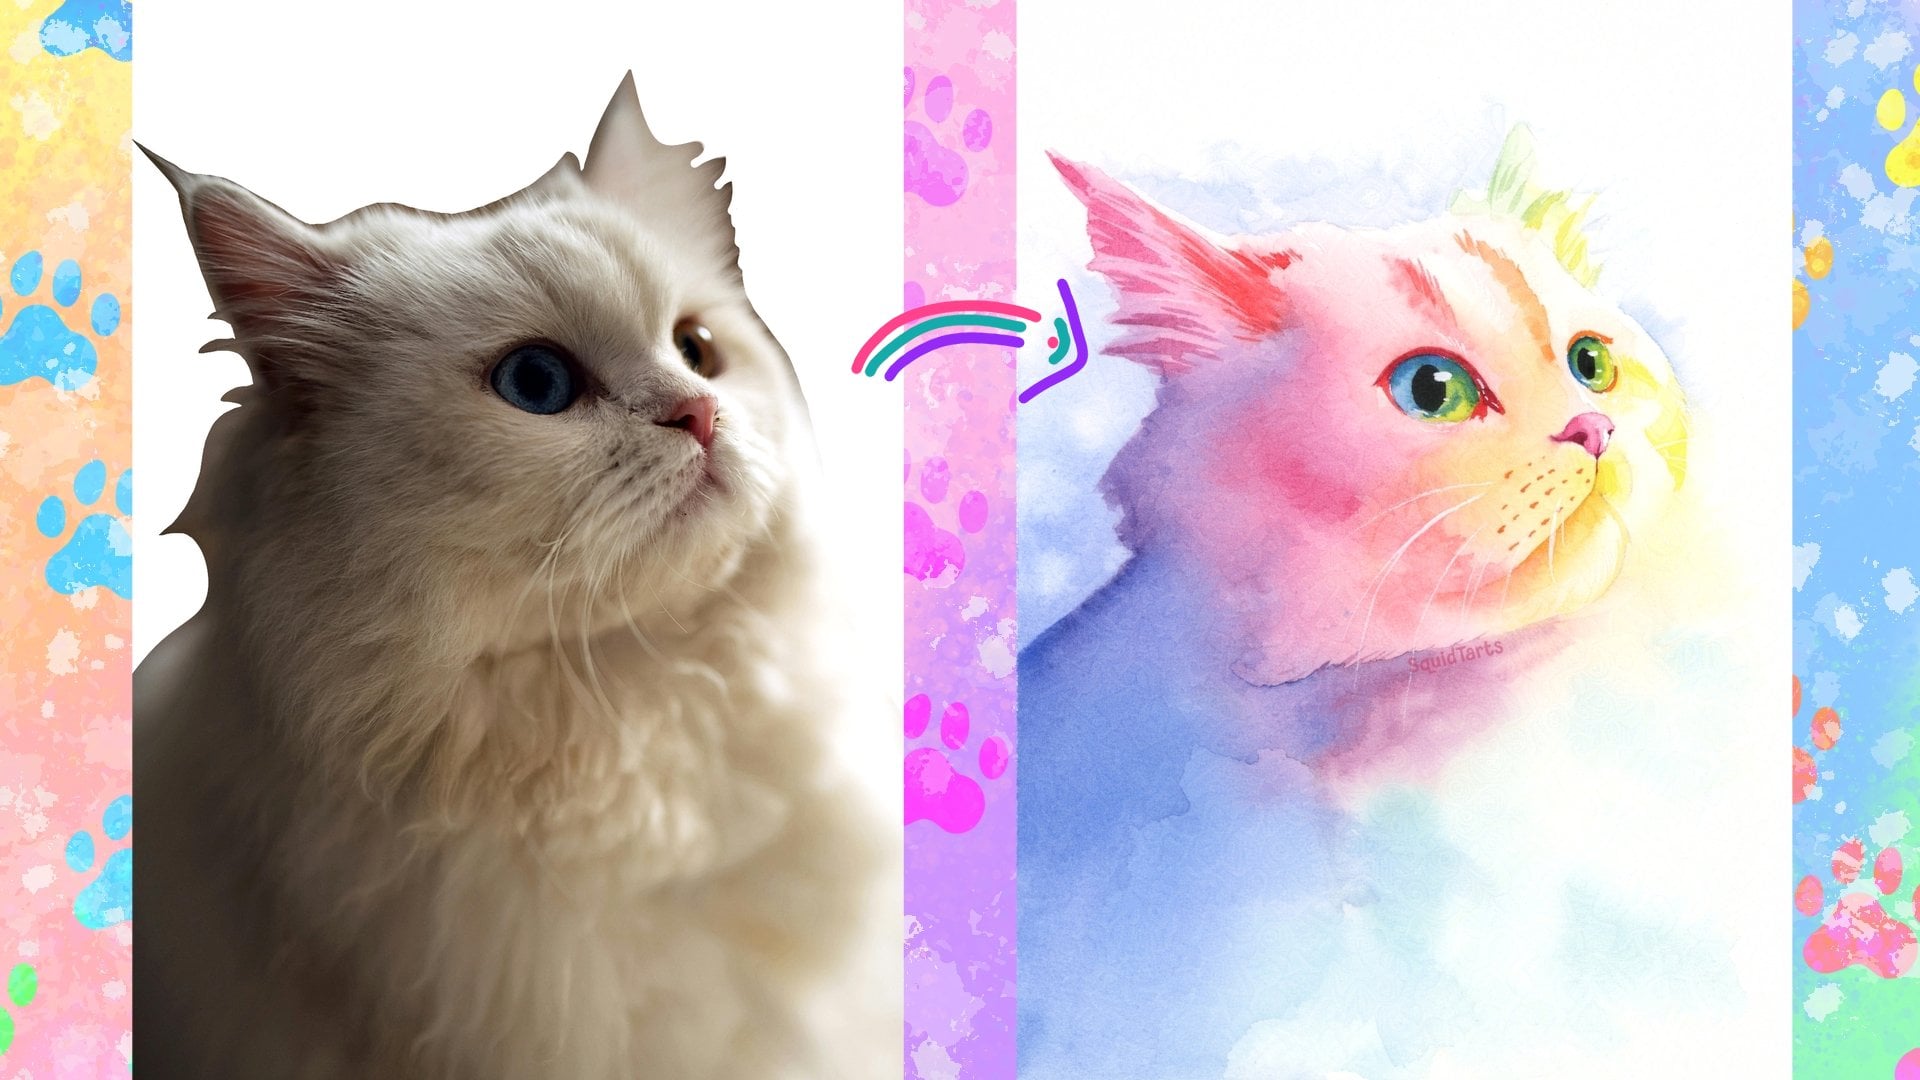
rainbow Animal Portrait. This class we're going to
paint a colorful space seal. We're going to use the wet
on wet technique as well as introduce the use of salt and masking fluid to create
a variety of textures. If you don't have masking
fluid, that's not a problem. You can also use
opaque white paint. And this beginner level course, we're going to focus on
using simple shapes, minimal number of layers, and a loose technique
to create a FUN, loose and expressive
Watercolour Painting. Thank you for joining me
and my Watercolor journey. And I hope you enjoyed the class
2. Your Project: The project for this class
is create a space inspired Seal Using a minimum
number of colors, just three or four. And we'll focus on creating
depths Using contrast, using a minimal
number of layers, usually a wet on wet
technique to create very fluid shapes will also use salt for
creating texture, as well as masking fluid. If you don't have
masking fluid than any opaque white paint work. At the end of the
project, you'll have a Portrait of a
squishy space seal. When you're finished,
please be sure to share your project to the class. I'm really excited to see it
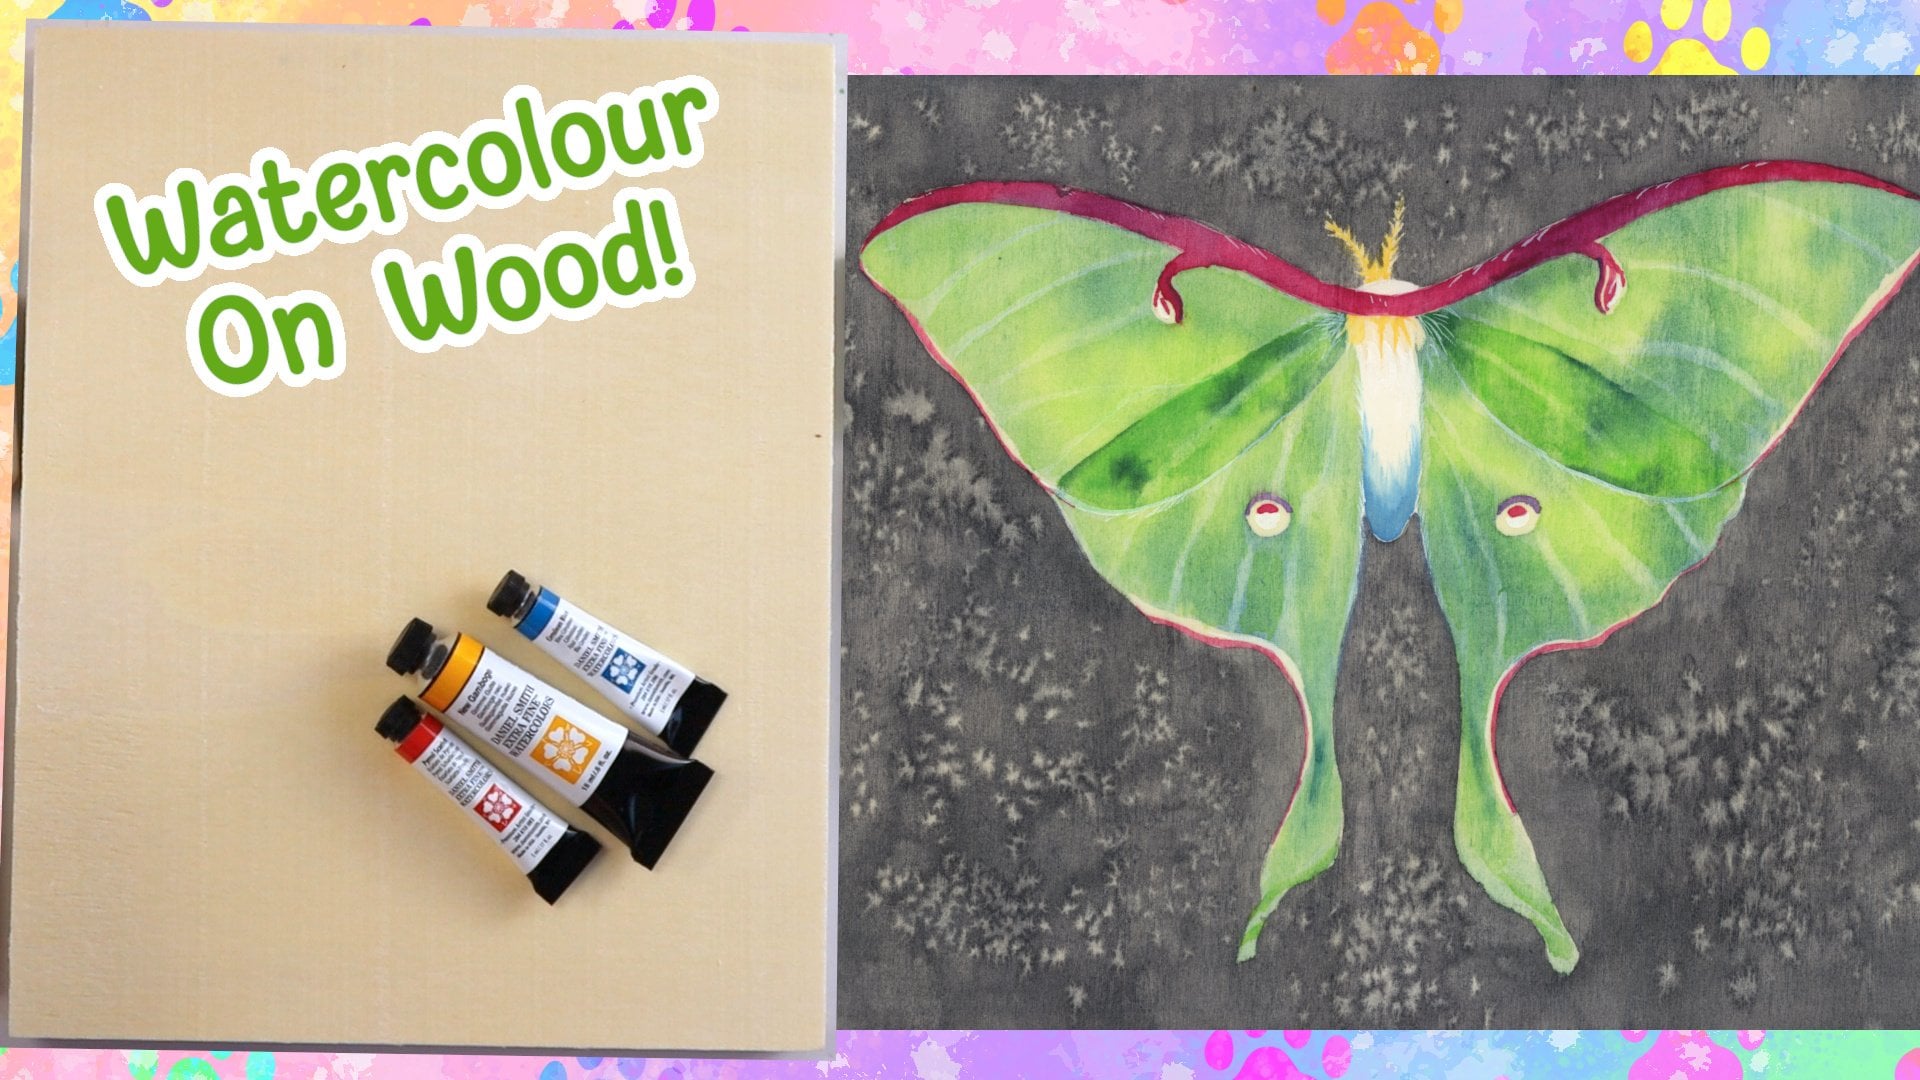
3. Materials: Materials, one for this class, or a good quality cotton
based watercolour paper. Preferably you want to use a 100% cotton watercolor
paper because that'll allow you to
make the most washes, use a large amount of
water without worrying about buckling or the paper
refusing to absorb it, and also give you
more vibrant colors. I also recommend if
you're a beginner to use a cold press paper. So let's say paper that has
a bit of texture to it. And this allow your paint to
lay down much more smoothly, more easily, and will also allow your colors to
blend together more easily. Extended mean it's
Watercolor brushes. I used to Brushes
for this Painting. The first was a round brush, and the next was a small
size zero liner brush. You also need at least
three colors of paint. You want to colors that
are fairly similar. So for mine, I used fellow
turquoise and fellow blue, red shade of blue is of course a blue and turquoise is right next to it on
the color wheel. If you don't have
the turquoise color, you can add a little
bit of yellow to your fellow blue and produce an absolutely stunning
turquoise overall. You also want to
contrast and color for the space areas to help guide
the eye and add interest. For my pop color. I'm
using quinacridone rose, and then just read a little
bit of added interest. I'm also using a little
bit of an extra colour, new gamboge around
the seal eyes. And that's what really
helped them pop because orange or blue or complimentary
colors are really stand out against the background
for creating texture. Your knee, a little bit of salt. Any regular Table salt will do. Actually use the salt directly from my salt shaker
for this one. And you'll also want some
masking fluid or white paint. Masking fluid that I'm
using is by ashmem K. And I find this masking fluid or moves from a paper
really easily. Of course, you also want a
reference photo and a sketch, and I've included both of
those materials for you.
4. Salt: Before we begin, I wanted
to discuss a few properties of salt and how it
interacts with Watercolour. The first thing to
keep in mind is that not all watercolours
will react to salt. In general, synthetic
colors like the quinacridone
and fellows tend to react very well as something natural pigments may not react as strongly
or even at all, definitely interested
your pigment before you begin painting to make sure that it
actually reacts with the salt, the way
that you'd like. Once you know that
your pigment to react to salt the way that you like. There are two other
considerations you have to keep in mind. So one is the amount of water and the second is the size
or coarseness of your salt. When your watercolour
paints are extremely wet, so they form a
puddle on the paper. You tend to get these really large blocky shapes
around your salt. Find salt is going to
make smaller shapes, while coarser salt is going
to make larger shapes. Cnc here in the puddle section, where the Fine salt has created some smaller shapes
along the edge here, but mostly large shapes
that all move together. And when you look
at the core salt, you can see that it actually
has combined to make more or less one large shape. We use less water.
So if papers glossy, but there are only puddles, you tend to get more
well-defined shapes. You can see here
with the Fine salt, you have bunch of small dots with a bit of feathering
at the edges. And with the course salt. Actually may have had
this a little bit too dry because of the
amount of salt. But you can see that
you get a very, very small pattern and some of the salt actually
barely relax at all because the salt was too large for the amount
of water on the paper. This is just an example of how you might want to experiment with the amount of water
and also the salt size. And it's final
section, I resolved a bunch of salt in water and just mix that directly with the paint as I
would normal water. When you do this
with some paints, you can get a bit of texture. So you see along the
edges of the swatches, there's a bit more of
a cauliflower effect, but you don't get the
dramatic dots like you do with adding the salts
directly to the paint. Loose piece, I'll
be using Fine salt on a glossy wet level of water. But you can use whatever
you think looks best.
5. Masking Fluid: The first step for this
painting is an elective one. So in order to create stars, I'm going to splatter the surface with
some masking fluid. So here's masking fluid I use. It's by shaming gay energy. This I can use a
stiff bristle brush. So I'm using a dog toothbrush and I'm applying
the masking fluid, I'm thinking about where
the stars are going to be. So I know that I want the star clusters to form
bit of a sweeping ARQ. So I'm trying to make
the main cluster around the seal is body. This high level of contrast. Seal will help draw
the viewer's eye. If you get any large
blobs like I did, just wait for them to dry and then you can peel
them write-off. If you don't have masking fluid, then you can always
add the stars the end using white paint. So we're gonna wait for
this to dry and then we're gonna move on to
the Painting Steps
6. Light Layer: Now the background
layer is dried. We're gonna move on to the body. First thing we're gonna do is apply shadows to all
the light areas. We're going to start
with just the body. So again, we're going to pre
wet this area and I'm going around the shape of the head so that egg shape is
going to be excluded. And the body of the seal is
going to be nice and damp. And again, I'm
using a large brush just to get this all filled in. Actually be doing this entire
painting in this brush. But you can use a smaller one if it makes you
more comfortable. And this time I want to
use a fairly light color so the seal is white and we want to maintain
that feeling of whiteness. So over here, going to add bit of my pink to
this grayish area. I'll add just a light
wash of teal here. Looking at our reference photo, it looks like the seal gets
a bit lighter underneath. So I might actually just
leave that completely white, just creating the fold around
the seal the neck by adding a little bit of shadow
there and coming on the other side of the
seal with the teal. And then switching
out to my blue, I'm going to do around
the flipper here, this areas and a bit of shadow. So I'm gonna make it
a little bit darker. And same with this
other flipper, show a little bit of
that darker blue. They're going to bring
this blew up into the teal under the chin here. There's a bit of a phone here. We'll add some color there, just using a clean
damp brush to soften off the edge of this blue because it got a
little bit hard. So maybe the water didn't go as near the edge
as I would've liked. I think that's
pretty much it for the light areas on the body. The seal has quite a light body except for it's
markings on its back. We're gonna add those
in a separate step. I'm gonna wait for
the body to dry off. And then I will go on to adding the light
colors on the face. With body dry, we can now add
light colors on the face. Again, I'm presenting this area, so I'm just using
some clean water here and being careful
to go around the eyes. So I want those to be a
different color than the body. Again, looking at
our reference photo, you can see that
there's actually a quite a strong shadow
here just along the gels. So I want to get to
that in hard edge of where that water ends
will also help create a stronger shape
around the seal space. Again, going in here
with a bit of teal, looks like there's a
bit of a stronger shape around the side of faces. Well, here's this
little shape under the jaw and around the eyes. Some bit of a shape
near the ear as well. So let's try to get that in. And again, just looking at my reference photo and adding
in the shapes that I see. If you miss the shape early on, can always be added in later. So don't worry too much about being perfect at this
point. All right. And I think that's pretty
good for our first wash. I'm going to wait
for this to dry off and then we're going to go in with our first layer
of our darker colors
7. Seal Markings: With the face and body dry, it's now time to go in and add some darker colors, this seal. So we're gonna start
with the body again. And again. We're going to Proulx wet it. You don't need to
worry so much about the flippers this time, we're mostly going to be
painting around the back. And if you look closely
on your reference photo, you can see that there's a phone here just over top of the head and in keep that
area dry for right now. So I'm just going to
carefully paint around that. I'm just gonna go
around the basic circle that is the seals body. So again, I'm gonna go in
with my pop of color and I'm going to follow basic pattern of the seal that we see in
the reference photo. And we're also going
to follow the pattern of the colors that we already
have in the background. So I want this pink to connect with this
other pink over here. That looks like it's
areas a little bit dry since you have paint
is not moving. So I'm just going to went
around that with my brush, just clean water on
my brush and dab at the area going in with my teal next and just adding it
to this area up here. So the two things
are paying attention to are the colors
that we've already established in the background and the pattern on
the reference photo. You don't need to
worry too much about either of these
placements of colour because steels will have a variety of different
patterns and spaces, of course, not uniform. So you wouldn't expect a space
seal to fit in perfectly. Just using a clean, damp brush to soften
the edge of this here. Fluid out a little bit more. And then while
that's still damp, I'm going to take a
little bit of Table salt and just poured over
the back of the seal. There's a fine grain Table
salt and it's gonna help create some of that spotty
texture on the seal. I'm going to wait for
that to dry before moving on to the next step
with backdrop, we're gonna go ahead and
add a little fold of flap over the seals head. So again, I'm just pre
wedding that you have any excess water
in my damp brush. Just going to dab the
color where we see it. So it looks like this area is lighter as it moves back
towards the heels back. So we're going to try to
keep that true to form and just keep a nice sharp
edge around the seals face. So I'm just going to
add little salt to that and latch dry. And then we'll move on to
the darks on the face. With that last little bit
of the body all dried off, we're going to move on
to the face. Again. I'm pretty wedding the face
with some clean water. I'm being careful to go around the eyes if you're using salt, you also want to make
sure that you've cleaned the salt off before
you apply the water. And that'll just ensure
that your wash is, even. If you leave salt on your paper, it'll just appear a
little bit more texture. So it's not a huge
deal either way. So seal has quite a
distinctive pattern. So it's quite dark
along the top its head, and it has quite a strong
mask around his eyes. I'm using quite thick paint
here around the top of the head to create
that nice mask. I'm being careful to keep
it a little bit further away from the eyes and where
I actually want it to go. Because the water will
carry the paint inward. Using a slightly
more diluted color here around the muzzle. Just because this area
has a little bit lighter. And again, I'm just
using my clean, damp brush to soften out
those edges a little bit. I'm pretty happy with that. So again, I'm gonna go in
with a bit of salt just along with top of the head to create a bit of a
spotty pattern. And it's going to
wait for that to dry. And then we're to come
back and do some details.
8. Details: The main markings are done. It's finally time to add
some details to the seal. Since we're doing details, I'm switching to
a smaller brush. I'm using a size
eight round brush and I'm gonna start
with the nose. So again, I'm just pre wedding the nose just to make sure that I get a nice smooth
coverage of my color. And it looks like it
should be a mid tone. I am going to use a
bit of teal for this. Just cover over whole
area for right now. Well, it's still damp.
I use a little bit of blue into my teal
and just dab that along the top because the top of the seal's nose is the
darker than the rest of it. So adding this more
concentrated color, well, just really
emphasize that point. Next, I'm going to wet just
under the seals mouth here, right down to the chin. Learning needs a bit of blue and just carefully draw
in under that mouth. It's going to create
that nice strong shape. Again, if you find your paint is spreading a
little bit too much, you can just use your
clean damp brush to pick that up over
top of the nose. It looks like there's
a little bit of a stronger shape here, just in front of the eye. I'm going to add a little
bit of water and just tap in a little bit of a shape to clean that
up a little bit. That's just going
to make that shape a little bit stronger so it stands out around the eye. Now above the eyes, we have a few little whisker
spots show I want to add in just making sure that the salt has
been cleared away. And then I'll just dab in
those little whisker spots. And same with, on
the other side. We'll use teal because
it's in a hilly area. Just dab in those three little
notches. I'm over here. I'll draw in the
shadow on the ear. This is pretty much
just a curved line. And likewise, I'll come back to the ear on the other side
and draw that in as well? Yes, when you can see a
little bit more of it. So I just want to get
that shape right. Well, the nose is drawing. I want to move on to the eyes. Are quite dark, so
an orange and get that illusion of darkness
around the entire eye, but still have it standout. Going to paint the whites
of the eyes using a bit of orange. Let's still damp. I'm going to dab
in a little bit of yellow just to give it a
bit of extra dimension. Well, that's dry
and come back to the mouth with some more blue. And just draw a little
shape here that goes from the nose down
to the mouth and really emphasize the lips by drawing a bit darker around
that little seal smile. Next, I'm going to add in just some little
whisker details. Make sure that you're
paying attention to your reference photo
when you're adding these. So every animal has a slightly different
whisker pattern and you want to make
sure that you're following it as
closely as possible. If you want a realistic feeling. It's pretty good on that side. And we'll move on
to the other side. I'm doing this with a
very concentrated paint, but don't want to go anywhere. I want it to be nice and dark. And again, if you're
more comfortable using an even smaller brush, then you can go
ahead and do that. Whatever makes you
feel most comfortable. The nose is still
a little bit damp, but the eyes are dry. So I'm gonna go ahead and work
on the eyes a little bit. For the black of the eyes, I'm going to use purple. And this is because we've used colors in the background that have mixed together
to make purple. And also because purple is
just a nice dark color, I'm just going to carefully
draw in the pupils. So you see that my orange
wasn't completely dry here and a little bit of
the purple slipped in. I'm just going to dampen that some water and just dab up as much of that
purple as possible, can wait for that
to completely dry and then I'll recover that area. The meantime, while that dries, I'm going to add a
little bit more detail around the eyes. So there are some
pretty thick folds. And I want to make sure
that I'm getting in these little extra
details just help add to the general
realism of the peace. Help with the believability. And again, you just want to
look at your reference photo and include anything you see. Gonna go in here and add a
few spots around the face. It's don't need to be perfect. Just a little bit about a
personality to this little guy. And of course, you can
switch up your colors to make sure that you're getting a nice variety
of colors in there. I'm sure that the nose
is dry and go ahead and pick up some of my blue that
I used in the background. And I'm going to use this
to draw into the nostrils using blue instead of teal because it's just a
little bit darker. This is quite a dark
area on the seal. Again, I'm using my
size eight round brush, but you can use whatever
size brush you like best. Just looking at the reference
photo to make sure that I get the shape of the
nostrils correct. But you don't have to be
too perfectionist about it. And I'm also going to add in nice little ridge that runs down the center of
the seal's nose. A little bit of shadow along
the top of the nose there. And that's it for the nose
of the seal and come back to the eye and fix
my little loop c, suggest a new layer of
orange light down there. If you look at your
reference photo, you can see that the
seals eyes actually have nice dark
islands around them. And this will help you clean up any shape mistakes you've made. And also just darken
around the eye. In general, darkness around the eye helps draw attention
to the face there. So I'm using a bit
of teal mixed with blue to just quickly
paint in those eyelids. Again, you want to make
sure that the eyes are completely dry before this step or else the paint
will bleed into the eyes and affect your color. That's the basic detailing
on the face complete, the next step is to remove all the salt and masking fluid that we've
added to the piece. And then we'll take another
look at it and see where we need to add highlights
with opaque white paint.
9. Finishing Touches: Final step of this painting
is adding some white details. This you can use any kind
of opaque white paint. Most people like to
pair gouache with watercolor because it
feels very similar. And for this I'm using a small size zero
liner brush and I'm just looking at
the seal and where I think some highlights
could improve things. So first thing to add a few
highlights to the eyes, and I just find a few
extra highlights. Really add a character. I had a little bit
of white around the nose to emphasize
that it's super shiny. And again, this is
completely elective. So if you like the look of your piece without
these white highlights, then definitely feel
free to leave it as is. I'm going to add in a
few whisker details up here and over on
this side as well, you can also choose to make your paint more or less opaque. Some side whiskers. And again, I'm looking
at my reference photo to make sure that
I'm adding these in in a way that's
consistent with the animal. So if you don't have
masking fluid or you forgot to add masking fluid to the background to create stars. You can use the same
method by dipping your firm bristle brush into the white paint and then
splattering it along the background to create
the look of stars. Just going to add
a few more stars here up on the seals head. Just because I think
that'll be cute. Maybe a few tiny ones
here on the back, just in these areas where I feel assaults didn't quite
add enough texture. While I have my small brush, I'm just gonna come over
here where I didn't quite come up to the edge with my earlier layer and paint that in just to clean up
that edge a little bit. And likewise, go around and clean up this
edge a little bit as well. Keep in mind these
edges don't need to be perfect because again, this is an animal and space. So having some nice loose edges and actually add to your
piece a little bit. And this is where
you want to take a final look at your piece. So if you can, you can
photograph it and you can see where the shadows don't line up perfectly between Europeans
and the reference photo. I actually just want to darken underneath these flippers
just a little bit. And again, this is an elective. I just feel like there's
a little bit too light. So I've pretty wet the area. Then I'm adding in, It's
a little bit of blue, just to add a little
bit more shadow there, just because that area
is quite shaded in the reference photo and same with this flipper
on the other side. Just wetting the flipper
with my clean water, coming in with a
little bit of blue. Just to deepen up that shadow. Camera around back here, clean up its shadow on
the back of the head. These islands a little bit. And with that, our
space CL is complete
10. Wrapping Up: During this class, we
covered all the tools that techniques you need to
paint your own space seal. We just got to use other
wet on wet technique. How to structure your
layers Using contrast, and how to create
texture using salt and masking fluid or
white opaque paints. Please feel free to
leave any questions you have and the comment
section down below, and I'll get to them as
quickly as possible. And please be sure to
share your projects. I'm really excited to see all
your squishy space deals. Thank you for taking my class
and have a wonderful day.
 Charlie Proulx, Watercolour and Textile Artist