Transcripts
1. Outsmart Your Inner Perfectionist: Make Art Through Play: Be honest, does perfectionism prevent you from
enjoying the process, or maybe you fear the white page and you are experiencing
some artist's block? Have no fear, my
new classes here. And today, the focus is
not on making good art, but creating enough art so that good things have
a chance to happen. By just playing and
enjoying the process, we will take the pressure off and just have some fun
with our art supplies. This class is short and sweet, but still packed with tips on how you can
handle your art supplies. And as usual, I encourage
you to go rogue on me. I'm just here to
get you started, gather your favorite
art supplies and do the lesson in a way
that's fun for you. This class is perfect
for students who love to learn things by just doing
some playful exploration. If you don't know me yet, I am Jerney Marisha. I have a background
in art therapy, and I like to pull you out of your rut and just
enjoy the process. By the end of the
class, you'll have six little artworks and a
whole bunch of inspiration. If that sounds fun to you, then grab your art supplies
and follow me. Go.
2. Prep Your Papers: Let's prep our papers. I am using mixed media paper because it's nice
and sturdy and I can use liquid media
without having to worry that it would
buckle too much. Of course, you can also
use watercolor paper, but this is a
little bit cheaper, and that way, it also really takes the pressure off
to perform, you know? We just want to play
and have some fun. And maybe there will be a
tiny masterpiece in the end, and maybe not as well. We just want to explore our art supplies and maybe try
some new things, you know. Maybe you'll discover
something that you would like to explore on
a larger piece of paper. So don't hold back and
just try out stuff. And of course, if you prefer, you can also just
divide one big piece of paper in six parts. But I like that I can
just remove the tape and don't have to worry about cutting it
up after the fact. Right now, I have full
control over all my edges, but, you know, to each the zone. So yeah, just think about how
you would prefer to work. You know, I'm just here
for the inspiration, and it's your art,
your decision. But it is important to have enough little
canvases to play on. So I really recommend that you, you know, do at
least six of them. That way, you'll
just up your chances that you will create something
that you really enjoy. Now, are you ready to play? Then let's move on
to the next video.
3. Conquer the White Page: Et's conquer that white page. I'm using a couple of
washes of Indian ink. You can also use watercolor
if that's all you have. I just really like that
when the ink dries, that it tastes put and you
can't really lift it anymore. Of course, acritic inks
are also perfect for this. Just use what you have. And
do you notice something? Before I started doing this, I have actually wetted the
top three of my papers, and that is why
the ink is really blooming and spreading
out after I put it on. And on the bottom there, I left it dry for the most part, and that is how you get
the sharper brushstrokes. So I recommend that
you do the same thing. Just take half of your
playgrounds and take white brush and just
brush on water on there so that you can really
experience the difference. Right now, I'm just making
some splatters and you can see how different they look on
the top from the bottom. And while the ink is wet, I'm just putting
some salt in there. You can experiment with
different types of salt so that you can see which
textures you like best. And this is also a nice way to create unpredictable marks. You just roll your brush on its side over
the page like that. And remember, we're not
trying to force anything. We just want some mark
making and some contrast, and that is all that we need. Okay, I have this
sponge right here. I really love the
natural sponges because of all those
holes in there. And I'm squeezing out
a lot of the water, and I'm dipping it in the ink, and gently, I'm pushing the
sponge on top of the page. Don't go too rough here. Otherwise, you'll just get black blobs and you'll
lose that texture. So this is what you'll get if you use the
wash. And now I'm just going to pour on some ink
right from the bottle. And I'm going to
do the same thing. And that way, you'll get
layers of values, you know? So maybe you can take it a little bit easier
than I'm doing right here, leave some more breathing room. But there are enough papers
there to find your way. And look, here, I'm just
smudging it on there, and I'm getting a paper towel, and that way you can
lift some of it again. So if you take it too
far, just try that, and then you can just build
more layers on top of there. A lot of people are a bit nervous about
working with inks, but, you know, as you can see, you can put something on there and take it away.
It's no big deal. Just take the
opportunity to really relax and just see what kind
of possibilities there are. Another way to lift the ink is to really dry that brush with a paper towel and put
it in the wet ink. Same thing with
watercolor, of course. That's another fun way to yeah, make some shapes, and you
can't control it too much. I could paint these lines, but it would look
totally different. Let's put some
more ink on there, and I'm going to show you
the same kind of technique, but with a frumbled up, is that a word, paper towel. You can just play
around like that. And just continue playing, figure out what you like. Just using one color and
one art supply for a while, it helps you with overwhelm. You know? If you have
too many options, then it can work a
little bit paralyzing. So just take your time and explore your art
supplies one step at a time. And right now, I'm just
going to take another wash, and I'm going to slab
on that paint there. Doing random stuff
with my brush. Just little spots
here and there. Don't need to cover up the
whole thing and try to come up with as many ways to
put on that ink on there, you know, as possible. A brayer is also pretty fun. And the less ink is on there, the more textured
it will become, and you can reload right from
that starting point there. Here I'm taking a bamboo pen, but anything point
you will work, and I'm dragging the wet
ink through the paper. And those will also get
you very unique marks. Here I'm just going to draw
some lines totally random. Looks like a weird spider
with too many legs. Let's do another one. And here I want to do
kind of the same thing. But now I'm going
to try and sculpt a little face or something
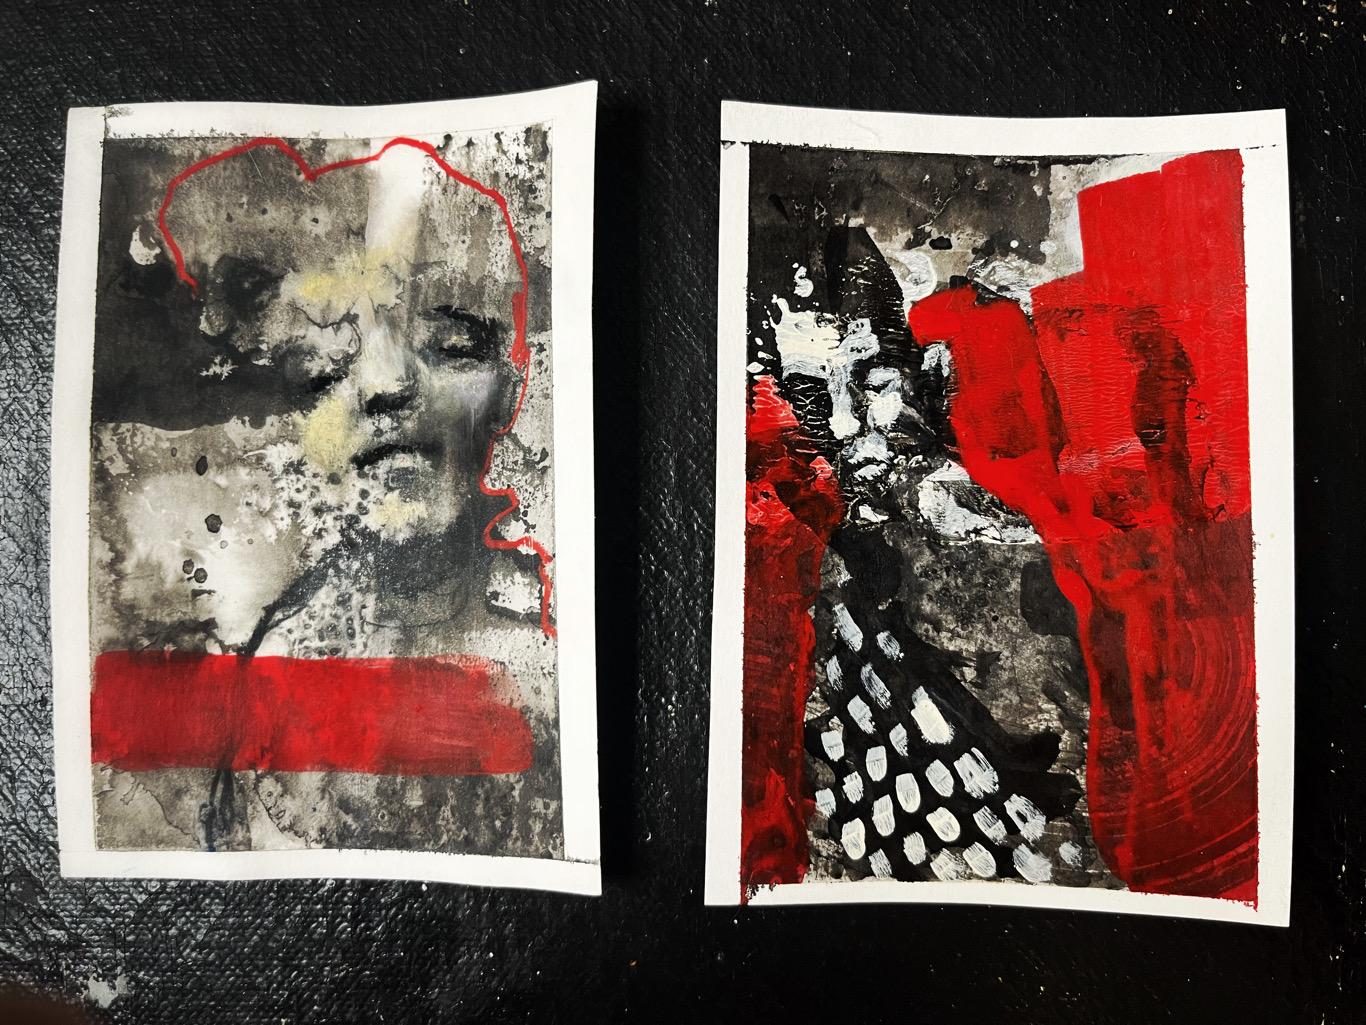
because the marks, they remind me of eye sockets and shadow underneath the nose. So that inspired me to yeah, just go for a little figure. I'm mixing up the techniques
that I've that I did before. And even though I'm drawing some kind of
portrait right here. And you will see in the end, I will create a whole
different portrait in another place on
this piece of paper. So if you're doing this and
you really hate your drawing, just know that you
don't need to use it. You can just play around until you find something
that you do enjoy. But for now, I'm
just happy playing, and I think you will
be, too. No pressure. Just having some fun. And maybe you'll feel
a little awkward, you know, when you try this, but just know that it is because it's a new
way of creating, and we can get a little anxious. That's fine. You can just do this exercise a
couple of times, you know, maybe once
a week or a month, whatever works for you. Are you ready to go to the
next step? Come on, let's go.
4. Look for Inspiration: For this step, I'm taking
my charcoal pencil, and I am going to
look at the marks on the paper and see if it can inspire me to
find some figures. Maybe you'll find
flowers or, you know, whole landscapes or you just want to enhance some
abstract shapes. Whatever works for your style or something that
you want to explore, maybe you'll find a new
interest or something. Just look at your little
explorations and yeah, make little drawings on there. I wonder what you'll find. If you're a little bit
insecure about drawing faces, but you really want to, I have a great class on that. It's called Small
portraits Big Process, and you will learn step by step to get
comfortable with faces, and I will explain everything to you in a very relaxed
and quick way. And if you want to learn how to draw loosely with charcoal, I also have a fun one for you. And that one is called loosen
up your charcoal drawing. Let go of perfectionism with
eight creative exercises. Or you can just not overthink
this and just draw, draw wonky weirdos,
draw weird things, and, you know, don't care
about the end result. That's pretty much the best
way to draw in my book. I know it's not
always easy because, you know, we do want to
create something cool. But often of the times cool
things are pretty weird. Cool things to me, anyway. Also, let's embrace ugly art. It really helps us to loosen up. Just be weird and wonderful
and a little bit sloppy. If you ask me, messy
art is the best. Messy art is expressive. And let me give you
a gentle warning. It's totally possible,
highly likely that you are going to be underwhelmed by a few of your little artworks. And that's totally
fine. You know? A lot of artists that you see
on Instagram or wherever, and you see their profiles
and everything looks amazing. Just know that for
every great artwork, there are a lot of
them that didn't make the cut and they looked weird or boring or something
else went wrong, and that is just
part of the process. So allow yourself to undergo that process and that will help you to get
to the cool stuff. Not every drawing is there
for you to display somewhere. Sometimes they just
help you evolve. In fact, most of the
time, both good and bad. So please, please,
please don't be disappointed if there are
some stinkers in there. That is supposed to happen. Just move on and laugh at the wonkis and the ogres,
whatever they are. And this is going to
be my last drawing. I want to keep the bottom
half just as they are. And well, kind of, you'll see. Because I want to see what will happen if I won't draw
anything on there. And you know what?
One of them is going to be my favorite
one in the end. So stick with me and
you'll see what I mean. I don't want the
charcoal to move, so I'm taking a fixative spray, and I just do a couple
of quick layers. Don't linger because then
you'll get shiny pulls, and don't use hair spray. I mean, you can, but just know
that it won't be archival. It will yellow over
time. Things like that. This step is optional. I'm just opening up some
of the compositions there. They were a little bit too
flat and I wanted to add some contrast in a very
quick and sloppy way. So, just see if your
art needs that. Okay. Are you ready for
the next lesson? Let's go.
5. A Protective Layer: This step is totally optional. I just wanted to
show you that I'm doing this because I want to take some oil
pastels for my figures. And if I put this
protective layer on top, then it's way more
flexible and I can remove the oil pistels
pretty easily if I mess up. So what I'm doing is I'm taking my palette knife and
some gelmet medium, and then I'm going to take my silicone wedge and
I'm just going to scrape it downwards with
very minimal pressure. Otherwise, you'll just
scrape it right off. I'm going both ways. And I know it looks
very milky right now, but when it's dry, it's totally clear as long as you don't have
massive amounts on there. So be sensible about it
if you're going to do it. And a good way to check
if it's totally dry and it's dry enough to work on top of is you put your
hand on your paper, and when it's still
cool to the touch, then you just need to dry
it a little bit more. And that's it. Now you
have a protective layer. I hope you enjoy
this little artip. So if you're ready
to move along, then take my hand and let's
go to the next lesson.
6. Add Color and Go Nuts!: Time to have some fun with color. You can do this in any way, in any order that you want. You can use whatever
art supplies you have on hand and like to
work and experiment with. But I'm starting out
with some acritic ink. I've watered it down, and as you can see, it's really nice to still show those textures underneath that
we did in the first step. If you use acrylic paint, it's more opaque and you can use water with
it if you want to. If you don't have
the acrylic inks, then use it that way. You can add a lot of water
or even better some medium because that way you know
it won't ever come off, because if you water it down too much with the
cheaper paints anyway, then it can break
up a little bit. It can get a little
bit unstable. But, for playing, it's fine. Just know that there's something you can
do to prevent that. Right now I'm showing
you how you can work really small using your
thick oil pastels. You take a tip and you
blend the colors that way. Mixing warm and cool colors is always a nice way to keep
it very interesting. You know, if I
would use all pinks or all yellows or
all blues, you know, whatever, it can get a
little flat and boring. So be bold and take some risks. Without taking risks, we can get a little stuck
in a rut, you know. So just jump in both feet and
try out all the new things. Right now, I'm taking my water soluble new color
crayon and I will show you what to do if
you don't like something. You can just take a brush
with some water and erase it. That is why those neocolor
crayons are a gem. You can just experiment and feel free to
do what you want. Since this is an
acrylic layer on top, you can just draw and
erase, draw and erase. On pure paper, that
is a different story, but on top of acrylic
paint or medium, you can draw your heart out, regret it, and take it
away and start over. But since I'm very
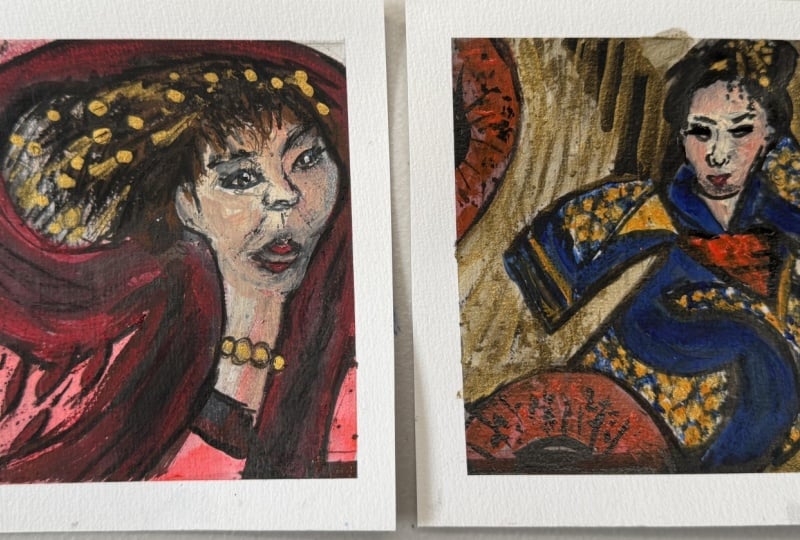
comfortable with both faces and my art supplies, I switch back to the oil pastels because they're very rich and creamy and I don't
use them enough. So this is the perfect
opportunity to just play. I'm so excited to see what you will do
with this exercise. So I hope you will upload
your class project to the classroom so that we can all see all the
different approaches. That's always so inspirational. So let's fill up that classroom with all your experiments. It's going to be
so fun and you're going to learn a lot just by looking at
each other's work. And, you know, aside from that, I'm really curious, and
I want to cheer you on. Okay, let's move on
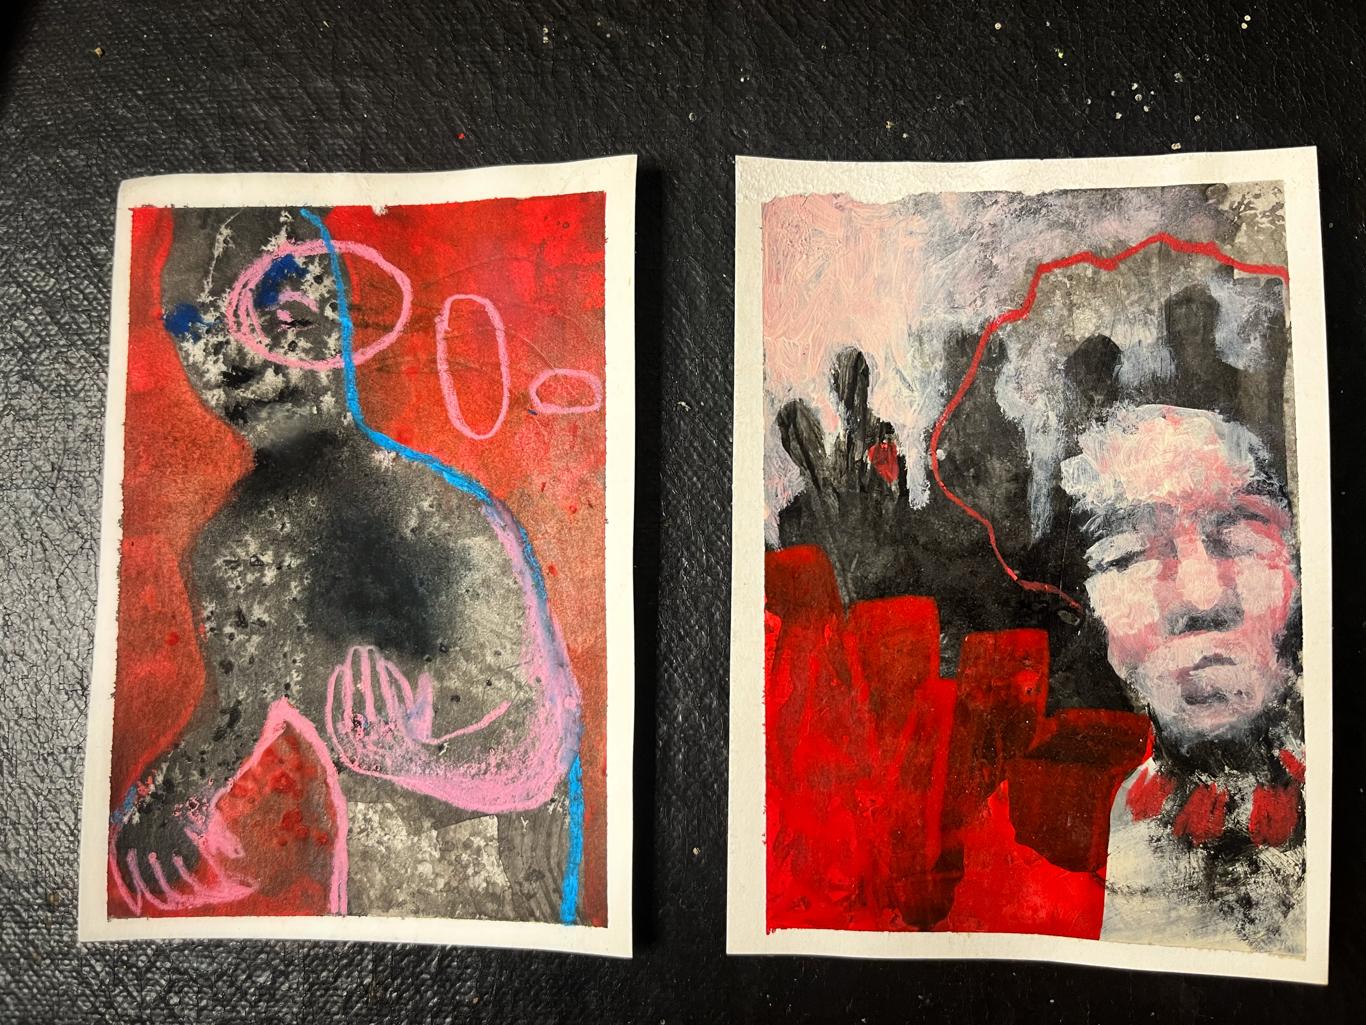
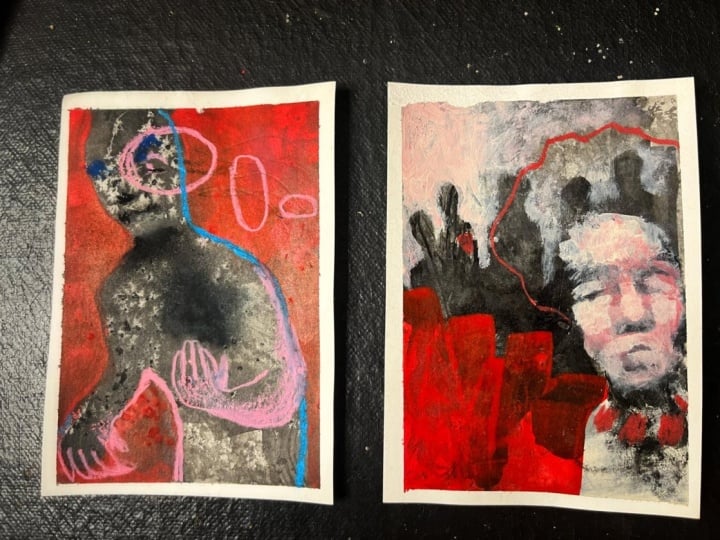
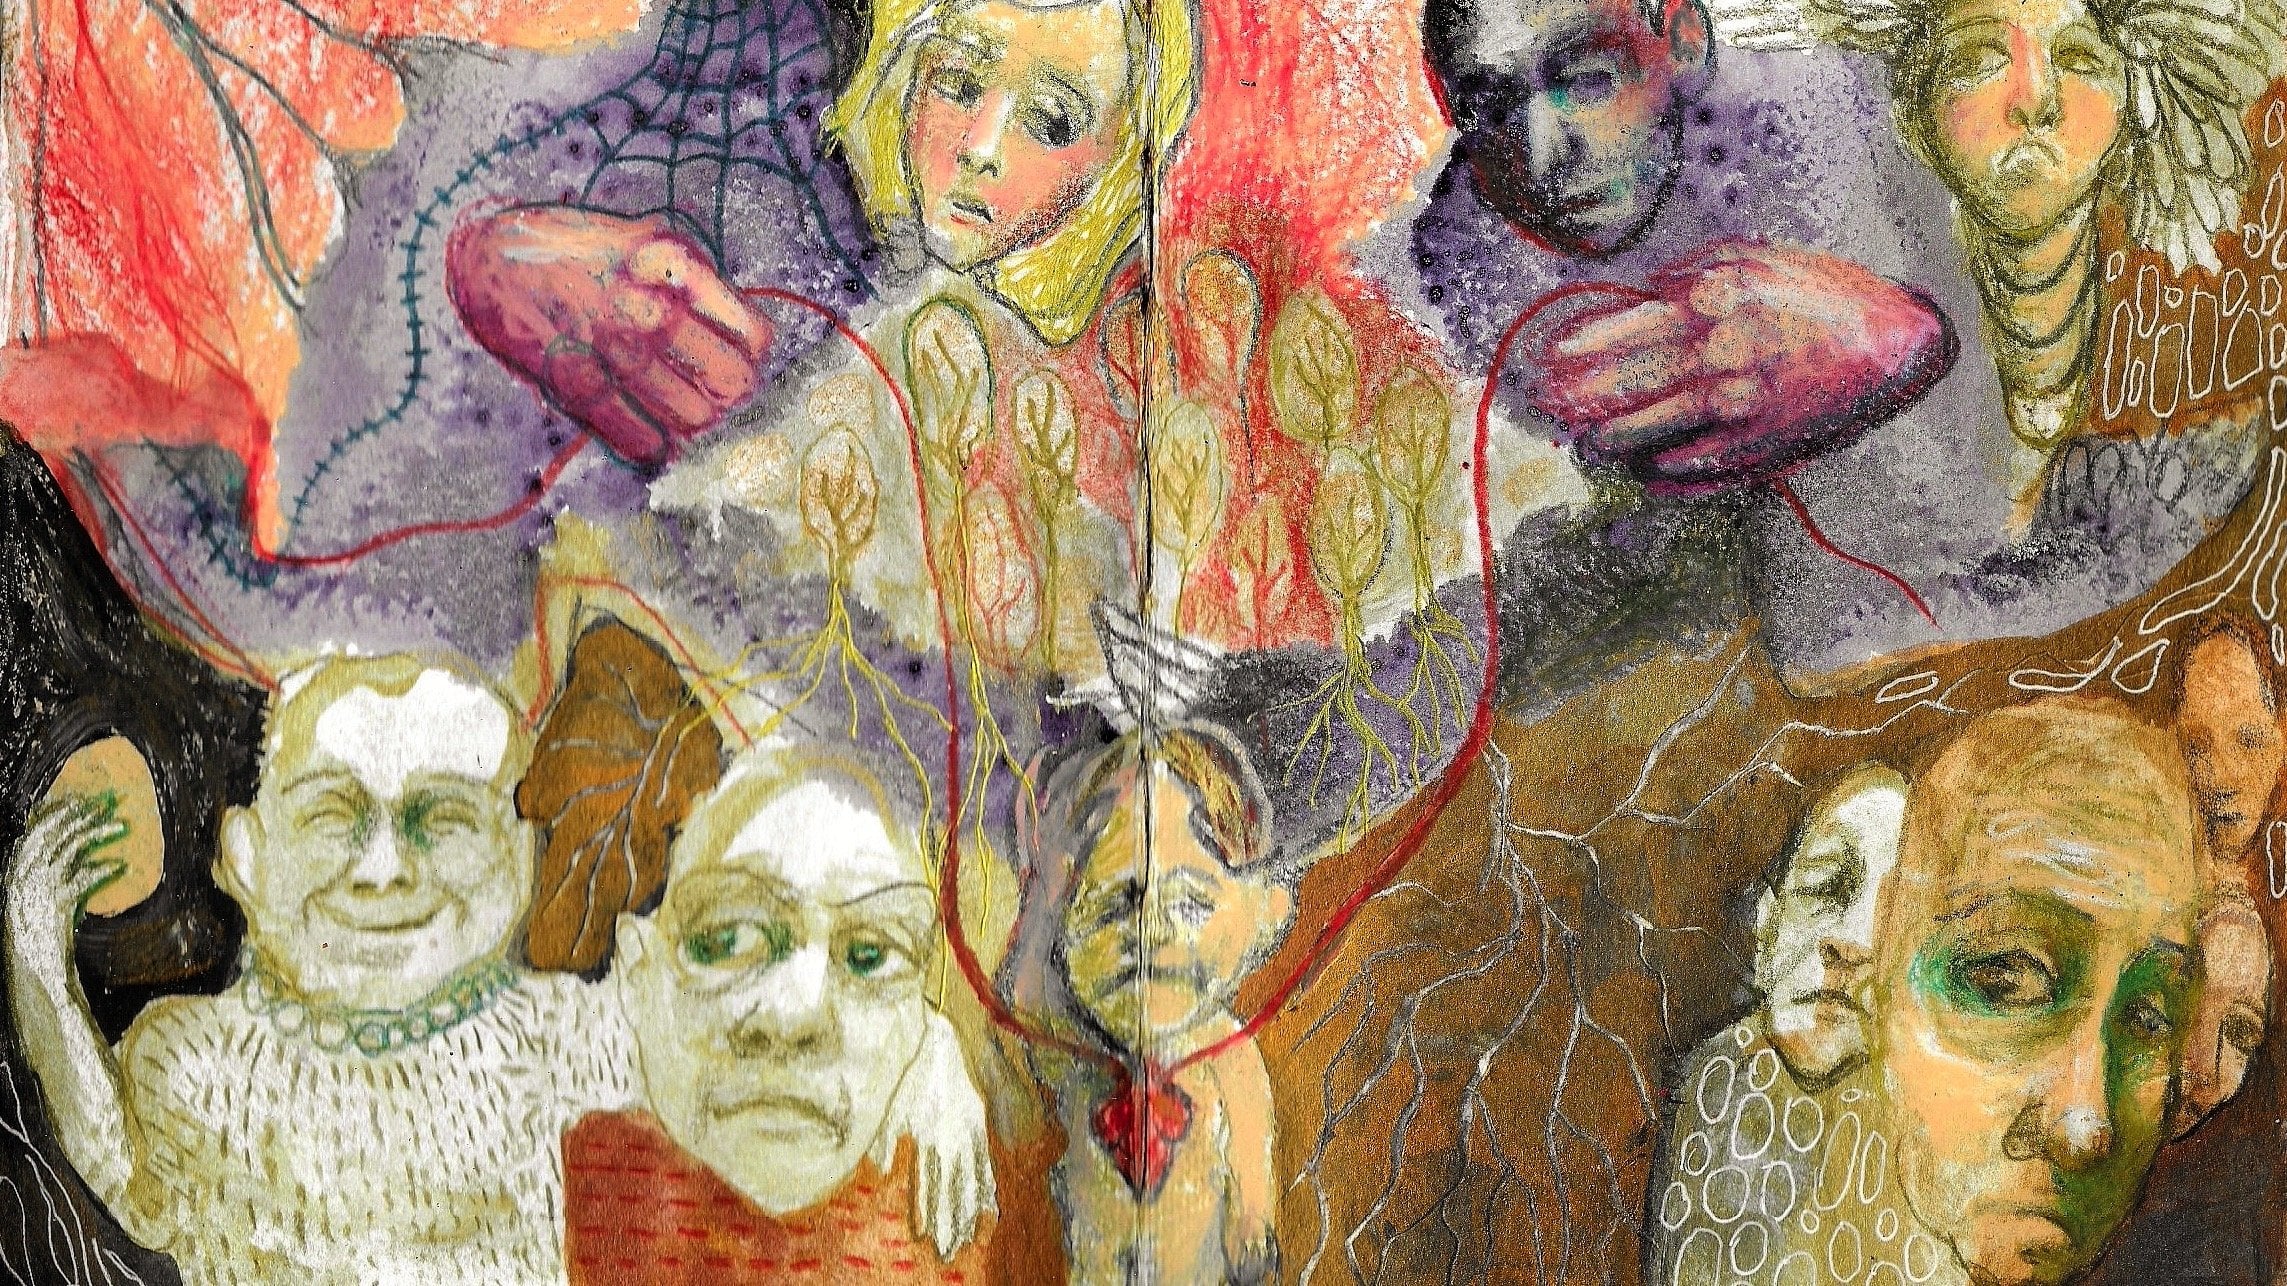
to the bottom ones. For these, I'm going to paint in the negative space to
create some figures. See, I just look at what's there on the page and the
rest I just make up. I see a little hint
of a forehead, and I go from that. And here I'm just doing
this little part, and I can kind of see
something that's half there. You'll notice in a minute. Here I'm just making up
the whole thing. There. It can be that simple
to just find a figure. I'm looking at this one, and I'm thinking it will look better if it has a bit more
color in the background, and I think I was right. Don't be afraid to still
adjust your experiments. And if it turns out
that you are wrong, then just do another
layer on top. I'm painting a little face. And some patterns here, and that's enough for me. I think he has emotion, and it looks fun, but this one inspires me a lot. So I'm extending that
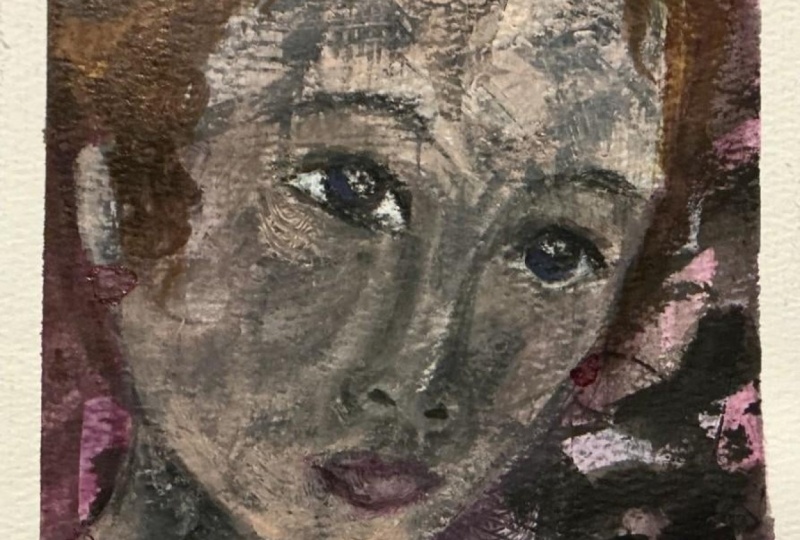
head that I saw. I'm taking some paints gray, and I'm just going to
focus on the form. So some parts of the face, I will darken and that way, a little face emerges, and I'm going back and
forth a couple of times. So know that if you've done something that
you're not happy with, you can just go back darker or lighter and yeah, slowly,
you'll get there. Just hang in there.
There. The more often you paint faces, the easier it will become. Everything is hard
until it gets easy. There. I think I
rather like this girl. I'm taking some of
my acrylic ink, and I'm just mixing it in there while the
paint is still wet. I know it looks
horrible right now, but I'm taking my
unbleached titanium, and I'm going back in
for more highlights. And now she has a bit
of color in her face, and I think that looks better. I'm going to keep it
rather loose and sloppy. And yes, that's expressive, like we talked about before. Right now, I'm just
going to paint in the negative space around the figures that
I want to be there. I think that is really
nice storytelling. So interaction
between the figure in the foreground and
the ones in the back. Maybe they're
really there, maybe they are just on her mind or maybe it's a symbol for
her fears or something. It's just something
mysterious and fun. And here I'm just going to do
some lines here and there, make awkward little hand. Again, I'm mixing some
cool and warm colors, and this will just be my
fabulous wonky weirdo there. Another simple hand. See, you don't need to do
complex and realistic hands. These are just fine. It's all about body
language and playfulness. You know, rest is not important. These are little
experiments after all. So just have fun, let go of all expectations, and
just keep moving. And keep looking
at your paintings. You know, if you're doing
something like with these neoclors Look at your other works and see which one can use
a bit more TLC. So I'm going to up to
contrast here and there, and that brings more form
to the face, more drama. I'm doing little scribbles
and patterns like this, and that will teach you to add to your paintings
in a fun and surprising way. Are you ready for
the big reveal? Then let's go to the next video.
7. Your Turn!: A moment to look at all six
of your little artworks. Maybe you love one of them,
maybe you love three. Maybe none of them are
quite what you expected. And that's completely okay. What I do hope is that
you discovered that you don't have to know what you
are making before you start. Sometimes you just need
to make a few marks, pay attention, and see
where they take you. And congratulations. You gave yourself
permission to just sit down and create and see where
the process will take you. You played, you experimented. You made choices without knowing exactly where
they would lead. And somewhere along the way, you may have
discovered something, you know, you
couldn't have planned and you absolutely love. So, don't worry about
whether every piece is good. Maybe the real success is that you turn six possibilities into fun projects with lots of experimentation instead of
staring at one blank page. I hope you'll keep that
feeling with you the next time a blank page
feels intimidating to you. And remember, you don't
have to make good art. You just have to give good
things a chance to happen. Thank you so much for going
on this adventure with me. I hope that you enjoyed
all this inspiration. If you enjoyed the class, please leave me a
review, yada, yada. But most of all, I hope to see your art in the classroom because, you know, I'm nosy and I love to see
you thrive and have fun, and I can't wait to take
you on another adventure. Happy creating.
 Jerney Marisha, Making Art Fun Again