Transcripts
1. Introduction: Nice to meet you everyone. My name is Mami and I'm Japanese. Before we start, I'd like to talk a little bit about myself. I used to live in the UK for six years from
when I was 8 to 14. But before that and
after that period, I've always lived in Tokyo. I have two daughters, 5 and 4, and I loved playing
with origami with them. In my videos I'm
going to share with you a unique and traditional
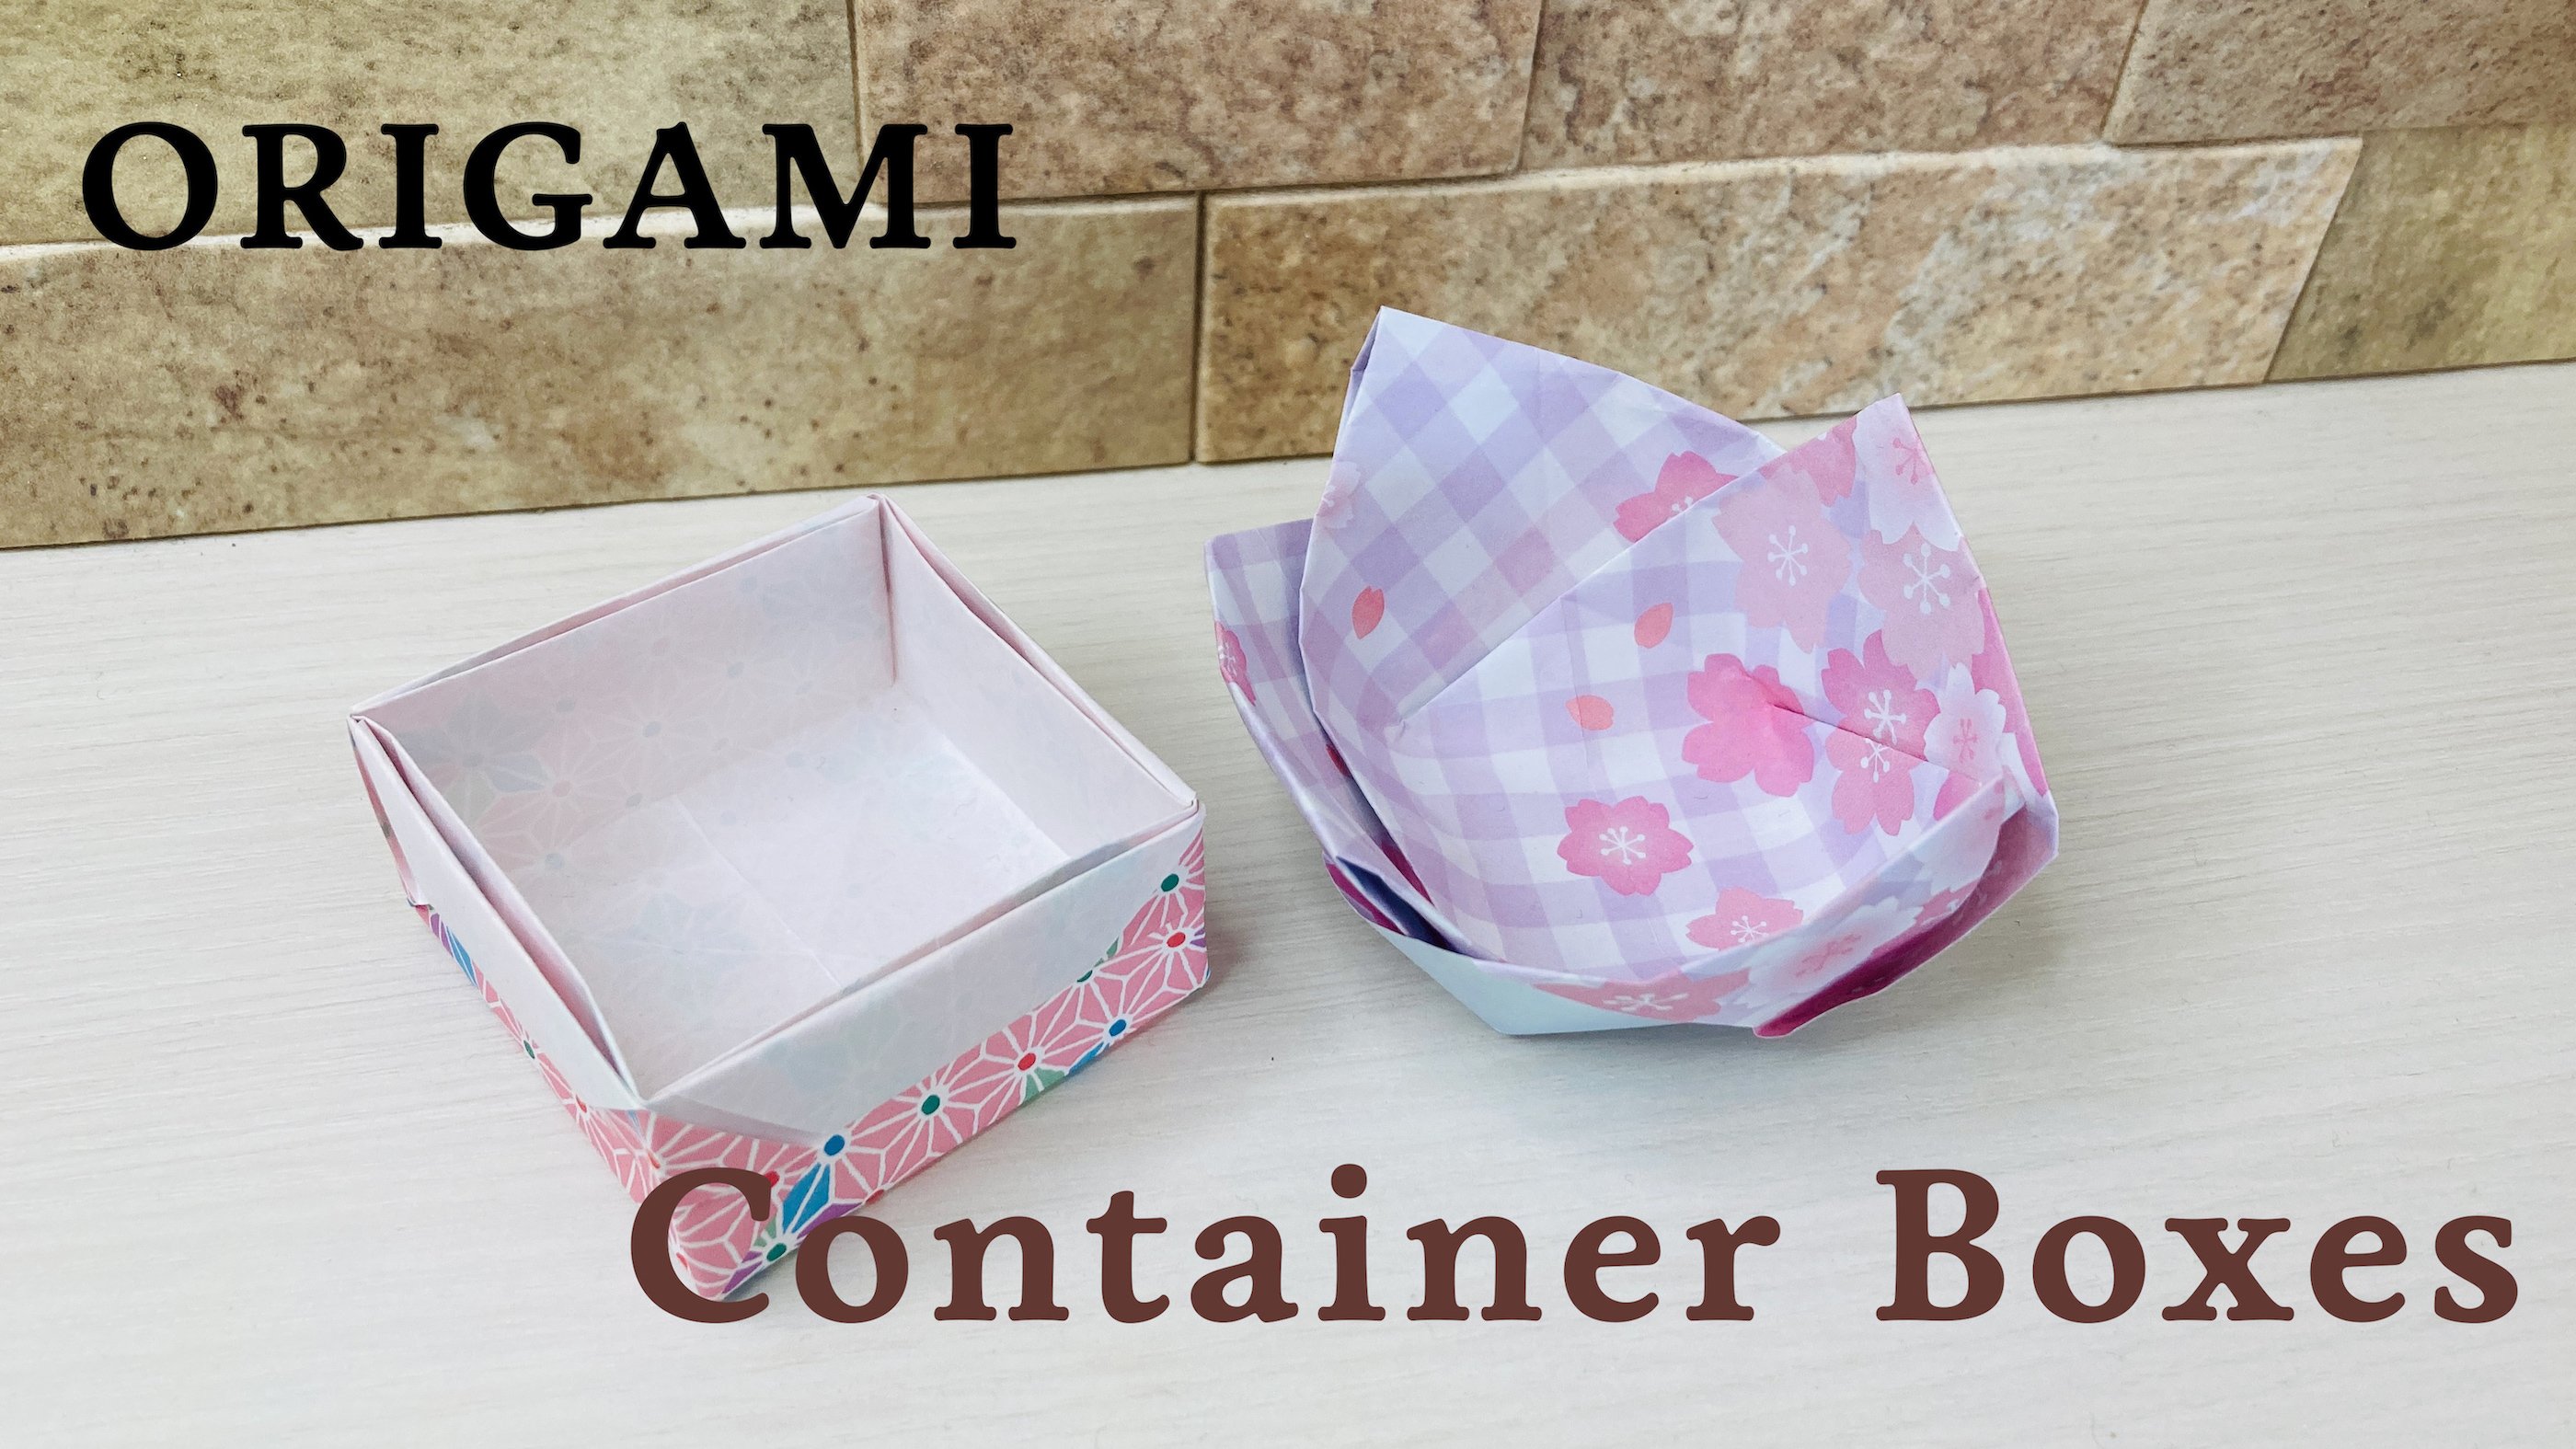
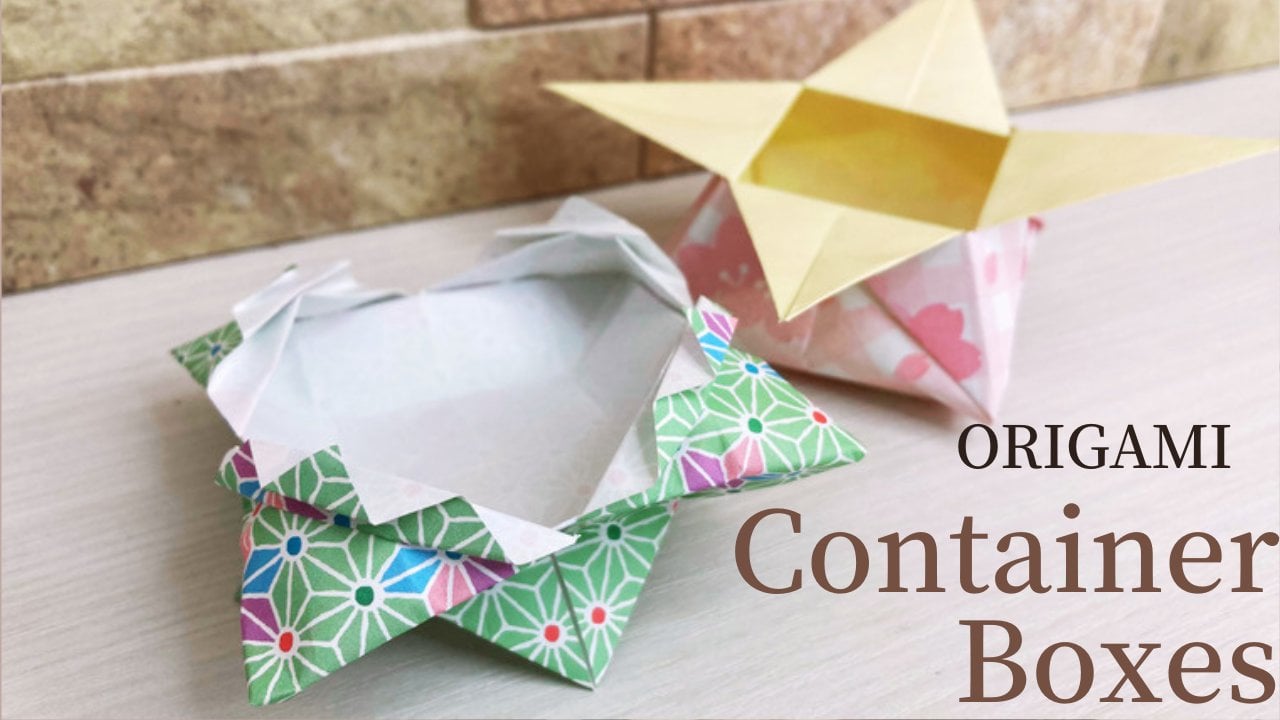
Japanese culture, Origami. Despite the long history, origami is still loved by lots
of Japanese and foreigners. This is a pack of origami
papers we can get in Japan. Usually there are
15 cm in each size. But you can use any kinds of paper as long as you cut
them up into a square. In this course, I'm going
to teach you how to make two different types of
Halloween pumpkins. For beginners, I advise you to start with
making this one. It's made a three
sheets of paper. It's very easy to make. This one is made from
one sheet of paper. It might be a bit difficult
for the beginners, but I'm sure you'll
be able to make it at the end by watching my video. I'm going to show
you how to make a witch's hat to put on a pumpkin head. Or either you can make a stem like this. I'm very excited
that you're here. I hope you'll enjoy my course.
2. Pumpkin 1 - 1 sheet of paper: Start white side up, fold in half
to make a rectangle. And fold in half again
to make a square. Open it up. Fold in half to make a triangle. Fold in half again to
make a smaller triangle. Open the upper layer and
flatten to make a square. Turn it over. Make a crease
along the vertical line. And then open the upper
layer and flatten to make a square. Rotate So that the open edge
comes at the top. Take the upper layer on the right and make a crease
along the vertical line. Open it up at the
top and flatten. Fold the top corner along the orange
horizontal line. Make a crease and tuck it inside the
orange layer at the top. Turn it over, and fold the right edge, and the left edge, and the bottom corner. Now we have a Halloween pumpkin. You can use the wider side at the top or at the bottom,
whichever you like. And enjoy drawing the
halloween face on them. In the next video, I'm going to show you how
to make the pumpkin stem, and the witch's hat that you can
put on the pumpkin head.
3. Pumpkin 1 - Hat and stem: Okay, now let's get prepared
to make the witch's hat. We're going to use
one forth size origami. So if you're using a usual
15 cm squared origami, please cut it into four. One-fourth size will be
7.5 cm square origami. Now let's start folding. Color side at the bottom, white side up, fold it
into a triangle. And open it up and rotate so that the crease
in the middle is vertical. Fold the right side, and the left side along the
vertical line. Fold the top corner along the horizontal line. Turn it over so that the point of the isosceles
triangle is at the top. Fold up the bottom line a little bit to make the hats brim and then twist back the top edge. And now you have
the witch's hat. You can stick the hat
on the pumpkin's head with a glue or
any type of tapes. Now we're going to prepare to
make the pumpkin's stem. We're going to use
one-sixteenth size origami. This is one-fourth size
origami we made earlier. We're going to use one-sixteenth. Okay, let's start. Color side at the bottom, white set up, fold it in
half to make a rectangle. Ope it up, fold the bottom side and the top side along
the horizontal line. Fold it in half,
along the middle. And fold in half. You can fix the stem
with a glue or a tape, and stick it behind the pumpkin's head.
4. Pumpkin 2 - 3 sheets of paper: Now let's make different
types of pumpkins. These are each made of three pieces of paper and stuck
them together, with a glue or a tape. Two parts on the right and the left are folded
in the same way. The one in the middle
is very similar, but a bit different
with a stem at the top. The part in the middle can be yellow or orange,
any color you like. Okay, now let's start folding. You need one fourth
size origami. Please cut the original
size into four. We're going to use
three sheets of these. First, we're going to make the right part and
the left part. Color side at the bottom, white side up. Fold it in half to make
a triangle and open it up. Rotate so that the
crease is vertical. And fold the right side, and the left side, along
the vertical line. Then fold the top
corner down so that the corner matches the center of the
orange horizontal line. Fold the bottom corner
up to the same point. And this is it. And do exactly the same for
the another sheet. Let's get on with
the middle part. White side up.
Fold it in half to make a triangle. Open it up and rotate so that the crease is vertical. And fold the right side and the left
side along the vertical line. Fold the top corner down to the center of the
orange horizontal line. It doesn't have to be exact, but divide this orange
vertical line into three. And forward 1/3 up. Fold it down a little. Then fold the edge up a little. Now we've finished making
the middle part. Now, let's stick the
three parts together. I'm using the scotch tape, but it can be any types of
types or it can be a glue. Now, enjoy drawing
the pumpkin face!
5. Ending: Thank you very
much for watching. I hope you enjoyed it and
see you in the next course.
 Mami, Origami teacher