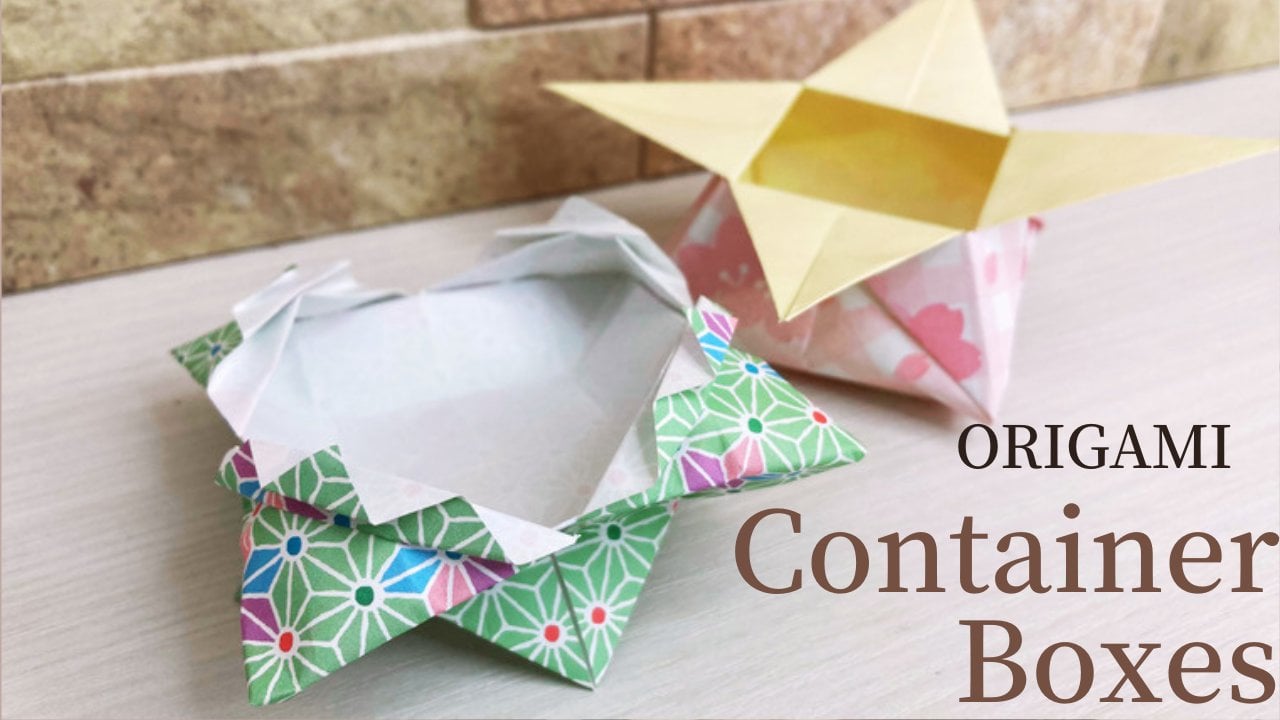
Origami - Container boxes
 Mami, Origami teacher
Watch this class and thousands more
Watch this class and thousands more
Lessons in This Class
-
-
1.
Opening
1:07
-
2.
Box 1
8:35
-
3.
Box 2
9:38
-
4.
Ending
0:15
-
-
- --
- Beginner level
- Intermediate level
- Advanced level
- All levels
Community Generated
The level is determined by a majority opinion of students who have reviewed this class. The teacher's recommendation is shown until at least 5 student responses are collected.
29
Students
1
Projects
About This Class
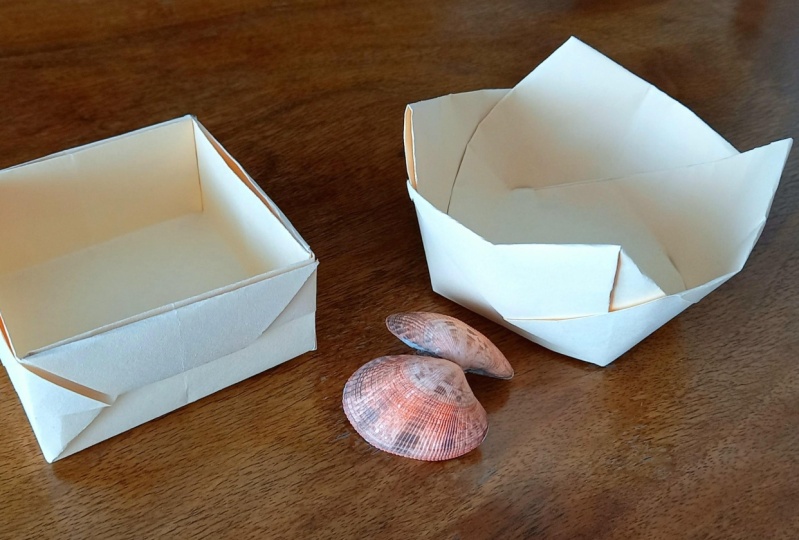
In this class, we will be making another 2 different types of container boxes.
They're ideal for putting candies, chocolates and accessories inside for daily use or special occasions!

Hands-on Class Project
Please try making these 2 boxes and share with me once you've made them!
Please don't hesitate to reach out if you need any help.
Class Ratings
Why Join Skillshare?
Take award-winning Skillshare Original Classes
Each class has short lessons, hands-on projects
Your membership supports Skillshare teachers
Learn From Anywhere
Take classes on the go with the Skillshare app. Stream or download to watch on the plane, the subway, or wherever you learn best.