Transcripts
1. 01 introduction: Welcome to this class. In this class, I will
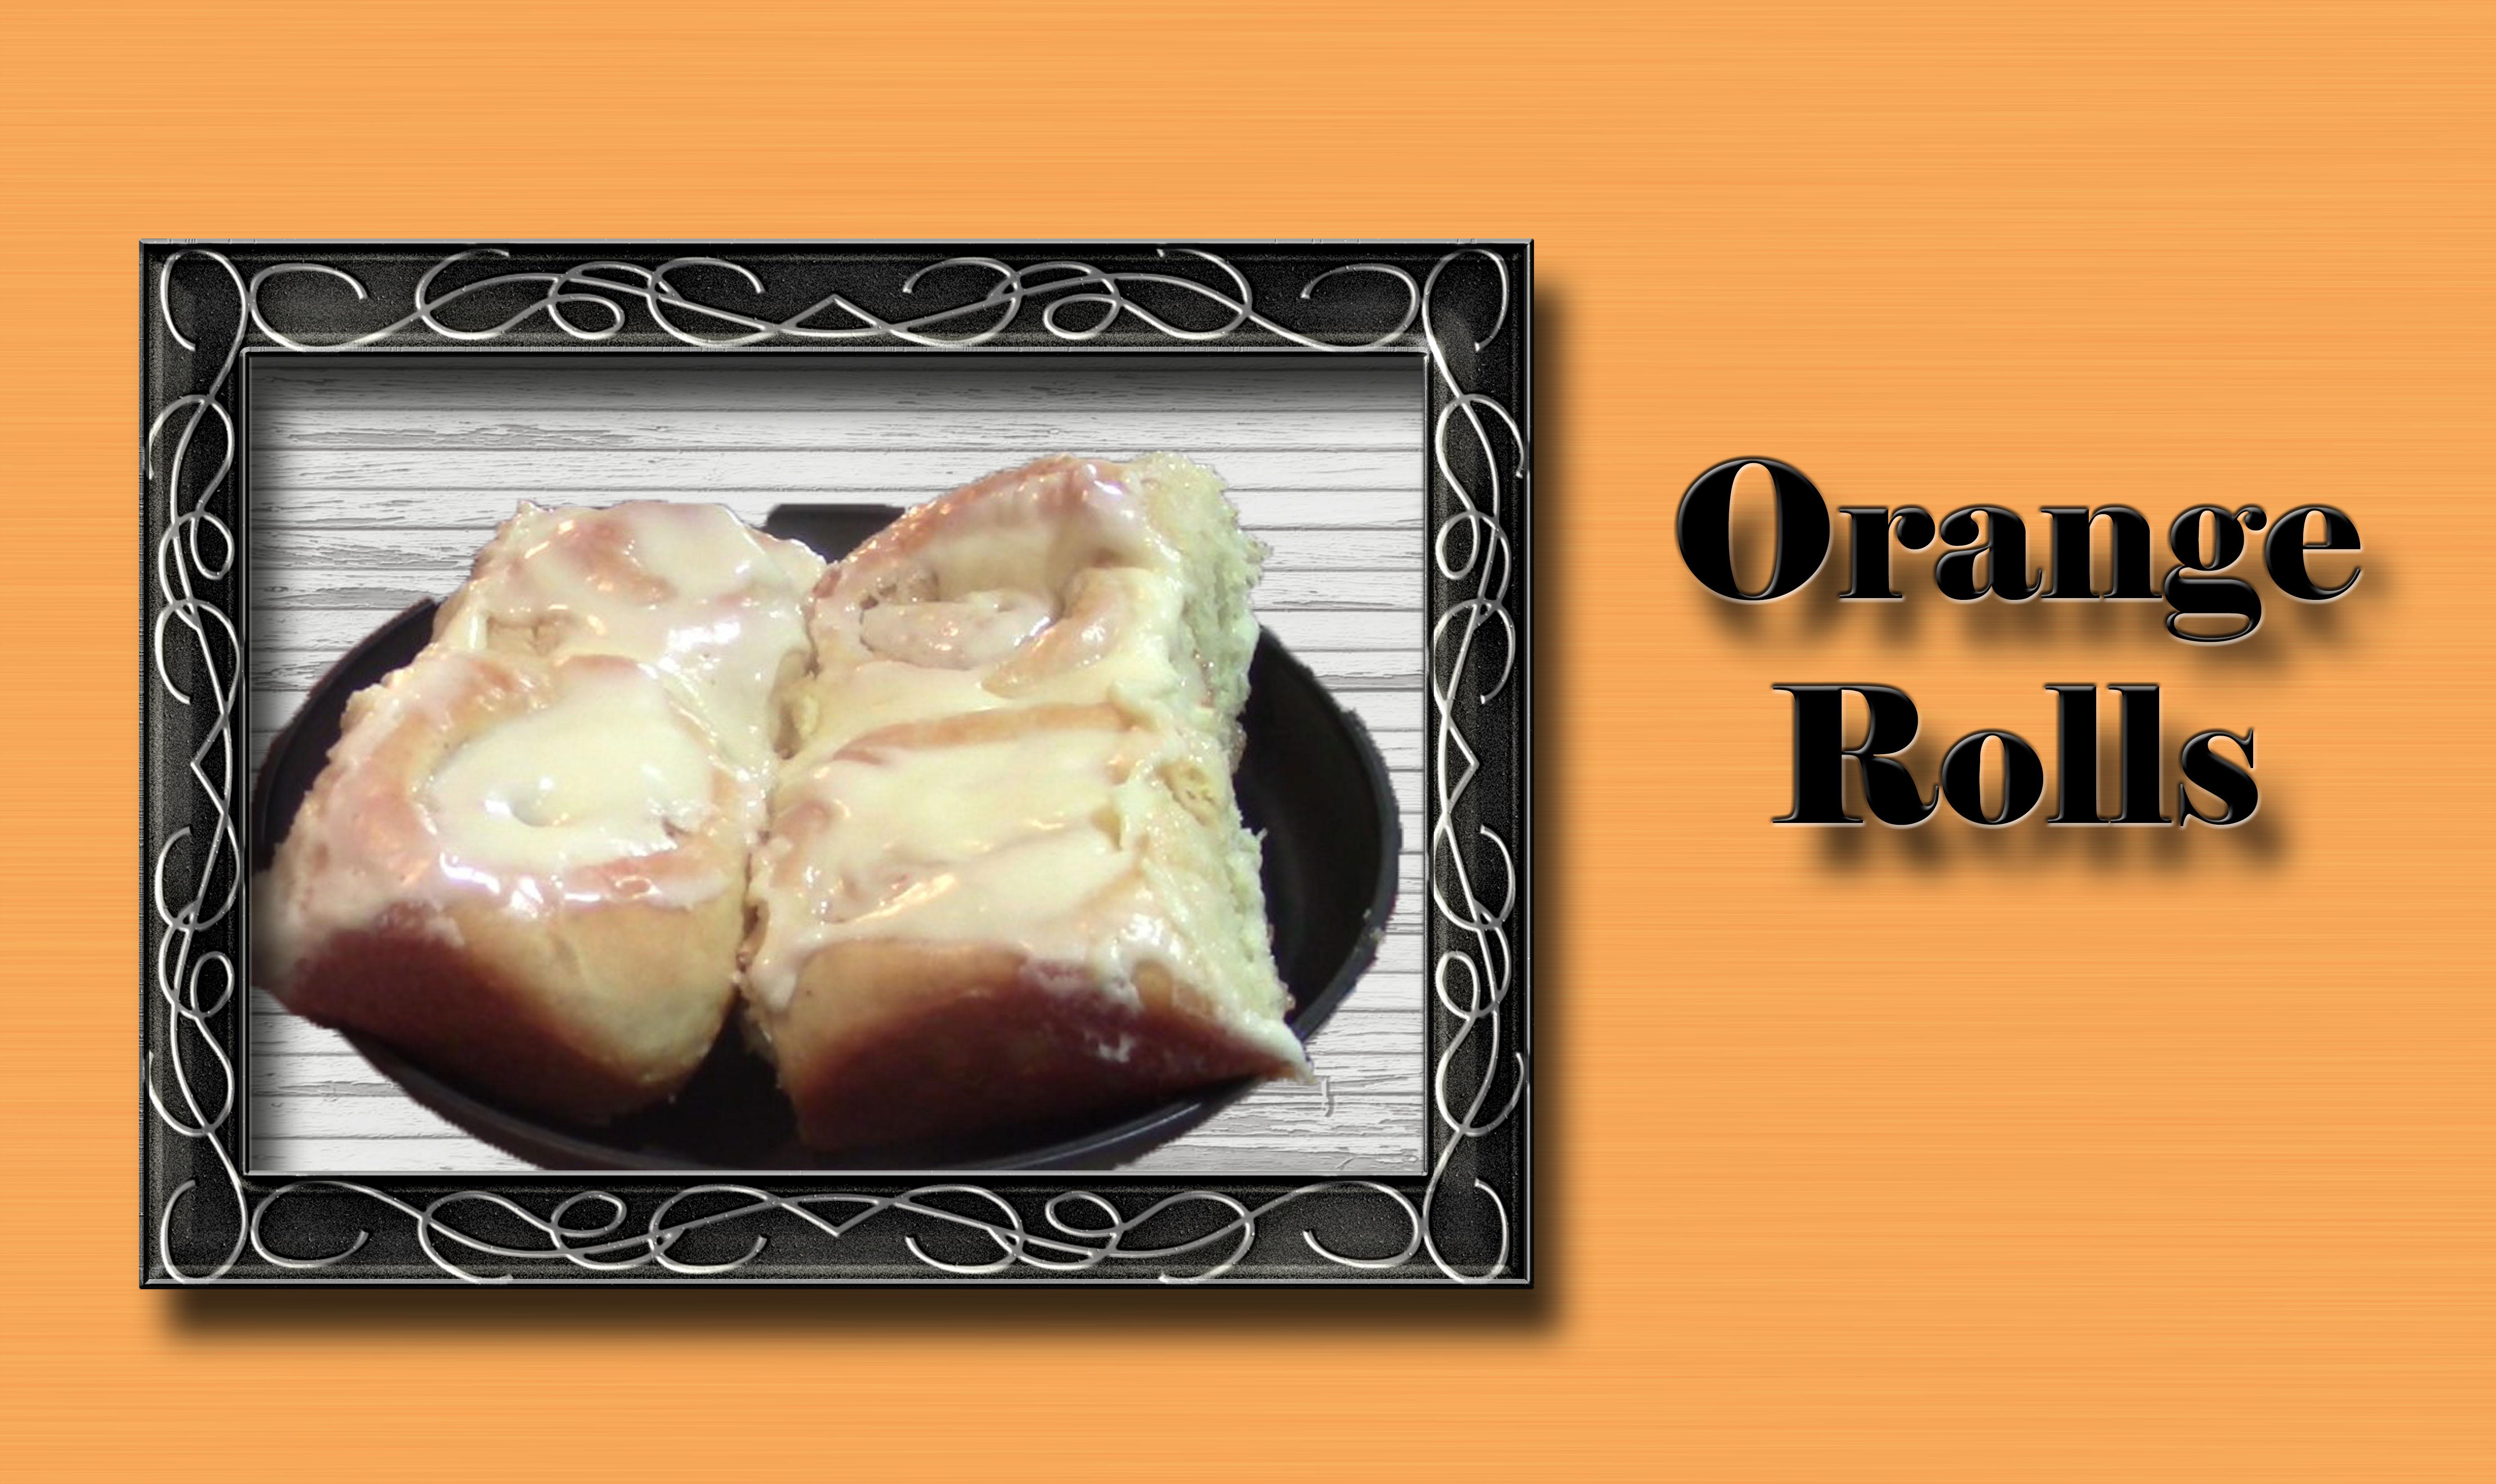
teach you how to make these delicious
orange sweet rolls with cream cheese frosting. First, I will teach you
how to make the dough. Next, I will teach you how to prepare the dough
for the first rise. And then we will let it
after the first rise, we will roll out the
dough and add butter, sugar and orange z to the dough. And then roll the
dough into a log. Next, we will cut
the orange rolls out of the log we formed. We will then let the
orange rolls rise again, then we will bake them. While the orange rolls bake, we will make the frosting
or glaze for the top. Finally, after the rolls are baked and the frosting is made, we will frost them. I am a self taught baker. Many years ago I decided I wanted to open up
my own home bakery. I had this business
for several years. Part of this business was going to farmers markets, festivals, and making special desserts and cakes for special occasions. One of the things that
sold well at festivals and farmers markets would be something like
these orange rolls. Anyway, I had this
business for several years until my husband got a job in a different
city across the country. We felt like this was
a good move and so I closed my bakery down and
we moved across the country. Now here I do not want to go through the steps to open
up another home bakery, but I baking and as a retired
teacher, I love teaching. I have decided to share my skills with you
on skill share. This is aimed at the baker that would like to learn how to make delicious sweet orange rolls
for a breakfast or brunch. I look forward to teaching
you the skills in this class. Let's move on to lesson
number one, Making the dough.
2. 02 Making the Dough: We are ready to start
making the dough for our orange
drills in this bowl. I want to dump my 12 cup milk. I put it in the microwave for 1 minute, so
it's quite warm. I then want to add my
12 cup orange juice, three tablespoons of butter, my one teaspoon of salt, three tablespoons of sugar, one tablespoon of yeast, and my one egg. I want to just do a
quick mix of this. I then want to add my
flour one cup at a time. Third cup should be starting
to form into a dough. There's my last fourth cup. Now I want to see how well
this forms into a dough. If it does, I don't
need to add more. If it doesn't, I'll
add a little bit more. I want to stop it for a
minute though and get all of this four down in the dough. We're going to meet
there for a minute. We're just going to a cut, just a little bit
more flour until we get that try
to come together. We're now going to need this
for about three, 4 minutes. While it's needing, we'll see
if the comegether or not, We can see it come together because it's no longer
sticking to the size of the B. A net it for Jess. A
couple of minutes. All right, So we have
a nice dough here, we're going to
take the pick out, and it's a little bit
of a sticky dough, and that's okay,
that's what we wanted.
3. 03 First Dough Rising: All right, we have
a nice dough here. We're going to
take the hook out. It's a little bit
of a sticky dough and that's okay.
That's what we wanted. Now we're going to take this
bowl and spray it down. We're going to take our dough
and place it in our bowl. We're now going to take
the dough on our proof in. Just spray the top with some
vegetable oil covered up. We're now going to let that rise one to 2 hours until it
has doubled in bulk. We'll be back after it's risen to show you
what we do next.
4. 04 Filling: We are ready to make the filing for our orange
drills in this bowl. We want to add a
two cup of butter. I put it in the microwave for about 15 seconds because
I wanted to soften it up. I didn't want it totally liquid. Then I'm going to add my one
cup sugar, stir that in. I want to add my two
tablespoons of orange peel, and I really did not want to grate that much orange
peel. So I bought some. There's 12. It's going to give us a
lot of orange flavor. I just want to mix the sal in. I want the sal very
evenly distributed. Now this is ready to
go onto the dough.
5. 05 Forming the Orange Rolls: If I start rolling
out the dough, I do want to sprinkle
some flour on my counter that I've cleaned to help prevent the
dough from sticking. Now I'm going to just very carefully put this on there and I want to add
a little bit more flour. Because when I start
rolling this out, the last thing I
want to do is stick. I'm going to dust that. Flip that over. Now
both sides have it. I want to roll this
out into a rectangle. I'm trying to keep that rectangle
shape as I roll it out. I'm doing a little
bit of stretching and a little bit of rolling
because I want to maintain that rectangle shape
without done like that. I'm now going to take
this sugar butter and pill and spread it on. I'm just going to keep
spreading it till I feel like I have it
evenly distributed. This area I feel
like I have more. So I'm going to bring
it over to this area. Okay. With that done, I'm now going to take this, do a very tight roll. I'm rolling it
slowly so I can get any up that's trying to stick. With that done, I want to bring this back more to
the center mesh, the two sides in and
we're ready to cut this. I want to get my pan
ready by spraying it down so that I'll be ready to put my orange
drills in as I cut them. I'm going to move this just enough so that I can
lay the pan there. You can pretty much
see my role here. I want to look at what is half now it looks
like about half. Then I want to get
six out of each end. So I'm going to go ahead
and divide it again in half and then in thirds. Then with this half, I
want to put it in my pen, I want to do three by three
with that first half. Then I'm going to do the same, this first, break it in a half. The third, third, I'm going to fill the other
half of the pan with this. Just space these
out pretty evenly. And there we have this
ready for the second race.
6. 06 Second Rising: I have my proofing mat right here and I have my rolls
that have raised well, that I've put in the pan and
I'm going to put my cover on it with that covered, I'm going to let it rise
for another hour or so. Half an hour to an hour. I want it to be pretty
much double in book. I want all of the rolls to be touching each other before
I put it in the oven.
7. 07 Baking the Rolls: Our rolls have risen. Let me show you what
they look like. You'll notice how they're
all puffed together. We're now ready to put
these in the oven. The oven is also
preheated to 350 degrees. We have the rack in
the middle position. We're going to stick
these in there. And then we're going to cook
them for 20 to 25 minutes. So we're going to
start at 20 minutes. We'll be back when these
are done to pull them out. But while they're cooking, we're going to go ahead
in our next lesson and make the cream cheese
glaze that goes on top. Our timer has just gone off, so let's go ahead and look at our orange rolls and
see if they're done. As you can see, they're a nice golden
brown, so they are done.
8. 08 Making the Glaze: While our rolls are baking, we want to make the glaze
so that it's ready to go on top shortly after
it comes out of the oven. Let me show you how we do this. We have our butter and
cream cheese here, so we're going to
whip these together. We've let them both come
to room temperature. You notice how quickly
that cream cheese, let's go ahead and stick the
beard down in the heaven. Now we want to add 12 teaspoon of orange extract and one
cup of powdered sugar. I got it just as
slowly as I can. This is my hand, not
very slowly mix that. I'm going into the
powdered sugar, very slowly spray up to Now we want to add just a
little bit of orange juice. It says one to two. I'm looking at mine and I'm thinking one is
probably going to be plenty that in nice, delicious orange. This is basically the
consistency we want, so we're not going to add
any more orange juice now. As soon as the rolls are done and it's cooled
for about a minute, if that long, we'll
spread this on top.
9. 09 Frosting the Orange Rolls: Here is our rolls on
the cooling rack. And we're going to take the
glaze that we already made and just spread it on top
of the rolls like that. We want to do this
wallet, still warm, so the glazes will melt and
goop down into the bread. There. You can see
we have these. I have one left, his there. You can see we have all
of these glazed now. We're just going to let this totally cool and then we'll
be ready to serve them.
10. 10 Final Thoughts: Thank you for taking this class. We had fun making our orange sweet rolls with a orange cream cheese frosting. We first learned how
to make the dough. After the dough was
made, we let it rise, then we turned it out
onto the counter, rolled it out into a rectangle. We added the filing of sugar
butter and orange rind. Then we rolled up the
dough to make a log. We then the log into 12 individual rolls
that we put in a pan. And then we let it rise
again until double and bok. Once they had risen again, we baked them in the oven
for about 20 minutes. We then pull them out. We put a glaze that we had made while the
rolls were baking. On top, our glaze was a
cream cheese, orange glaze. We then let them
completely cool and now we have these orange street rolls. I hope your rolls
turned out the way you wanted them to the recipe for. This is in the project section, and your project is
to make these rolls. Make sure to post a picture on our project page and
tell us how it went. I look forward to
hearing from you from my kitchen to your
kitchen. Happy baking.
 Nadine Thomas