Transcripts
1. Introduction: Hi, everyone. I'm Altea, and I'm back for my second Skillshare class. I'm an artist and content creator from Italy, and in today's class, I'm going to be showing you how to make a one-line drawing. The continuous line drawing technique consists in starting and completing it using one sitting. I know it can be challenging at first, but I can assure you it's going to be extremely satisfying to see your hand flowing in one stroke. One-line drawing is a calm and focus activity. It allows you to be creative and explore a new way of drawing. I'm sure you've been seeing on the Internet many portraits, animals, and many of their designs made with this technique. For this class, I'm going to be showing you how to make a one-line drawing by using nature as reference. One-line drawing is not just about drawing, but it is a powerful tool to expand your creativity, boost your drawing skills, and learn something new. This class is filled with drawing exercises, so it's perfect for beginners. If you're not sure where or how to start, you're in the right place. At the end of this class, you'll be able to simplify a complex image to still powerful line, and you're going to have the skills to apply this technique to anything you want to draw, so head to the next video, and I'll see you there.
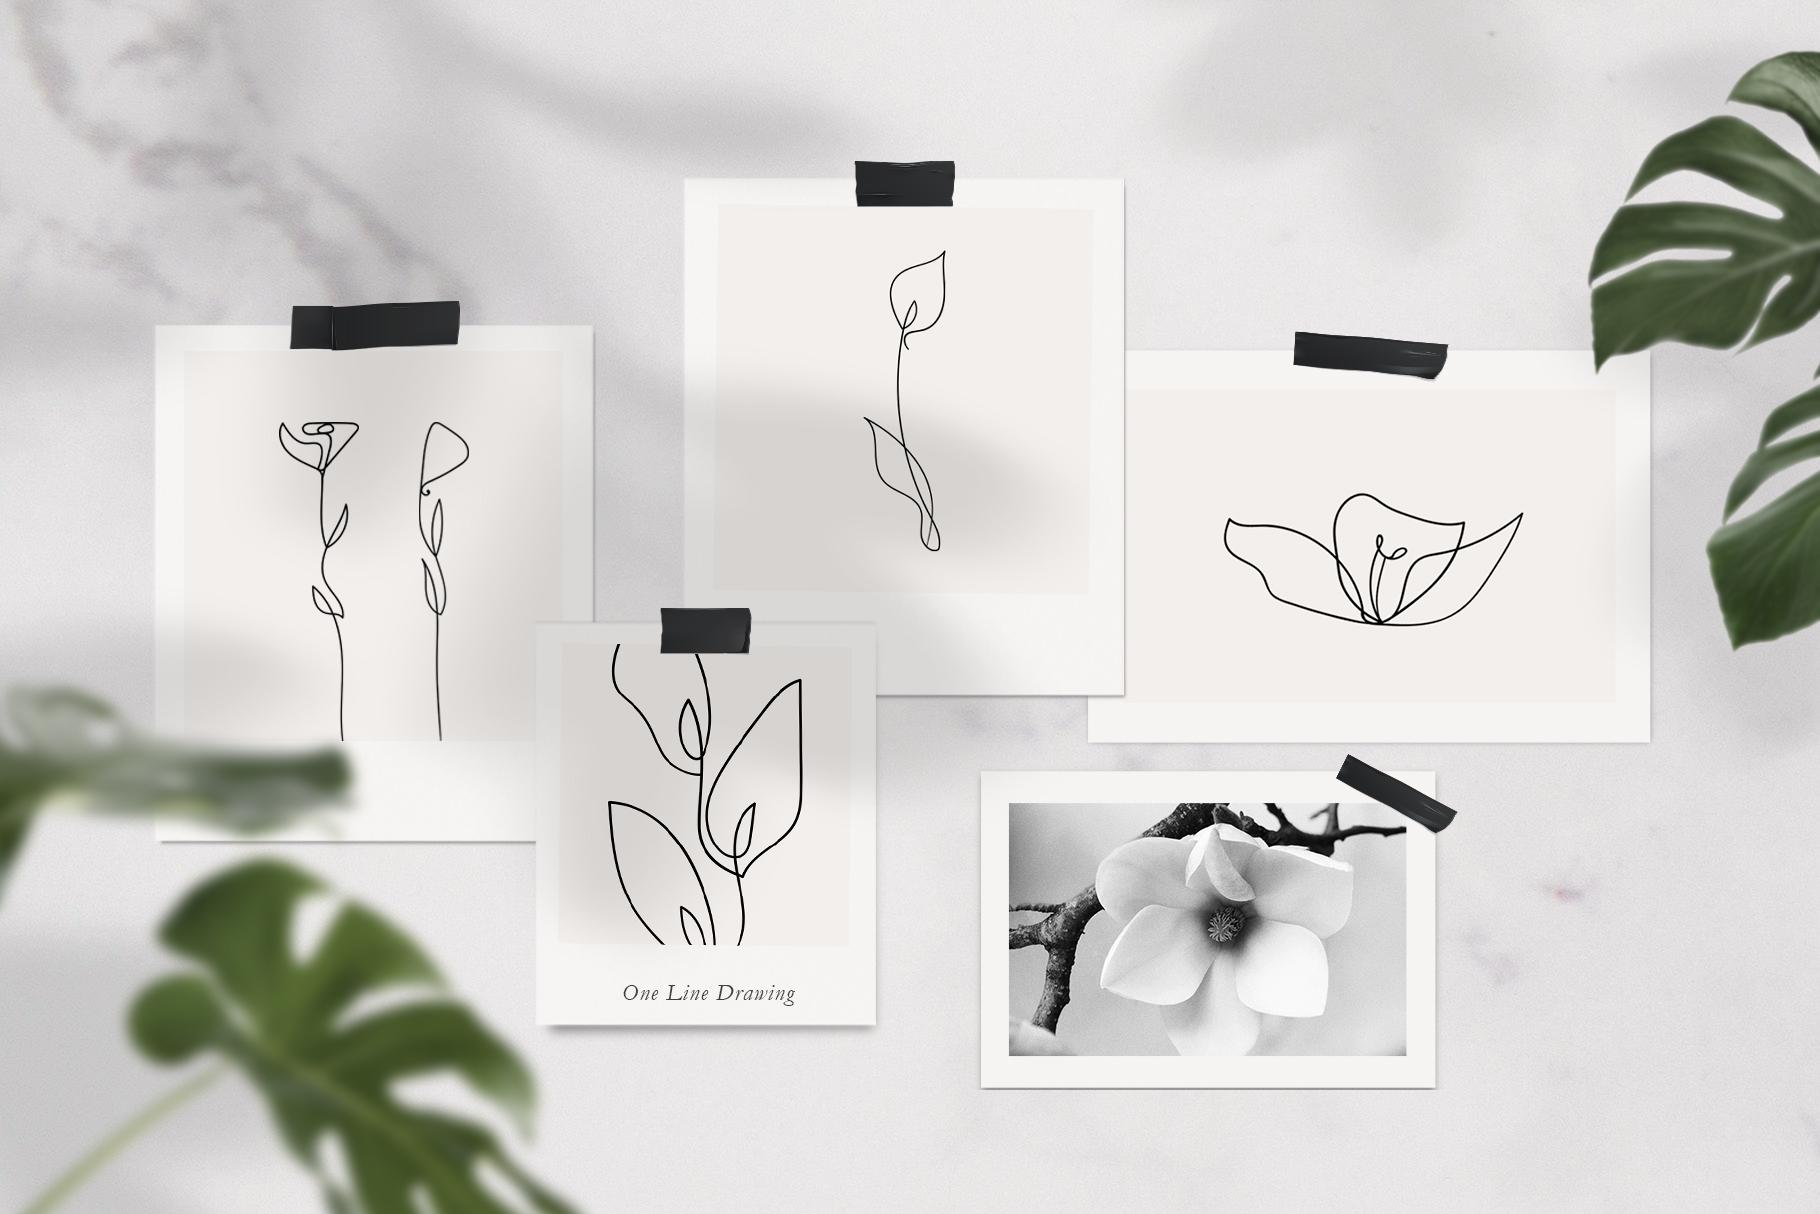
2. Our Class Project: Thank you so much for joining me. In this class, you'll be creating a one-line drawing illustration and feel free to pick a reference photo you like and apply the technique you'll be learning. Nature is what inspires my art from mandala to line art and watercolors. I just love to draw flowers and plants. For this class, nature is going to be our main subject. But for the class project, I want you to feel free to draw what truly makes you feel inspired. It can be an animal, a character, or just a simple object. At the end of this class, you can share your work by going to the projects and resources section. I can't wait to see what you all come up with. We'll start our journey by doing a worksheet and we're going to draw some botanical shapes, such as pillows, stems, flowers. This is going to be a great way for you to get started and feel more comfortable drawing continuously. If it's your first time drawing continuously, I highly recommend you to follow this specific class and print a worksheet I'll provide you. Next I'll show you the technique I've been using to learn how to draw a subject with just one line, so we're going to go over how to find a reference photo, how to make a simple sketch, and how to go over our sketch with just one line. After practicing with a few drawings, we're going make our final illustration and we'll add colors to it by using watercolors. In the next class, we'll quickly go over materials, so I'll see you there.
3. Materials: For this class, we'll need a pencil, an eraser to get rid of all the pencil sketches we'll make, and a fine liner. You can also use a pen or a Sharpie, but just be aware that when using watercolors, the ink can smudge and bleed. As for paper, I'm going to be drawing on my sketch book, but for practicing, any paper works well. When drawing with fine liners, I like to draw on a smooth surface because I feel my hand flowing much better without feeling stuck. But this is just my own preference, so feel free to use any kind of paper you love. This will using watercolors, but just for the final illustration, I would recommend you to use a mix media paper or watercolor paper. Of course, you will need watercolors, brushes, and jar of water, and some paper towels. Here's all the material we went through, and now let's begin this course by practicing some botanical shapes.
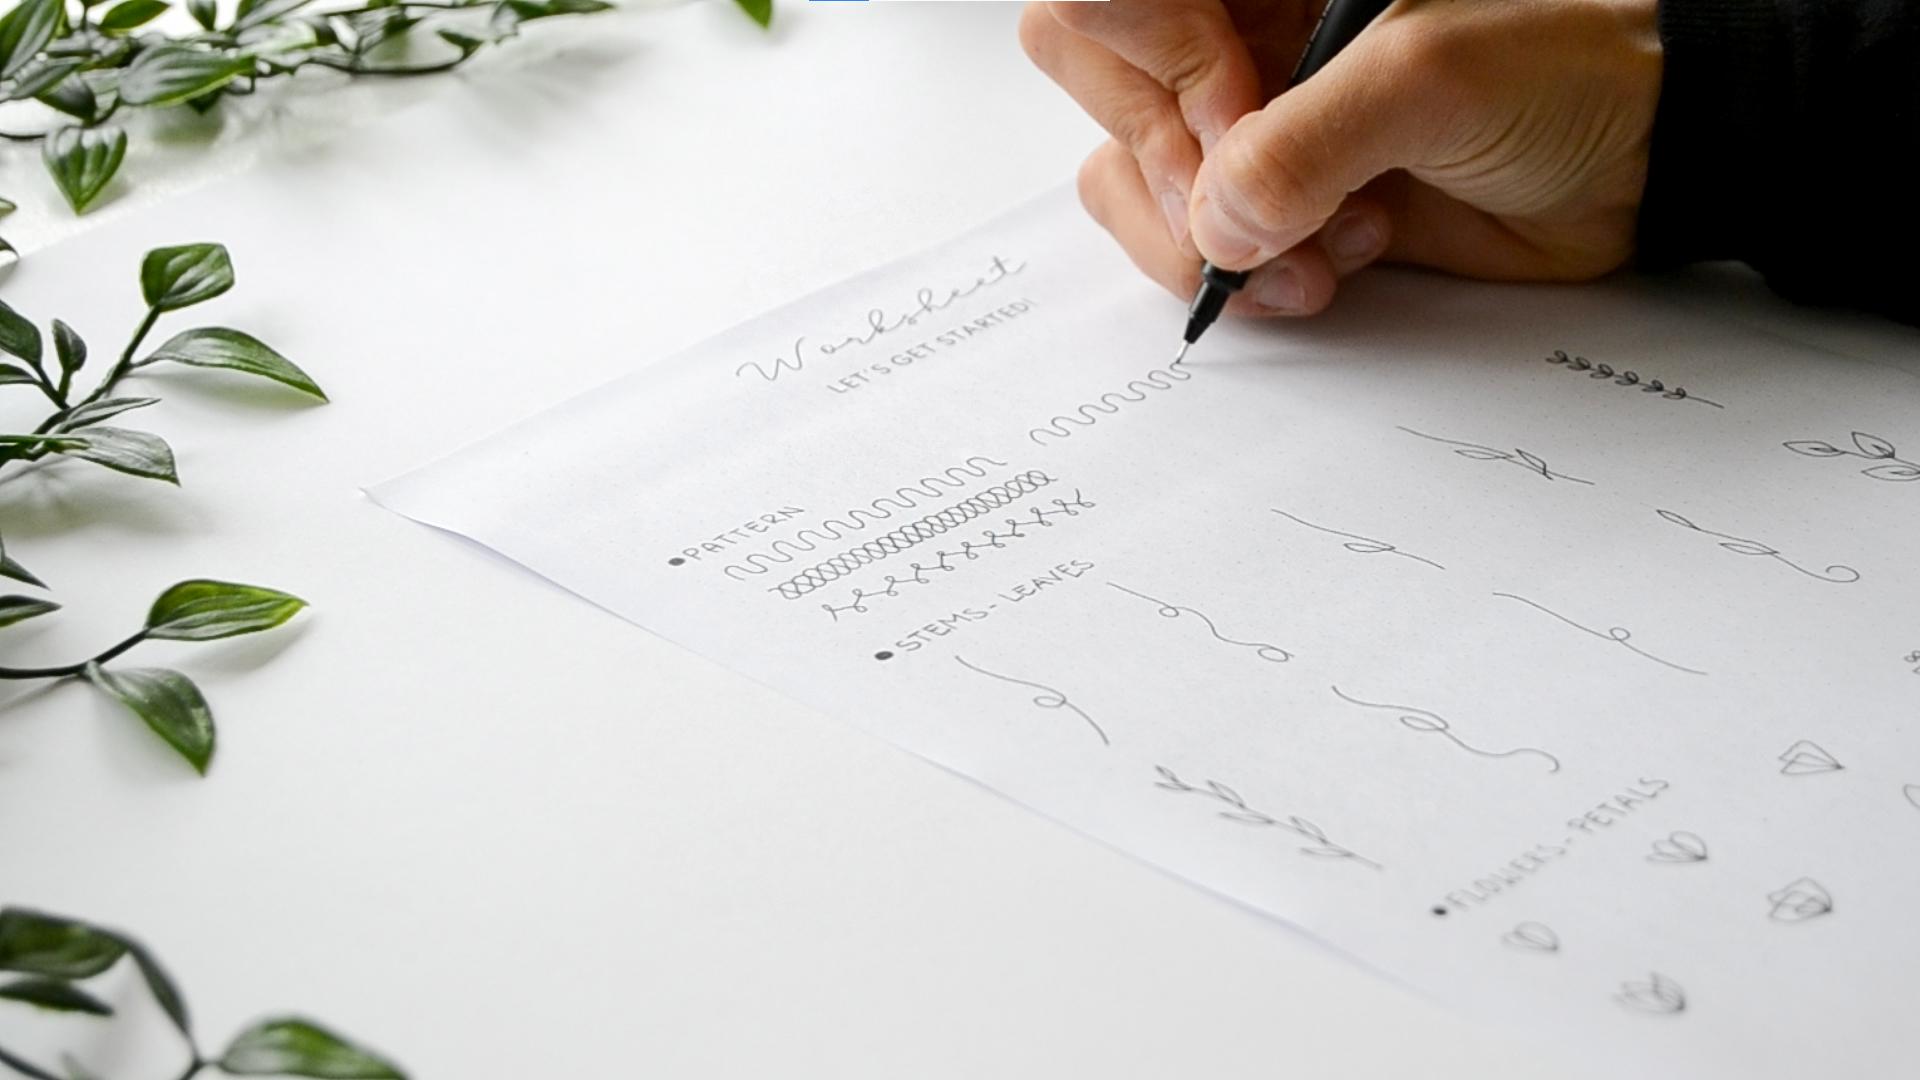
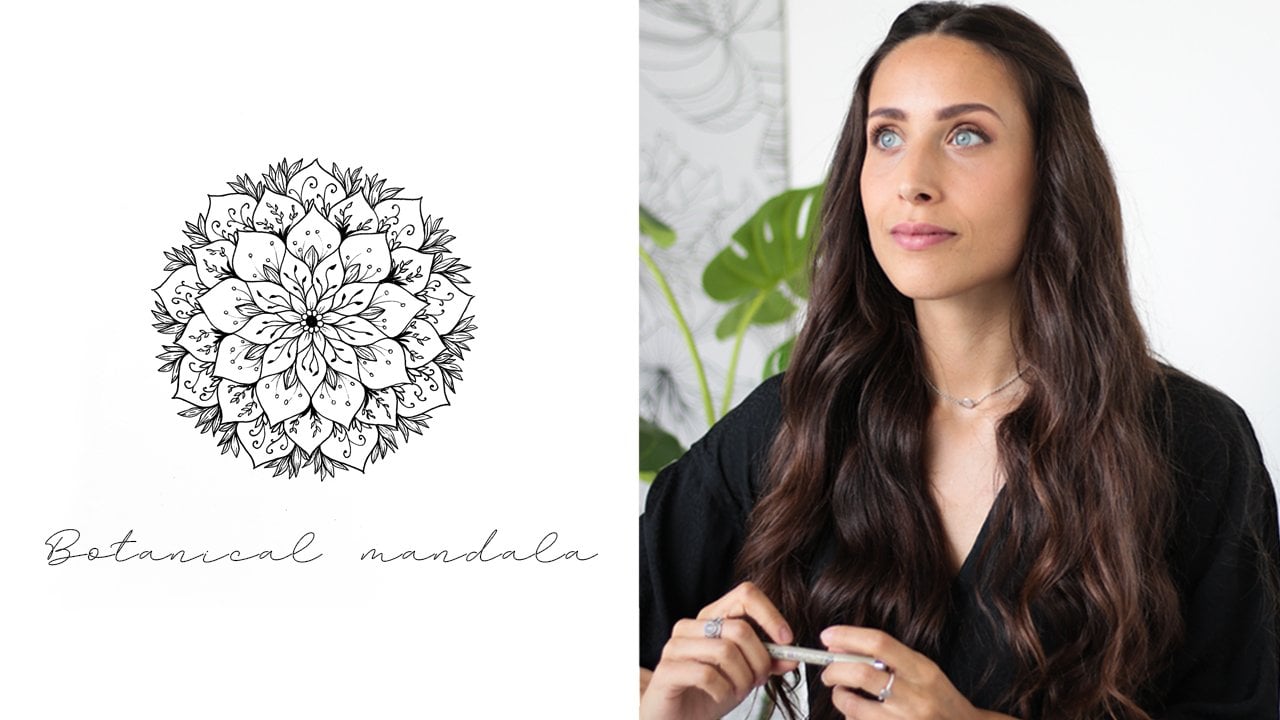
4. Continuous Line Drawing Exercise: If you join my previous class on how to make a botanical mandala, you know I love worksheets and I do believe they're a great way to get started. You can find today's worksheet in the Projects and Resources section. I highly suggest you to print it because then it's going to be much easier for you to draw a shape when you have it right in front of you. I left a space for you to draw and I'm going to be doing this drawing exercise with you so you can see how I move my hand and how I draw each shape. I'm going to be using a fineliner, but you can use anything you prefer. This is actually the perfect time for you to experiment different pens and see which one feels better. I'll start from the first pattern, this is a wave shape. Starting from the bottom, move your hand up and down by making a gentle curve. Try to get the motion as long as you can but stop if you feel your hand getting tired or if you feel the movement is not fluid anymore. Moving on to the second pattern, this is a little bit more complex. It's like drawing the number eight. By doing this exercise, we're going to get used to continuous drawing. If you feel like repeating a shape just once is not enough, I encourage you to repeat it as many times as you want. While we keep drawing, I'll be talking a little bit about one line drawing. The first tip I want to give you is when continuous drawing, try to pay attention to your body and see how you feel. Try to keep your hand as light as possible. I'm telling you this because sometimes when drawing without lifting the pen, it is very easy to tense up your muscles without even realizing it. This is what I've experienced when I was trying this technique for the first time. I started to pay attention to my body. This way I could feel relaxed and less tensed when I was drawing. In this section of our worksheet, we're going to draw some shapes that will be the stems of our flowers. If you feel like drawing a similar shape and not exactly the one you see, just feel free to draw what comes more natural to you. This is just an exercise to warm up and starting to get comfortable with continuous drawing. In the next classes, we'll use reference photos and draw flowers that we can actually see in real life. But we'll also see that by using our imagination and by combining shapes that we draw intuitively, we can create beautiful designs. I made a collection of 65 wailing drawings and most of the flowers I've included were just part of my intuitive drawing. We're in the last section of our worksheet and here I've included petals and flowers. If you feel the class is going too fast, just pause the video and take your time to repeat the shapes. One line drawing is a calm and focused activity and as I was telling you at the beginning of this class, it is a powerful tool to expand your creativity and a consistent practice is key to master this technique. This drawing method encourages your eyes, your hand, and your brain to work together. By repeating the same shape or subject, you'll be able to improve your one line drawing skills. By completing this first step, we've already got the chance to draw the shape that we will find in the next classes and I really hope this exercise helps you break the ice. In the next lessons, I'll be showing you the method and the process I use to learn how to make one line drawings.
5. One-line Drawing Method: I started to become passionate about one line drawing when I started to learn this on my Pinterest, all of these beautiful portraits. I was so fascinated by how delicate and simple these designs were. I started to dive deep into this technique and see if I could find any video tutorials or something where I could learn from. But I couldn't find anything. I started to practice on my own using nature as my main subject. Fast-forward, I understood that if we wanted to draw a specific subject, it would have been much easier for my learning process if I'd make a sketch first and then go over the sketch with a pen, instead of just going straight with a pen without having a guide for my eyes and my hand. Here are the four main steps I've been following to learn how to draw continuously. First, I look for a reference photo I can use for my sketch. Pinterest is a great tool to find inspiration and photos. I use it a lot because I can pin the pictures I like and putting them into board. Another platform I use for image searching is Pexels. Here you can find high-quality photos you can download. I highly suggest you to check this out. Once I gather my reference photo, I sketch the subject. What I keep in mind is that my sketch has to be simple, so I focus on the outline without paying attention to details or shapes. Third step, I go over my sketch with a pen and starting from the bottom of my flower, I draw a single line. Without ever lifting my pen, I go over the entire sketch. Lastly, I tried to rebuild this shape over and over again and I repeat it until I feel confident enough, until it comes natural for me to draw. This is what really worked for me and I really hope that this is going to be helpful for you. One last thing I want to add is just listen to yourself. If after watching this entire class, you feel like, for example, you don't need to make a sketch to learn this technique. Just go for it and feel free to make your own adjustments to these four steps I just shared until you find your own way. In the next lesson, we're going to put this into practice by drawing five flowers, one plant, and one leaf.
6. Let's Practice: I'm going to be drawing on a sketchbook and all we need for this lesson is a pencil, a pen and an eraser. We're going to be using some reference photos that you can find in the roses section. Those photos are going to help us catch up the subject. Let's start with the tulip. Just remember to focus on the outline of the flower and make a very simple sketch. I usually start from the stem. I'm just going to draw a line, then I will draw the leaf, and lastly the petals. You can use your own interpretation to make this sketch. But just keep in mind that it has to be very simple. The draw must be done in a single line, so by using a pen start from the bottom and go over the pencil mark. Once you do the stem, it doesn't matter which petal you do first, so do what feels better for you. It might take you some time before you start understanding how to move your hand, but it's just a matter of practice. We're going to repeat these steps some more times, so no worries because we're going to practice during the entire class. Now we're going to draw a cyclamen. I'll do just sketches because I'm going to show you how I go over the petals in two different ways. You can see that it really doesn't matter which way you go first when you are in the petals area. I hope that makes sense. It's pretty hard to explain things. Sometimes it's just better showing you them. Now we have this beautiful orchid. I really love this flower. As you can see, we're repeating the same steps with different subjects. By repeating the same exercise, you'll have the time to learn and process this part of the class, which is the most important. Once you're able to make a basic sketch from a complex image and go over with a pen, it's just going to take you some practice and you'll be able to apply the same process to any other subjects. If you want to draw a character or an animal, you'll know how to do it. I know the rose may look complex, but again, the more you practice, the better you become at it. When I first started using this technique, I struggled when drawing. It hasn't been something easy and it took lots and lots of practice. So don't get discouraged if your walling drawings don't come out as you expect them to be. I've been practicing a lot on my digital tablet, and if you own one or an iPad, I highly suggest you to use these tools. You'll save a ton of paper and you can practice so much. Now, I'm going to take a look at my worksheet because I want to show you how you can combine different shapes and make your own flower. I'm going to make more flowers, and as you can see, I'm drawing completely intuitively. This is a great way to expand your creativity and give your imagination a boost. When you feel comfortable, I encourage you to start doing it. Now we're going to draw the eucalyptus and again, let's make an essential sketch just to give a guide to our hands and our eyes. As you might have noticed, sketches are really essential and I just draw what I need for my walling drawing without paying attention to minor details. Once you've completed your subject, you can really try to repeat the shape without making the pencil sketch. Keep in mind that this is how your body can learn and memorize. Lastly, we're going to make a simple leaf. In the next lesson, we're going to make our final illustration. You can feel free to follow along or choose your own subject to draw. You'll see how to create pastel colors to add to our illustration. I'll be giving you a few ideas on what you can create. You'll see how I make a bookmark, how I make an art journal page, an illustration to prame, and a digital one.
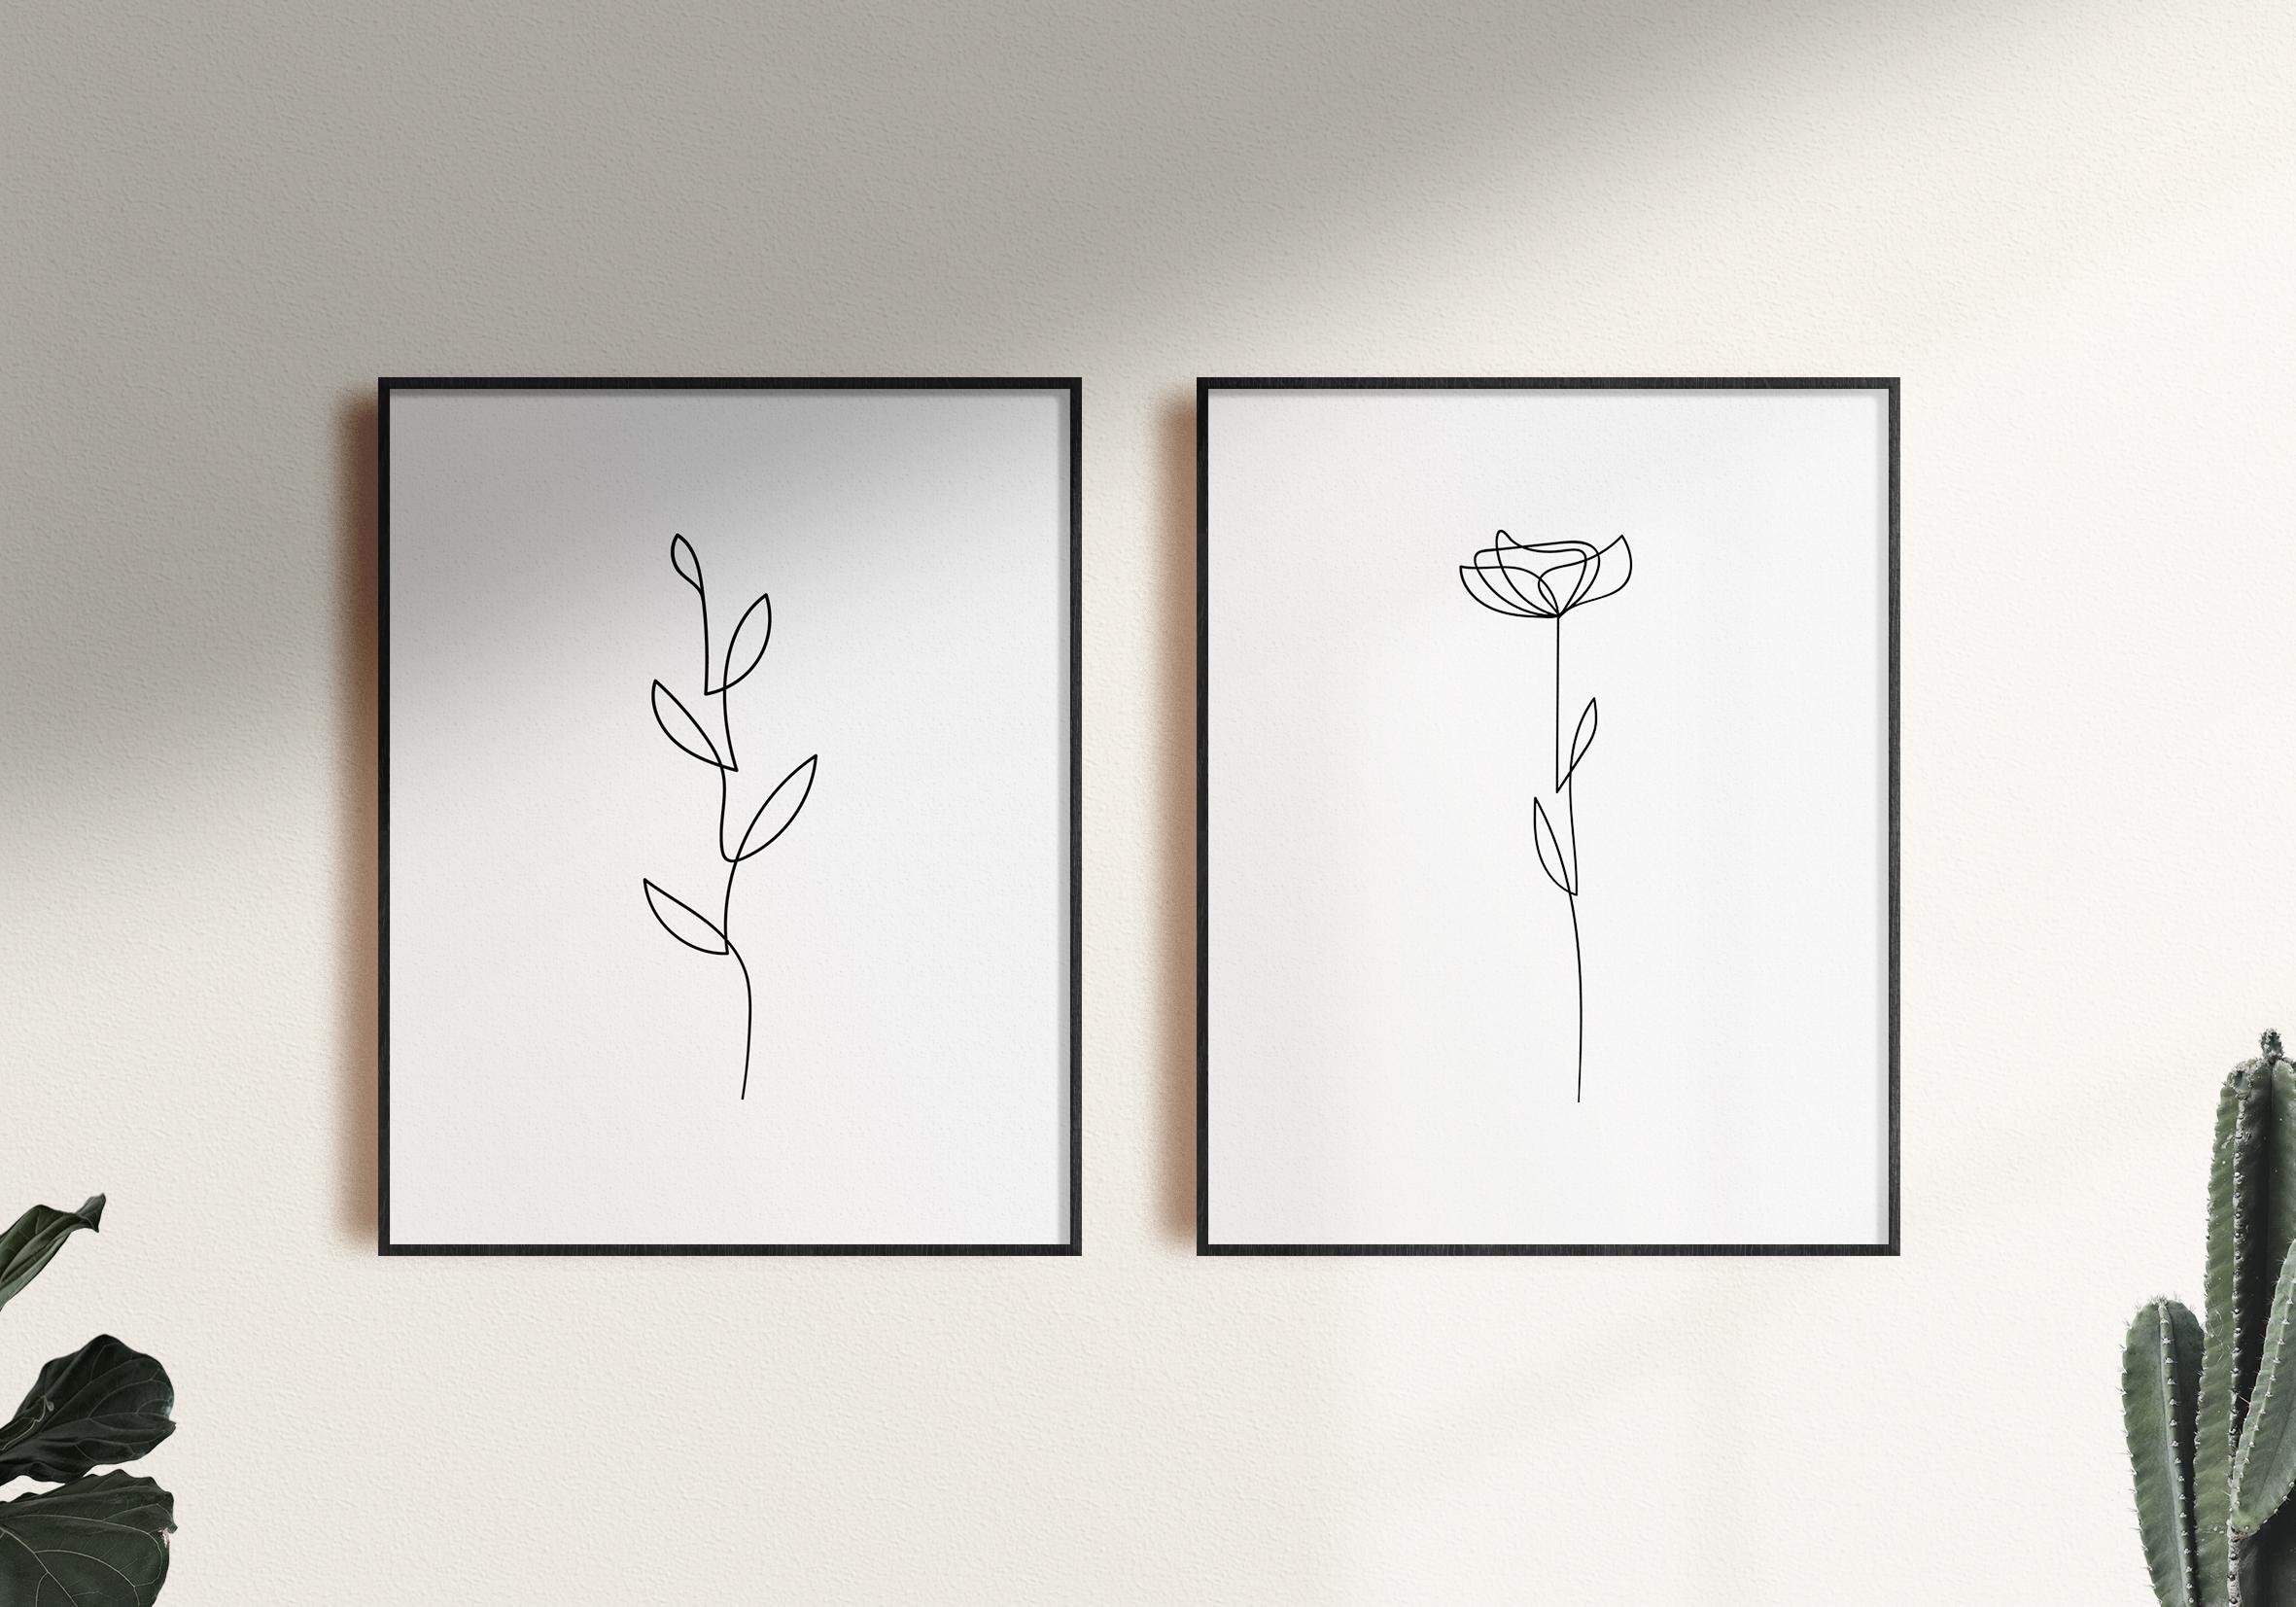
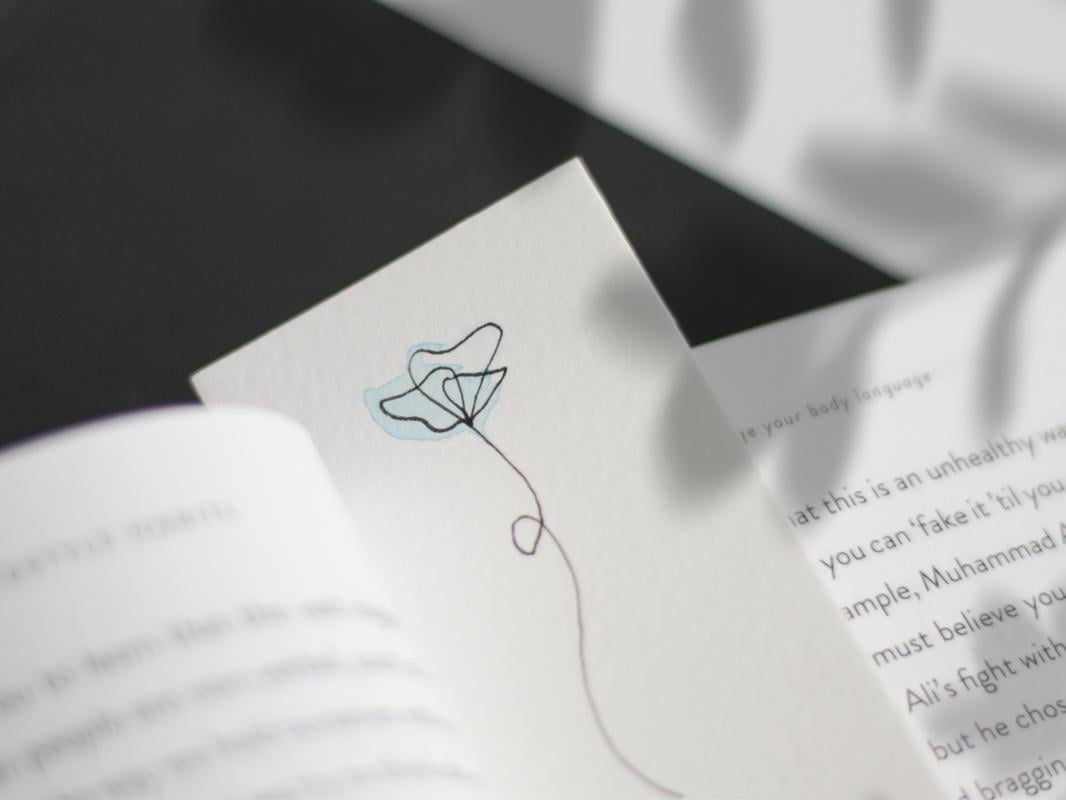
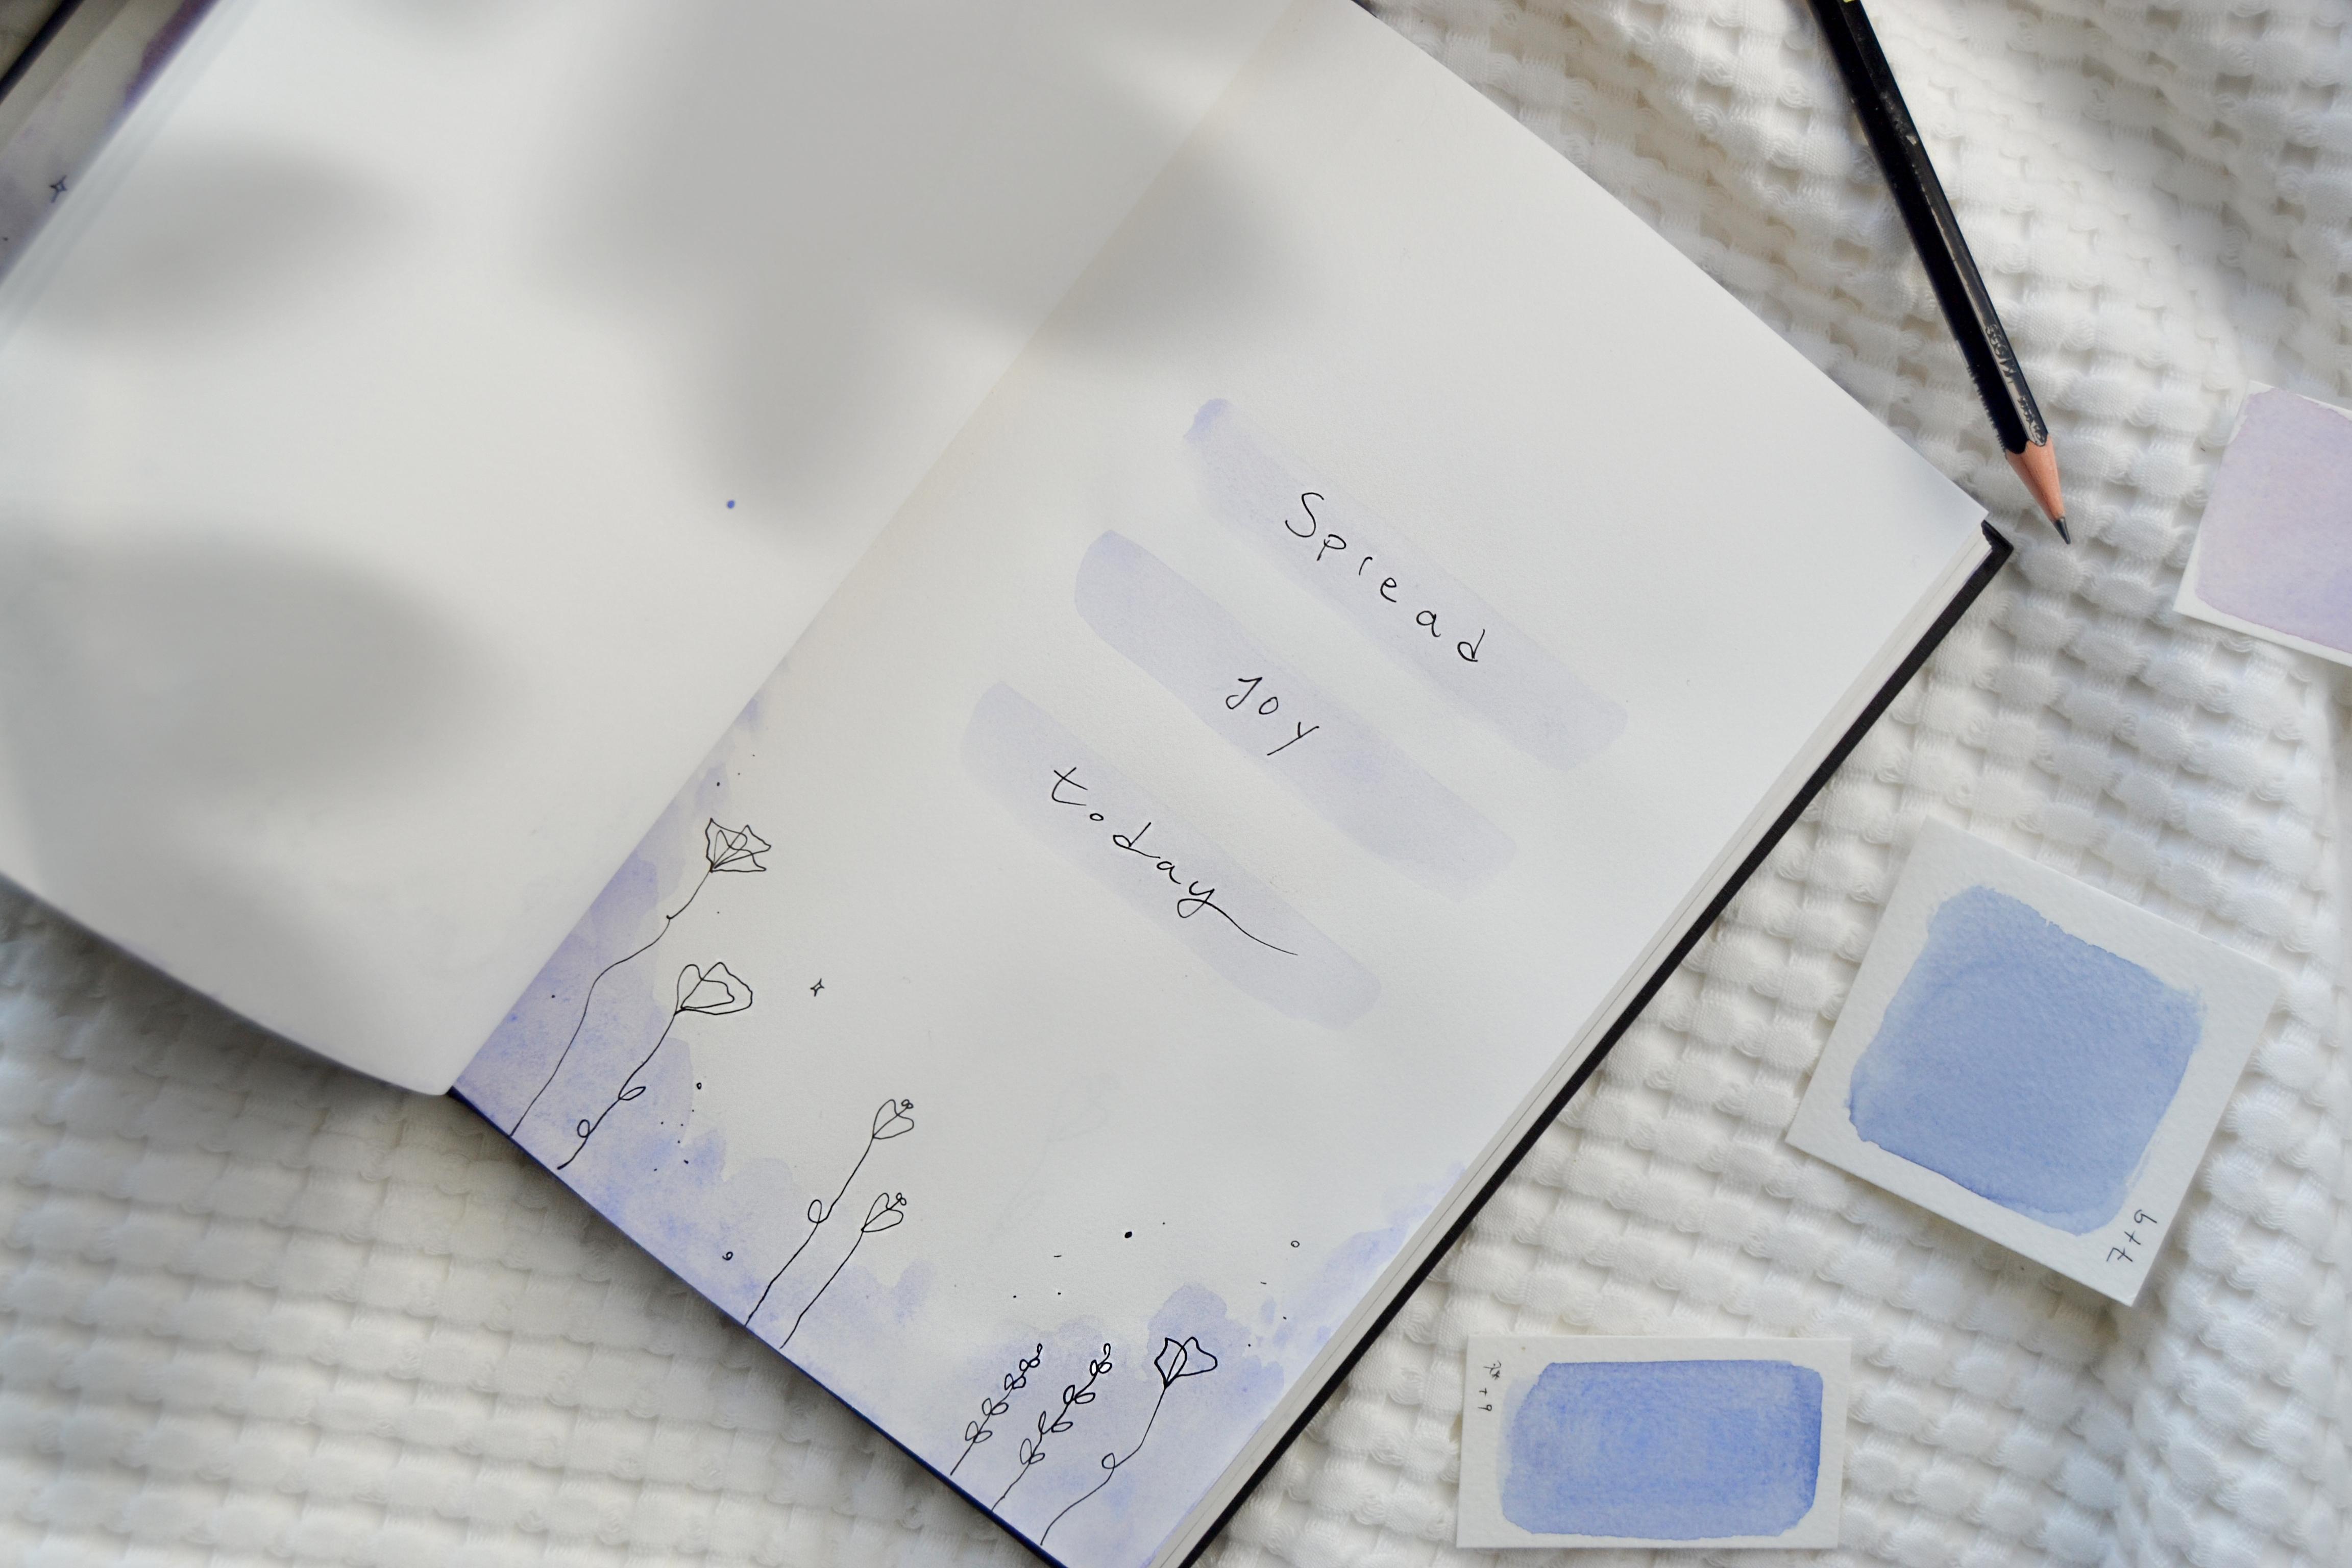
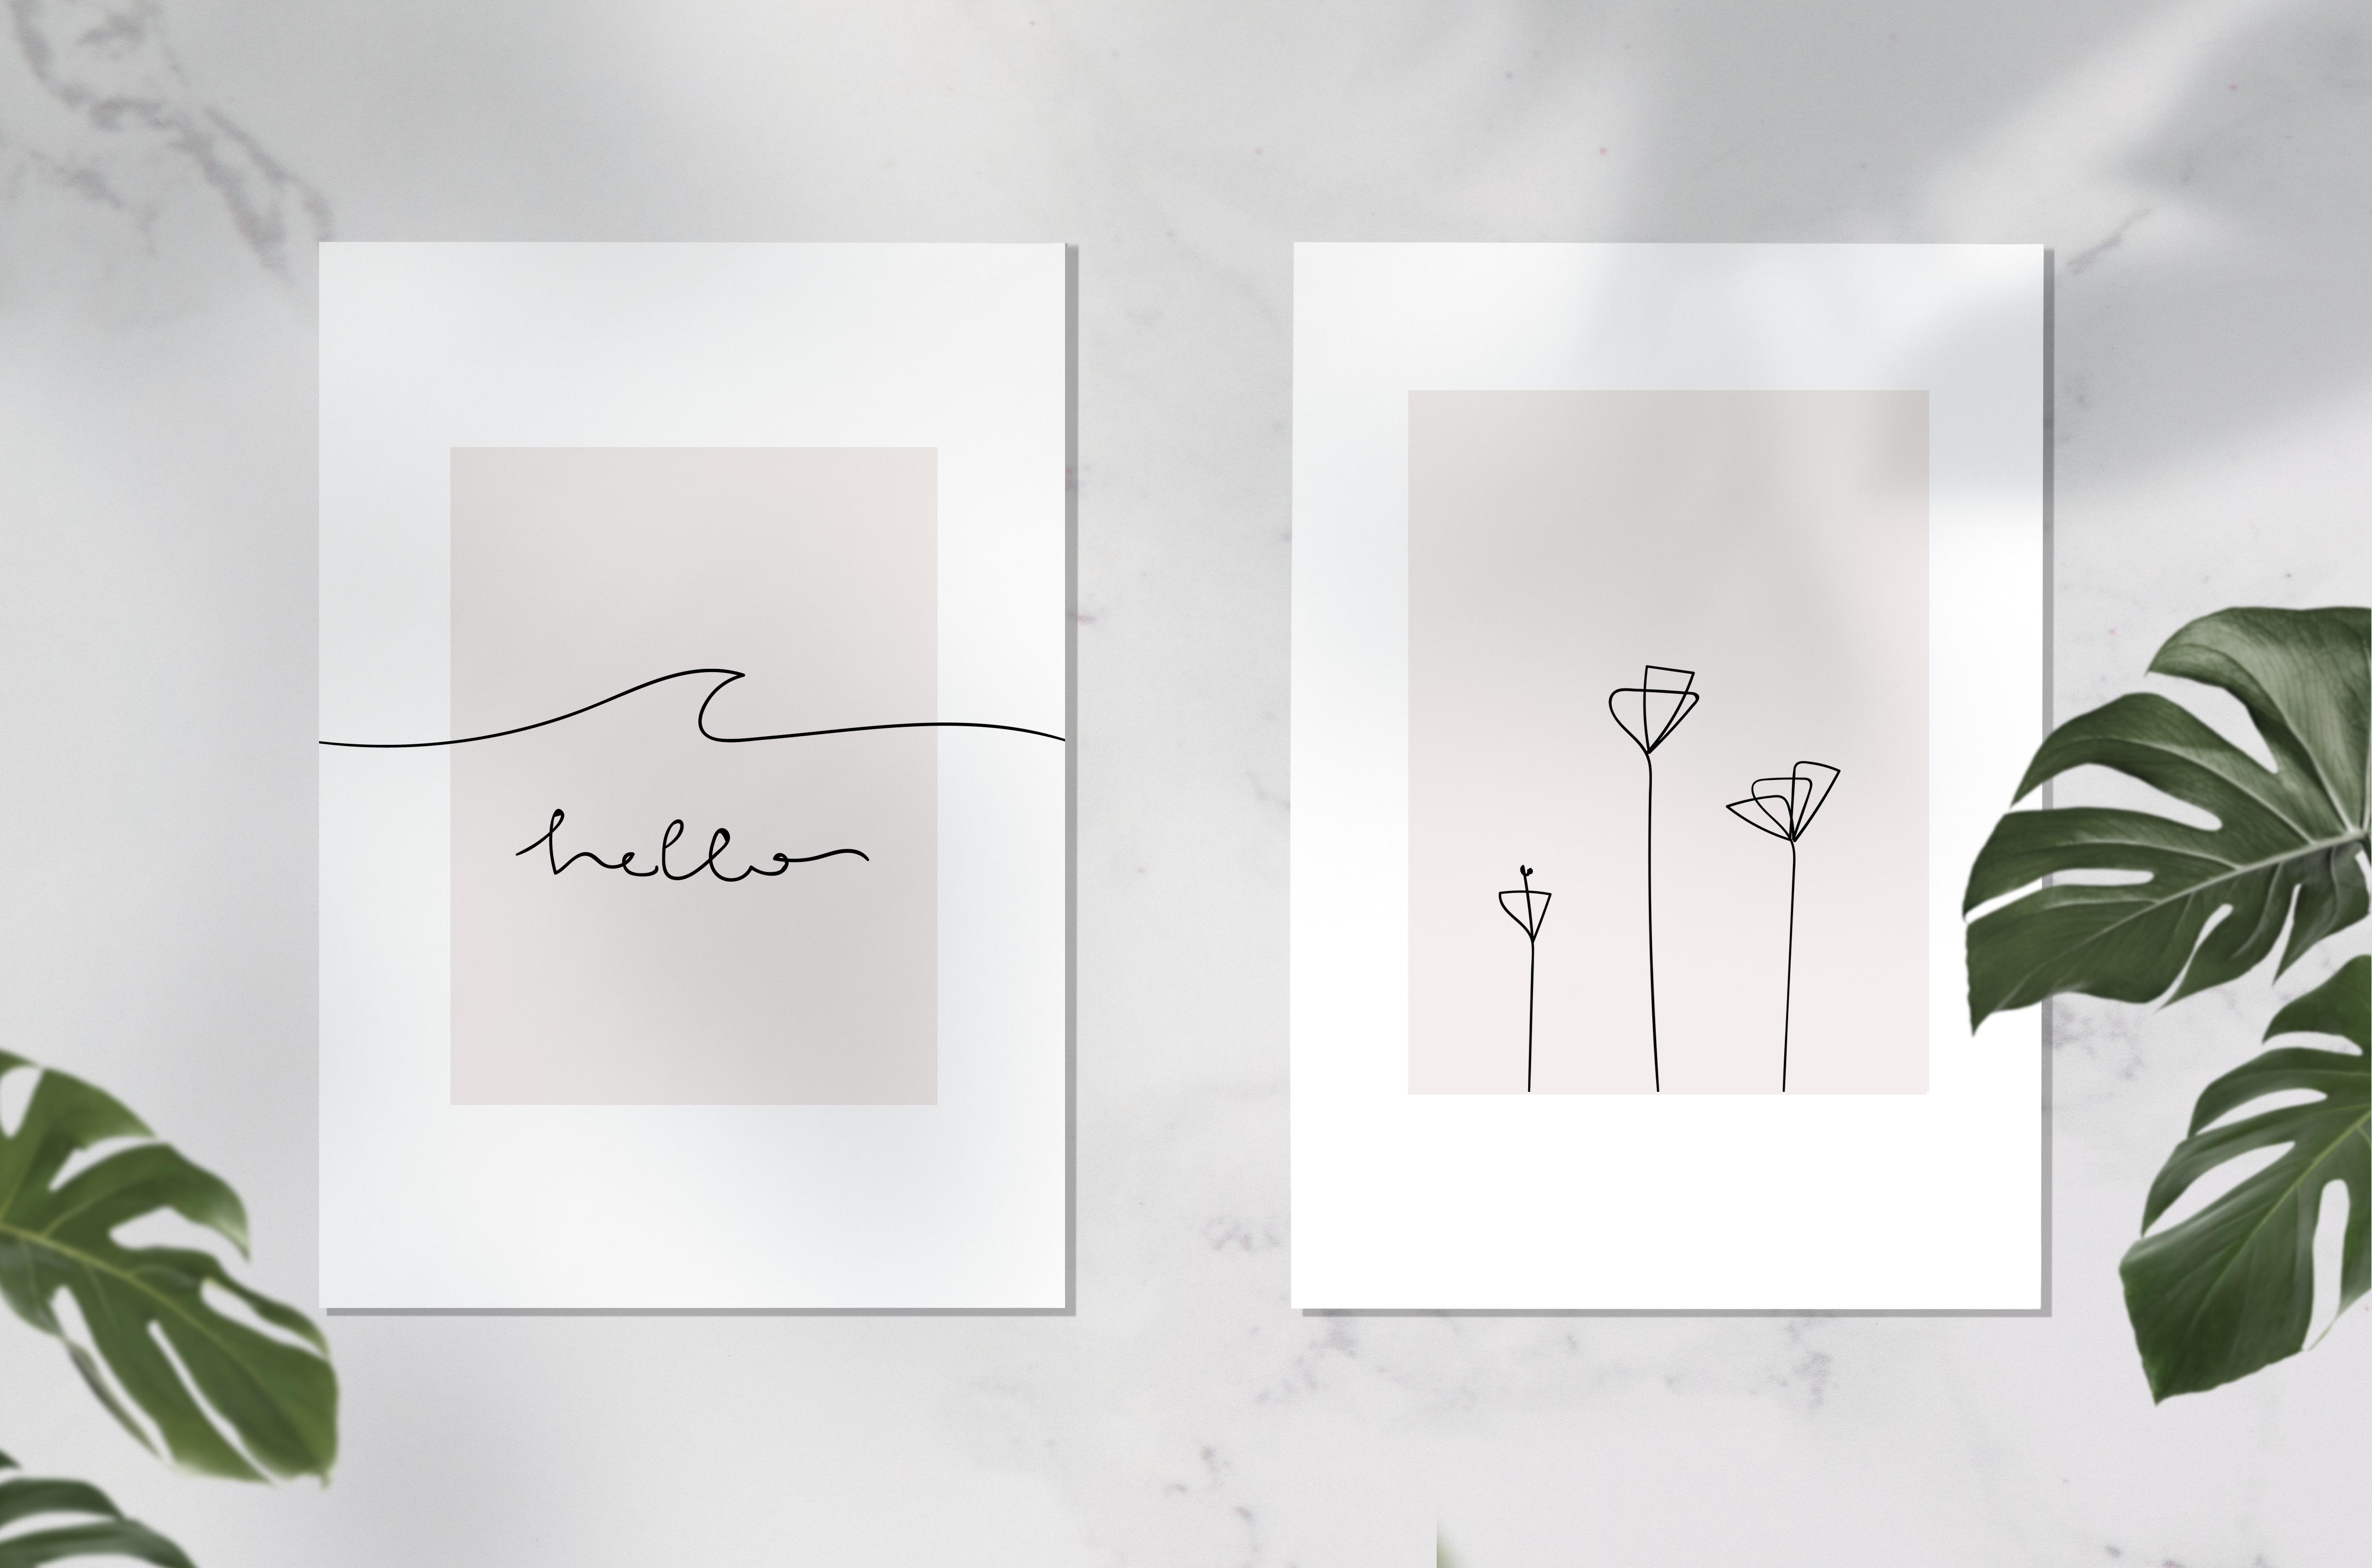
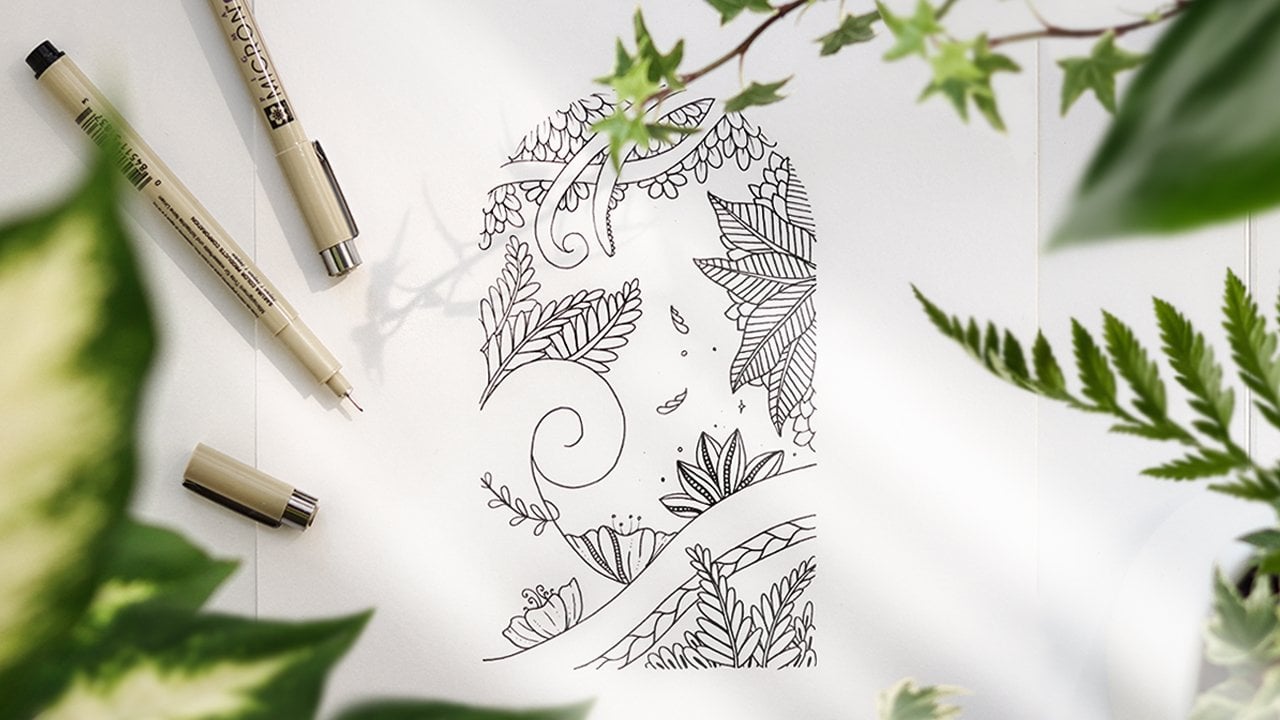
7. Adding Color and More Ideas: Well, I'm preparing all the material we'll need. I'll be telling you what we're going to do now. My idea for this class is to make one last illustration. I want to give you a few creativities. You can use these ideas as inspiration for your class project. We'll make simple illustrations. I'll show you how I add color to my wanting drawings. We'll create an art journal page and a bookmark. Also, I'll give you a sneak peek of my detailed drawing. So we'll do many activities and you can follow along with the class or you can feel free to create a different illustration and pick a different theme. You can decide whether to draw using your iPad or make a hand-drawn illustration. I've just put a few drops of water in my palette and now I'm going to add just a tiny bit of red pigment. I'm adding a little bit of blue and by mixing these two colors, I get a gentle and delicate lavender. My second color is the same one but I'll add some pigments so it's going to be a little bit more intense. You can see that by using a good amount of water and just a little bit of pigment, you can create delicate and pastel colors. By adding a light color, we can keep our illustration delicate and minimal. I'm going to start with two hand-drawn illustrations. I have my water color paper already cut in a small square. I'm going to be drawing with a fineliner. I'm now making a sketch just to speed up the process a little bit. But you can always take your time to plan your sketch and your illustration. Once the wanting drawing is completed, I create my color and I'm just going to go over my illustration. For example, I would color just some of the leaves of my plant or just one petal of my flower. I tried to find a balance and I use the color as a detail. I'm a little obsessed with cold colors, as you can tell. I just love blue, purple, green. You can create your own puzzle colors and of course you can use warmer tones such as yellow, orange, brown. I'll do a second illustration so you can see the process with different flowers. This time I'm using a light blue and again I'm going over just in some of the areas of my illustration. Moving on to the next idea, you can create a bookmark. In the upper part of my bookmark, I'm going to draw a flower and watercolor paper is perfect for making bookmarks because it's thick enough to last. I cut mine in a rectangle and here you can see how much it measures. I really hope you're enjoying this creativities and I can't wait to see your wanting drawings. I don't know if you guys like the journal, but I really enjoy it. This is my journal and here I do a little bit of everything. I don't keep separate journals but I put all my ideas in one. Here I write about my routine, I write codes, affirmations, and I make lots of to-do lists. For this our journal page, I'll use watercolor again. I make sure to use just a tiny bit of water because these pages are not so thick and I don't want to get holes. I'm using the color of the bottom of my page to create a clouds effect. Here in the center of my page, I'm adding three highlights where I'll write something happy. Once a watercolor is completely dry, I finish this page by adding my code, which is spread joy today. I'll be adding a few floral details at the bottom of the page. Lastly, for those of you who own an iPad or a digital tablet, these tools are great for practicing. Once I've learned how to draw the natural world using this technique, I've started to practice on Illustrator and I have to say that it is so much faster. I could speed up my learning process and my workflow and I could save so much paper. We're almost done with the class. I really hope you enjoyed this creativities and let's wrap things up in the next video.
8. Final Thoughts: Thank you so much for taking my class today. I really enjoyed making it and I hope you learn something new. We went through all the steps to get started making one line drawings and if you need more inspiration, you can check out my Pinterest. I made a board where I've collected more one line drawings. I had a lot of fun seeing all the students' projects and giving feedback through my previous class, so if you feel comfortable sharing your art, just definitely do it, I'd love to see it. So feel free to upload it in the project gallery and if you posted on Instagram, just be sure to tag me so I can see your work. Thank you again for joining my class and I'll see you in the next one.
 Altea Alessandroni, Artist and Designer