Oil Pastel Blending in Practice: Draw a Realistic Avocado | Smitha Rao | Skillshare

Playback Speed


1.0x


  • 0.5x
  • 0.75x
  • 1x (Normal)
  • 1.25x
  • 1.5x
  • 1.75x
  • 2x

Oil Pastel Blending in Practice: Draw a Realistic Avocado

teacher avatar Smitha Rao, Pencil and Pastel Artist

Watch this class and thousands more

Get unlimited access to every class
Taught by industry leaders & working professionals
Topics include illustration, design, photography, and more

Watch this class and thousands more

Get unlimited access to every class
Taught by industry leaders & working professionals
Topics include illustration, design, photography, and more

Lessons in This Class

    • 1.

      Introduction

      0:35

    • 2.

      Drawing the Avocado Flesh

      6:23

    • 3.

      Drawing the Seed, Peel & Shadow

      7:56

  • --
  • Beginner level
  • Intermediate level
  • Advanced level
  • All levels

Community Generated

The level is determined by a majority opinion of students who have reviewed this class. The teacher's recommendation is shown until at least 5 student responses are collected.

5

Students

1

Project

About This Class

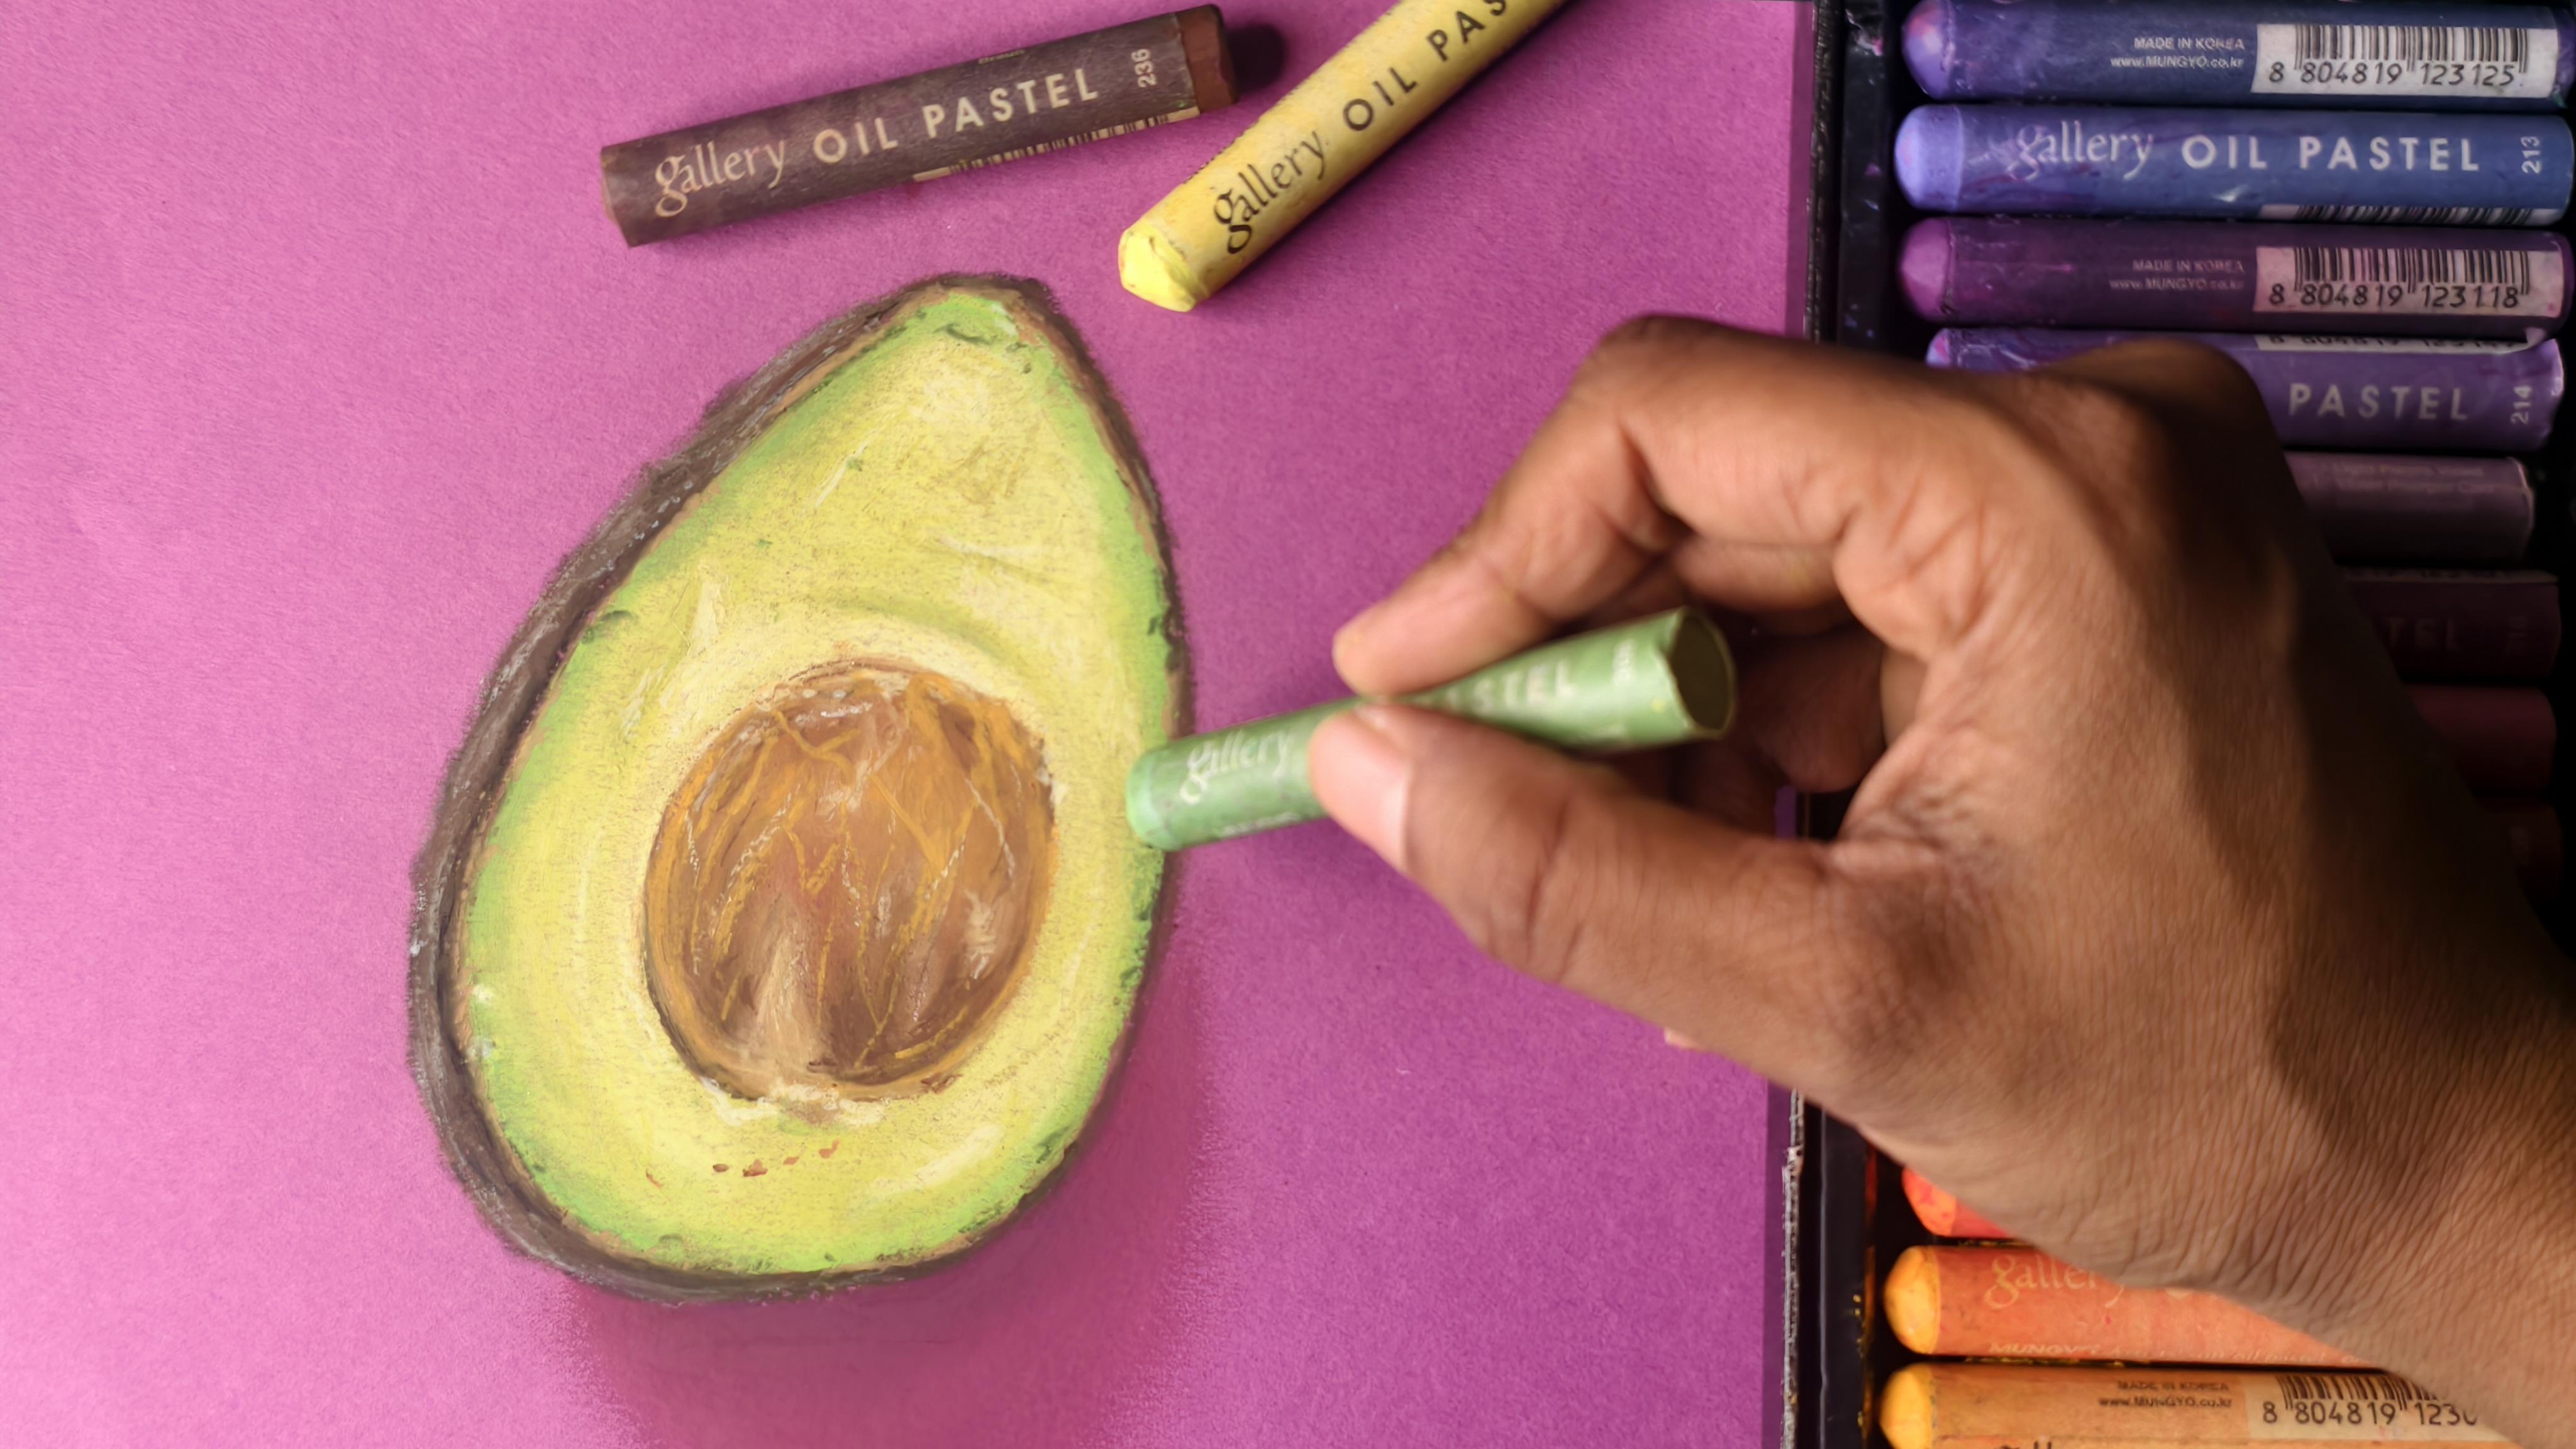
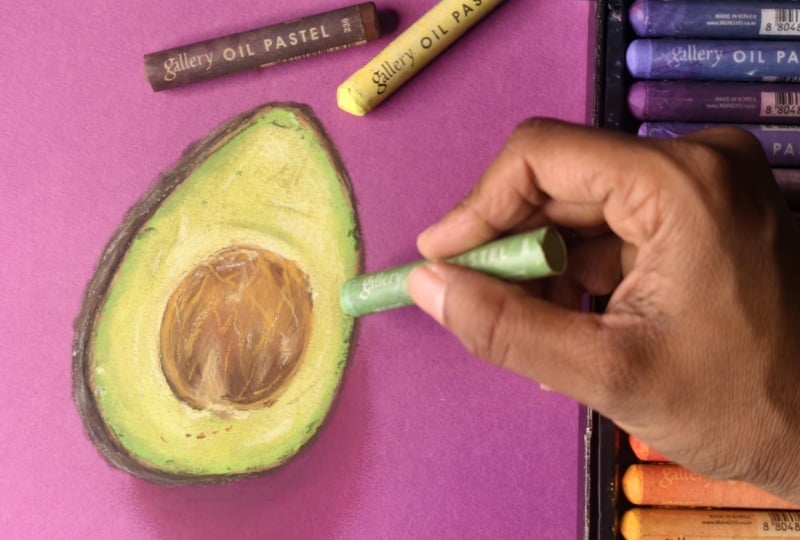
Ready to put your blending skills into practice? In this hands-on short class, we’re taking everything you’ve learned about oil pastels and using it to create a vibrant, textured avocado fruit illustration.

Who This Class Is For & What You'll Learn:

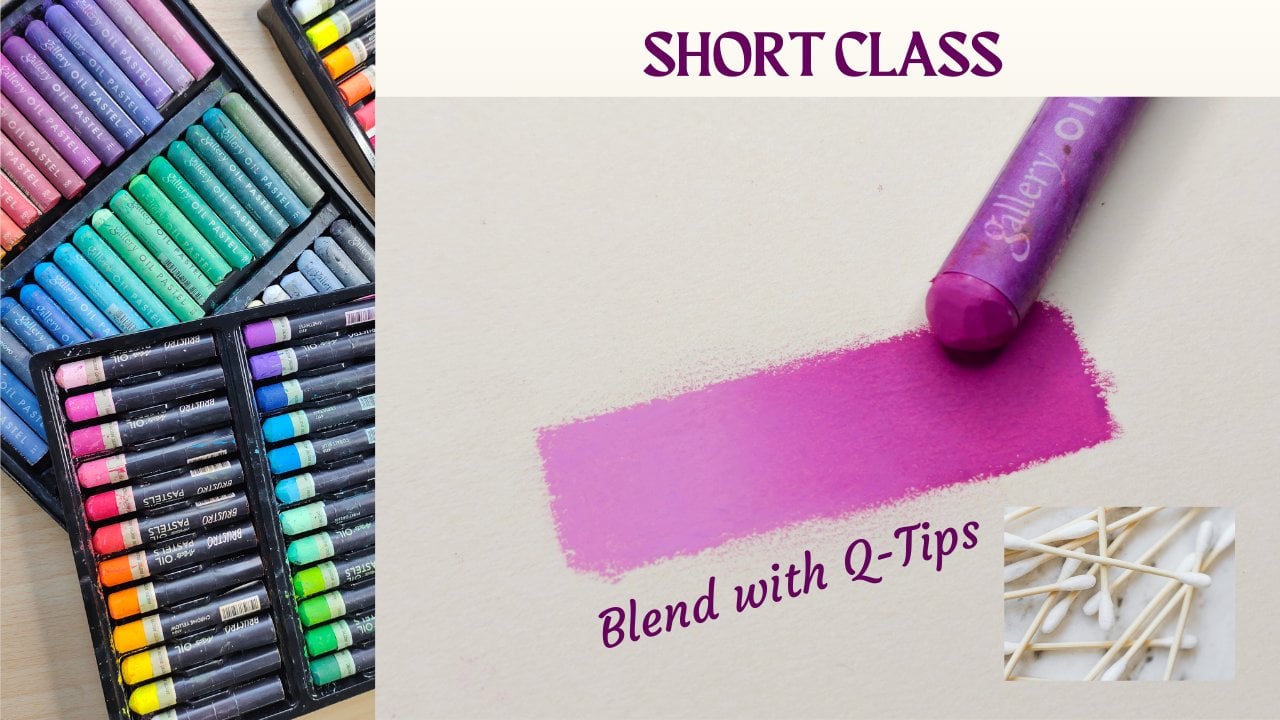
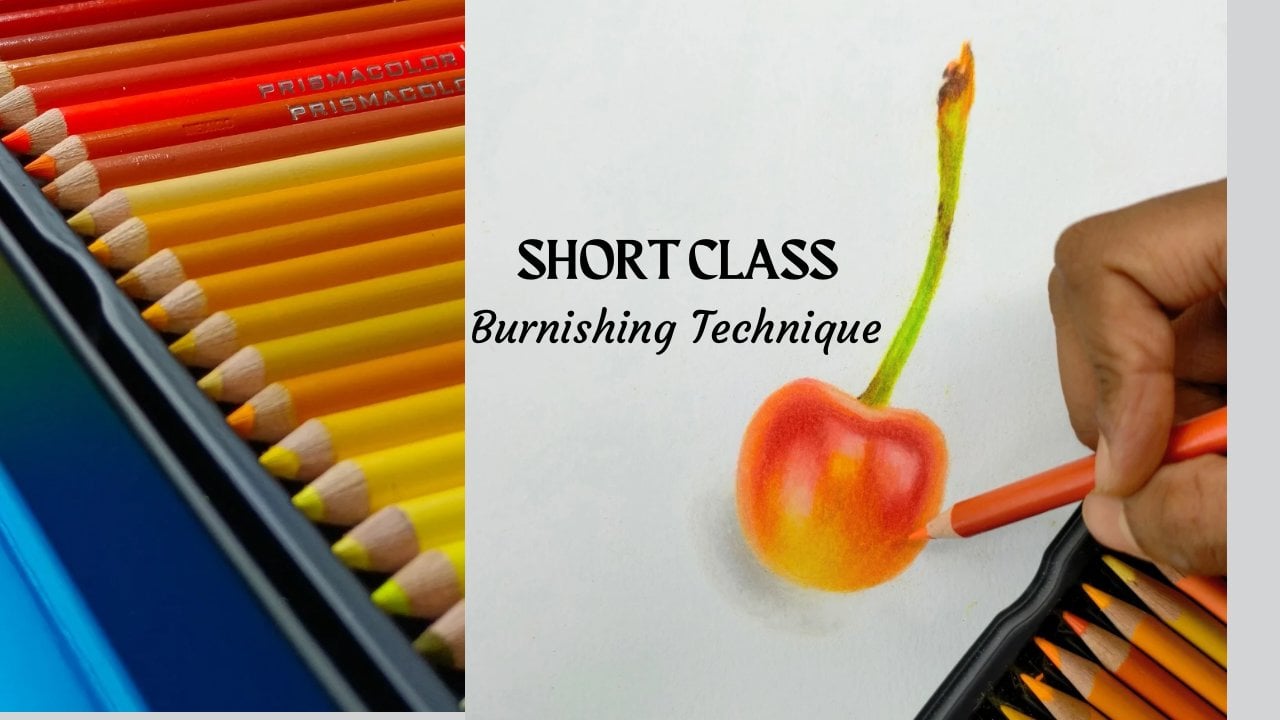
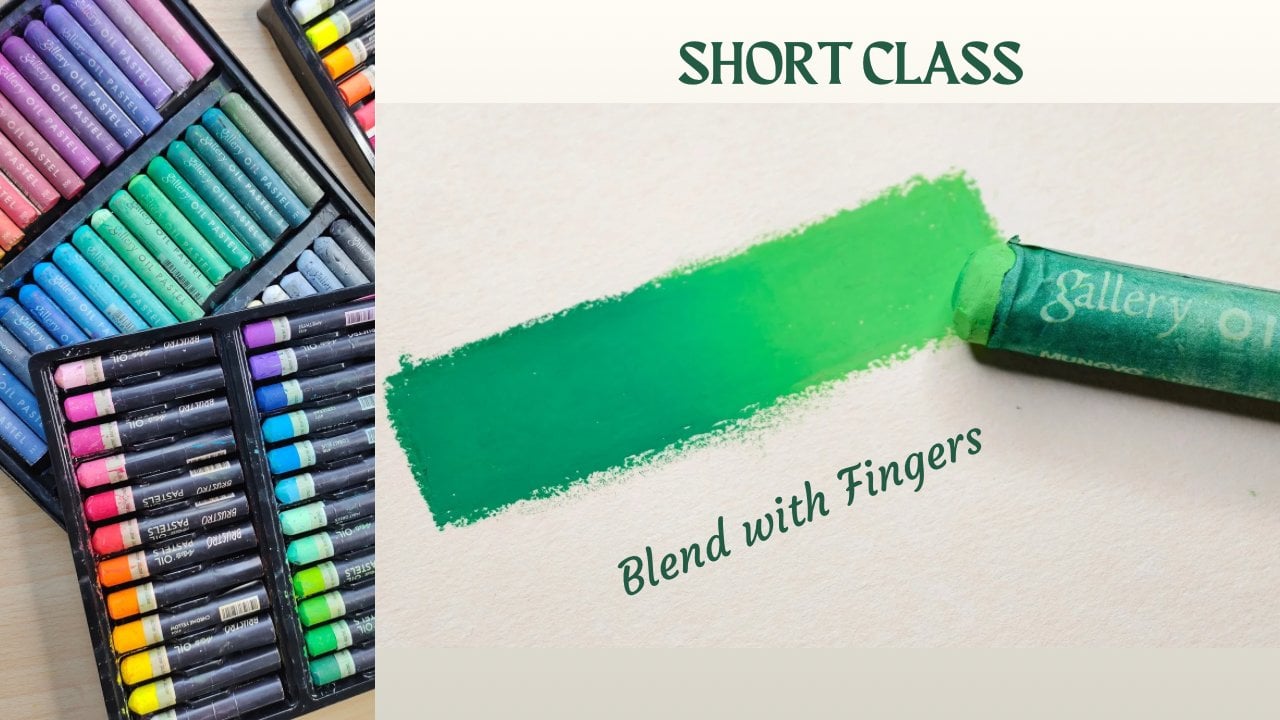
  • Building on our previous blending lessons, this class focuses on layering, blending with fingers, q-tips & stumps, and rendering textures with oil pastels.
  • While it’s beginner-friendly, you’ll get the absolute most out of it if you’ve followed along with the earlier classes in the series. I will leave those Class links in the Projects Section.
  • Your Class Project will be a realistic Avocado drawing from start to finish

Materials Needed:

  • Oil Pastels

  • Paper suitable for Oil Pastels

  • Blending tools (Q-tips or Blending Stumps)

  • A tissue for cleanup

Check out the Projects & Resources section for the complete supply list and exact shade numbers.

Grab your pastels, and let’s start creating!

Meet Your Teacher

Teacher Profile Image

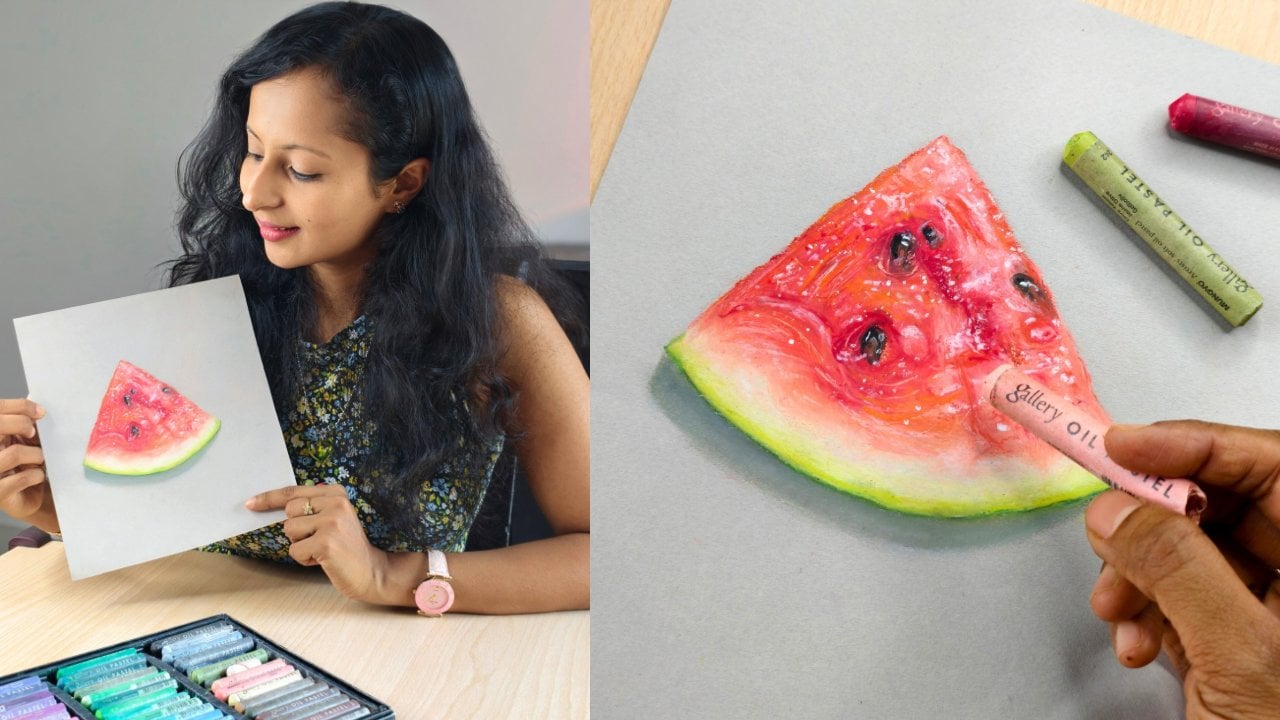
Smitha Rao

Pencil and Pastel Artist

Teacher
Level: All Levels

Class Ratings

Expectations Met?
    Exceeded!
  • 0%
  • Yes
  • 0%
  • Somewhat
  • 0%
  • Not really
  • 0%

Why Join Skillshare?

Take award-winning Skillshare Original Classes

Each class has short lessons, hands-on projects

Your membership supports Skillshare teachers

Learn From Anywhere

Take classes on the go with the Skillshare app. Stream or download to watch on the plane, the subway, or wherever you learn best.

Transcripts

1. Introduction: Hello, and welcome back. In our previous short classes, we mustered different blending techniques with oil pastels. Now, let's put all those skills into practice with this quick avocado illustration, which will also be a class project. While this class is beginner friendly, catching up on those earlier classes will help you get the most out of it. All you need is an oil pastel set, paper suitable for the same basic blending tools and a tissue for cleanup. Please check the projects and resources section for the reference photo, line drawing, color chart, and more details on the supplies list. Let's begin. 2. Drawing the Avocado Flesh: Once your simple initial sketch is ready, start with a clean lemon green oil pastel for the avocado flesh. Gently cover the entire area, except the section near the pit where there are very light tones. To understand this, you need to first carefully observe the reference photo that you have downloaded. Do not press too hard, even if the paper shows through. You can add more layers later to cover it. As mentioned in the projects and resources section, I've used the Canson Mitans pastel paper. I chose this shade of paper just to experiment and try something new. If you'd like to be on the safer side, then use a white or a gray or even a warm tan shade of paper. I suggest that you first make swatches on a sample piece of paper and see what works best for this subject. I've used the Gallery Artists Soft toil pastels. They are soft and are easy to blend, but have some nice firmness, so you can easily add fine details with them. Mark these sections near the seeds with a cream or a pale yellow like this one. Please refer to the color chart in the projects and resources section for the exact shade names with swatches for a better understanding. You can pick similar colors from your set. Overlap this yellow with the previous lemon green shade at a few places. Do not blend yet. Add another layer with these two shades. You need to have enough pigment on paper to be able to blend smoothly. If you're using a very textured paper, maybe you will need a third layer before blending. Now, start blending gently using circular motion with a clean tip. You can also use a blending stump. As I didn't have a lot of pigment on paper yet, I did not blend with fingers. You will see me do that, too after a few minutes. Blend the greenish area first and then blend the cream or the pale yellow area. Feel free to add another layer before blending. If you feel some resistance while blending or if it looks streaky, then it means there is not enough pigment to blend. Do not press too hard with a tip. Remember to use the other end of the Q tip while blending the pale yellow as we do not want to contaminate it with a lemon green. Next, use any lighter shade of green to mark the outer edge of the flesh and blend it gently into the yellowish green area. Add a layer of the lemon green that you added in the beginning on top of this green to get a seamless transition. We do not want it to look like some kind of green border. Now, all you have to do is observe the reference and add more layers and blend if required. Use light to medium pressure only. Do not overblend. You can use fingers to soften some areas. Remember to use clean fingers. Also, switch fingers for different colours. We do not want the drawing to look muddy. Now, observe the reference photo closely and mark these textures at the side with a moss green or olive green. You can also use a brown at few places. Speaking of browns, let's draw the seed and the peel in the next lesson. 3. Drawing the Seed, Peel & Shadow: Start with a dark shade of brown to mark the dark tones. A reddish brown for the mid tone, followed by a ochre for the light tone. Use a golden yellow at the top to get that bright shine. Here, I used a blending stump. You can use a sandpaper to clean it. Of course, you can also use a tip to blend here. I just wanted to demonstrate blending stump. I feel this offers more control and precision as compared to a tip. It is reusable and doesn't pick up too much pigment from the paper. Definitely a better option. Once all the colors are roughly blended, add more layers and blend again gently, then add details. Use a cream or a pale yellow for the highlights and a raw umber for the darkest stone at the base of the seed. Mark these lines with a golden yellow to give some texture. In order to add more texture to the flesh, you can use this method. Just add a hint of moss green or olive green to a tip and make these dents. Let's move on to the peel. Start with a raw umber, followed by a darker shade of brown. Don't press too hard. Blend them gently and add details with a ocher. Let the pe look texture. Don't go for a smooth blend here. Add highlights with a pale yellow or even a white. Blend it very slightly. Let the highlights be visible. Make it pop, you can very gently use a black here. That's it. Move on to the shadows. You can use a gray or a brown depending on what shade of paper you have chosen. I used a combination of purple, violet, and pinks to match the paper shede. Brown or gray shadow would have looked muddy here. I actually made a rough sketch on a sample paper and tested it out before starting the drawing. I wanted a subtle shadow that would fade into the paper. Just make the core shadow darker at the base of the avocado. If you have any questions, please post them in the discussion section of this class. I will definitely try my best to help you out. So this is how the avocado turned out. Please upload your drawing in the projects and resources section. I would love to see your version. If you have enjoyed this class, please consider leaving a review. You can follow me on Skillshare and on social media for more updates. Thank you for your time, and I'll see you soon.