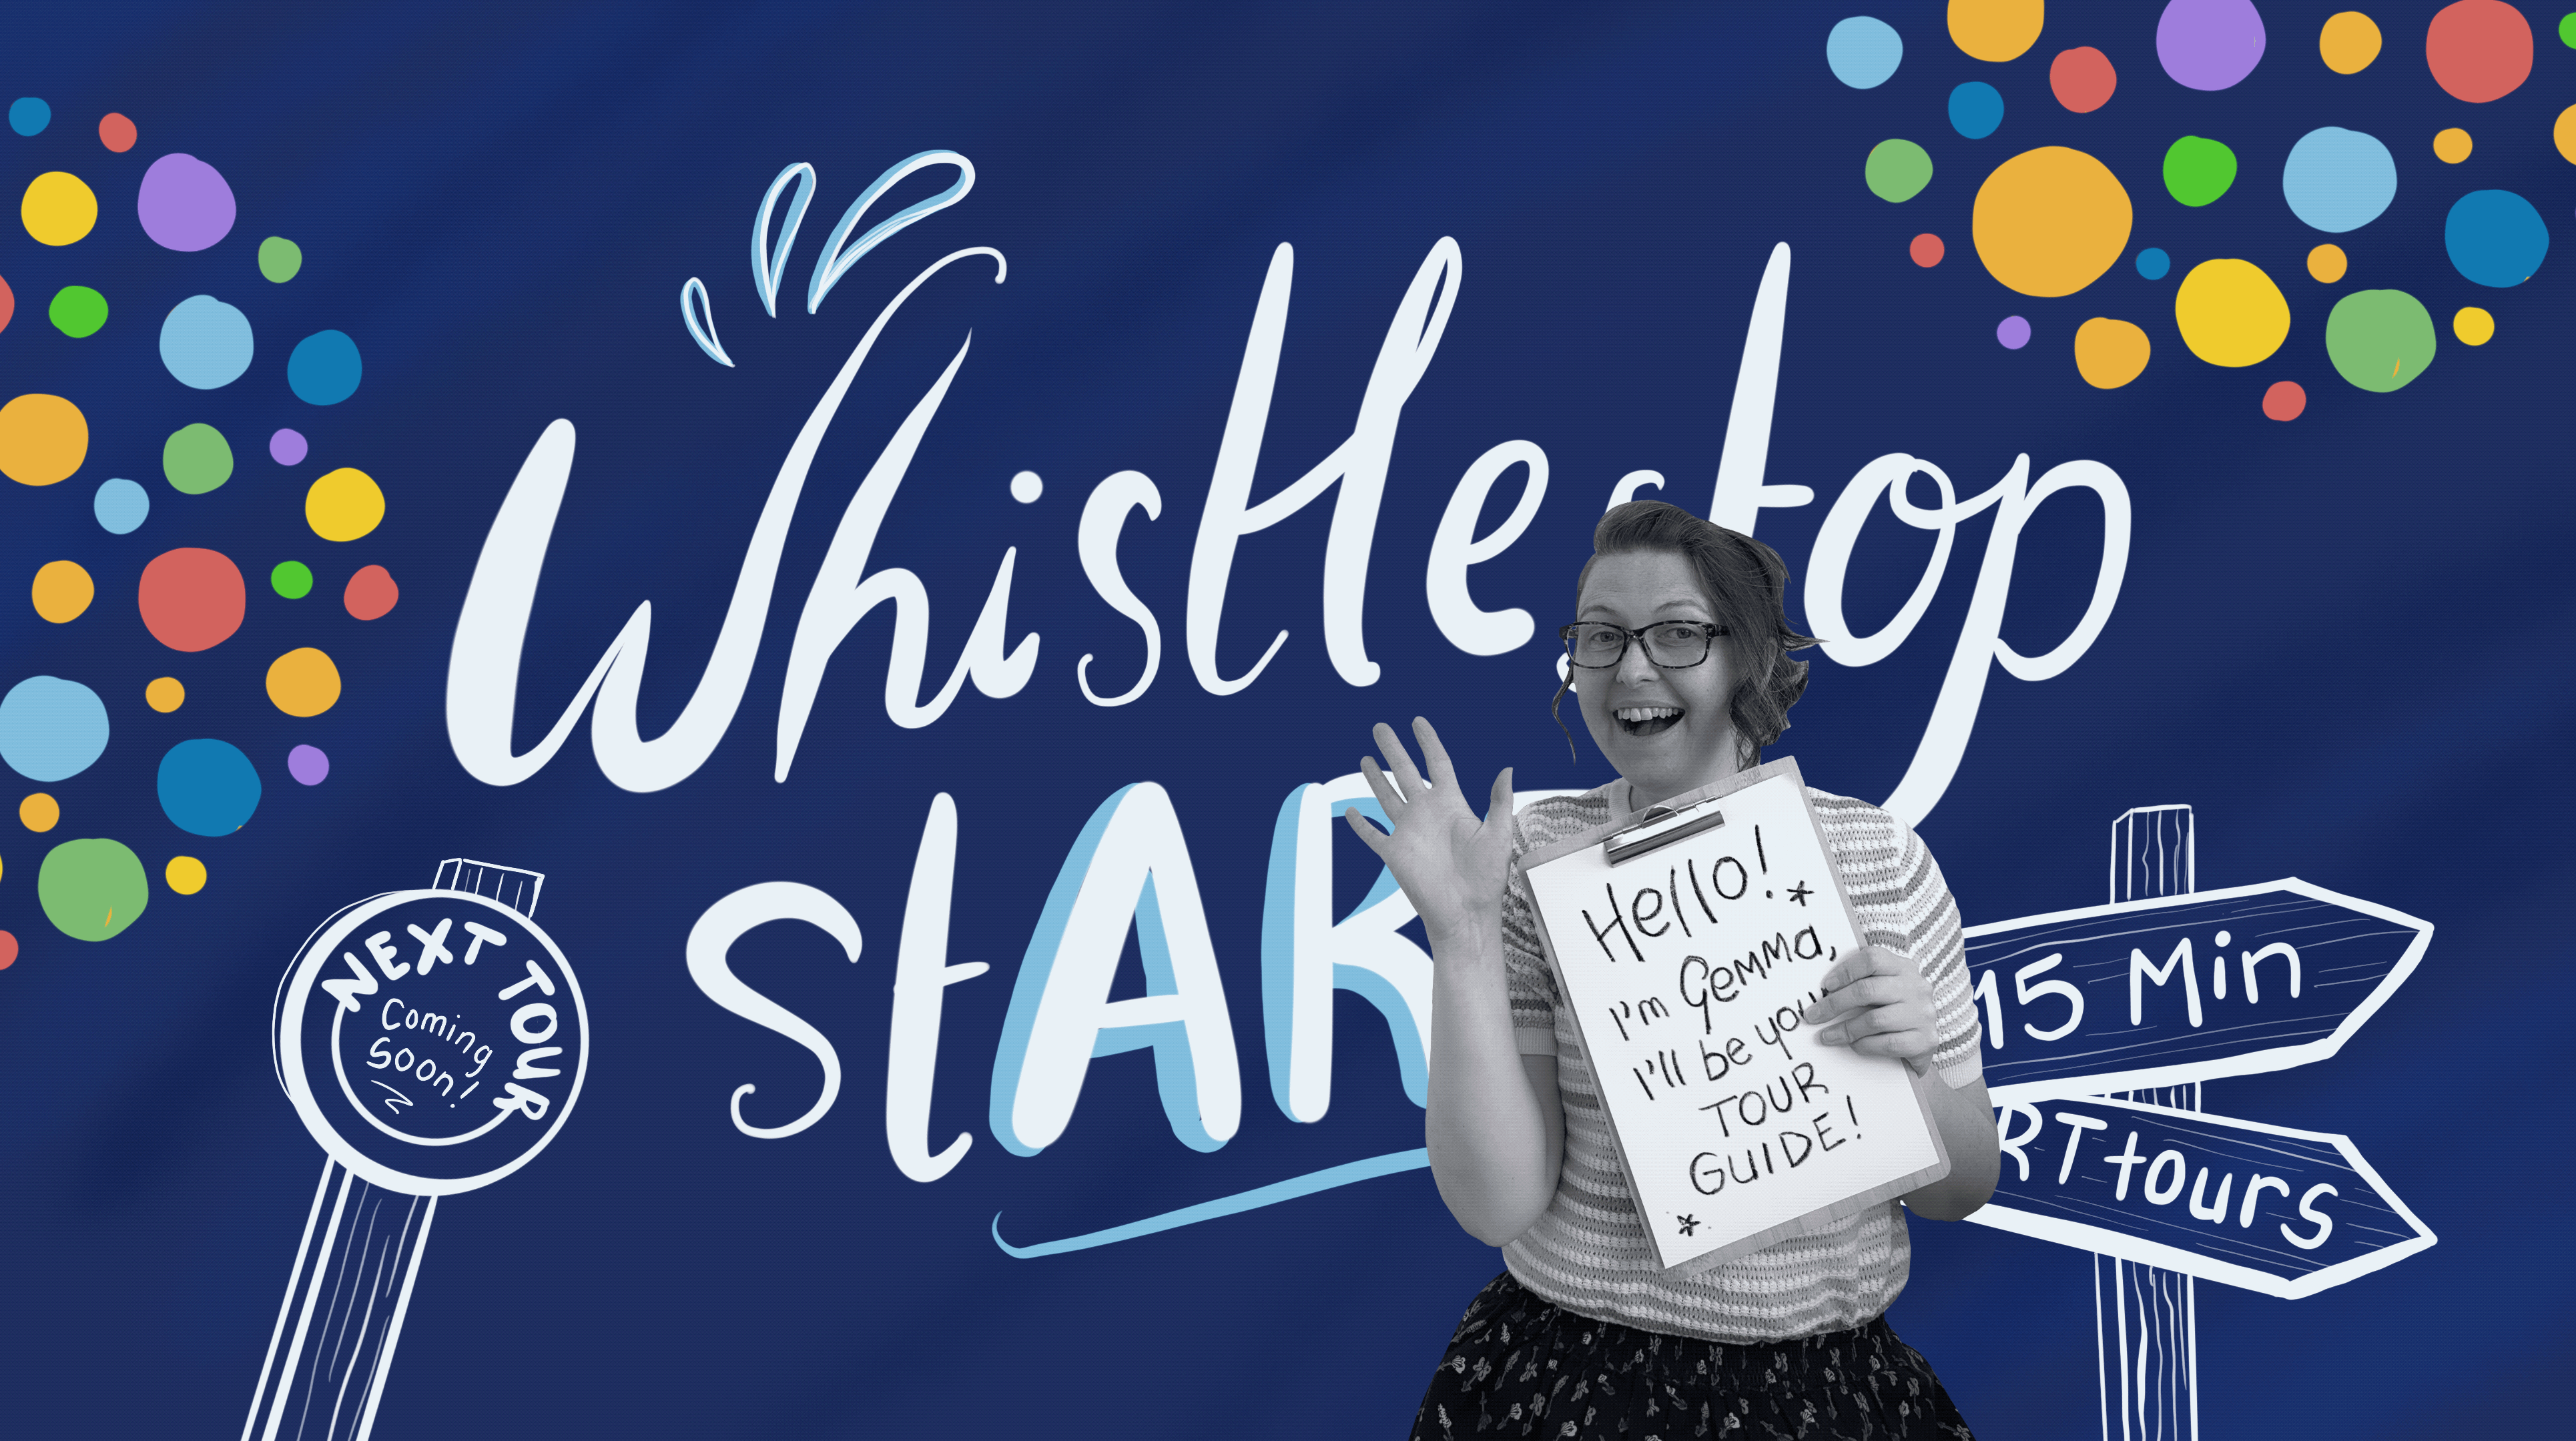
Neo-Impressionism for Newbies! | Art in 15 | Whistlestop stARTs Tours
 Gemma the Pen, Making to Make Happy!
Watch this class and thousands more
Watch this class and thousands more
Lessons in This Class
-
-
1.
Neo-Impressionism - What is it??
2:54
-
2.
You're Invited! - Meet the Artists
2:39
-
3.
What to Look For - the Key Traits
2:10
-
4.
Step into the Studio - Try It Yourself
5:00
-
5.
Ding-ding! It's the Last Stop!
2:19
-
-
- --
- Beginner level
- Intermediate level
- Advanced level
- All levels
Community Generated
The level is determined by a majority opinion of students who have reviewed this class. The teacher's recommendation is shown until at least 5 student responses are collected.
10
Students
2
Projects
About This Class
15 minutes is all it takes to start learning about an art movement - and to spark some creative curiosity! Want to jump on a speedy tour with me?
Have you heard of Neo-Impressionism? If not, perhaps you’ve heard of it’s other names - Divisionism or Pointillism? It's a smaller art movement, but one that has proven to be an important (and literal) DOT in the timeline. In today's mini-class we're going on a whistlestop wander to learn about the origins of the movement, the artists who developed it, the key themes which make it recognisable...and then we're going to try it for ourselves!
All of this in 15 minutes? You betcha!
I'm Gemma and I'll be your tour guide - let me whisk you back to 1886 where this art-meets-science experiment began! Stick with me and we can explore this dotty universe together 🎨✨
By the end of the tour:
🟡 You'll know how Neo-impressionism started
🟣 You'll have learned about key artists who used the technique
🟢 You'll be able to recognise a neo-impressionist artwork, by identifying the common themes
🔵 You'll have some simple dotty experiments in your sketchbook!
🔴 You'll know why Neo-Impressionism changed the art that followed it
Ready to hop on board?
Hurrah! I've got my scooter and there's room for you - hold on tight, and let's gooooooo! 🛴
Artwork Credits:
* Artworks may be referenced in more than one lesson. If so, for clarity, they are only listed below in the first lesson that they appear in.
Introduction:
Georges Seurat “A Sunday Afternoon on the Island of La Grande Jatte” - 1884
Claude Monet "Woman with a Parasol - Madame Monet and Her Son” - 1875
Georges Seurat “Study for “La Grande Jatte” - 1884-5
Camille Pissarro “View from my Window, Éragny-sur-Epte” - 1886
Paul Signac “La route Pontoise (L'embranchement de Bois-Colombes)” - 1886
Georges Seurat “Seascape (Gravelines)” - 1890
Anna Boch “During the Elevation” - 1892-3
Artist Portraits:
Self Portrait - Vincent van Gogh - 1887
Anna Boch in Her Studio by Theo van Rysselberghe
Meet the Artists:
Camille Pissarro “Charing Cross Bridge, London” - 1890
Georges Seurat “Chahut” - 1889-90
Paul Signac:
“At Flushing (A Flessingue)” - 1895
Les Andelys, Côte d'Aval - 1886
My own close up photo of Théo van Rysselberghe “Boulogne-sur-mer” - 1899
Théo van Rysselberghe “Denise Maréchal” - 1894
My own close up photo of Théo van Rysselberghe “Portrait de Maria Van Rysselberghe-Monnom” - 1892
Anna Boch “Falaise - Côte de Bretagne” -1900-2
Key Themes:
Jan Toorop “De prentenliefhebber (Dr. Aegidius Timmerman)” - 1898-1900
Paul Signac “A Sunday Opus” -1888-90
Vincent van Gogh The Sower -1888
Georges Seurat “The Lighthouse at Honfleur” - 1886
Georges Lemmen “Portrait of the Artist’s Sister” - 1891
Johan Thorn Prikker “Soleil à midi” - 1900
Paul Signac “Snow, Boulevard de Clichy, Paris” - 1886
Henri-Edmond Cross “Calanque des Antibois” — 1891-2
Maximilien Luce “Morning, Interior“ - 1890
Camille Pissarro “Hampton Court Green” - 1891
Maximilien Luce “Les batteurs de pieux” - 1902
Maximilien Luce "Man Washing” - 1887
Georges Seurat “Port-en-Bessin” - 1888
Johan Joseph Aarts “Dünenlandschaft” 1895
Try it Yourself:
Georges Seurat "Seated Woman with a Parasol (study for La Grande Jatte)” - 1884-5
Georges Seurat "Woman with a Muff” - 1884
Georges Lemen “Bourgeois Interior” (study) - 1890-1
The Last Stop:
Henri Matisse “Luxury, Calm and Pleasure” - 1904
Edouard Manet “Madame Michel-Lévy” - 1882
Jean-François Millet “Portrait of a Man” -1845
Jules Breton “The Cliff (La Falaise)” - 1874
------------------------------
Other Credits:
Old Clock Stock Videos by Vecteezy
Painting Stock Videos by Vecteezy
------------------------------
Meet Your Teacher

Hi, I'm Gemma! It's lovely to have you here. I am an artist-maker, who loves to create all manner of stuff! Outside of Skillshare, my online home is named Gemma The Pen, where I share helpful arty blogs, and on my Youtube channel, where creative goofery is the default. Come say Hi on my Instagram too!
Thanks for stopping by! I'd love to hear what you think about my classes and what you'd like to learn more about - feel free to message me through my class discussion tabs, my Instagram or website! Or you can email me at hello@gemmathepen.com
See full profile
Hands-on Class Project
Our project takes inspiration from the Neo-Impressionist artists and artworks we see on the tour - there are 3 mini Neo-Moments to try...
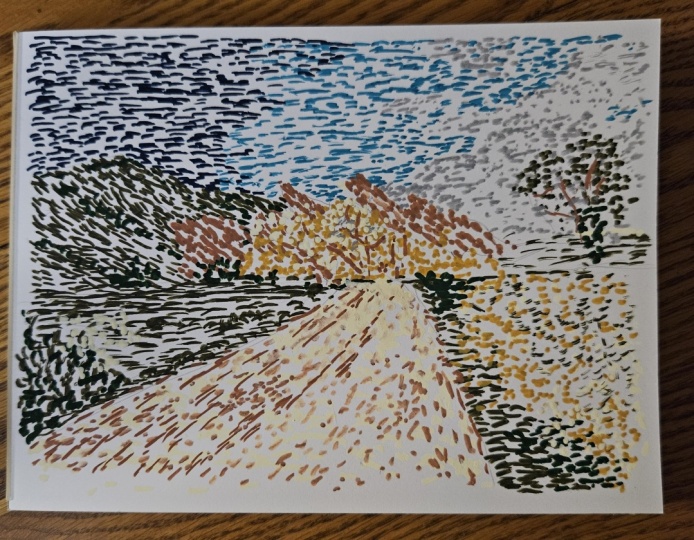
1. Distilled Sketching
Inspired by Seurat's early Conte Crayon studies, this speedy challenge is about simplifying what you see. Don't worry about the details of your subject - just find it's general shape. Use textured paper and a soft drawing material (such as a crayon, pastel or charcoal) and enjoy the prickly shadow you create!
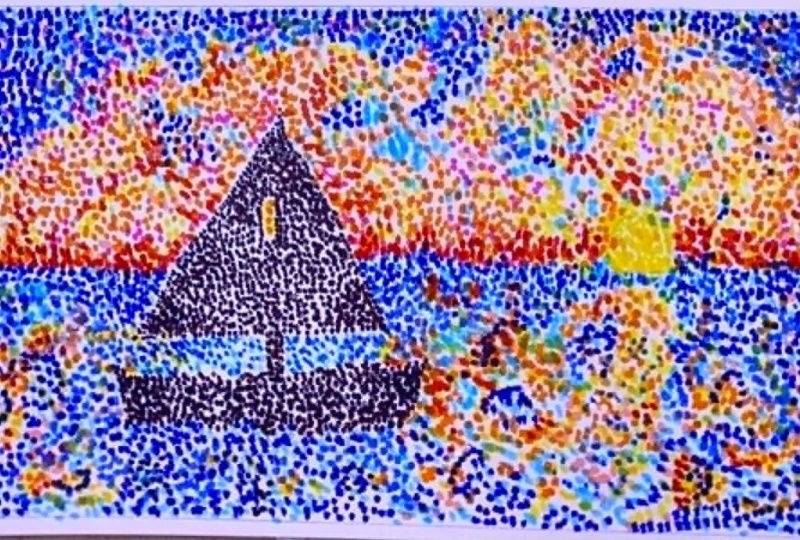
2. Simple Sample Swatches
Inspired by the colour theory Neo-Impressionists loved, this mini-task is to create little swatches of experimental dots. Grab two complimentary colours (in whatever medium you like - pastels, paints, markers etc). Then make some dotty patches which mingle these two colours together. Play with how big the dots are, and how spaced apart they are... which colour combos do you enjoy most?
3. The Mini Neo-Landscape
Inspired by the Neo-Impressionist love of quiet, empty landscapes, let's make our own mini-version! We'll separate our scene into sky, land and water - then add just one extra element. We'll fill each area with dots - but will they be rounded dots, evenly spaced? Or dabs and dashes, merging together? It's up to you 👏
Remember to take photos of whatever you create as you go - and if you're happy to share, I'd love to see them. Pop them into a Project and let me know how you got on 💛
👉 Don't forget to download your free Resources too:
- The Mini-Project: A PDF Summary of the project tasks - so you can keep it with you while you play.
- Artist Calling Cards: A PDF round up of the Artists we mentioned on the tour, as well as a few others we didn't have time to meet. Click the images inside to go to the source image.

Class Ratings
Why Join Skillshare?
Take award-winning Skillshare Original Classes
Each class has short lessons, hands-on projects
Your membership supports Skillshare teachers
Learn From Anywhere
Take classes on the go with the Skillshare app. Stream or download to watch on the plane, the subway, or wherever you learn best.