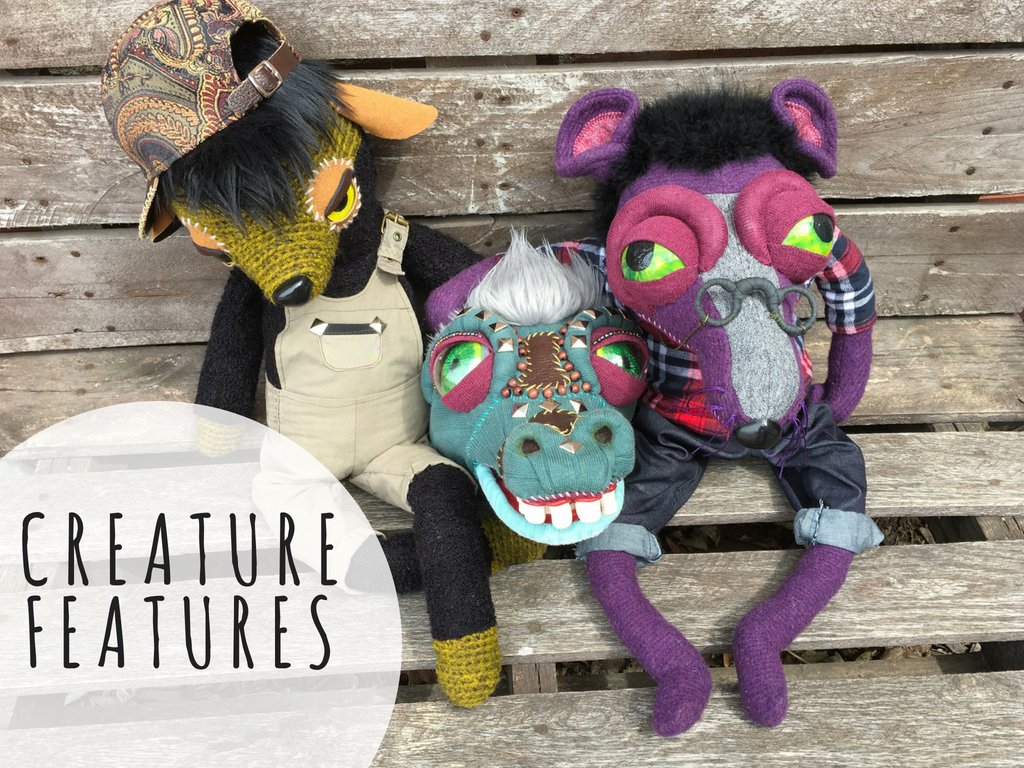
Transcripts
1. INTRO: Everyone needs a little mushroom or friend in their life. And this little guy happens to be the perfect project to practice your sewing skills. I'll walk you through how to create the face and body and even the shoes of this charming little pleasure min, using materials you probably already have in your house or in the bottom of your drawers. With this course, you'll have access to my own original printable PDF pattern as well as the written instructions so that you can follow right along with me or use my process as inspiration to design your own character. I can't wait to share this course with you and see all the cool variations you come up with. See you in class.
2. FACE: To make the body of your mushroom in, you'll need a piece of fabric, at least eight by five inches. I've started by folding my fabric in half just to get the placement of the pattern piece centered. And then I'm tracing it with a light-colored marker or pencil will be sewing directly on top of the line we're creating now and cutting away the extra fabric in a minute. This method is a little more forgiving since you're not needing to keep both layers of fabric lined up while you so and you get a final shape that's much truer to your original drawing. Now, I'm cutting out two identical eye patches by folding my fabric in half and cutting two circles. You should have pattern pieces for the iPad can also play around with custom shapes or skip them all together. It all depends on the look that you're going for. Don't forget to save your scraps. They are the perfect thing for stuffing. The side that we've marked on is going to be the wrong side. So I'm using the lines that we've drawn as a guide to place the eyes. I'm making two dots where I want to insert the eyeballs. And by using my all to poke all the way through the fabric, I can find my positioning on the other side, on the right side of the fabric. I'm going to flip my fabric over. You can either just eyeball it to place your patches or I like to use my all to line up the holes and then slide my felt into place. Now you're ready to pin your patches down. At this point, I like to hold it up to the sunlight and check and make sure that your patches are in the right position relative to the outline that you made in the previous step. Here, I'm using some standard thread that I'm doubled on my needle and I am back stitching my iPad matches into place. Once you've gone all the way around, you can secure your stitches on the back with a few knots. And then I like to trail my thread over to the other eye and continue to stitch around the other eye. The cool thing about the backstage is that you can pull it and it won't scrunch up like a running stitch. Feel free to use other decorative stitches. Or you can also use a heavier embroidery floss or a more contrasting color. Now's your chance to add any extra details to the face. You can add eyebrows or a nose or any other feature that you might want to add. Once you're done with all the top stitching, I like to pull my threads to the back and tie them using a double knot snip. The extra, it doesn't matter if it looks bad on the other side because no one will ever know. You can use your all or scissors or a seam repr to widen the holes that your eyeballs will be going into. But be sure not to make the hole too big because you do want a snug fit. This is a solid black doll that I pre erupt with a felt eyelid. You can make your own custom eyelids by guerrilla gluing a piece of felt to the top of your eyeball, creating any kind of eyelid shape that you like. Once you have your eyeball is placed in the sockets, you can either choose to glue them from the back with more Gorilla glue, or you can leave them unglued so that they can be rotated to change your guys expression. I'm choosing to glue my eyes into place. I find it's a pre foolproof way of securing the fabric so that it doesn't unravel. And just for good measure, we will add the plastic backers which get pressed and mashed into place. I'm using a chalk pencil to very lightly indicate the shape of my mouth. I'm using some standard black thread, double-dot my needle to chain stitch along the line I've just created. You start a chain stitch by bringing your thread up through the front of your fabric, re-entering the same hole and catching the loop on the next stitch. By repeating this pattern, you can create a beautiful mouth for your little mushroom guy. You can always look on YouTube for more support on chain stitching. And also feel free to make a more elaborate mouth using a variety of other stitches. Tacked down the last loop and you're done. Secure your stitches on the back. Once you're happy with your face, we're ready to move on to the body.
3. BODY: Now with the face done, we can move onto the body. I'm going to start by folding my fabric in half so that right sides are facing and the face is inside. And I'm going to mark two points on my so line to indicate the start and end of my stitching. The unsold gap will be used for flipping your work to the right side. For this demonstration, I'm sewing this by hand, but feel free to So this on your sewing machine for quicker results. For those of you hands touching, I would recommend either a backstage or a running stitch for this process. The back stitch will be a really secure stitch to use, but a running stitch will be much faster, whichever you have the patient's four is the one you should use. Try to keep your stitches as taut and even as you can, it will definitely make for a better final product. As tedious as hands stitching can be. It can also be meditative, especially if you're not in a hurry. As you reach the final pin, secure your thread with a few knots and snip the extra string. Now you're ready to cut away all the extra fabric. Be sure to leave at least a fourth of an inch of seam allowance just to be safe. As we got all the way around, we're going to stop at the crotch and make a couple of snips right up next to your stitches to relieve some of the tension that will happen when you go to flip it and be careful not to damage your stitches. You wanna go to, but not through the stitches. Now you're ready to flip your project to the right side. You can either do this with your fingers or if you need a little extra help, you can use a chopstick or the blunt end of a pen to help poke the legs through. And if you have something really narrow, you can always use tweezers. If you find that the crotch IS a little bungee, I like to work it around a little bit, pull it back and forth just to flatten out a little bit and get it settled into its new shape. Next will take all the scraps and shred them by snipping them up. The finer your scraps are, the smoother your final product will be. If you don't shred your scraps, you might have a lumpy, bumpy final product because I have a lot of scraps. I like to fill up my guys as tight as possible. I find that it gives them a really nice weight and quality. You can also fill your guys with sawdust, sand, rice, or means or just plain old stuffing or whatever you have on hand really. Once you're done stuffing your guy, pick a thread that is as close to your fabric as possible. I like to double my thread for extra strength and make a knot at the end. Maybe even at double known. Pins are helpful to keep the side closed and lined up while you're working. Use a ladder stitch to close the opening. To make a ladder stitch, you take a stitch directly across your last ditch, resembling the rungs of a ladder. Imagine that you're drawing with thread on graph paper. Your stitches should be going up and down and side to side. The latter stitch is also known as the invisible or blind stitch. From the inside, it just looks like a running stitch. Once your mushroom is all stitched up, tie up, loose ends, and don't forget to hide your tails by stringing them back through. I'm using an embroidery needle with the bigger I so that I can pull all my loose ends to the back. This is where players can come in handy. Just give it a few tugs and clip your tails and let you do it. Once you're done with your body, you're ready to move on to the hat.
4. HAT: For the hat, you'll need to contracting fabrics, an inner fabric and an outer fabric will fold both in half and traced directly around our pattern onto the wrong side of the fabric. And similarly to the body, will be sewing along the marked guideline and cutting away the extra fabric because this fabric is a little bit stretchy. I'm using the backstage because I find that the back stitch has a little more bounce to it. For this woven cotton, I'm gonna use a running stitch because it won't need to stretch as much. I'm stitching around the tops of both HAT pieces, leaving the bottom open. Secure your threatens, and clip away the extra thread. And then I'll cut away the extra fabric, leaving at least a fourth of an inch seam allowance. Do the same for both layers of the hat. And don't forget to save your scraps for stuffing. If you flip the outer layer of your hat to the right side and took the inner layer into it, you can get a sneak peek of what your hat will look like. For the texture and spots of the mushroom hat will be playing with a few different techniques. The first one is the biggest spot, which is basically just a gathered puff or yo-yo. We'll start by cutting a circle and making a running stitch all the way around the edge. Now you can pull your thread and gather up the edges to make a little puff. When you're satisfied with the size of your Puff, Take a little stitch to secure the thread and keep it from sliding out of position. You could even make a little not this point. Now, use any of your extra thread to stitch the PAF to your hat, stitching all the way around the edge. It's totally up to you to decide if you want to use a visible or invisible stitch for this step. Tie off your threads in the back. You can also stitch on buttons. If you have yarn, you can use a tapestry needle to create chunky French naughts. I start my French naught by making a notch or two at the end of my thread. I pull it up through the front of my fabric, wrap the thread closest to the fabric around the end of the needle, re-enter the needle right next to where it came out. Now, as you pull the thread, your loops will tighten and move closer to the surface of the fabric and pull all the extra thread to the back, catching the lovely French not at the front of your hat. And there you have it. You can make as many French knots as you want. And you can adjust the size of the not by looping more or less times around your needle. For more delicate spots, scatter French knots all around using embroidery floss. When you've finished adding all of your texture, pull all your loose ends to the back and secure with double nuts. These are all great ways to add 3D texture to your hat. Now, I'm sliding my outer hat into my inner hat, which is inside out so that right sides are facing each other. If you have a designated front and back, Now's the time to make sure that they're positioned correctly and facing each other. Make sure to open up and line up your seam allowances to make them as flat as possible. Pin around the open edge. And you're ready to begin joining the two layers. You can either use a backstage or a running stitch to sew all the way around. Now that I've stitched all the way around, I'm securing my loose ends and getting ready to flip it to the right sides. Be sure to leave a big enough opening to flip your work to the right side. Now we're going to talk in these raw edges and pin them into place so that we can close this opening. Once again, I like to use a ladder stitch to close the opening. I'm tying off my loose threads and hiding my tails for a nice neat finish. Feel free to top stitch the brim or outer edge of the hat or leave it unstretched like I did. And that concludes our hat.
5. SHOES sole & toe: To make our shoe, we're going to start with the soul. My trick is to use cardboard to give it some structure. In this demonstration, I'm using my cardboard base as reference to cut out a rough so cover. But don't worry, the official pattern piece will be available in the PDF pattern. Then we'll create a running stitch around our soul cover and gather up the edges around the cardboard to create a perfectly shaped soul and will tie off our threads. I like to try and push the gathered intersection as close to the bottom edge as possible. Use the toe pattern piece to cut out. Your choice of tow fabric. For the PTO will create another yo-yo. This time, will stuff the yo-yo with the palm. Palm. If you don't have a palm, palm, feel free to use scraps. Now you're gonna take your stuffed Yoyo and your shoe base and faced the Packers towards each other and make them kiss. This way, neither of the gathered pucker is will be exposed. I'm going to use a ladder stitch and stitch all the way around securing the toe to the base. Because I must her man has a nub instead of a foot. This stuff TO acts as a bumper in his shoe. So the front of his shoe has some substance to it and isn't completely empty. After you've stitched all the way around your toe piece, you should have something that looks like a very crude slipper. But don't worry, the next stop will really pull the whole thing together.
6. SHOES tongue & body: For the body and tongue of the shoe, I find it easiest to use Felt, sense. It won't unravel and is generally a pretty forgiving material. For this first shoe, you're going to use your pattern pieces to cut out a tongue and body piece for your shoe. Place with a flat edge of the tongue about halfway in the middle of the toe and pin it into place. I'm using some standard thread. For the sake of visibility, I'm using white, but a matching color would blend in and look a lot better. We're going to attack or based the tongue into place along this straight edge. At this point, you could either tie off your tails or if you have enough thread, pool the extra thread through to the back, making sure it's not exposed. You want your thread to be coming out at the center back heel of your Soul, then make a little knot to secure and keep it from sliding. Now, find the center of your shoe body by folding it in half. The key to making an even symmetrical shoe is to line up the center back of the body with the center back of the soul. Starting from center back, we're going to use a ladder stitch to attach the body to the soul. Tuck the raw edge of the felt under as you so you could use a more visible decorative stitch if you want. When you get to the flat edge of the toe, I like to fold any extra body felt under to keep it even with the toe. You can also just snippet and then flipping your felt back. I'm using any extra thread to secure any loose felt. I'm tying off my threads inside my project so that they don't show. We're gonna go ahead and stretch the other side of the body to the soul so that our body is completely attached. Now using an embroidery floss, we're gonna top stitch across this flat edge of the tongue going over are basing stitch from the previous step. This just helps cover up and unify the front of the toe and just makes it look a little more complete. Now that I'm done back stitching all the way across the top of my shoe. I'll draw what's left of my embroidery floss to the inside of the shoe and make two knots to finish off my thread. Then I'll hide my tails by pulling them through and snipping them off.
7. SHOES lace & details: Placing your shoes is probably one of the most satisfying steps in the shoemaking process. I'm using a thick tapestry needle and my polyester chord to lace the shoe. Sometimes using an all typical pilot hole helps thicker strings passthrough with more ease. I start with two holes on either side, but you could add more or less depending on the look you're going for. There are many other possibilities for this step. You could use a fat ribbon or yarn or more embroidery floss, whatever suits your fancy. I do my first fitting at this point and tighten the laces around our guys foot. Now that we've placed our shoe, I like to add some nuts to keep the laces from sliding through. Or you could tie them in a bow. If you use polyester thread or at least something synthetic, I like to burn the end so they don't Fray. Now that your laces are in position and your ends are sealed, you can try your shoe on your guy and see how they look. Looks like a pretty good fit.
8. FINAL TOUCHES: Now this final step is completely optional. What I like to do is give this little guy some more texture and definition in places and just couldn't resist the rosy cheeks. The cool thing about this is that you can really use whatever you have on hand. So whatever extra makeup you have in the bottom of your drawer will work great for this step. We'll give them some pink on his knees and make him look a little more weathered like he's been digging in the earth. Always start light and build your color from there. It's nearly impossible to remove the pigment after you've placed it. I find it looks best to shade under the eyes and also up in the creases of the top lid, leaving a little bit of brightness at the front edge of the island. I'm gonna say it again because it's a really important. Always start light and get darker as you go. You want to feather out the pigment so that it looks a little less abrupt. For this step, you could use a variety of different materials. If you want to be super legit, you can use pen pastels. But I find that those can be pretty pricey. And if you need to get several different colors, it can really add up. So if you have chalk pastels, you can always shave it off into a powder and use the powder as well. You just need some kind of dusty pigment that you can apply with a brush. It really just depends on whatever supplies you have access to. And that concludes the process for our mushroom man. I really hope you've liked this video and don't forget to share your projects. I can't wait to see what you guys come up with. Thank you so much for watching and we'll see you in the next video.
 Allia Rahman, Fiber Art and Illustration