Transcripts
1. Introduction: Do you ever feel anxious or overwhelmed because of
difficulties or challenges? Do they sometimes feel like big, dark clouds looming over
you, stealing your joy? I think we all have our gloomy
or grumpy moments in life. But what can we do about them? How can we deal with
them in a gentle, kind way, but also one that would help us
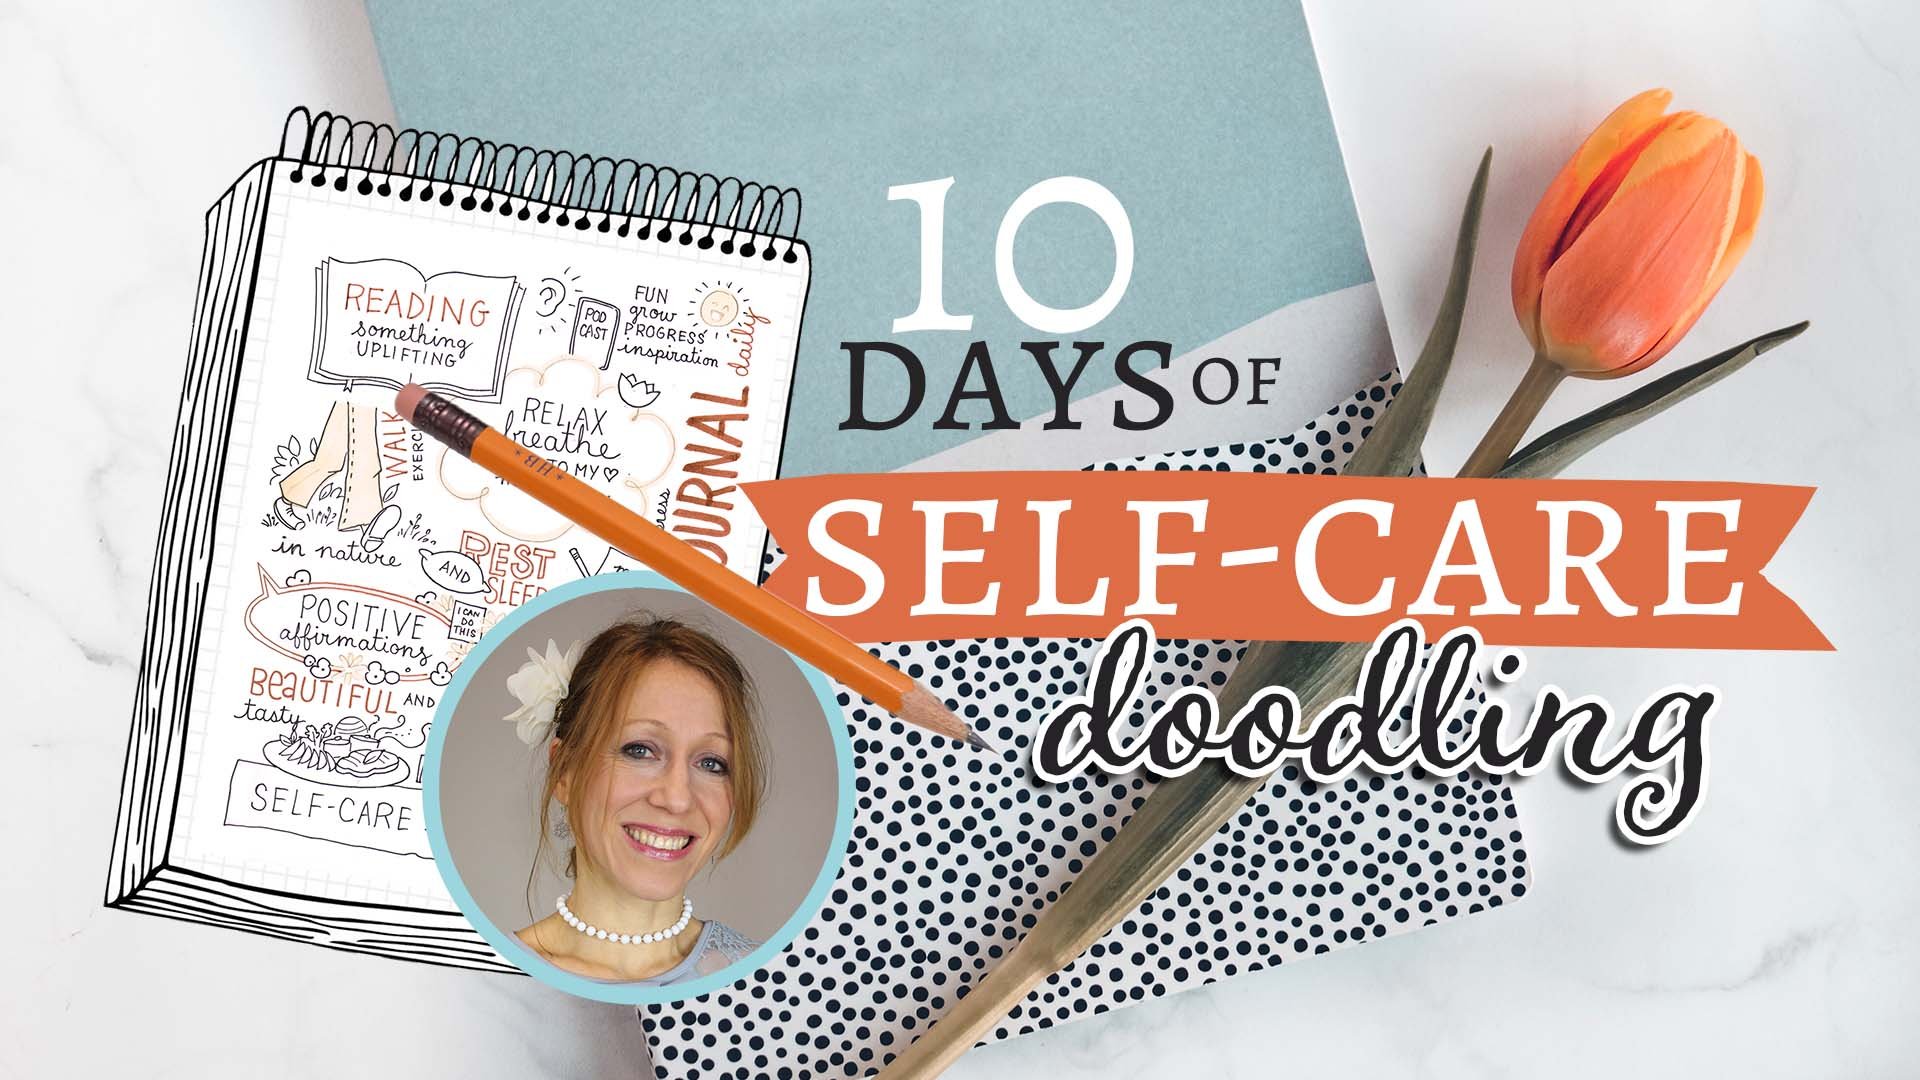
get to the other side. Hi there. I'm an
yesterday snack. Artist and teacher
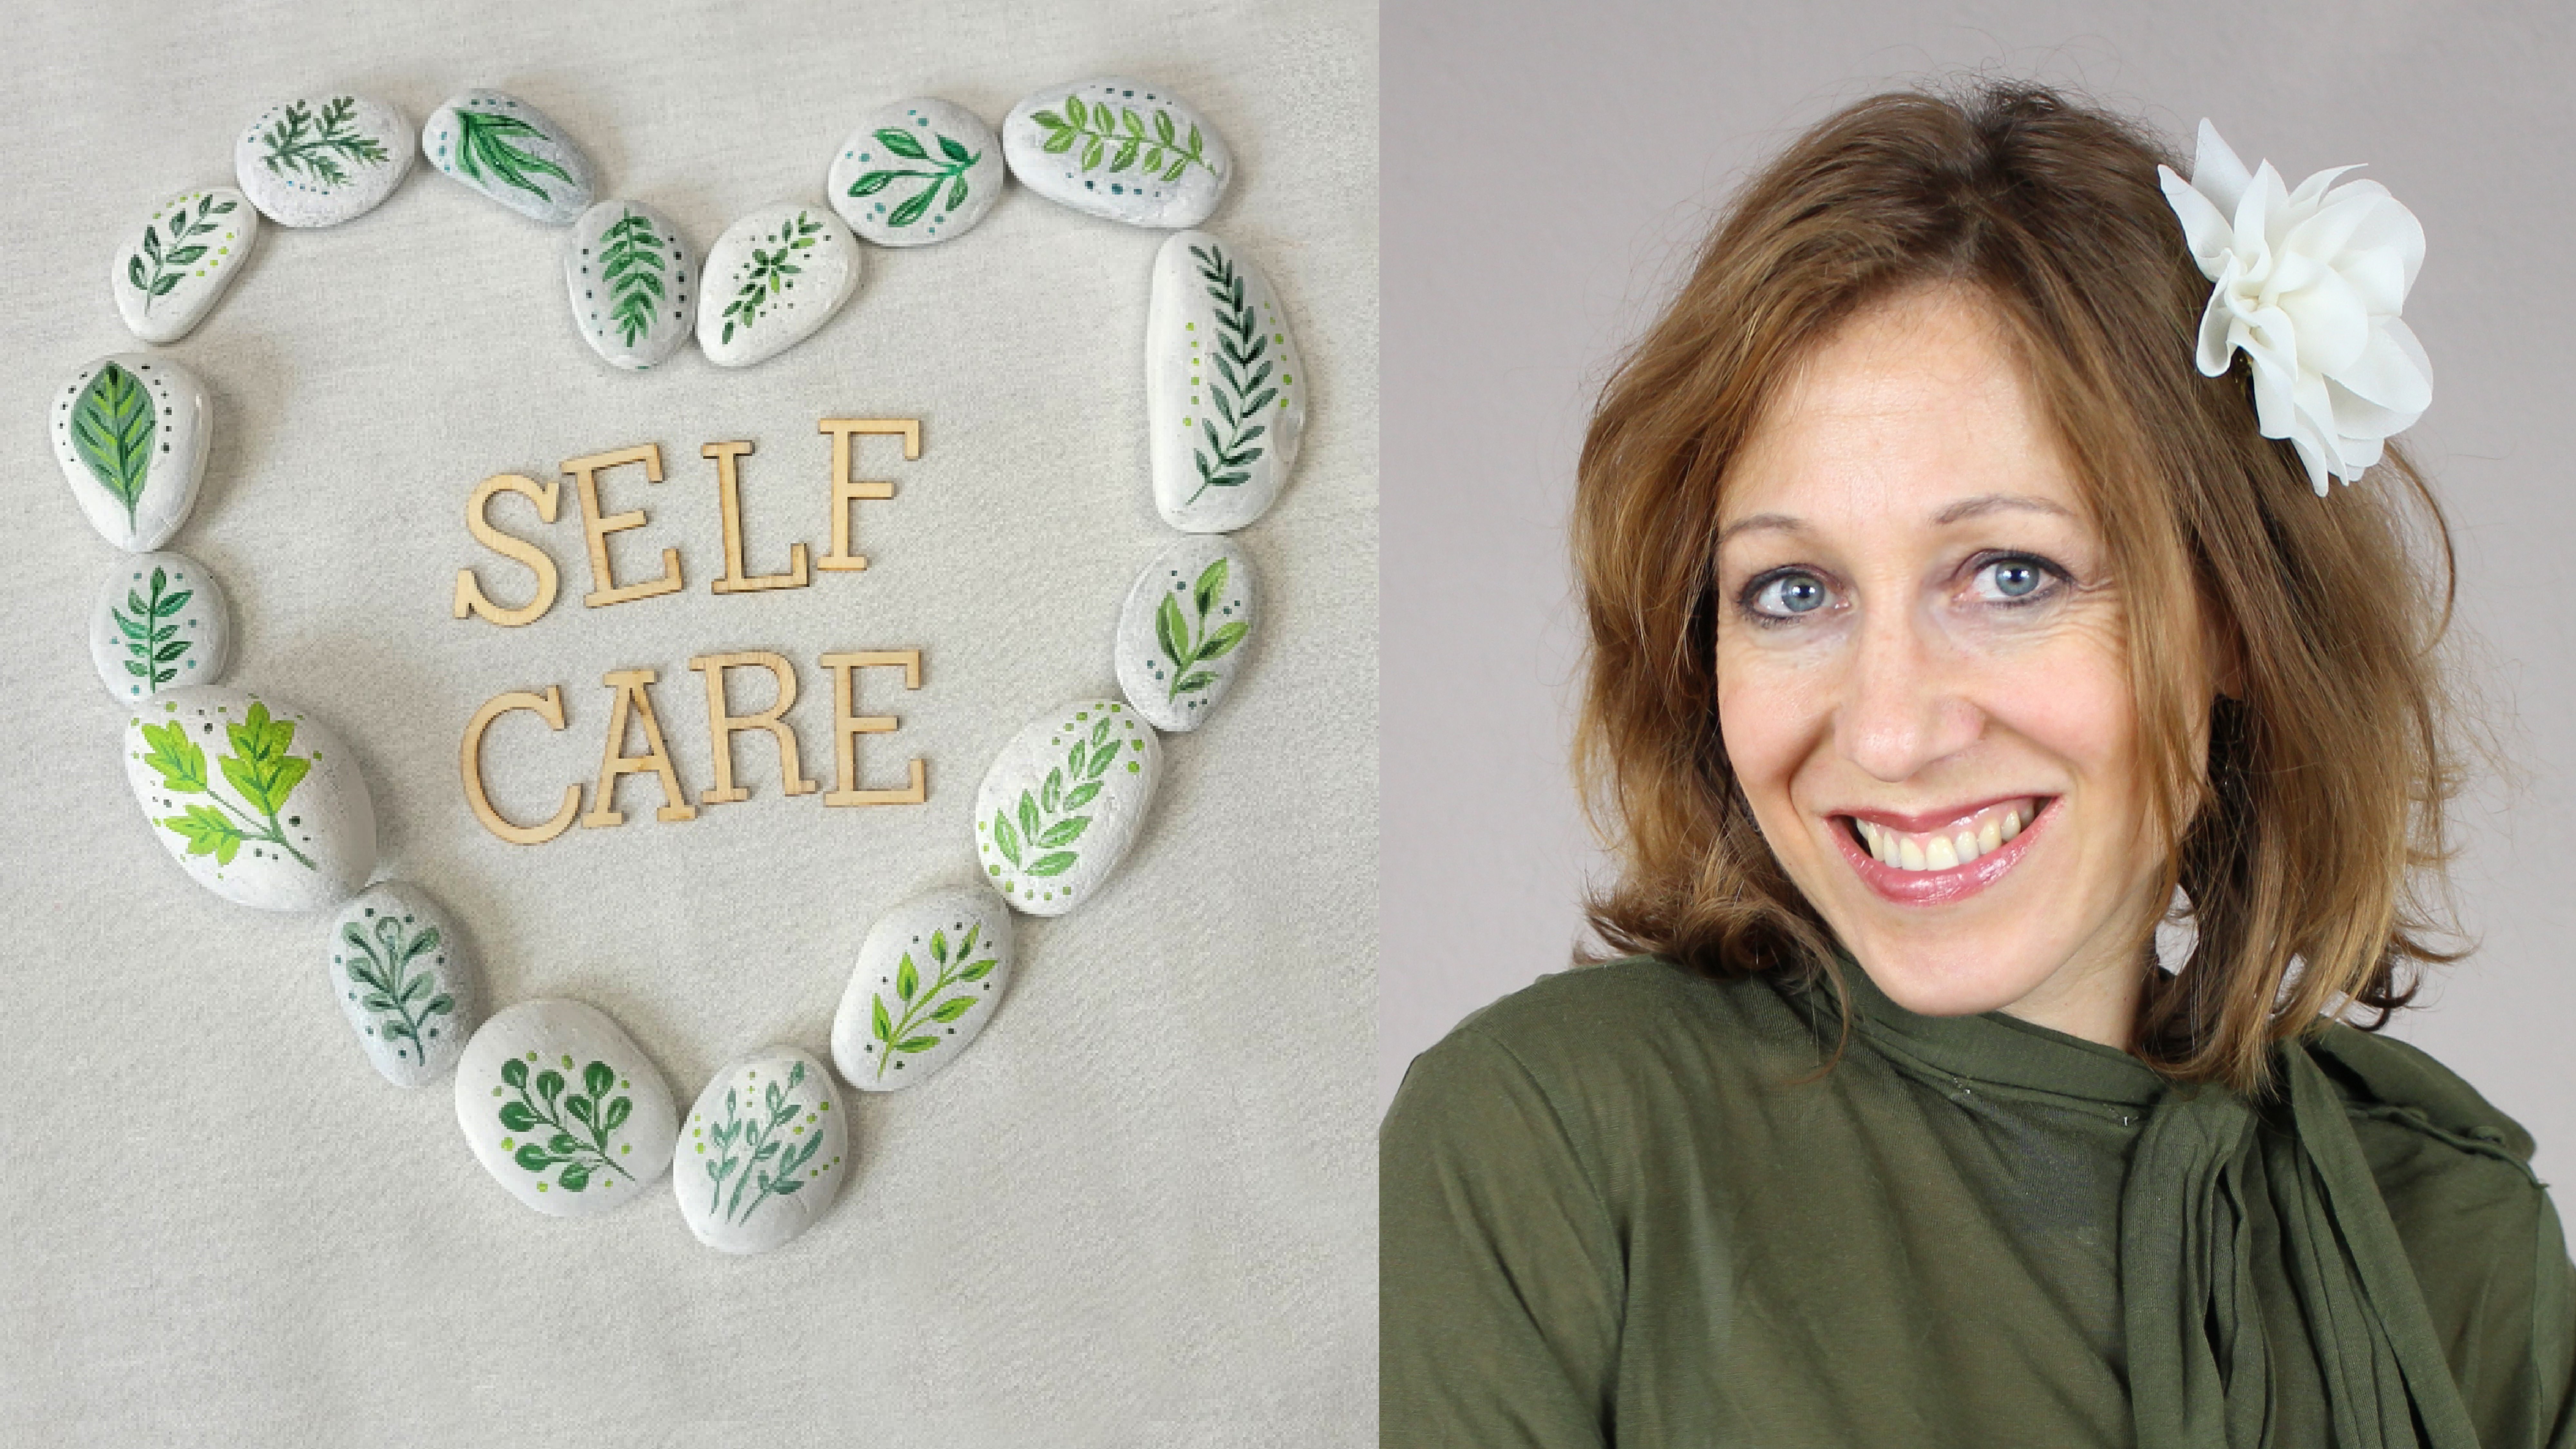
passionate about encouraging other creatives to pay a little more attention
to their self-care, to help them feel at their best, both physically and emotionally. And I love to share
some tried and proven simple art projects
to help get there. I find this one too especially
helped me when I get into this downward
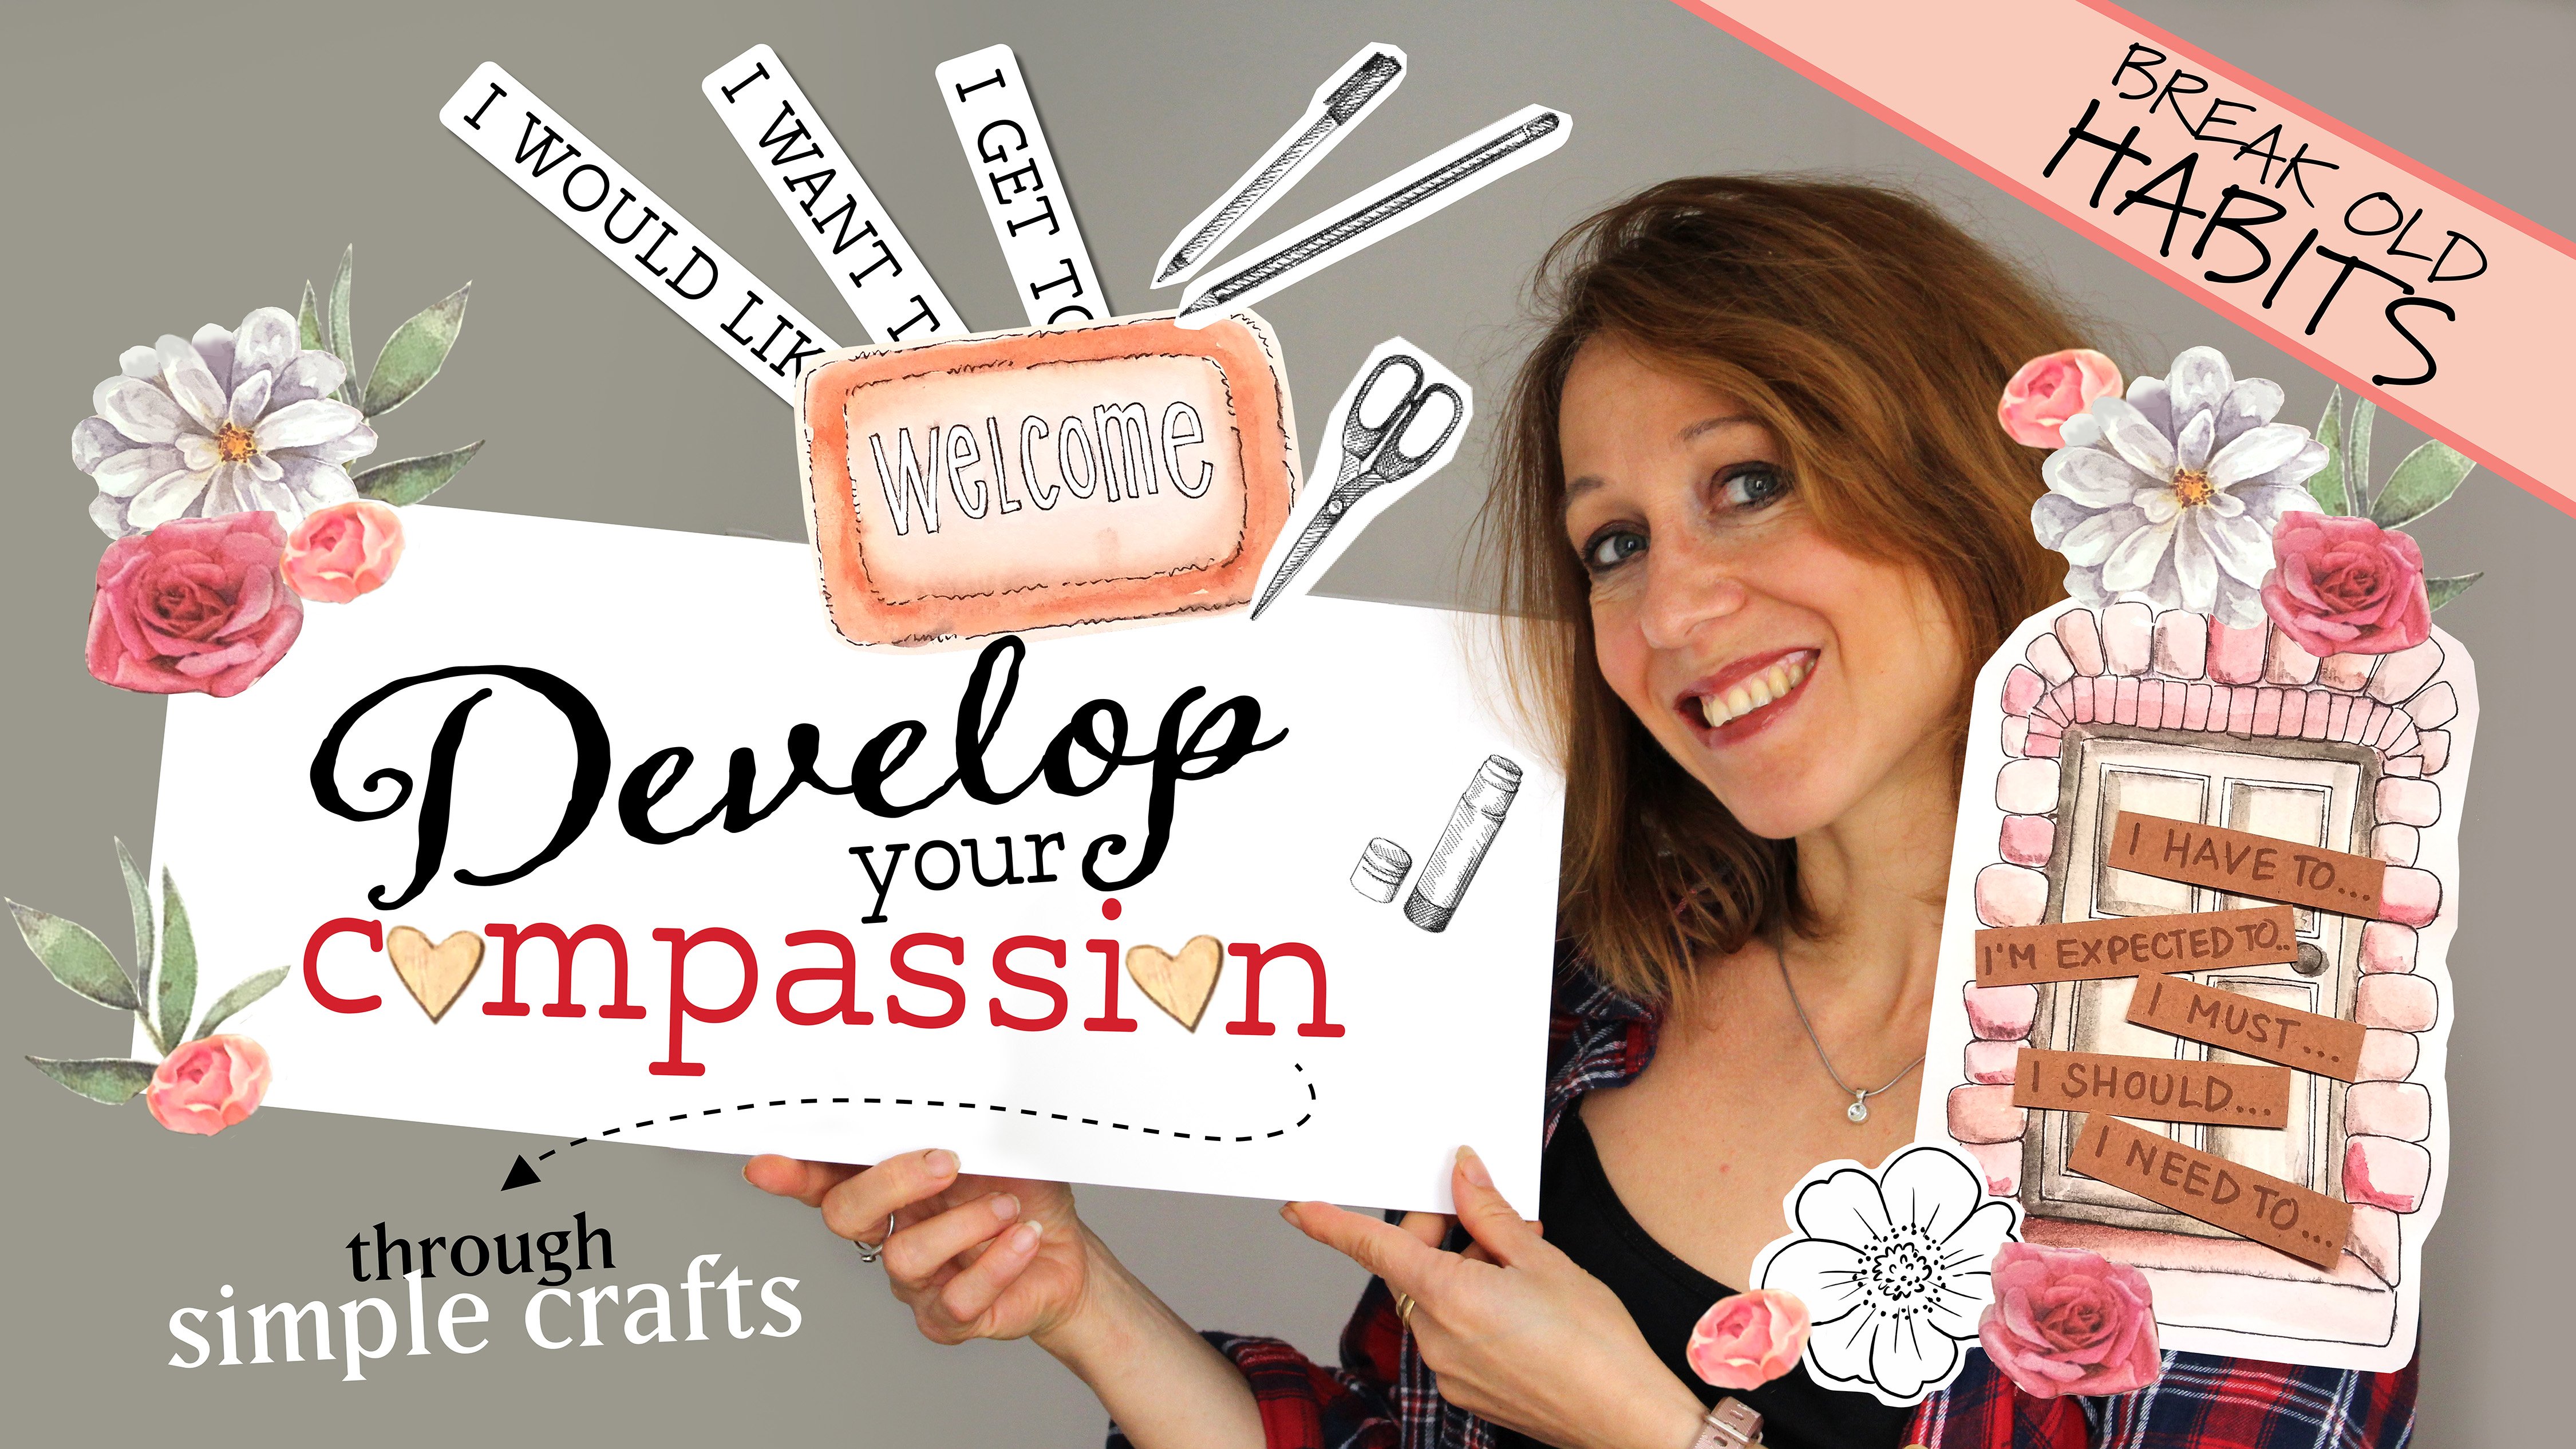
cycle of fear or worry, pressure or judging myself, I turn it around by
putting on my glasses of self-care, love,
and compassion. And I sit back and watch the emotional
clouds just trends, form into little
puffs of air that can easily blow away
with a deep breath. A positive thoughts are
kind words to myself. There's a quote from Bruce
bears for that says, there's a bright spot
in every dark cloud. This visual art project is not just a calming activity
time for yourself, but a way to help you find
your bright spot so that you get to experience
more joy and trust, or as creatives, more passion for what we're
doing and more confidence. You get to choose how
you want to feel. And sometimes it helps to
have a mental picture, or in this case, the visual tangible
picture of letting go of what we don't
want with doesn't do us any good in
order to welcome in the good positive vibes and
energy that we want to feel, to help us feel at our best. I'm really looking
forward to doing this creative self care
project together with you. I'll see you in class where
we'll get to create one of these together and have
loads of fun along the way.
2. Material: Here are the materials
that you will need. A sheet of white paper, A4 size, sheet of great paper. Also A4 size or a
little bit smaller. You will need an empty
jar of any size or shape. You will need some white glue or just a regular stick glue. The pencil and eraser, a black ink pen, a
permanent marker. Last but not least, you will need a little
cotton dab like this, or some regular cotton
will do as well.
3. Cloud Shapes: Can get out your piece of paper, your great piece of paper
to start with your pencil. And we're going to start by drawing some shapes
of the clouds. I'm going to take
my black pen so you can see a little bit
clear what I'm drawing. And I just trace over my pencil. But if you can do it directly
with pen, that's great. That will help save you
a little bit of time. I'm going to draw, has many clouds is I can
to fill up my paper. So if you have your
A4 size paper, you just filled it up
with cloud shapes. Any type of clouds will do. I like drawing all
shapes and sizes and forms because that's
what clouds are. Probably can't see one cloud
the same as the other. You may be asking why
we are making clouds. Well, when I think of my negative thoughts or things
that me from compassion, I kind of think
of them as speak, black or dark, gray
clouds in my mind. They loom over me. They're overwhelming. There are a bit scary sometimes. Whether it's fears or worries
or overwhelm or stress. They just feel like they're pulling me down and
I write them down, I write down my negatives. I'm just going to add a
little bit of curvy lines here and try love
a little extra. And look for them. Maybe every other one.
4. Some Benefits: So you can get your scissors. Cut each one out at a time. I'm not cutting
exactly on the line. Just to make it a little
bit easier for myself. And I don't mind seeing that the black lines
I've drawn either. Don't worry about
it being perfect. This is just mindful
little activity and craft, but it's not for perfection. Not to show anybody else, not to show your
grade skills in art. But it's to show you that you
can use your love for art, your love for creating. Your creativity or imagination is a perfect way to help you practice or grow in a little more self care
and love for yourself. I love taking these times for some simple craft
activities and projects. And I feel that
that's a big part of practicing self-care for myself. And also as a way to
work on the side of the brain that enjoys
beautiful things, creative things
working with my hands. And thus certain lessons, certain intangible things that I want to practice
with or learn or grow in somehow just seem to be a little bit
better understood. Or they work. These crafts work as
reminders for me. So I'm not only taking the
time, which is self-care, that I'm going deeper by learning how to
handle my emotions. Give myself more love, understanding, awareness,
and compassion. For me, some life lessons that I want to progress or grow into. If I just create a
little art project that ties along with it, and it just helps stick in
my mind so much better. I can visualize it. Not only in my mind, but I'm actually creating something that I'm
using all my senses.
5. White Clouds: Okay, so we have our little
clouds all cut up here. So now we're going
to take our paper and I'm just going to gently trace over the shapes that
I've made with my pencil. Again, it doesn't
have to be perfect. It's okay if it's not perfect. So with these white ones, we're going to glue
them to the other side. I only have four right now because just for the
sake of showing you, I'm not going to
do the whole page, but you would
probably want to do the whole page or
more if you want. So after that, I've drawn
them very roughly like this. I'm going to go in and
trace them smaller. You can also keep
them as they are. But I like the smaller version because we're going to glue
them on the other side. So you can also make
yours totally white. That's no problem at all. I just like the gray outline. To me, it's a little
bit more artistic. So then go ahead and
cut these out again.
6. Cut and Reflect: A lot of cutting. You can just think of
it as meditative work. Remember this is
time for yourself. So don't see it as time wasted. Just see it as a special treat. Time for you focusing
on some self-care. As you cut, it's a great time to do a little reflection
or pondering. So I'll give you a little
question to ask yourself, or maybe a few
questions that you can be thinking about it before
we get to the next class. Questions like, what are some of your recent
frustrations? Are you feeling edgy or
uptight about anything? Are you impatient
about something? You get discouraged because you don't seem to
get enough done. What is keeping you from
feeling totally complete? Something weighing on
your mind or heart. Did some difficult thing
happen to you recently? There's something coming up
that is stressing you out. Are you feeling exhausted? Are you not finding
the time that you want to pay attention
to your self-care. Anything that comes to mind as you ponder these questions, where other questions, or
even just one or two of them. Just stay with them. As you continue to
cut out these clouds. Don't worry, and don't judge
the negative thoughts. Simply observe them. That's what we're doing with
this little craft activity. We're reflecting on them. We're writing them down
and then we let them go. Our thoughts are kind of
like clouds because they may drift across our mind and
morph into another thought. But it's important to
learn to observe them. Then gently let them go. We can do this with little
breaths in and out. As we breathe out, we let go of the negativity
that no longer serves us. Or that is taking up
space from experiencing for compassion.
As we breathe in. We welcome in that compassion
in the form of love, joy, confidence,
energy flowing in, and much, much more. So when I find myself focused
on negative thoughts, I tried to imagine
a blue sky with fluffy clouds. By nearby. I go outside and look at the
clouds for a minute or two. If not, I just tried
to imagine them. So sometimes they're
dark and gray, other times they're
big and fluffy white.
7. Glue together: So now that we have our little
clouds already and cutoff, we're going to take our glue
and glue them together. I just add the glue
on the white part. I glue them in the
center of my gray card. And on and on you do that
with all your papers, all your little cloud shapes. So to save time, I've already made a
whole bunch of them. So we have lots of
different ones. This was my full page
of little clouds.
8. Negative and Positive Emotions: So you notice that one side is gray and one side is white. Well, we're going to do now. You can take your pencil
or you can take your pen. We're going to write down
any negative thoughts. Anything that seems
overwhelming, scary, dark looming over us. We're going to write it
down because it's important to think about it
and observe it. That's what's going to help
us get to the other side. So I'm going to write,
for example, fear. I'm starting my
own art business. And there are many
fears tied into this. Then I'm just going to
write it over with pen. And then you can erase
it. Thanks time. You can just write
over it with pen without using the pencil. That's what I'll probably do. This if you're not
so sure of yourself. But remember, this is
just for yourself, it's just your
personal safekeeping. So don't worry about
having to show anybody or being perfect at it. That's not the goal of this little activity
on the other side. So this is what my negative, which it looks like
it's all gray and bleak and overwhelming,
bake, scary. But then on the other side, I'm going to write
down the way that I want to feel instead. So instead of feeling fear
of failure or feeling that I'm not gonna get it right or do my art properly or start my business and
it being successful. I want to feel Khan. Now as you do this,
you can take a minute to just breathe in, breathe in confidence,
love, compassion. And as you breathe out, you breathe out.
Fears of failure. Fear of making mistakes, not getting it right. Anyway. So you go on and
you fill all your papers. I'm going to do another
one as an example. So I'm writing down my negative feelings,
my negative emotion. So I'm writing down in patient's hearing back
about house offer. So we made an offer for a
house and I'm feeling edgy, I'm feeling a bit nervous, impatient because we
haven't heard back. And I really, really wanted
and I'm worried that somebody else might
give a better offer and on and on and on. So that's negative
and that's keeping me from from feeling
what I want to feel. I want to feel patients. Perfect trust. And I want to feel peace
with whatever happens. Then I put it to the side. So as you fill up all these, you don't have to fill
them up all at once or fill them all up right
now as you create this jar.
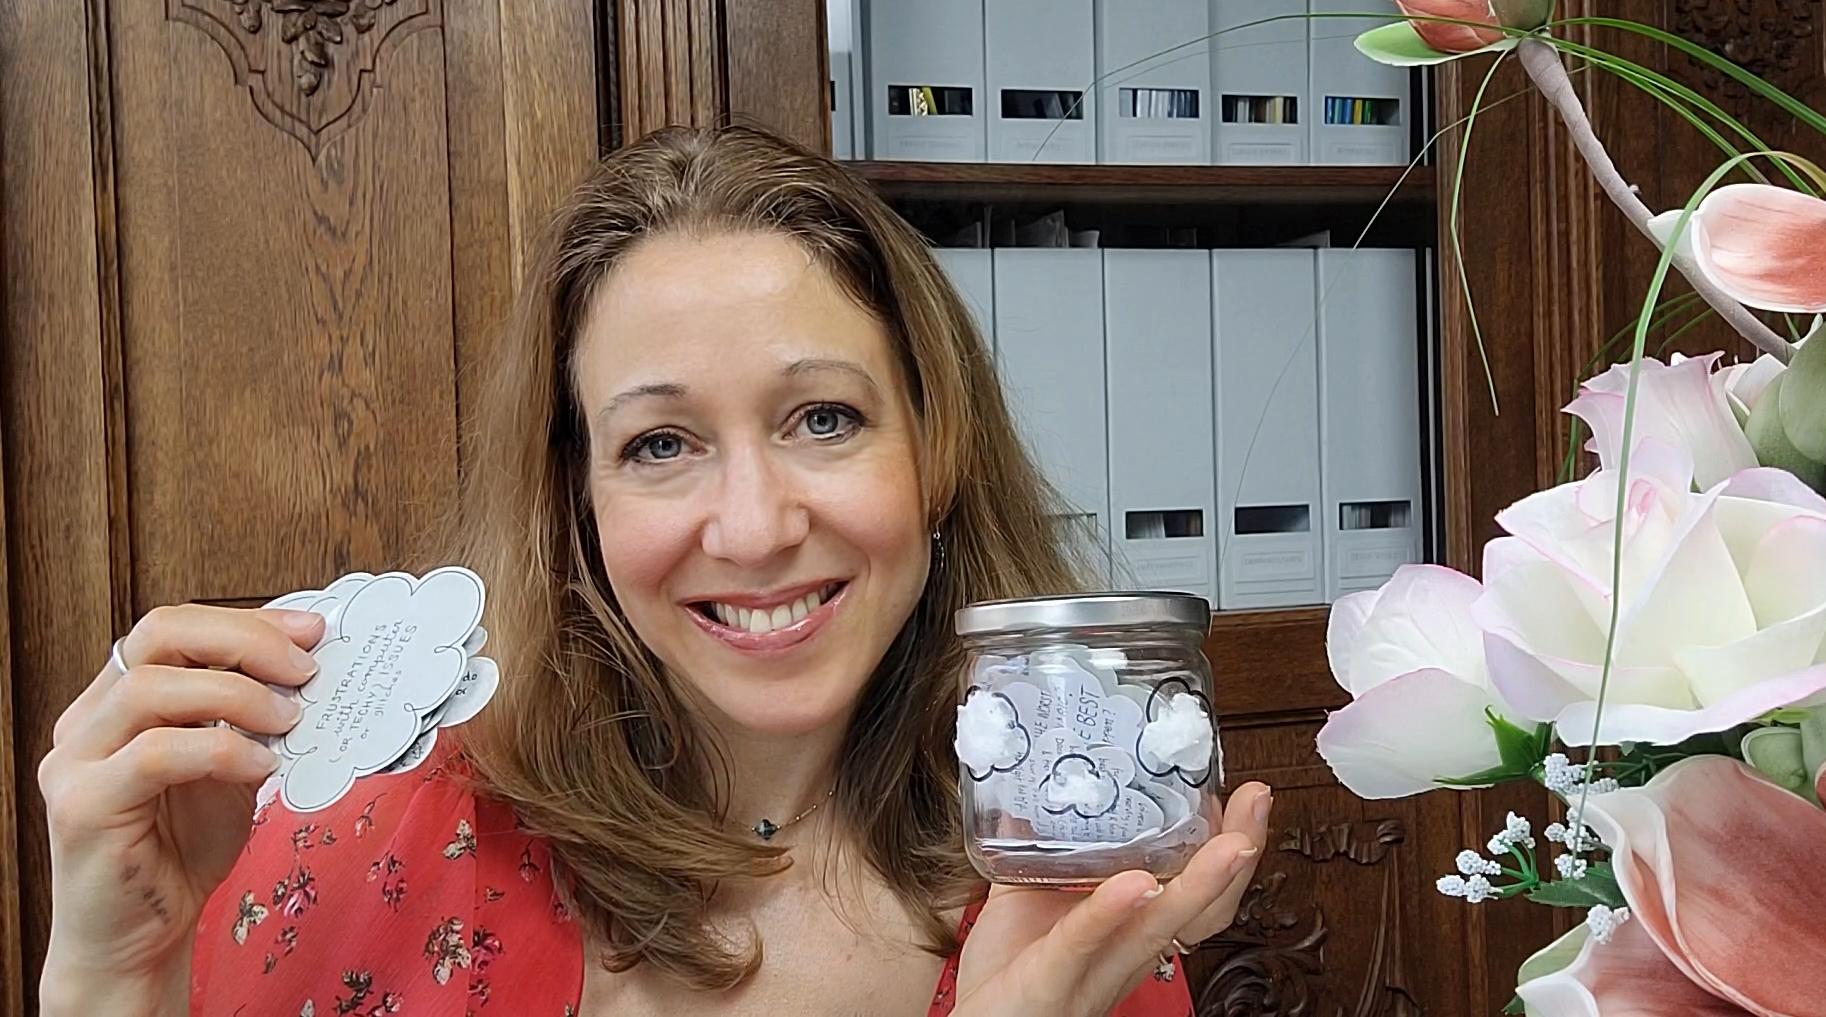
9. How to Store and Use: What you do is once
they're filled up, you place them in the jar and you will refer back to
them in a little while. This little project really helps me look past the negativity. As I imagined, the clouds, the dark clouds
just floating away, which allows me to feel peace and to focus on the
positive thoughts. So that's what this
little project will maybe help you
remember to do. You can go on and also
decorate your little jar. So I'm going to place
them all inside for now. And that's what
this comes in for. And the glue and your
permanent marker. I just love going all the
way with my arts projects. So I'm going to draw some little clouds with
my permanent marker. You can draw some big ones, you can draw some
little tiny ones. I'm just going around
the whole jar. So you might want to use permanent marker
just so it doesn't. He raised to easily, I'll take these out in
case it helps you to see a little bit clearer
what we're doing. Maybe middle one here. So do as many as you want
or as few as you want. I do some on the top. On the bottom. Then I'm going to
take my little face cotton and I'm going to break
it up into little pieces. You don't have to do this
part if you just want to keep your jar just with a little
clouds, that's okay too. So I'm not sure if I'm going
to put it inside like this. You could either glue
it on the inside of the jar or you could
glue it on the outside. I shape it to the right size, to the right shape. Cars. The outside would be
a lot nicer because it's you can feel the fluff. I love anything that feels textured or yeah, I'd like it on the outside. So I'm going to continue putting my little clouds on the
outside of the jar. It depends where
you keep your jar. If you know that it's
going to be just on the shelf or on your desk, then there's no problem having
the little puffy clouds. It's not going to make a mess. The glue is pretty strong. This is just normal white glue, so it can work on
cloth, on wood. So definitely on glass tube. This is quite a sticky mess. To go round and finish all your little
clouds on your jar. You might feel a little bit
silly, kind of like, oh, this is just an kids
artsy art craft. But just, just watch
yourself, observe yourself. How much you enjoy this. Actually creating
this for just you. When I made mine,
I was just like I became obsessed with
it because like, you know what this
is, this is my play. This is what I love to do and
I never do this for myself. So I realized that using art in the form of time for
myself, time for meditation, time to pause and time
to play with really, really what I
needed and probably the best compassion
practice there was. I wasn't only being
mindful about it, but I was using my hands, my skill, my talent, my passion for art, to create something that would in turn be
a helpful mental, emotional, uplifting, spiritual, little activity for myself. That was going to benefit me
for days and months to come.
10. Time for You: So don't neglect
those little moments for yourself, those
little times. Even doing a simple
little craft like this, value them, take
advantage of them. Maybe you have just a
few minutes in the day. But why not do something that you love and enjoy and that, that will only benefit
to you in the end. Alright, so we only
use half of it, which was very saving. And you can go ahead and place your middle clouds ready
for the next time. So in my jar, once
they all filled up, just use them over again and I create new ones
at the same time. I review my past
negative thoughts and the ways I want to feel. And I create another one. I fill up one of my empty ones. And it's so amazing. Looking back on
some of the things, some of the clouds
that actually turned out to be positives in the end. And I did end up feeling
the positive feelings. So that's the wonderful
thing about this. You can go back to
it and let it be a souvenir and encouragement for you to keep doing
this little practice.
11. Other Cloud Options: As an alternative to creating with the gray and
white cardboard. This is another option
may be to simplify. Or if you enjoy using
other mediums of art. I'm going to use my water
paints on a water sheets. Just with some black
paint and a little water. I'm using a big
thick paint brush. That way I can cover more
surface on my paper. I'm just dabbing the
paint on all directions, making some grades, not
adding even too much flack. I might even do some
twirly circle strokes like as if they were clouds. And as I'm doing this, I'm thinking about, Oh,
my negative thoughts. I'm just throwing them
out on this paper. Making them all black or gray. Negative thoughts,
frustrations, difficulties, overwhelms pressure on myself. I'm just going to paint it all out on this piece of paper. And now I'm going to let it dry. So after waiting a bit here is my dry sheet of paper
and on the other side, all white, I'm going to
draw out some cloud shapes. Again with some touristy lines. Great to do it this way so
that I can add a few more. And folding in the
page will help me to save some time
with the cutting. So now as I cut, I'm not going to cut directly on the lines
again to save some time, you can go and do it with all
the corners and perfected. Or you can just do
it very random. And she'll probably not
even noticed at the end. So I have the white side, which I might continue to draw, the ones that I don't
have some lines on. And you can continue to do that for the rest of your page. Now if you went another option, I've included some downloads with some clouds
that I've drawn. You don't have much
time, you're busy, mom, or you just want to get going with the emotional part of this. Maybe you've already
created some clouds and this next time
you just want to make them quickly so that you
can use them and get the full benefit of
just letting go of your negatives and welcoming and the positives without the
whole creating process, because you've
already done that. You've already taken
time for yourself. I find it very helpful to have
this option. Even for me. I just cut them out. I have one gray side
and one white side. So I'm just going to
do a few for now. Different shades of
gray is also nice, which I've given two options. And then I'm going to
take my pen and I'm just going to fill one out, makes sure that the gray is
light enough for my pen. Alright, I'm going to take
some time to think and reflect on maybe a difficulty
I'm having at the moment. And I'm writing it down
on this dark gray cloud. And on the other side, I'm going to write down how I
want to feel telling myself all those positive
words that help lift me up that I wish somebody
else would tell me. And I can just tell
that to myself. Just taking time to
listen to my heart. I know exactly what words
would encourage me, motivate me for comfort me during a trying
or difficult moment. Somehow just the
right words come. And I'm going to even underline the keywords that I want to refer back to
and be reminded of.
12. Other Storage Options: I wanted to show you
here an alternative to storing your little clouds
in a jar like this. If you don't want the glass or you're afraid that it
will break or maybe you have less space for
whole jar like this. You could either
use a smaller jar or you could also use a
little cloth bag like this. When I travel, I keep mine in little cloth bag which
takes less space. I find that you can reuse many items that
you have at home. Or another idea would
be to use an envelope, just a simple plain envelope. So for the cloth bag, I didn't do much to it. You could always add a little
tag if you wanted to to the string and call it
your little moving clouds, or whatever name you
want to give it. For this jar, you could either decorated as this one with
a marker and some cotton. I'm going to show you another option of how I'm
going to decorate this one. How I'm going to
decorate my envelope. So you will need a piece
of paper for the jar, white piece of paper. Or you could also
use a gray piece. This is a wallpaper sample, which I find is very
nice and sturdy. And if you have just regular
gray paper and if not, you could also just paint it
yourself with a gray color. You will also need a pencil and eraser and a black
pen or marker.
13. Envelope Option: So I'm going to start
with maybe my envelope. The envelope is very
easy because you can either just draw some clouds on your envelope or you could also make them out of your
gray paper if you wanted to. I'm just going to draw different cloud shapes
can be different sizes. Let's try to use them
all the space we have in this little corner here. Then I'm just going
to cut them out. I just find that it's fun
to have a little decor on, on your storage place
for these clouds. Nobody else has to
know what it is unless you want them to. But that way doesn't
accidentally gets, get thrown away to the trash. And it's a gentle
reminder as well. To come back to it. I probably have used all these different options
at one time or another. Because once I use up all the clouds and one
jar or one envelope, I like to switch
things around and have some variety in my life. As I grow, as I evolve, I continue this activity, but I just do it in
a different way. I might use another
medium to create my clouds that as well as
how I want to store them. So just leave yourself open
to that option as well. I like to leave mine
sticking out a little bit. I think that's cute and fun. Then all you need
to do is glue them. Even one shape, one cloud would do just fine if that's
what you wanted. Just be sensitive to
what you want to do. I'm just giving you these
different ideas as options. What you could choose from, or maybe you could
come up with your own. Then I'm going to title this, My moving clouds emotional booster or whatever
you want to title it as you can play around with
where you put your words. I'm just putting them all over the place because that's
what our clouds do. They just transform,
move around. My pen's not working so well. Then you have your
little envelope. Where to store your
little clouds. Here we go. If you wanted to, you could even include the
date of the month or the year. Then that way you can move
and switch out your clouds. If you wanted to. You can even go
further as to decorate your whole page or
adding some stickers. So feel free to spice
it up creatively. Whatever suits your fancy. Because it's a creative
project after all. That's the whole reason I
love to include these at all. See projects because
they bring me calm. They helped me express
myself in different ways. And I learn more
about what I love, what makes me happy. Even shapes and colors, strokes, textures, hold that has
probably more effect on us than we even know. Let yourself play around, have fun, and get inspired. So just a few little lines can actually really
change your paper, your envelope decor,
and make it more inviting with a little
more of you in it. Here we have our little
envelope for moving clouds.
14. Small Jar Option: I'm going to show you an idea of how you can decorate your jar. You can also go ahead
and just cut out some clouds like we did here
and glue them around here. Or you can use a paper. And I kind of measure with my eyes how much
space it will take. And here I'm just going to draw some clouds, different shapes. Actually, I don't
even need to do hence directly on my paper. I like to a little puffs of air. They look like. And then you can also
give it a title, my moving emotional clouds. So I find a little
title for myself that is fitting. At the moment. Maybe the more meaning. If you wanted to, you can add a little color, either some gray or black. I just had a blue handy. So that's the color I'm picking. Although we wanted
more black or dark, or even just a little
pencil and some scribbles. Just this little coloring and scribbling activity
motion kinda helps you get in the mood as well as
letting go and letting go. These frustrations, these nerve wrecking
pressures are overwhelmed. Just get them out,
scribble them out. Leasing some emotions. All right, and then
you can cut it out. And all you have
to do is just add some glue and start growing it down. And you can cut it at a spot to want that is more
fitting if you want. Here you can always fix
it up a little bit. Touch it up, some shirts
glued down nicely. There we have another
place to keep our clouds. You can have it on your desk, on your bedside table wherever
you find it handy to have you to look back on or to
add some new ones too. So that was it. Thank you for watching
and joining me.
15. Final Thoughts: Just a few ending thoughts, even though I touched on it
somewhat during the course, I wanted to re-emphasize
the importance of paying attention to our
emotions for our self-care. This was probably the one
most fundamental change that I've done for myself and
still continue to do today. It's so much more than just
creating these clouds on papers and writing down
our feelings or emotions. And then on the other side, how we want to feel. It goes way deeper
than that because it's foremost paying attention to
our feelings and emotions, being aware of them and
acknowledging that they're there, but they're there for
very good reason. And reminding ourselves
that they are so important, That's what makes us, us. Most of all. I think they're there to
signal us and to let us know that we may need some
help or intervention. That we may be in danger or in need of some shift or
change in our lives. Whether it'd be doing
something in the physical to help change our situation
towards more safety, comfort, guarding ourselves
against something, or building new habits are growing in more selfless
love and compassion. And the words we tell ourselves
of how we want to feel. Making a conscious
effort to listen to them over and over again. To remind ourselves of them, to be able to get the
positive results from them. Making it a habit to use a very simple
childlike activities such as this one
for our self-care, can actually set us
in place to make wiser and better
decisions in our lives. Because paying attention to our emotions helps
us to be more solid, more centered, stronger,
and kind of gives us like a healing potion to the deeper parts
of ourselves. That's what I feel
it to be for me. Again, I wanted to
emphasize the importance of not blocking any of our
feelings, emotions. That's why we're taking
the time to write them down on our black or
dark gray clouds, hiding them or trying to
distract ourselves from them. Blocking them in some
way will only make them stronger because they are actually there to
tell us something. If we don't pay attention, they're going to
do something more drastic so that we
do pay attention. But once it's heard out, very often it just goes
away even by itself. Have you ever expressed
some big emotional thing is happening experience and to
you it seems like a big deal. But once you express it, maybe you tell a
loved one about it. And then all of a
sudden it just feels like a big weight has
been lifted off you. I've done that so many times,
but seemed overwhelming. Just needed a little
paying attention to verbalizing in some way. And then it disappeared, it transform to something
else better than positive. So with this little project, we're actually
expressing our feelings and emotions, but to ourselves, we're still taking notice
of them because maybe at some point we might not
have somebody right then and there to express it to. So at least we have the
option of doing that to ourselves and to get
it out on paper. But very often I still do express my emotions to
somebody that I love and trust and that I know
will be there as a strong support for
me without judgment. Just listening with a big heart. Some of us are just more
expressive on paper and some of us more
inwards and talking. Anyway, just to recap three small steps that I use in my moving
clouds little ritual. Number one, I'm aware of my emotions and I
write them down, whether it's a
difficult situation or experience or somebody that
I'm having a hard time with. And then number two, I notice how it makes me feel. I write down those
feeling words. For example, in patient or sad, hurt, upset or
overwhelmed, stressed out. I feel that it really
helps to include those feeling words because it helps us to go even deeper. Number three, I asked
myself how I want to feel. I write that down. I might include things
that make me happy or that light me up
that I love to do. Something related
to that incident or that challenge
or that emotion. Anyway, that's it. To sum it up in
three little points if that helps as a recap. And most of all, I
hope that this was helpful in learning
more about yourself, about your emotions, about
how you can consciously take care of and grow in
handling your emotions. And your self-care
will thank you for it. So you can get your little
jar or your envelope. You're a little cloth bag. Tell yourself, remind yourself how it made you feel to
actually write that down, put it on paper, and then pass the negative
and find that positive. Find that happened to you. If you want, you can check
out some other courses of mine on the
topic of self-care. I also have a specific
one related more to emotions and with a
fun craft project. So if you're into that, then be sure to check
it out. Bye for now.
 Agnes De Bezenac, Designer of Tools for Wellbeing