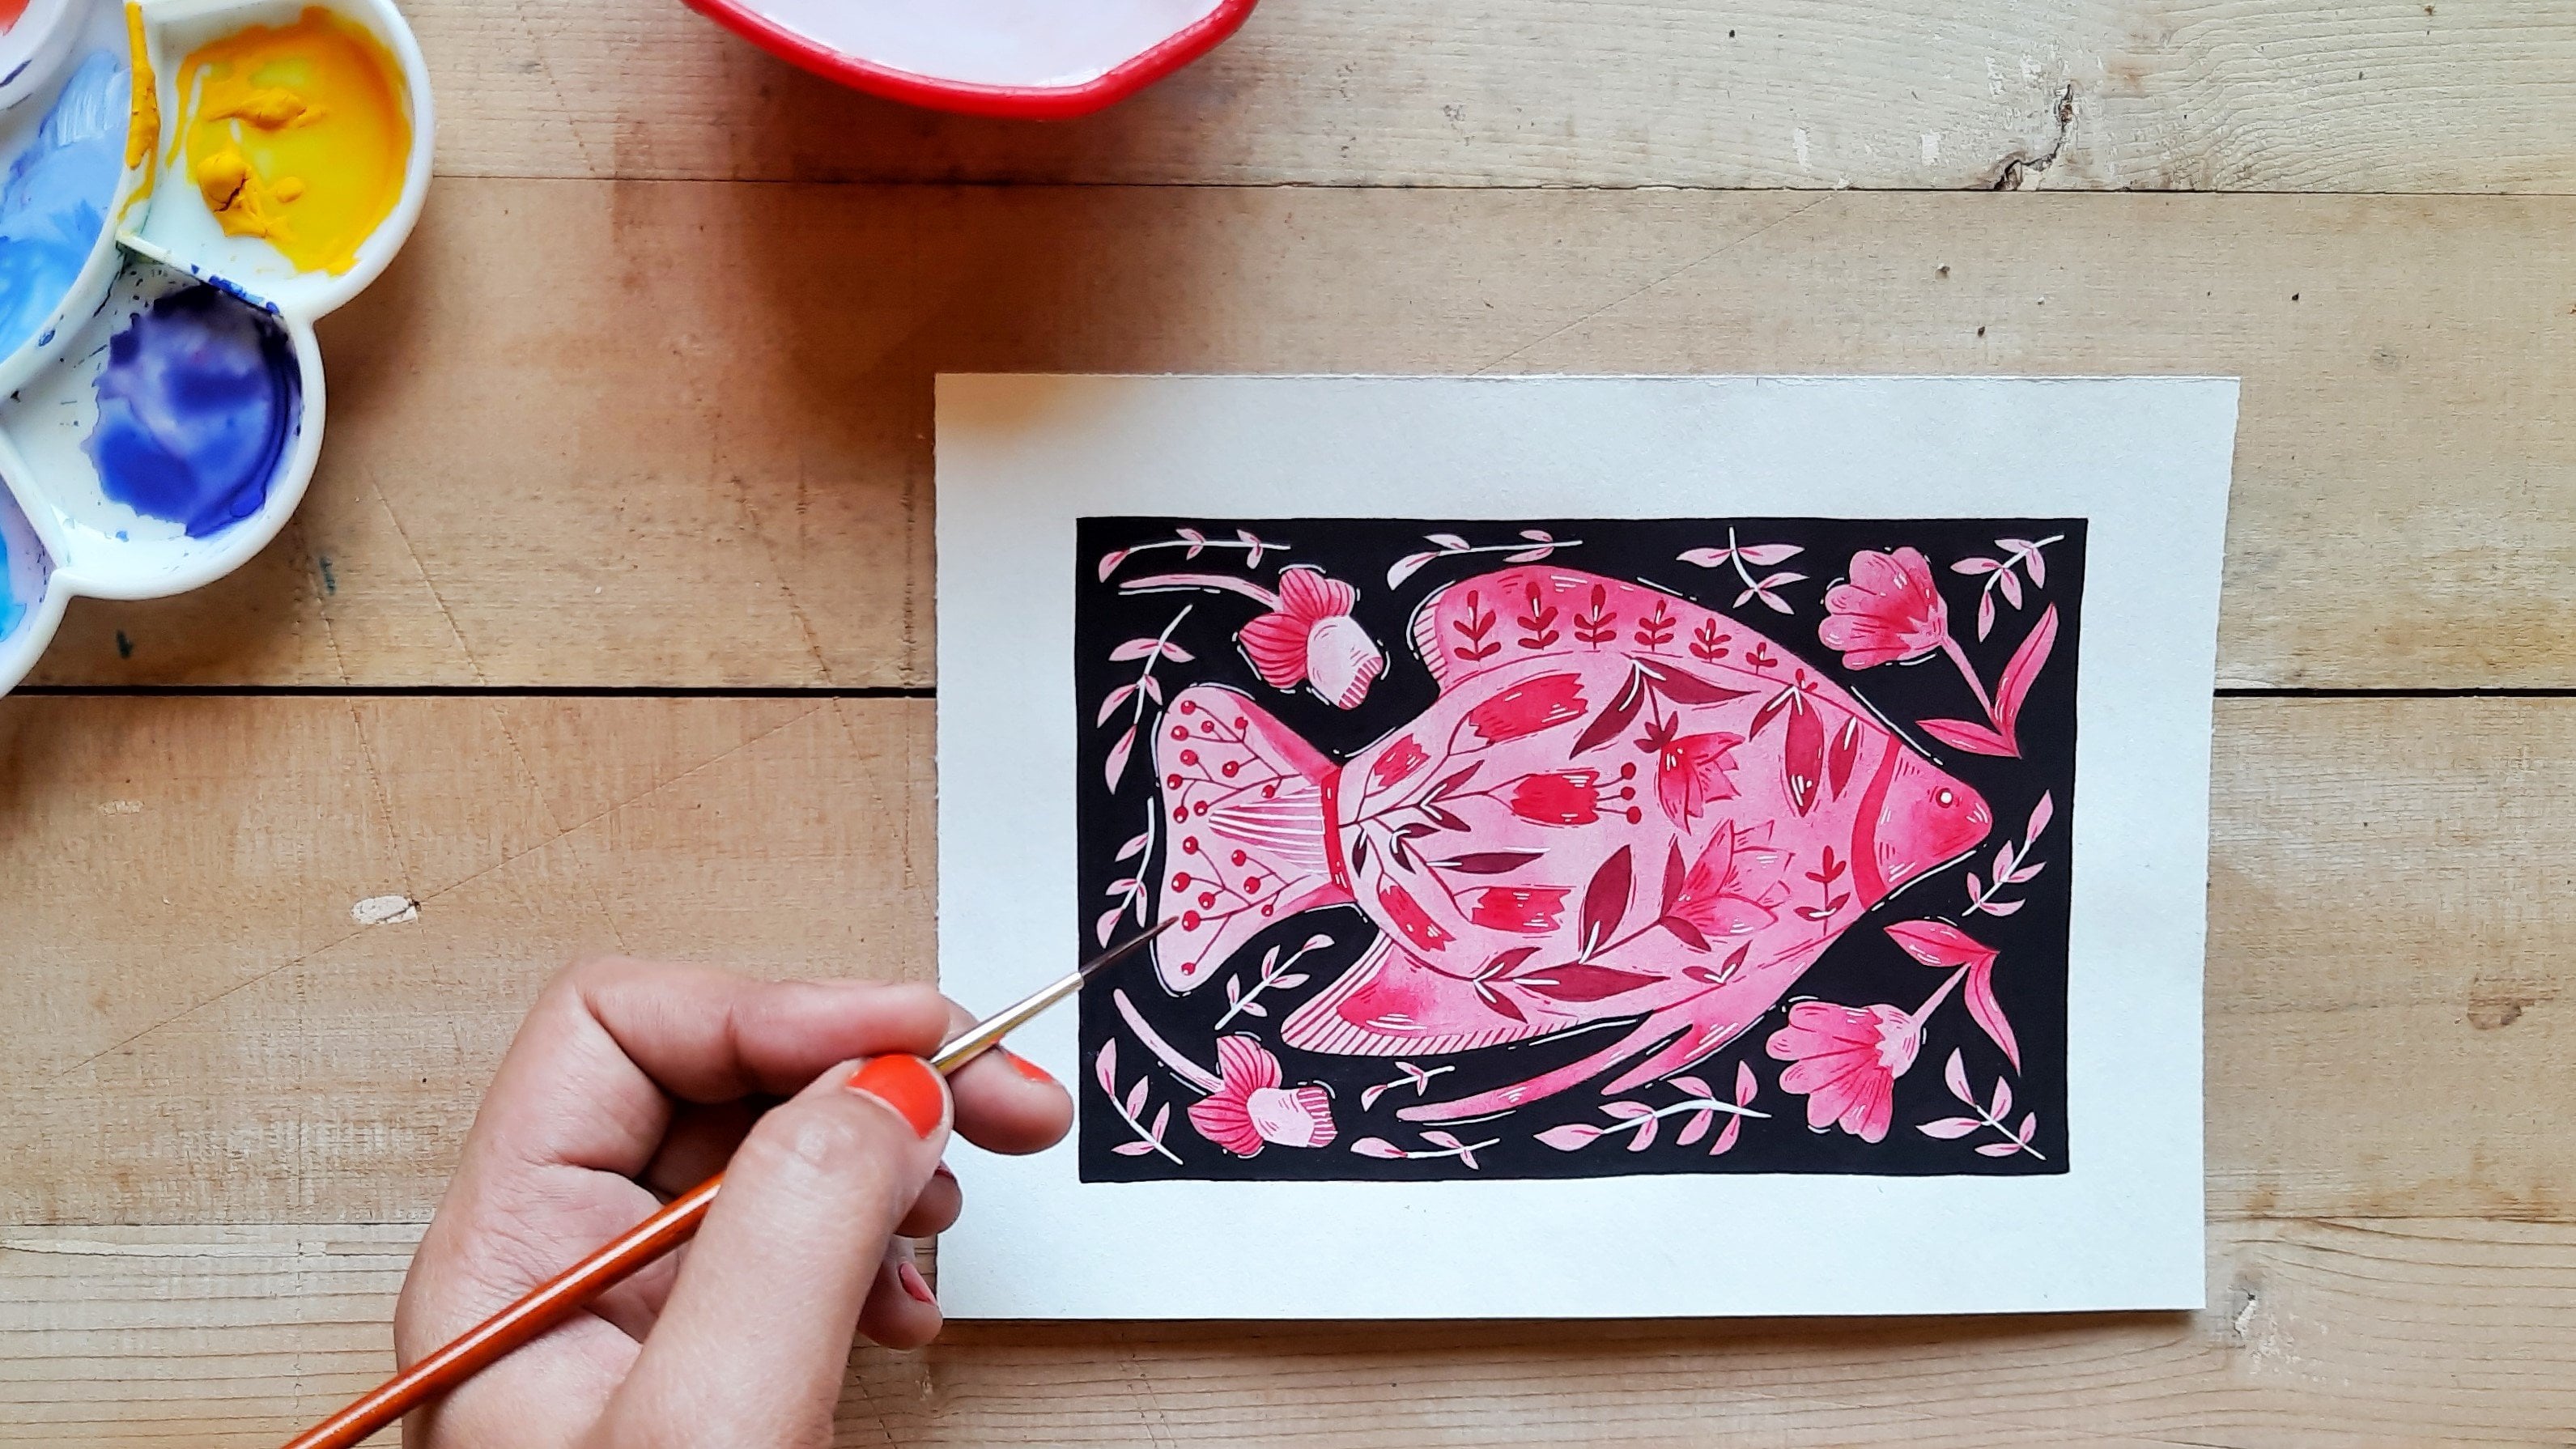
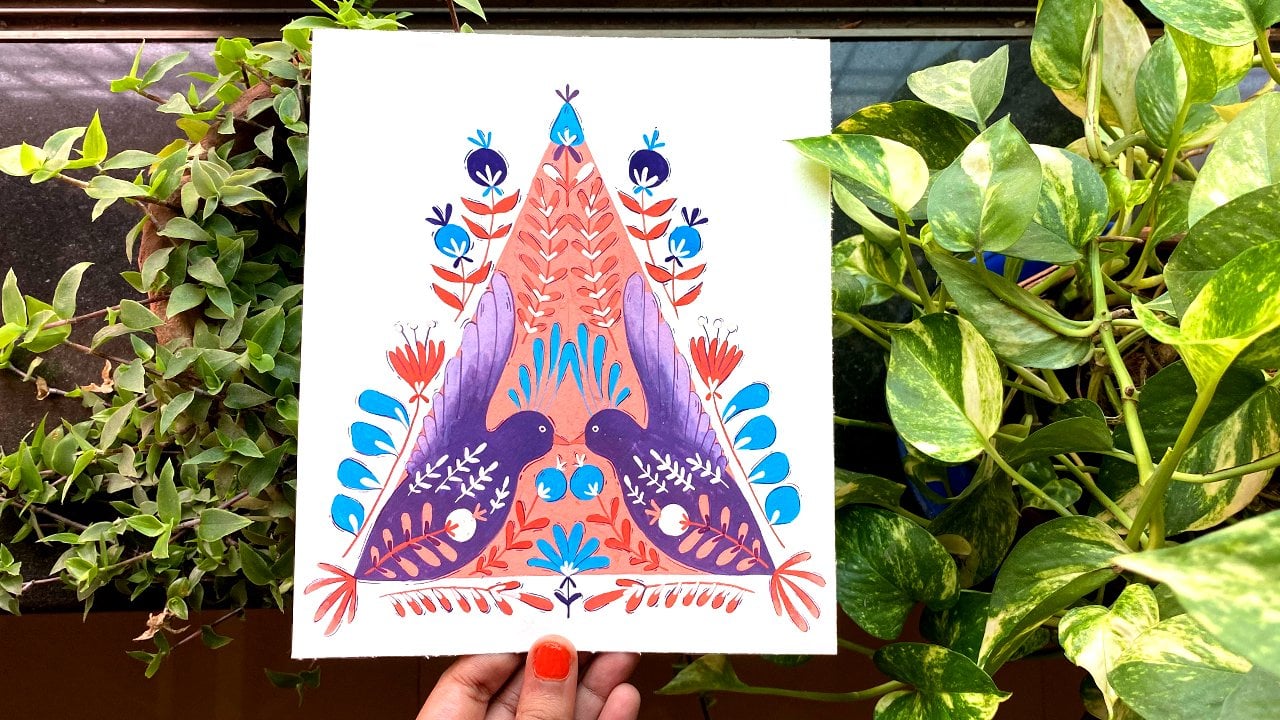
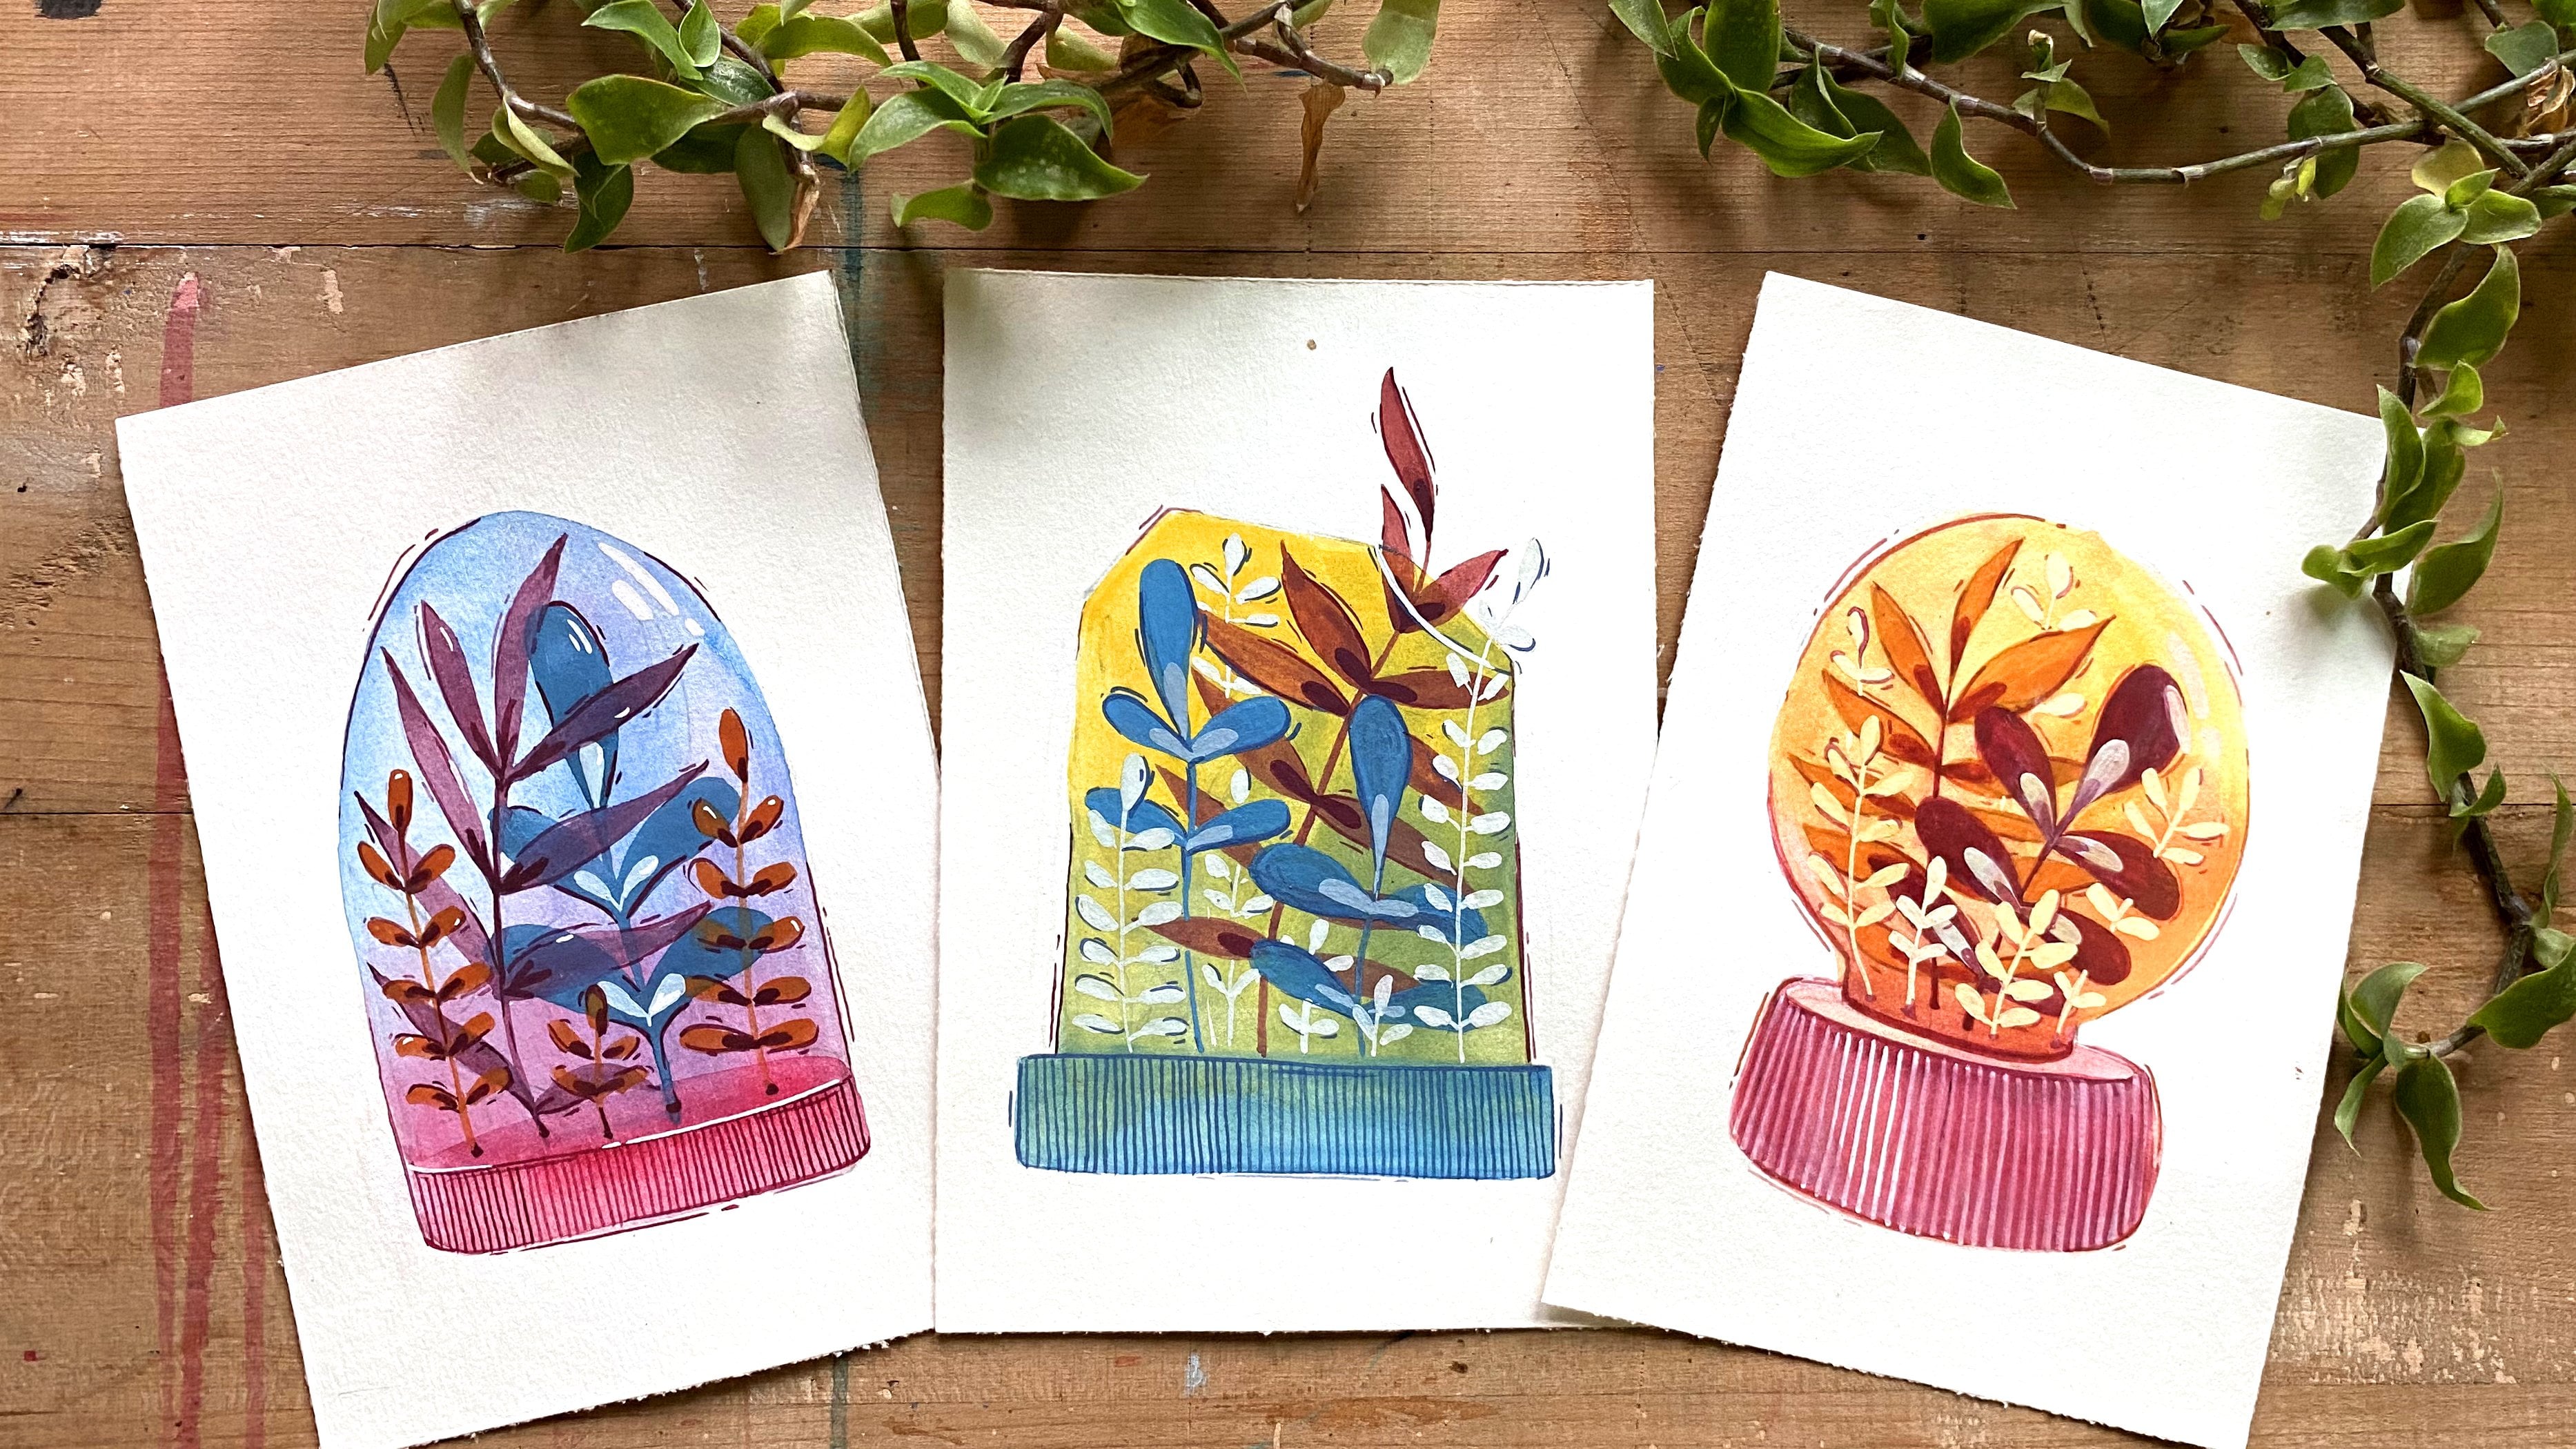
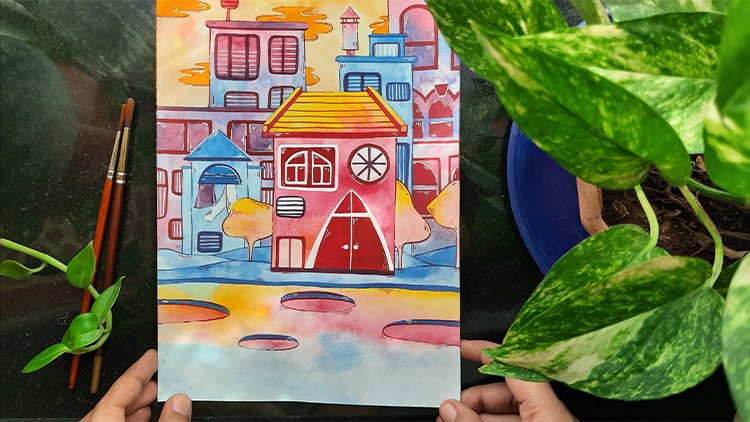
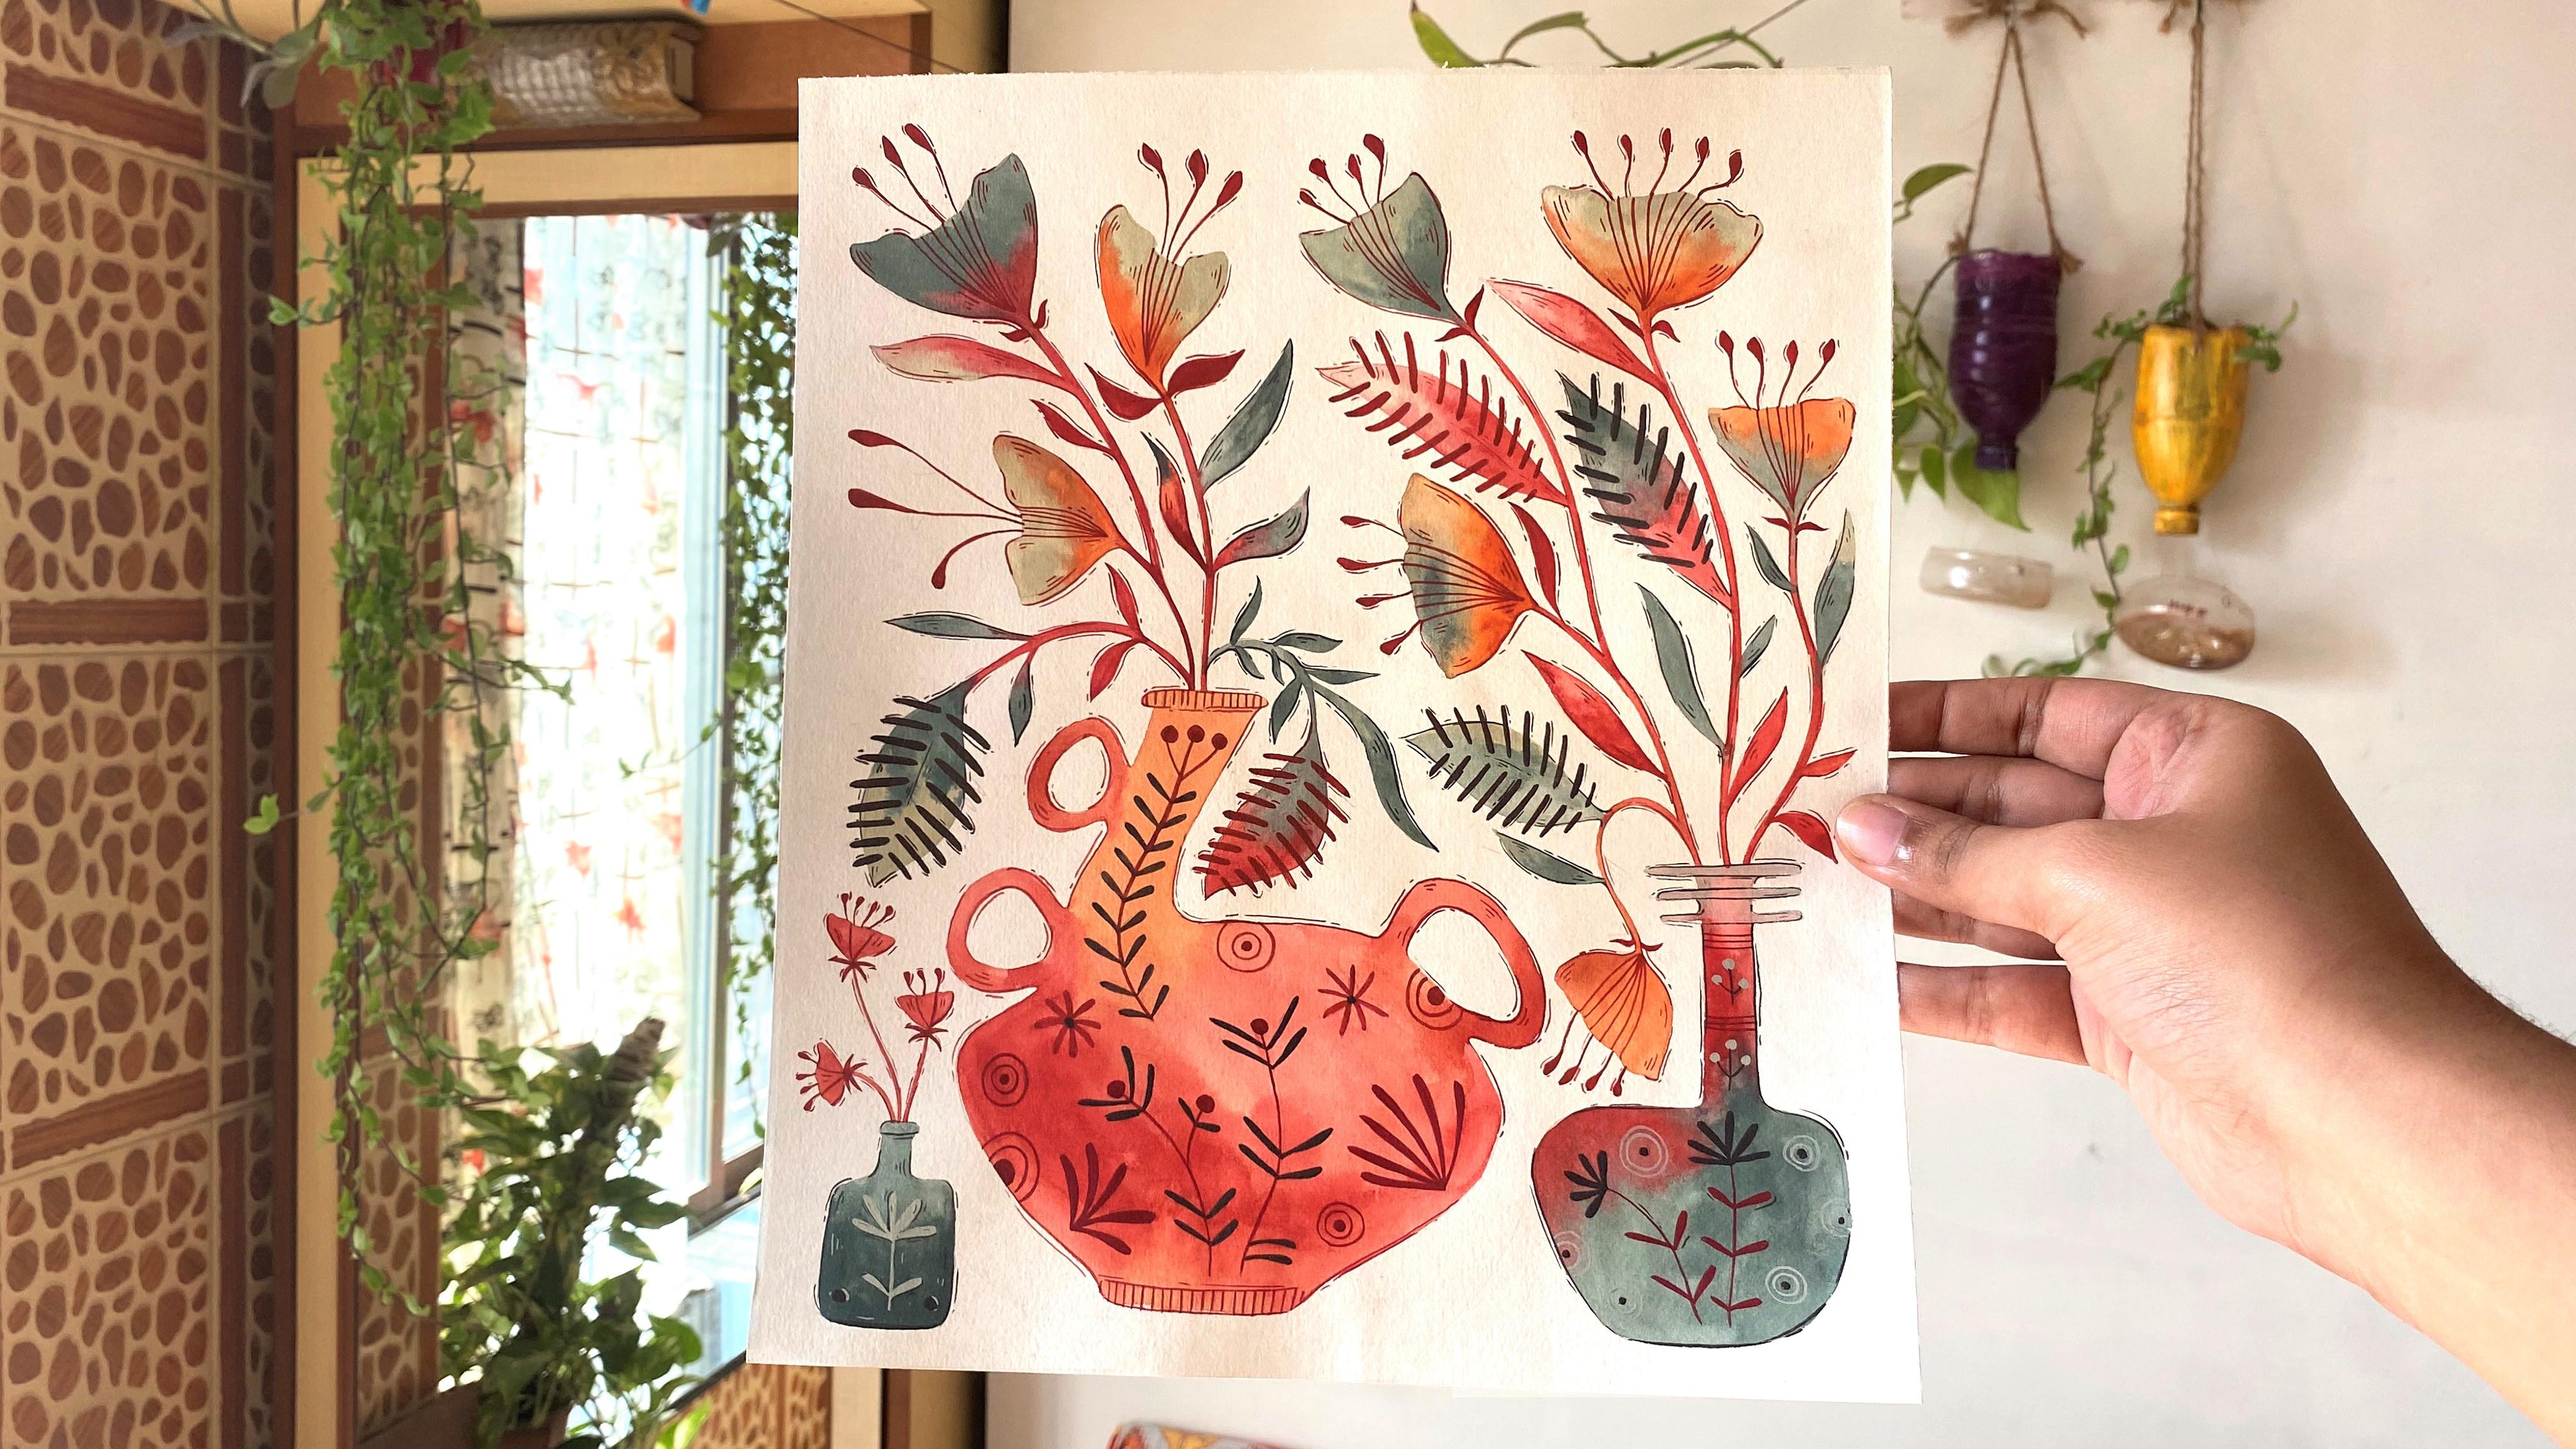
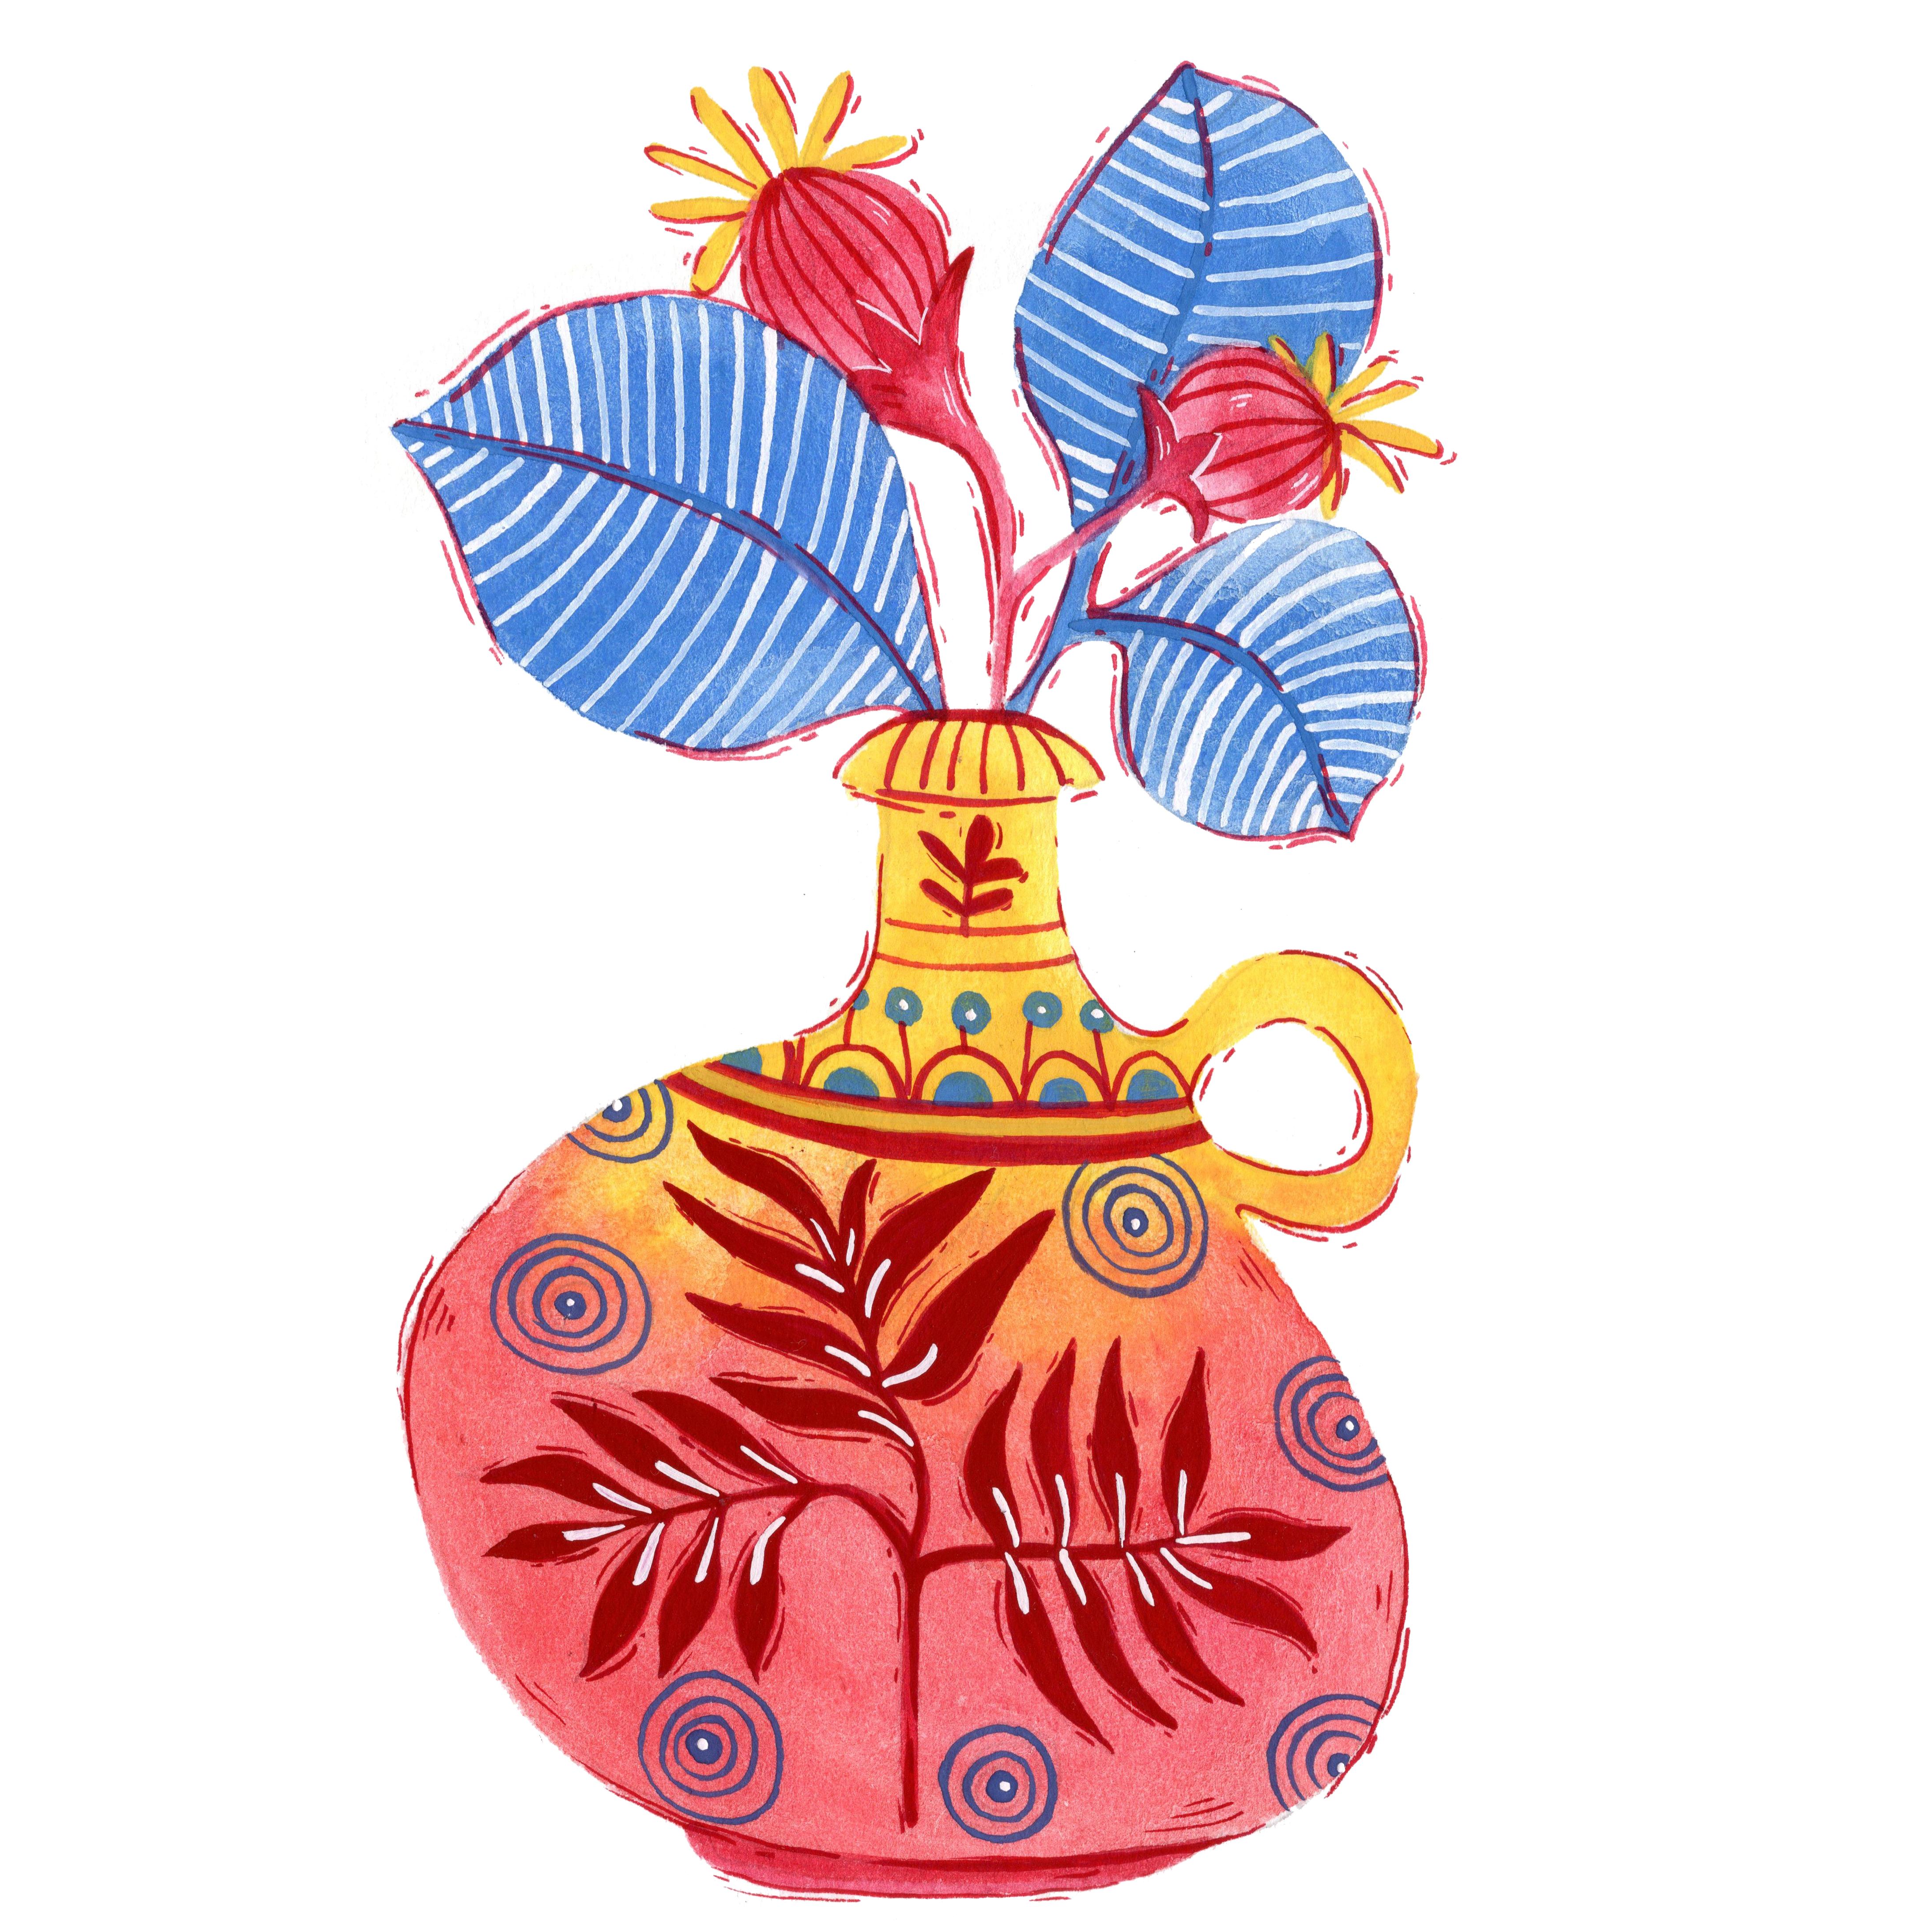
Modern Folk Art Illustration : Drawing and Painting Decorative pots!
 WindowsOfMyMind
Watch this class and thousands more
Watch this class and thousands more
Lessons in This Class
-
-
1.
Introduction
1:21
-
2.
Sketching pots and designs
8:57
-
3.
Decorating pots
7:52
-
4.
Painting single pots
8:54
-
5.
Final painting
11:48
-
6.
Some examples!
1:37
-
-
- --
- Beginner level
- Intermediate level
- Advanced level
- All levels
Community Generated
The level is determined by a majority opinion of students who have reviewed this class. The teacher's recommendation is shown until at least 5 student responses are collected.
374
Students
6
Projects
About This Class
Hello!
In this class, you'll get to learn to make Modern folk art paintings with decorative pots!
- We will first do some sketching of pots along with some designs to go on them.
- Then by combining the sketches, we can make as many beautiful decorative pots as we want!
- I will show my way of painting by coloring two pots.
- I have also included a process of a complete painting.
- At the end, I will show some similar examples of my previous paintings for inspiration.
See you in the class :)
Meet Your Teacher

Hello! I am Utpreksha.
I am a Fine art graduate in drawing and painting. I like to handle different mediums and experiment with them to find various techniques that create interesting visuals. I love to use watercolors the most as it is lovely to work with their flow. I believe art should be created with a free mind which is why I work with spontaneity. I would love to teach various techniques of using colors to students and help them create their unique artworks!
I believe that artwork always turns out to be satisfying when we enjoy the process of creating. :)
See full profileHands-on Class Project
As a class project :
- Make many sketches of pots and floral + geometrical designs.
- Make individual paintings of pots if you'd like.
- Make a final painting using the drawn decorated pots.
You can make use of the coloring pages I have provided in the class and color them with your choice of medium :)
Have lots of fun painting!!


Class Ratings
Why Join Skillshare?
Take award-winning Skillshare Original Classes
Each class has short lessons, hands-on projects
Your membership supports Skillshare teachers
Learn From Anywhere
Take classes on the go with the Skillshare app. Stream or download to watch on the plane, the subway, or wherever you learn best.