Transcripts
1. Introduction: we all sincere surroundings, whether their natural or manmade as they are, even though we can't alter the reality we see in front off us, our imagination lets us do that in our mind, and art is the way to present the imagination in a visual form. We will try doing something like that in today's class, although the result would be very dramatic but settled. Hi, I'm a picture, and in this class I will show you some metres to make the landscapes off your own. As every elemental selected consciously, we've been gathered references from our experiences or from the intended. Then we will create personalized different sheets off forms which can be used any time in the future. Using our differences, we will create forms, off buildings and sketched landscapes. Then we will make a painting by selecting one off our sketches. You won't need any special materials for the class Use. The normally required Matej is like pencils or pens for drawing and use any medium off your choice to make the painting you can use. Gosh as well as I would be giving some tips on using them in this class. And then I'm sure you. Some movement previously done examples. So stay with me till the end. I am sure you love what you will create.
2. Gathering references: to create forms to call them our own. We require some inspiration or a point of reference. Creativity requires base without which we feel lost. So to create our own forms, let's gather some references. The best source off inspiration is nature and life sketching. If you're unable to go out, you can just sit in your window and draw the buildings or nature you see outside. Collect does sketches as your references for this class. Another way off. Incorporating your own experiences is to look through your image gallery and see whether you have any urban photographs or photos, including even a single building. Just make a separate folder off these images. The other way is off course. The Internet source for specific type off buildings like stores, churches, cathedrals, residential buildings, temples. Or you can source back country. You can use Google or Pinterest both freezer fine. On Pinterest, you can create separate boards, and if you use Google images now, not the images on your computer for ease. If you search the buildings by country, I feel it gives more variety in your book. And don't worry, we're just going to use some parts port image in a rat book. We are not going to copy it as it is. While selecting images on the Web. Look forward I d. In the overall shape off the building. It does not that difficult to find as there are so many beautiful images on Pinterest. Then you were warned some different types off windows and doors as a reference as our direction off this class is to create decorative and colorful urban landscapes. If you find pictures where there are only windows or doors, there is no need to create a separate board. There is this another awesome feature on Pinterest, where you can create sections in a single board. To do that, click on the plus sign inside, aboard and select section. You can add the images by selecting them just to organize things. I recommend you together at least 20 images doing this will bring write in your book, so create your own board on Pinterest, or you can visit mine for inspiration or create an inspiration folder on your computer. Andi, get ready as we're going to start sketching in the next lesson.
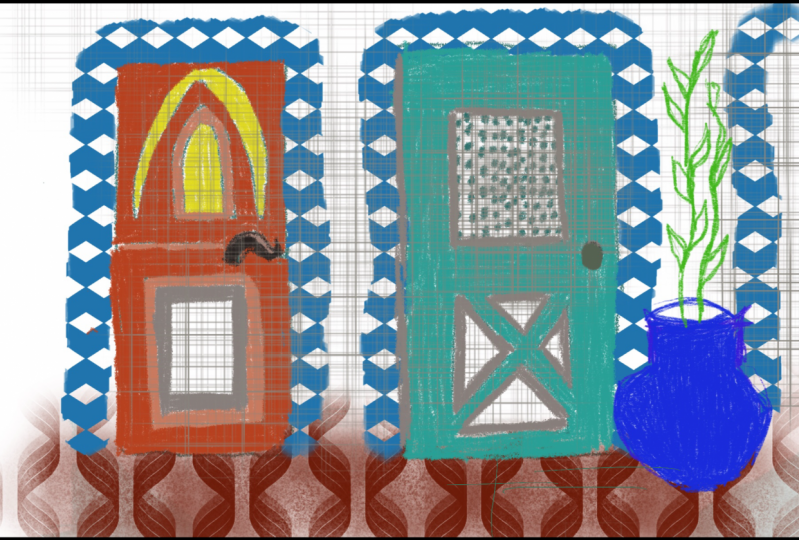
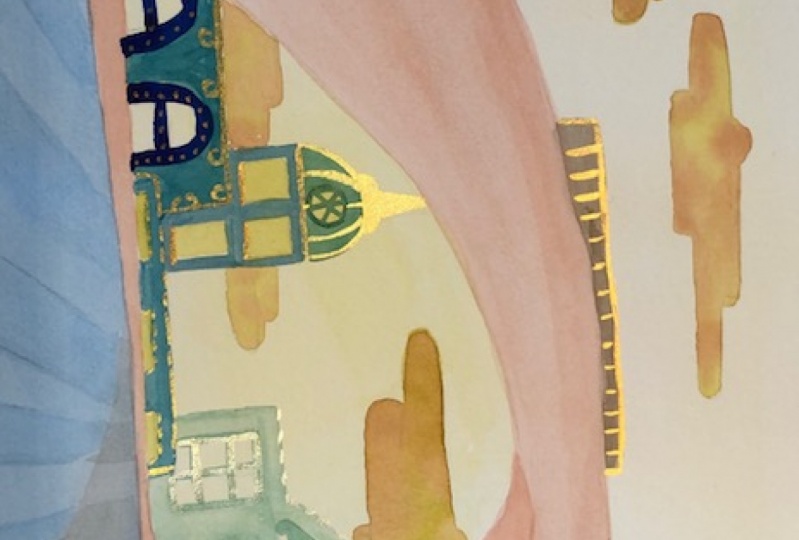
3. Sketching windows and doors: we have gathered all the required materials and references. Let's see what makes the form off a building look attractive. It is off course, the basic shape off that building and windows and doors. We will look at the basic shape off the building while creating them in the next lesson. But for now, let's focus on different types and styles off windows and doors. You don't have to divide the process in the sections I am teaching. Instead, you can directly draw the buildings from references. The process, I am suggesting, will take your drawings one step further and will make them your own. It will force you to find interest in the visuals you see. We will create reference shares for windows and doors. In this step, these sheets will be your personal reference point. Making them will help you in the next steps, and you can create as many building forms as you want by just making one sheet for each form. Divide your page in sections and let's start drawing windows. There are so many shapes, sizes and decorations for the windows. Find the images off window separately or source for them on buildings. One type of building will have specific type of windows. For example, Mogul architecture has many called lines and circular shapes. It also has pillars. The riding to windows don't just have wide and longer windows as villas. Round ones. Residential windows are normally rectangular and simpler, but there are off course exceptions. Draw your favorite ones on a page, and you can always keep on adding more on the pages as you've allowed. Train your eyes to find these beautiful shapes Whenever you see a building. Another tip I can give you is to simplify the sheeps. Find the most basic shape off the window. It can be square rectangle, will or circle, then look at the modifications off that ship. Then finally, find the elements that appeal you the most. The windows are simpler in many cases, but in some cases there are a lot off decorations. Let's keep on drawing these windows on one page. - After I'm done with the drawings, I like to draw over it with a pen toe, make it permanent on to make it look neater. I u 0.2 or 0.3 number find liners to draw like in the sketch by ruling a needed it is over it. Or use a normally razor very lightly over the drawings. Try to draw continuous confident lines to make your shoes look neater. For for the references, you can check out my other class off drawing and painting fish, where I've made a video about drawing exercises and provided a pdf for it. I have talked about the importance off drawing continues lines. You don't need to consciously think about drawing a straight line all the time, but enough practice will help you to keep your towards clearer. - Here is the final personalized dreadful sheet off windows in the same V. I even started a second sheet off windows. Later, I find it very addictive toe make reference sheets and, of course, helpful in later drawing sessions. Then make sure soft doors in the same V. There are a lot off images on the Internet to help you find inspiration. Gather all these materials you have made for yourself and get ready because we're going to create buildings next. That is the most fun part off all. I will see you in the next listen
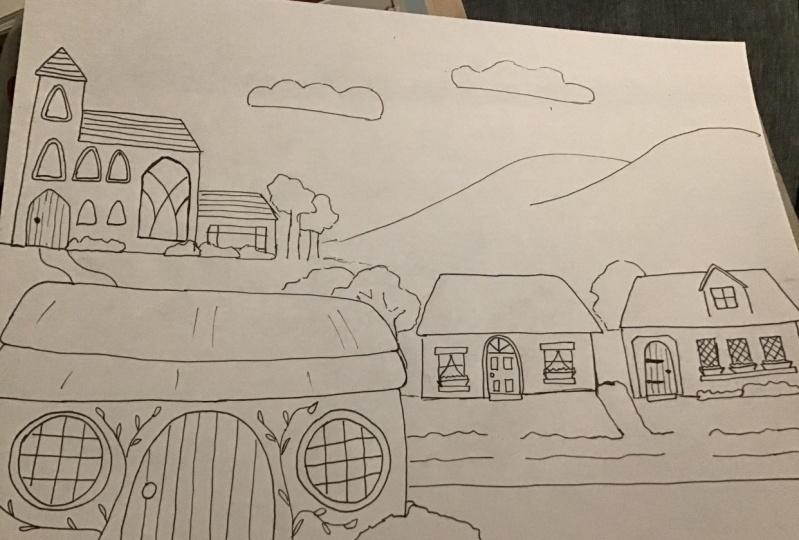
4. Creating buildings: let's start creating our buildings. What I mean by creating is being inspired by our experiences looking through our memories, captured in photographs and getting inspired by others experiences and memories by looking at the images on the Internet because, as we have discussed earlier creation happens with inspiration. Here you can think about the next step, which is to draw a landscape and draw specific buildings for the view. Let's see you haven't idea in mind to draw a beach sense it seen for that. You can search for the images off the buildings near the sea or literally on the beach, and take reference off that. Or you can just draw for fun and explore and see what happens. I'm going to walk in this way here. Let's see what we can create and so processes. And later, at the time of drawing landscapes, we can think about giving a surrounding to the building. - Look for the basic shapes that attract you. Don't look at much details in this step. Just try to look at the draw metrical shapes that has made that building Ask yourself whether you want to walk with squares and rectangles or triangles or at dome shapes to our buildings, choose one image and draw the sheep with simplified lines The way I'm doing here. Once you're done with that, keep the reference sheets in front off you through the windows and doors that you think will suit the shape the most or simply choose your favorites. You will get better at this. With practice. You will understand what shapes work together and which don't. You will even find the shapes that you want to include in every drawing you do, and that is not bad or limiting in any way. I used to think that I'm not creative enough if I draw the same thing again and again. I looked at it as I'm stuck in some place. I constantly thought off friending something new every time a draw. If I drop plants and fish one day the next day, my mind used to comment, saying, You did this yesterday find something new. It used to happen every day, and I actually used to listen to that thought. Although it is good to explore and experiment but constantly, trying to find new things and tossing your previous ideas is rejecting your thoughts and yourself. You can draw the same thing every day to explore and understand a lot about art and yourself through repetition. A lot of great artists have done that. It took me a while to understand this. Repeating our old ideas, continuing with some and dropping some along the way, which don't thought us with the thought process we have at that time is, I think, how we should approach creativity on experimenting with new techniques and ideas from time to time will help us to keep her art look fresh now one. Combining the shapes, windows and doors as you will go on drawing, you will find combining shapes and creating forms easier. Here are some more drawings I practiced. You can even draw the buildings without looking at the references. Practice, drawing well, enjoying it to the extent where you won't require anything in front off you. You will have required information downloaded in your mind, which you will use when needed. You will just have to refresh the space from time to time with more practice. The smaller drawings you see now were made without reference just by repeating the previous information in the next step. We're going to add some more details on our buildings. The details will give extra information about the place we are creating on. These elements will help us generating a story. It will make us story more interesting. I like to wear hanging clothes outside the windows or pipes on the buildings or different types off. Antoninus, you canal staircase curtains. Clantons drove all decorations or our plants. I think you will find more extra elements which will suit your drawings. These small decisions make our are unique in the next listen, reveal sketch some landscape ideas for our final painting.
5. Sketching urban landscapes: he only are on the final stage of sketching reveal tools from the buildings we have created in the last lesson on give it a background or an environment. You have the ability to create your own Volt here by choosing the surrounding elements and later with colors. First question you would want to ask yourself is, Which place, Um, a drawing your Is it really or imaginary will be based on a reference image, Or will I be grabbing different elements from here and there to make it my own? Does this place have more than three buildings in one dream, like a city, or is it a place best for vacation with only one or maximum off two buildings? If I'm going to show nature in my book, how can I mean the whole image look cohesive? You might want to make her own three or cloud forms to fit your picture. Another tip I can give you is to consider the place in the landscape. There are three grounds, foreground middle ground and background. Your main building will probably be on the middle ground. Other buildings will be in the background and can be in the front as well, Depending on the view you choose. Other elements, which we will discuss later, will lay in every ground to keep the visual balanced. And there are other sub levels in each layer to which depend upon how complicated or simple landscape you want to create my favorite limits to draw in the surrounding our trees, plants and bushes. For sure, I make sure to include at least one plant in the picture because I liked the sense off life . It brings some other elements, which I like to include our mountains, clouds, bores, sponsor stones, all street lamps to show a more urban look, then sometimes fences like you see your you can draw rules better without vehicles, and I'm sure you will come up with your own ideas off elements toe include in your backgrounds. - Have fun creating her places, our whole personal goal on I will see you in the next lesson where we will discuss about color
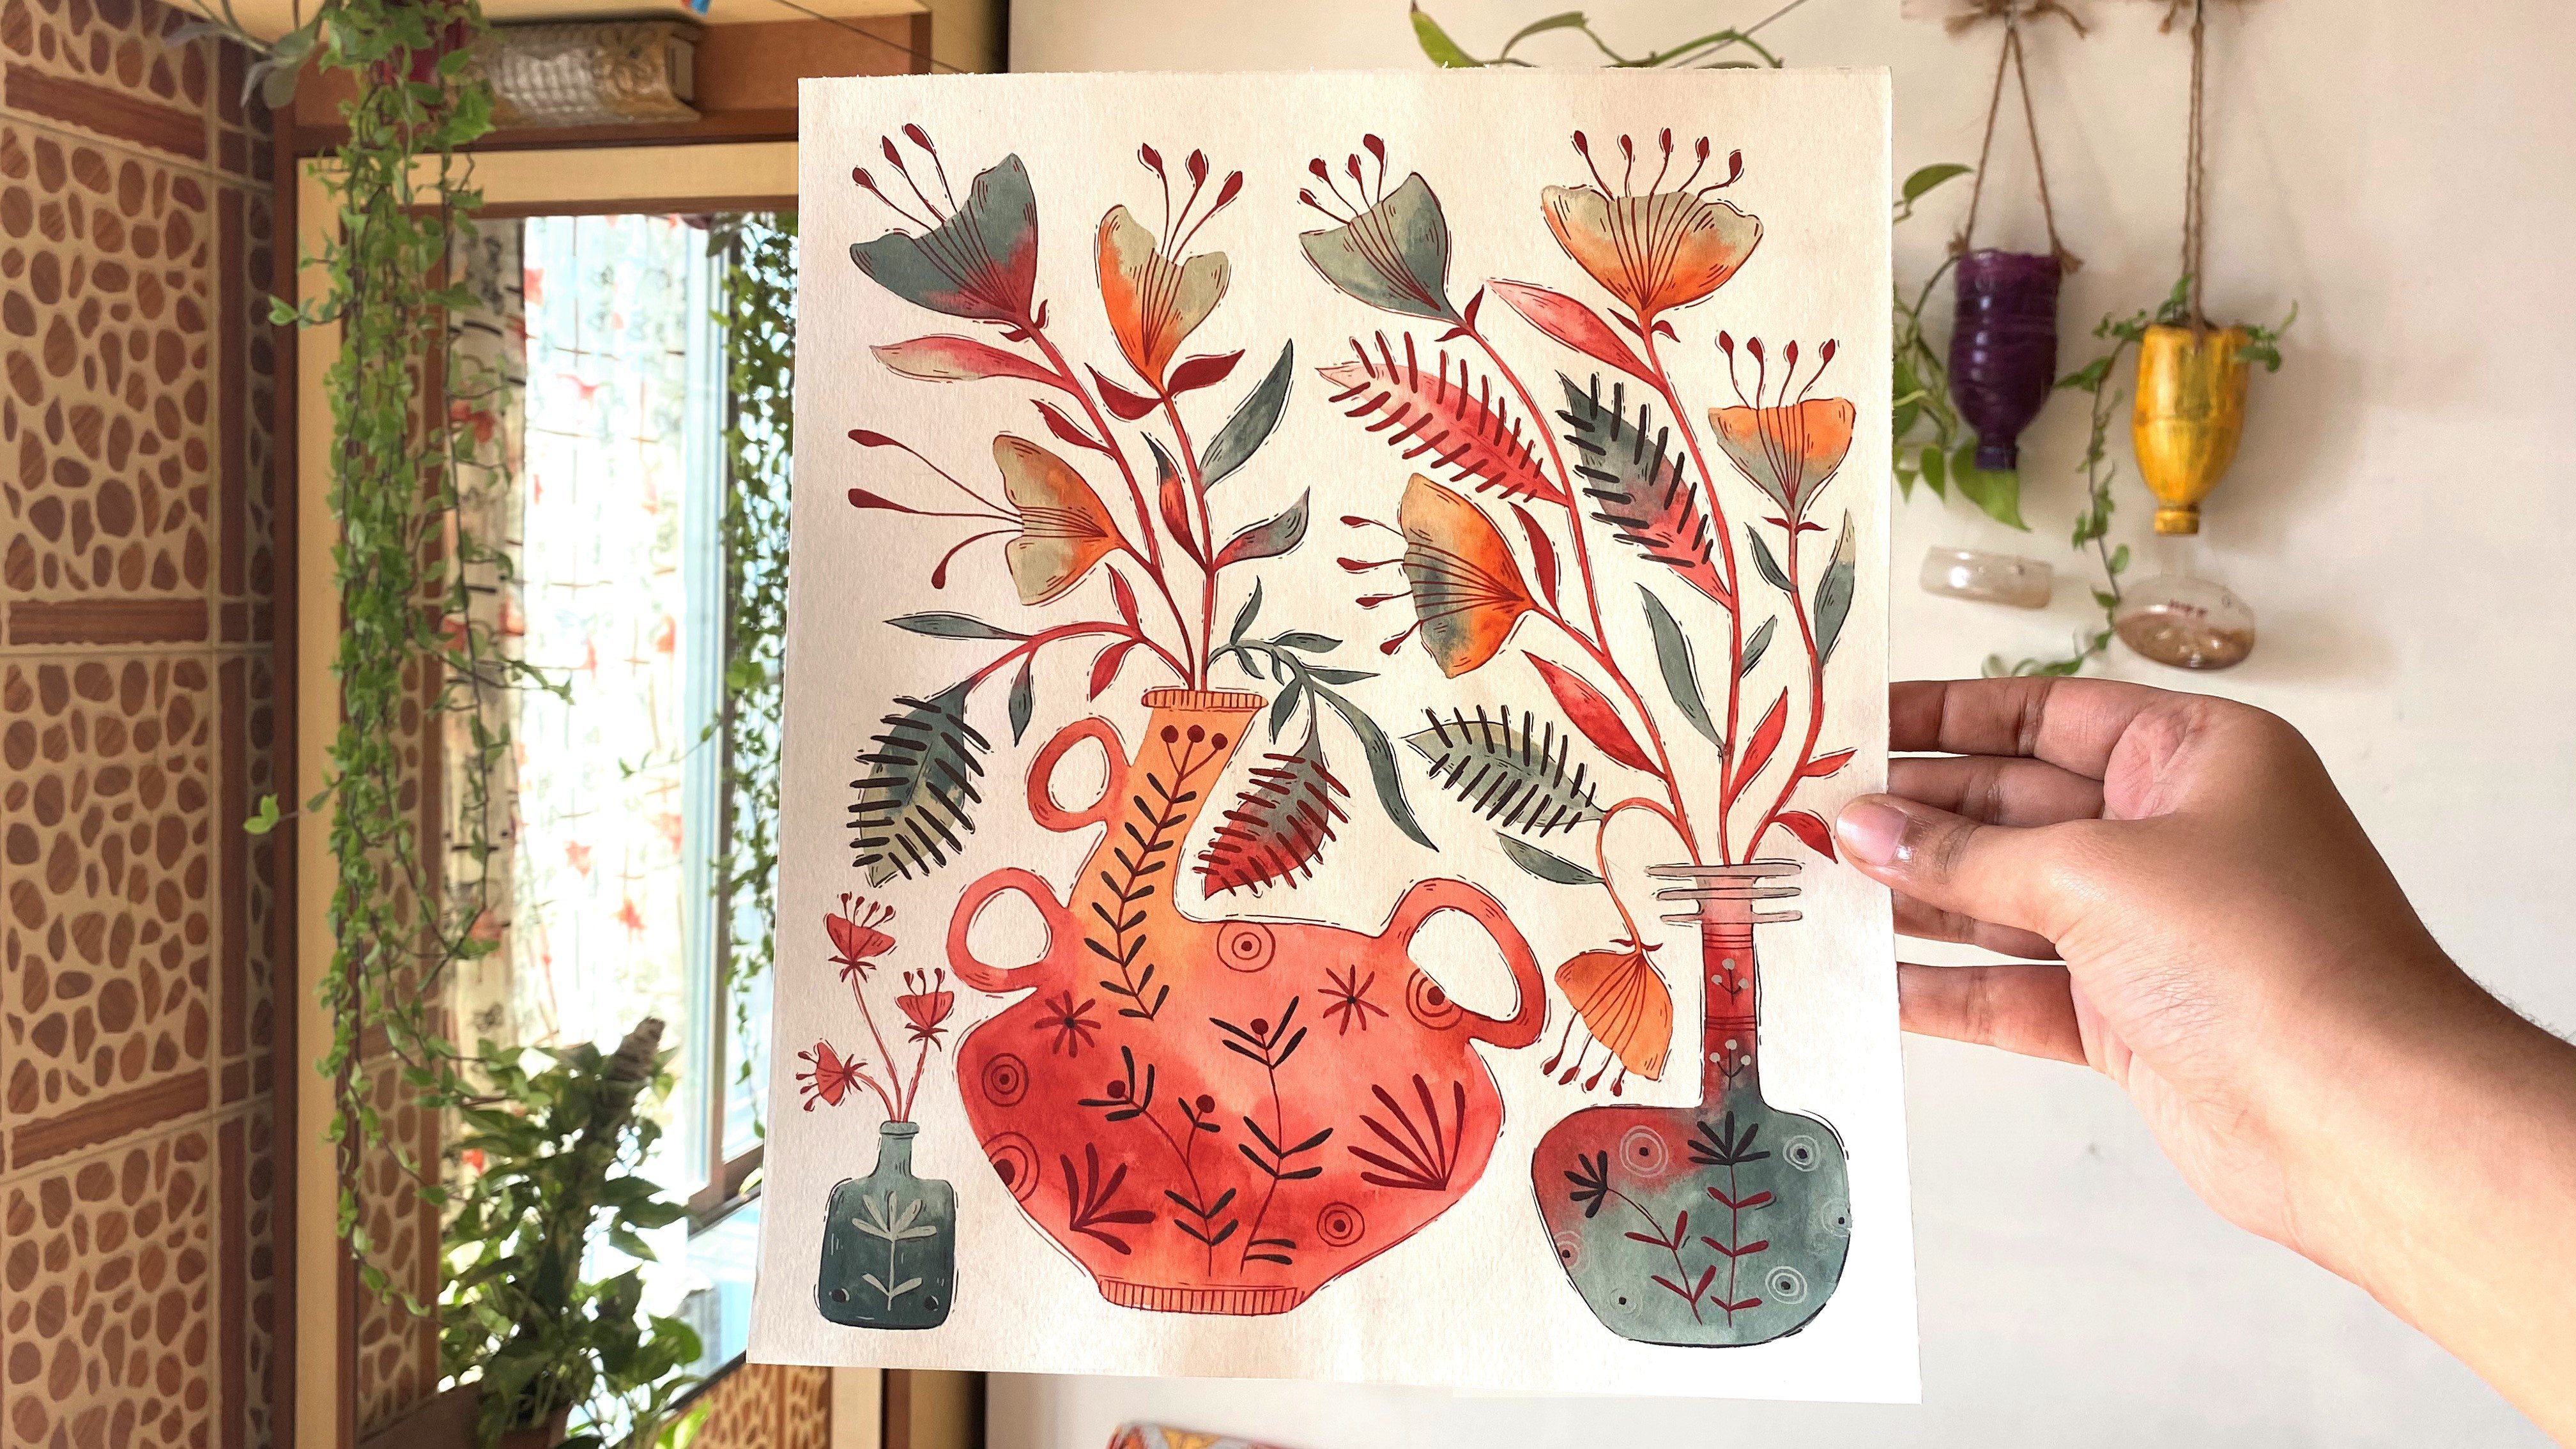
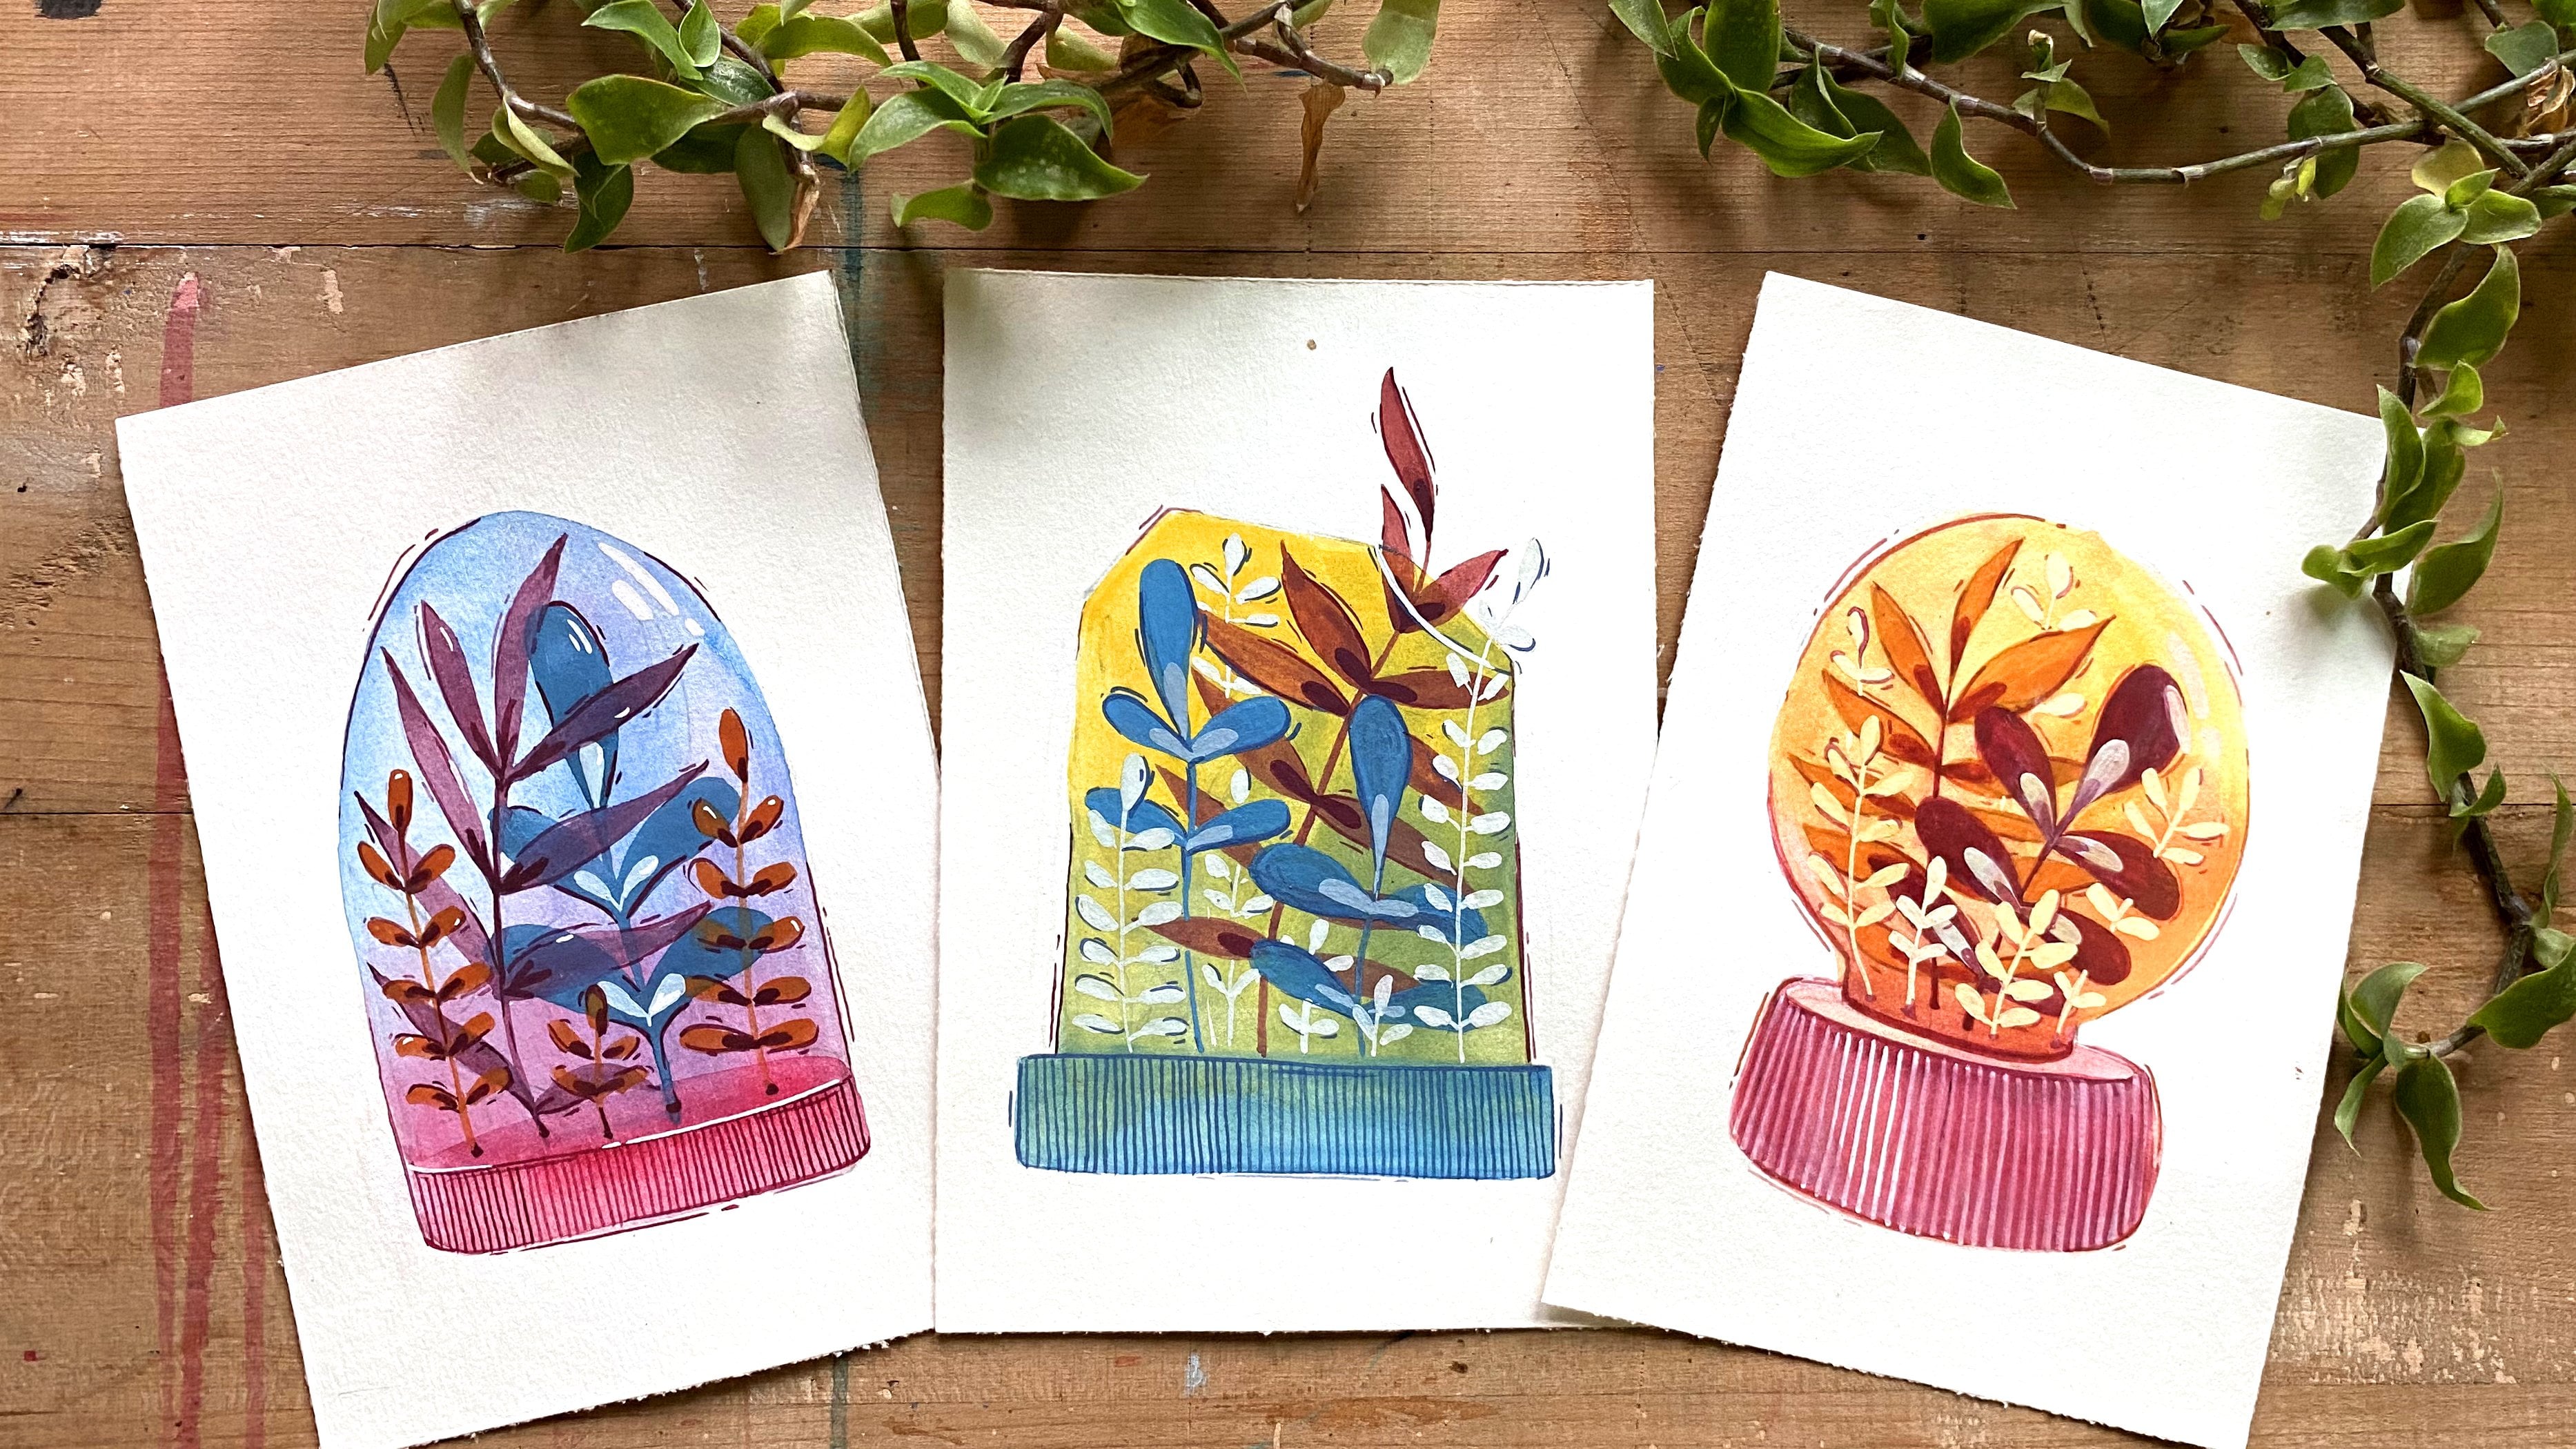
6. Choosing color schemes: spent some time playing with colors on experiment by mixing any two colors together or experiment with opacity and transparency to see what you like and dislike. If you are a beginner, I will recommend you to start with only three primary colors forced. Experimenting with them will make you understand the color. Terry better. Then you can slowly introduce where it is off use. Let's look at the color will to understand the terms and color schemes. The U is a base off any color. For example, in cerulean blue, ultramarine blue Khobar blue and pressure in Blue blue is the common you, then the primary colors red, yellow and blue, which cannot be created on are naturally found pigments. Secondary colors are made by mixing two primary colors. Socially. Colors are what lay between one primary on the Addison secondary. Complementary colors are to opposers to each other. They're chroma, or intensity or purity is lost when mixed with each other. Then there are cool and warm colors. We get them by dividing the color will in half. Think about ocean, which has a calming feeling to remember cool colors and think about sun or fire, which has warmed to remember warm colors. The animal August color scheme is any three adjacent colors on a colorfully. It is easy to get a cohesive look in your painting without much effort. By using this color scheme, it is because that is one common you in all three colors. It is easy to set a mood in a painting. There are many color schemes you can find based on the color wheel. You can explore further to find one. To suit your painting I will be using goes to make my painting. Here. You can choose any medium off your choice. Color theory and understanding is same with every medium. It is just a technique that changes. Try giving or pig and water river washes off color. You will only need water to make the paint lighter if you are giving watery washes, but to use it opaque used fight and one other color toe. Get radiation intense. For example, if you're using view mixed tiny amount off your low along with right on to make the blue darker, add red in it. I won't recommend using black because Black Marie's the color another darker color. Keep the shade fresh then here I'm mixing two primary colors to see the type of secondary color. Arrogate makes different year lows with same view. To see the type of greens you get forced, I mixed Go barb, you with media low on media low being a formula which has a bit off red in it. The resulting green is not that brighter compared to the mixture off cobalt blue and lemon yellow. Same yellows were then mixed with crimson dread to see the resulting orange color. Next, I painted complementary colors next to each other to see the effect. At the end, I'm mixed. All three primary colors together, which gives gray or black types off grease, are also important in a painting which values the bright colors. We can establish a focus by using them in the next lesson will color the final painting
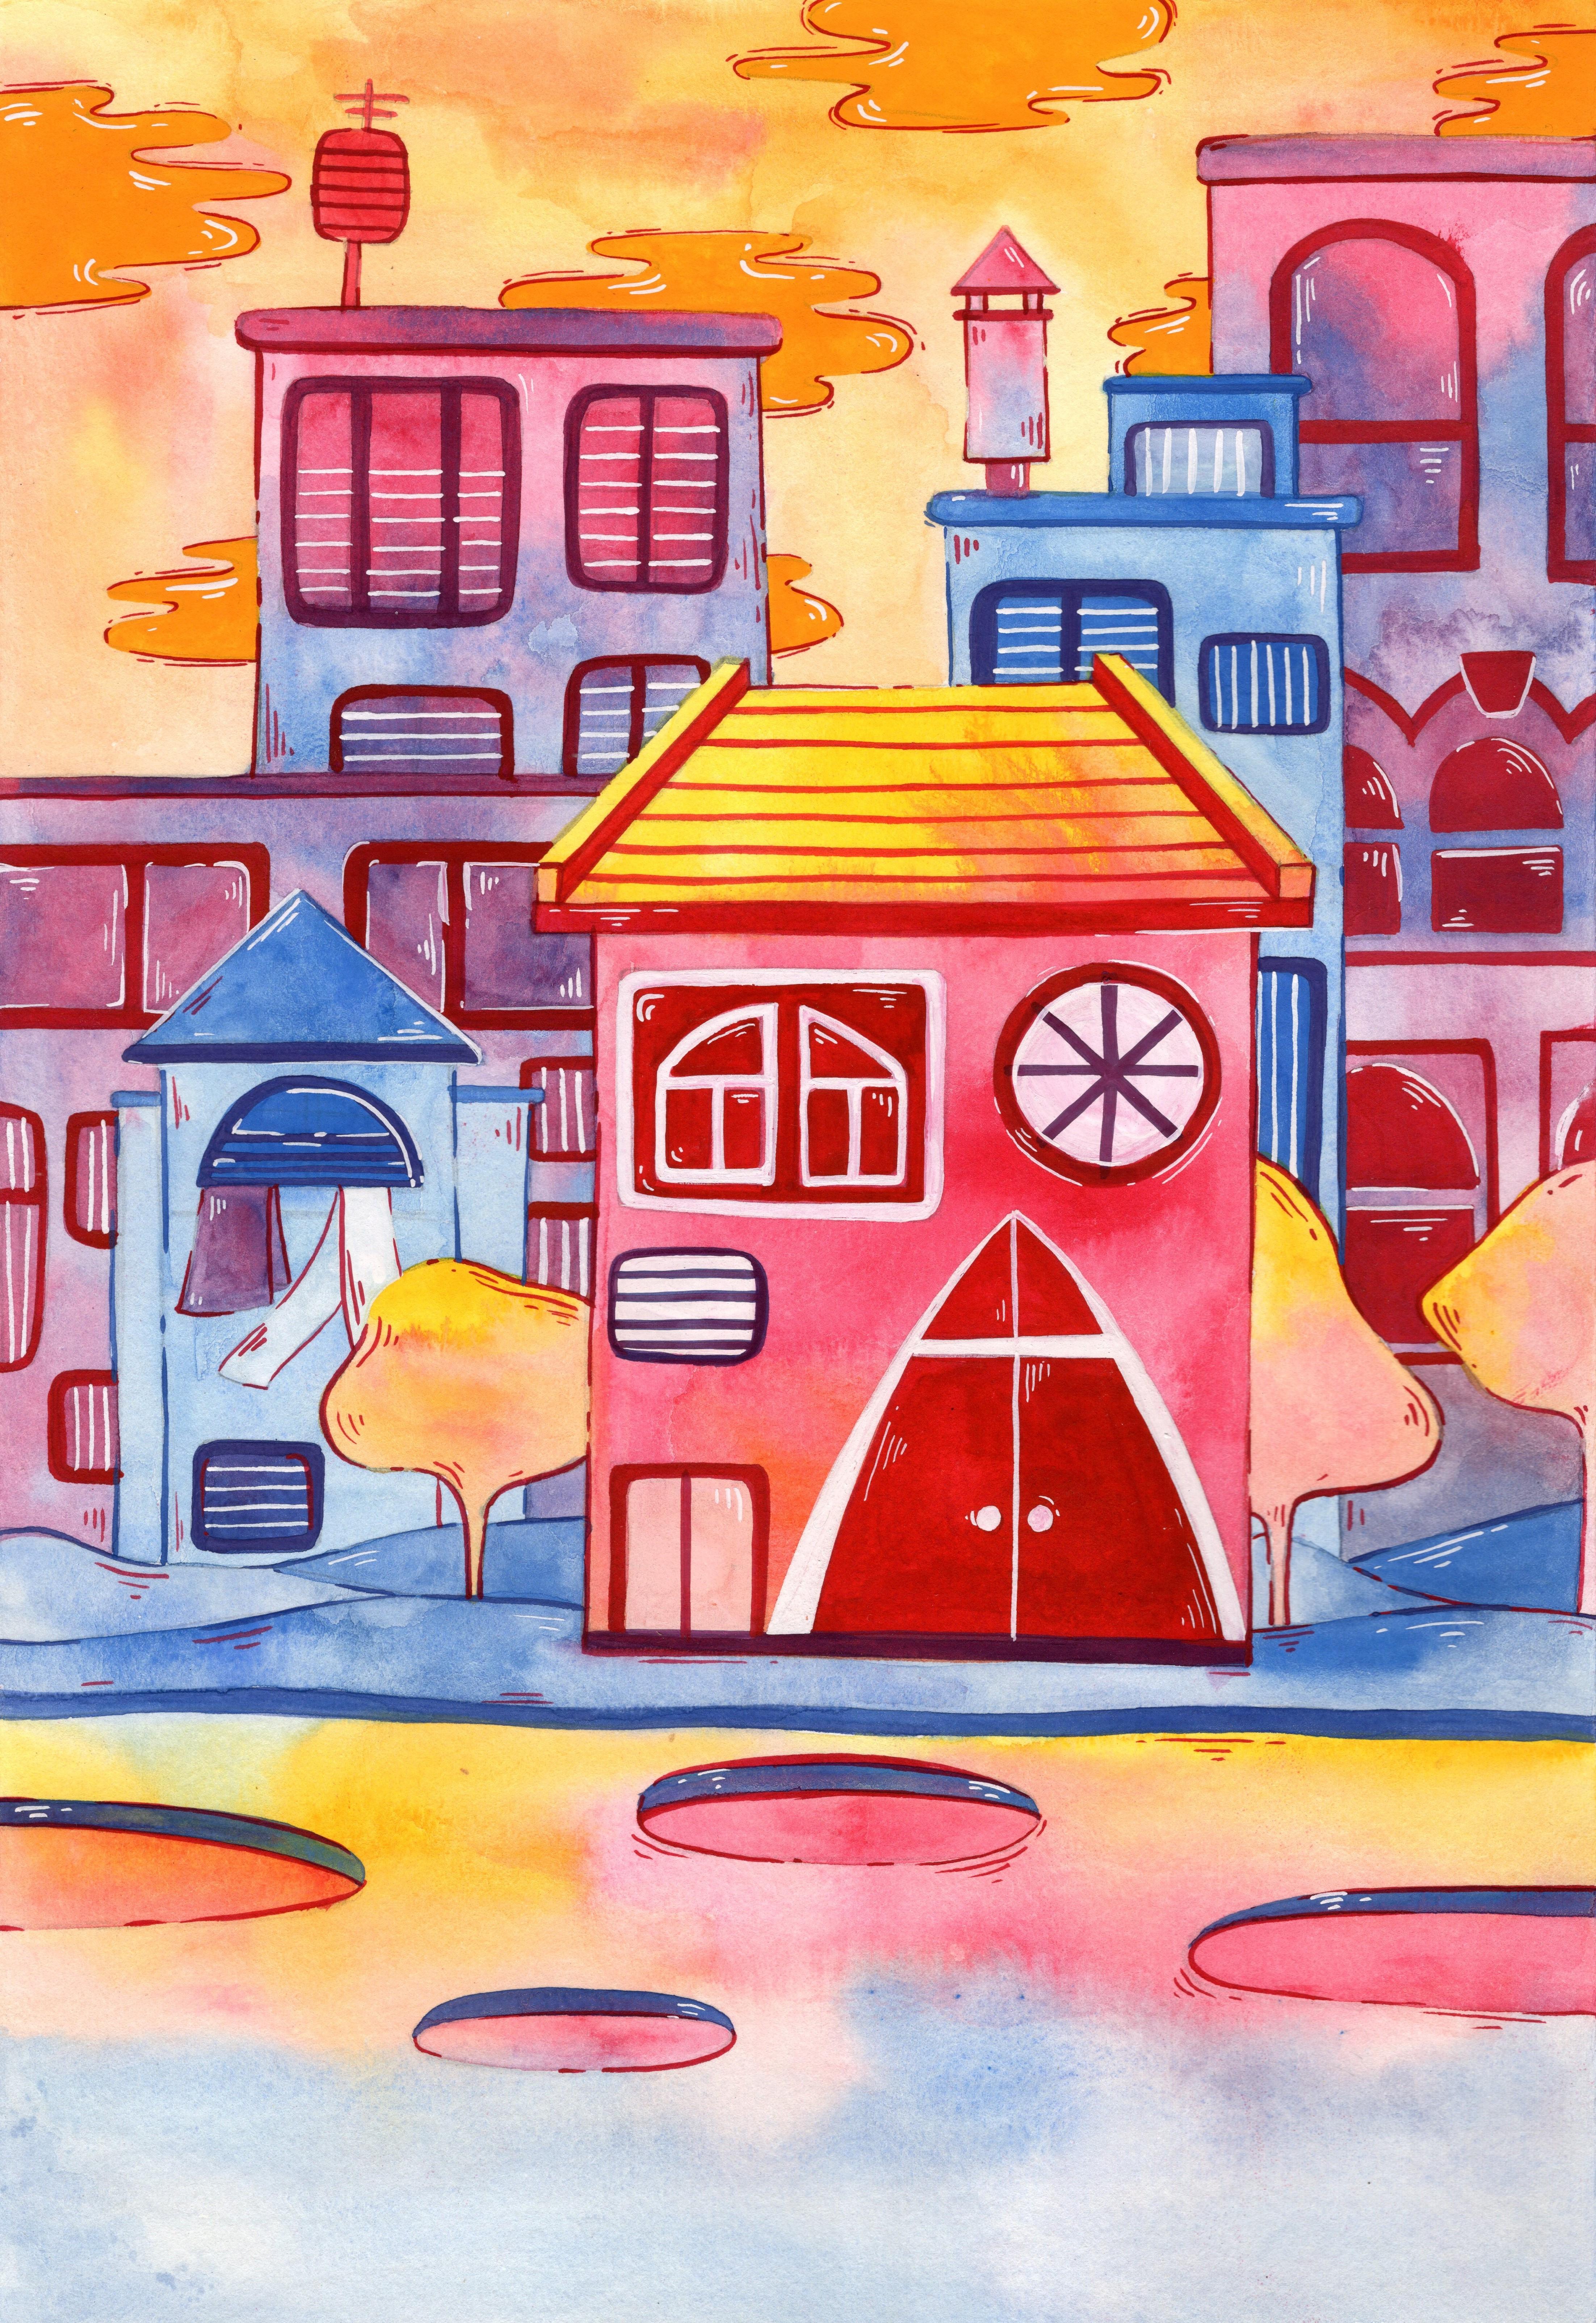
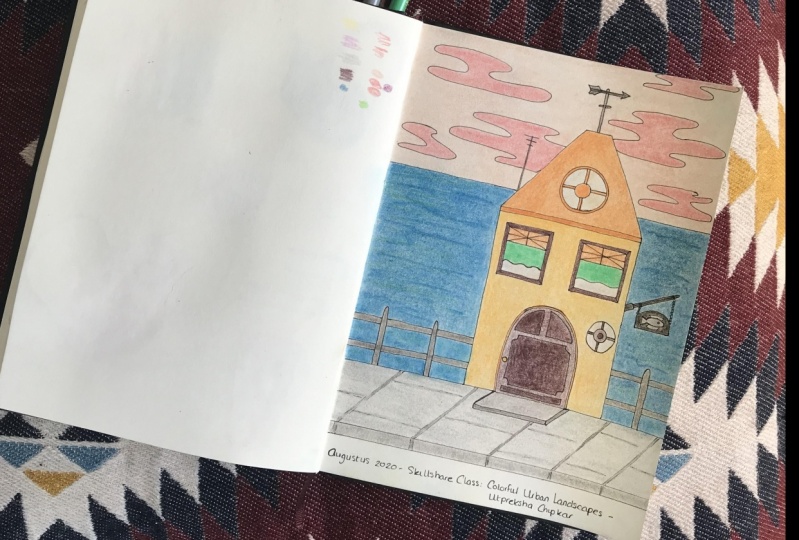
7. Painting: I've selected this sketch for the painting, and I've drawn it on the fair paper. I also developed the sketch while doing the fair drawing. You can draw it separately on a sketching paper and later trees on the fair sheet. One thing to keep in mind while drawing directly on the final paper is not to use eraser much as it damages the grain of the paper and the natural texture of the paper is lost. Colors don't perform on such paper. I've selected these colors for the painting. The brighter warm colors will be used to establish the focus on Southern Point. And cool colors will be used in the background, the short distance. Let's start with the forest layered or forgery Bush. I like to paint every form with a transparent Walsh to block the colors and set an overall mood of the painting. Next steps get easier for me by doing this initial step. I started with the main building, which is my focal point. The colors mix so that they remain fresh. Freshness or brightness when mixed in the painting. I didn't continue giving transparent washes to buildings. These washes don't have much texture to them. As our main building would have lost importance. I give to them. Then this guy with this audience. It balanced the visual data mean building. Keeping the design principles in mind, heads in making the composition look good. In the overall mix, blue and yellow, which would have given me my opinion, wouldn't have fixed in the color scheme and the overall mood of the painting would have lost. I Volk over it once everything dries. I used to work on it using the same shape as the underling. I also used to bring variation and brightness. Here, I'm using a thin down breath for detailing. I like the laboured wing tip and transparent layers. If you use transparent colors or any kind of layering, considered the layer beneath it as it affects the new layer. For instance, if I'm giving a red color overview and bottle a bit transparent, that result will appear purple. In this second, attempting to lag windows. And the last step is for detailing. So then the composition looks busy. Here is the completed painting. Our desert process. We learned some things in one painting. We like some of our decisions and we dislike some. We learn from our mistakes and avoid them in the new painting, as well as make corrections in it. In the next video, I will show you some of my previously done examples for inspiration.
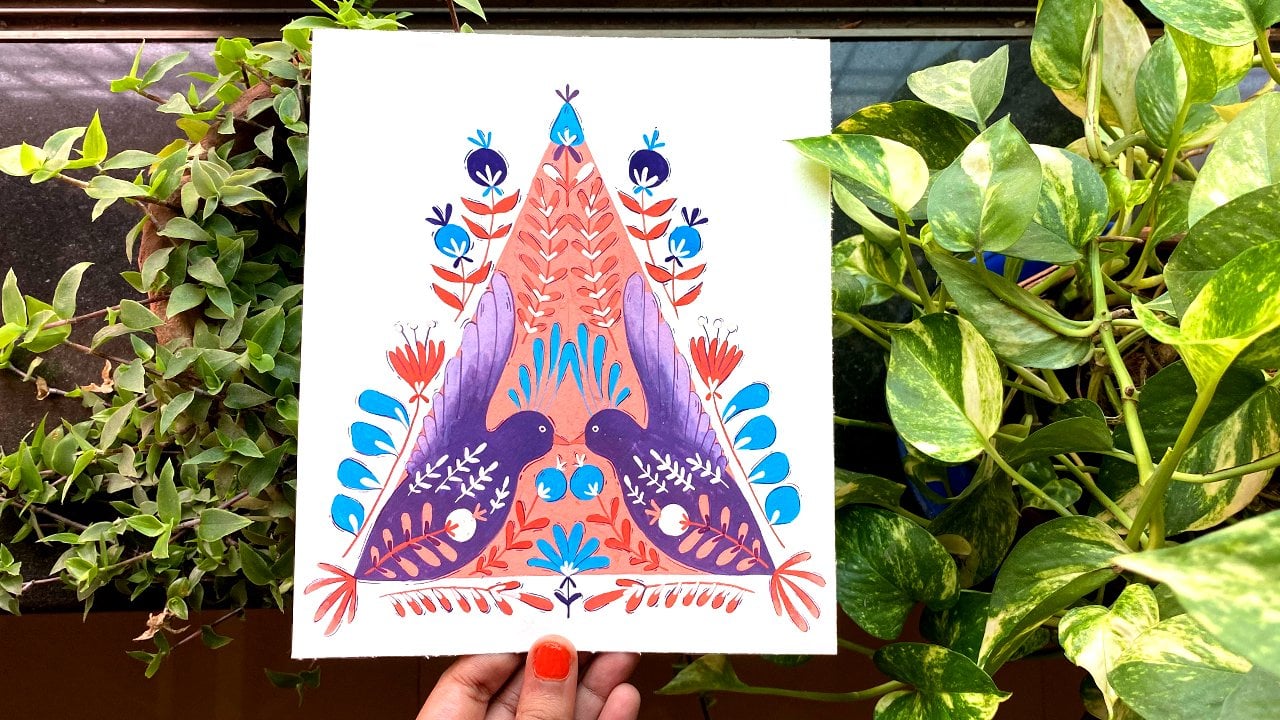
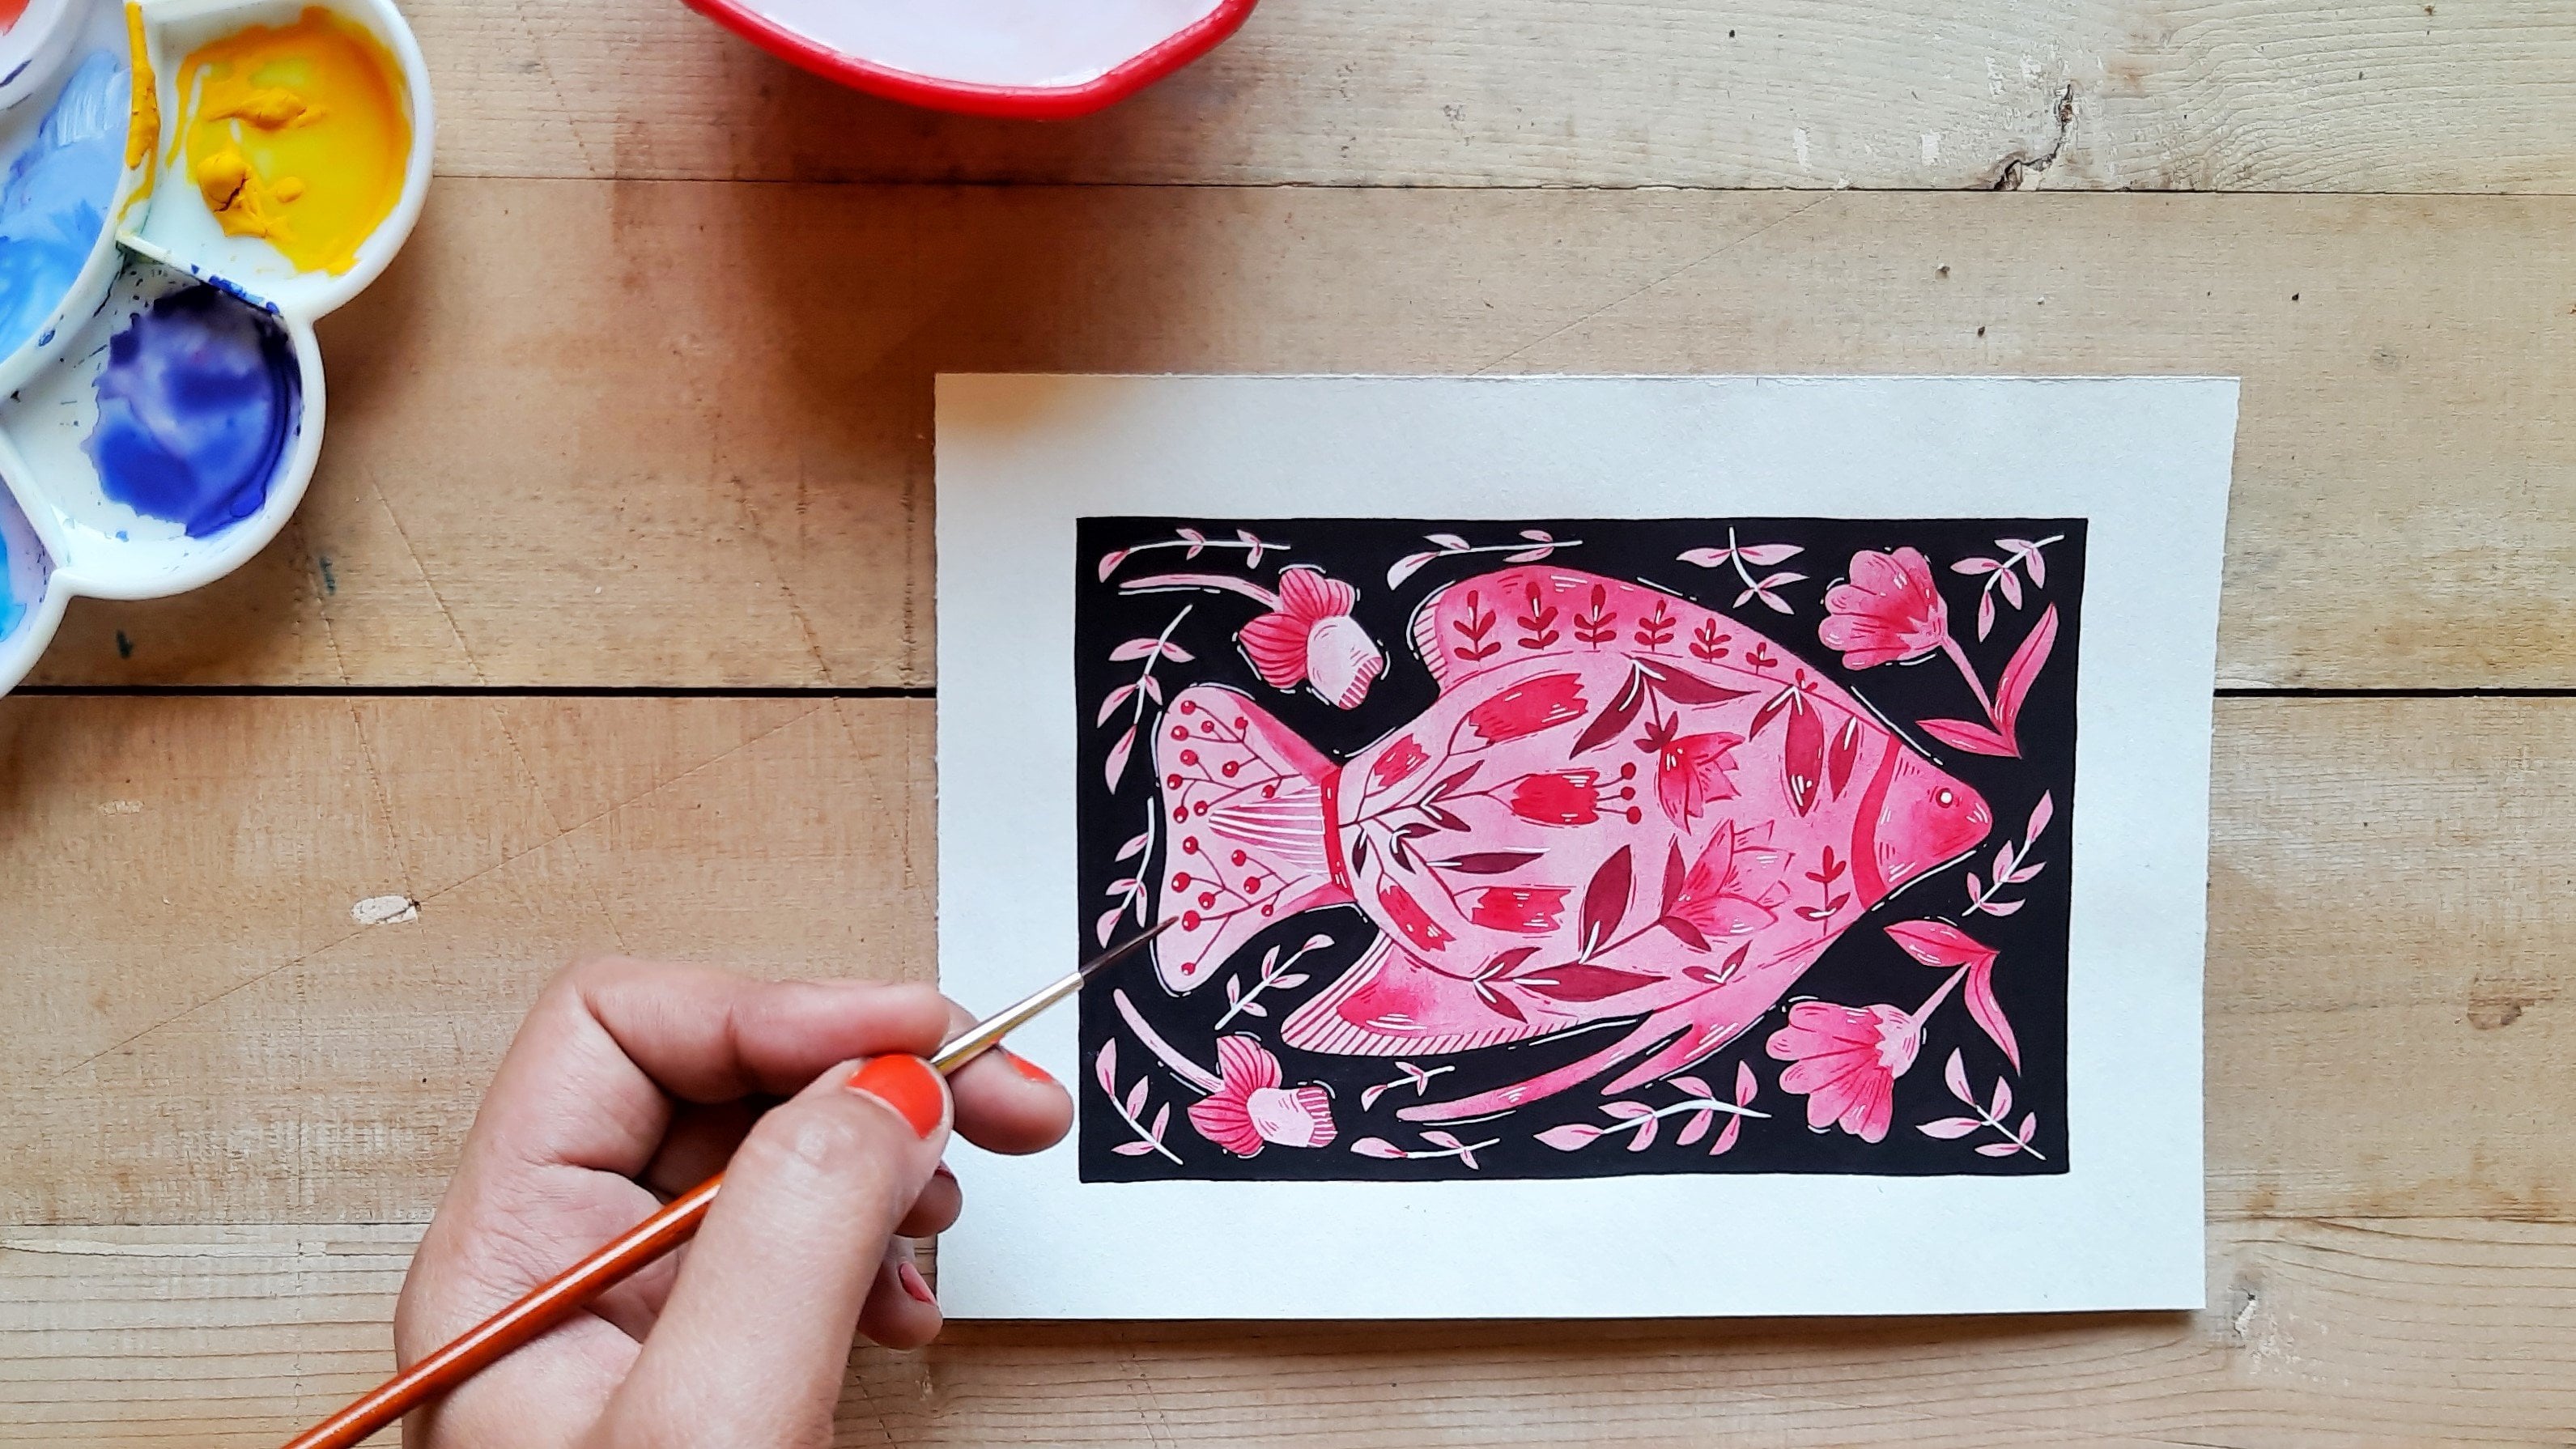
8. Final thoughts: Ivory show you some off my drawings from sketchbooks off last three years. You can also go on Pinterest to get inspired by many great artists. Remember to use their walks just to get inspired. We don't want to copy anybody's art. Here are some simple buildings on simplified three shapes. These scenes are not much decorative. Just some vertical lines are used to show grills. I have created many different scenes in this tiny sketchbook. You can keep one like this, which is easy to carry around. We can quickly note an idea on a small space one off. The ideas can later develop into a painting. Buildings don't really need to be our focus in the scene. They can be just a supporting element in this case book. There are some or been sketches I did when I was on a trip. Study the forms around you. It is the best way off getting inspired, and we get new forms to work with in our paintings. - You can do some dinos get just like these protest color schemes. In this sketchbook are the pain things done with only opaque colors. There are no textures are not any details as well. This time was my initial stage off understanding colors. The paintings lack contrast, but I learned Lord while making them this is a simple sketch off a building I see from my window. You can also create the artwork by doing pencil shading like this. - We get a lot off yard, but interesting ideas when we keep on creating this one is my most favorite sketch from the sketchbook with floating, please and fish. So keep on drawing and exploding. Share your vocs with me as I would love to see them. Thank you for taking this class.
 WindowsOfMyMind