Transcripts
1. Introduction: it is always inspiring towards traditional folk art paintings off different countries. The colorful decorative forms off the boards or animals we see around us are the beautiful floors never failed to left arm old Hi, I'm with a picture of fine art graduate who loves to use watercolors, and, gosh, in this class, we will learn toe make our own fish forms, which will give an impression off folk art. With a modern touch. We will gather some colorful reference images from the Internet and study the forms in detail. We will then learn some ways off decorating it. We will even make paintings, which can be used as wall hangings. I will provide some PdF's off exercises and slides in the class for better understanding at the end. Off this class, you will have drawings and paintings that you have created on your own, so get ready with the materials. I hope to see you in the class
2. Materials: Let's look at the materials we will require to do the sketches and paintings. All of these are really simple materials on to do the paintings. You're free to use any medium you normally use. You be forced required a pen or a pencil to do the drawings. If you want to use fine liners, 0.2 or pence ticker than that are better for more free hand movements for B or six B. Pence's will be great to do the exercises. Then you will need sketching papers on watercolor papers or sketchbooks. Test the paper before use to see whether it works well with decent country to Fort ER. Then he will need painting. Material is you can use any material you are comfortable with. Every walk with gosh in this class, and I will even give some tips on using them before starting. Use a set off precious from zero to number 12. Big says brushes will be helpful in given bushes, and smaller pressures will be used for detailing. Then you will require a color palette, one or two water containers and according drag. In addition to all this, you can find the PdF attached in the resources. The slides will help you with the process as you can open it quickly for better understanding. So be ready with all the materials and download. The resource is let's have lots of fun in the class.
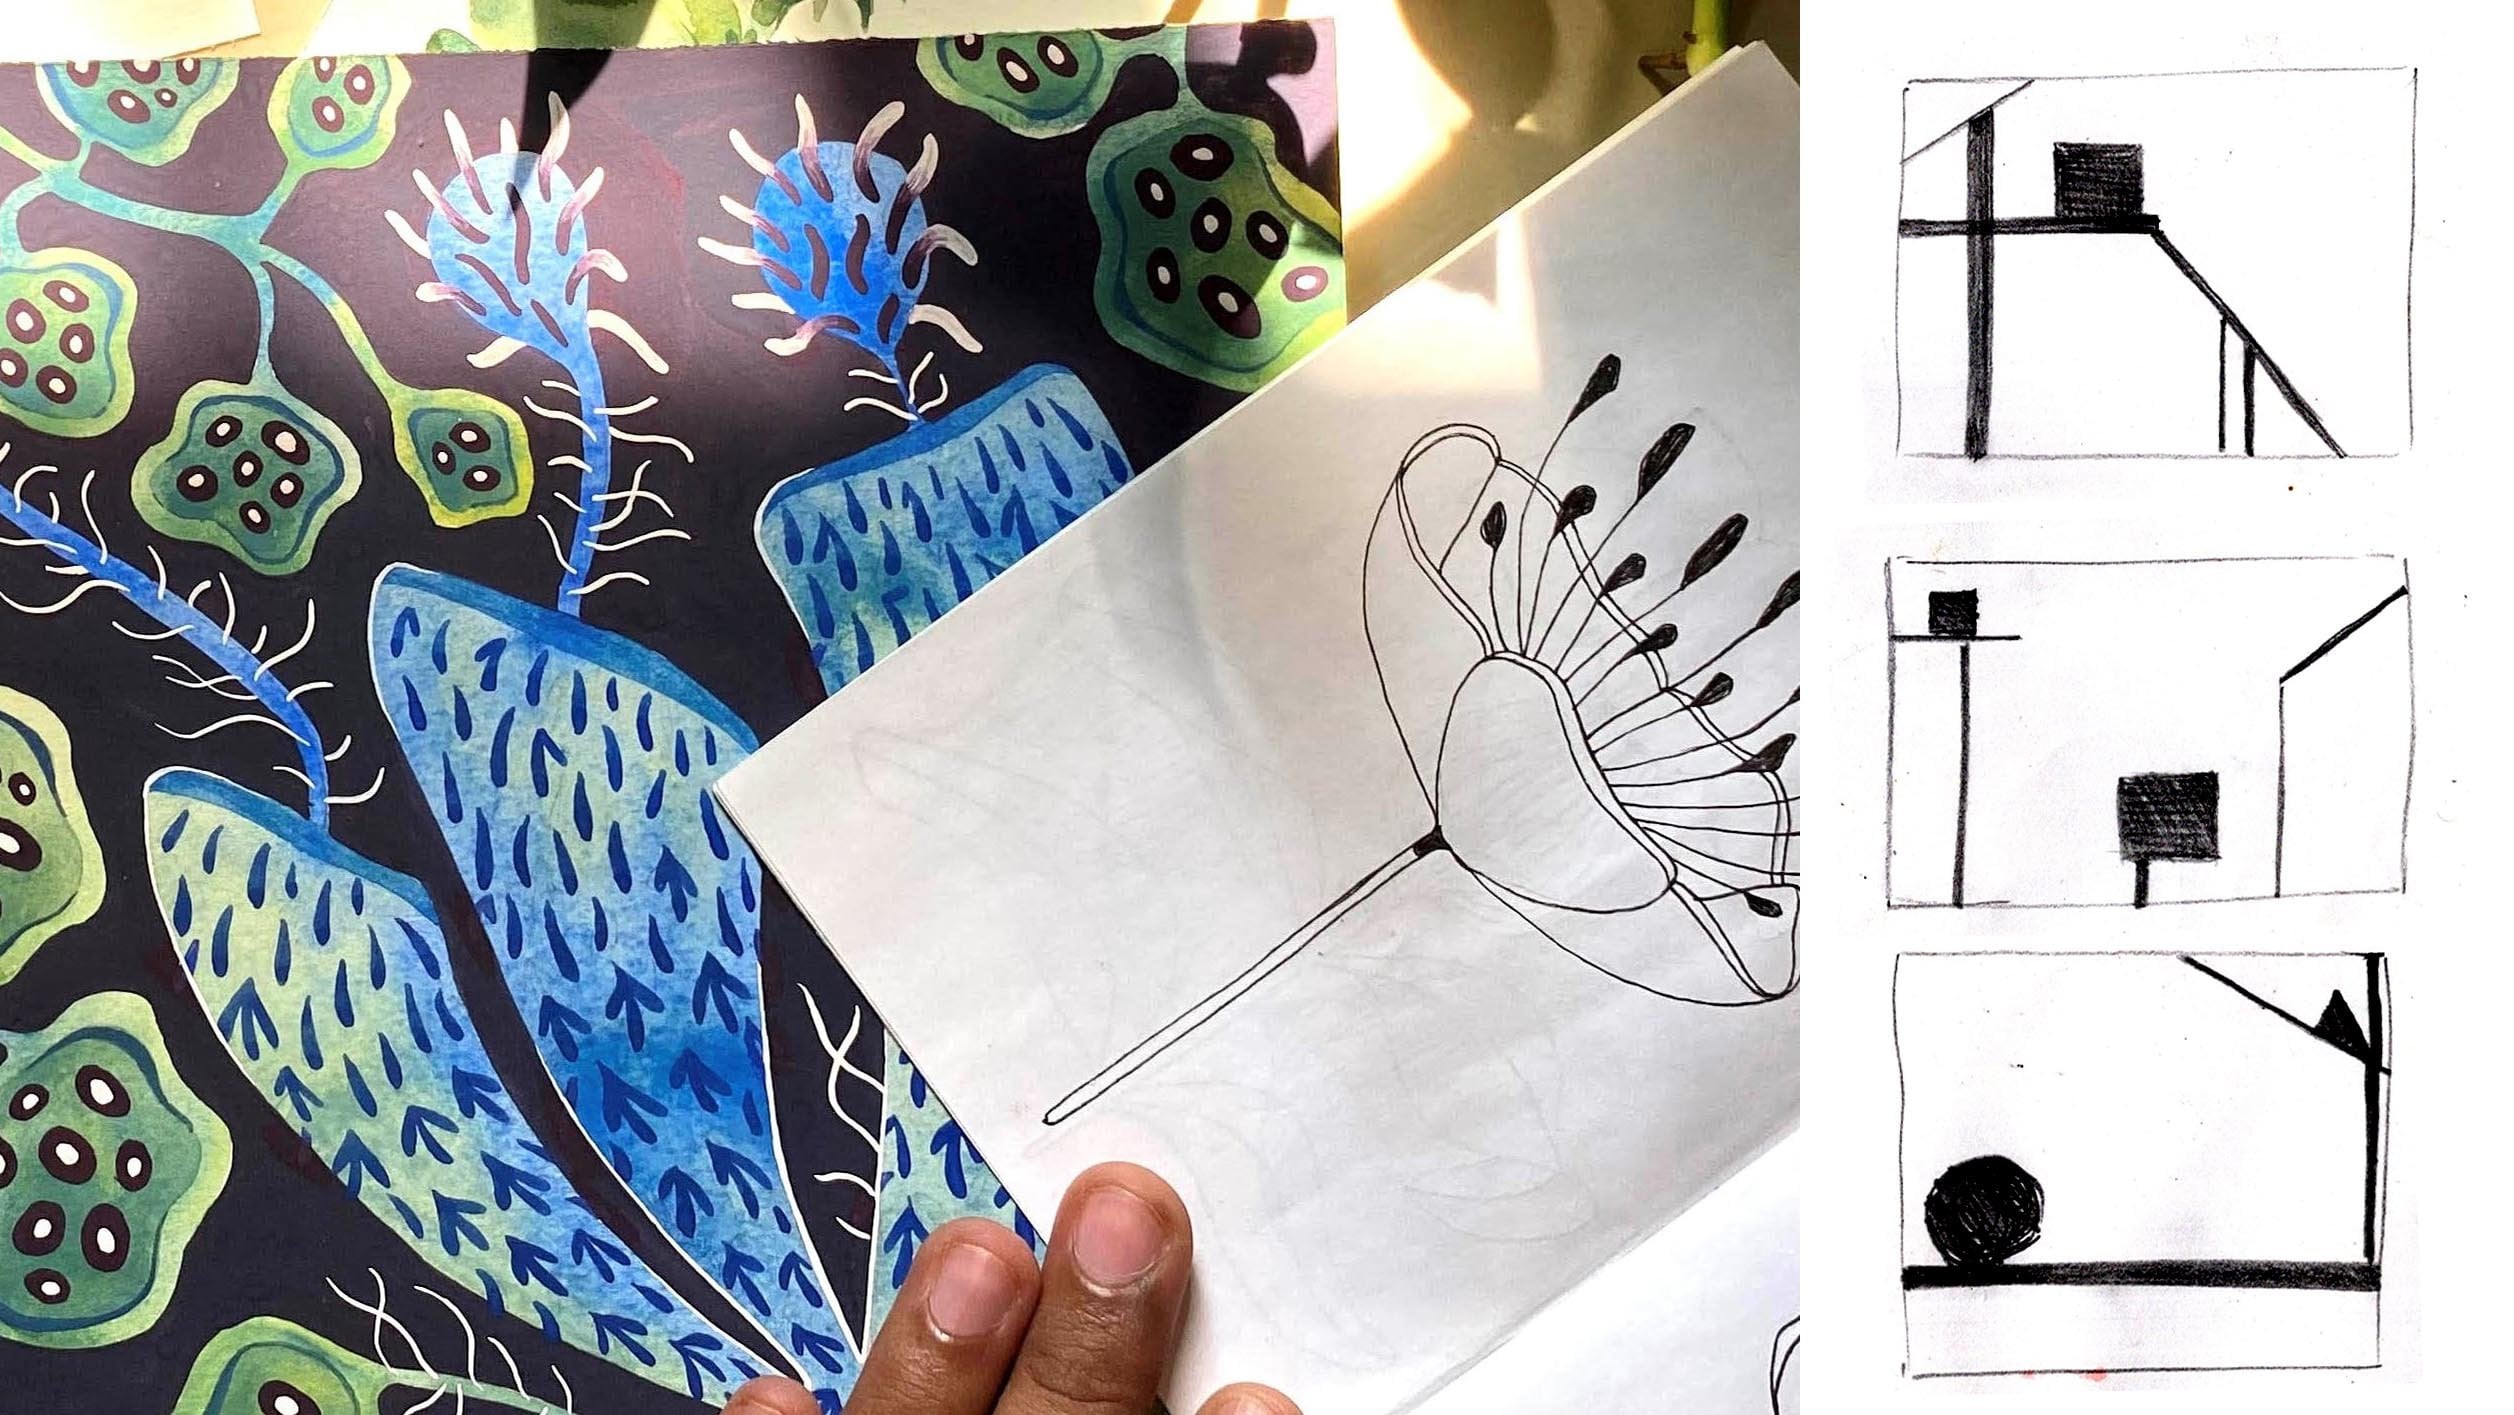
3. Drawing Exercises: before moving directly to sketching or composing. We will first understand the importance off line and make her hand free so that it coordinates well with our mind used in the sketchbook or sketching paper. For this exercise, I have created these exercise sheets for you to download and refer Toa. Print it out or keep it on your screen. Could be the first page, which is quite easy. You just have to keep your mind free. And don't force yourself to be perfect. Draw the box Freehand. Just Mark, it says, if you want, this exercise is to improve confidence and acceptance. We've really learned to look at the imperfections and enjoy them. Drove it out. Fear off. Going wrong drove online continuously without lifting the pen or a pencil. If you're afraid to start that forced, use a pen so that there is no chance off raising Bennis permanent. You cannot reverse or is the mark you made and become more free pencil. It's murder to move, but while using a pencil, forget that raise that exists, well, drawing squares so concentric tangles do not live the tool. Before completing the sheep, you will have to move your hand from the elbow and ankle without taking support off the surface. Second page is for the understanding off space and relation between two forms. See where the horizontal and vertical lines are squares so concentric tangles are and draw on your own page. By doing. These exercises will be able to draw freehand continuous lines while drawing from life or references are even while sketching ideas. You won't worry about the lines and presentation, but you will get a free mind to think about the ideas and composition. Your thought will be correctly implemented on the paper. You will understand how lines create forms. These can even be the artworks on their own. I had a commander to do these exercises for a week for 10 to 15 minutes a day, along with other drawings you do. I have taken a small size here. You can take bigger size or can even utilize the whole sheet for more free hand movements. And in the next lesson, we will see how to draw. Using references and understanding form off a fish
4. Drawing from references: it is always important to totally understand the form before using it in our paintings. It will benefit us if we study the structure off the object or thing. We want to draw north parts and understand their functions. We don't necessarily want to do this from a scientific point off you, but we can observe and study enough so that we will be able to modify it or decorated according to our need to study the fish form. Collect reference images from the Internet been just his best while doing these studies, as you can make specific boards for East subject, I have a board for fish on Pinterest, where have collector many different images off types and shapes off fish. You can visit that or you can even make your own board. After collecting reference images, let's look at the basic structure of fish and different varieties. The most basic shape off the body is teardrop shape, but there are other ship fish toe like a longer third round diamond. Long snake like and many other mouth shapes are different. Oh, some have tiny mouths are about some, have I? It hurts like a hammerhead shark, and there is a needle fish toe with a needle like long mouth. Next, our fence. They give a major character to the fish Redrow. The position and number of friends make a huge difference. There are so many types and shapes off in which we can never get bored off throwing. And yes, the tail is a friend to then. There are other details, which give further character to defer, like shape, off eyes, bones, skills, deed knows, leg projection spikes, color patterns and so many other things. After understanding their basic structure, do some sketches. Apply the understanding off drawing exercises. Don't skip any part. Draw everything you see. But just go on. Simply find the sheep. - Just don't draw really my new details, like skills or any intricate pattern. Try not to shoot. We're doing this just to understand the sheep. And converting to the simple form, if needed, can toward the texture or color by drawing a line off division. - So now, as we already with the understanding off shapes and we even have the sketches which we made well starting, we will move on to create our own forms using the collector material
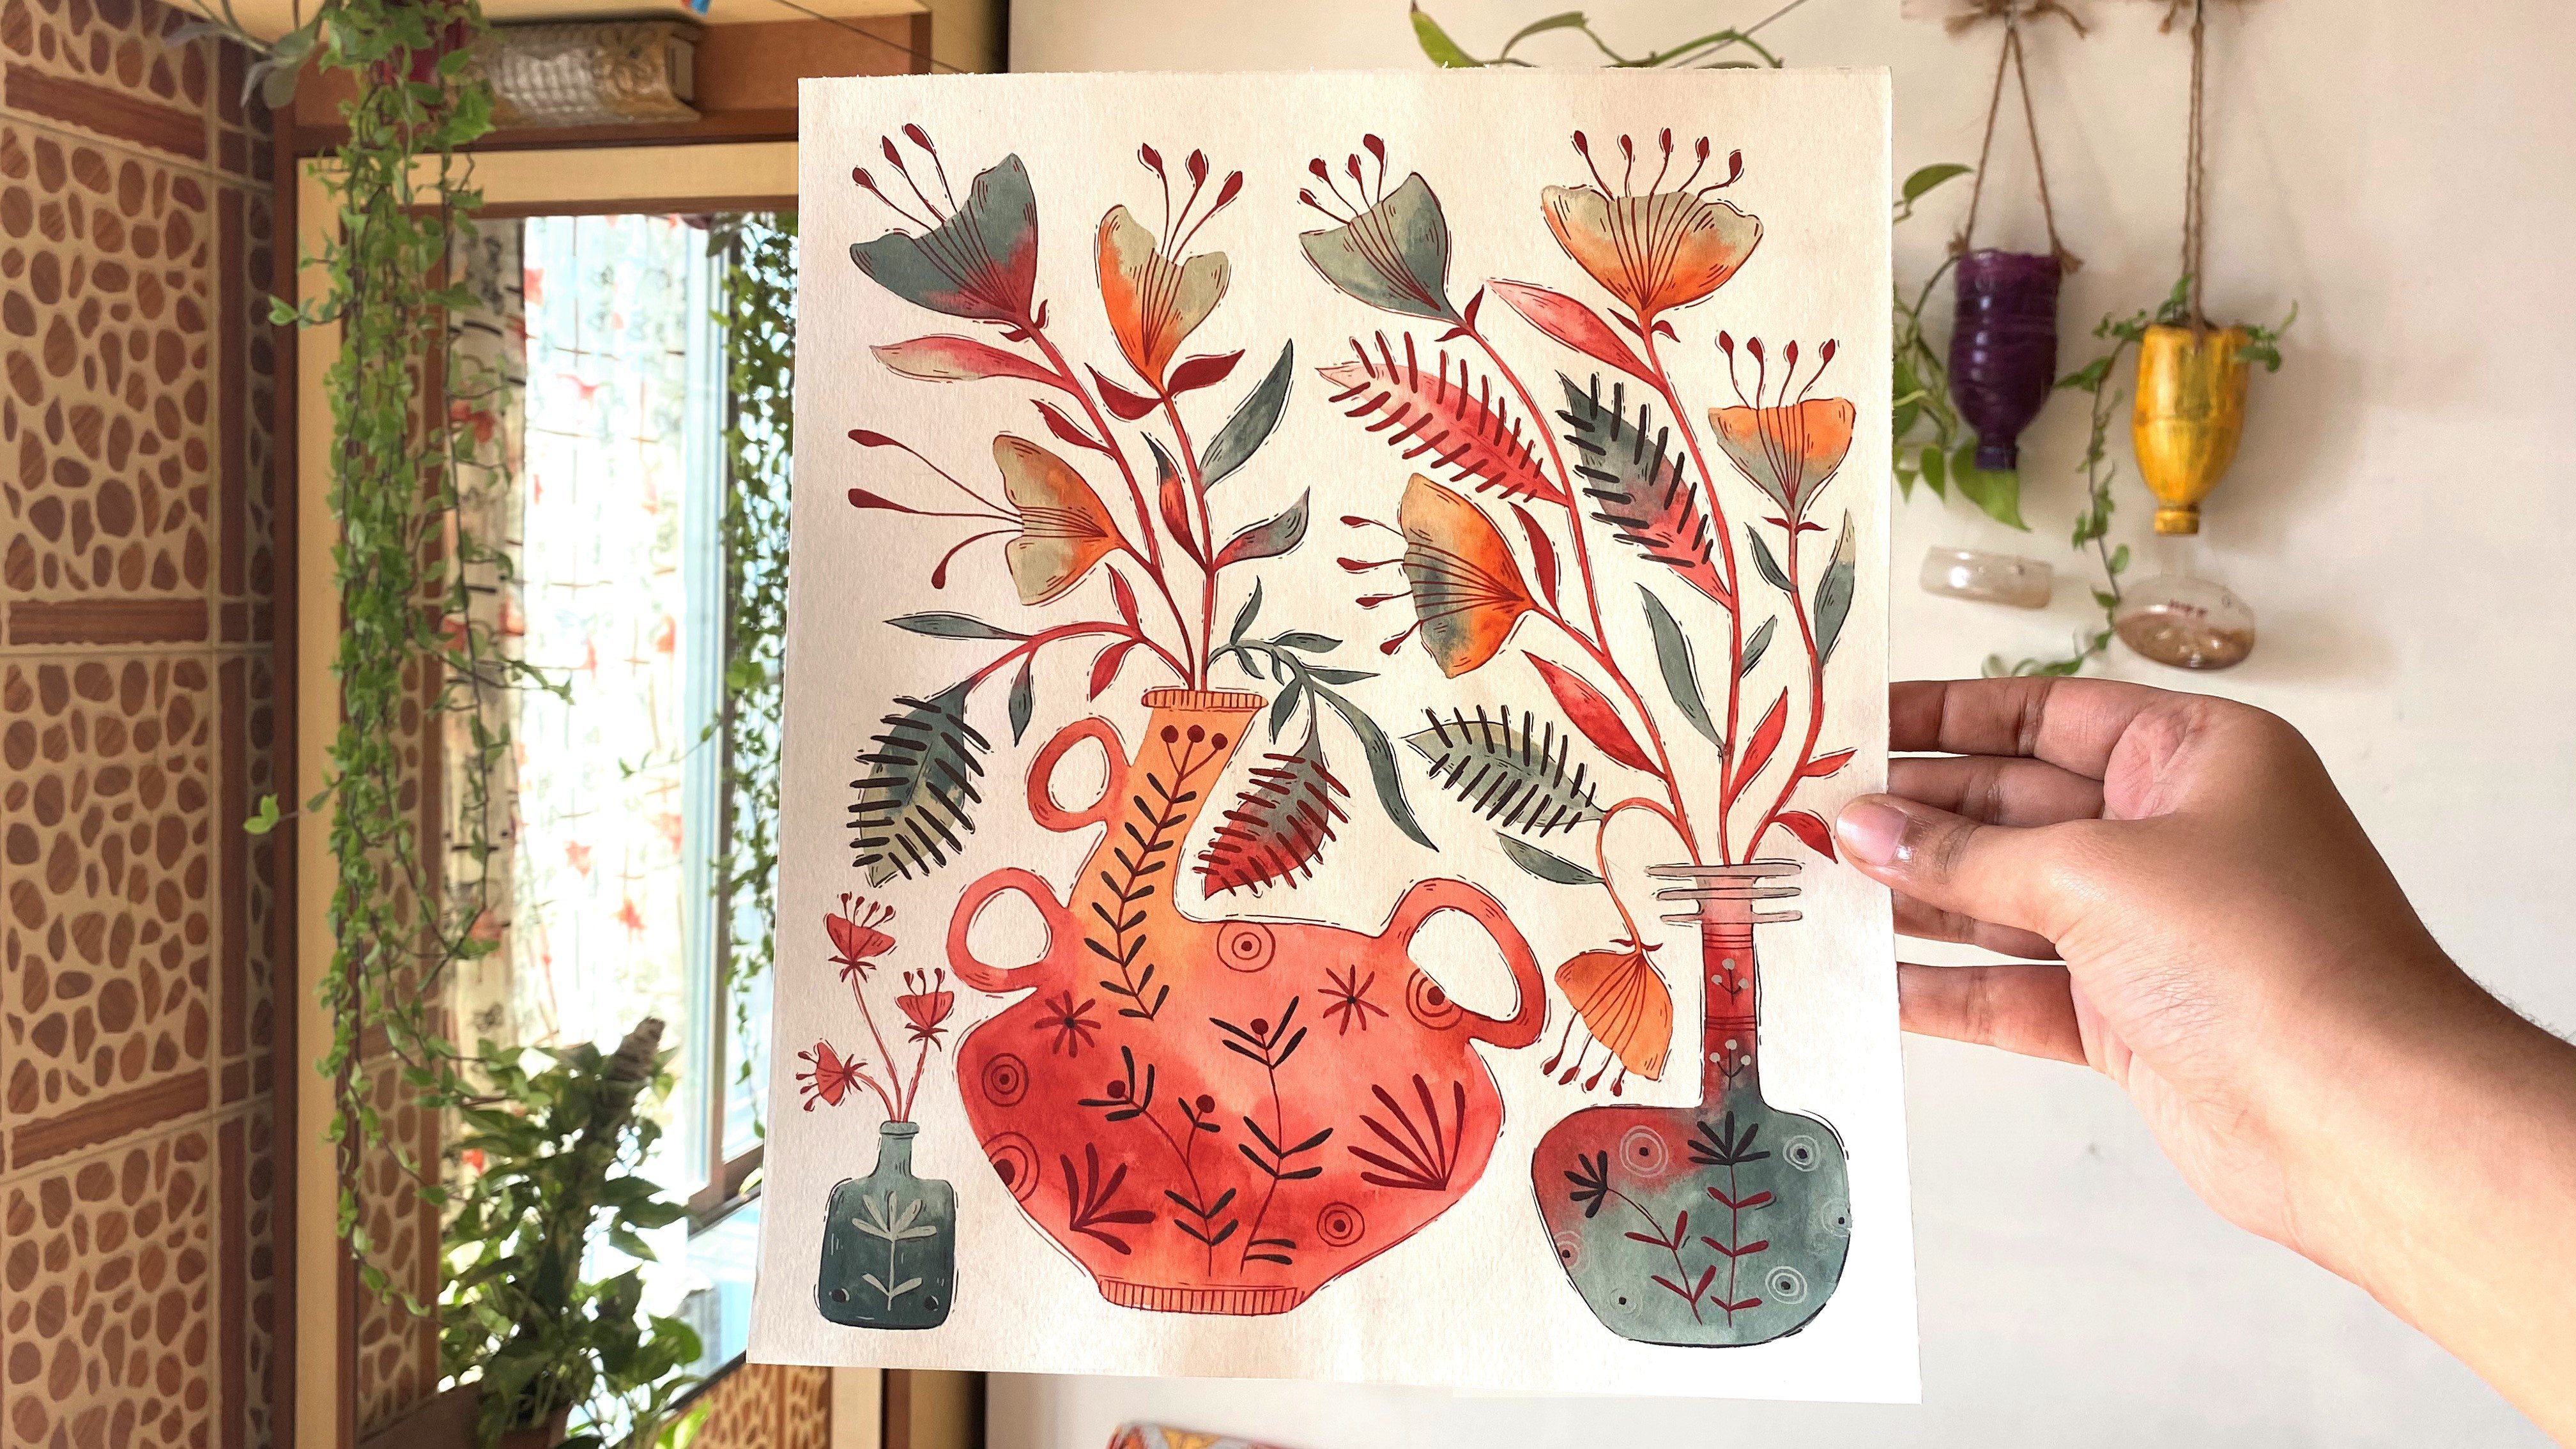
5. Drawing without references: Weare goingto experiment a lot in this step, we will create our own forms. There are so many ways you can do this. Keep your drawings with you in this step as we're going to develop them. There are so many ways to create something, but we will look at the four basic agrees that I use to make my own fish forms. The first simplest way is to use the drawings as they are, because, to be honest, they have become our own drawings. As we spend time understanding and simply find the majors vessel, the next week is to exaggerate the real form. Here I selected one drawing from the studies on. I'm exaggerating its friend shapes and increasing the number off gills. I also removed the I and the Mount. You can exaggerate its body sheep or make the I bigger or its mount wider. We get our own form by just tweaking here and there. The third re is to mix and match tour more forms. This is really fun. You can select off your favorite drawings and let's say you selected forced one's body and then selected on a Dublin's fence or the mouth shape and doing this, you can make a new fish for yourself. This can be done using multiple fish and create your new fish as complex as you want. - Last way is to use a completely different form or used some details off it. You can add geometrical shapes or lines, or you can have some random shapes and pictures you see on other creatures. Another way is to add leaves and floors the way I did in these, which give them therefore cart. Look, all these metals are so fun and exciting and the possibilities are endless. While doing this exercise, focus on stylization while keeping the body parts functions in your mind, so injured, drawing and creating for as long as you want. Have fun experimenting because when you have fun and forget the fear, you explore more and you drove a write off beautiful shapes. I will meet you in the next lesson where we will start painting
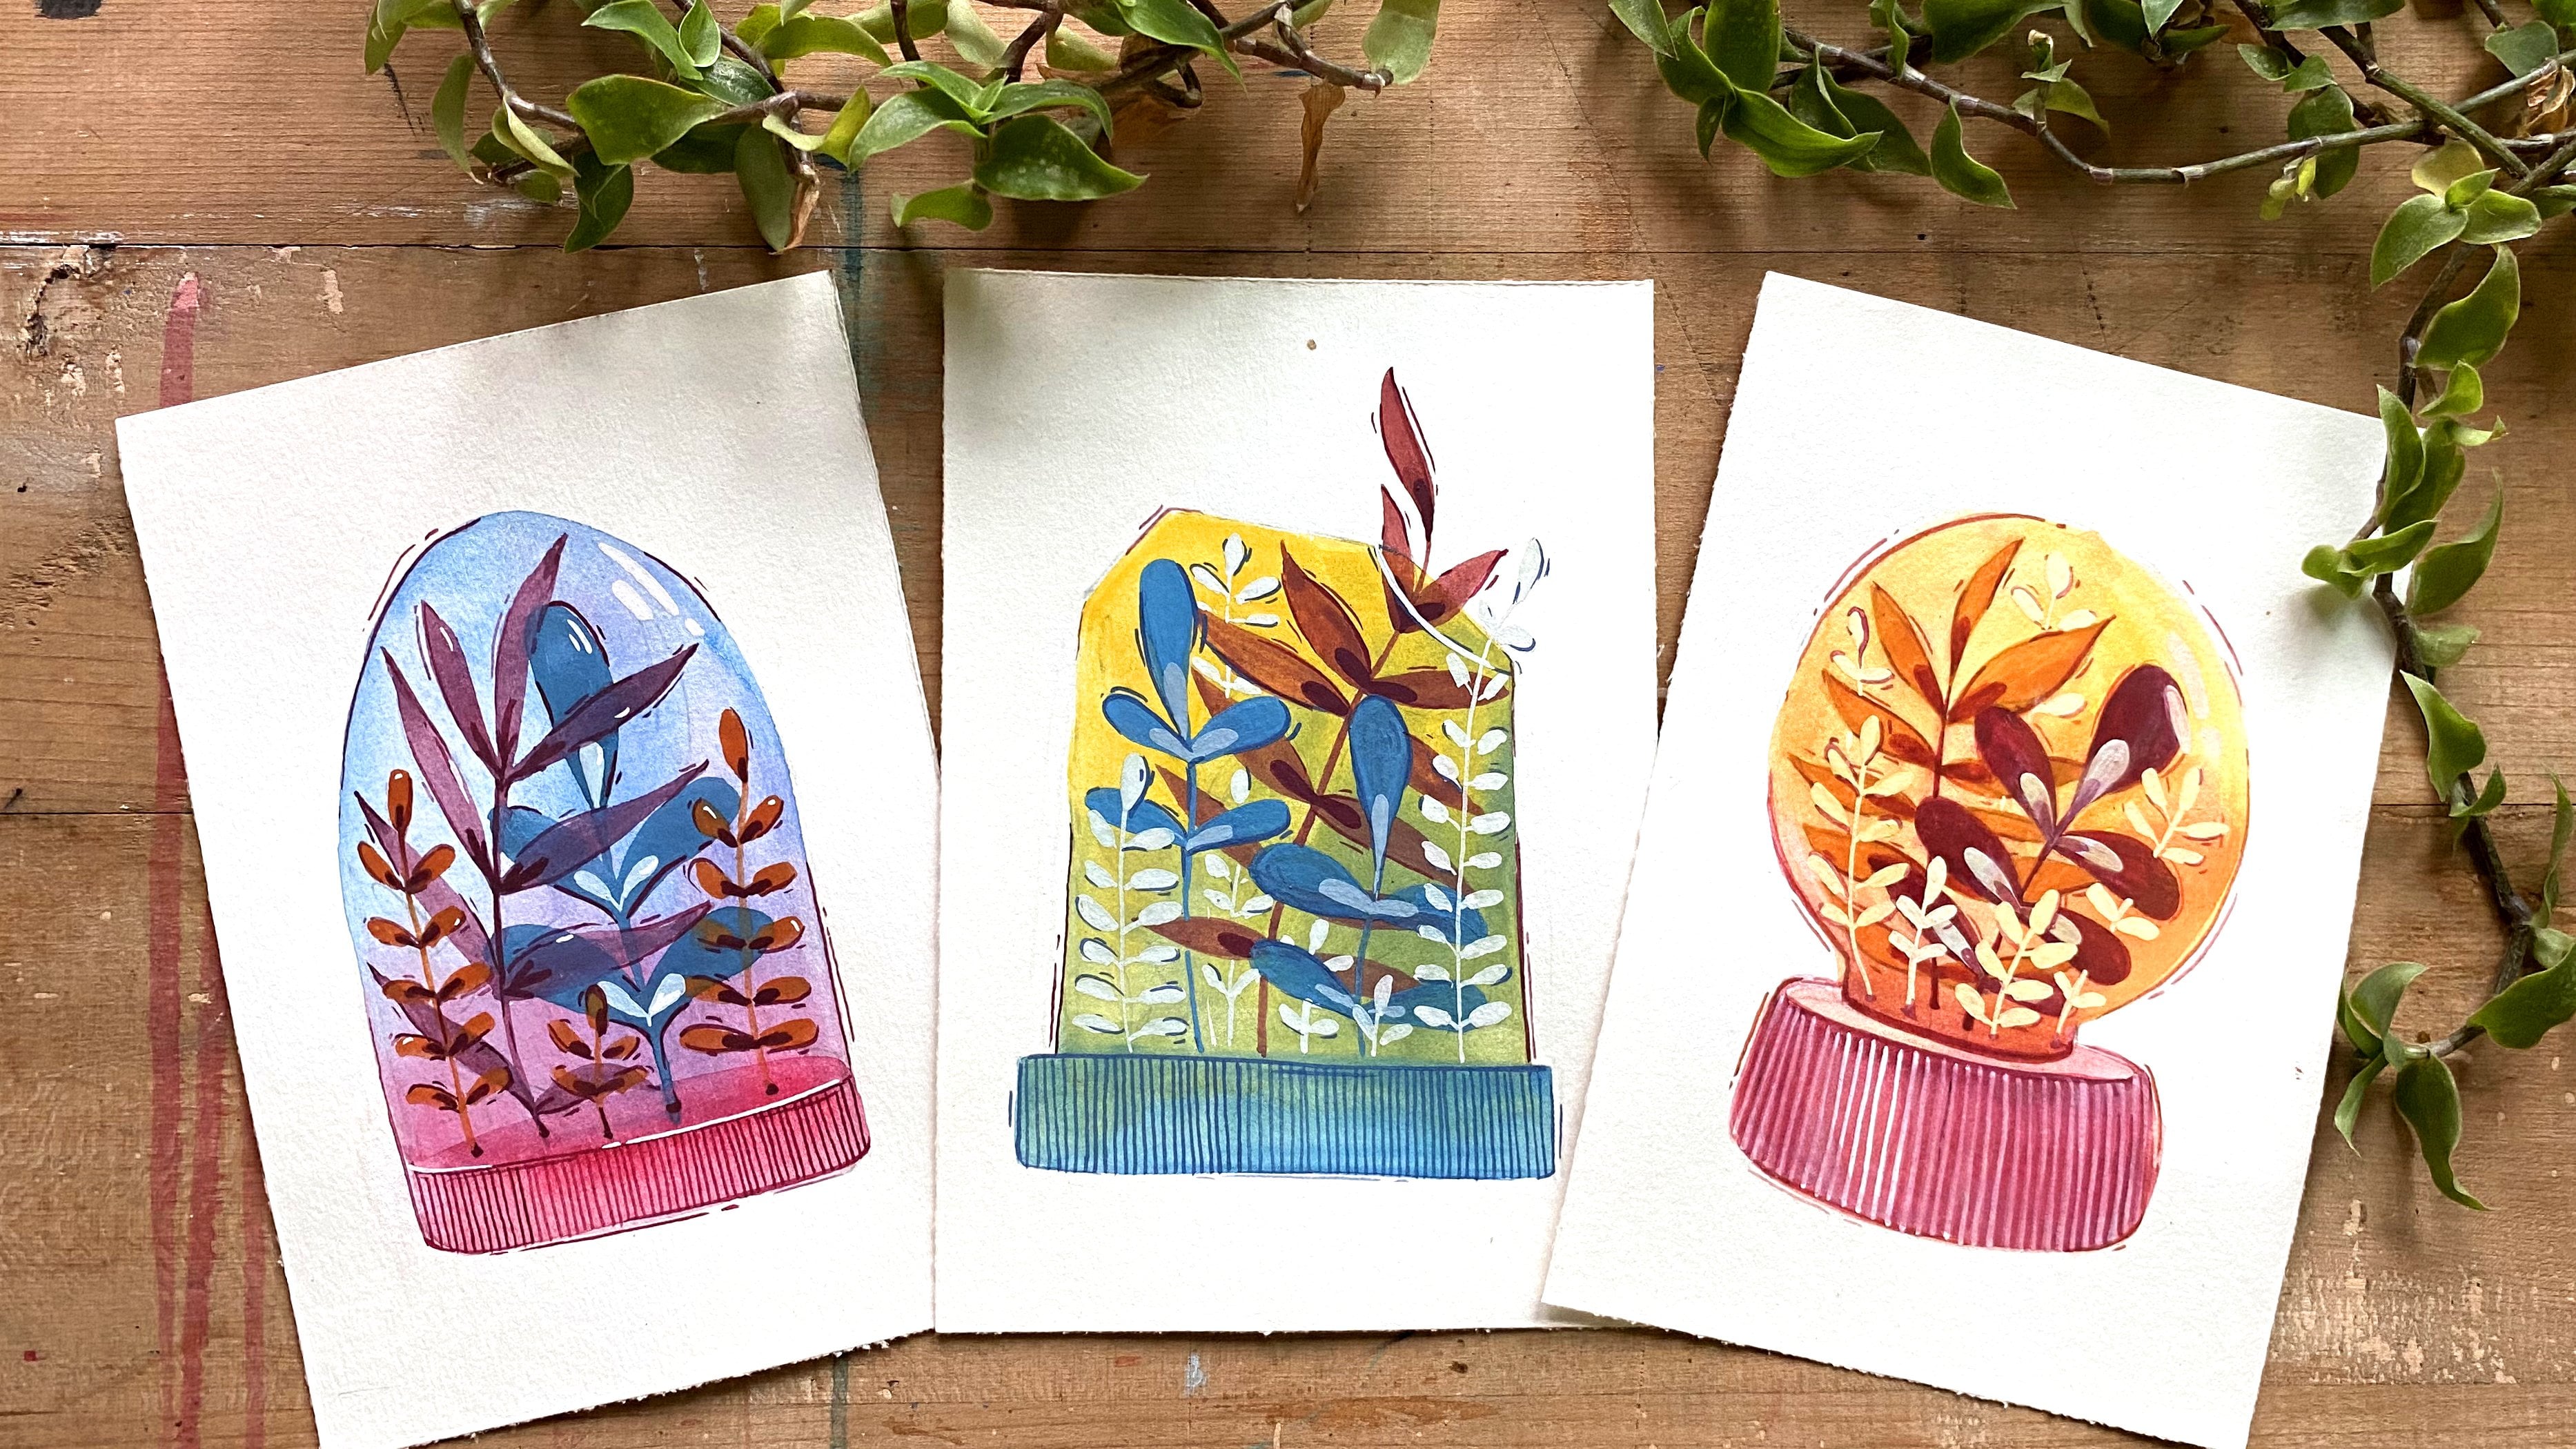
6. Tips on using gouache and some examples: e. I love using gosh, because I can add water to them and uses. Watercolors are used. Imo pick. I can get the required effect by varying the technique. Let's believe it. Gosh, for some time to get the most out off it While painting, I'm using two colors off artists are goes over here. Crimson red and cerulean blue. Squeeze out a required quantity. Gosh gives best results when used fresh instead off trying them in a palette like quarter colors. The creamy consistency off course gives the best experience off painting. The first way is to apply them a pick. I like to add a bit more water to get the brush moving smoothly on the paper. We can also apply them by adding a lot more water and loading the brush with this mixture. Use board the techniques together to get different type off effects and to imitate some patterns or textures from Fisher's body. To get a grated wash, apply van stroke off topic color and then taking plain water as the tape off the brush to the stroke and move it in the same direction. When you will repeat the process, you will get a graded washed to see how return Try layering works. Let's a blood the color and let it dry. Using the brush as a drawing tool is a Vatican pain Details in our painting. To give the finishing touches, use the tip off any brush your use on by wearing the pressure. Get take or 10 lines. I like to use this rigger brush with long hair, which gives asked in line as I want. It is great for detail. ING use a bit more water to get a smoother movement off fresh. - The next technique is mixing two colors, which I use very often. Normally, I give a base layer to my fish forms by mixing 2 to 3 colors on paper. When we let the colors makes on paper, the mixing looks natural, with beautiful textures and ren one off the colors were using granulated. The effect is enhanced. Other previous washes have dried. We can apply the second layer on it on. You can see that the OPEC application covered the Bassler entirely. You can use the brush as a drawing tool over the forced layer to draw patterns or some details. Now I will show you some examples off drawings and paintings off fish I did in the past to give you ideas before starting. This is the painting where I used a forms as they are without decorating, and instead it is a lot simplified. Later, I colored them using watercolors but applying wet on dry Leo's. This is where I used a grated wash in one fish and makes Vocalise in another. I drew were it with a rigger brush to get 10 lines in this painting I learned, or Pickler over what revolts to do. The detail ing's here I have drawn many different shapes off fish to practice. This is a page from my sketchbook, where painted a forced layer on the fish and then painted the black background around it. When everything dried, I did the detailing using right. This one is the most recent example where I used flowers to decorate the fish. You can keep a sheet off last like this are other forms you want to use well, drawing so that you have over writing in your work. So believe it your colors. If you're not familiar with them on, I will see you in the next lesson.
7. Painting individual forms: every successful process is too divided in sections. I don't think it is crucial to follow it Step prize each time. But knowing these steps alone creates of free space in our mind, really, we're painting the individual fish in four parts. 1st 1 is to paint the base color. Decided that that you want to give an opaque wash or agree did wash our award revolts by mixing 2 to 3 colors. The way I will do here, all of your for their decisions will depend upon this four step. Next step is to add a second layer on top off it if needed, and the third step is to color the inner forms you have drawn. You can do both these steps simultaneously together. The last step is to add details which finishes are painting. Use a darker shade off the base color or use a complementary color off it. Use right at the end, which in my opinion enhances the beauty off the painting. Follow these steps or you can come off it your own. With practice, you can create your own techniques by taking your own decisions because I think every small or big decision we take well. Painting makes our art unique and different from other individuals. I have roughly decided as to which colors I would like to use toe paint the fish I'm using primary colors, which specifically are crimson red lemon yellow media, low pressure in blue and ultramarine blue. I tried these colors on paper and mix two colors to see how the secondary colors look. I do five off my favorite fish on this quarter size sheet. Let's light in the drawing with a needed a razor by ruling it lightly over the page so that it won't give us the pencil borders after we're finished painting. Let's start by doing her four step, which is to paint the base color. I applied my crimson red to the head off this fish and later spread it, using plain water on the friends and the whole body. - You can use the wet on wet technique by adding the same color, but by mixing it in less water, I will paint this next fish with ultra marine blue, which is such a vibrant color I gave of what recreated wash and mixed Crimson Red at the end offers friends half off our painting is done with the first wash itself. I will continue giving greater watery washes and mixing two or tree colors together to paint the remaining three fish. Just remember that you want to keep the wash red throughout the process. To get the mixing looks mood, you will have to walk a bit faster and of other influences that rang. Process true. - When I want a smoother wash, I collect a puddle of water with a dry brush so that it doesn't give me any surprised picture. After it dries, - you can rotate the sheet to get a comfortable angle. That is why I don't tape down the paper on the surface. - Let's keep this layer to try to do our detailing part over it. As I said, we can do the second and third step simultaneously, but I also do the fourth step directly when I know I am not going to give a second layer off color on a sort of Nadiya. I'm mixed crimson red, a bit ultra marine blue to get this dark brown color for outlining and retailing, - and the right gives such a nice finished look to get this darker BUE, I mixed a small amount off crimson, red and ultra marine blue. I paint with weight over a darker radio and with a dark shirt over the lighter radio. After painting these leave details, I knew I wanted something more. But Corrine Tinkoff any underway, so I took a break. A change off thought really helps to get new ideas. I even started painting this other fish. Then I thought off adding blue leaves to this big fish, so I never get discouraged when you think you are not getting the desired look. You might like the same painting by looking at it after it to our break. - I decided to give a second layer to this last fish because it did not have any detailed drawings on it and added some finishing touches with white and our view.
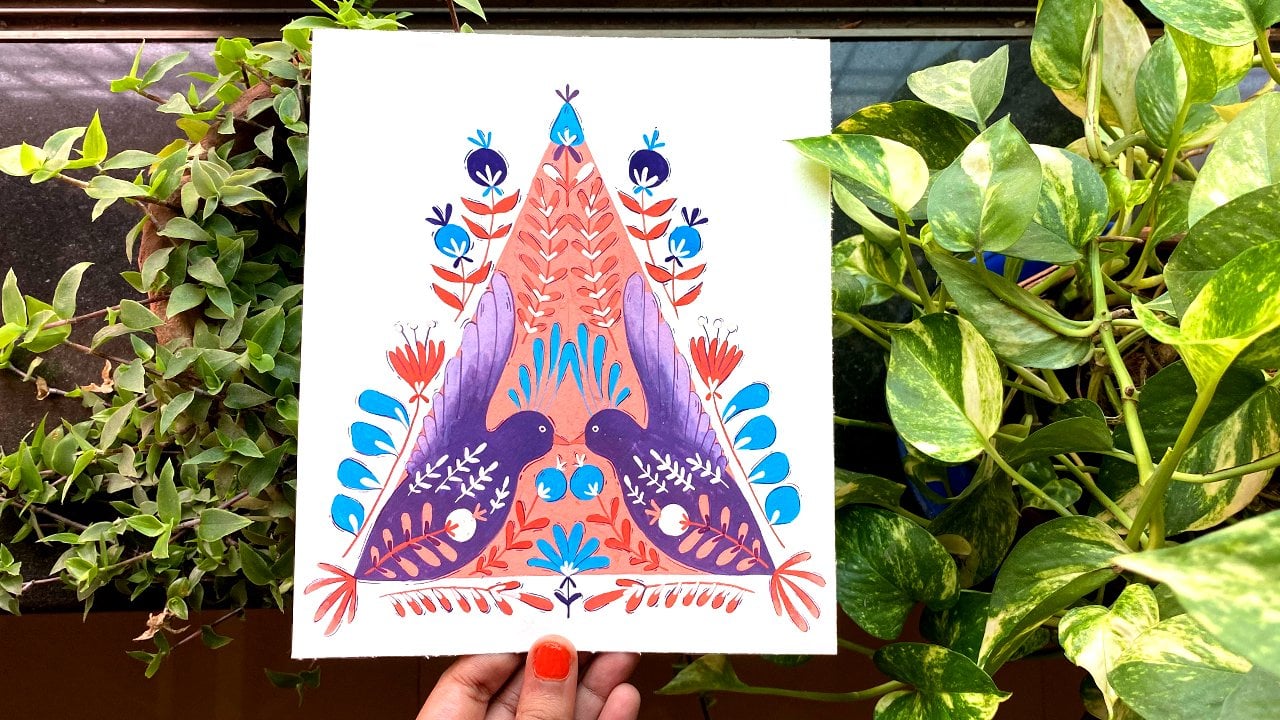
8. Sketching for compositions: way. I think we have bleed and practiced enough to start with a painting. Let's spend sometimes catching to get an idea as to how we would like to place our forms. I will keep their drawings with me as well as the sheet off flowers to keep myself motivator and make the process easier a concert and grab a form in case I get stuck. At some point, I will paint on a postcard sized paper so that the class will not become long and boring. Every start by drawing a rectangle which is roughly off the size off, my final paper forced decide the number of fish you want to draw, then think about the supporting forms you would like to use with them. I'm going to use floors in my paintings, just roll roughly and freely, deciding the places for each form. You don't have to draw every detail, but draw the shapes to indicate which forms you have Selector. In the first composition, the focus is only one Toby on the big fish. But in the second composition, I drew to fish, showing them in motion as I have drawn them called and drew flowers around them. You can see how I'm making continuous lines, which helps me and drawing exactly what I have in my mind. Being clear in my mind and implementing it correctly on the paper helps me thinking about the next step I want to take. You can decide, but that you want to make the composition symmetrical the way I did in this tournament. I even sketched a border around the fish. If not symmetrical, you can please the forms as if they're scattered on the page, make it look very busy or leave some gap between them. You can even draw the forms tangled in each other or show them as if they're placed in layers on top of one another. There are some of these ways I told you, which are helpful and enhancing the overall Look off a composition, but keep in mind that these are not the only Weise. Observe your surroundings. Abs off the nature to get inspired pictures if you can, and replace each object in the picture with your own form. Learning to compose is a process, and your liking may change from time to time. Let's start painting our favorite composition in the next lesson
9. Painting a composition: thing is our last lesson together. Let's implement this case we have learned in the previous lessons. I selected this composition off a single fish with flowers around it. I've drawn it on this postcard size paper and lightened it so that we can start painting. I love this composition with a lot of flowers and leaves to bring variety in the painting. The flowers were selected from marathon sheet, which made the visual look interesting. I painted these two compositions to figure out how I would like to approach the painting To make this forced painting, I gave greater bushes as well as washes by mixing two colors together. I love to use and in August color schemes in my painting. So I decided to use crimson red and made alot in this man. After painting the base, I painted this black background around it, followed by the detailing. This second painting was done a bit differently. I first gave an overall created wash, and when it dried, I painted the middle black rectangle, leaving the forms unpainted. At the end, I did the detailing. I'm going to use this exact technique for this new work instead, off blue I will give a crimson red bush. So now let's start with the process. The bush is going to be late, so I'm makes some water with the paint. I could have used a bigger brush here, but sometimes I like the effect the small brush gifts. I get some radiations off light and dark shapes. You will have to work faster than usual to get the mixing looks. Murder. Keep this layer to dry and think about the background color you would want to use. I use black for my backgrounds, most off the time. The bright colors I use in my paintings look vibrant against the black color. You can use a darker or a bit different sheared off the color you used for the wash or decide a color scheme for your painting. I'm using the rigger brush to paint the background as the size off. This painting is so small I will just paint a small patch on camera because it takes a lot off time to paint around the tiny details. I used black toe paint around my forms as it is so satisfying to paint or pick clears, and they're often get so engrossed in the painting that I forget about time. Here is the completed black background, which is fully dried. There is no need to leave gaps for small details like stock off Lars or leaves. As we're working with gosh, which is easy to layer upon, I will give a second layer of created war to the fish, painting the fish darker at the tips and gradually getting lighter inside. The steps after painting the background are actually same as spending individual forms, but we need to keep the relation between all the forms in mind. I painted flowers with crimson red itself without mixing any other color. Later, mixed small amount off blue in it. Toe paint leaves to bring some variation, then painted these lines with the darker shade. Flowers and leaves around the fish were all Sudan in the similar manner. Forced gave the second layer of created wash and later painted the details. - I rooted the page all the time to get a better angle to paint off course. It is easier to move because I'm using such a small size. - You can see how I'm painting with right over the black color. It is important to do it delicately as we don't want to activate the layer beneath it is I had to give a voter revolt over the darker or pick layer. That is a strong chance that I will activate the dark layer, which will then get mixed with the light. Earlier, you should award doing that unless you really warned that defect a continual painting with weight by giving small lines to the fish and the flowers. I love using the expressive lines around the forms lately, which makes the composition look busy. So here is the completed painting I enjoyed walking on it so much. No, create your own paintings using your favorite color schemes, experiment a lot and enjoy the process of creating.
10. Thank you!: Thank you for taking this class. I hope all the lessons off this class have been helpful to you. This journey off learning and creating is endless. So never forget to enjoy the process. I would appreciate your feedbacks and will also love to see your projects in the class project section. Thank you so much again. And I hope to see you in my next class.
 WindowsOfMyMind