Transcripts
1. Trailer: You know that you only have 1.7 seconds to capture the attention of a viewer on social media. How do you stop the scroll? With Instagram
reels and Tik Tok, there are so many opportunities
to just explode with your content and have so many more eyes and viewers
on your work these days. The algorithm is pushing your videos to people who
don't even follow you and showing them to so
many more eyeballs that you want to captivate. Today, I'm going
to teach you how to create a life lapse video? What is a life lapse? It's where you blend,
stop motion animation, and live action video all in one shot using
just your iPhone, to create an eye catching,
captivating, magical video. My name is Colette Perry, and I am a creativity
obsessed mom to a toddler and professional
stop motion artist. I'm based in California, and I get to work with the
world's leading brands to create captivating, engaging video content for
them to share on social media. Some of my clients include
Starbucks, Pottery Barn Kids, Duncan, DoorDash, Sony, REI, Kraft Mac and Cheese, and More. LLP videos are super engaging, and you might have
seen them from your favorite content creators
or brands on social media. But until now, they have been so complicated and time consuming to create and just recently, a new feature launched
where you can create them using
just your iPhone. This opens the doors and
possibilities for anybody to create this magical type of video content using
just their phone. The algorithm gods tend to
really love this style video, and while I can't
promise you vialty, I can almost guarantee
that you will get comments like these
all over your videos. Today, I'm going to show you
how to create a video like this using just your
iPhone in one shot. This course is perfect for
small business owners, influencers, UGC creators,
freelancers, content creators, photographers,
artists, agencies, and anyone who wants to express their creativity in a fun way, whether you're at home
or out on an adventure. It's especially fun if you have little kids or pets who you
want to get creative with. This type of video may seem
complicated or intimidating, but I will break it down step by step in this workshop
style course, where you'll be creating
right alongside me. By the end of this course, you'll not only have
an understanding of the foundations
of stop motion, but you will be able to
seamlessly blend stop motion and live action video in one
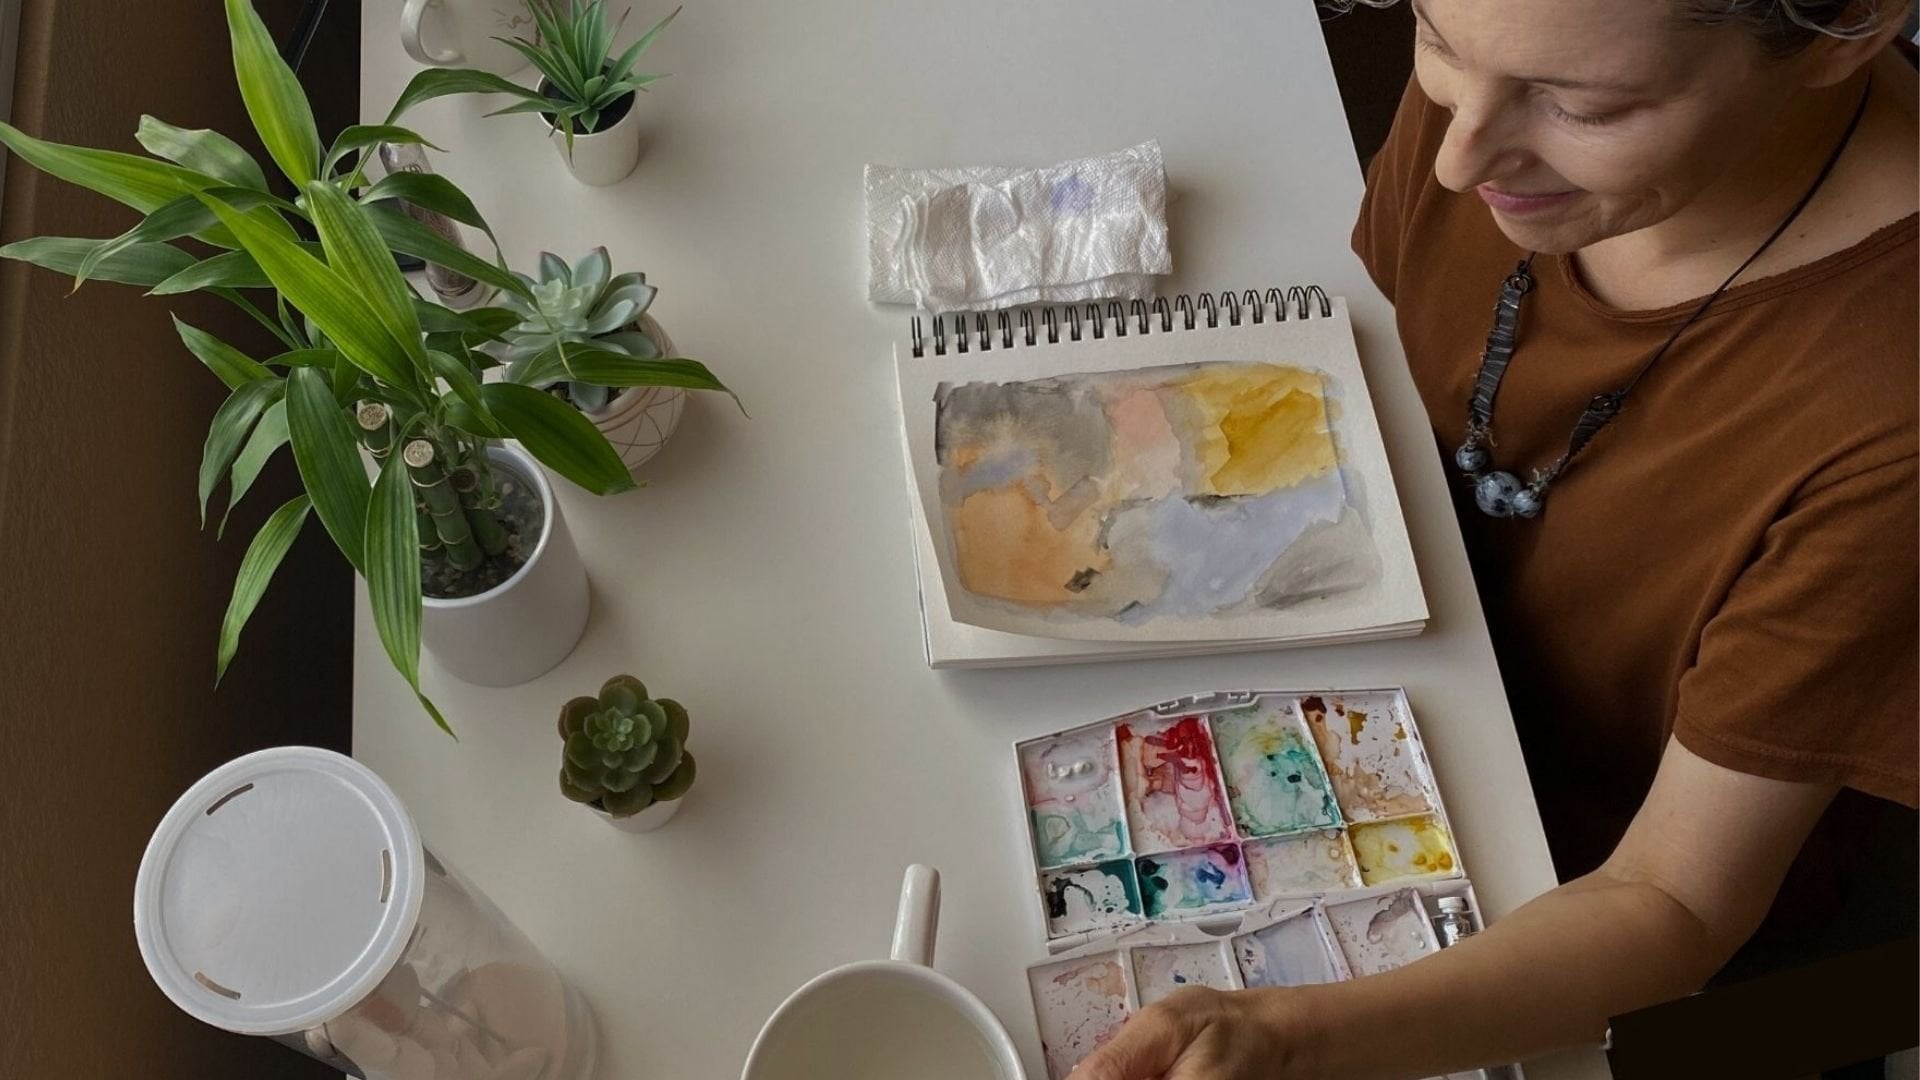
shot using just your phone. Here is a list of all the gear that you will need
for today's class. That's it. Literally, an iPhone. Okay. And it's also helpful
to bring your imagination. But even if you don't feel
like a creative type, don't worry because I will share so many ideas that
will inspire you. So let's dive in and
make some magic.
2. Intro: Stop Motion Basics : Hi, and welcome to the class. I am so excited to get started. I'm Colette Perry, your teacher, and I'm going to be
teaching you how to create a Life
laps video where you mix Stop Motion and live action video in just one shot
using your iPhone. This course is workshop style. I'm going to have you creating
right alongside with me, so get ready to have fun, and you'll be able to submit your video as a class
project and also share on social media at the end so we can all be inspired
by each other's work. So before we dive into how to
mix video and stop motion, let's start by going over
just the basic principles of what is stop motion. Stop motion is a
series of images, shot one frame at
a time where you move objects in
between each frame. Then when you string all
the photos together, it creates a video with the illusion that the object
is moving on its own. Like I said in the intro,
this is going to be a very hands on
shoot because I want you to leave with the skill and the confidence to create
this type of video. First, we're just
going to practice by making some stop motion. Grab your phone and
download Lifaps app if you haven't already and we are going to start out
with the basics. When you open up Life laps app, you will start a new project
and choose stop motion, and then click the
Little plus sign and the camera button, and we are ready to shoot. Don't worry about any of
these tools below for now. We're just going to shoot a basic stop motion of this
mug spinning in a circle. If I take the first
picture, Now, you'll see I have a
light ghost layer here that's going to
help me spin this mug. Okay. I'm trying to keep it relatively in frame in
the center right there. And I'm just going
around in a circle. When I animate an
object in a circle, I like to think
about a clock and maybe I'm taking a photo at 12, two, four, six, whatever
you want it to be. I'm just doing this one quick, not too many frames, just to show an example. Okay. Now I'm going to
click next. Press play. This is a basic stop
motion video that is done very fast without using any bells and
whistles in the app, and there's a lot of
room for improvement. One thing that I notice is that my table and
background move, and that's because I'm
doing this handheld. So we'll talk in a moment
about stabilizing your phone. The other thing I'm noticing
is that the color changes. You can see from this frame to this frame, it gets warmer. It's cooler and then
it gets warmer, and that's because
my white balance is changing from frame to frame. We'll do another
practice shoe and you'll see how I can lock
that white balance, focus and exposure so that the color and
lighting stays the same. Let's take it up a notch. The first thing that I'm
going to change this time is I'm going
to use a tricod. Perfect. Now, if you don't have an iPhone
tripod, don't worry. There are plenty of hacks
that you can try putting your phone inside a mug on
the table to stabilize it, leaning it up against a
water bottle or a candle. We'll show some examples. But an iPhone tripod on Amazon is not expensive
and a very handy tool. I'm going to start a new
project, choose stop motion. Open the camera. The first thing
I'm going to do is swipe over here and
turn on the grid, and this will just help me
line up my mug center frame, and I can even choose to line up the bottom of
the mug with a grid line. That way, when I animate, I will have that as a guide and not let my mug come
forward or backwards much. This is also a good time to just style your
scene a little bit. I'm going to go and close
this door back here and remove the camera
lens off of the counter. Now I'm liking how this looks, let's go over here and
look at these tools. This is exposure,
auto white balance, and focus, and these
three need to be locked. We are going to tap our subject, and then tap, lock, lock. Now that these are locked,
that will ensure that the color and the lighting doesn't change from
frame to frame. We are shooting
with natural light, so the light may change ale bit, but as long as we shoot
relatively quickly, it should be okay and not
cause too much flicker. If you really want
to avoid flicker, you can close the curtains, turn on the lights or
use studio lights, but we're going to
just see what happens when we shoot with
natural light today. I really want you to
see how easy this is. I don't want to overcomplicate it and I want to show
you that you can set something up in
your living room and without doing much, just start shooting
a stop motion and have it look beautiful. The next thing I want to mention is once your phone
is stabilized, whether it's on a tripod or
leaning up against something, It's best not to
touch it and press the shutter each time because that can cause camera shake. There are a couple
of things we can do. One is put in a pair of Apple headphones and
the volume button works as a shutter remote. You can also use a
bluetooth shutter remote if you have
one for your phone, But the best tool that's
right within the app and you don't need anything extra
is this interval timer. I'm going to press this
little clock icon. You can see here I can
choose between one, two, three, four, five, six, seven, all the way up to a minute long
between each photo. Since this is relatively
easy in terms of animating, I'm just spinning it around. I'm probably going to choose 7 seconds in between each photo and that will give me enough time to spin the mug, maybe correct it a little
bit if it's off center and get my hand out of the frame for when it's
about to take the photo. As soon as I press
this red button, the photos will start being
taken at 7 seconds apart. Let's do it. It's counting down. There's my first photo. Now I'm going to spin. If my hand is stuck
in there, whoops, I didn't get it out soon
enough. That's okay. Don't worry. I just
take it out and I can delete that photo once we
get into the editing mode. You don't want to
rush it too much. Town. It's definitely not easy
to spin something in a circle and not have it
move forwards and backwards. I'm trying to make
sure that I look at that grid line and make it
stay consistent each time, but it's definitely not perfect. I would need a much
longer interval if I wanted to really
perfect this spin. Now it's basically back to where it was, so we'll stop that. We'll press next. Let's
see how it looks. Okay. Obviously, we have to remove the frames
where my hand is in. So let's go into
our timeline and just click that
photo, hit delete. I think there were
three of them. No. Two. Okay. Then I'm going to
go down here to speed and speed it up a bit. Let's see how it looks now. Maybe a little faster. Now, I also see a double
frame over here on the right. I'm going to delete the very last frame where it's too close to the same positioning
as the first one. Let's see. Now, the other thing I can do is make the
video boomerang. Instead of just looping, it can go back and forth. That's fun. Then I can
also adjust the coloring. If I brightness up, makes it nice and bright, maybe bring a little
bit more warmth. Let's see how that
looks. Love it. I can also adjust the size. It's nine by 16, which
is great for social, but if I wanted to crop it, I can do that, and then I
would just download my video. You'll definitely
notice there is a little bit of
flicker in the video, but it's not horribly
distracting, and it's definitely
a big improvement from the first one that we did. You'll notice that when we shoot a life lapse video and we
mix video and stop motion, that flicker won't be
as noticeable because it'll only be on the little
section that stop motion, not on the whole frame. So don't worry too much
about your lighting yet.
3. Foundations to Blending Stop Motion & Live Action : Now that you feel comfortable
making stop motion, it's time to make a
life lapse video. Let's mix a stop motion video
with live action video. Here's what I'm thinking.
The video is going to show me laying on the
couch, playing with my cat, just relaxing, and on the coffee table in
front of me is going to be books and a cup of tea
animating in a fun stop motion. The whole theme of this
is just going to be, these are my weekend plans, snuggling with my cat and
having tea and reading books. Let's be real. That
will happen during the 1 hour that my toddler naps. Cat is not required. That looks like a nice
place to lay down. Let's make the life lapse. First, I'm going to
create a new project. I'm going to choose
life laps this time. It opens up this
camera where you'll see I have those same
tools to lock exposure, focus, and auto white balance, and then I can press record. Remember, we're recording
one long video, I'm going to animate
the objects, and then I'm going
to jump in and do the live action video
portion with my cat. For this, it doesn't matter
which one we shoot first, whether I was going
to do the part with my cat and then
animate or vice versa. But since I'm
already right here, I'm just going to
animate first and then do the live action. I'm going to select
where the couches, lock exposure, focus,
and white balance. And then I will press record. Now it's recording. You see a ten minute
timer has started. I'm going to spin the
mug in a circle while I shimmy the top
book back and forth. The mug will do that and
the book will do that. I'm going to come in and do
two movements at a time. And then take my hand
out of the frame. I don't have to press
the shutter or anything. I'm just letting it roll.
Now I can come back. I really don't have to
remove my hand for too long, just like a second. Okay. Now my animation is done, and I've got to go
grab my cat model. The talent has arrived. Okay, so I'm just going to start my little motion of laying on the couch and sug
going with my cat. Hi, Hi. Can I have a kiss? I love you. Okay. And now, Misa, you can wrap, and I will stop the
recording. Okay. Now, you'll see
that I press next. And the first step is to extract my photos from the
animation part. Right before I start
moving this mug, I'll press this white button, and then you'll see down
here and number one, that means I have one
photo in my stop motion. Now, have the next one. And I'm making sure to
extract the photo in a moment where my shadow and my hand are
out of the frame. I'll click next. I have 11
photos in my stop motion. And now I will drag
this timeline to the live action video
portion of where I want it to start with
Miso and I on the couch. Okay. This is the part
where I'm going to get him. Here I have him. I'll start it. Like, right here. And then I will end it before
we get up right there. Okay. Now I'll click next. So then I click next
and the editor shows up and I go down to mask. Now, I can add a
mask and the goal is to over the stop motion
portion of the video. And then press play. Okay. I tricked you. I purposely framed this incorrectly to stress
how important it is that you do not have your live action video and
your stop motion overlap. See how this stop motion portion overlaps with where I'm
laying on the couch. We need to imagine that there is an invisible boundary line that separates the
stop motion portion of the video with the
live action part. We're going to reshoot
this and adjust the camera of b and
do it right. A.
5. Shooting & Editing a Life Lapse: So Let's create a new
project, a life lapse. Now, how do we make an
invisible boundary line? Well, if we just
raise this camera, you'll see this table can
be the boundary line, and then I will only be
on the couch behind it. If I just go up a little
bit higher and tilt down, and then I can move my subjects anywhere within
this boundary line where there is wood behind them. These can move like this. Should we go even higher? Yeah. Now I have more room
for my animation. And where Miso and I are
laying on the couch. We will not overlap with everything that's
happening on the table. Now that we are
angled correctly, let's choose the spot on
the couch for the focus, lock exposure, focus,
and auto white balance, and now we are ready to shoot. Mesos right there, but that's okay because we're only going to use the portion of the video where I'm with him on the couch, so we'll just leave
him there for now. I'm going to press record, and I'm going to go ahead
and do my animation. I'll move the mug and this book. And I'm totally just
eyeing the stop motion. I don't have the ghost layer, I don't have the grid
line. That's okay. A life lapse video is really all about the magic of the whole
thing coming together. And the animation doesn't
need to be perfect. It's still going
to look so great. Okay. Now that my animation is done, it's time for me to
get me so. Me so. Are you ready? We're
gonna lay down. And snug. I love. Are you
having a good day? I love you, and I'm so
happy you're my cat. Okay. And now he's off. And I will stop recording. Okay. Let's pull this
off the tripod and edit. So now that I've shot my video, I'm going to choose next and start extracting the
photos from the stop motion. First one is this. Now, remember, I'm
making sure to choose the spot where my
hand is fully out of frame. So I wouldn't want to do
like right here, obviously. Then you would see
my hand moving. Just make sure my arm
is fully out of frame. That's our last photo. We might end up having to delete a photo because the mug might have
some extra frames there. That's 21 stop motion frames. Then I'll click next and drag the video timeline to
trim just the portion of the live action video where M and M are. Okay. Go. There. And then I'll end
it before he jumps off. Now, I'll hit next. Now I'm in the editor. I
have my stop motion layer, my video layer, and the
first thing I'm going to do is add a mask. I can adjust the brush size and the hardness and a
good technique is to draw a relatively hard brush over your exact subject area. But then do a bigger
brush that is not hard and feather out the sides
so that you get a smooth Border. If we were to
just play the video, you would only see
the live action, we need to draw a
mask over where the stop motion is so that it reveals that stop motion layer. Okay. I'm also going
to erase the mask with a harder brush right at the edge of this couch just
to make sure I'm fully there, and then let's press play. Yeah, it's looking so good. One thing I do notice is the mug jitters right there at that start and end
point because like I said, I do have a couple extra frames. We can go back to the timeline and in the stop motion layer. I can see that this is where my mug ends and this
is where it starts, and that's too similar. I'm going to delete this
last frame. Let's see now. I'll probably delete this
one as well. There we go. Now when I press play, the mug goes in a
seamless circle. I'm also noticing that I can
fix my mask a little bit. The handle of the
mug was coming out, so I will add mask
and just add in over there where I need my
mug handle to be shown. Then I am going to
adjust the speed. I think my animation should
be a little bit faster. I think that's perfect. Now, remember, I also have these tools at the bottom where I can boomerang the stop motion, I can reverse it if I needed
to animate backwards. I can adjust the color and this will adjust
the entire video, not just the stop
motion portion, but let's bring
the brightness up. And maybe make it a
little bit warmer. Let's see. This is so cute. Me, you're a star. Wake up. Now, I'm going to
download the video. Now that it's in my camera role, I can go I can go into light room and now
within light room, choose my presets that
I use and go through and add even more color changes, and I can adjust the
amount of the preset. Then I can also do
more lighting changes, bring out the shadows, and brighten the whole
thing a little bit. If you download the
Light room app, you can use any of their
hundreds of presets, or you can find presets from your favorite
photographers or on ts, and it's really fun
to play around with. Then I'm just going to
save a copy to my device. This is my final video. Now I can go and post
this on Instagram. I can add music. So we
see what that looks like? That's a lovely. Oh, God. Algorithm. Accurate.
Not be more accurate. I'm going to go to Reels
Choose this video. Click next, and now
I can add music. Let's just see what's trending. Let's do it. Okay. Click next. Let's add some texts. I'm going to say weekend plans. This is what the
video will look like. Let's p. That is so cute. And I'm going to
save it as a draft.
6. Advanced Techniques (Overlap while shooting): I'm just getting my crops ready. I'm chopping up
pieces of banana. I have toast, and then I
have peanut butter ready. The toast will come into frame. Peanut butter will
get spread on top. Then little bananas will pop on, honey will drizzle, and
then I'll take a bite. The concept that I'm going
to shoot is going to be a plate coming into
frame in stop motion, a piece of toast pops on. It gets peanut butter spread. Then little bananas pop on
one by one, honey drizzles. That is all in stop motion, and then I will be sitting here, just sipping out of
my mug in video. Once that has all
animated in front of me, I'm going to put my mug down, pick up the piece of
toast and take a bite. I am interacting with
the stop motion. But only once the
animation portion is done. Because of that, I
am going to shoot the animation first so that it lands right
where I need it. Then I will begin shooting
the live action portion where I'll just sit here and pretend something's
animating in front of me, put my drink down and
grab the piece of toast. This is what we call a drop off because the stop motion gets dropped off and then I
interact with it in the video. There are also tons
of ways you could shoot a pick up where
it's the opposite. In video, let's say
I'm sipping my drink, I put this down and then the mug animates
doing something. Even though I am going to be interacting with the
stop motion scene in the beginning of the video
when that stop motion is happening and I'm
in live action video, I need to respect
the boundary line of stop motion
versus live action. That's going to be this table. I do not want to cross
over this while I'm sipping my drink because that's where the
animation is happening. And then after I'll
wait about five, 10 seconds, then I'll be able to cross over
and take a bite. And that way, it'll look like a seamless, really fun video. I'm going to get up and make
sure my camera is set up, the settings are all
ready and hit record. First, I am going to
tap where I'll be sitting, lock the exposure, focus, and auto white balance, and then I'm going
to press record. I move this away a little bit. Okay. So the plate is going
to start out of frame. There's some crumbs
on the table, whoops. And now I'm going
to start animating. Okay. Now I'm going
to pop the toast on. I'm going to spread
peanut butter on. Trying not to move the bread. I'll do like that, and then
I'll add a little more. It's if the bread
moves a little bit because peanut butter is getting spread on a little bit more. On the edges. Okay. Now I will pop the bananas on. Maybe one more little
one on the end here. Now we'll drizzle the honey. This might not show up great in the stop motion,
but we'll see. Just going to stop there and then have another frame
where it continues on. Now my stop motion
is done and it's time to do the live
action video part. My hands are a little
sticky, but that's okay. Okay. So I'm just going to
pretend I'm sitting here sipping my drink and
watching this animate. That delicious. Now, we're
going to stop the recording. Now, let's go edit. Okay. So my video ish. I will click next. And first, let's extract the sto. Okay. M. You get our video clip. Okay. Now it's time to mask, so we'll click mask, and we are going
to I'm going to do a relatively hard mask right around where the
stop motion happens. And then I will feather
it around the outside. Okay. So we can shorten
the video clip. Okay. So let's go
to our timeline and shorten the video. T. That'll be good. What we need to do here is use the move tool. Right at that moment,
my hand reaches in. If we click move. This top layer shows my
stop motion video and where that little cycle button is is where the stop motion
decides to loop and repeat. And instead, we're going
to trim it down and move it so that the stop motion
stops right when it finishes, and that way when I go reach in, as you can see right there. There is no more stop motion happening and there's
no longer that mask, and it works seamlessly. So when this stop
motion mask ends, the live action video then
takes up the full screen. Great. We can even make
our stop motion, go a little bit slower so that those end
at the same time. Did it jump. So now I'm adjusting and moving it to be right when it ends
actually a bit too slow, so we need to make it
speed up just a bit. So really, I'm just
playing around in here. So snap it right there. T Then I grab it perfect. Another tool you might
want to try is if your stop motion video and live action when that cut happens and the stop
motion is no longer shown, if there's a big change
in lighting or anything. You might want to try
using this Fade tool, which is this little
button right here, and then you can choose to fade the stop motion
out before it's completely not shown rather than just jumping to
live action video. But you'll see here in that
Fade, it's way too slow. It's like fading while the
animation is still happening. What you would need to do is
go into your stop motion. And at the very last frame
add a freeze for 3 seconds. Now we need to stretch
out all the way to that point where it
cycles and then our fade. Well, then our fade might work. Let's see. That works. Now, I'm also going to clean
up my mask a little bit. I'm just going to
erase some of the mask over here because
nothing really happens. Perfect. Now, I also want to
adjust the color. It's a little bit dark since there's definitely
a lot of light behind me. I'll increase the brightness and then I'll continue editing some color in light room or you can do whatever
preferred editing app you use. I can actually just copy
the edits that I did on this video and put them on this new one and
see if they look good. Yeah. Much better. I think I'll bring out
the shadows even more. Okay. Okay. Same.
Now, same thing. Let's just bring it
into Instagram and see what it looks like with us. So I'm going to add a
new real. Add audio. Let's see what other. It's a trending song if it
has that little up arrow. Happy meal. That should work. Okay. Okay. Here's
what it looks like. I love it. Aside from my
cheesy acting, it's great.
7. Idea Generation: Now that you know the technique of how to create a Life lapse. The question is, what
should you shoot that fits your brand or
small business? I created this chat GBT
plug in that you can use. First download the PDF
attached to this lesson and then go to chatbt.com.
It's free to use. You don't even need an account, and just copy and
paste the prompt from the PDF right into C chat GBT. Here it is in action. I built it in a way that will customize it for you
and your audience. I've asked it to ask you more
about what your brand does, who your audience is, what your tone is, and it will generate you a bunch of ideas. It will provide the
stop motion element and the live action portion, and it'll also give you
two viral hook ideas for the start of each video
in case you want to use them. Another way to get inspiration
is just by searching on Instagram and seeing what
other creators are making. The goal here is not
to copy other people, but to draw inspiration. For example, this concept with
the chip lighting on fire, that concept is
something going from raw to cooked with an
element in between. How can you apply that, not necessarily
with potato chips, but with anything else? If you do get
inspired by someone, please tag them, give
them a shout out, that's always nice to do. The last place to
get inspiration is from these featured creators. These are some of my favorite
stop motion artists. They are great at their craft, and they will get your
wheels turning on what the possibilities are
with stop motion.
8. 1 Month Free to Life Lapse Pro Features: You want to get
one month free to all the pro features
inside the LifeLps app. Just click this link or use the QR code, and
you're good to go.
9. What's Next?: Congrats, you did it. I am so proud of
you and I cannot wait to see the videos
that you create. Please be sure to post them on social media and tag me
at collet dot Perry, and use Hashtag Life lap so
that I can see your videos, and you can also look through that hashtag and get inspiration from your fellow classmates. I hope you feel so confident
in this new skill and start mixing video and stop motion whenever the
inspiration sparks. Don't forget that the
more practice you have, the better your videos will be. I know that sounds obvious, but especially with
this type of video, the more you just start shooting them and
getting the hang of it, the more you'll
really be able to conceptualize when this type of video works and how to make your videos better
and better each time. I was first starting
with stop motion, I reached out to other creators. I was struggling to figure out how to make my work better, and nobody was really
sharing anything. I hope that this course is
valuable to you in just pulling back the curtains and
showing you step by step, how to create this type
of captivating video. Because my career, eventually, as I took years and years to figure this stuff out, took off, and I now work with so many incredible brands and get to be creative every day. My hope for you is that you'll take what you've learned
in this class and you'll keep practicing and improving your craft
and having fun with it, and you never know where
it might take you.