Transcripts
1. Setting the Stage: Class Breakdown & Project: If you are anything like me, drawing relaxes
and inspires you. Every time I create, I
end up with this amazing, unique feeling unless
it looks ugly. Then I get a tantrum. So in order to avoid
that, I created these snack sized
sessions where we'll create a beautiful minimalist
illustration together. The best part, it takes
less than 30 minutes. Intrigued. Then join me for
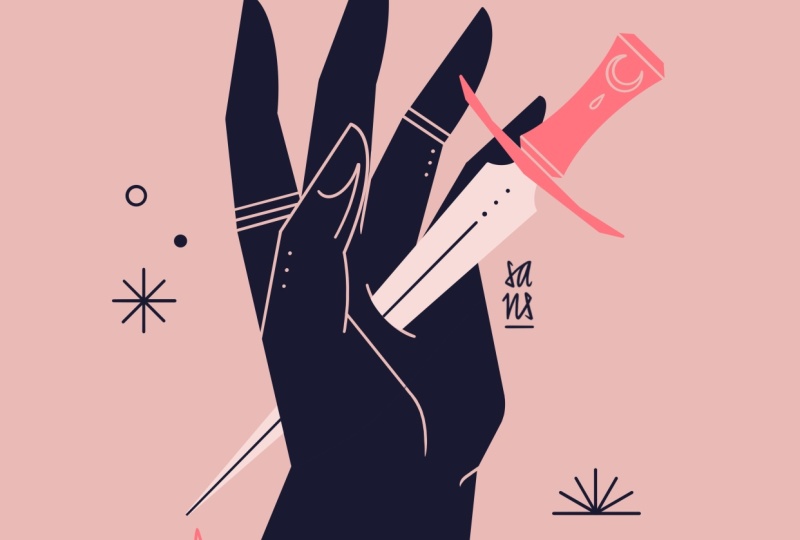
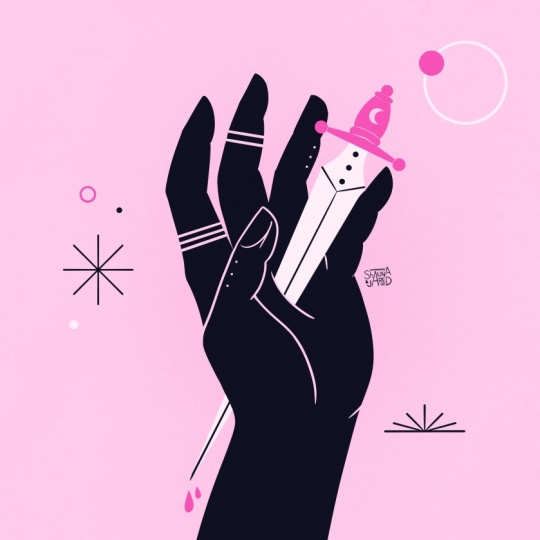
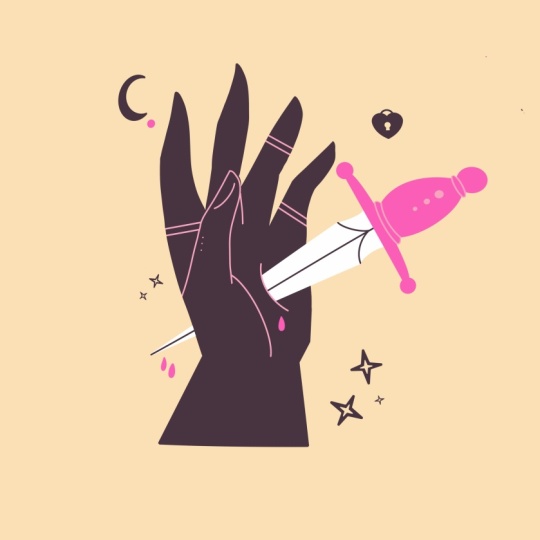
this minimal in minutes, where we will create this cool tattoo inspired hand
drawing together. Hello, and welcome everyone
to Minimal In Minutes, a series of mini classes designed for you
to relax, learn, and simply enjoy the
creative process without the overthinking drama. Believe me, I know what
I'm talking about. I release a new
session every month. So if you don't
want to miss out, follow me here on Skillshare. My goal is to always come up with something you'd love
to learn how to draw. So this month, I thought I'll
show you how I draw hands, as I draw them quite often. If you have suggestions
for me what to draw next, please drop them
in the comments. After the first lesson, you
will already have created a beautiful sketch that might
look something like this. The second session is designed to finalize your artwork and, of course, add some
much needed color. This class is filmed
in Procreate, but feel free to
use anything else. Now before we get started, here's a little
something about myself. My name is Sandra Staub, and I'm an illustrator, graphic designer, and muralist with over ten years
of experience. I recently turned
my other passion, beer into my profession by
becoming a beer semeler. So occasionally you will see me draw some beer
inspired items. Today. Today, I drew inspiration from traditional
American tattoo, something that actually
influenced my style quite a bit. So I hope you'll like that. I'm also raising teacher here on Skillshare when I'm not
working on client commissions. But let's keep this
short and simple and get right to the good
part, the sketching. I'll see you in the next lesson.
2. From Idea to Sketch: Create Your Minimalist Design — Fast & Easy: Let's start by
sketching the hand. I either use my own
hand as a reference or I pick a reference
photo to work from. I want the hand to be something like this and the dagger
to go through here. So what I do is breaking down the hand into
geometric shapes. Let's start with the palm. It looks something like this. Now I'll start
adding the fingers. You can break them
down basically into rectangles, as
you can see here. It helps me as well, thinking of where the next finger
actually starts, even though this
line will not be visible in the final artwork. I might have drummed the finger together a little
bit too closely, so I will redistribute them because I want the palm
to be definitely visible. That looks pretty okay so far. So now all I have to
add is the thump. Usually, that's a little
bit tricky for me, but I hope that you will not struggle quite as much as I do. Again, using my own hand as a reference comes in very handy. And here we go. Now, that
wasn't so hard, was it? I'm just going to
scoot over the thumb a little bit so I get
a bit more of palm. This part is fine,
so I can leave that. Alright, of course, this
sketch doesn't really look like what we want it
to look like in the end. But I proceed from here by creating a duplicate
of this sketch. I talk about the
visibility of one of them, and put this one
in a transparency. Then start adding some style to this hand because you might
know that when I draw hands, they don't really
look like this. They look more polished. So
let's give them some style. I usually draw these
pointy fingertips, but you can give them any
kind of style you want. Of course, now we're
also going to eliminate these lines here that were
merely meant as guides for us. Now with all these lines
that we're guiding us, we can see if the proportions
are actually right or if there are some adjustments
that we would need to make. In this case, the fingers are a little bit too long
compared to the thumb, and also the wrist is a little bit too wide.
Let's fix that. We simply adjusted a few lines, and it's already
looking much better. It still feels a little
bit too long, though, so I will simply
make it a little bit shorter like this by scaling
it with the free form tool. Now, what do you think?
How does it look? The ring finger still feels a little bit too thin
compared to the other ones, so I'm fixing that quickly. And maybe the little finger could come a little bit closer. Actually, I liked
it better before, so I'm just going back. Now, this part still looks
a little bit odd to me. So maybe let's just change
this a little bit, as well. That looks much better. Let's scoot around the
thumb a little bit to see if it looks
better or worse. I think it was actually in
the right place all along. So let's leave it here and maybe rather experiment
a little bit what happens if we mess around
with the index finger. Right, and that was it.
That's what fixed it. You can see that
the hand changed quite a bit from
the initial sketch. But the structure is more
or less still there. Now I can move on to
adding some details. So in my case, I'm going to draw a dagger through the palm. But you can draw other
things if you feel like it. Since I'm a minimalist
illustrator, I will draw my dagger
using the symmetry tool. I've never really drawn a dagger, so I'm
just kind of, like, seeing what works
and then mixing and matching with some style
elements of my illustrations. This seems like a
pretty good start, but I kind of wanted to be a little bit
more minimalistic, so it matches a bit
better my style. Yeah, that feels
much more like me. I added a diamond up
here just for funsies, but I think I'm gonna
replace it with a moon. Now let's place it through the hand and
finalize our sketch. Now let's add some little
details like some drops. Have you've been watching
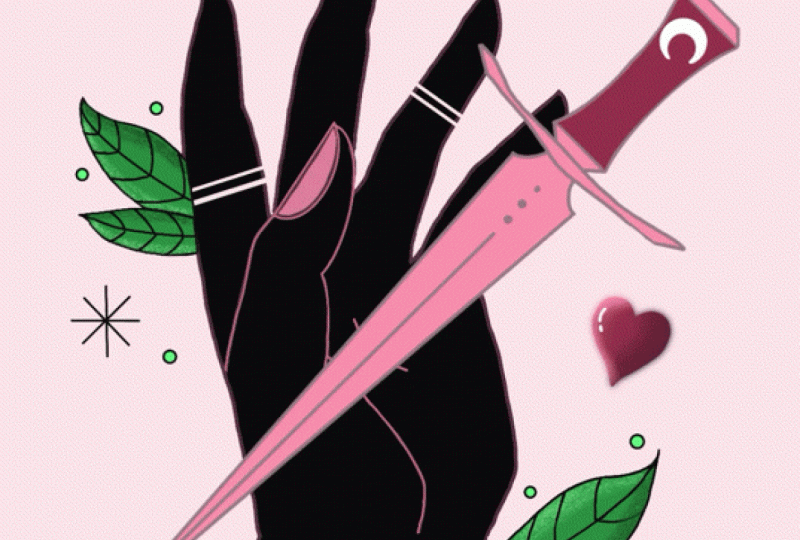
my videos for a bit, you know that I love drops. A I added some leaves as well, but honestly, they don't really go with the
vibe, I think. And that's the thing about
minimalist illustration. I rather leave out what doesn't fit and spend some extra time to maybe find
something that does fit because without the leaves, the composition just doesn't
feel quite balanced. Alright, I'm pretty
happy with my sketch. So let's finalize
this illustration and also add some color. Don't forget to
share your sketch in the class project because I
would surely love to see it. Don't miss out on the second
part. I see you there.
3. From Sketch to Artwork: Polishing Your Minimalist Design: Alright, welcome back
to the second part. Now we're going to
finalize our illustration and add some much
needed color to it. I start by redrawing every single element of
my sketch on a new layer. That gives me flexibility
in the coloring part. Pick a dark color for that that contrasts well with
your background color. In my case, I use a light
pink and a dark blue, but you can use any two
colors that contrast well. So, for example, a dark green and a light orange
or a salmon color. It could also be a deep purple and maybe a soft mint color, but feel free to use any color
and revise them later on. I quickly redrew the dagger, as well, because it's going to be overlapping with the hand. Before I add the color
fill to my hand, I wanted that to be ready. Now I just drag and
drop the color, put the layer in transparency, and I will draw the lines of the hand that you
currently cannot see. I add a new layer, and turn
it into a clipping mass, and I use the background
color for that. Now let's redraw the
tiny decorative elements that balance out
the composition. Don't worry too much
about color just yet. I think in order to balance
the composition out, the handle of the
dagger will also need to be solid fill color. I proceed just how
I did before by adding some lines
on a clipping mask. Now, let's do the same
for the dagger as well by using the background color as the color for the details. Now all there is left to do is maybe fixing some tiny details, maybe add something more
to the hands to make it a bit more interesting for
the viewer, and that's it. I'm thinking of
putting the color of the lines in the dagger, maybe in the color of the hands in the darker color.
Let's see what happens. I think it helps,
but maybe we can also put the dagger
in a different color. For now, I'm only
using four colors, the background color,
the darker color, and the accent color. And, of course, the color white, but that's always kind of like an in between color for me. So it's an easy go too if you're kind of stuck with
your color selection. I feel like the dagger
is a bit too dominant, so I want to see what
happens if I put it in a slightly lighter version
of the background color. I quite like it,
but I want there to be just a little
bit more contrast. So I'll adjust the brilliance
and saturation just a bit. Yeah, this feels
really good to me. I added color to
certain shapes on my canvas as well to balance out the composition
a bit further. And now, last but not least, I could add a couple of
decoration to the fingers. Well done. We've finished our minimalist hand
drawing with a dagger. Now join me in the
next lesson for a quick wrap up.
I see you there.
4. Course Recap: Wrapping Up Your Minimal in Minutes Experience: Well done, you made it to
the end of this class. I hope that means that you have a beautiful hand
illustration ready to share with us in
the class projects. And don't forget to
add your signature. I really hope you enjoy creating today's minimalist
illustration and gain some useful insights
into my workflow. As always, if you have suggestions for what to
draw in our next sessions, please leave them
in the comments. If you like this session and
want to watch more of them, you can join my patron
to get early access. You can also find
the wallpaper pack of today's illustration, as well as some other cool
goodies and exclusive content. Of course, you can also find all the previews minimalist in minutes sessions right
here on Skillshare. If you caught the
minimalist bug, check out my other classes
here on Skillshare. If you hit the Follow button, you'll never miss out
on my newest classes. Thank you so much for watching and for creating with me today. I hope you feel relaxed and inspired for the
rest of your day. See you next month. Bye.