Transcripts
1. Lesson 1 : Class introduction: Hi, everyone.
Welcome to my class. My name is Iva, and I am the designer behind
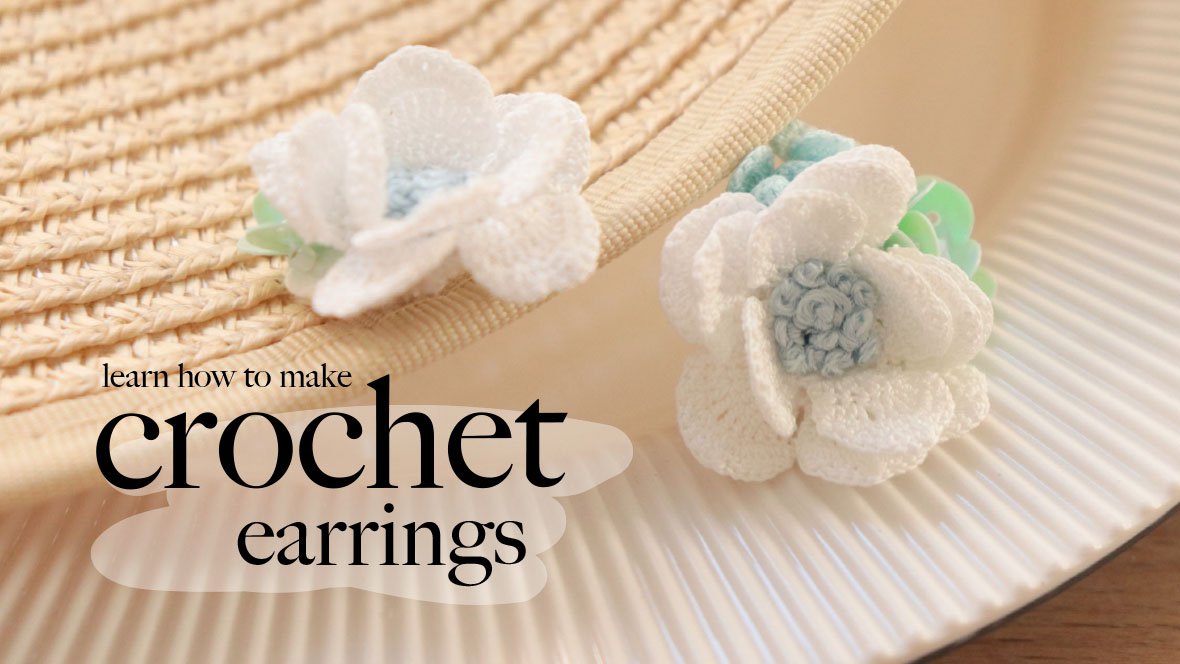
Hanna Crochet design. In this class, I will
show you how to create these beautiful crochet
flower earrings using very fine crochet
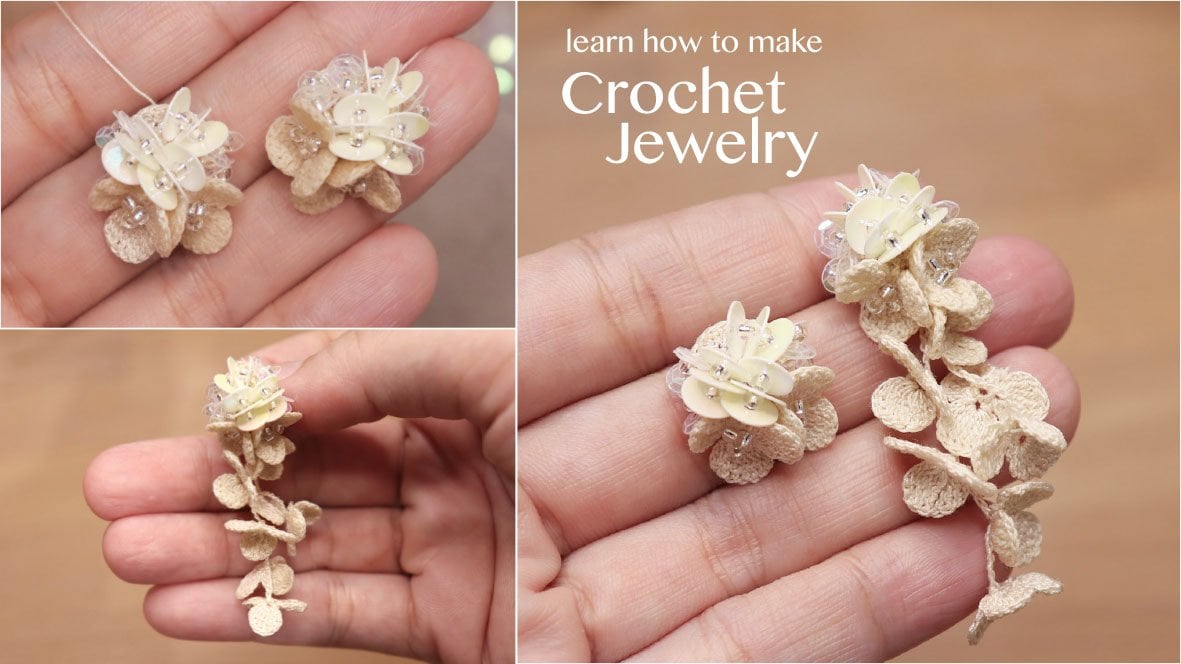
tread and delicate details. We'll start by going through all the materials you need
to make the earrings, including the tread, hook, beads, ear studs, and
other jewelry findings. Then I'll guide you step by step on how to crochet each
flower one by one. You learn how to make
the tiny flowers, shape them nicely, and
prepare them for assembly. After that, I'll
show you how to put all the crochet flowers together to create the full
earring design. We will also attach the ear stud securely and finish the back
of the earrings neatly. So they will look beautiful
and comfortable to wear. This class is perfect
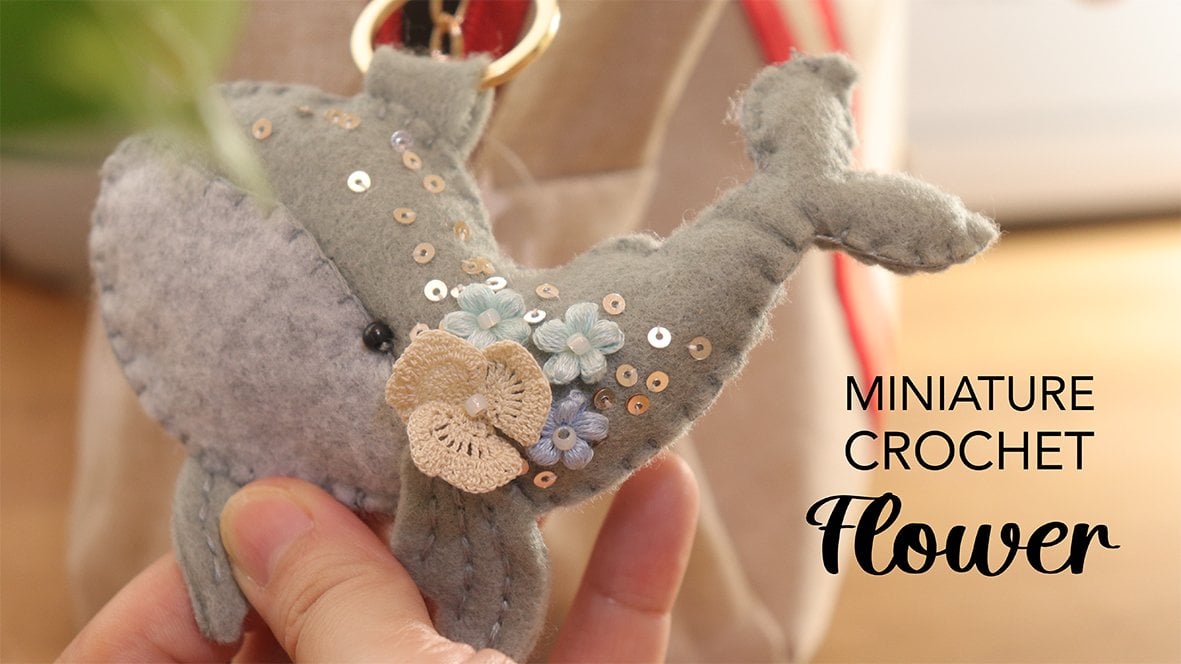
for anyone who love miniature crochet
handmade jewelry and detailed floral designs. By the end of this class, you will be able to create your own Aldon crochet
flower earrings from start to finish. So prepare your materials, and let's start
crocheting together.
2. Lesson 2 : how to crochet 3 petals flower: I'm using crochet
trot number 80 from DMC and 0.5 millimeter hook. But on this tutorial,
I'm going to use sticker trot so you all can
see the stitches clearly. We will study the magic circle, wrap the yarn over your finger, insert your hook
underneath the first yarn, and then grab the second yarn, tweeze, and then chain one. And in this magic circle, I'm going to make
six single crochet. This is your first
single crochet. Two. Three, four, five, and last 16. Next, I'm going to tighten my magic circle by pulling
the tail off the tread, and then I'm going to join the
circle with a slip stitch. We're gonna start
with our first pate. I'm going to chain three. Then after that,
I'm going to make a trouble crochet
in the same stage. Next, I'm going to make five double trouble crochet
in the same stage. This is your first
double trouble crochet. Two. Three. Four. And last one, five. After that, I'm going to make a trouble crochet
in the same stage. After that, I'm going
to chain three, one, two, three, and then I'm going to make a slip
stitch in the same stage. And this is how our
first petal looks like. Next, I'm going to make a slip
stitch in the next stage. Another slip stitch
in the next stage. Then I'm going to
make my second petal. The pattern is exactly the
same as our first petal, so I'm going to chain tree, then make a treble crochet
in the same stage. Next, I'm going to make five double trouble crochet
in the same stage. This is your first
double trouble crochet. Two. Three. Four. A last one, five. One trouble crochet
in the same stage. After that, I'm going
to chain three, one, two, three, and then I'm going to slip stitch
in the same stage. Next, I'm going to make one slip stitch in the next ditch. One more slip stage
in the next ditch, and then we're going to
start with a third petal. The pattern is exactly the
same as the other petal, so I'm going to speed
up the video and come back after I finish
with my third petal. We're almost finished
with our third pateo. Next, I'm going to
chain three, one, two, three, and then I'm going to make a slip
stitch in the same stitch. Next, I'm going to make one more slip stitch into
the next stitch. And that's it. To finish it off, I usually tie knot twice,
and then with the end. And this is how the
flower looks like if you're using crochet
tread number 80. Watch my next video to see how I create
this flower train.
3. Lesson 3 : how to crochet puff flower: This lesson, I'll share with you how to crochet
this puff flower. To crochet this flower, you will need 0.5
millimeter crochet hook and also embroidery
floss of your choice. There are six strands in a
skin of embroidery floss. To make this flower, you
will only need one strand, so you will need
to separate them. To make it easier,
I like to wind each separated strand onto an
embroidery cut like this. Start with a magic ring. Insert the hook underneath
the first tread, pull the second thread
underneath the first tread, twist your crochet
hook and chain one. Gently loosen your magic ring, and we will start
with our petal. Yarn over and insert your
hook in the magic ring, yarn over and pull it through. That's my first loop. And
this is the second one. Yarn over, insert your
hook in the magic ring, Yarn over, pull it through. And that's the second loop. Keep repeating these steps until there are ten loops
in the magic ring. This is my third loop, and now I'm making
the fourth loop. And now I'm making the
fifth loop, Y over, insert your hook inside
the magic ring, Y over, pull it through, and
this is the sixth loop. This is the seventh loop. And this is the eighth
loop. The ninth loop. And here's the last one
which makes the tenth loop. Hold the magic ring with
your pinky finger and gently pull all the loops towards
the tip of your crochet hook. Now I'm going to yarn over, pull through all
the loops together. Yarn over, and make
a slip stitch. And make five chains. One, two, three, four, five, insert your hook
into the magic ring, yarn over and pull
through the loop. And that is our first petal. I will make the second petal. Y over, insert your
hook in the magic ring, yarn over and pull it through.
That's my first loop. And this is my second
loop. The third loop. This is my fourth loop. The fifth loop, sixth loop, and this is my seventh loop. This is eight loop
the ninth loop. And this is the last one, which is the tenth loop. Hold the magic ring with
your pinky finger and pull all the loops towards
the tip of your crochet hook. I will yarn over and pull
through all the loops together. And then yarn over and
make a slip stitch. Then I will make five
chains, one, two, three, four, five, and then insert your
hook into the magic ring. Yarn over and make
a slip stitch. And that's it. The second petal is complete. Repeat the same steps for
the remaining petals, and there will be five petals
in total for each flower. Here I'm making my first
loop for the third petal. This is the second loop, the third loop. The fourth loop. This is number five, six loop, seventh loop, eighth loop, ninth loop, and this is
the last one tenth loop. Hold the magic ring with
your pinky finger and pull all the loops towards
the tip of your crochet hook. I will yarn over and pull
through all the loops together. Then yarn over and slip stitch. Then I will make five chains, one, two, three, four, five, insert your hook
into the magic ring, yarn over, and make
a slip stitch. And that's your third petal. Repeat the same steps for
the remaining petals. I will speed up the video and come back once I'm done
with the last one, which is the fifth petal. I'm almost done with
my fourth petal. I gently push all the loops towards the tip of
my crochet hook. And then I will yarn over and pull through all
the loops together, yarn over and slip stitch. We will chain five,
one, two, three, four, five, insert your hook
into the magic ring, yarn over, and make
a slip stitch. And that's your fourth petal. Now I'm making the last petal, which is the fifth petal. And I'm almost done with my last petal. Gently push all the loops towards the tip of
your crochet hook, yarn over and pull through
all the loops together. And we're going to yarn
over and slip stitch. Make five chains,
one, two, three, four, five, insert your
hook into the magic ring, yarn over, and make
a slip stitch. Trim your thread here, make
sure to leave a few inches of allowance as we will sew the
flower onto the whee's body. Gently tighten the magic ring by pulling the tail
of your thread. Shape the flour while
tightening the magic ring. Be extra careful as embroidery
thread is very delicate. And that's it. Our puff
flour is complete.
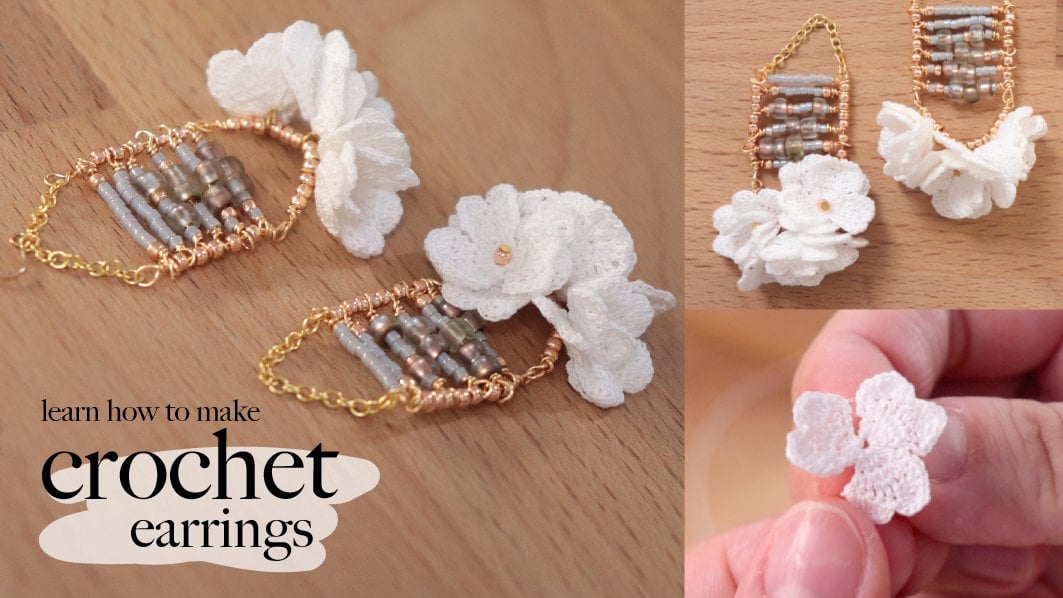
4. Lesson 4 : how to assemble the flower earrings: I'm using sewing interfacing, or you can use any
other hard fabric for your earring space. Next, prepare all the flowers that you have crochet before, secure it with knots and
cut the access tread. We're going to sew the flour one by one onto the earrings base. And you can also incorporate
different kind of bits. I'm using Swarovski bits here. Read your needle, bring it up through the
base of the earring, then pass it back down and
tie a knot to secure it. Take your crochet flour, insert the needle
through the center. Do not pass the needle back through the
center of the flour. Instead, insert it through
the side of a petal. Do these steps a few
times to secure it. I will add a seed bed to
the center of the flour. I'm using 15 Tho
bits in gold colour. Now we're going to sew this
darker blue crochet flower. I have a variety of Swarovski bids in different
sizes and shapes, and I'll be incorporating
them into my earrings design. Next, I'm going to sew on this tree petal crochet flour made with the MC number
80 crochet thread. And this will be our
last crochet flour. To fill the empty space, I will add some
transparent tohubits and six millimeter flat sequins. The final step is
adding the tassel, but if you prefer an everyday
version, you can skip this. And you want to make
sure your earrings mirror each other as a pair. So I'm going to add the
tassel at this side. Place the tassel at the
back of the earrings base, and then sew it
securely onto the base. Watch the next
video to see how I attach the ears statut
and finish the earrings.
5. Lesson 5 : how to attach the ear stud and finish the earrings: Cut out a circle the same size as the earring space
using interfacing fabric. Take the stainless
steel ear stud and push it through the circle
base you just cut out. Apply a small amount of
glue to the backing, then attach it and secure everything together
with blanket stitches.
 Hanacrochetdesign Eva Widjaja, hanacrochetdesign