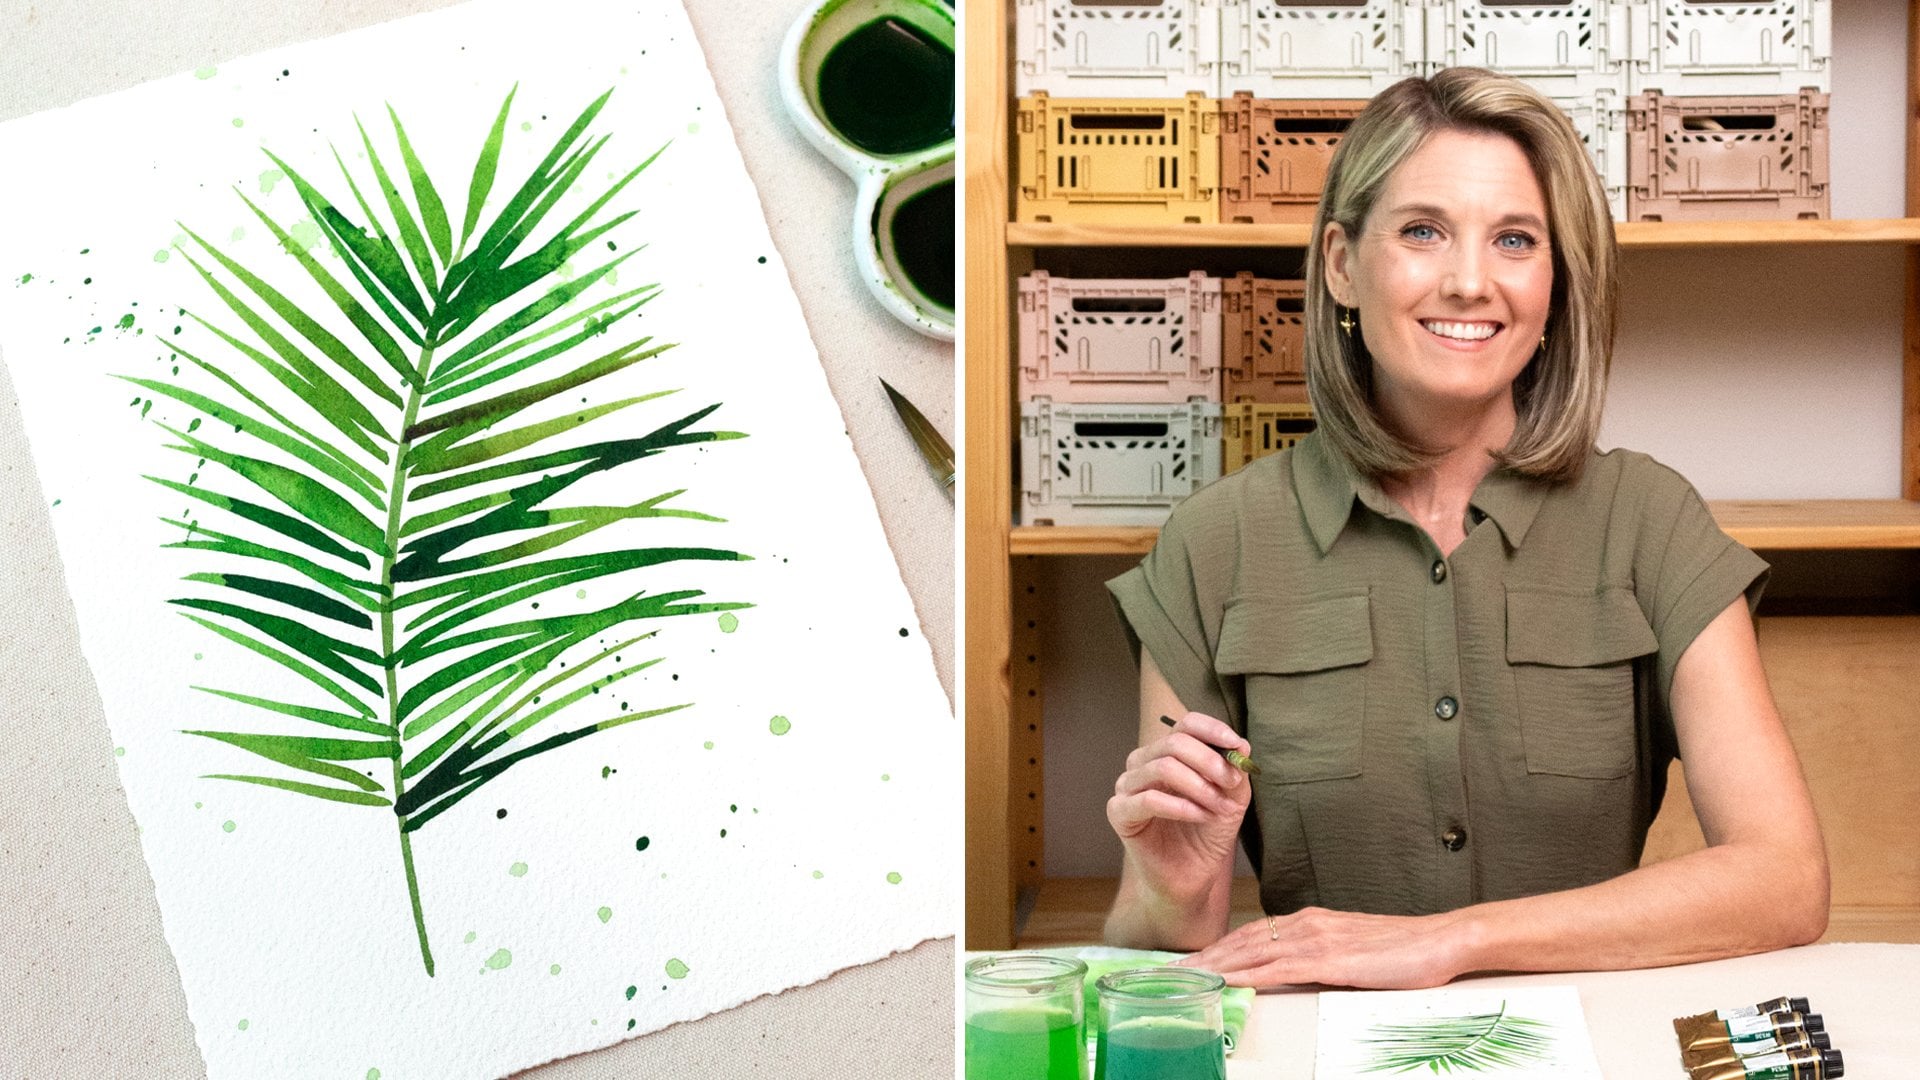
Mini Class: Painting a Vibrant Bird of Paradise in Watercolor
 Jenny K @livingpattern, Watercolor Artist & Teacher
Watch this class and thousands more
Watch this class and thousands more
Lessons in This Class
-
-
1.
Welcome & Class Overview
0:41
-
2.
Essential Materials & Supply List
0:55
-
3.
Step-by-Step Bird of Paradise Watercolor Tutorial
5:27
-
4.
Share Your Paradise: Conclusion
0:45
-
-
- --
- Beginner level
- Intermediate level
- Advanced level
- All levels
Community Generated
The level is determined by a majority opinion of students who have reviewed this class. The teacher's recommendation is shown until at least 5 student responses are collected.
104
Students
9
Projects
About This Class
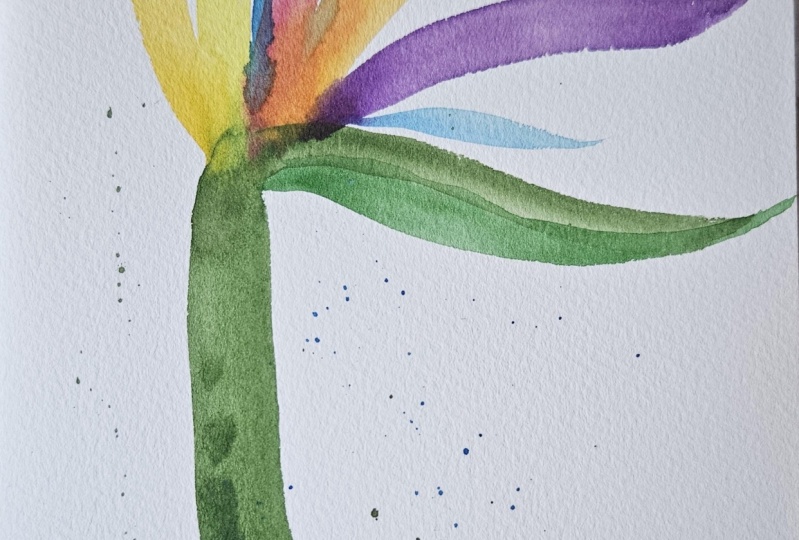
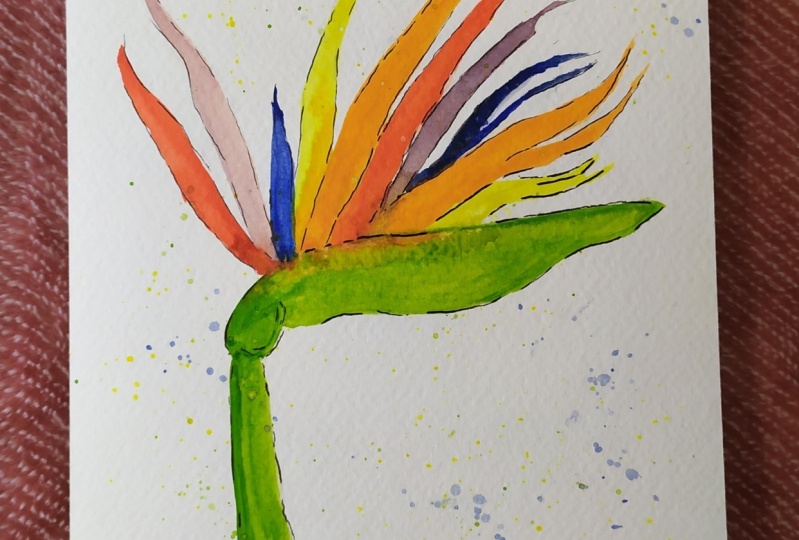
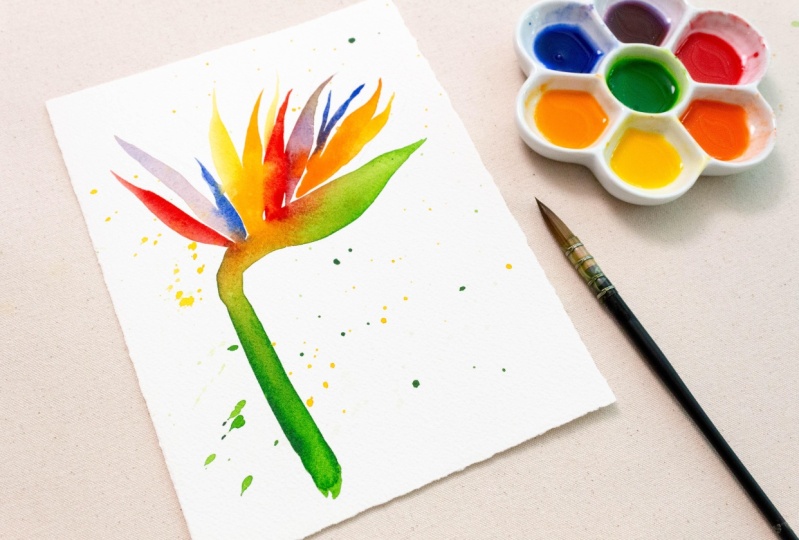
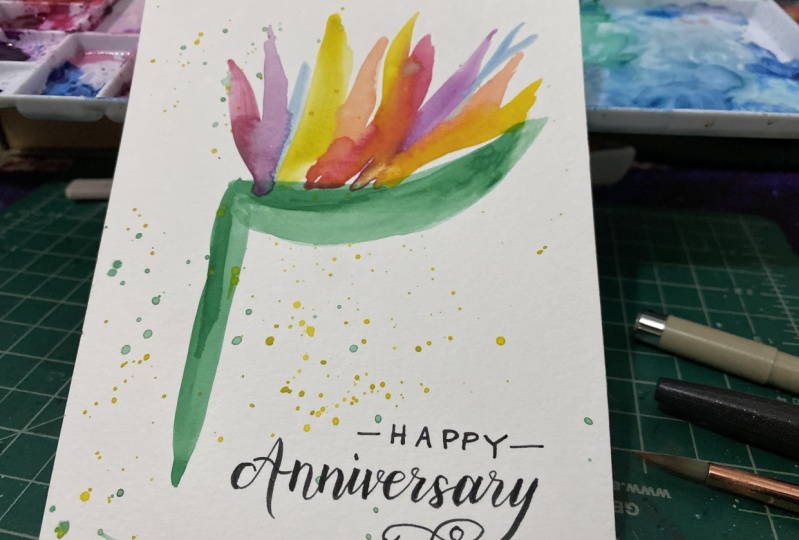
In this mini class, I'll teach you how to create a vibrant Bird of Paradise flower using modern watercolor techniques. We'll focus on capturing the bold, exotic beauty of this tropical flower using a wet-on-dry technique that preserves crisp edges while allowing for expressive mark-making. Starting with a simple sketch to capture the flower's distinctive shape, we'll move through color mixing to achieve vibrant shades, and finish with energetic paint splatters that bring the whole piece to life. In just under 10 minutes, you'll create your own slice of paradise!
Some sample lessons:
- Materials & Supplies
- Mixing Tropical Color Combinations
- Wet-on-Dry Technique Demo
- Adding Crisp Details
- Creating Dynamic Splatters
- Tips for Vibrant Color Application
Who this class is for:
- Perfect for beginners to intermediate artists
- Ideal for anyone who loves tropical botanicals
- Great for those wanting to learn quick, impactful techniques
This class is useful because:
- You'll master the wet-on-dry technique for creating crisp, bold shapes
- Learn how to mix and blend vibrant tropical colors
- Develop confidence in creating dramatic botanical forms
- Perfect for creating frame-worthy art in a short time
Materials & Supplies: Link to my curated supply list for this class: Shop Supplies
- 6" x 8" Arches 140 LB Cold Pressed Watercolor Paper
- Watercolor Tubes - Permanent Red, Orange, Permanent Yellow Light, Ultramarine Blue, & Sap Green
- Watercolor Palette
- Quill Watercolor Brush - Size 3/0
- 2x Water Containers
- Squirt Bottle
- Cotton Rag
- Pencil & Eraser
- Reference Sketch (provided)
Helpful Links:
- Link to my curated supply list for this class: Shop Supplies
- Follow me on Instagram: @livingpattern
- Follow me on Pinterest: @livingpattern
- Visit my website: livingpattern.studio
- Visit my Skillshare Profile: SkillshareProfile/LivingPattern
Meet Your Teacher

Hi there ~ Nice to meet you! I'm thrilled to be offering my online classes here on Skillshare. I'm Jenny K, also known by my pen name Living Pattern. As a watercolor artist & teacher residing in beautiful South Florida, I find endless inspiration in the tropical surroundings for my botanical paintings. My work celebrates the intricate patterns found in nature, translated into vibrant and colorful art.
After studying illustration with a minor in painting at the renowned Savannah College of Art and Design, I honed my skills as a textile designer for Carter's and a creative display designer for Urban Outfitters. These experiences sharpened my unique eye f... See full profile
Hands-on Class Project
Your class project is to create your own vibrant Bird of Paradise watercolor painting!
Start by following along with my demonstration to get comfortable with the techniques. The wet-on-dry method we'll use is perfect for capturing the bold, geometric shapes of the Bird of Paradise flower. Don't worry if your lines aren't perfect – the beauty of this style lies in its loose, expressive nature.
Begin with a light sketch of your flower's basic shape (my sketch is available as a download), focusing on the distinctive beak-like spathe and the fan of leaves. Then, follow the color mixing demonstration to create your tropical palette. Work one section at a time, starting with the main flower structure and building outward to the foliage. Save the paint splatters for last; they'll add energy and movement to your piece.
Always test your colors and techniques on scrap paper first. This will help you get comfortable with the paint consistency and brush control needed for those bold, confident strokes.
I'd love to see your finished piece (or work in progress) in the project gallery! Tag me @livingpattern and use #livingpattern to be featured on my Instagram account.
Project Resources:
- Reference: Bird of Paradise Sketch
Class Ratings
Why Join Skillshare?
Take award-winning Skillshare Original Classes
Each class has short lessons, hands-on projects
Your membership supports Skillshare teachers
Learn From Anywhere
Take classes on the go with the Skillshare app. Stream or download to watch on the plane, the subway, or wherever you learn best.