Mini Abstracts | Absolute Beginner | Gouache Acrylic or Watercolor | Holly Tomas Art | Skillshare

Playback Speed


1.0x


  • 0.5x
  • 0.75x
  • 1x (Normal)
  • 1.25x
  • 1.5x
  • 1.75x
  • 2x

Mini Abstracts | Absolute Beginner | Gouache Acrylic or Watercolor

teacher avatar Holly Tomas Art, Watercolour | Gouache | Mixed Media | Scotland

Watch this class and thousands more

Get unlimited access to every class
Taught by industry leaders & working professionals
Topics include illustration, design, photography, and more

Watch this class and thousands more

Get unlimited access to every class
Taught by industry leaders & working professionals
Topics include illustration, design, photography, and more

Lessons in This Class

    • 1.

      Welcome!

      1:14

    • 2.

      Materials

      1:22

    • 3.

      Taping Off Our Page

      0:49

    • 4.

      Random Paint Selection

      1:00

    • 5.

      Our Class Project

      7:26

    • 6.

      The Big Reveal!

      2:10

  • --
  • Beginner level
  • Intermediate level
  • Advanced level
  • All levels

Community Generated

The level is determined by a majority opinion of students who have reviewed this class. The teacher's recommendation is shown until at least 5 student responses are collected.

26

Students

2

Projects

About This Class

When we're learning anything new, there's often a great deal of frustration! There's so much hitting us all at once.... composition, colour mixing, brush strokes and so on...
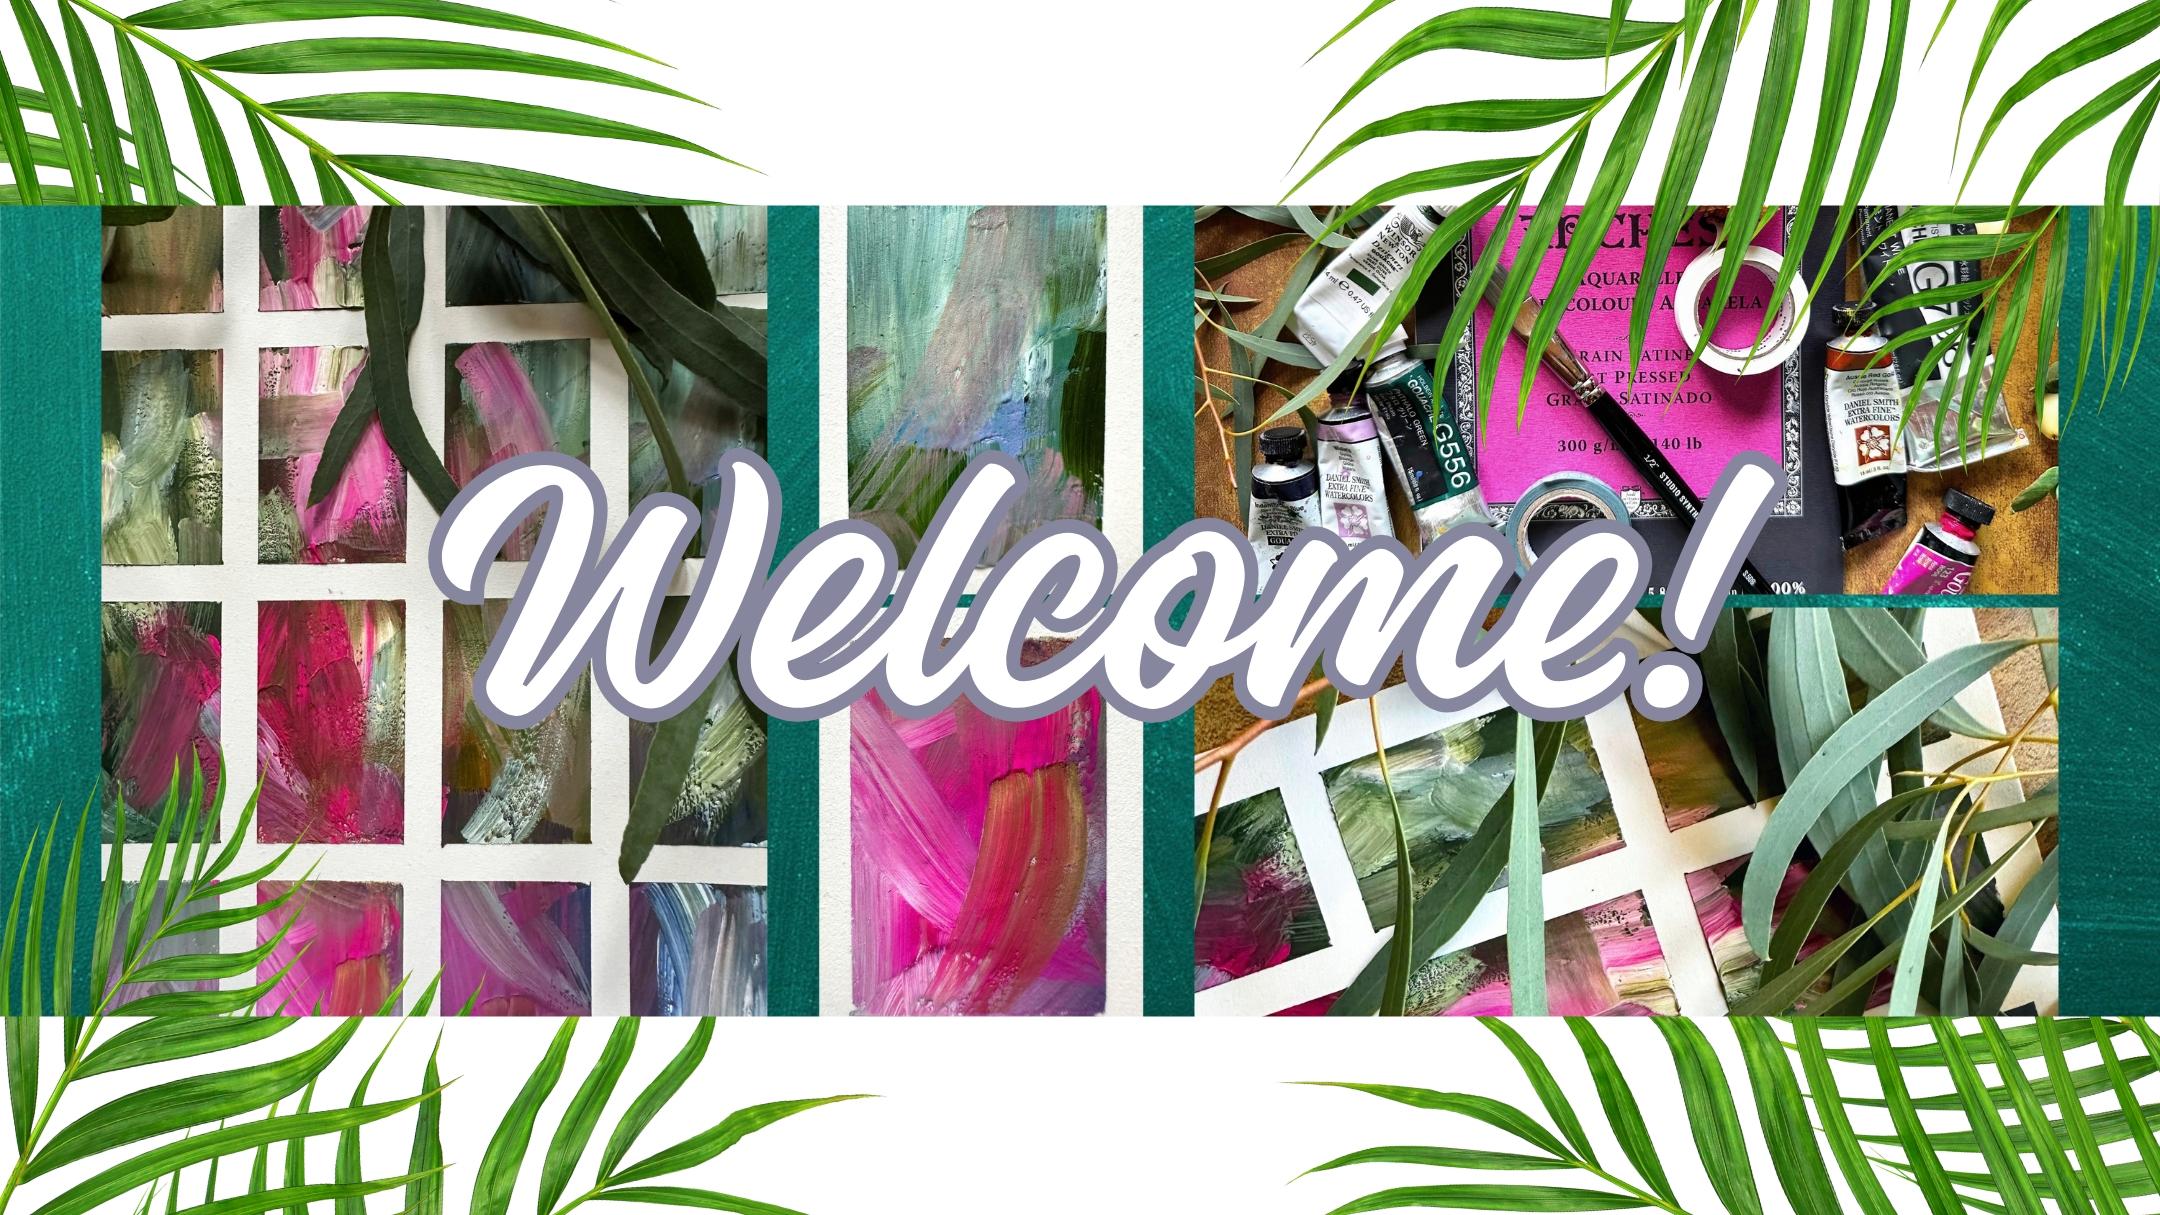
So, let's take a breath, and paint completely unfettered by any 'oughts or shoulds'! Let's paint like children paint, absorbed solely by the act of painting alone.

Masking tape is our friend here, as that will give us easy compositions. The colours will take care of themselves, as we're going to pick up paints randomly and perform simple brush strokes throughout!

Welcome to this Absolute Beginner Mini Abstracts class! All you need for this class, is your favourite paper, one brush (I'm going to use a flat brush) a few paints and masking tape.

You will need thick paint: from a tube, for best results. You could use acrylics, gouache, thick watercolour or poster paints.

Once you've done one of these, and experienced how easy this exercise is, you may find you want to continue to experiment!

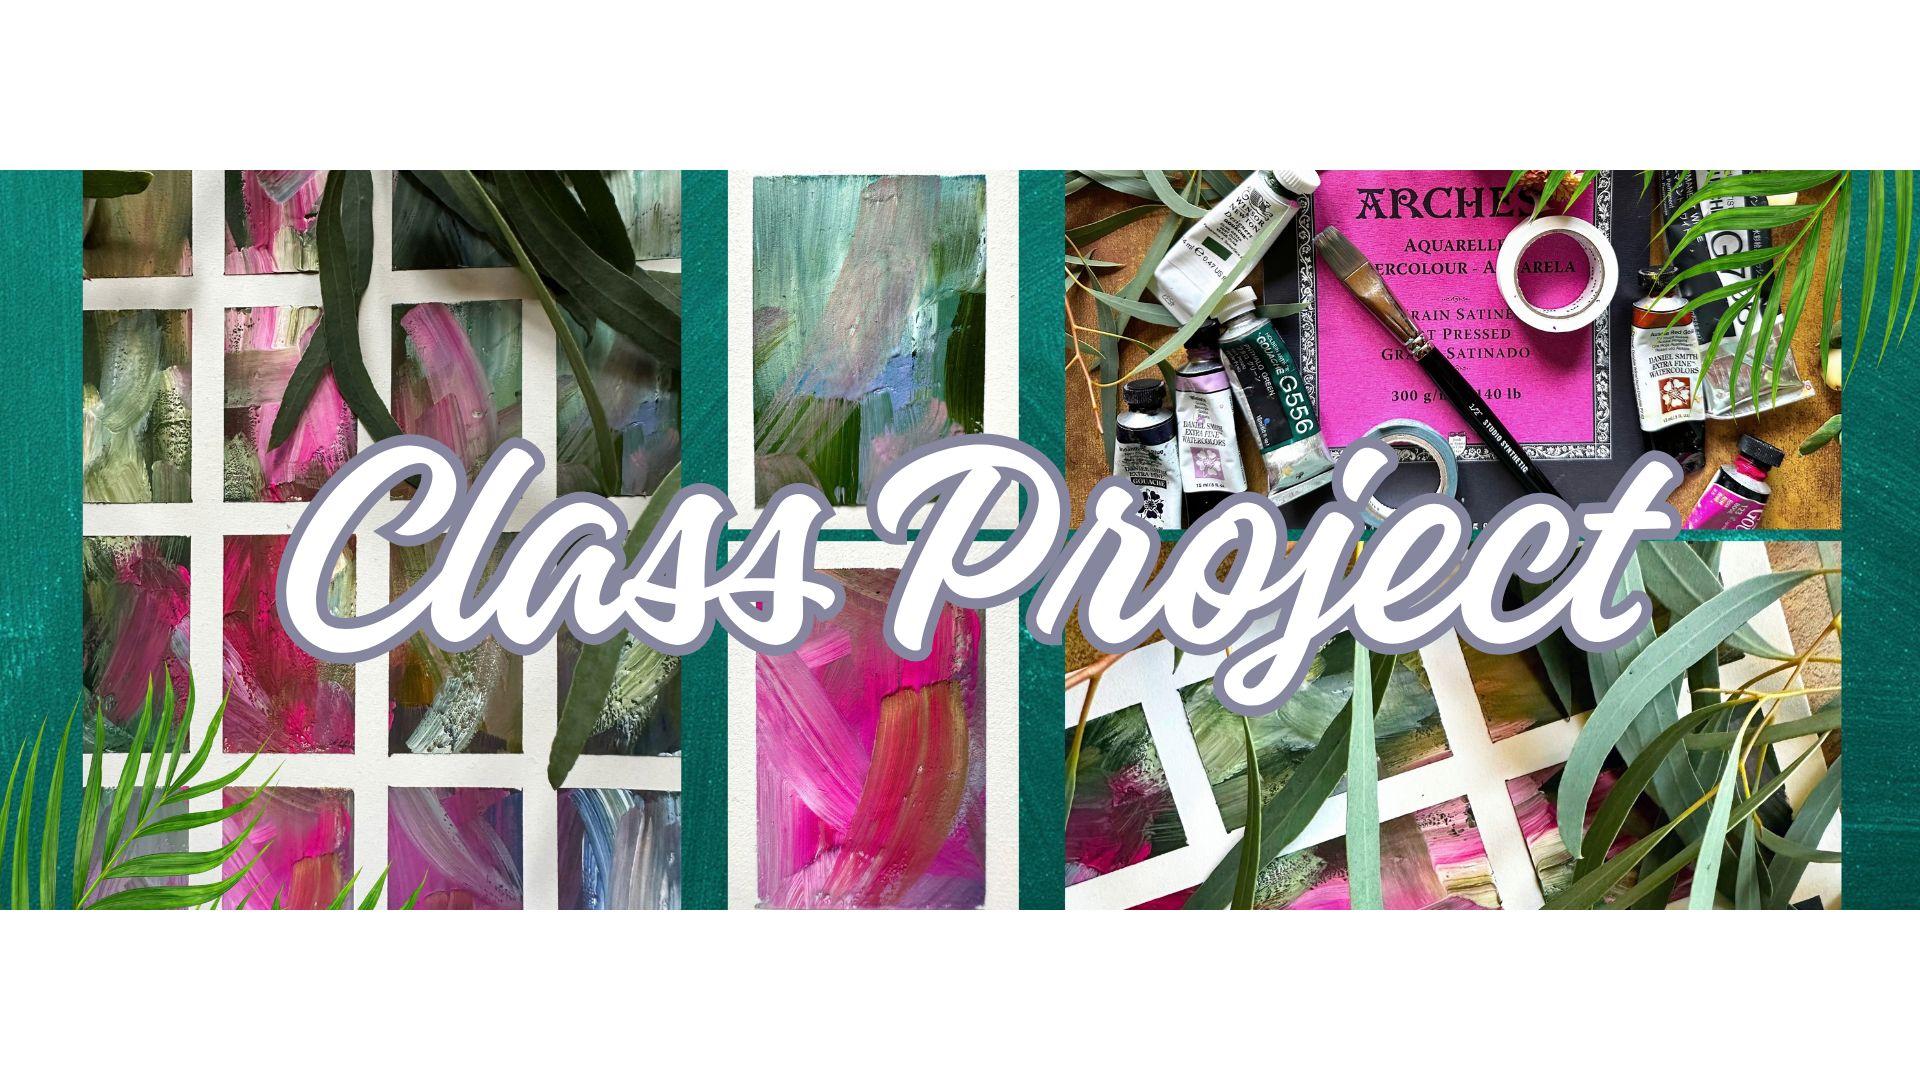
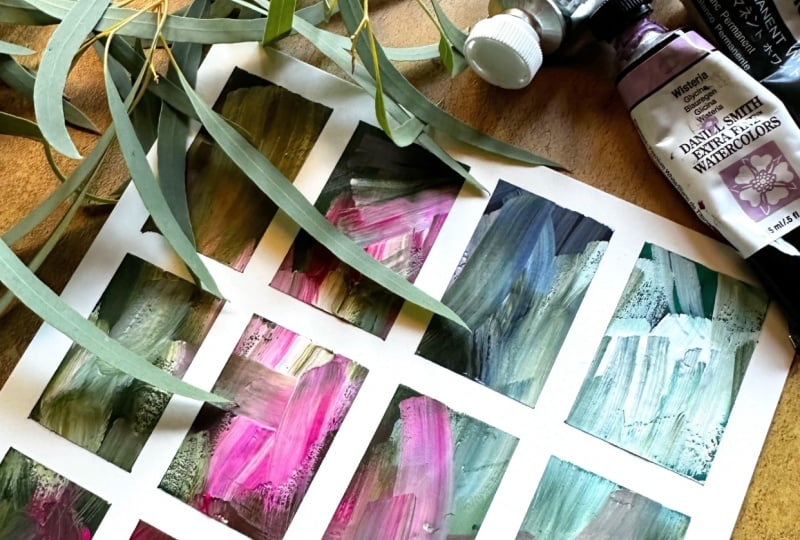
At the end of this class you'll have a page of mini abstract studies, which you could frame as is, or cut down into separate little paintings.

Don't forget that you can share your project with the Skillshare Community! There's lots of support and encouragement coming your way, and, as always, you can contact me via our discussion section underneath the class, when you upload your project, or over on my Instagram page: Holly Tomás Art
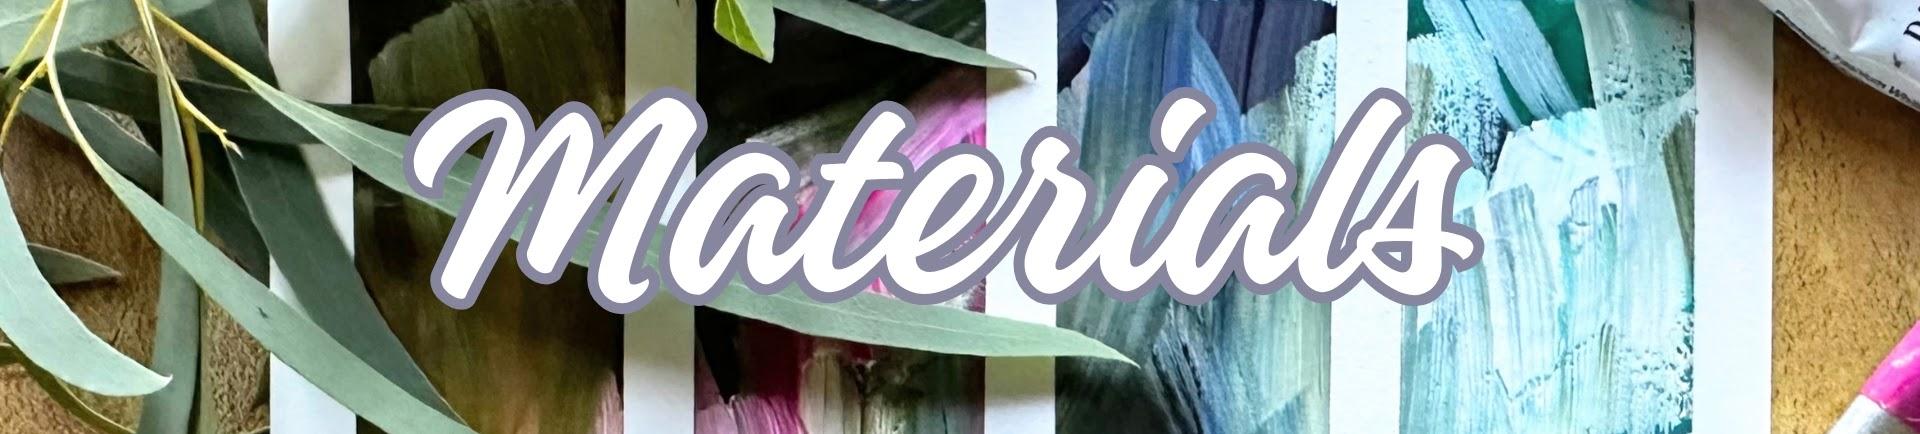
Arches Hot Pressed Watercolour Paper

1/2 inch flat brush (Jackson's)

Masking tape. (I used Mt)

Paints I chose randomly:

Olive Green

Phthalo Green

Wisteria

Rose

Aussie Red Gold

Indanthrone Blue

White for creating tints :O)

Music: Pond5. If there's a particular track you like, get in touch and I'll send deets! :O)

Meet Your Teacher
Teacher Profile Image

Holly Tomas Art

Watercolour | Gouache | Mixed Media | Scotland

Teacher

Hello, I'm Holly :O) I am so happy to have you here!

I'm a Skillshare Teacher, recently selected for the Skillshare Rising Teacher's Programme. I paint flowers and leaves for the most part, particularly wildflowers, as I am surrounded by so much inspiration, living, as I do, in rural Scotland.

I love exploring new techniques, and I'm very keen on finding brush strokes and media which make painting just that little bit less challenging for us, whilst gently broadening our knowledge.... I always say 'easy but effective' is the way forward! My classes are mostly watercolour and gouache, but I also delve into mixed media & leaf printing.

I have a humble little mission statement :0) .... 3 facets which are really important to me, when I am considering cla... See full profile

Level: Beginner

Class Ratings

Expectations Met?
    Exceeded!
  • 0%
  • Yes
  • 0%
  • Somewhat
  • 0%
  • Not really
  • 0%

Why Join Skillshare?

Take award-winning Skillshare Original Classes

Each class has short lessons, hands-on projects

Your membership supports Skillshare teachers

Learn From Anywhere

Take classes on the go with the Skillshare app. Stream or download to watch on the plane, the subway, or wherever you learn best.

Transcripts

1. Welcome!: B welcome to this short, absolute beginners Mini abstract class. Today we're exploring color blending and simple expressive brushwork. All you'll need is your favorite paper, tube, gouache, watercolour, or acrylics, one fairly firm brush, and some washy tape. We're going to spend time taping off our page, choosing paint at random, with our eyes closed, and then putting a little dot of paint in each window, and each one will become its own mini masterpiece. If you want to share your project, you can head over to our projects and resources area. And on the right, you'll see Submit project. Subtitles are available under each lesson and also a full transcript of the class. So when you're ready, let's get started. 2. Materials: A very quick run through materials. Because we're actually going to close our eyes and choose our colors randomly, you may have totally different colors to me. Or you could decide just to use the same colors that I have here and skip the random choosy. So that's in Dan throne Blue, Wisteria, fallow green. Oolive green. Rose and Ozzie red gold. Now, I'm using white because it will bring all the colors together and create some lovely tints. And then I'm using Ache hot press, which is my favorite paper. But you could use any paper for this, even notebook paper because we're going to be applying the paint so thickly. I have my washi tape and two sizes. I'm using my half inch flat brush. You could use a round brush or a filbert. Any brush that has good snap, as they say, that has a little bit of resistance. A mop brush like this Jackson's one is a little too soft. 3. Taping Off Our Page: This is the fiddly bit, but it's well worth doing. So I'm putting my washy tape, half on, half off, and just directly onto my desk. I am totally eyeballing this because I find measuring a real headache. So this is gorgeous tape. This is empty, as well. And this size washy tape is perfect for small projects like this. Empty are really reliable and will give you a nice crisp, clean edge. 4. Random Paint Selection: Random paint selection. I've wanted to do this for ages, and I promise you, I have my eyes closed. So I've picked up fallow green as my first color. And then I have Indanthrone Blue, which I'm really pleased about because I love dal throne. I've got Aussie Red Gold. I did pick up permanent green. I did actually swap that out and kept the olive green. And then I've got Wisteria. And oh, one of my favorites, Rose. 5. Our Class Project: So now we have our chosen colors. Let's start with the Aussie Red Gold. And I'm going to put that in maybe two of our little windows. Then I have the Indanthrone Blue. Put your second color wherever you wish. Then I have fallow green. And my pink, which is the rose Shinhan. I think a couple of windows of that. And then I have some Wisteria, one of my favorite colors and olive green. And then let's add some white, and we're to give it its own little window there, and then maybe add some to some of the other colors. Now we'll go over to our brush, and I'm using my half inch flat brush. And let's get started. Some of my paints have dried a little bit because it's been so warm here. So you can see, I'm using my brush very, very dryly. I'm just dipping it in the water and then taking off the excess and then going back in again. I'm trying to scoop up some of the paint there that's stuck to the page. So another little dip in the water. And then the idea really is just to allow all of these colors to mix and to go into each other's spaces. So that's the Indanthrone Blue, the olive green. What a lovely color. And then our little white area. So keep moving so that you don't start to second guess yourself. Keep it nice and fresh. And I'm into my rose here. Now, you can see here that the paint is quite dry. So when you get that kind of mottled look, just dip your brush into the water again, take the excess off, and then just carry on with these downward strokes. That's my oddi red gold, which is also adhered to the page a little bit. I'm just going to mush it up, get it moving. At the moment, the colors can look a little bit disparate, but once we get moving, all of these are going to blend nicely together. And you really can't go wrong. So whatever you've chosen as your colors, it's going to work. This is my Wisteria, which, again, I got a little bit dry. So just working that a little bit. Another little pocket of Aussie Red Gold. Ush colors. I do like that fallow green. That's a beautiful color. As we go along, let's just check that we're going right up to the edges. Hopefully your washi tape will stand up to the job. If it doesn't, you might need to just buy some better quality washy tape that will really stick to the page well. Down to the bottom right of our painting, and that's the Indanthrone Blue and the rose. What a gorgeous color that is. It's actually a really good exercise in color mixing because we're not thinking about it too much and just going for it and mixing and matching. It can bring about some really surprising and new variations for us. I'm loving this bottom left corner here with the Wisteria, the white, the rose and the danthrone. How pretty. Still trying to get some of that Ossie red gold moving. Now, I've dipped my brush in the water and take the excess off. And then, if you want, you may be happy with what you have at the moment. You can always add some white sploges and because I really love that rose, I'm just going to add a little bit more of that. So swill your brush, take the excess off, and let's start to move this gorgeous white and rose around our page. You can actually now change the direction of your brush strokes a little bit, if you want, or you can just carry on with the downward brush strokes. It's already really interesting, isn't it? And now let's go in with a clean brush. So I've swiled it in the water, taken the excess off, without any paint on my brush, and making very swift expressionful brush strokes. And let's allow these colors to mix together. But we also don't want to overdo it. That was a mistake that I did when I was in class development with this. I just overworked it. I'm just going to add a little bit more white to mine. A little bit up there. Let's wake up that Ossie Gold. And I've got to stop. That's it. 6. The Big Reveal!: Oh so I'm just going to dry mine with the hair dryer. And then let's do the big reveal. So satisfying. And I love how these little windows of abstract art come to life. And they're all different. Now, the thicker outer washy tape. I think it is well worth getting a good quality one, just so that your edges are nice and clean. And then our final reveal. I'm so happy with that. Isn't that fun? Thanks so much for joining me in this class. I hope you'll go on to create more abstract art. Don't forget that you can share your project. Hit Follow for News on new classes, discussions, and bonus lessons. Take good care of yourself. Bye for now.