Transcripts
1. Introduction: Hey, everyone. I'm Taylor
from the Stray shop, and today, I'm going
to be teaching you how to set up a barcode system. It's going to allow you
to go from this to this. Having a full barcode system has allowed me to check
out customers faster, decrease line times,
and honestly just make my job a lot easier when
I'm out at markets. It can also help me with
inventory because I can scan in items and just update the inventory of the
item that I scan. So without further ado, we're going to hop right into this quick mini class
and get started.
2. What You'll Need: All right, for this
class, all you're going to need is access
to Google Sheets, which you can get with
a free Gmail account. You're also going to need
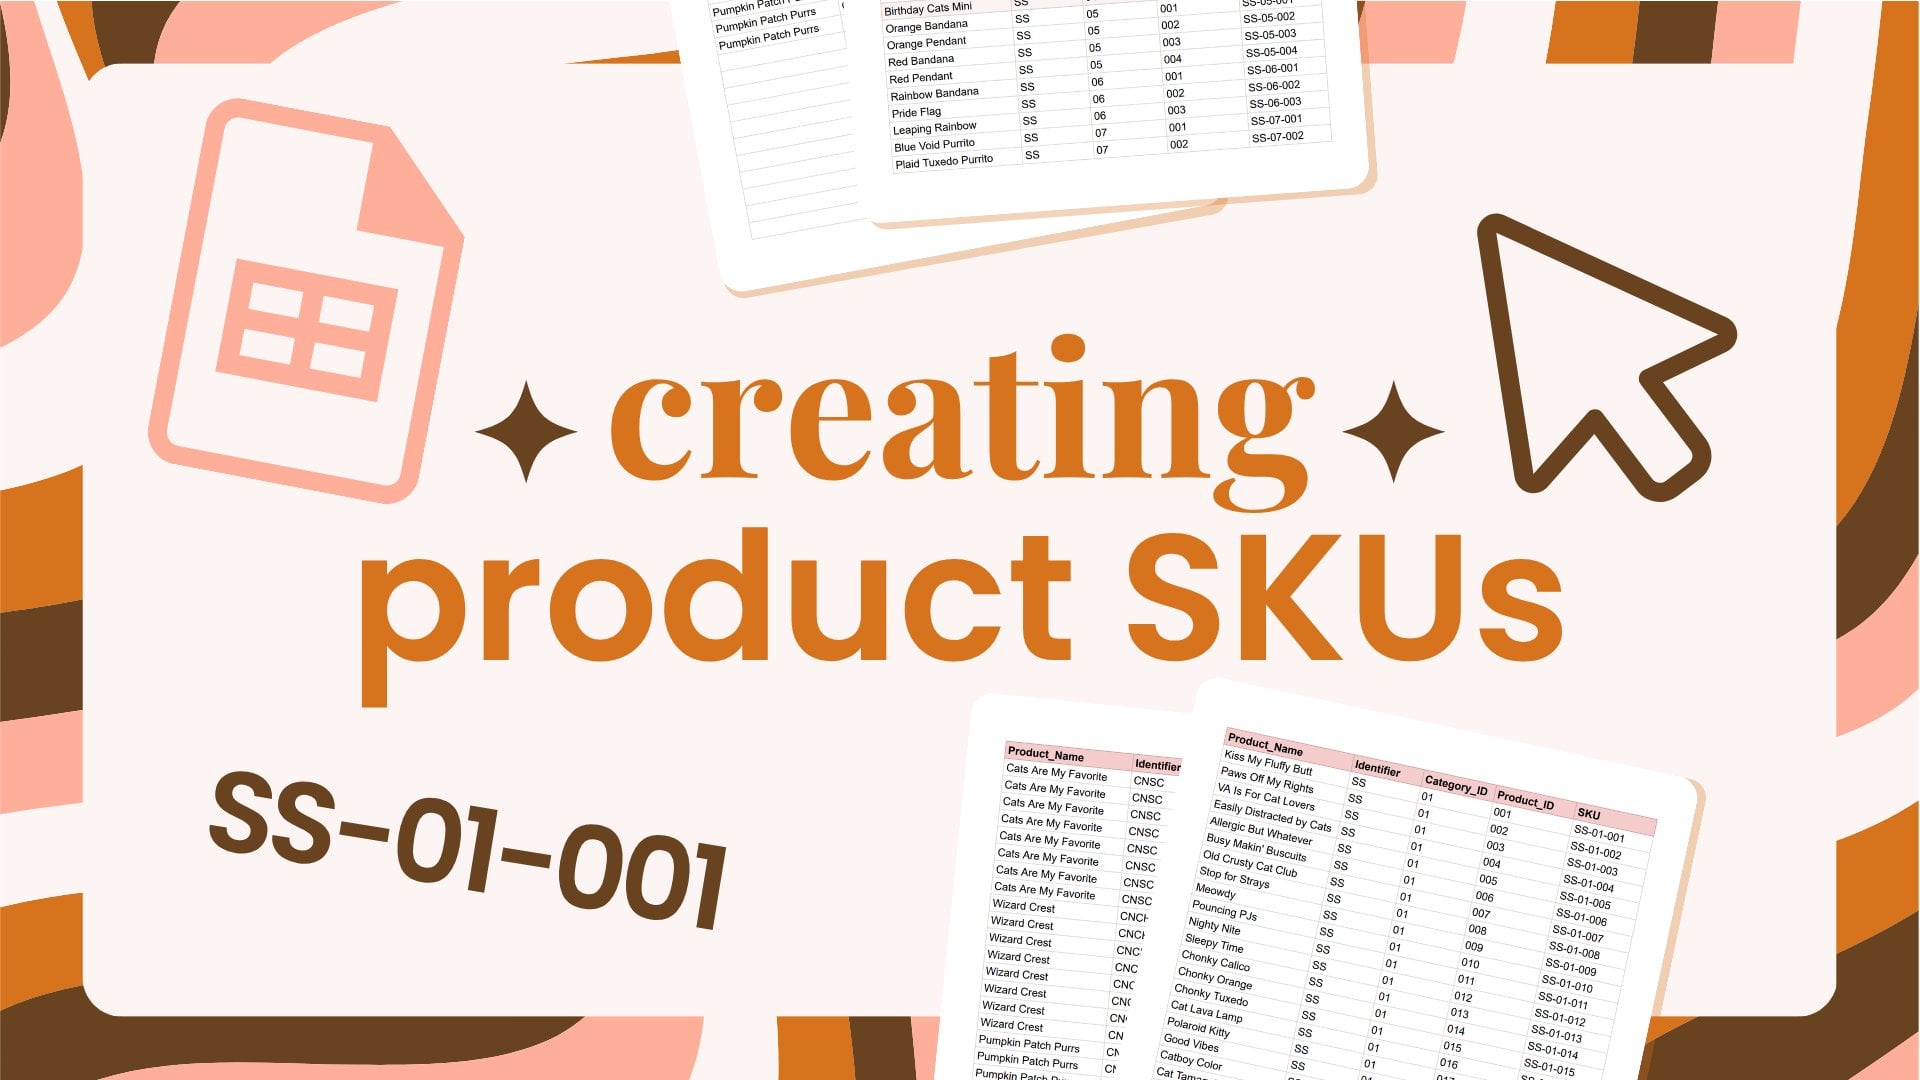
products with product skews. If you have no idea what
a skew is, that's okay. We're going to go
over it a little bit, but I'm not going to be showing you how to set those up today. So if you've never
heard of them before, this class might be a
little advanced for you. That being said, it is short enough that if you
want to follow along, you might gain some insights on how you want to
set up your skews, and I'm happy to make a class
about skews in the future. Just let me know in the
discussion down below. All right, so let's go ahead
and hop into Google Sheets.
3. Setting Up Your Barcode Spreadsheet: So I'm logged into
my Gmail account. I have a business Gmail, but you do not need
to have one of those. This is what the sheets icon looks like when you're in Gmail, it'll just be over
in the corner, and you can click that and get here. I just created a new one. I went ahead and named it for
us, naming Super helpful. If you've never opened Excel or Sheets before, don't worry. You don't need to
know much about how to set everything up. As long as you can open a new file and put
some information in, then you're good to go. So to get started, I'm going to actually
import some of my product data from
my other spreadsheet. By no means, do you have to keep your product data
in a spreadsheet. Say you have Shopify
or Square or some other method that you use to keep up with your products. That's completely fine, too.
You can type it in manually. I just keep a spreadsheet with all my product names and skews. So I'm going to hop over
to that, and it is a lot. So when I do show
you, please don't freak out and close
out of the class. I have a lot going on over here. So this is my barcode system. I'm going to go into
my single stickers, which is on this bottom here, and then this is where I have all my product name
and skew setup. What I'm going to do
is grab a couple. Let's just grab this
mini right now. I'm going to just
Control C to copy those. Go over here and
I'm going to go one down and put Control V. And so you'll see that I had all of these kind of
scrunched together, very scientific technical term. So when I bring them in here, it's going to be spread out. This is just how I
set up my skews. And again, if you're like, What the heck is going
on, don't worry. Go ahead and leave
a comment down the discussion and let me know that you'd be interested
in a skew class, and I'll show you how
to set all of this up. So I'm going to go back
up to this top one here, and I'm just going to
write product name. I'm going to ignore all of
these right now because again, this is just how I set
up my spreadsheet, and I'm going to
go over here and write skew, which is SKU. And then our barcode is
going to go right here, so I'm going to write barcode. I like to color code things
because that's just how I am. So I'm going to pick a
cute pink color and boom. So I'm going to go and
head and hide these. Again, you don't
need to know how these work for this class, but I'm just going to hide them so I know
that they're there. So we just need
the product name, the skew, and then a
place for the barcode. If you're like me
and you have a lot of different types of products, you might want to
put product name, dash what the product is. I don't write the product
identifier on here that these are stickers
because I know they're stickers based on my
spreadsheet I have set up. That is one thing
to keep in mind. We're going to go over
to barcode now and what we're going to do is we're
going to change the font. I have these fonts
already added into here, but what you're going to
do because you won't have these barcode fonts yet
is going into more fonts. And you're going to
search up barcode. When you get in here, it's going to look a
little bit like this. These are all the fonts
you have access to, and you're going to
type in barcode. We're going to be using
Libre barcode 39. Different barcodes have different numbers
associated with them. 128 can be a little finicky, so I like to use 39. There's not a super in depth reason I can go into right now to explain
that to you, but just know that you
should use Libre Barcode 39. Okay. So we're going
to go in here now that we made sure
that's added and change this to Libre Barcode 39. One thing to keep in
mind, if I go down here, you're going to see that
it switches default. That's because this
font is only set for this specific cell. I'm going to select
all of these ones and make sure they're all
on Libra Barcode 39. If I click through this, you'll see now that these are
all staying there. So now we're going
to do a little bit of spreadsheet magic. It's nothing intense, so
don't freak out. Super easy. We're just going to put
equals and then con, we're going to be
looking for concatenate. All that's going to do is add strings of information together. We're going to go
concatenate and then we're going to put quote, star, quote, Then we're
going to put this. It's just giving you an example. We're going to click
this and it's going to say E two because we want it to pull the information
from E two. Asit, in parentheses. Then when we click off of that, it's going to
create our barcode. You notice this is super
tiny, we can pull it out, but it's going to
say tiny and that's because you need to up
the size of this font. Just do what fits best. We are going to be
printing these, so I do like to make
them a little bit bigger and there we
go. We have a barcode. This barcode is now scannable by any barcode scanner that
can scan Barcode 39. All barcode scanners should
be able to scan Barcode 39, but say you don't have
a barcode scanner yet, then you're definitely
going to want to look and make sure it can scan that. We're going to repeat
the process down here, but what we're going to do is Control C and then Control B. You'll notice now though, that all of these are changed based on the
thing rape of side of it. Again, I do not use
technical terms. I love spreadsheets, but I don't know all the technical
spreadsheet terms. So if you're a
spreadsheet lover, I apologize for letting
you sit through this. But hopefully you're gaining
a lot of good information. This is E seven, so
when I click this, you're going to see
that it's concatenating Asterisk E seven
with an asterisk. What that is doing
is it's setting up the barcode for us to scan. If we don't put the asterisk, I found that the
barcode does not work. I remember the scientific
technical reason for that, but it has since lost me,
but I did look it up. I did test this and it does need the asterisks for
the barcode to work. These are all scannable. I do highly recommend
it's what I did. And I set this up, I do recommend going in and
actually getting out your scanner and
scanning these on your scanner on the computer. Like, you do not even have to print these out to
make sure it works. First, you can scan
them on the computer and make sure that it's
pulling up the right skew. Again, if you're new to
skews and you're like, what? You do need to have
these skews inside of your system. I U square. If you shopify whatever you use, it does need to have this skew associated or you're
scanning and it won't find what it's looking for
because it's looking for this specific number to identify which product
it's looking for. Again, if you know
what skews are, this shouldn't go
over your head, but I did want to explain
just a little bit. In the next lesson,
I'm just going to give you some tips and tricks
on printing these out to let you create a whole barcode binder
just like mine.
4. Finalizing & Printing: Right, so this is my
barcode sheet setup. So it's just like the one
I just had you set up, it has product
name, skew barcode. I just added an extra
column that has the actual product
name in big font, so it's easier for me to find. This is exactly why I
have barcodes because, oh my goodness, this
is so many products. And when you're
looking them up on your square Reader Shop iffy
reader, whatever you have, it can be a little overwhelming
to find certain things, and sometimes lines
would get pretty long, especially when we're
at big markets. So this is really,
really helpful for me. It also helps me keep up
with inventory because I can scan these and update the
inventory on my square system. So I'm going to show
you how to print those. Before I am going to
show you really quick. I have these set up as
alternating colors. So if you see every other
barcode label is a gray tone. The reason I did this
is when imprinted, it's not going to print
the spreadsheet lines, and this just helps it
so that we both can see my partner and I can see the difference between
which line is which, so we're not scanning Mauds when we actually want to
busy making biscuits. So to do that, all you're going to do is
select all of your barcodes. I'm only going to show you
these, but you're going to select every single
barcode you have, go to format and then
alternating colors right here. You can set that to
any color you want. I just did a light gray so it doesn't take up too much ink. Now that our barcode
system is set up, once you get all of
your products in, however many you have, you do not have to have
20 pages like I do, but you're going to
go to File Print. I have these red custom setup, and I'm going to show
you how I do it. I have this set to
letter and portrait. I have fit to page breaks, which is 100%, and then I
have custom page breaks. The reason I have
those is because sometimes it would try to break the page like, right here. So it would say bumper
sticker on one page, and then the bumper sticker
skew would be down here. And that was not very
helpful for finding things. Again, so this coloring
kits, this one, like the coloring kit and the coloring kit one
was like on this page, but that's not super
helpful because I need to see them all together with
the headers on one page. So all you have to do is move these to do the custom breaks. I'm going to confirm
breaks when you're done. I actually didn't move any, so let me do that, so
I'm going to cancel. One last thing I
like to do is keep page numbers and the
date associated with it. So sometimes we
get new products, and I will insert them in here. So keeping the date
lets me know when the bar codes were most recently updated when
they're in our binder, and then the page
numbers just helps me keep them in order
about which page. So then you're just
going to go to next, and you're going to
do whatever your normal print setup is. You do not have to
do it in color. I like the pink on there, but if you are trying to save some ink, then you can just do
it in black and white. So we're going to
print those and I laminated mine because we're
outside all of the time. So this is what mine looks like. If I get a lot of new products, like I know I get a lot
of new sticker sheets. I realize laminating
is not the best. I laminated these for last year, but this upcoming
year, I might not laminate certain pages
that I know change often. So, yeah, that's how you
set up a barcode system. I'll see you in the next lesson and we'll wrap everything
up real quick.
5. Conclusion: Well, now you know everything
about how to set up your own barcode system really
easily in Google Sheets. Before I found this system
and this magical Google font, I actually was creating
barcodes one at a time with a free
barcode generator and laying them out in, like, Adobe in design and Canva, like, just
whatever I could. And it was, like, so
many image files, and it was such a pain
in the butt. I hated it. So this is definitely
the easiest way to set up a barcode
system that I found, and I hope you found it easy, and I hope it's
super, super helpful. Thank you so much for
taking this class, and I really hope you
found it helpful. If you have any questions
at all or there's anything you'd like me to
go over in a future class, go ahead and pop that into
discussion tab down below. And I would love for
you to leave a review. It helps me and your
fellow students out. And if you're ever
interested in what I'm doing as far as
a business owner, you can look me up
at thestrayshop.com or at strayshop dot official. And I can't wait to see you
in the next class. Goodbye.
 Taylor Carroll, Illustrator & Chief Cat Mom