Transcripts
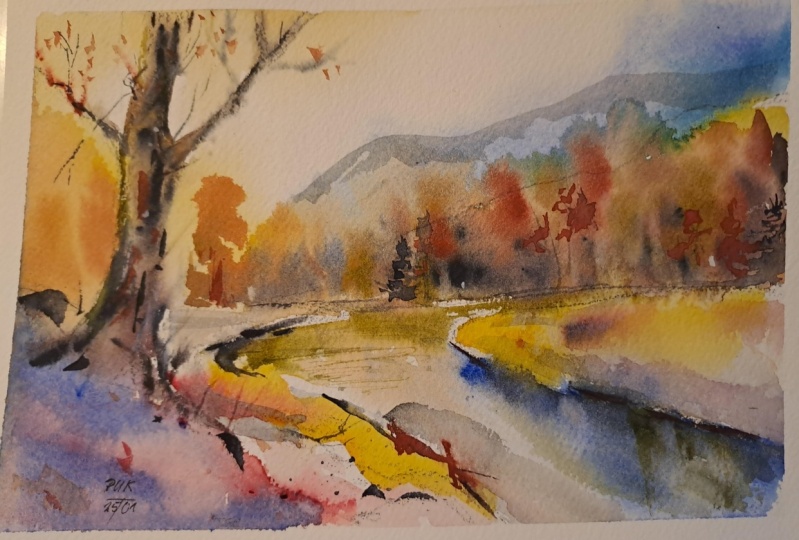
1. Intro Early Winter At The River: Easy step watercolor,
mastering wet techniques. I'm Ron Mulvey. I'm going to outline what we're going
to be doing in this class. Go take a sketch on a little thumbnail and
we'll mark it out, enlarge it, sketch it out on your favorite watercolor
paper of good quality. We'll learn a little bit about landscape perspective
as we do the painting, and then we'll wet the paper, soak it, and start
swiping on the colors. Mastering the wet
technique involves knowing how water and paint
respond to each other. Sometimes you paint slow, sometimes you paint fast. We'll learn about how to
put in some warm colors, some reds and yellows, just simple primary
colors, no mixing, no secondaries, just mixing
right into the wet paper. This is the crucial part of learning how to do
the wet technique. You can see from
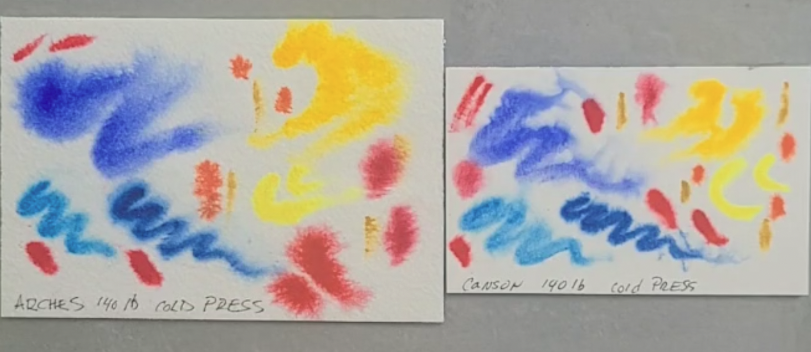
our color sheet, there's not a lot of
complicated colors here. The tree trick. I
love this trick. Use a flat brush, and it's the best
way to do a tree, which is the star of the
show in this painting. You'll learn that a
motif is very important, and the motif here is the tree. That's the center of interest, and I will show you exactly
how to do that and be successful every time with
this handy little tree trick. Find out why the rigor
brush makes doing tree limbs a simple task
and very effective. So follow with me
today as I show you so many great things
about the wet technique. How thick to make the paint? What kind of brush to use? When does the paper
start getting dry? When can you do this?
When can you do that? These skills are
absolutely wonderful, and I use them all the time. I want you to gain these skills, and I want you to do a
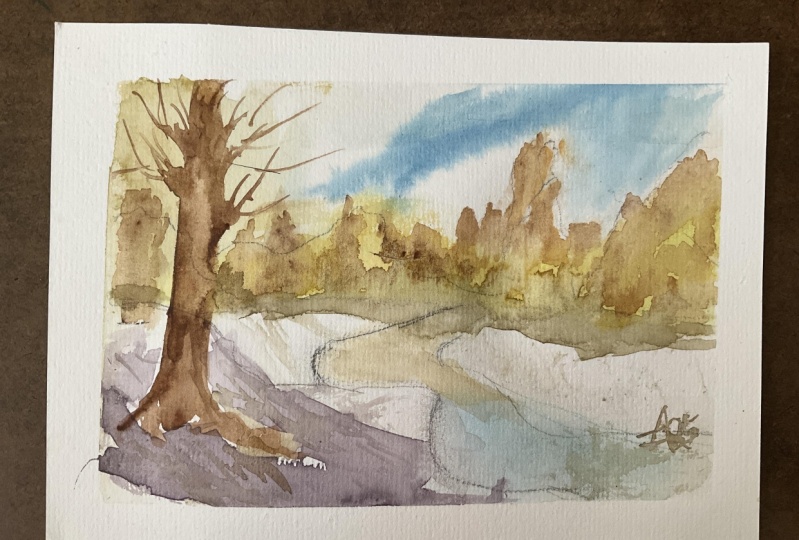
project similar to mine, or you might want to
do your own painting, a subject matter that
uses these techniques. Whatever you do,
make sure that you demonstrate what you've
learned. Don't just watch it. Do it. So join me in the class, and let's take a look at
the materials that we're going to be using to
complete your project.
2. Materials That Make An Easy Watercolor: Hey, welcome to Mastering
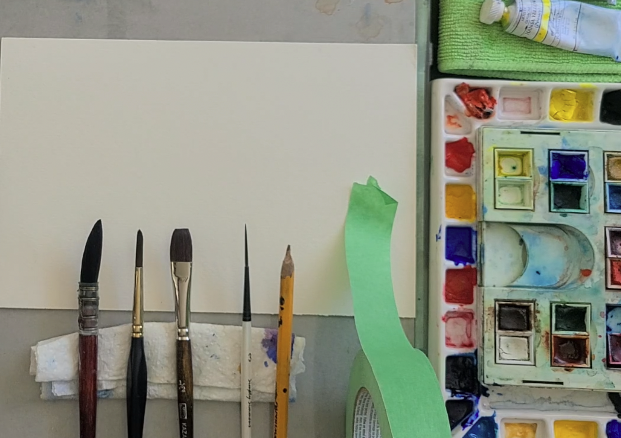
wet techniques. This is an easy step watercolor. You'll need these brushes, and a few other things. Let's go through them and see exactly what it
is you will need. A spritzer keeps the paper wet. Some water, a generous amount, a rigor brush, great brushes, flat brush, round brush, and my sabre brush and a pencil. Take some green tape. Get your favorite watercolor
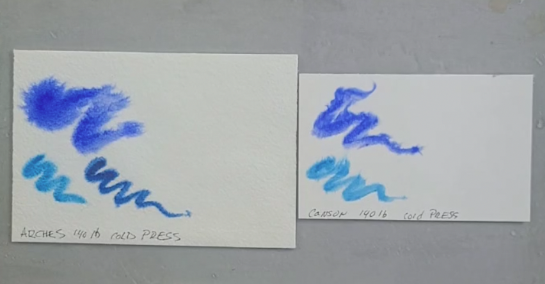
paper, 140 pound. Good quality. Good paper, makes a great painting. Get some tube paints, if that's what you
like to squeeze out or cake pan paints. I'll be probably
using a lot of these. And once we get it all taped up, guess what? We take our pencil. We do a nice little drawing, and then we wet our paper
liberally with lots of water. Remember, this is
the wet technique. You tape your paper and
soak it with water. And once it's soaking wet, then we're going to
get our pigments and we're going to
start painting. Easy watercolor using wet
paper. Let's get started.
3. Draw and Start Painting: Mastering wet. Here we go. We're going to draw, then wet the paper and do our
first color lay in. So there's our little
sketch, and here we go. We tape the paper with
green Paters tape. We get our pencil
ready, and let's begin. You can see as I'm
analyzing my little sketch, I'm marking some midpoints, and I'm putting the
first horizon line in below the middle. And then I'm taking a third and putting my water
in a nice long sweep. Avoid staying in the middle. Get over to the side. And you can make your
stream any shape you want. And make sure if
you're going to erase, you have a very clean
and soft eraser and you're not rubbing
the paper really hard. Okay, next comes the mountain. Just bring a nice little
shape right across. You see? I'm just following
my little sketch. And I encourage you to
make your own little thumbnail sketch and
then draw it out. What I'm showing
you there is that tree is done with one stroke. That's all you're going to need. That's what the
flat brush is for. Now, here's a good
little secret. Darken the lines
that are facing you. That'll give your
stream a three D look. Just a little pencil here
and a little pencil there, putting in the snow bank.
Looking at my picture. Keep looking up at my sketch and then watch me as I
duplicate what I see. Now, here I'm just attaching the sketch so I don't
have to move it around. And you could freeze
the camera now and you could easily draw that out for yourself while
I'm wetting my paper. So the tape will keep
the paper from buckling. And I'm wetting all the
sections that I want to be wet. Some sections I don't
want to be wet. I don't want the trees wet and I don't want the water wet. So I'll give that a
minute or two to soak in. If there's any
water left on top, just get it off with
a dry paper towel. And here I'm selecting a
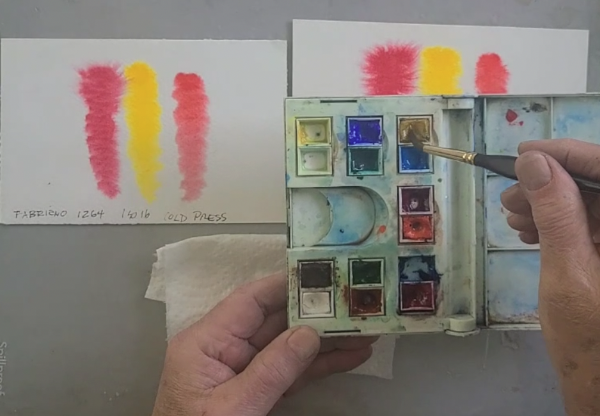
color from my little sheet. And I'm going to go
with the Manganese blue mixed with a little probably
a little bit of halo. So those two colors mixed together will give me
a very strong blue. I checked the
color. There it is. It's not too thin
and not too thick. Remember, the paper's wet. You can use a little
more pigment. And here comes the swipe. Just a little wiggle
and away she goes. We see that wet paper? See how it granulates a
little bit, which is fine. Now, I want to have my
paper pointing downhill, so the water runs down. Now I take a soft sable
brush that's slightly damp. I bring a little bit of
that sky into the mountain. The top is wet. That's why I'm getting
those little bleed marks. You see them bleeding down? And then I'm going
to go over that slowly with some more paint. Now I've created
two oblique lines, gives the picture a
really nice thrust. Another little swipe,
tilt and watch. Don't be afraid to
watch your picture. Now I just suck up
a little bit of the water so it doesn't
bleed down again. Okay. Moving on now
to the next section, take some yellow
ochre. Check it. It's a good strong color. It's a very good sun set color. See, it's like a golden yellow. They just rub it in
to the atmosphere. Watercolors are like
painting the atmosphere. Once you have your drawing, you're just adding the colors, and the colors in the sky bounce on the colors on the snow, put a little bit on the top, one swipe, that's it. So now what we've established is the tonality of the painting, which is a warm golden glow with a cool sky to
offset that warmth. Now we're going to
the cadmium yellow. Cadmium yellow is
a stronger yellow. But it really works well
with the yellow ochre. Okay, here we go. So
putting one yellow into another yellow creates an
even more vibrant yellow. Now, these colors go on strong, but the paper because it's wet, will alleviate some
of that stridentness. That's a pretty intense yellow, but it won't be in
about two or 3 minutes. So this is the thing
about watercolors. The paint goes on, and
then it gets lighter. So now we're going to leave it. So we'll leave the sky and the yellow and the blue
just to do their things, and we'll move on to
some Alizarin crimson. We're creating a shadow
area for the tree. Notice I'm not
mixing the colors. I'm putting first the
lizarin crimson on. And now I'll take the sky color, which was the manganese and thehalo and I'll mix it into
the Elazar and crimson, and I create a secondary color. Notice, I'm not really
pushing the paint around. I'm letting the
water in the paper, blend the paint, and
I let it just sit. So here I'm checking the
dampness of the paper. If the papers cool to
the back of your hand, then it's probably still wet. So we're going to do
the tree trick now. This is very important. So watch this carefully. Take a little bit
of burnt sienna. And now we're moving towards
some neutral colors. That's when you mix
the three primaries. In this case, we'll accept the fact that the burnt
sienna is on the red scale, and we're going to put
it in nice and pure, but we're going to
add some panes gray. Payne's gray is
not really black, but it sort of
works like black in a lovely way because
it's a warm gray. So here we go. We've mixed up almost looks like a
burnt umber color. And just above my
little sheet there, you can see I worked out
what it would look like dry. So when it goes on wet,
it'll look different. So I'm adjusting
the colors here. I want to get them just right. I don't want to
have to go over the tree three or four times. I want to do our little tree
trick with the flat brush, do it once and accept it. So here we go. Put the brush down flat and then just go up. Now, you won't see it when I do it because my hand
will be in front. But you'll see what it looks
like when I'm finished. So a little more
adjustment. And here we go. The brush is held
up perpendicular, put on a slight angle, rubbed at the bottom, and
just pushed up right over the tape and off the
picture, and I accept it. Don't go back and fuss with it. Now I'm going to add
some side branches with the side of the flat brush. These will be enhanced
later with the rigor brush. So three is a good number, and we put a foot on the tree. One side of the tree should be a little heavier at the bottom. Maybe a couple of roots sticking out because it's an
early winter picture, so everything isn't all covered. I might not move over to those little pencil
lines I showed you the pencil trick for
making the river look three D. Now we're going
to the sable brush. You can use a synthetic brush, but I'm going darker. I'm starting to add some
darks. So here we go. Pop them in and
leave them alone. The sun is coming from the left, as I just showed with my hand. So everything on the right is
going to be in the shadow. Little spots on the tree. You can pretty much
make up your own tree. I mean, you could add
any color hair you want. So now we come to the star of the paint brushes,
the rigor brush. It's almost magical the
way these brushes work. You really can do
tree branches, limbs, twigs, bushes, grass with
perfect confidence with these. Just pull them and let them go. Put it down, wiggle it. Notice, when I go
to do the next one, how my hand is way high, not touching the paper. I'm getting my stability
from my elbow on the table. Add a little more, pop it in. That pain's gray with the burnt sienna is a great
combination for a tree. And there we have the hand up high in order to do it properly. Let's see what it looks
like. Wow, look at that. That was the mystery stroke. You couldn't see
what was going on. A little more cadmium. And a little more looks like just a deep sort
of a cadmium red. And there we go, Look at that rich, milky chocolate brown. So we have three
tones on the tree. We have the dark
one, the mid tone, and the light tones, and we put a little
bit on the ground. Don't paint don't paint a winter picture and
make it freezing cold. Add some warm highlights. Look at that little rigor brush. Just flick it. Oh, look
at that nice flick. I really encourage you to go and get one of these brushes. You can get them
different sizes, too. Look how the paint is mixed on the bottom left of the
snowbank and the sky. Okay, let's move
on to the finish. Another ten or 11 minutes, and you'll have your
Winter River masterpiece.
4. Finish Early Winter At The River : Well, this is our last section for our easy step watercolor. We're going to be putting in the darks reflections
in details. We left off putting in those little chocolate
brown strokes. Now, I'm checking to see
how damp the trees are, and they feel fairly dry. So what I'm going to do is I'm
going to start dropping in some yellow ochre mixed with a little bit of
that burnt sienna, almost the tree color. Got my little sable brush, and I'm just popping
in some trees. They could be any type of tree, depending on where you live. Scooping up some more paint, putting it on both sides. But I do know that I need
to soften the edges, so I add some water to my brush, and I'm careful not to touch the tree because that
tree is still wet. So the extra water is
dampening the paper because I'm going to be adding
more colors to the trees. So they're going over
with all those colors, I get my bigger brush and load it up with more
of the mixture of the cadmium yellow or yellow
ochre and the burnt sienna. To colors that make a
very vibrant orange. I'm working my way
over to the tree, and I'm aware that it's wet. So really just come up and leave a little lacey edge
next to the tree. And that part's
wet. It's perfect. Now, the tree is wet and it might bleed,
so stay away from it. Straighten out the horizon, and now I'm ready to put in the darker tones because the
tree area is all wet now. Remember, this is wet technique. We will use a little dry
paper here and there, but mostly it's about dropping the paints into the wet paper. So there's some
strong palo blue, and I mix it into
my tree mixture. Add a little bit more
of the burnt sienna, maybe a touch of the burnt umber gives it that green undertone. Now I just pop it in here and there and watch it disperse. Remember the old saying
watch more, paint less. Keep your eye on
what's going on. Even a little thicker now. Switch to two
brushes at one time, put a little drop down
and spread it out. I'm just going to watch
it. See how I tilt that glass so that it runs
downhill. There it goes. Watch it, see what it does. Pure bird sienna now. Pop it in. Getting a
little fringe on the top. Now I've really added some
almost pure of the palocne. I'm adding a little bit of the cadmium yellow now
right into the paper. This is a very thick paint. So it's going to really move
into the paper, sit on top. Oh it's all mixing together. Notice how I don't
rub the paper a lot. I just place the
paint on top gently. When you rub the
paper, you disturb the surface and your
paints can turn out muddy. There's no trick from Rembrandt, the great Dutch painter who
used the end of his brush. Get a fringe on your
trees, create interest. This scoring it there, and now we take the rigor brush, and now I'm sucking up some of the paint or lifting the paint. When you lift off the paint, the color underneath
shows through. It's a great technique, and it adds interest
to a big area. I'm using the side of
the rigor brush now. Look at the yellow underneath. And here I'm forming taking
off those top earthy colors, the yellow ochre and
the burnt sienna, using a little wiggle
technique to pick it up, pull down, add interest
to that shape. Now I have my little
sable brush and I'm adding a reflection. Notice how I took some
of the paint from the trees and used it
to put it in the water. Gentle strokes. Little swipes, dabs, popping in colors, stroking in colors, but rarely rubbing in
the wet technique. That's more for dry paper. There's that little rigor brush, and I've added a little bit
of the dark green over there. See, borrow it from one place. Put it in another place. Don't let your paints puddle. They look great
when they're wet. But when they dry, they'll look very sort of caky and pasty. So don't let the paint sit
on the paper too long. These are just little
fine details I'm adding, taking the colors
I've already mixed, some of the Talos and
some of the burnt sienna. Now we're coming down with
a reflection straight down, pretty much the same color
as the trees up above. You know, when you do details, more than likely you should use a detail brush,
which is smaller. But when you're doing big
areas, get a bigger brush. I like this Neptune
scepter brush because it holds a lot of water. And I only have to load it once, and here comes the
tree reflection. I've slowed down
the camera so you can see push the brush, keep your eye on the
edge, and there it goes. Just give it a swipe,
pick up the sable brush. I'm wiping it on a
towel, pushing it, taking a little paint off,
distributing the paint, adding a little upward thrust
there for the reflection, gives it a little bit of a
curve like the snowbank. Love that pure cadmium yellow.
That's the cadmium yellow. And then one of the reds, you can use a cadmium
red or a lizard. Look at those little details. There's always a few leaves left on a tree in the early winter. I know, because I live. I'm living right now
in early winter. I can just look out my door and paint
something like this. You may not be so fortunate, but you've got the Internet. You can look up
pictures. You can find subject material anywhere. Now, check out what I did here. I look at my sketch,
and what I've done is added some blue
swipes to the water. And the paper's totally
dry when I did that. Now we add our darks. They're juicy because
you've added water to them. They're not really dry paint. They're just a little
bit of water in them enough so that they
spread nicely, and they don't get
too much lighter. Make your darks so that they
have just enough water, and they stay dark. Of course, the papers
very dry here, and nothing is going
to spread or bleed. Just adding these little spots where I feel an
accent is needed. You don't want to overdo it, you don't want to underdo it. Now notice how the
paper's wet there. That's because I wet it and put a little
bit of yellow on top. Now you watch how that spreads. If you want to add paint to
your wet on wet technique, wet the paper and
then add your paint. Otherwise, you'll
defeat the purpose. You'll get a lot of hard edges and last a little
shadow, and we're done. Well, thank you so much for joining me and
keeping me company, and I hope I kept you
company and got you really interested and motivated to
make this project happen.
5. Outro Early Winter At River: I always look to nature
to find inspiration. And then I look at
it and interpret. Sometimes I take a long time. Sometimes I do it
in black and white. Sometimes it only
takes a few minutes. But this wet technique is really one that you will learn
to handle the paint. Watercolor loves water
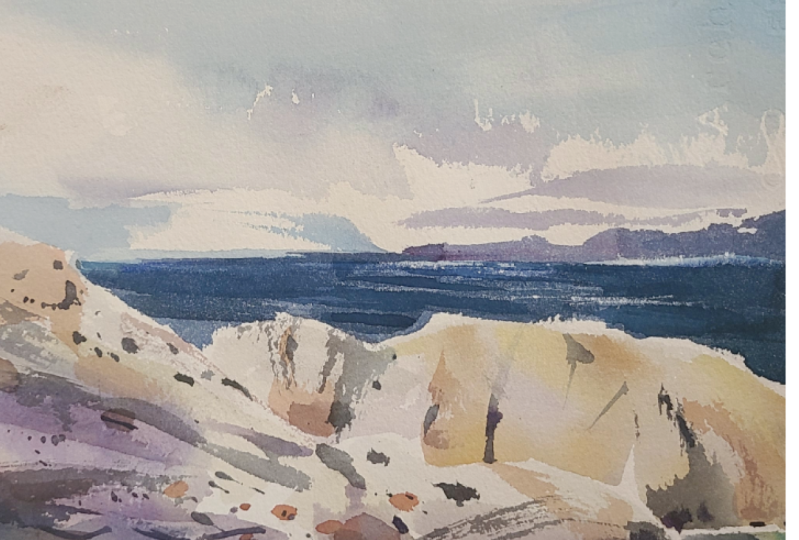
and it loves good paper. So even in a little seascape like this with my
tiny little brush, I've done all the
really wet stuff, and now I'm just adding
little touches of wet. So I'm putting the wet
paint into the dry paper. This is another technique. Once you've mastered
the wet paper, you'll know when the paper's dry and how to add more paint. One of the wonders of
watercolor is once it's dry, it's a whole different
aspect to the watercolor. Now the water's in the brush. See, it's almost like working a felt pen because
the papers now dry. What I want you to
do in this class is really master the wet paper. Master the wet technique. You start playing with
your paper, wetting it, and doing some of these
little color swatches or get an ink sketch and
throw some color on it, wet it up and dash
the colors in. Well, I'm going
back to my studio now, I'm going to do some work, and I'm gonna wait and watch and see when you post your work. I can help you and
you can help me. And also, you'll help
the other students. Be brave and post your work. Thanks for being in the
class, and I'll see you soon.
 Ron Mulvey✏️, Artist / Art Teacher