10 Minute Watercolor Sunset:Master The Free Flow Style | Ron Mulvey✏️ | Skillshare

Playback Speed


1.0x


  • 0.5x
  • 0.75x
  • 1x (Normal)
  • 1.25x
  • 1.5x
  • 1.75x
  • 2x

10 Minute Watercolor Sunset:Master The Free Flow Style

teacher avatar Ron Mulvey✏️, Artist / Art Teacher

Watch this class and thousands more

Get unlimited access to every class
Taught by industry leaders & working professionals
Topics include illustration, design, photography, and more

Watch this class and thousands more

Get unlimited access to every class
Taught by industry leaders & working professionals
Topics include illustration, design, photography, and more

Lessons in This Class

    • 1.

      Class Intro

      0:30

    • 2.

      10 Minute Watercolor Sunset

      8:11

  • --
  • Beginner level
  • Intermediate level
  • Advanced level
  • All levels

Community Generated

The level is determined by a majority opinion of students who have reviewed this class. The teacher's recommendation is shown until at least 5 student responses are collected.

64

Students

6

Projects

About This Class

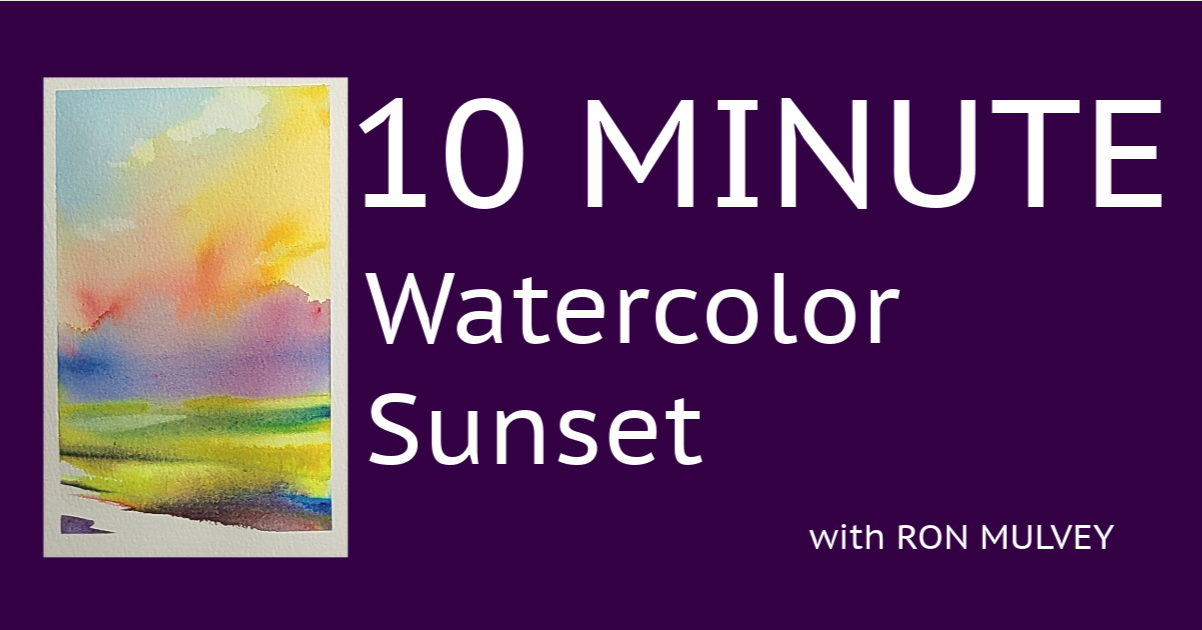
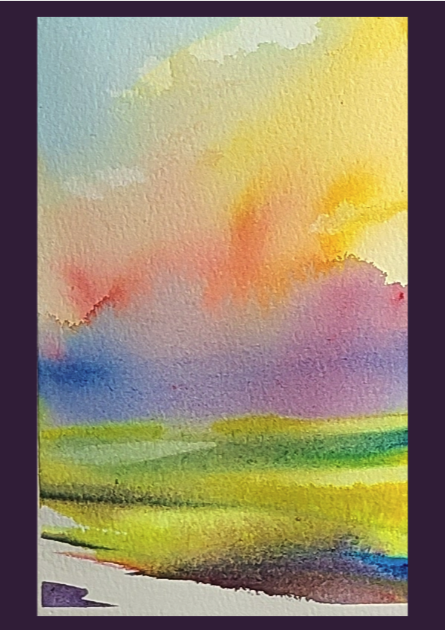
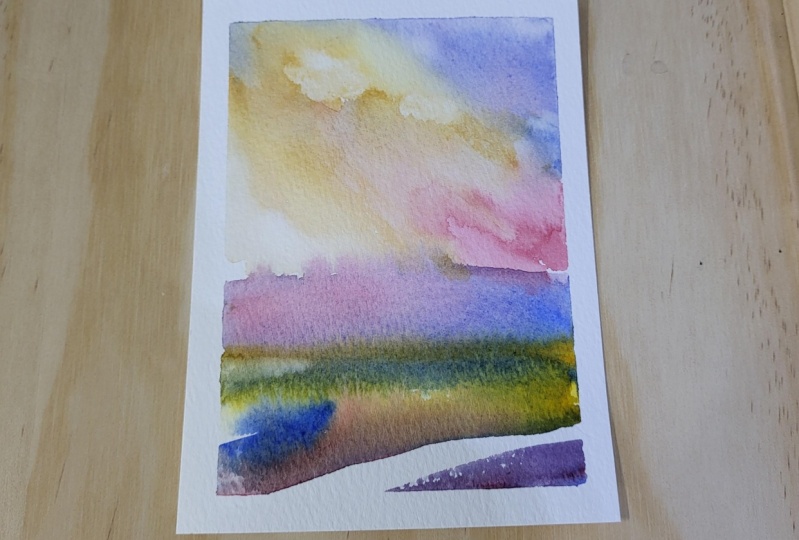
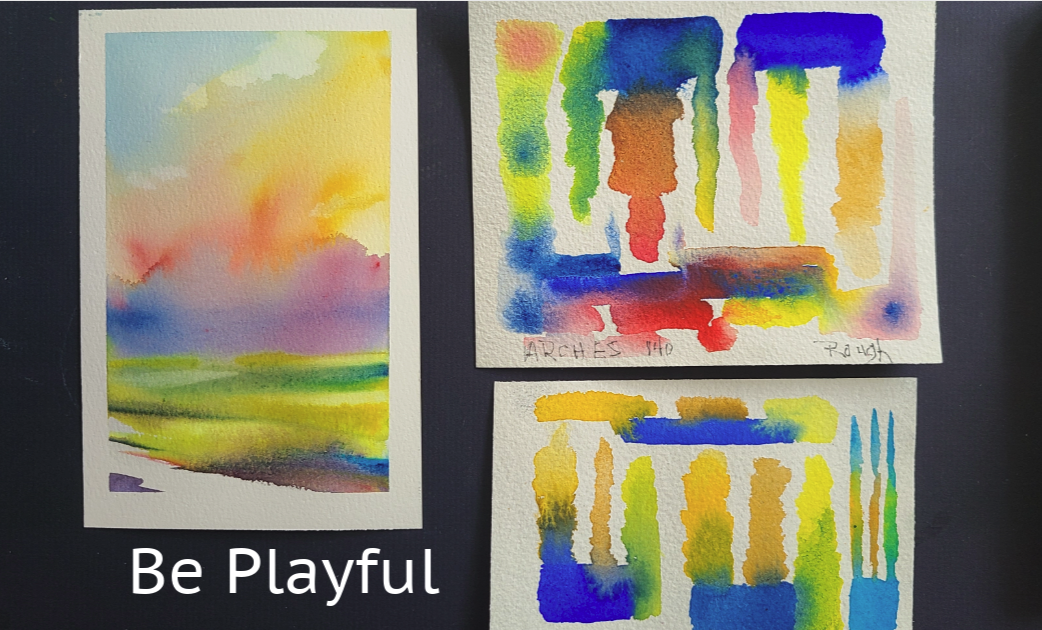
Follow Ron as he shows you the free and loose style that you can learn and use to paint a 10 minute WATERCOLOR SUNSET.

This is a wet technique that starts on dry paper. Learn how to follow the flow from top to bottom without stopping and finish with a beautiful colourful sunset painting.

  • A perfect class for beginners or for those who want to loosen up their painting style with a very direct wet watercolour approach.
  • This class will introduce you to one of the most popular watercolour styles used by professional artists.
  • Learn how to control the  flow of your watercolour with this 'no fussing' approach.

Materials Needed

  • large mop brush or large round brush
  • medium round brush (#6 to #9)
  • Small round brush( #3 to #5)
  • 140 lb Watercolor paper, cold press
  • Thalo Blue, Burnt Sienna,Yellow Ochre, Cadmium Yellow, Alizarin Crimson, Paynes Grey
  • Painters Tape, paper towel

Best Advice: Think more watch more and paint less. See you in class for about 10 minutes.
 Thanks to Ben Johnson for the music.

Music from #Uppbeat (free for Creators!):

https://uppbeat.io/t/ben-johnson/some-kind-of-feelinLicense code: URS6X6U6NKPERS7R

Meet Your Teacher

Teacher Profile Image

Ron Mulvey✏️

Artist / Art Teacher

Teacher

I've been working as a full-time artist since 1980. I have had the pleasure of teaching art since 1983 and have taught thousands of classes on drawing and painting. I would consider it a privilege to assist you in achieving your artistic goals.

I have taught the basic and advanced mechanics and principles which give us the skill and confidence to express creatively, for the past 30 years. Sharing them is my passion!

What Do I Like Teaching?

Watercolors and Acrylic are my specialty. I work with oils also but not as often as the water based mediums.

I love trees, mountains, rocks, water, flowers, and all that nature has to offer. Getting out into nature always gives me a creative boost. You get the real energy and feeling of space and belonging.

See full profile

Level: All Levels

Class Ratings

Expectations Met?
    Exceeded!
  • 0%
  • Yes
  • 0%
  • Somewhat
  • 0%
  • Not really
  • 0%

Why Join Skillshare?

Take award-winning Skillshare Original Classes

Each class has short lessons, hands-on projects

Your membership supports Skillshare teachers

Learn From Anywhere

Take classes on the go with the Skillshare app. Stream or download to watch on the plane, the subway, or wherever you learn best.

Transcripts

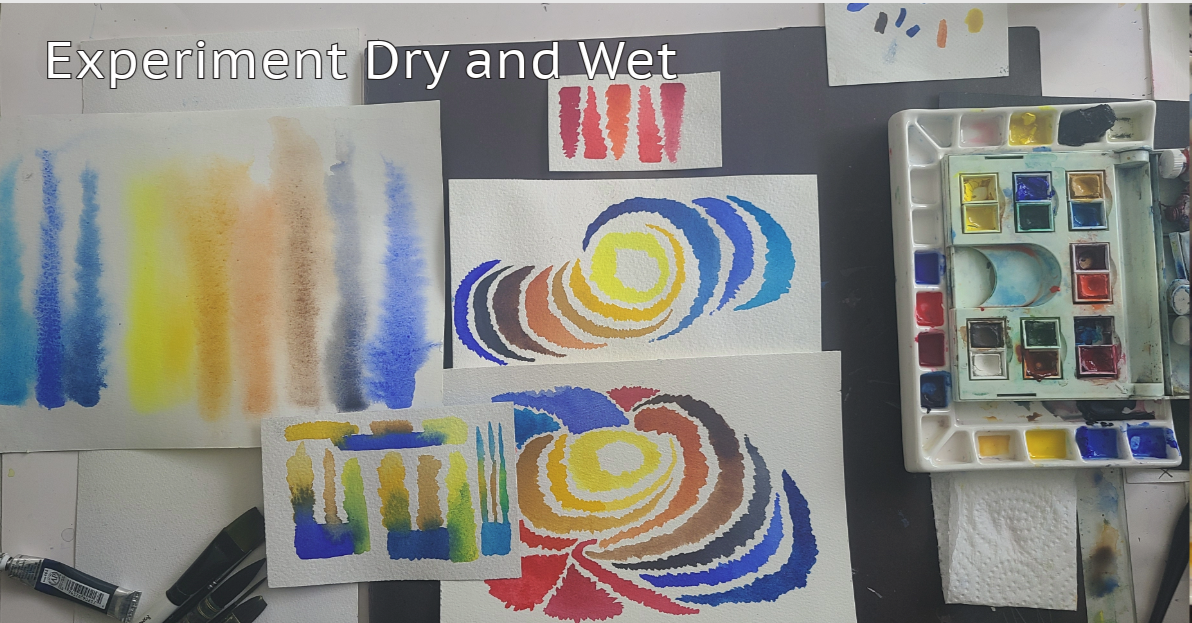
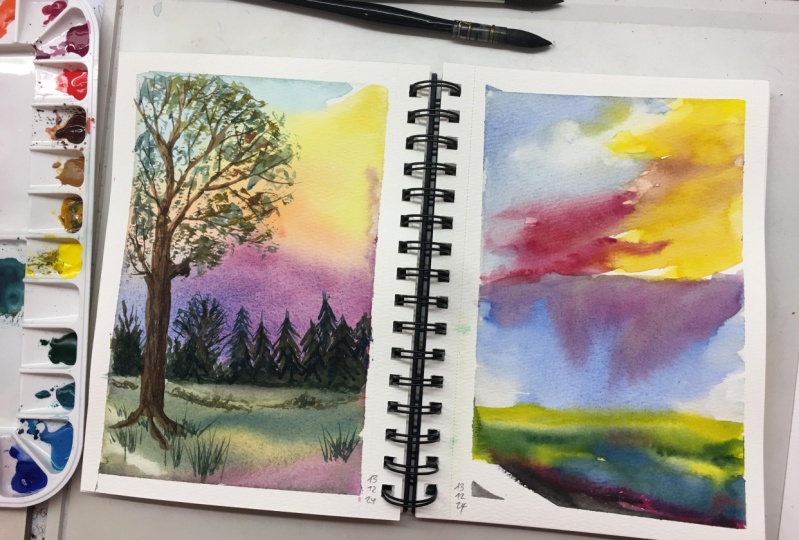
1. Class Intro: Watercolor sunset. 10 minutes of your time. Get some red, yellow, blue and green, some really good watercolor paper, tape it up, get yourself some paints and a big brush, and a medium brush, a small piece of paper to test your colors. Keep those colors clean, if you want a sunset easy as one, two, and three. Ten minute watercolor. I promise you 10 minutes. 2. 10 Minute Watercolor Sunset: Okay, here we are. Under 10 minutes your class project. You've got your materials ready. Watch the class, participate in the class. Do your own painting after you've learned what I have to teach you. Then post it in the gallery so I can see it and everybody else. Here we go. I've got some reference material on the left. Those are the warm colors that we're going to be using. But we're going to do a sunset. So get your big brush and get some burnt sienna. Burnt Sienna is a wonderful orangy brown perfect for a sunset. On dry paper, give it a swipe or two. Next up, we take some yellow ochre very close to it, but it's in the yellow range, couple swipes there. Notice I'm swiping into the wet paint. Now the cadmium right into the ochre, and now I'm going to let that mix together. I'm not going to fuss with it, going to let it mix. The secret to this painting is to keep the wet part of the painting flowing down and up. So now I'm adding the lizarin crimson, just on the edge underneath the yellow. Going now for a clean thalo blue. Obviously, I really cleaned my brush before I went in there. So there's my thalo blue. You could use a manganese blue, a cobalt blue. Those are great sunset blues. And there we go. We put our first little coat in. You might think it's going to turn green, but that's not true. The blue in a sunset is very warm. So mixing in with a little bit of the yellow will warm up the yellow. Warm up the blue. There we are. Rubbing it gently, rubbing a few things together, and then I leave it and finish off with a solid stroke at the top of your favorite blue. Now it's twist and twirl. Watch the paint. Watch it. Don't fuss with it, maneuver the board, let the paint drift together. This is the secret. The wet part of the painting will do the work for you as long as you direct it with your hands, not so much with your brush. Pick up a few of the drips if you have to, wipe them up so they don't fall over your painting. And watch. There we go picking up the drips, dry the brush off, go around the edge of the tape. We put the tape there because when it comes off, it leaves a lovely white edge around the painting. There we are tilting the paper and picking up the drips. Now I even take a little piece of paper, some tissue and wipe it up nice and clean. And now the sky is getting ready for the next step. But first, wet underneath the sky a little bit, not right to the bottom, but just underneath. I rinse and dry my brush. Why? We're going to be lifting some paint. So rinse it, tap it, dry it on a paper towel. And here we go. We're going to lift some of the paint off. This is essential when you're using wet paint. Dry paint is different. Dry paint is when you're absolutely not using so much water. There we are twisting and twirling that little squirrel hair brush. It's actually synthetic squirrel and subtly lifting off a little bit of the paint. Now, why do you do this? Well, when it dries, the magic happens. All these little steps create the magic of watercolor. That's what we're learning in this 10 minutes is a little bit of magic. Here comes the blue, nice strong swipe. And then I watch it. This is called dispersion or dispersing. The paint is traveling into the wet areas, and I'm watching it carefully. It's not out of control. The right amount of paint, the right amount of water, gentle stroke. You keep watching it. That azarin crimson mixes very well with palo. It mixes well with pretty much all the blues. I like theo because it's a really good staining color, as is Lazar and crimson. So the two of them go together well and make a lovely violet. Clean the brush. If you want a clean sunset, keep the colors clean. Then I mop up the bottom of the paint, and I'm going to create a straight line. Okay, now we're moving to the foreground and I consult my little sheet where I've seen how the paints react to each other. Good thing to do. Get yourself a little piece of paper and practice playing with the colors. So dip my brush in. I'm getting some really bright cadmium yellow and swiping it underneath. Remember, I wet the paper, but it's still dry at the very bottom. Now I've put a little blue halo on the end of the brush right in with the yellow and I stroke that across. I pull my little card down. I know exactly what that blue is going to do in the yellow because I've practiced it on my little color sheet. So now I take a little more cadmium yellow, full strength, very, very little water, and I start dropping it into the wet paper. I know that it will dry lighter when the painting has sat for a while. So I load it right in there, right, so it absorbs right into the fibers of the paper. I'm using a number two or three brush, and I'm putting in some cadmium yellow deep. So cadmium yellow light, cadmium yellow deep, and I'm looking at the oblique angles in the painting, the skis on an angle and the bottoms on an angle. So I'm going to duplicate that angle by adding some blue and some yellow underneath it. You can see the violet tones there, take a little bit of the red. Put that in also. We call this an echo. Whatever's up top, put it at the bottom. Makes for a great little organized painting. I even put some of that cadmium yellow into the other yellow over the red. Now, I need something very bold next. So what I'm going to do, that's it. I added a little pans gray to the red and put the pans gray and red. Makes a lovely greenish color, dark color. That's all we're looking for something dark. The last little thing is going to play around with the paint dispersing up and down. Just let it go here and there. When you don't want it to go any farther, put it upright. Lift off a few things, just to clean it up. You can make your lines a little harder and soften them. Now I need one more little accent, and there it goes in the corner. I've left a white at the bottom, because if I wanted to, I could add a reflection in there, but I sort of like that white part. The magic appears when the painting's dry. Just remember that. Don't judge your work until it's dry. Well, you've done an amazing job. If you've followed me. I want to see what you do. I've shown you what I've done. Post your work, and thanks so much for joining me.