Transcripts
1. Introduction: Hi, welcome to the
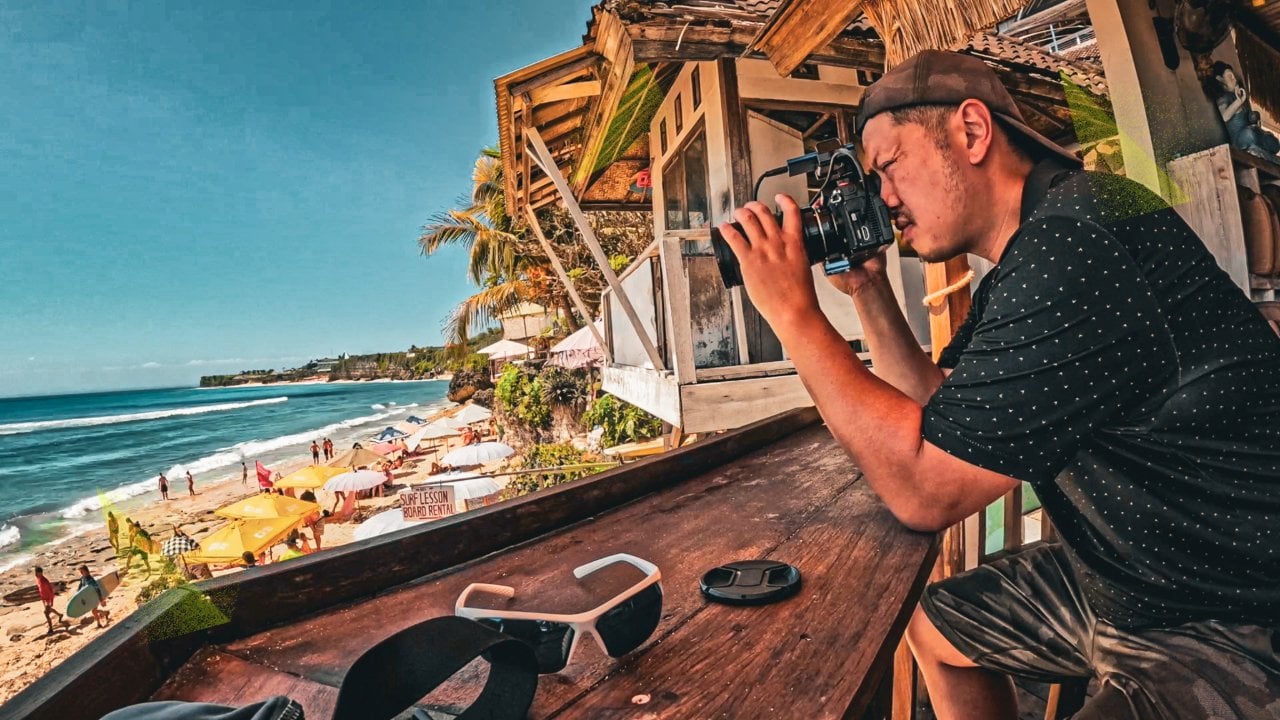
Instagram Edits course. My name is Greg Hung, a Canadian video creator
of over a decade. I've produced videos from all
over the world from Mexico, Thailand, Malaysia,
Vietnam, Singapore, Japan. And I've edited videos
on Premiere Pro, but now the trend
is moving towards these short form platforms
like Instagram and Tik Tok. Instagram has introduced
their own app called Edits. So this is an independent app of Instagram that is
available on Android, and Apple IOS phones that
allows you to produce amazing viral videos very easily with a little
bit of knowledge. Now, you can produce
amazing video reels using templates that
already are viral, or you can produce your
videos from scratch with amazing features
like transitions, captions, AI effects all out
of the box and for free. So in this course, I'm
going to go through what you need to know to
get started really quickly. These are short,
practical hands on tutorials that are going to get you started in a very
short amount of time. If this sounds good,
let's get started.
2. Basic Edit techniques Golf: Alright, I'm going to take
you through some edits. So this is a very
basic edit here. I've taken some footage from
my phone at a golf game. And what I've done here
is I've added music. You can see this
pink track here. And the music's
very easy to add. You can simply go to
audio on the bottom left. Select your track, and
that's basically it. You add the music to the track. You can select volume, and
you can reduce the volume. It starts off at 100 I've also
trimmed some of the clips. So trimming, just
highlight the clip and click on the handle there to
reduce the size of the clip. So that's trimming. And then there's transitions where you see that
yellow pencil. If you click that, that allows
you to add a transition. So just just demonstrate
how to trim. There we go. Hold down on the yellow arrow and then bring it right or left,
slide it right or left. And here's the transition. You have to be very precise. He just do one transition
here between these clips. So you got all these
transitions here, quite a lot. So one tip I'll give
you if you want to apply this transition to all the clips in
your video project, select this little circle, apply all transitions, and then select the transition
and then the checkbox. So that will apply
this transition between all the clips
in your video project. Really green, honestly,
I can't even. Okay, one additional thing
I did was add this emoji. So you can add emojis at
the bottom right, stickers. And then just just
type in the emotion. Cry. So there you go. That can lighten up
the mood of the video. And yeah, I can extend. I can also extend or trim how
long the emoji appears for. And then if I hold down, I can move it to
a different place in the timeline, as well. While highlighting
the sticker or emoji, I can also move it to a
different area on the screen. So they make this is very
intuitive way of video editing. One additional thing you
can do is a voiceover. So let me just demonstrate here. You can click Voice, hit record, and you can just talk. So recording a voiceover will add another track on
top of the music. And my tip for doing
a voiceover is to reduce the music volume so you can actually
hear the voiceover. And another thing I would do is to do captions on a voiceover
after it's recorded. I'll show that in
another project. I can't record it
now because I'm actually recording
this tutorial, but here's an example
of a simple video edit.
3. IG Templates: Going to show you a video that I actually use the template
for, and it's this one. So let me just play
this template here. You look handsome. Oh, my God. I like you. It's a very simple template, and all I need to
do is add a clip. So I can add the clip
from my gallery, or I can just simply record
it, which I'll do right now. So I can change
the magnification. I'll just leave it at one. Okay. So I'm gonna click
the right arrow. And this was simply
done for the template. Handsome. Oh, my God. I look handsome. Oh, my God. So that's how you
would edit a template. So just a quick recap. If you wanted to
find the template, click the Play button on the bottom left,
select template. And then you can
select use template. So the template will give
you basically everything, the music, the text,
and the timing. And all you need to do
is replace your clips. And if you want, you can check the stats
of this template here. So you can see this one got
12,000 views four days ago. So that's how you
can use a template.
4. Intro to Effects: Here's a video project. I had a bit of fun,
and I used some AIX. I use some captions. Yes. And I did captions. I actually did a freestyle, and I just wanted to
make it more accessible. So I did the captions simply by highlighting the video clip and clicking captions,
like I showed you before. Now here, I I did a cut, and what I did here
was an effect. So you can apply EI effts by highlighting a
clip. Selecting effects. You can see these
different styles here. You got outlines. You can do the white frame. So that's quite powerful. Got more captions. And now here. So this is another effect. And if I highlight the
clip, select effects. You can see I use the grid
effect to do basically a grid of just multiply that frame
to give it a different look. So you got 99 clips there just to make it look more appropriate
for a freestyle video. Yeah, so that's an example
of how you can use effects. Just remember that you can use all these buttons on the bottom
to add additional value. You can highlight the clip. You can apply filters. So experiment to see what works. And once you get more
familiar with them, you can add additional
production value and yeah, just give your video
projects more life. Another thing that you should know about is
you can speed them up. So that was 100%. Let's just do 2.3. Another technique I
like to use is split. So if you have a long clip, you can click split and that'll just chop
that clip in half. Yeah, play around with the different efects
at the bottom. There's the voice
enhance over here. And remember you
can apply this to all clips or just the one clip. You can even do a mirror. Let's just try that. All right. So that just reverse things. So, yeah, it's so
many different ways you can adjust your clips. This is a restyle. You can do different characters using AI. Okay, the effect took
a while to apply, but let's play it back. So you got a cool
woof effect there. It was. Alright, but then you
got tired of that, right? I hope you enjoyed this video. Remember, when you export, you've got different options. You can do two k
or just regular, and you can export
right to Instagram, download, or you can re
upload to other platforms. So hope you enjoyed this video.
5. Text to Speech: Everyone, this is a simple but powerful technique I
want to share with you. It's called text to speech. And basically, what you want
to do is type some speech. And then just change
the duration. And then you tap
tap on the text, and then you see at the
bottom Texas speech. And this is great if
you don't want to talk, but you want one of
the template voices. Yeah. And you can test them. Yo. Yo. Okay, so I'm going
to use that one. And then this For this text, I'm gonna use a different voice. The mixed shot. And then you can go
back and play it. Yo. The mixed shot. And I'll just show
you how we can do a third one. So good. So good. Okay, and let's just play
back the entire project. Yo. The next shot. So good. So there you go. Text to Speech. Good technique to keep in
your video editing arsenal.
6. Adding Captions and voiceover: Okay, in this video edit, I actually use voiceovers, and I actually downloaded a
video project from Tik Tok. And my workflow was to upload a video from
my laptop to Tik Tok. And then from TikTok, I
downloaded the video, and then I added additional
edits on the IG Edit app. I did some trimming. I also added the captions from edits. And I did that by
highlighting the video clip. And then I selected captions, and then basically you
generate the captions. I'm just going to counsel out because I've already
created them, and then once you've
created the captions, you can highlight them and
you have the options below. You can delete them. You can move them by clicking
and dragging. You can edit them so you can see the entire
screen of captions, as well as you can
change the style. So this is, I think, a very powerful way to add accessibility and production
value to a video with audio. If you did a voiceover, you could also highlight the
voiceover track and then generate the captions
right over here, but I won't do that right now. So that's a video project where you learn how to add captions.
7. Summary : Thanks for enrolling
in the Edits course. I hope you learned what
you needed to get and got inspired to get started and
create your own viral reels. Instagram Tik Tok are some of
the most popular platforms. That's where the
younger generation is spending their attention. So you definitely
want to be on there, and an app like Edits is going to help get
your videos seen, get your message across. But this is not the
end game because a lot more people are spending their time on longer form
platforms like YouTube. But YouTube is
also doing shorts. But the gateway is
these short form videos that you're going to learn
how to do in this course, using a program like Edits. And it's never been
easier now to create these vertical viral videos using a program
like Edits before. It was a little bit harder using the traditional
video editors like Premiere Pro and Final Cap Pro. So just a little
food for thought. The end game, I believe, is to still have the
long form content, but you want to make that
long form content digestible into these vertical viral videos that we're creating for
Instagram and for Tik Tok. So I hope you
enjoyed this course, and you enjoyed how I teach, and I hope to see you in
future courses and good luck.
 Greg Hung, Travel Videographer