Transcripts
1. About This Course: Hey, this is Jacob Lamb. Welcome to this
course on learning the caged system on the guitar. In just 45 minutes, we're going to master
exactly how this works by looking at each of the
five individual shapes, getting exercises for each one, and then learning
how to use them practically out in
the real world. This course takes things step by step so that nobody
gets left behind. And it also comes with a PDF
for those visual learners, a PDF of all of the exercises, and even interactive exercises
for the guitar Pro users. I'm really looking forward
to getting started. So let's dive in together.
2. Chords vs. Chord Shapes: Okay, we've got our heading
and we've got our tabs. Let's talk about the most
important thing here, and that's the
distinction between chords and chord shapes. Cords are specific notes. For example, in a C chord, we've got the notes, C, E and G. Now, that's not something
you need to memorize, but just an example that we've got these notes in a chord. Now, anywhere on the neck of the guitar that we play
those three notes, it will always be a C chord. The most common open C chord that we know is
also those notes. We've got C, E, G, C and E. So some of them are repeated, but they're definitely
those three notes. Now, the reason we play C in this position is that we're
hitting those three notes. But this position is a
chord shape, one of many. In fact, I could play
CE and G maybe up here, and that's still a C chord. So a chord shape is just the way we're hitting the three
specific notes of a chord.
3. How CAGED works!: Let's see an example of this. We've got our C cord and I
could slide that shape up, and it's no longer a C because we've left some of
the open strings behind. So maybe I take
my C and readjust my fingers so that my first finger can kind of follow along
as I slide it up. Now I've got the
exact same shape and this would be a
D cord as a C shape. So we've got two different
cords as one shape. We can also flip that. So, instead of playing
different cords as one shape, we're playing the same cord
as many different shapes, and that is exactly
what caged is finding ways to play one cord up the neck
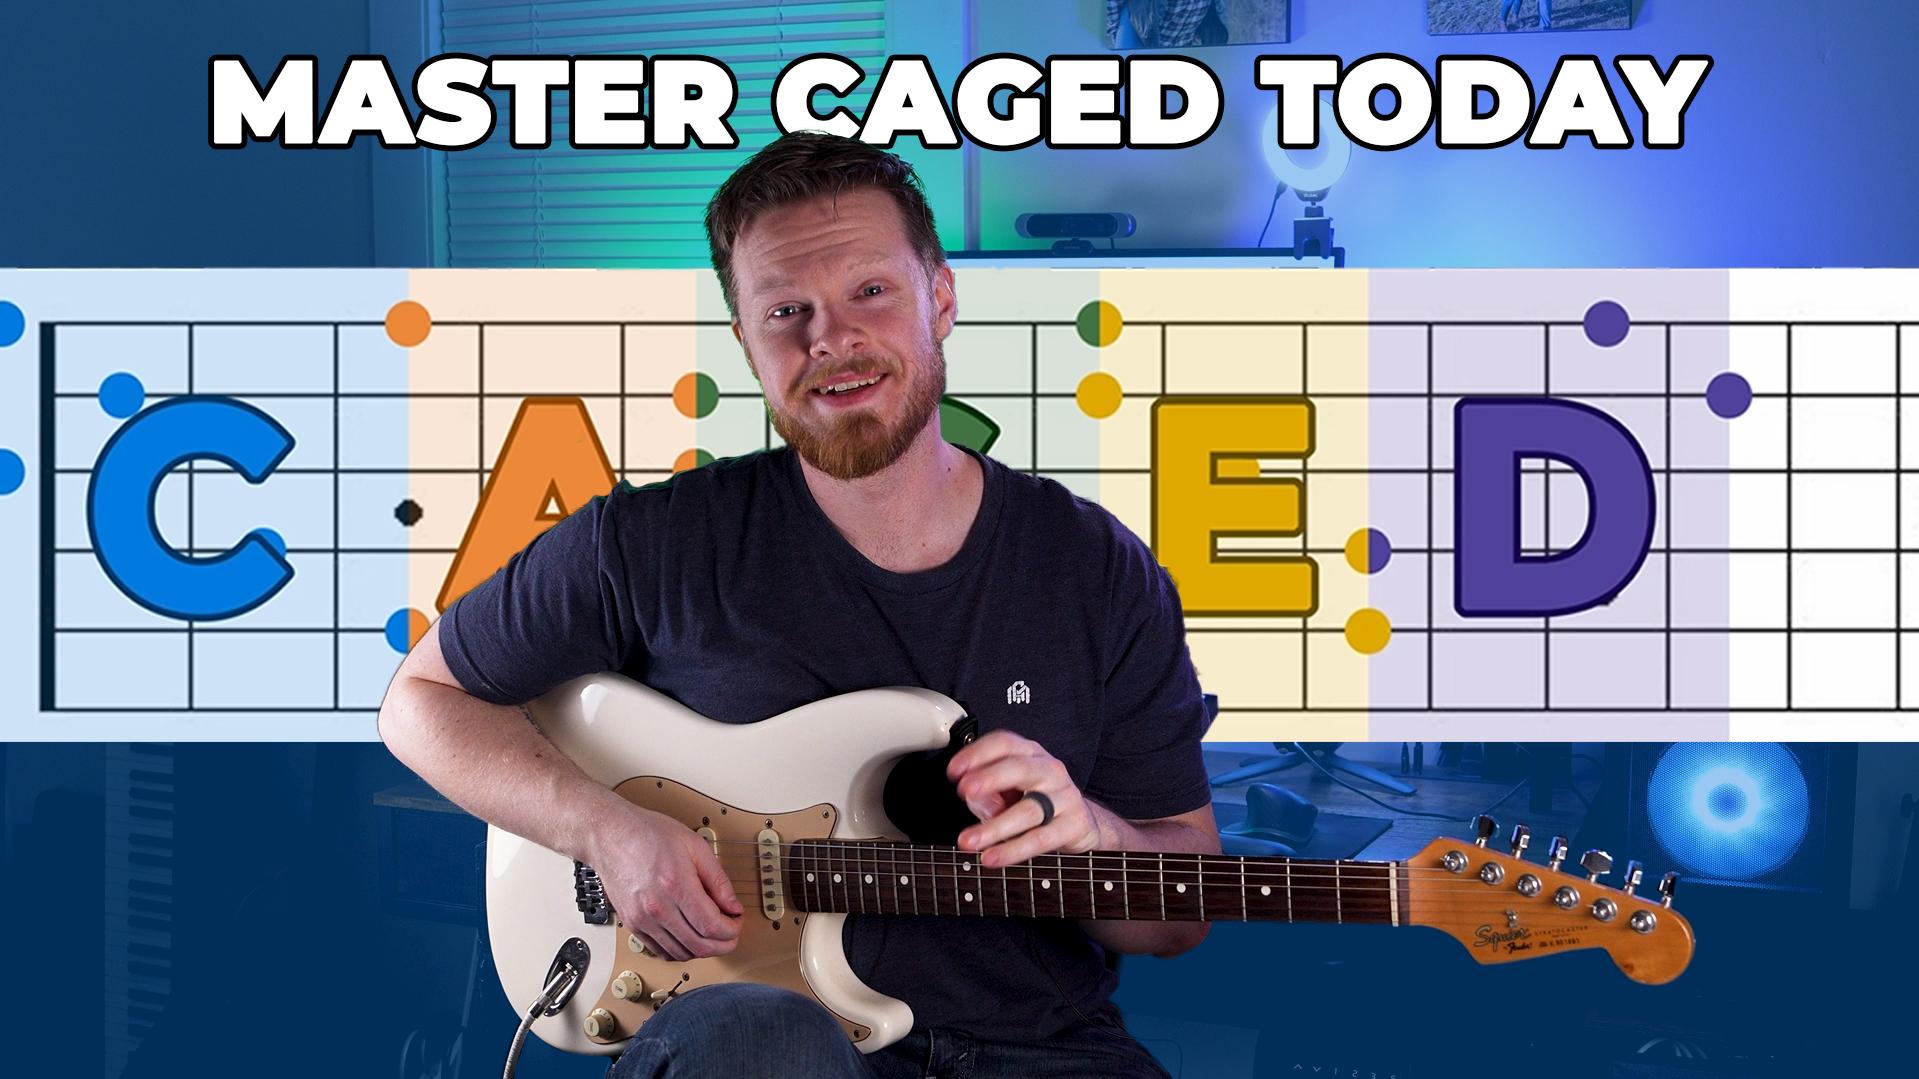
as different shapes. Here's where everything clicks. Those five shapes that we're playing a cord as are a C shape, A shape, G shape, E shape, and D shape. And what does that spell? Caged.
4. Accessing the TAB exercises: Like I mentioned in the intro, this course has
got a ton of tabs, and some of them might even
be interactive for you. So I want to make
sure that you have access to those
before we get started because I really think
that they'll make this course a whole different
experience for you. Now, either in the next lesson or in the description
of this course, you're going to find the PDFs, both the PDF with the graphics, and the one with all of the
exercises for this course. If you have guitar Pro
for interactive tabs, those are going to be spread out with the lessons
they're paired with. So all of the C shape
exercises will be before the C shape lesson if you've
never heard of Guitar Pro, but you are interested
in interactive tabs. The link for both
the computer version and the tablet version
are in the description. The computer version does a lot, but it's a little expensive. The app version is about $5, but you get to see the tab played out
with a drum track in the background and also the frets on the guitar
that are being pressed. So that's really handy. But of course, you do not need anything
extra for the course. If you don't want it, you
can always use the PDF.
5. The C Shape: Now that we understand
how caged works, we're going to learn these
five shapes and how they connect so that we can play
caged ourselves up the neck. And we're going to start with the C shape down at the bottom. The C shape is, of course, the start of caged. And if we know a C cord, we know the C shape really well. This shape has got three unique tones like
we talked about before, C, E and G, but we're strumming
through five strings. So it's going to be
really useful for us if we name the tones in this chord. C, E, G, C and E. Or another way to
think about that if we number our notes is one, three, five, one, and three. Later on, when you
want to use cage to play songs or write
songs or make solos, it's going to be
really useful to know those numbered tones
for each shape. That'll come in handy later. So here's our C shape. Now, of course, we're not always playing
it from down here, so let's also look at it
from another position. Maybe I'll start it
from the seventh fret. So what I need to do
here is make a C shape. But also move the
open strings along. So I'm going to
adjust my fingers to still play that C
shape and have a bar. I can think of my first
finger kind of as a capo and playing that
s shape on top of it. Only difference is, it's
not a piece of metal. It's my finger, my own flesh. So I've got this shape. Playing from the seventh
fret as my root, remember one is right there. This is an E chord as a C shape, which is pretty cool. If we can remember that the
root is where our pinky is, the one, then whatever fret that is is the
name of our chord. For example, if I moved it down, so now my pinky's on a D fret, I've got another way
to play a D chord.
6. C Shape Exercises: Let's look at three exercises to get comfortable
with the C shape. This first one is really simple. We're just moving our
shape up and down from C to C sharp to D and back down. Let's try it together
and remember that you've got either the PDF or the interactive tab to
play this along with. Oh This next exercise is using that C shape to play a whole chord progression
from C to D to G. So we'll be shifting our
shape from starting on a C note to a D
note to a G note. Finally, for our last exercise, we're going to be
going up the sea. And when we reach the top, shift up two frets, come down. When we reach the bottom,
shift up two frets, come up, shift up two. So it's kind of like
a little warm up. Whenever we hit the
top or the bottom, we're always shifting
up by two frets. This time, especially, I want us to focus on playing
one note at a time. So far, we've been
holding a shape down and kind of
plucking the shape. But here, we're going to be lifting fingers between notes. We're always going to
do that moving forward. It's just really useful to visualize shapes
like that unless, of course, we're playing
chords purposefully. When you're comfortable
with the C shape and those exercises, let's move forward and look already at changing
keys with caged.
7. Changing Keys: We know now that caged is a map, a way to visualize a single
chord across the fretboard. But I want us to think
about changing keys for a moment because for
so much of this course, we're playing exercises
and learning the shapes in the key of C. But caged isn't restricted to the key of C. It starts with a C shape
doesn't mean we have to play in the key of C. We
can start caged from higher up like a D. Once we start
from a different position, the whole shape moves with us. So more than memorizing the exact frets we're
playing for this course, it's more important to memorize the distance between the frets, which we will cover, and then the shape itself. Don't think about
this as a C chord. Think about this as a C shape
because when we move it up, we have a C shape up here. We need to think
about the next shape and then the next shape. So we can use caged in really powerful ways to play chords we might
not even know yet. Like, if we came across
a C sharp, well, we don't really have an
open cord for C sharp, but we do know now
that we can take a C and slide it up
by a fret and go, Oh, hey, that is a C sharp cord. And if we put the
caged shape after it, we've got a whole bunch of
ways to play a C sharp cord.
8. The A Shape: We know the C shape
really well now. Let's take a look
at the A shape. Next one in caged. Now, one of my favorite
things about caged is how we move between the shapes. We can think of the
bottom fret we're playing in each shape as the starting
point for the next shape. Now, specifically,
this starting point, we can kind of visualize
a capo being right there. So at the bottom of my C shape, I've got this capo
and on top of it, I play an A chord, except again, the
capo is our finger. So I've got my C
shape, lowest fret, bar, and play the A
shape on top of it. This now is a C cord
with an A shape. The tones here are one, five, one, three, and five. We can hear that it's
the same as our C chord. But kind of a different
voicing, right? The notes are in a
different order, which is really neat because
when we're song writing, it gives us more options
to play the same chord, or when we're playing
with someone, it allows us to play
the same chords without stepping on their toes.
9. A Shape Exercises: Just like we did for
our C cord C shape, we've got three exercises
for our C cord A shape. And starting with
exercise number one, we're just moving
again, up and down. And remember, when we move up or down with the same shape, we're actually
changing the cord. So again, we're going from C, up a fret to C sharp, up a fret to D, and back down, same thing like we did
for the first shape. Exercise number two here, we're actually moving
between shapes, both for a C cord. So C shape A, shape, and then a Dcord
C shape, A shape. So we're changing shapes
and we're changing cords. For our final exercise
for the shape of A, we're going to work up
and down the C shape, the A shape, and then focus
on cords back and forth. We haven't done cords yet.
So something like this.
10. The G Shape: Next, we have our G shape. Again, if we play our A shape, remember the lowest fret
is where our capo goes. And then we put a
G on top of this. Now, a full Gchord is really difficult to do when we're also holding
down the capo. So we can pick if
we want to play the lower portion or
the higher portion. Both of these work as a shape, but I like keeping the root at the bottom and playing
this lower portion from C, A and G shapes. Now, our tones here, and we'll keep that high
note in there are one, three, five, one, three, and one on top. So again, always
starting with that root. So together, we
have CCord C shape, CCord A shape, and
C cord G shape. Now we can take a look
at our three exercises.
11. G Shape Exercises: For exercise number one, we're going to be
walking up and down, all three shapes moving up, and then moving back down. So C shape, A shape, G shape, A shape, C shape. Here we go. Exercise two focuses
on chords, again, moving from our new
G shape down and up. But this time, we have three shapes to play between
instead of just two. Our last exercise focuses
on changing chords. We'll be playing each shape from C down a whole step or
two frets to a sharp. And we'll do that for
the second shape, and we'll do that
for the first shape. But you'll notice
the first shape, we're kind of out of
room to slide down. So we need to make
quite the jump here, which is kind of the opposite
of what caged is for, but we have to make a jump, not down two frets, but the octave of this shape so that we
can actually play it. You'll see what I mean
as we play through.
12. Using CAGED to play chords: Caged is really useful
for chord progressions. Not just because we can
expand a chord up the neck, but also because we can play different chords so
close to one another. Sort of like inversions
on the guitar, if you're familiar with those. As an example, I can play
all five shapes from the same fret and have five different chords
right next to each other. From the fifth fret, I can play the C. Hey. G, E and D shapes and
actually be playing an F, D, C, A, and G. Another cool thing we can
do with cage is combine these shapes with bar
chords or power chords. That way, we can
have these movable, slidable shapes but also
not have to stick to them. If I know an A bar chord or even an A minor bar chord
or power chord, well, I still have all these
other shapes around here, like a G shape, C, A, D, and that power chord. So cage really becomes powerful when we start combining it with
other techniques. Sometimes in a song, we have the same
chord over and over. And your audience might fall asleep if you've got a C chord. For I don't know, 16
bars. That's a lot. And it's not all
that interesting. And there's lots
of rhythmic things you could do with your pick
to make it interesting. But caged is super
powerful here as well, where it can make the same
chord interesting for a long time because it sounds
like you're shifting cords, even though you're really not. And for you as well as the player makes it
a lot more exciting.
13. The E Shape: We've only got two
more shapes to learn, so let's crank
through them here, and our next one is the E shape. If you know bar chords, the E shape's going to seem
really familiar with you because it is exactly
a normal bar chord. So let's take our G shape here, and we know that the bottom fret is where we put our
imaginary capo. And on top of this capo, we play an E chord, and we get our E shape. Again, if you know bar chords, this is exactly how we play a C bar chord from
the eighth fret. Now, your tones here are one, five, one, like a power chord. Three. There's that
five again, and one. We're really expanding
our chords up the neck. So let's have some fun with
these next three exercises.
14. E Shape Exercises: We've got four unique shapes
now for a single chord, which is really cool but can be really confusing
at the beginning. So our exercises now won't
just show the chord name, but also what shape
we're playing. Our first exercise
is just working up the single notes of these
four shapes like this. Our second exercise is a chord progression
that goes between C and F. But every time
we're playing C and F, we're in a different position. Now, again, all
these positions are marked down on the sheet, but it sounds
something like this. Okay. With that one, you'll notice when we
play F as an E shape, that's the F we typically learn when we learn
our first F chord. Exercise number three is
finally changing our key from a C. We need to practice these shapes
somewhere different. So let's do them
in the key of E, which means we're starting our C shape from
the seventh fret. Now, we're going to be doing
single notes on the way up all of the shapes and
then chords on the way down. Really important
thing to remember on the way down is that our highest note is where
we're putting our capo finger. So when we're coming down, the lowest note becomes the
highest note. That'll help. Having that one fret that's
always the same really helps. But here's what exercise
number three sounds like. With four shapes mastered, there's only one more to go. Let's jump into
learning the D shape. And then we'll see if we
can't use caged practically.
15. The D Shape: Welcome to the last
shape of caged the D. Now, we're back in the key of C, and we're in an E shape. Now, this one's a
little bit interesting. Remember, the bottom fret
becomes our bar, our capo, but we don't
actually need to bar because just like
a regular D chord, we're actually going to start this one from the fourth string. So I can just put a finger
there on the fourth string, and on top of this,
build a D cord here. So this is a D shape, but a C cord. So from our E, up here. Now, our tones here are one, five, one, and three.
16. D Shape Exercises: These are your last
exercises. Super cool. Like the other ones, we're going to start
with single notes, working up now all the
shapes of cage. Here we go. Really cool. Now we can play one ord in five different
places up the neck. And we'll talk about how
to actually loop cage, going back to that C
shape so we could keep going if you wanted
to play way up here. Exercise number two is the same chord progression
in three different places. We're playing a 145. So in the key of C, that
would be like C F, and G. But we're changing the key, which means we're
changing the shape. So we're going to play
it here in the middle. Nice and low where the cords actually match their shapes and then move it up by a fray. Here, I'll show you what I mean. If you can play those shapes down here barring
the first fret, you can play them anywhere. I find that the strings get easier to press down
the higher up you go. So pressing them down
on that first fret. It's not an easy task, but let's look at
our last exercise, which is a super unique one. Now, I want to teach you something with this
exercise here, and it's that adding in
one different note in a chord replicates
through every shape. So for example, if I added
in one note to my C shape, well, that one note could
be carried over to the A, G, E and D. This is something
that we do engaged to help us make riffs or solos, and it really brings out a
lot of character in chords. So for example, in
a C chord C shape, I'm going to add in a sus
four note as I climb up. Now, all that means is that
I'm adding in from one, three and five the
four, one, three, four. But now that we know the
tones in each shape, I'm going to do that
in the A as well. So every time I
come up to a three, I'm going to add in
a fret above it. It sounds something like this. Uh So why did we do that? Well, again, it's to show that when we make
one little change, it radically impacts the
whole shape of cage. That sounded very different than any of the other
exercises that we did. But that allows us to create some really cool
riffs and solos. And it doesn't have
to be that note. We can add in a different note. We can add in two
notes, three notes, and just completely unlock the fretboard in a
whole different way. So when we add to cage and
blend in other things, it becomes a different
monster entirely.
17. Flipping the Order!: Here's something really cool. Up to this point, we've
been playing caged, starting from a C. And
we've been doing that because that's
what the word cage starts with. It makes sense. But we don't have to. We can actually start from any letter of
cage that we want. All of a sudden, we've got these five different ways to
get across the fretboard, but still following
the same rule. So, for example, I'm playing a G chord down here in
any song in the world, and I go, Man, I wish I could use cage to still get
up the neck of the guitar. Well, we could. We
just start from G. We can still from
the lowest fret, go to E and D and C and A, back to G. We can
start from any shape. That means that
any open chord we know that fits one of
these five shapes, we can now expand up the neck. But there's one super important
change when that happens. From D to C, from the end of the word caged to the beginning
of the word caged, our fret bar rule changes. Remember, up to this point, we've been able to bar
or capo the lowest fret, and that's not the case right
here and only right here. When we're moving from D to C, we're moving a fret down
from the lowest fret. So, for example, I'm encaged. I'm playing C, lowest
fret bars to A. Lowest fret bars to G, lowest fret bars to E, lowest fret bars to D. And now the second lowest fret. I can think about it as the one with the most notes on it. That's where I'm going to bar. To play the next C
shape back to A, back to G. Once you're up
here, that's difficult. But the point is, as long as we remember
that little change there, we can start caged
from any note. And I think that's super cool.
18. CAGED and Minor Pentatonic: Caged is really neat on its own, but it starts really showing its power when we combine
it with other techniques. We talked about this
a bit earlier when we thought through caged
with bar or power chords. We can also combine
caged with inversions, which is very similar. We're flipping the notes in a chord to play it up
the neck of the guitar. So almost the same idea, just slightly
different application. Or modes and scales. And this helps us to play chords around where we're also
playing lead lines or solos. And that's really nifty. As an example here, let's match caged up with a
minor pentatonic. If you're not familiar
with minor pentatonic, it's sort of the
first mode people learn when they want
to do some soloing. So it's super simple. Here's
the shape on the screen. Just two notes per string. This is not a minor
pentatonic course, but it's useful to
know for this lesson. A minor pentatonic. That shape starting
from an A matches up with the key of C, which is really cool
since that's where we've been playing
caged from so far. I could play a chord progression
down here like C to F. Easy enough. Now, the G shape is the closest one
I've got to this mode. But just like there are five different positions for caged, there are five
different positions for the minor pentatonic, so that I can also solo. Up the neck of the
guitar, right? Now, you don't need to
know those five positions. This is just an example of
a way we can use caged. And the way I would
say is we can match up the shape with the position. So again, E here is where I could play the second position. I could have a D up here
where I play third position. Why is that interesting at all? If you haven't clicked away, you're probably wondering, I don't know what he's
talking about anymore. I was with him with the five
shapes. Now he's lost me. That's really cool
because it gives us a chance to play chords, solos and lead lines
together all over the neck. We're kind of blending
these two different ideas. And it's one example of
something we can do with, like, 50 million
other techniques. So caged expands and grows and morphs with everything else
that you're going to learn. I would just say whatever
you learn after this course, think about how you can play chord shapes around wherever
you are on the neck. That's the main point. Cage gives you a way
to play the chords in your song around wherever
you are on the neck.
19. Soloing Shapes with CAGED: Playing caged around
a minor pentatonic is a really good transition for using caged to
improve our solos. If we want a solo over
a chord progression, does caged really
help with that? Well, it does, actually, and it does in a
few different ways. First of all, we always want to solo around the
chords we're playing. And I don't mean just physically
on the neck, but I mean, it can be really cool, sound really good to solo
around the tones of a chord. So if I'm playing a C chord, I'm playing C and G
notes. We know that. Now I can use caged to
solo maybe higher up, but I know I know that I'm playing
the right tones that match up with the chord. That's gonna make your
solos and lead lines blend better with the
song that you're playing. We can even do it when
we're changing chords. If I'm up here
moving from F to C, I can make sure that
when an F is playing, I'm playing the right
notes and landing on a C. Almost sounds like
the major Ionian mode if you are familiar with that. So we can solo around chord progressions and kind of match up tones with a chord, but cage also gives us a really clear path
for playing arpeggios. Now, if you don't know
what arpeggios are, you've actually been doing them. Arpeggios are when you take a chord shape and you're playing
them one note at a time. So if I'm taking a C shape, and here I'm playing an
F chord as a C shape, an arpeggio would be playing
the notes one at a time. So we've been doing that
in a lot of our exercises. The reason that's so
cool is it gives us just a really clear
visual of how to play all these tones
over a single chord. Let's make this really practical for a minute because it does get so confusing
without examples. Let's say you're in
a band and we're playing through C to F, G. Someone says, Hey, Steve or Joe or Kathy, I need you to solo over
that chord progression. Now, maybe you know
a couple of mods, but you haven't quite worked on your soloing yet.
So what do you do? Well, we're going to move
caged around those chords. We know caged from a C
we know caged from an F. And the G would get even higher or we can drop down and start it
from the G shape. Now, all of a sudden, we've got this map of all
the notes we could play in our solo shifting caged
as the chords move. So if we start caged from the right chord that matches up with what
the bands playing, you got a whole new way
to look at the neck, even if we don't know
how to solo yet. That's super cool
and really powerful.
20. Final Project: If you've made it this far, you are a rock star seriously. You now understand
how cage works. Five individual shapes,
you've practiced moving between them if
you've gone through that PDF or the
interactive tabs, and you even know how to apply it a little bit to some chords, some soloing, and you've
got it in your head. As you jump into
your next course, combine caged with whatever
technique you're learning. It's really combining things
that makes it powerful. Now, before you leave, we've got a final project to do and show off what
we've been learning. What you're going to do is
make a chord progression. And then don't just
play it as open chords, but play it as caged shapes. There's not really such a
thing as extra credit here, but if you want extra
credit in my book, you can combine it
with other things. If you're familiar
with any mode shapes, any inversions, any technique
on the guitar already, try fusing it with
what we've learned in cage and share a bit about
what you're actually fusing.
21. Congratulations!: Congratulations on
finishing this course. It's a huge achievement. Now, if you've got any
questions or comments at all, you can always reach out at
Jacob at jacob lamb.com. I love hearing from you guys
and answering questions. It's honestly one of the
best parts of my workweek. Or I've got more courses
right at jacobam.com. There's a community of
people learning there, and I would love
to see you there. Congrats again and have fun learning the guitar. No.
 Jacob Lamb, Musician, photographer and videographer