Transcripts
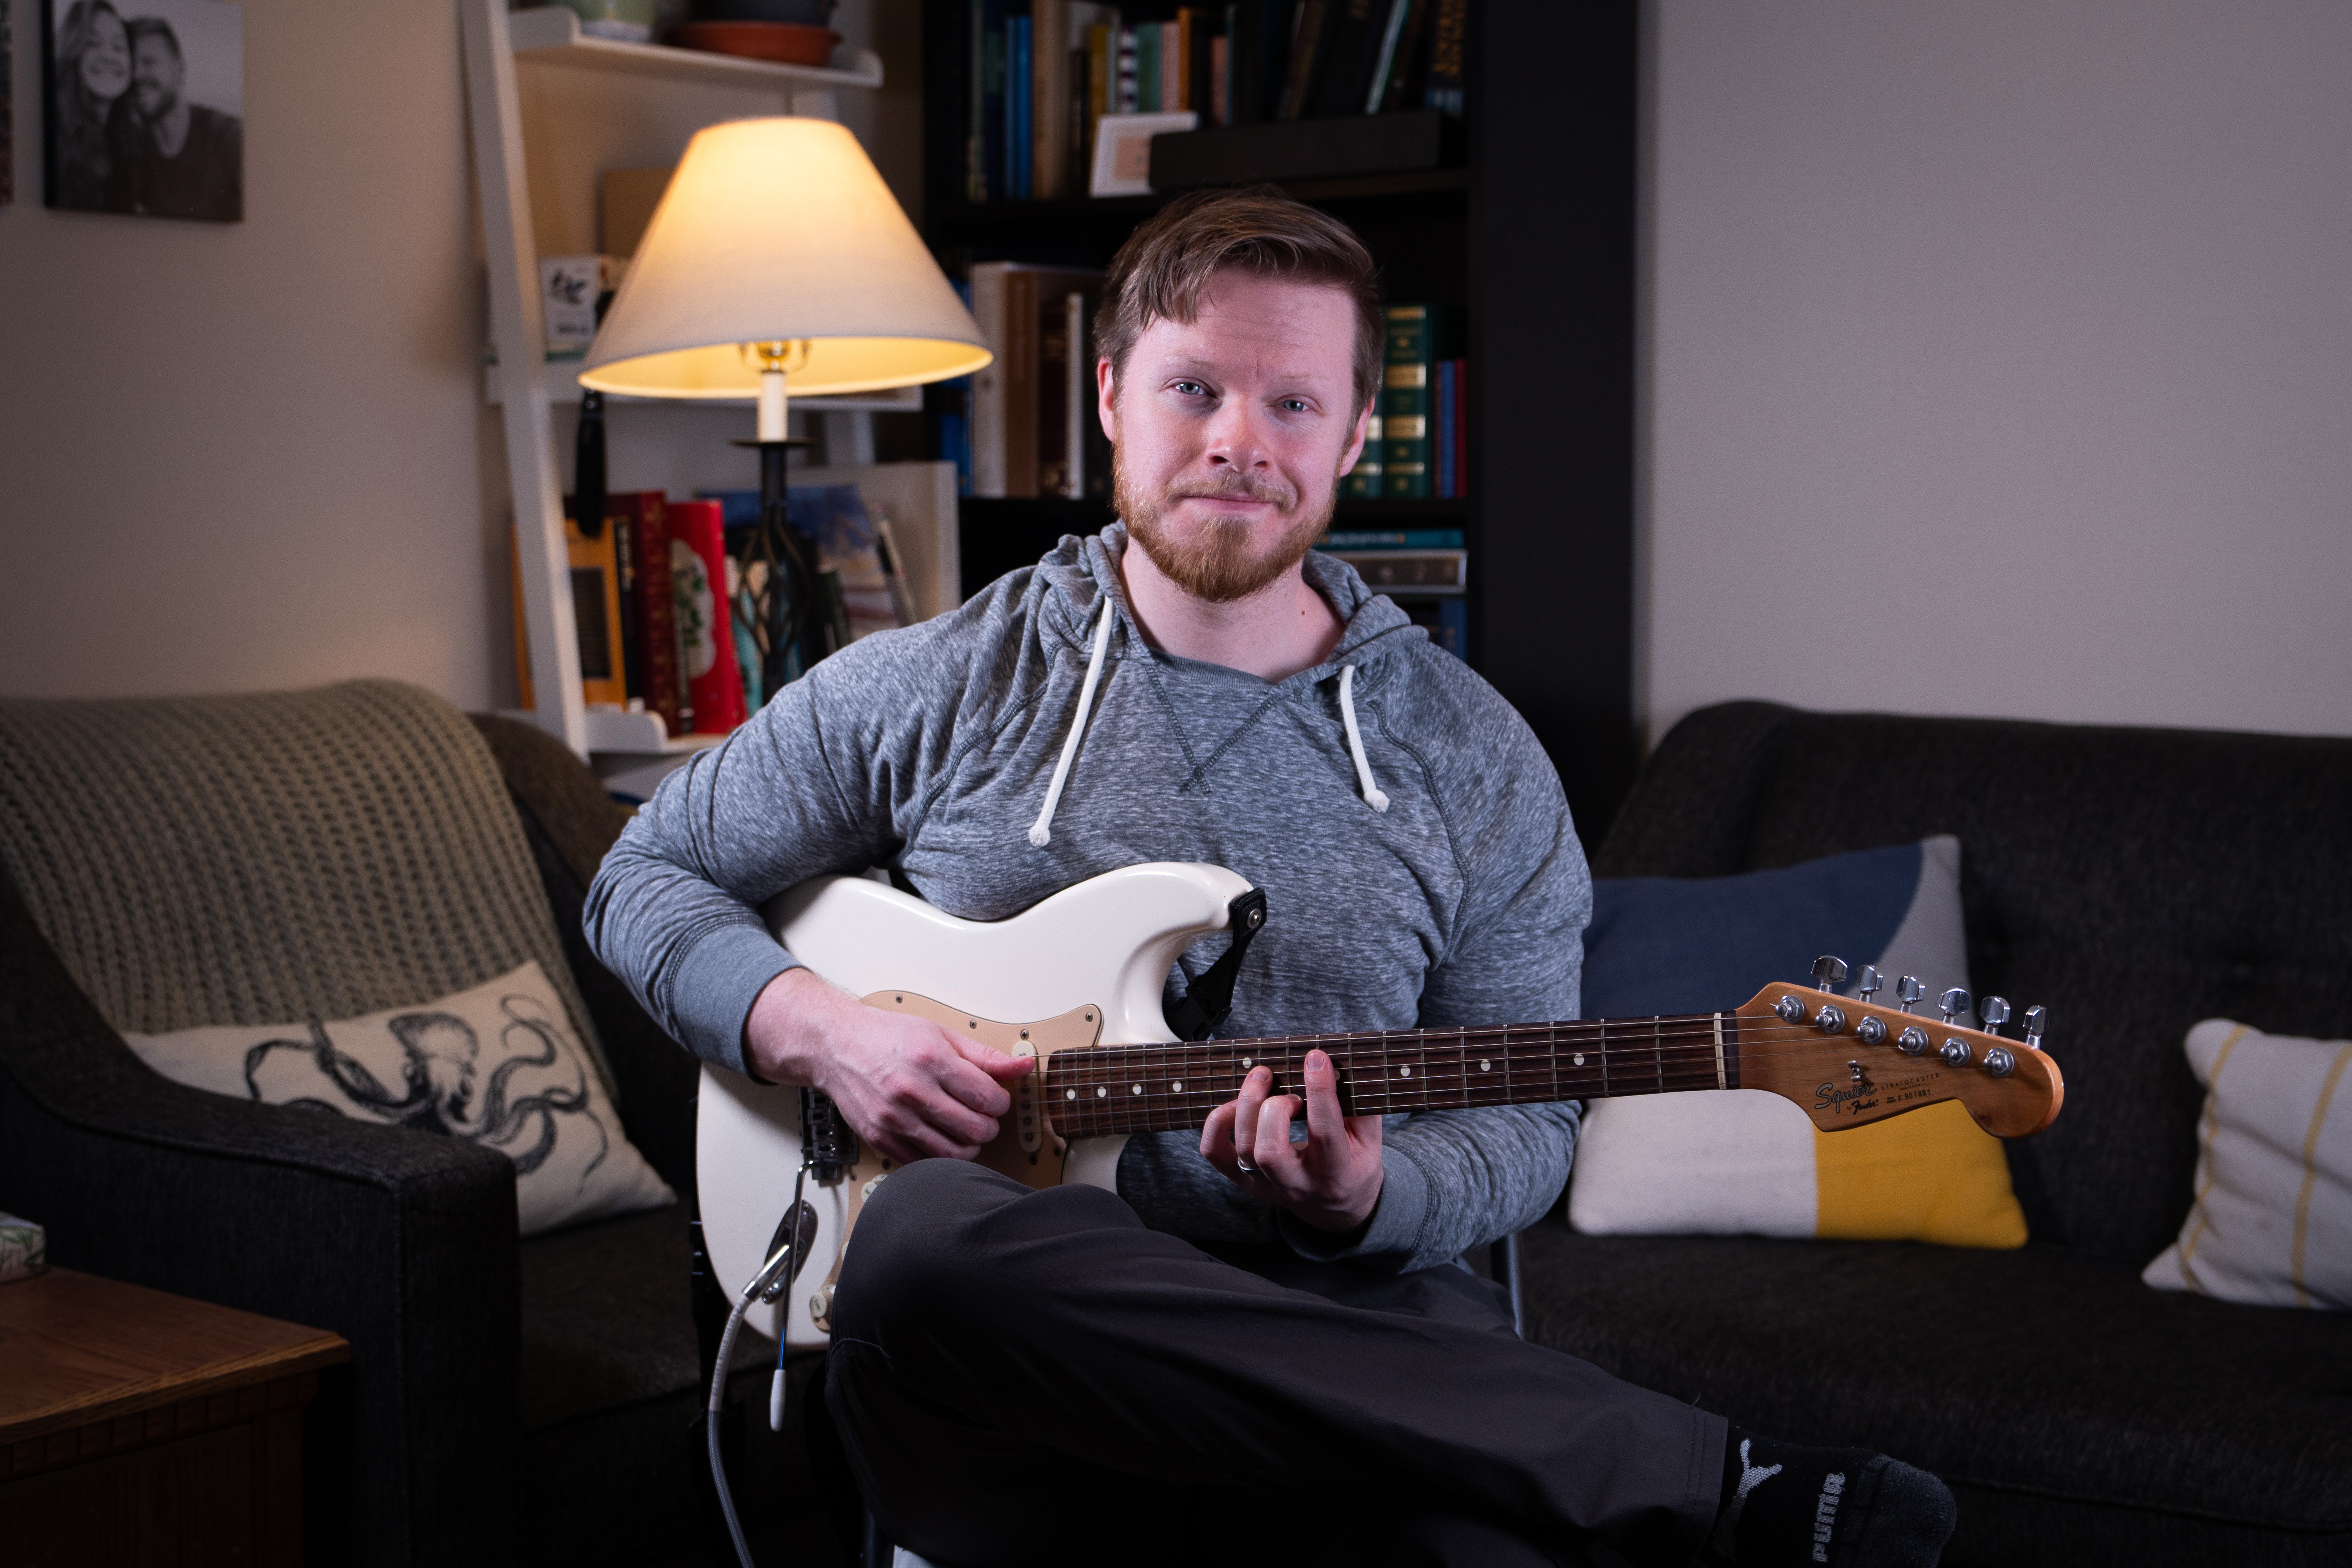
1. Welcome!: Hi, My name is Jacob Lam. I'm a musician, a music teacher, and the author of the basic
music series of books. Thank you so much for looking at my introduction masterclass
for playing the bass. This is going to be a
well-rounded course, focusing on the notes on
the strings of the bass. Playing over a
chord progression. Different styles of base, making your own riffs
and playing with a band. We'll practice with a couple of different songs for
you to play over and always give you the
sheets and tracks that you need to practice along. This is where a beginner
who's never touched a base. But in the end,
you're going to have a thorough understanding
of the basics of base and be able to sit down and play through your
favorite songs. So we'll start together
in the next class.
2. Parts of the Bass: To start, let's talk about
the parts of your base. Now, this is broken into
three main sections, and they're actually a
lot like the human body. At the top of the base
we have the head. The long part that the head attaches to will be the neck of your base and the head and the neck attached to
the body of your base. Now, of course,
there are parts on your base that are not
like the human body. On the head of your base, you have tuners that adjust how tightly each string
is being pulled. We use these tuners to move each string until it's
the correct pitch. The tighter the string, the higher the
pitch of your base. On the body of your
base, you have pickups. These listened to
your strings and send the signal out of an
amplifier or headphones. We also may have 12 or even
three knobs and a switcher. The nobs control the volume
and the tone of your base, how open or closed it sounds. The switcher changes
which pickup is listening to your base. Pickups further down might
sound more tinny or thin. Pickups further back
towards the neck might sound more full or fat. Pickups listening in
different places here, different things. Finally, and most importantly, we have the strings of your base which connect
to the bridge at the bottom and the
horizontal metal bars going across the neck. These are threats. Threats are what we
press down on to change the pitch of our base. The higher up we press a fret, the higher the tone will be
on the string we're headed. For example, if we
hit an open string, just a plain string without
pressing anything down, that will be a lower tone or a lower pitch than if we press a fret down on that string and then played or
picked the string. So the way that we played
bass is that we just memorize the note or pitch
on these different frets. And then songs will tell us which one they want us to use.
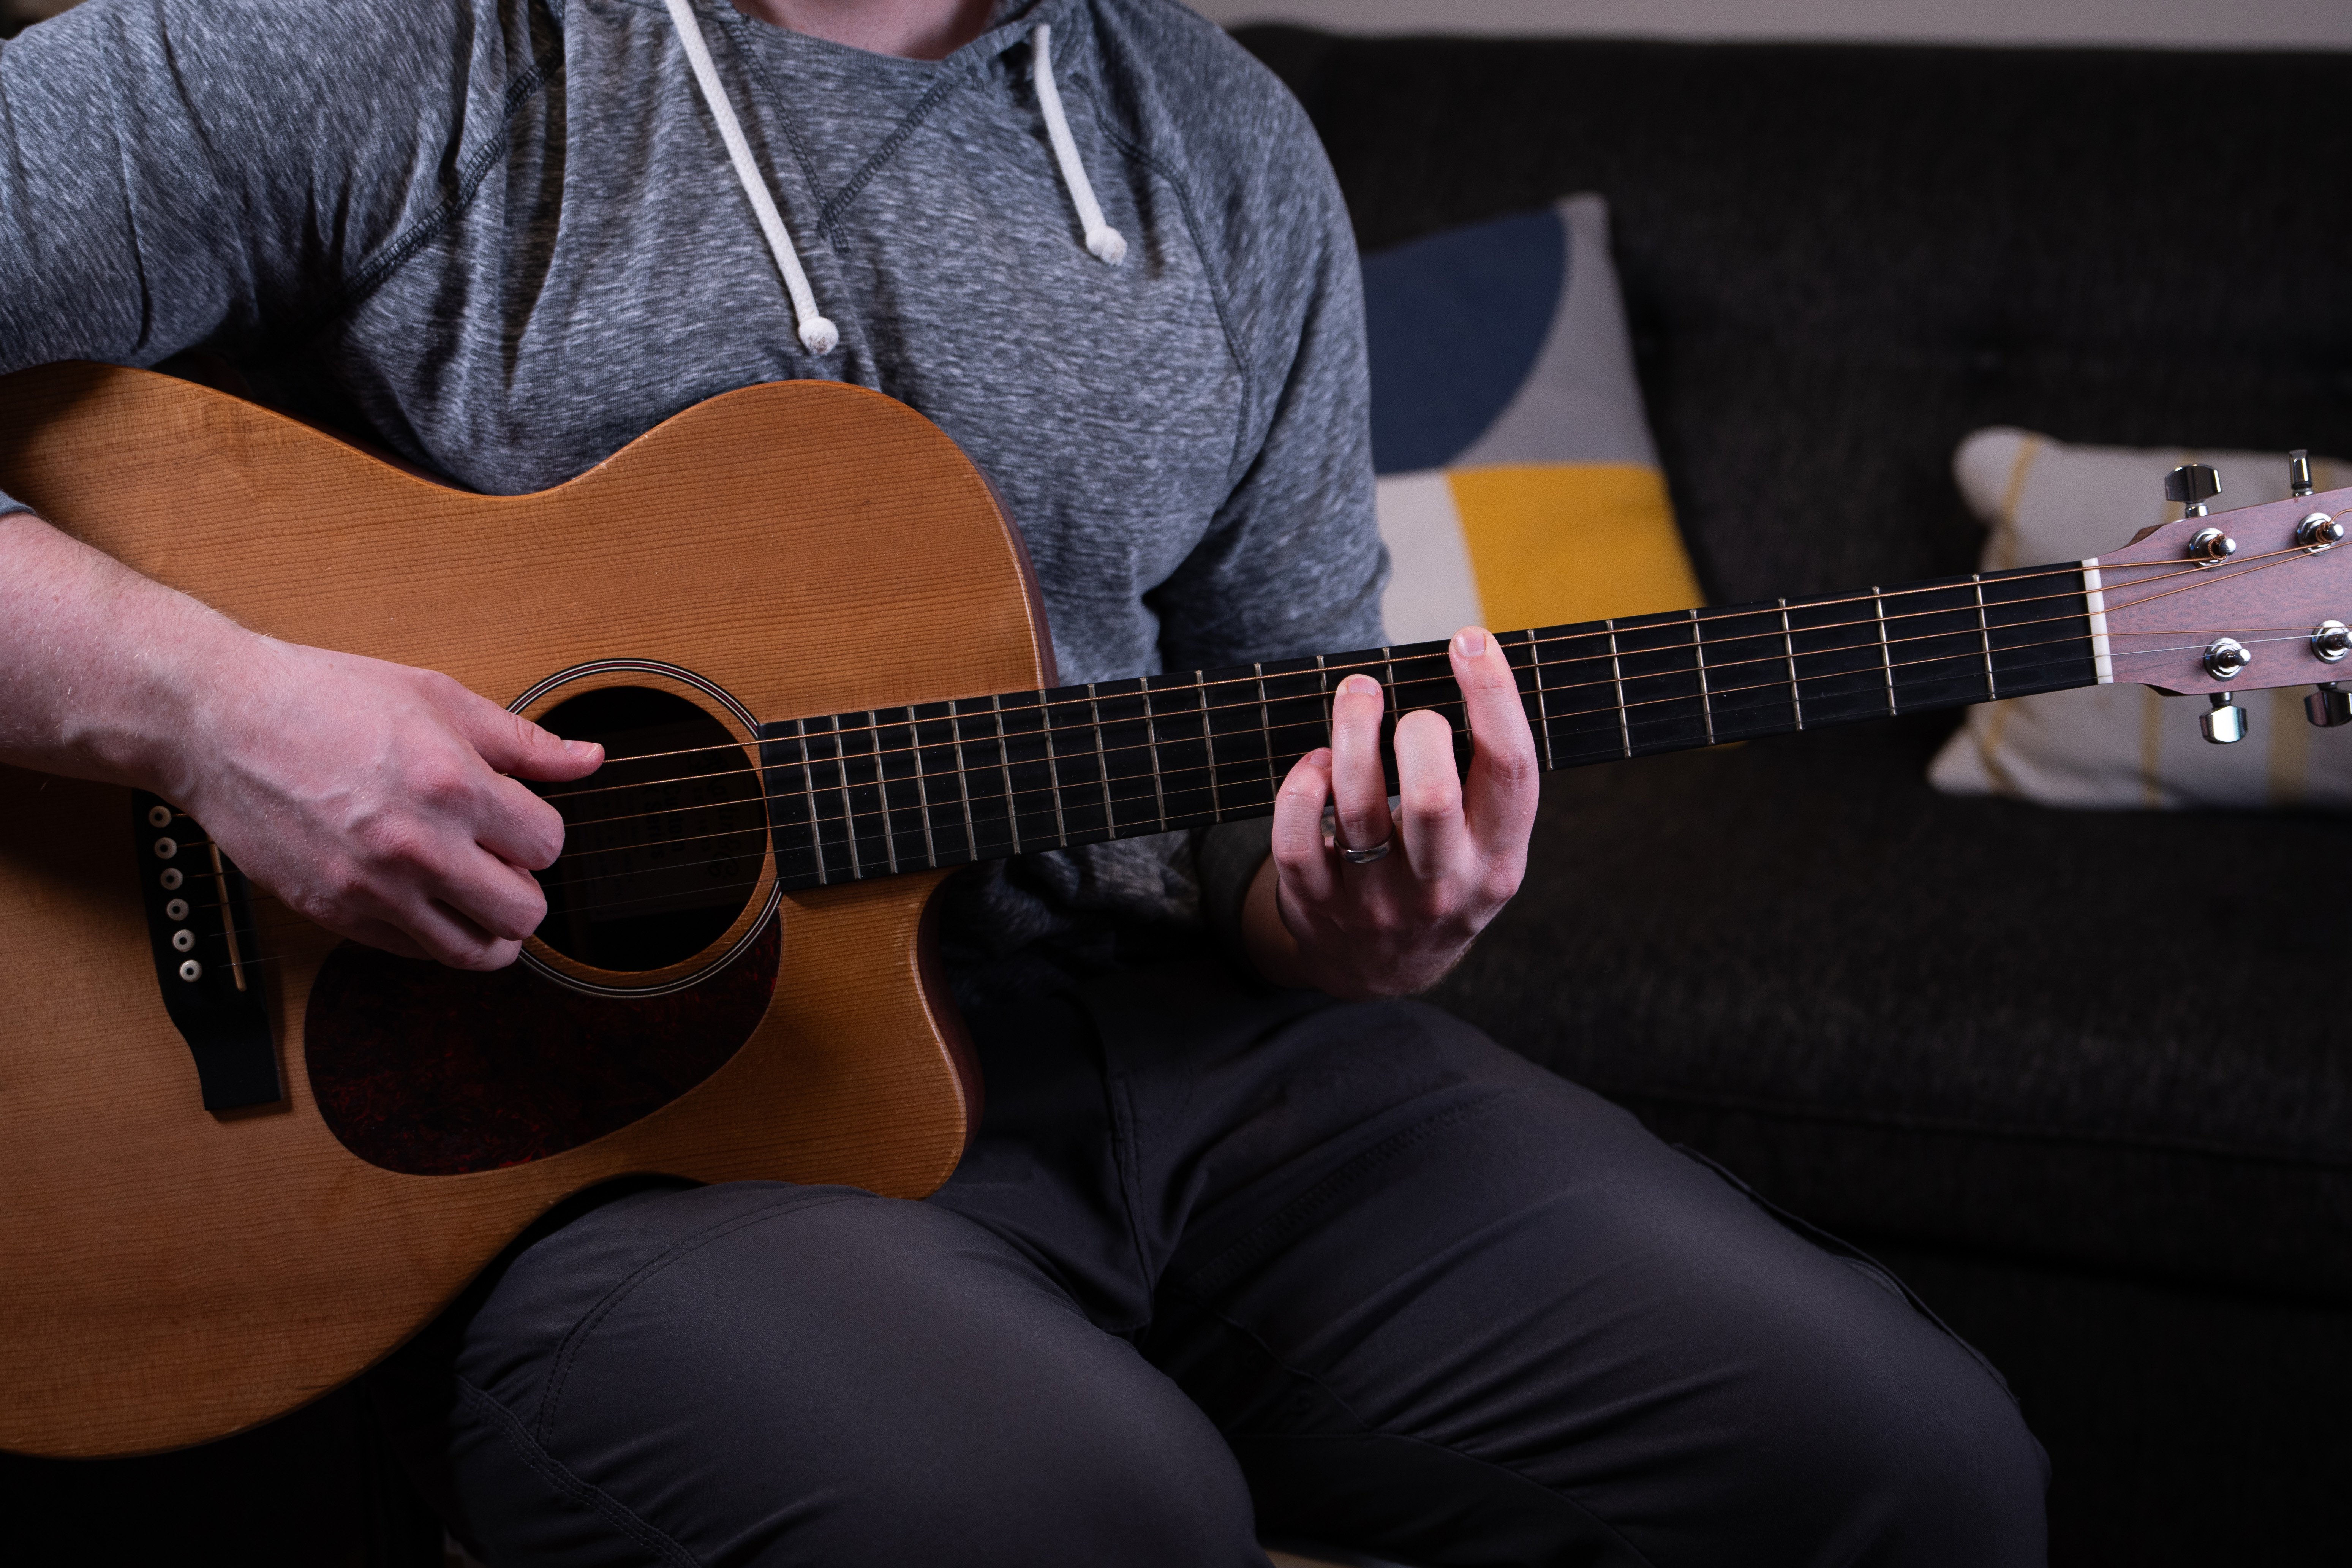
3. Left and Right Hand Technique: Now we want to make sure before we play that we're
playing correctly. And so we're going to look
quickly at left and right-hand technique that will
make the base as fun and comfortable as possible. We're going to start
with the left hand or the hand that presses
down the frets. There are a couple rules to remember to make sure the base
is coming through clearly. First of all, we want to
keep our arm as relaxed as possible with our left hand instead of turning our
hand one way or the other, we're going to try our
best to keep our fingers perpendicular with the frets. Now, some turning will happen naturally as we get further
away from our body, but as straight as we
can keep them is best. My thumb is going to be
along the back of the neck. At the mid point. We want to make sure the
thumbs on the back of the neck and not over the top. One of the reasons being is that we're also trying to keep a gap between our
poem and the neck. So instead of twisting thumb
over and Poem on the neck, we're going to have thymine back perpendicular and leave some dead space
between our hands. You may have to bend
your wrist a little bit. Now when we actually
play a fret, there's two things
we want to do. The first and most important
is to make sure that we're playing in the bottom
half of the space. So for example, if I
want the third fret, I'm going to count
123 metal bars and then play in the brown
space between the bars. But I'll be playing in the lower half of
that brown space. If I play too far back, you're going to get
this buzzy sound. This buzzy sound clears
up the further down you go until you land on top, and then it sounds muted. The second thing we
want to be sure of with our left hand when
we're playing the frets, is that our fingers stay close to the strings even
when we're not using them. This was my problem. When I started learning
an instrument, my teacher told me that
my fingers were too far out when I
wasn't using them. As best as you can keep your fingers
that you're not using. Nice and low, hovering just above the strings so they won't interrupt the notes
being played. But they also won't
be too far out when we need them,
causing hand fatigue. Next, let's take a look
at our picking hand. I'm going to take my right
thumb and place it onto one of the pickups base so
it rests right there. This is going to give us a good anchor so our fingers
can better find the strings. It's a lot more difficult
to find the strings you want if your hand
is flying free. So we'll put our
thumb on the pickup. And now I'm going
to actually pick the string with my first, second finger, alternating
between the two. This is called for good
reason, alternate picking. So I'm going to take
my first finger. I'm going to put it on a string. And I'm going to play
that string and let my finger fall into my thumb. And I'll do the same
with my second finger. If I play the next string down, then I'm going to let
my finger fall into the string before it
ends up touching it. As I go further down the base, I'm going to have my thumb follow behind and
end up moving it. As I move strengths. This way I can comfortably
reach all of the strings. One thing that's very important
to mention is that we are picking down and
back with our fingers. We're not pulling up. Maybe I'll get the
base flat here. We're not pulling up or back. We're pulling down,
down and back.
4. Tuning Your Bass: We need to know how to tune our instrument using
the tuners on the head. Now, sometimes if we're playing and it doesn't
sound quite right, it might not be our fault. We can double-check the notes
and if it still sounds off, we might just need to
tune our instrument. Strings change, especially as seasons
and weather changes, the wood can bend. Let's learn how to
tune our instrument. Each string is connected to its own tuner on
top of the base. Now we can turn these tuners to tighten
or loosen the string, which makes the pitch
higher or lower. We can use a few different
types of tuners to help us. Some tuners go right
on the head of your guitar and clip and
listen using vibrations. Some tuners, if you
have cables and petals, some tuners could be built
into a petal or even have a dedicated pedal for
tuning your instrument. Now probably the easiest
and most accessible tuner is through an app. On your phone,
tablet, or computer. You can search in
the App Store or the Play Store for
a guitar tuner. I have one here up on the
screen and when I open it, it takes me to a guitar. Maybe I don't want that. Maybe I want to
change it to a base. Now I have the names of the
bass strings up on the app. And when I play a string, it will automatically
recognize it and give me a dial that
will be to the left. If my note is too low, telling me to raise it up to the middle line or to the right. If my note is too high, telling me to lower it
to the middle line. Let's try our first string. Well that one's pretty good. I see a green check mark
in the middle and so we can move on to
our next string. Now my a string is far too low. What I'm gonna do is
I'm going to find the tuner connected
to the a string. And I'm going to
turn it very slowly. And I'm going to hit the
string every few seconds. I don't want to turn it quickly while my string
isn't making any sound. Because then the
string could snap. Or I can pass how far up
or down I need to tune it. So I'm going to
move slowly and I'm going to hit consistently. Sounds like that
string is good to go. Now I'll move on to
my second string. That one is too
high, so same thing. I'll just turn the
tuner the other way. And finally my last string. When I finished tuning, I can check each string one
more time just to make sure. Good thing I did. Now my instruments in tune and I'm ready to move
forward in play.
5. Half Steps and Whole Steps: We're just about ready to play our base in the very next video. But first, we need to understand something
called half-steps. And whole-steps. We're going to be referencing just about everything in terms of half-steps
and whole-steps. Now, a half-step is the very smallest
amount that you can move up or down the base. So in this case it would be just from one fret to the next. For example, maybe I'm
playing the second fret. I want to move up
by a half-step. Well, the smallest
amount that I can move it up to the third fret. If I want to move back
down by a half step, I would move just one fret down. This also works if we're
on the open string, not pressing anything down. So maybe I'll play the
open first string. Now if I want to move
up by a half-step, I would just go up
to the first fret. The smallest amount
I could move. A whole step you
might have guessed, is two half-steps put together. So now we'd be moving
by two frets at a time. Again, if I was playing
the second fret, and I want it to move
up by a whole step. Well, I'd move up 12 frets and back down a whole step. This also works for
the open strings. I could play an
open first string. And now to move up
by a whole step, I would move up two frets.
6. Warmups: It's time to start
actually playing our base. And we're going to start really simply with an
exercise or a warm-up. Now, we can do this from
any fret on the neck. For the purposes of this video, we'll start on the third fret of the thickest string,
the fourth string. So I will count up one fret, two frets, three frets, and I will start right there. Now, the way that this
works is I'm going to assign one finger per fret, four fingers, four frets. We're spanning four frets. I'm going to play the first
finger on the third fret. The next finger on
the next thread up. Next finger on the
next, for it out. By now we're at number five. And the pinky on
fret number six. Now, the pinky may feel weak. It's kind of an odd finger to use for something like this. But the more that
we played base, the stronger it will get and the more natural and
comfortable it will become. Now that we've worked up 1234, we're going to do that
Every single string. So moving to the third string, 1234 and the second string 1234. And finally the
first string, 1234. You get comfortable with
that and you practice it from a few different
starting points on the neck, then you could work on coming back down when you've
reached the top. A very important thing to pay attention to as you're
running through this, is that you're not just using your first or second finger, but that you're alternating
between the fingers. Just like using the pinky. This is something
that becomes more comfortable the
more that we do it. One of the really fun things
about doing it is that it gives us this double speed. So each finger is hitting half as fast as we're
hearing a note, right? Every fingers hitting
every other nodes. And this allows us to speed up and play things that
sound very fast. Even though our fingers aren't working too hard by themselves.
7. Fourth String Notes: With an understanding
of the parts of our bass technique and how
whole and half steps work, it's time to actually
start learning the notes on the base so that
we can play songs. Now, the way we're
going to do this is using sheet music and tabs. Sheet music is just putting
dots on different lines and spaces and each
dot matches a note. We will take these one at a time as we go through
notes on them base, and you'll memorize
them as you use them. The tabs end up being a huge
help as we're learning. They show you the four
strings of the base, the fourth, third,
second, first string. And we put numbers
on these strings, which just tell us
which for it to play. So for example,
the third fret on the fourth string would be
here on the sheet music. And we'd show third fret on the fourth string
just by putting the number three for three
on the fourth string line. So as we move notes on the base, they go up the sheet music. The notes also move up the tabs, jumping from string to string. On our fourth string, we're going to look
at three notes. These notes are E, F, and G. E is going to be the
name of the open string. No frets press down
open fourth string. F is going to be
on the first fret, just a half step above E. And G will be a
whole step above F. So now we're on the third
fret, the sixth string. While you try to
keep your fingers nice and close to the neck, I'm going to get mine a
little bit out of the way sometimes so that you can
see where they're playing. So we have E, F, and G. What we're going to
do is we're going to practice a song using E, F, and G for you to get the
most out of this course, I recommend that you practice
the song using the notes, using the sheet music and using the tabs so that you can get
comfortable with all three. Here's the song. Another great way to practice is to make your
own song using E, F, and G will run through
the four strings. And we'll start combining
the strings in one song.
8. Third String Notes: We're coming up to the
notes on our third string. Now, a reminder for motivation. The more notes we know, the more songs we can play. Seat when we look up a song, it just tells us what notes
to play over which word. Now, of course, there's
a lot more to base than this and we're going
to go over a lot of it. But for now, just to get
started with playing, we're going to keep grinding
through these strings. And by the end of
the fourth strings, if we know these notes, we should be able
to play a lot of songs that are out
there already. So notes on the third string. On the fourth string,
we looked at E, F, and G. Now we're going to
be looking at a, B, and C. I know it's strange we
didn't start with an a. That's just the way
the pitches workout on the guitar and how we've
organized the strings. For the third string,
we're doing a, B, and C. So a is going to be
the open third string. Nothing pressed down. B is going to be a
whole step above a. So now we're jumping onto the second fret of
that third string. And C is going to be
a half step above B, right on that third fret. That means the notes we have so far are being seen. Now. We've got a song, just like we did with
the fourth string that focuses on a, B, and C. Then we've got a
song that uses both the fourth and the third string. So here's our third string song. Take that song in the notes, and let's take a look
at a song that blends the fourth and the third string. And remember, we're going
to follow along with our fingers changing back and forth from string to string. It's new to us, but we'll get it the
more that we practice.
9. Second String Notes: It's time to look at the notes
now on the second string, we've got E, F, and G on the fourth string, a, b, and c on the third string. Now on the second string, we've got D, E, and F. Now let's hold up for a second. We've already got an e and an F. So why are there
two on our base? Well, there's a low
example of notes, and there's a higher
example of notes. This is called an octave. We can play a low E. We could jump up an
octave to the higher E. But how do we know which
one to play in a song? Well, there are a few ways. If we're using tabs, it will tell us exactly which for it to hit on which string, whether it's a higher octave
note or a lower octave, know if we're using sheet music. Then it will also tell
us if the note should be higher or lower based
on where the dot is. When we look up a song though, and it just tells us
the notes to hit. It doesn't really
specify if it should be a higher or lower octave. This is one of the
reasons it's so important to understand and
use tabs or sheet music. Or be really good with
our ears to be able to hear what the base is doing
in a song and to copy it. Sometimes in a song, someone's jumping back and
forth between octaves. Or sometimes they're sticking to one octave keeping it
either low or high. But let's look at our notes. On the D string. We have open second
string, which is D. Now, a whole step above D on the second fret is
going to be an E. You can hear that our high and our low E seemed to have
something in common. That's that octave right there. Low E and high E, F and F. So now we've got our song
for the second string and a song that blends the second string
with third string. Let's start with the song
on the second string. And then our song that uses
the second, third string.
10. First String Notes: Finally, we're looking at
our first string notes. Now we've got E, F, and G on the fourth
string, a, b, and c on the third string, D, E, and F on the
second string. Now we're on our first string, we're doing G a and
leaving it right there, G and a only two notes
to look at here. So our open first string is G. And then a is going to
be a whole step above. So we'll put our middle
finger on the second fret, raising to an a. So again, let's take a song. This time we'll do
two songs that blend the first string and
the second string. Here's our first song. And then our second song. Again, all of the
songs should be in your notes so you can go play along with the sheet
music and the tabs. And remember as well
to write your own, to really get comfortable
with these notes. You may notice in that
song that I threw a little bit of the
third string in there. Now, don't be too intimidated. We can always slow it down. Take the notes as
slow as we need, but you've got the tabs
and the sheet music so you can work through
at your own pace. But now we're blending a lot of the strings together and
doing some real songs.
11. Finding Notes on the Fretboard: Now we've kept to the lower
portion of the base so far. So how do we kind of work
our way up the base? Well, there's actually
a really simple rule to help us get pretty fluid
around the neck of the base. And it's this. Every single note
is a whole step away from one
another, except two. Now, let's start
with that first bit. Every single note is a whole
step away from each other. That means if I know where a
is and I want to find a B, I just have to move
up by two frets. And we see that happen from
the a string to the B. That's a whole step up. Same thing if I know
where a C note is. And I want to find a D. Well, now we know that
that's a whole step up. So I have a couple of options. I could play a D as my
second string, right? We know that that's a D. Or since now I know
it's a whole step up. I could move from that
C up two frets to indeed same note as the
open second string. I want to find an e, sure, that's up by
another wholesale. And so knowing that rule, knowing that every note
is a whole step away, except two, can really help us find our way
around the neck. But we need to know what those two exceptions are so that we know
how to play those. B to C and E to F,
our half-steps. So every note is a whole step away except B to C and E to F. So we can take a string, any string and practice
working our way up. Maybe I'll do it with the low E. So I've got my nice and low. Now if I'm looking for an F, that's one of those exceptions. So E to F is just
a half-step away. F to G. Whole step. G to a whole step. So another two frets. A to B, another two. Now we're looking at B to C. That's one of the exceptions. So I'll take my B, I'll move it up by half-step. C to D. D to E, right back where we started
at an an octave above. With that rule, we can
work our way up and down the neck and find
any note we want. Again, counting at
first might be slow. We have to memorize rule, we have to get used to using it. But eventually, we start
really seeing those notes all around the frets just as a second language
as you get used to it. Now when you look up
how to play songs and they gave you the notes to use, you don't have to stay
really low down on the neck. You can kinda jump around and
find shapes and methods of playing around these chords are notes that are really
comfortable for you.
12. Rhythms: Being able to find the
notes on our base is great. But now we want to add
some rhythm into their ad, kind of a beat to it. Instead of just holding
a note after we play it, we're going to learn kind
of a classic base pattern. And there are two
variations to it. First though, we want
to be able to know how to count for the base. We're going to break
this into four sections, or four beats, 1234. In-between those beats. We're going to count
using the word. And this will help us
sub-divide or not, always play on a numbered hit. So now we would count 123412. For our first classic
base pattern. We want to hit one, the end of two, the three, and the end of four. Now I know this seems strange, but it'll make sense
once we do it. We're playing 1234123. I'm going to go between
a G note and a D notes. And I'm going to keep
that pattern, 12341234. And you'll hear what
we'll speed it up a bit. Now we're adding in kind of a rhythm of beat
two are playing. The second pattern is even
easier than the first. Now we're playing 123 and
then just holding it. So 123, 31234. So now when we follow
along notes in a song, we don't have to just hold it, but we can add that
rhythm in there. Let me play through a few notes. First, just holding
out the note and then doing it with this
rhythmic patterns. So you can hear the change. Playing with this rhythmic
pattern playing with some, some beats in there
is a lot more interesting and will capture
your audience's attention.
13. Song Practice #1: It's time to practice
what we know so far with a progression. We're just going to lay out
a set of notes for you. You can play these by
yourself at your own pace. And when you get
comfortable with them, we're going to put a track in this video for you
to play along to. It will also be in the
notes of this class. We're going to play
G, D, E minor, and C. So that's a G note, D and E. And a sea. Start by playing through these, just holding the note. Then bring in those
classic base patterns that we just talked about. Play it by yourself and
then see if you can play it with the track
we have as well.
14. Roots and Fifths: It's time to learn about
using roots and fifths. Now, everything we've
been playing so far would be considered
a root, a root note. When you play a G, well the root is a G. When you play a C,
the root is a C. But there's also a
fifth to every note. Now, what this means
is we're counting up five notes from G, a, B, C, and D. D would be the fifth of g.
If we're counting from C, it would be C, D, E, F, and G, G would
be the fifth of C. So all we're doing is taking our root node and
counting up five. Now, why are we doing that? Why are we finding the fifth? Well, we can take our classic base pattern that we just learned in
the previous lesson. Now, we can play
that pattern shared between the root
note and the fifth. For example, let me play what it sounds like
and then show you an easy way to find the fifth
on the neck of your base. Instead of counting every time. The pattern, the
rhythm is exactly the same as what we played
in the previous lesson. We're just splitting
that pattern between the root note and the
fifth of that fruit. This adds a lot of
life to a baseline. Now, here's an easy way
to find that fifth. Whatever your root is, we'll say it's a G. Well, your fifth will always be on the next string and
two frets higher. So if my root note is on the third fret of
the fourth string, I'm going to move up a
string and up two frets to the fifth fret of the third
string. There's my fin. And again, if I
move to the D note, while my fifth will
be on the next tray, and two frets higher. I can take this pattern
and move it up for the E and again for the C. So we can start blending
things that we've learned. Now we know how to find notes. We know the classic
base pattern, and we know the fifth. When we blend those together, we can start putting together a really cool baseline underneath
the other band members.
15. Sharps and Flats: We're missing something and
you may have noticed it. You'll remember that
every single note is a whole step away, except for B2C and E to F. But that means that
for most of the notes, we're skipping over a threat. In fact, when we
learned our notes on each of the four strings
down at the top here, we had skipped a lot of friends. So what are those that
we're skipping over? Here? We're coming up
to something called a sharp and a flat. C sharp and flat, or the notes that fit
in-between the whole letters. For example, between a and B, you would have an a sharp, or between C and D, you would have a C sharp. So when we're counting, we could count a, a sharp, B, C, C-sharp, D-sharp, E, and so on. So the sharp is when we
take a letter and we raise it by a half step before
we hit the next letter. So what about a flat? Well, a flat is the same thing coming
from the other direction. So between D and C, If we're moving downwards, we have a D flat. And so you may be thinking, I thought that was a C-sharp. Well, some of these
threats actually share the name of this note. C-sharp is the same
note as a D flat. But we call it either
sharp or flat, depending on which direction
we're coming from. If we're playing a D note and we want to move it
down by a half-step. Well, that would be a
D flat, not a C-sharp. Technically, the same note, but just different names depending on which direction
you are coming from. What this means is
that we're now able to play any fret in front
of us on the whole base. When you see a sharp note or chord when you're
looking up a song, it will look like this
hashtag or pound sign symbol. A flat sign kind of looks
like a squished up B. If you're ever playing
a song and you come to an a with this squished up B. Well, you can think
of that as an a note. Moved down by a half-step. Not quite all the way to g. Or if you see a C with the
pound sign next to it, you can think of a C note
moved up by a half-step. Now, we can practice another chord progression
utilizing sharps and flats.
16. Thirds (Major and Minor): We've learned about
fifths on the base. Now, what if we added in thirds? Thirds are just like fifths only we count to three
instead of five. The biggest difference when
we play thirds is that there is a major and a minor third. Now, that's a new term to us. Major in the music world is
typically a happier sound. This would be a major third. Minor typically has a
sadder sound to it. This would be a minor third. Now, along with fifths, we can bring thirds
into our playing, and that gives us three
notes to play around with the classic base rhythms or any rhythms that you
come up with or learn. Here's the easy way
to find a third, both major and minor. From our root node will
use C as our example. If we want a major third, well, just like the fifth, it's on the next string. The difference is it's
on the next string and OneNote down. So if I'm on the third
fret of the third stray, my third will be on the second
fret of the second string. Now, I can make this little
weird triangle shape with my root third. And Finn. My minor third is very similar. It's just a half step down
from the major third. So it would be on the next
string and two frets. So you have this bigger
triangle going on, or at least a symmetrical one. Now, how do we know
whether to use a major third or a minor third? Well, it depends on the chord
that you're playing over. Typically when you
look up a song, it will tell you
if you need to be playing a major chord
or a minor chord. Chords are assumed to be major. But if they have a
little M next to them, that little M stands for minor. So for example, if I had a
chord progression that was D, E, M or E minor, and then C. Here's what I would play. I play my D major
third, and Finn. I'd go up to E and I
play my my minor third, and then I come down to C. And since there's
no little m, again, I'm going to play that major
kind of triangle shape with my scene, major third, fifth. So altogether over D minor. And see, I have three notes for each chord that I can kind of
play around with. And here's something
that I would do. Now we can use roots, thirds major or minor, and fifths, to play over
notes and changing chords.
17. Song Practice #2: We have another
practice session and so another track that
you can play over. This time, it'll be either
major or minor chords. And we may even have
some sharps in there, will be playing a, E, D, and C-sharp minor. Now, that sounds a little crazy. So let's go through each of those and just see how
we put that together. A is easy. We know we're in a
node is and its major, so we can play our
root third, fifth. And we find that route by
counting half step to F, whole step, whole step to add. Next was an e. And so in the same way we
can count up to E, which would either be our open, thickest fourth string, the second fret of the
second string. And we can play that
major shape right there. Then we had a D, which I would count a half
step to C and go to D. We had the crazy one,
the C-sharp minor. So we'll take it
one step at a time. We go a, B, C. And now we make it sharp, which meant up by a half-step. And then from there, from that as your root note, we play that minor shape. So we have a D, C-sharp Minor. Back to a practice over
that chord progression. Again, playing with
thirds and fifths. Do it at your own pace and then try it with
the backing track.
18. Final Project: At the end of this class, we're going to have
an understanding of notes on the base. How to find notes all
over the fretboard, and how to play different shapes rhythmically over chord changes. Now that's a lot to cover. But by the end, if you follow
the practice material, you should be able to
do the final project, which is to make your
own chord progression or pick one out of
a song that you really enjoy and then play over it using the techniques
that we talked about. Now, you can submit
that either as a video or an audio recording. Or if you don't have
the ability to do that, then you can submit just
text of the chords that you chose and the notes or rhythm that you
would play over it. I'm excited to see
your projects.
19. Congratulations!: Well done, You've made it
to the end of the class. Hopefully you found it
helpful and there was a lot of information
that was new to you, and none of it was overwhelming. If you have any
questions or comments, you can always reach me at lamb Lessons.com or e-mail me directly at Jacob
Atlanta Lessons.com. Thank you so much for
watching the course. Always look at some
of the other ones we have available, and
I'll see you soon.
 Jacob Lamb, Musician, photographer and videographer