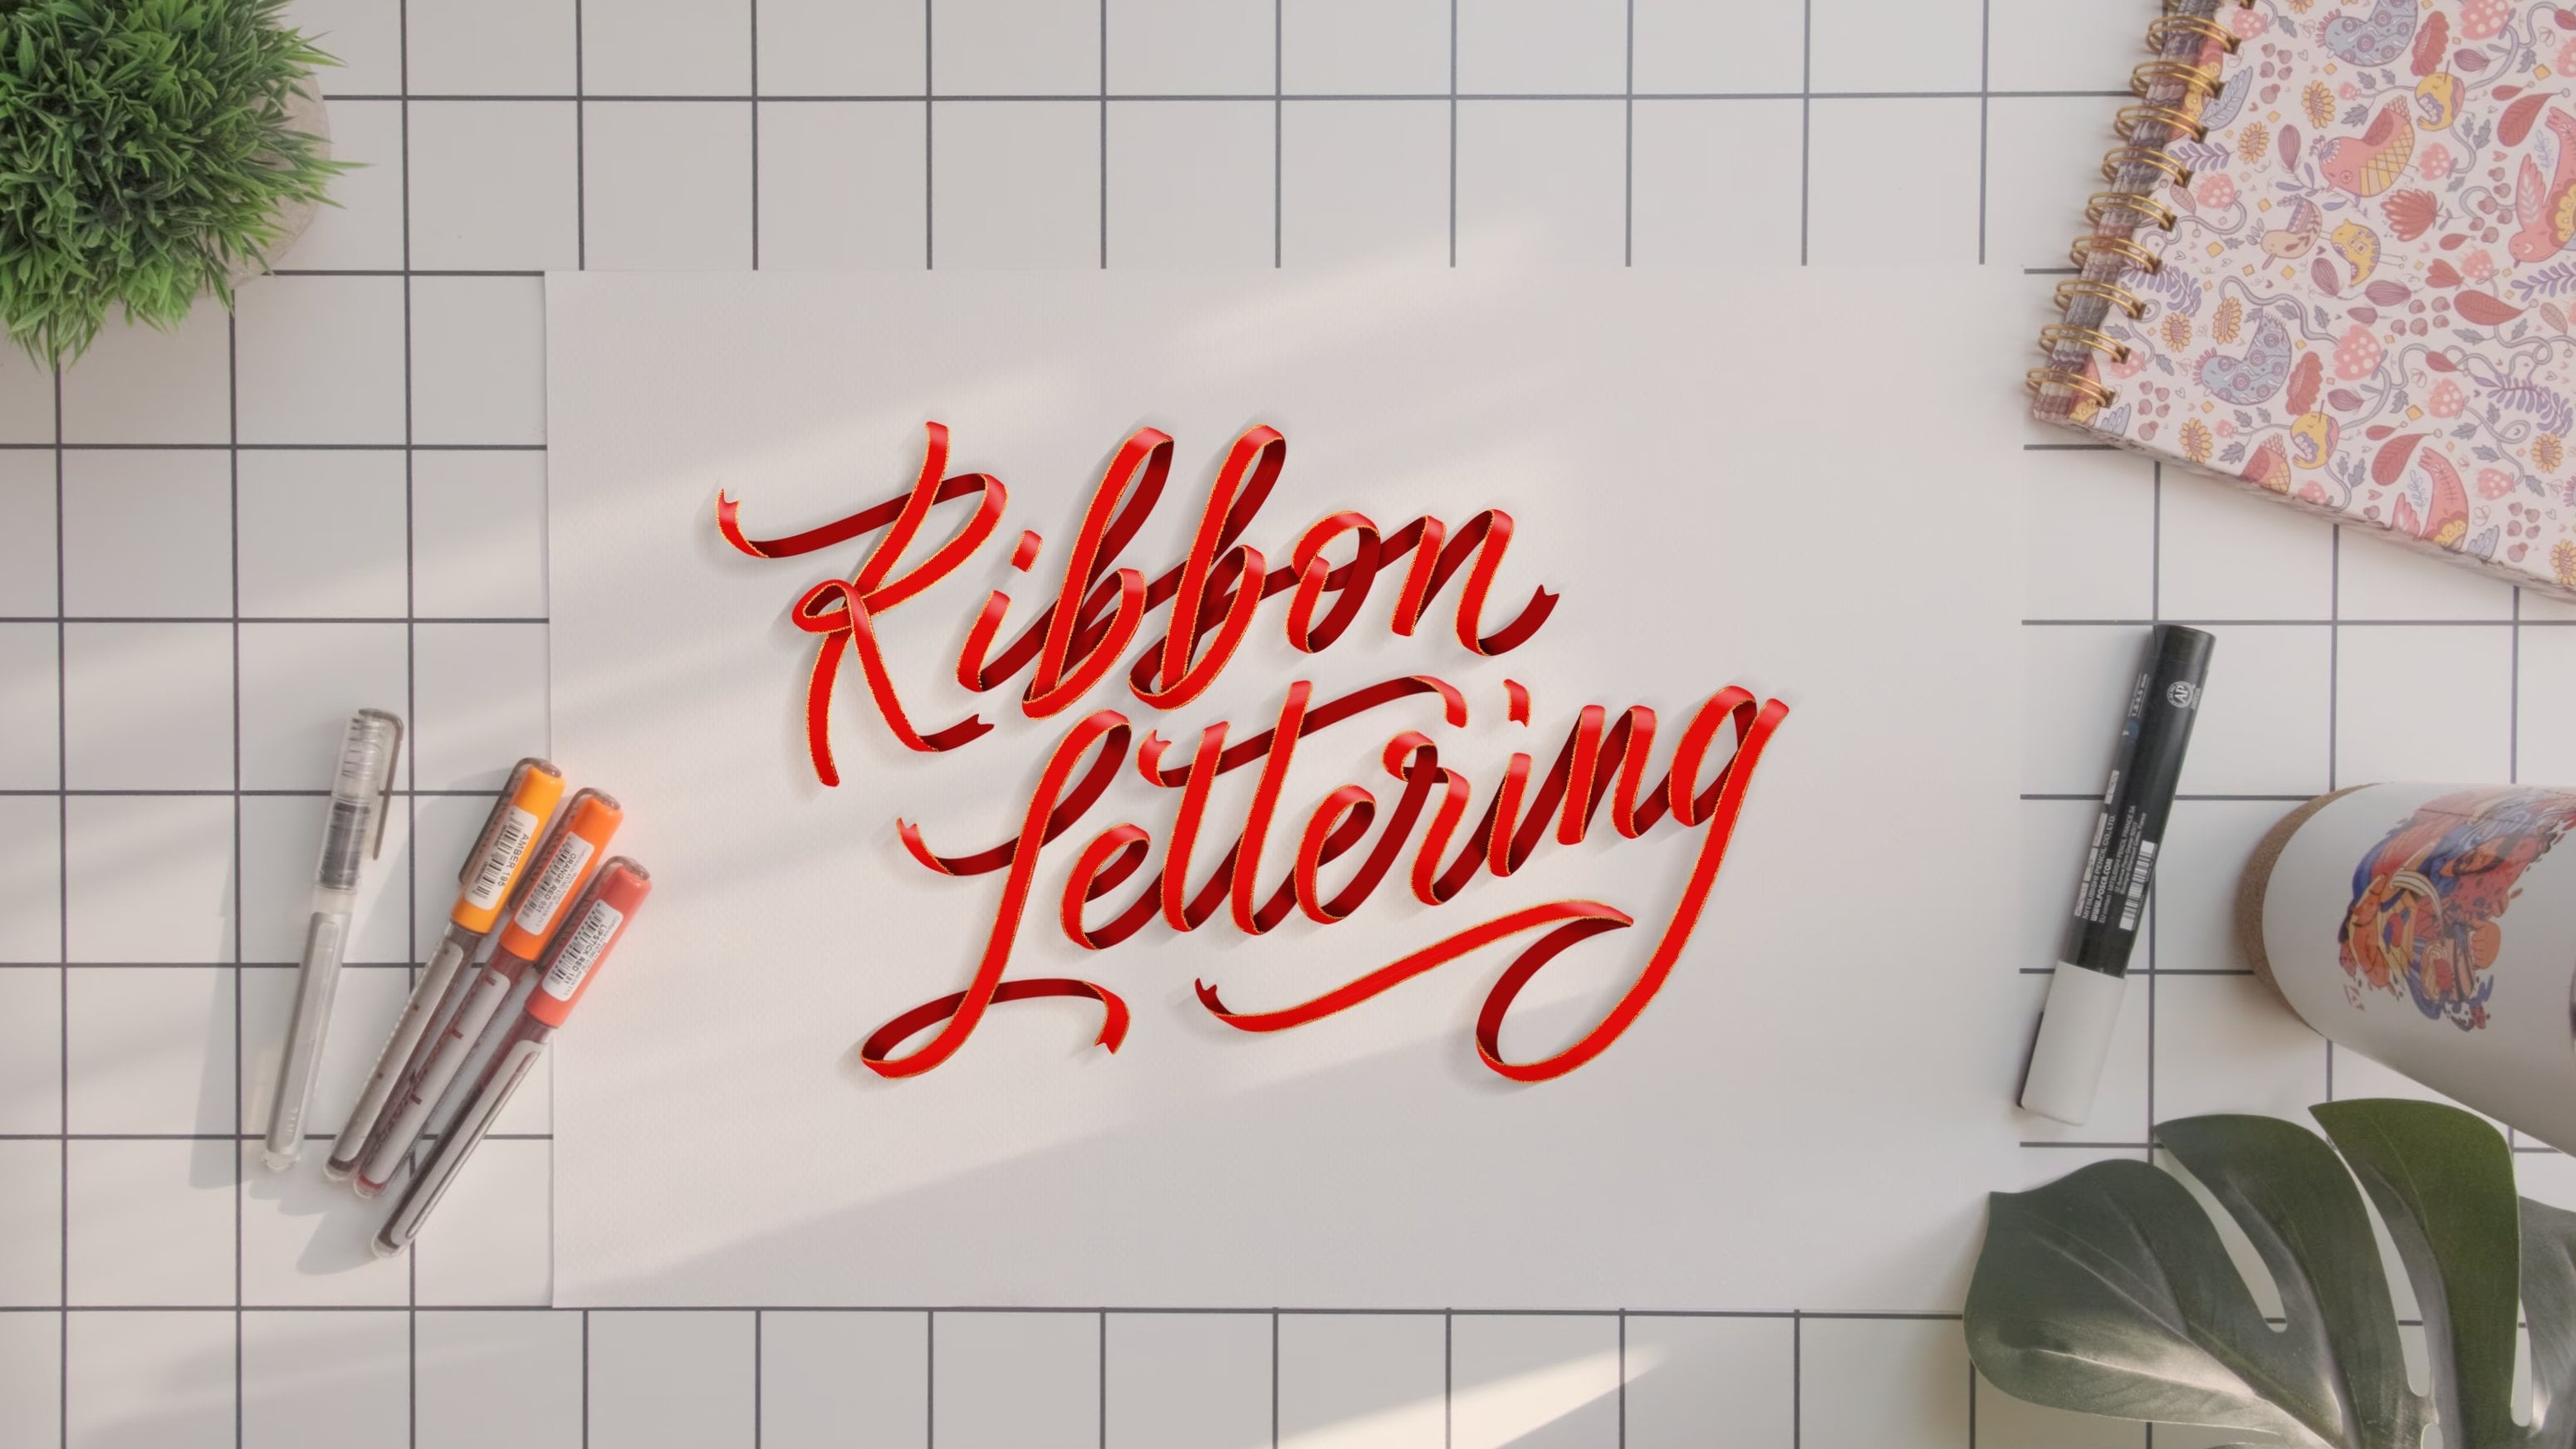
Master Ribbon Lettering on Procreate in 6 Easy Steps!
 Mithila K S, Calligraphy & Hand Lettering Artist
Watch this class and thousands more
Watch this class and thousands more
Lessons in This Class
-
-
1.
Introduction
1:07
-
2.
Class Project
0:34
-
3.
Ribbon Lettering Demonstration
7:06
-
4.
Conclusion
0:59
-
-
- --
- Beginner level
- Intermediate level
- Advanced level
- All levels
Community Generated
The level is determined by a majority opinion of students who have reviewed this class. The teacher's recommendation is shown until at least 5 student responses are collected.
133
Students
5
Projects
About This Class
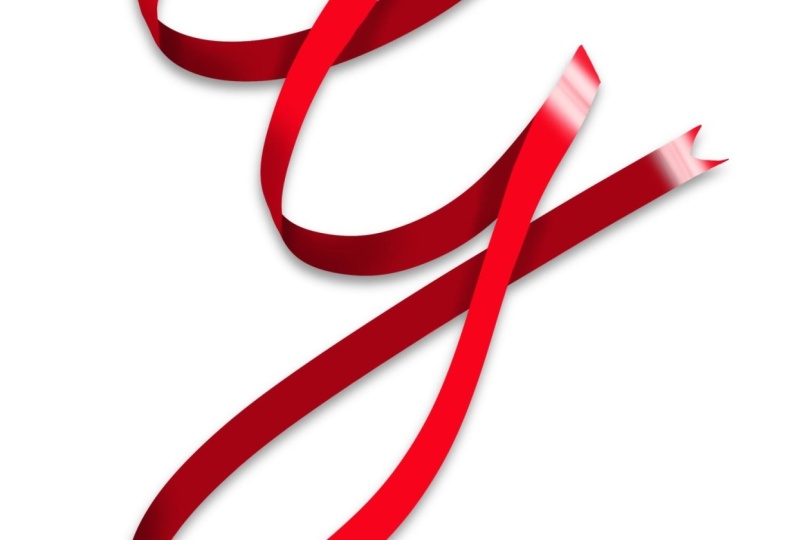
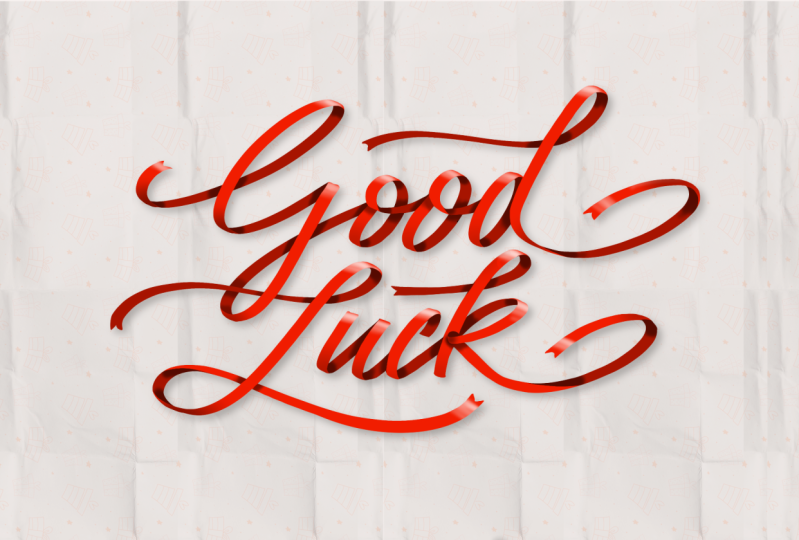
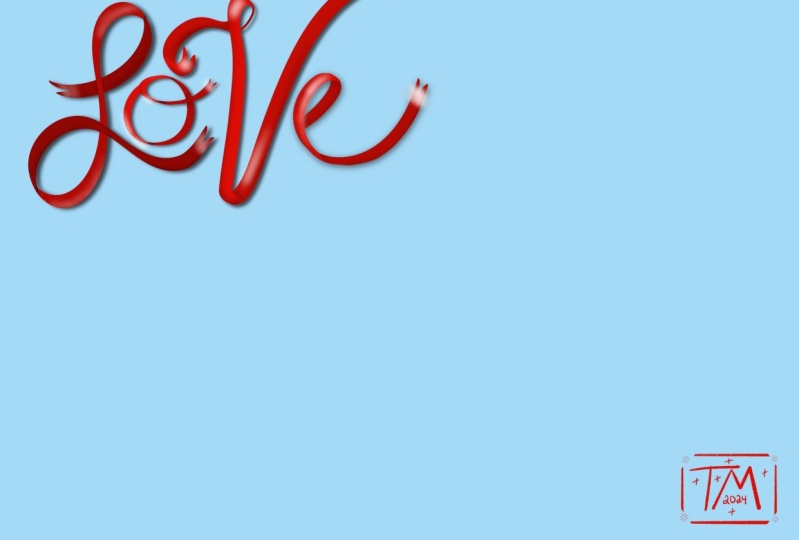
Ready to dive into the world of ribbon-inspired lettering on Procreate? Join me in this quick and engaging course where you'll learn how to create stunning digital ribbon lettering in just 6 simple steps!
What You'll Learn:
- Master the techniques to craft beautiful ribbon lettering designs digitally.
- Learn to build the base layer, add depth, and create dimension using Procreate.
- Transform ordinary letters into captivating digital ribbons with ease.
This class is perfect for beginners and seasoned lettering enthusiasts alike. No prior digital experience is needed—just your iPad, Procreate app, and a passion for creativity! Whether you’re new to lettering or looking to expand your skills digitally, this class is for you. These skills can be applied to a variety of digital projects, from personalized artwork and social media graphics to custom invitations and digital prints.
Join me on this creative journey and unlock the secrets of ribbon lettering on Procreate. Let’s get started and elevate your digital lettering game!
Meet Your Teacher

Hello and welcome! I'm so glad you're here.
My name is Mithila, a calligraphy and hand-lettering artist based in India.
Along my creative path, I've learned a number of tricks and techniques, and I can't wait to share them with you!
Thanks for stopping by my Skillshare page! I'd love to see you in class!
I actually can't wait to see what you 'create', so please post your class projects, and if you share them on Instagram, be sure to tag me @letterwithmithi !
Make sure to follow to stay up to date with all future classes.
Happy Lettering! ... See full profile
Hands-on Class Project
Class Project:
For your project, design a digital greeting card using ribbon-inspired lettering in Procreate. Choose any occasion—birthday, thank you, or holiday—and create a card that’s both personal and visually stunning.
Materials / Supplies:
- iPad with Procreate app installed
- Digital brushes provided in the resources tab

Steps to Follow:
- Select a word or phrase to feature in your ribbon lettering design.
- Create your canvas and sketch out your chosen text using the techniques taught in the course.
- Refine and enhance your design following each lesson.
- Experiment with styles, colors, and embellishments to make your card unique.
- Share your progress and final creation with the class community for feedback and support.
- Have fun and let your creativity shine!
Project Resources:
To support your journey, I’ve provided a digital worksheet with step-by-step instructions, helpful tips, and reference images. This resource will guide you through creating stunning ribbon lettering designs on Procreate.
Class Ratings
Why Join Skillshare?
Take award-winning Skillshare Original Classes
Each class has short lessons, hands-on projects
Your membership supports Skillshare teachers
Learn From Anywhere
Take classes on the go with the Skillshare app. Stream or download to watch on the plane, the subway, or wherever you learn best.