Transcripts
1. Class Introduction: With the release of Apolog, filming high quality
videos has become as easy as taking your phone out
and then hitting record. But there are some steps
you'll need to take beforehand to get the best out of your
iPhone 15 Pro or later. The goal of this
class is to help you maximize the
image quality of your iPhone without
losing the convenience of just pulling it out and hitting
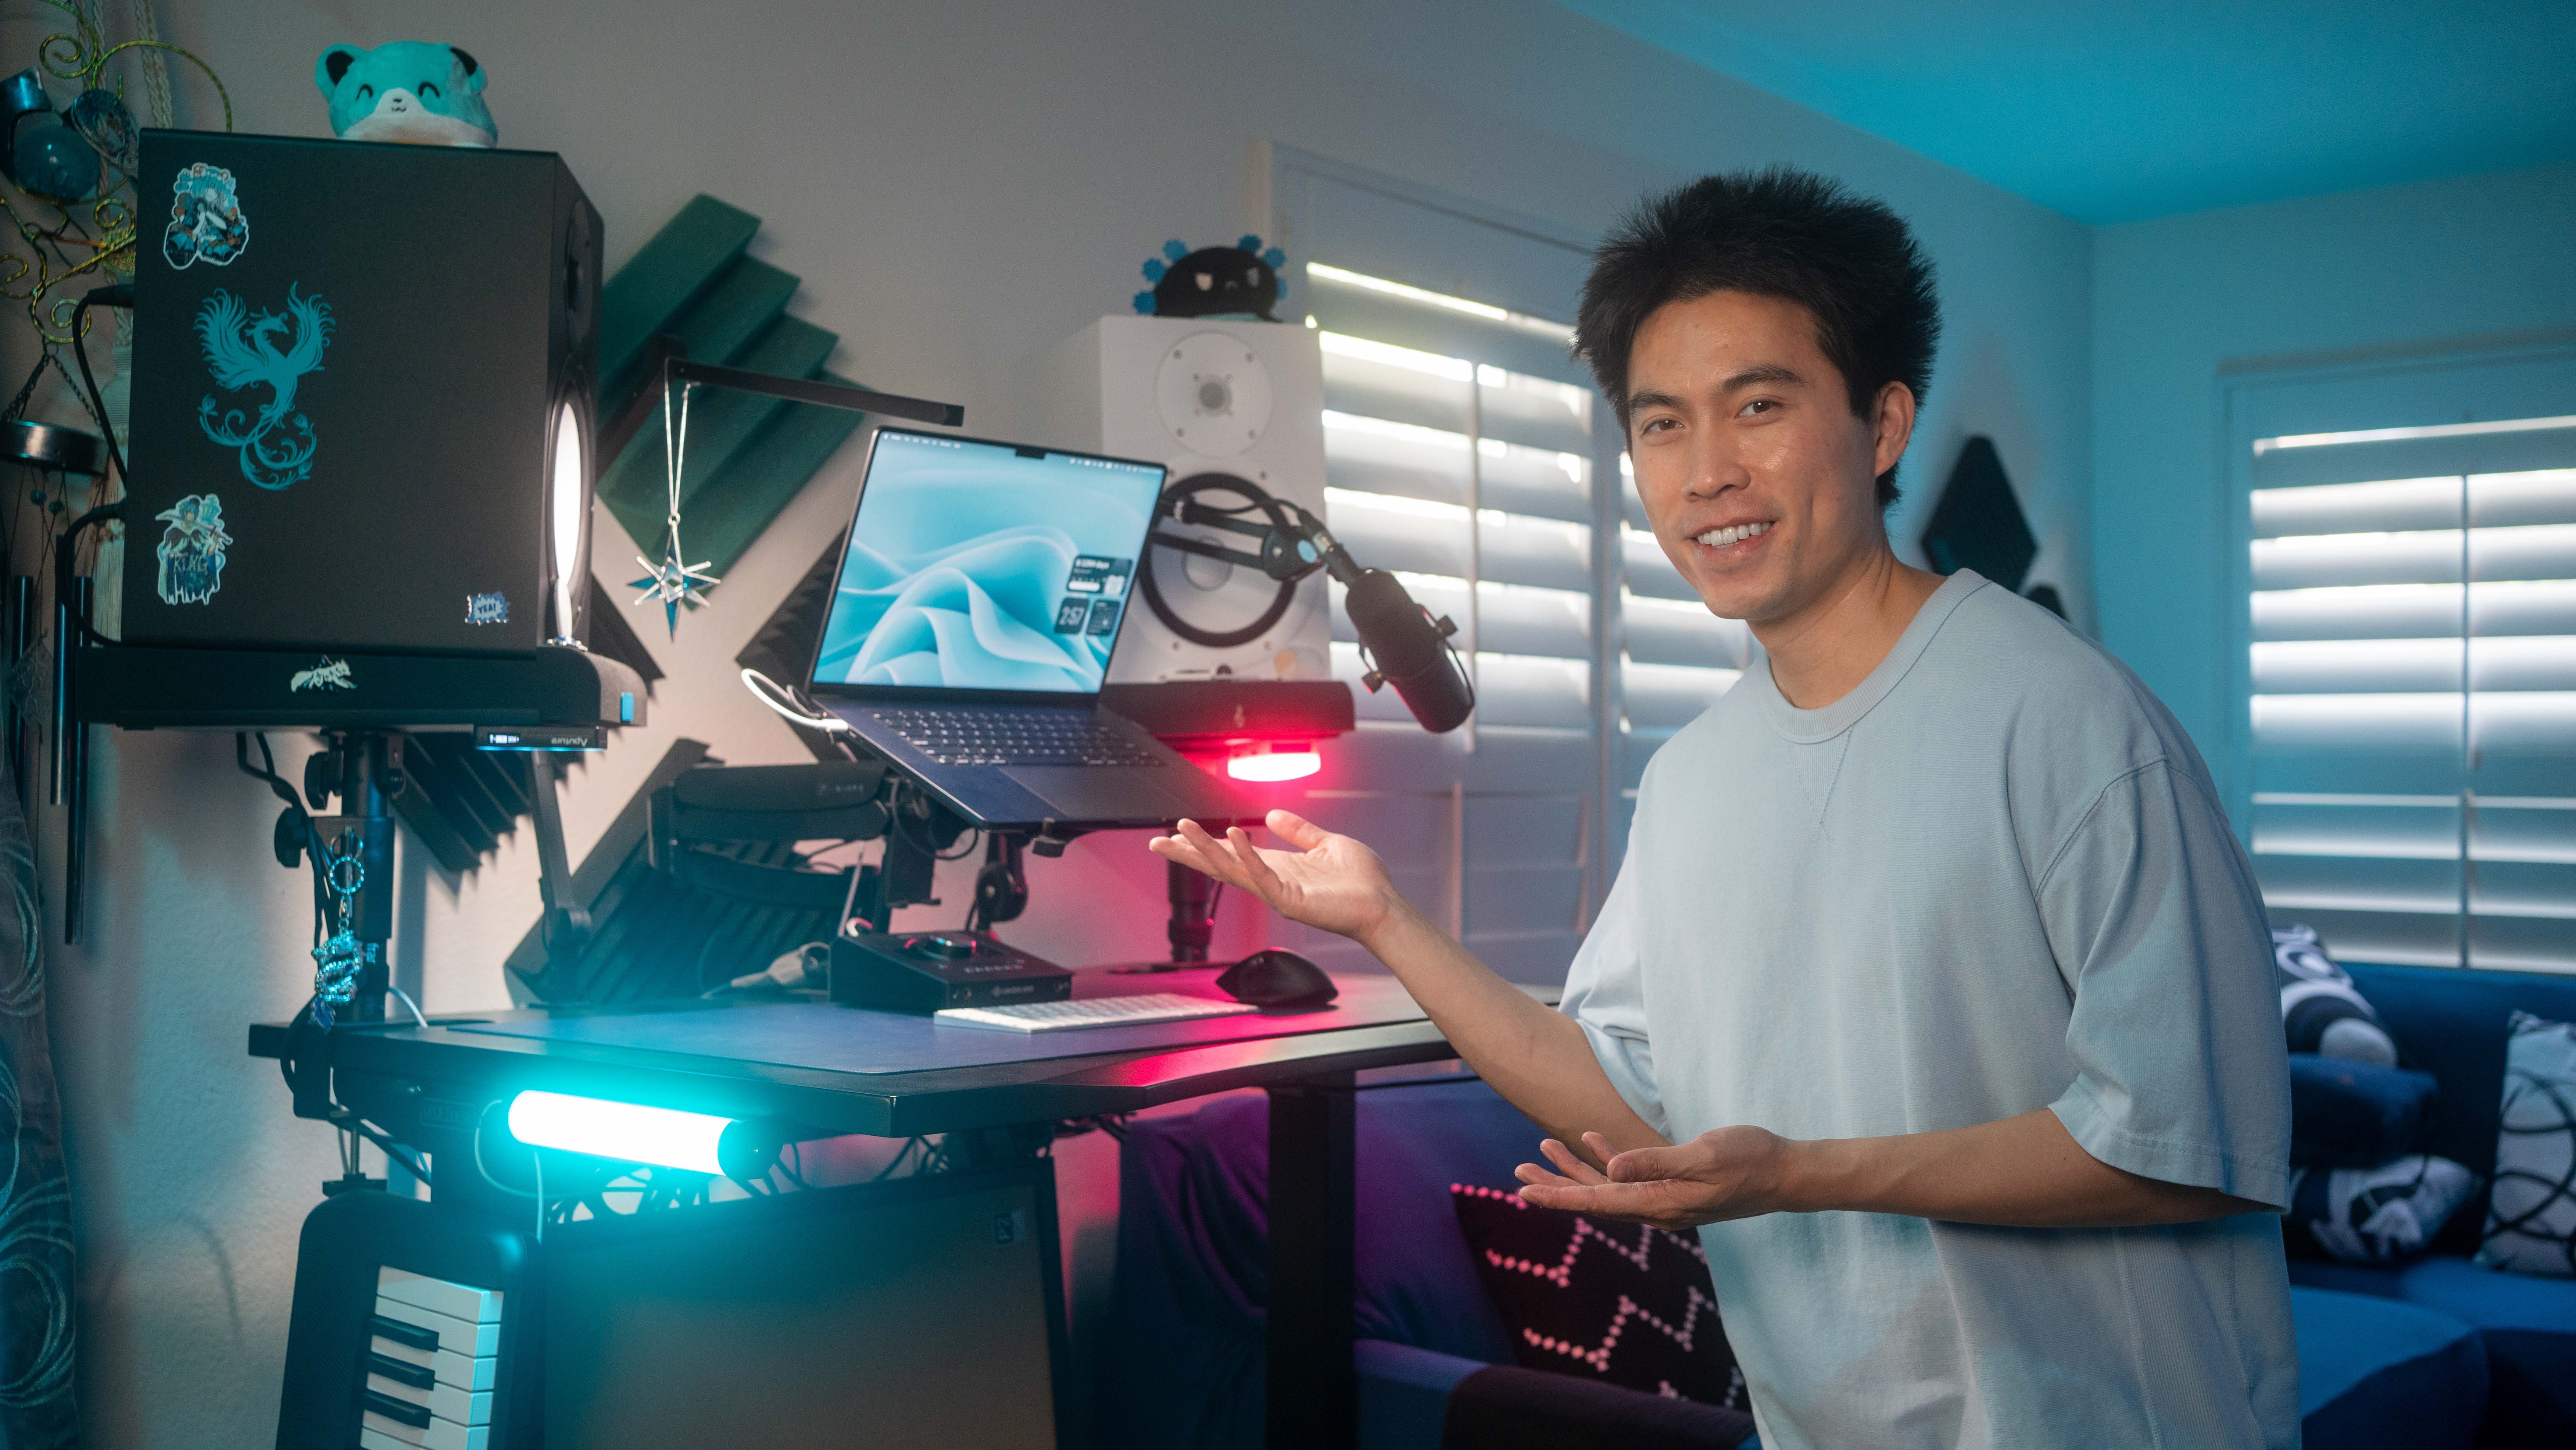
a few buttons to record. Hi, my name is Scott Lou, and I'm a video
creator on YouTube. Have experience with videography
for about six years, and when the IPhone
16 Pro came out, I decided to give it a shot to see what the
hype was all about. And overall, I'm
extremely impressed by its capabilities and want to share what I've
learned with you guys. Before we go any further, I want to clarify who
this class is for. If you're looking
for a full breakdown of how to turn your iPhone into a cinema camera or
wondering what case to buy or what the best
ND filters are, this class is not for you. This class is for
those who want to maximize the quality
and benefits of the iPhone's capabilities while keeping the effort to a minimum. That the convenience
of a phone isn't lost. That means no need for ND
filters, filmmaking cases, extra hard drives, gimbals, or any other expensive gear. Here's what you'll
primarily be learning. How to adjust the
settings to their best. Which apps do you use, how to use them and their limitations. How to achieve a filmic
look using lets and Apolog without even needing to edit color at all in post
if you don't want to. And finally, what the
most efficient workflow is for different situations. If those sound like things
you want to learn about, then this class is for you. With that said, the class
project will be to follow along and create your own video after going through
all the lessons. There'll be instructions in
each lesson guiding you. So be sure to follow along and do the assignments at the end of each lesson if you want to make the best
out of this class. There's also a worksheet
available for download that outlines the class
and class resources. So if you're ready to maximize your iPhone capabilities while maintaining the convenience
of it being a phone, I'll see you in the next lesson.
2. Native Camera Settings: Alright. In this lesson,
I'm going to help you optimize your
settings so you can achieve the very
best image quality possible with your iPhone 15 or 16 Pro or any iPhone that happens
to have Apple Log. The assignment for this lesson is to just follow along and change some settings with me
for the native camera app. Alright. So I've jumped into
the settings on my iPhone, and from here we want to hit camera I have the iPhone 16 Pro, we have something called
the camera control. It's basically this button
right here on the side. And for me personally, I don't use any of the actual motions
with camera control. I kind of prefer sticking
to the screen and just changing all the
settings on the screen compared to using
this camera control. Maybe down the line,
if they change it up a bit, I might use it, but for now, the only
thing I really use it for is opening the
native camera app. I don't do it for Black
Magic camera app. That one I have set
to the action button. So I have different
use cases that I'll talk about in later
lessons for each one, but for now, that's
what I do personally. Along, we have record video.
Let's jump into that. And for this one, I set
it to four K at 30 FPS, just because personally for me, I like filming using
the native camera app, like, primarily log style stuff. So I'm moving around. I want it to be a bit higher in frame rate and less choppy. So that's why I choose 30 FPS. That's also a bit
more conventional for those types of logs as well. If you're going for as
cinematic as possible, then 24 FPS is probably
what you would want to do. Although some people have
mentioned that for iPhone, right now at this moment, 24 FPS can be a little
choppier than usual sometimes and that if you're going to film
something like Bro, for instance, you might
want to do 30 FPS and higher and then just
slow it down in post. But four K 30 FPS is usually what I use for the
native camera app. And then from here, we have
enhanced stabilization. That's an important
one to keep on HDR video is something
that I personally keep on because I like having that
option to just record with a normal phone with a normal camera mode
and not like Press log, just in case I want to do that for something simpler
memories and so on. For Auto FPS, you can
turn that one off. Basically, what it does is it activates when
there's low light, and it changes the frame
rate if you're on 30 or 60 into something lower so that
it adapts to the low light. It's just better
that way. More light enters if you're at
a lower frame rate. But overall, like,
preserving the frame raids and working with a consistent
one is pretty nice, so turning that off
is a good option. And then make sure you have lock white balance
turned on, as well. It makes it so that
your white balance just stays the same after you
start recording the video, making it easier
to edit and post. And I also have lock camera
turned off because I like switching between
cameras. Okay, moving on. For the rest of these,
like record Soma, record cinematic, that stuff, it doesn't really have to
do with apolog whatsoever. It's just the camera app giving you more options to
record with if you want. I set them up to
be, as you can see, four K at 120 FPS
and four K at 24. Honestly, never use these, so it's not really relevant
when we're talking about using the iPhone
to its max capabilities. Alright, moving along formats. So right here are a
couple of photo things. This class is
primarily for video, but feel free to copy my
settings if you'd like. This one right here, I
set to high efficiency, and then photomode I
change to 24 megapixels. And then I set Proa
to on and I use the Pro Raw Max up to 48 megapixels with
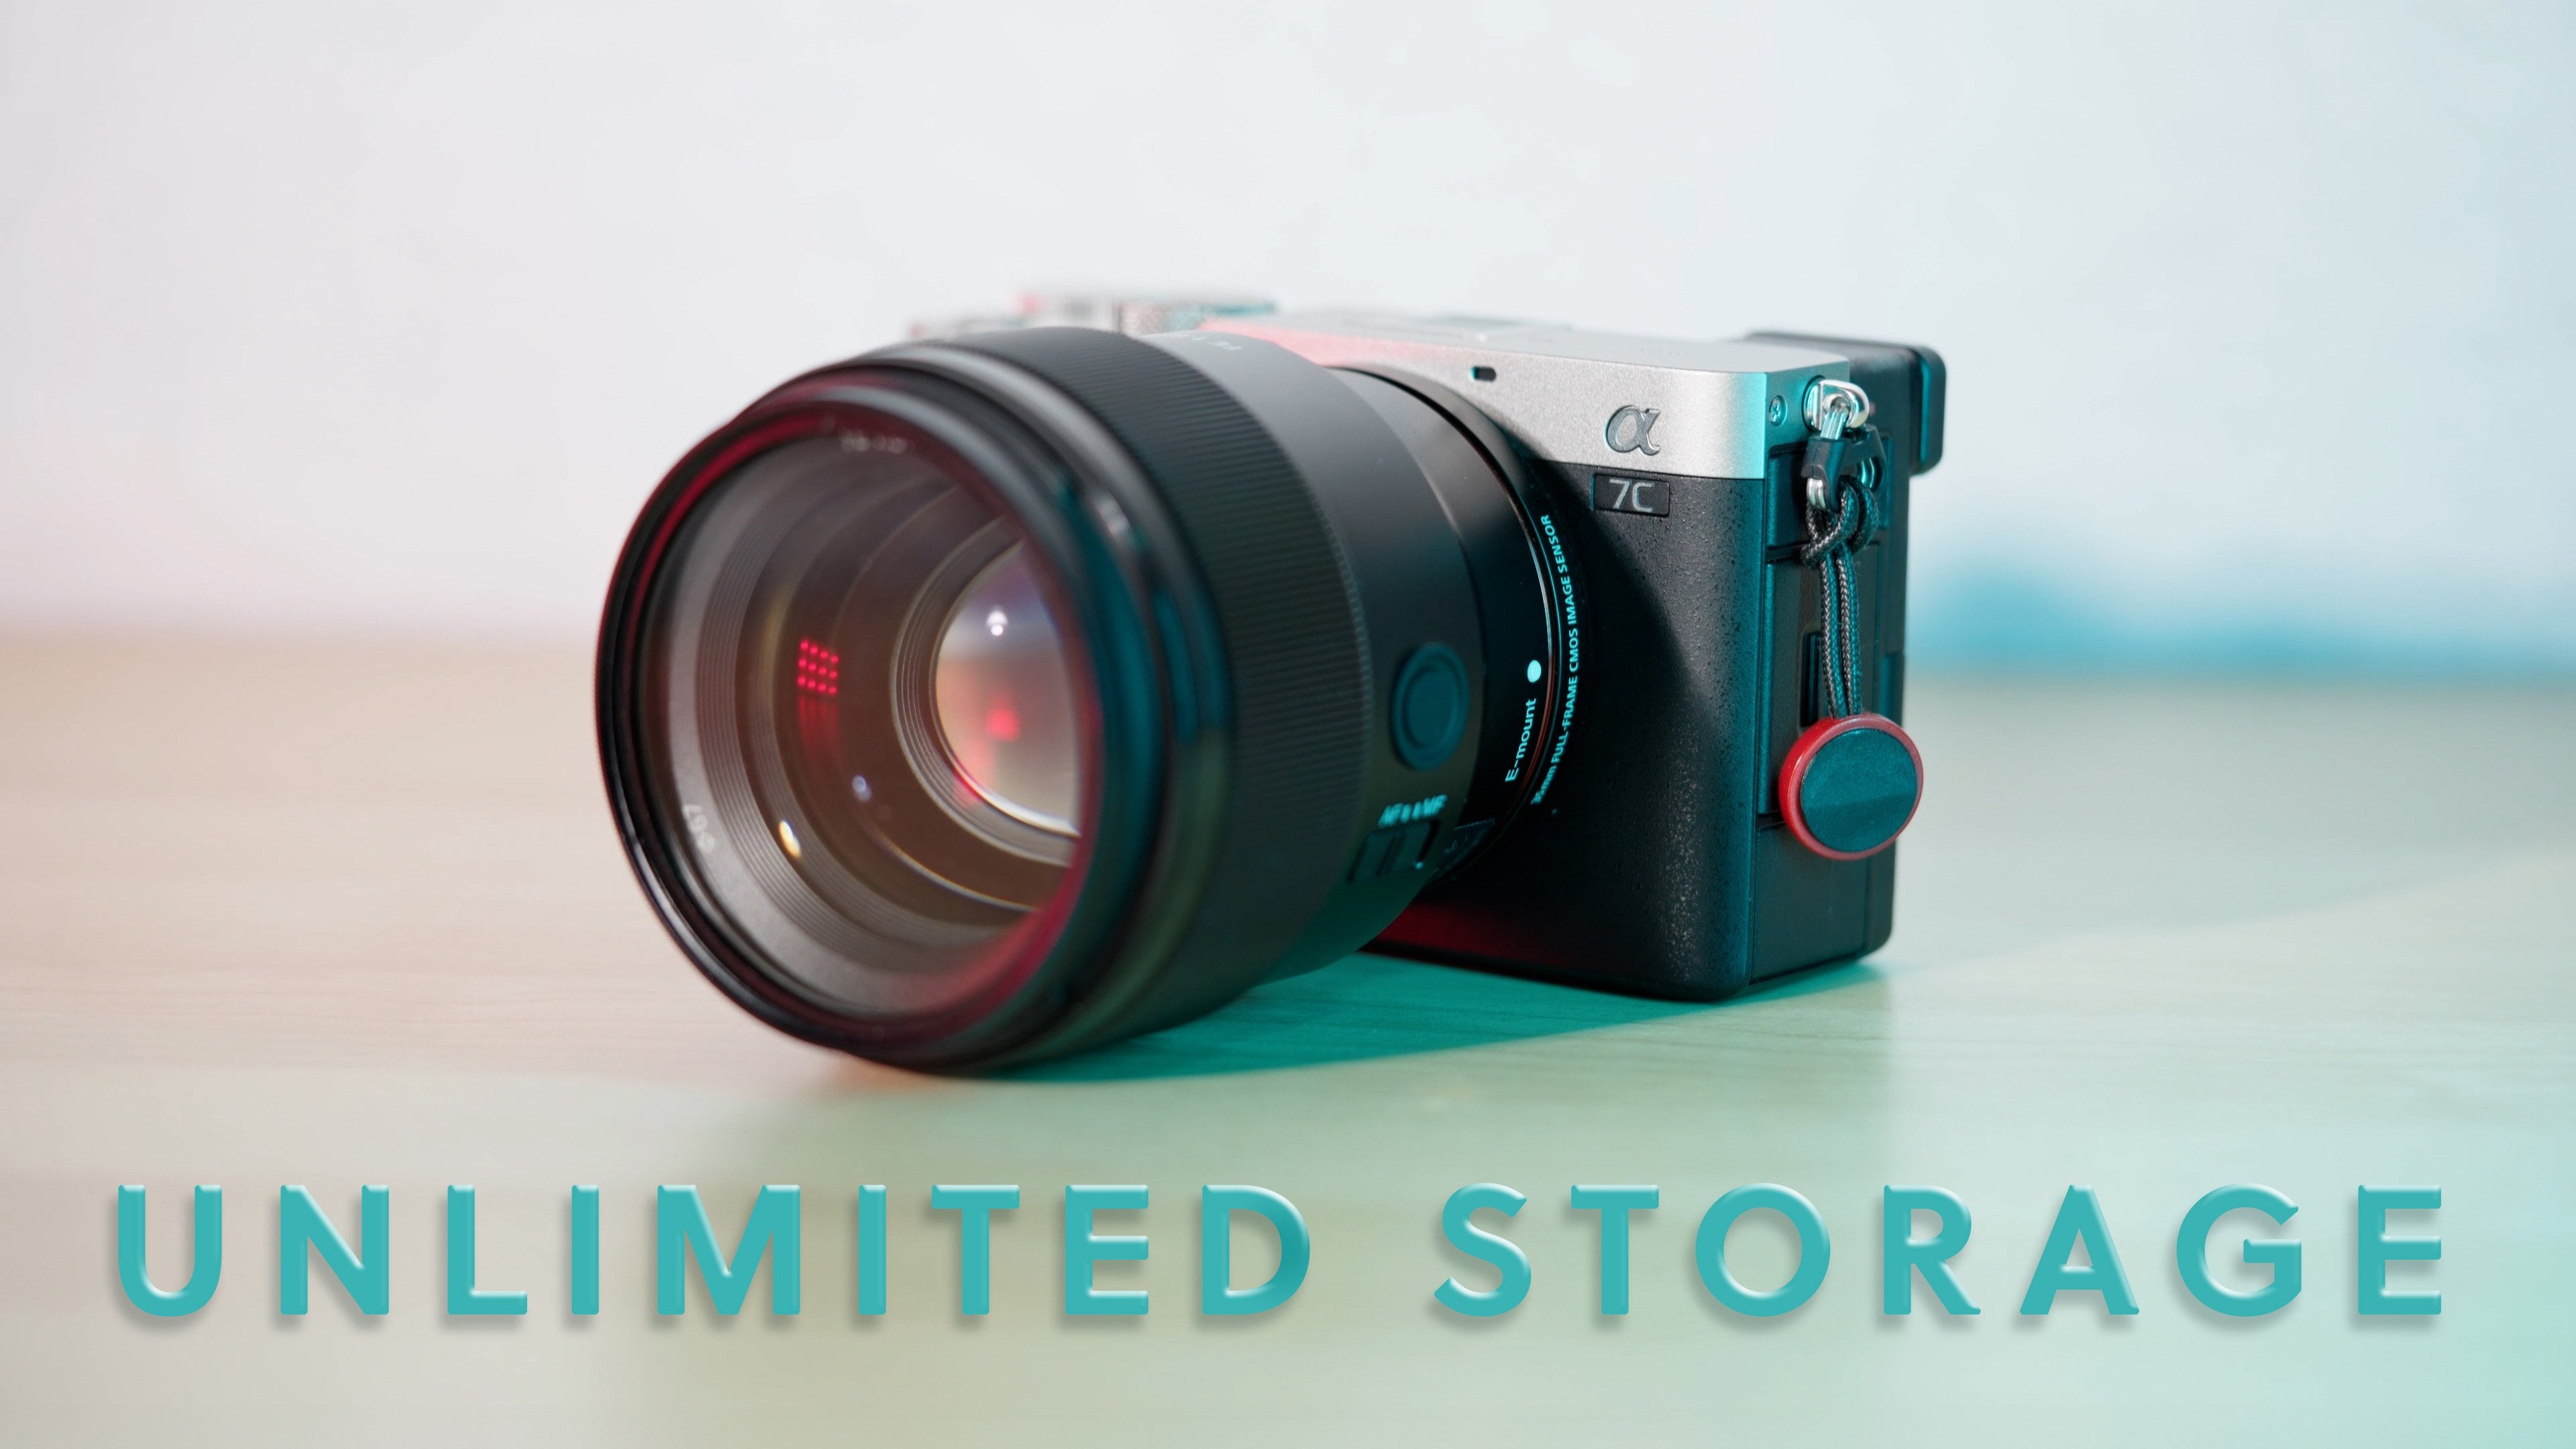
JPEG XL Lossless. Okay, moving along. So this is the most important
setting right here, which is Apple ProRes, and then setting the
encoding to log. Fully one day, we will
see something that says H 0.265 that also has log. Eventually. That
would be a very, very nice addition, but for
now, this is what we have. And this will allow you to basically see that
option up right here, which you can now see that
I can only record for 11 minutes because this thing
takes up a lot of space, a lot of storage space. Basically, 1 minute
of recording is about 6 gigabytes,
and that is crazy. So you kind of have to use an
external hard drive if you plan on recording using
the native camera app, which we'll talk about some
other apps pretty soon. That's it for
formats. Let's move on to preserve settings. For this one, I preserve
the camera mode. That one is just like,
whatever you were last on, it opens up the
camera app in that. So video is the main one. And then controls menu, photographic styles
and creative controls are mainly for
photography stuff, as well as depth control,
but I keep them all on. It just makes it easier to work with native
camera app in general. Keep macro Control off and
then exposure adjustment on. This one is pretty important
because you do want to adjust the exposure
by negative 0.7, like, you want to
move it there for your PRs log footage and also
for normal footage as well. It just looks better in general
to expose it that way so that the shadows don't
look that lifted up. They look a bit more
like realistic. And then for me, I
hardly use Nightmod, so I keep that off
and then portrait Zoom then the rest of the
settings aren't that important, but if you plan on just shooting Apple ProRes the entire time, then you can definitely
keep that setting on. For me, whenever I open the app, it's going to start off
with the normal one, and then I have to click
here on the ProRes one in order to change it
to the ProRes log one. Most of the time, I'm not using this app for that purpose, so that's why I keep it off. All right. Those are
the preserved settings. Now we have the
composition settings. Definitely check grid and level. Those things help out a
lot when you're filming. Like, you can see that
there is a grid there, the rule of thirds grid, and then you can tell
whether or not you're leveled based on this line right here when it turns yellow. It's pretty helpful if
you plan on not spending too much time in editing and you want to make sure things
are aligned properly. Then for the final
settings right here, these are all on. And those are basically the changes that
you need to make to optimize your settings for
the native camera app. Also, if you're
looking to change the iPhone sixteen's
camera control settings so that moving it doesn't affect anything because that
was a bit annoying. Go to accessibility
and then look for camera control,
and then from here, you can turn off Light
press and swipe and change the amount of force
required to set it off. Alright, now, with
those settings changed, you've optimized the settings
on the native camera app. However, there is a much
better option when you want to record efficiently and
also reduce storage. And that is to use the
Black Magic camera app, which we'll talk about
in the next lesson.
3. Black Magic Camera: One of the best ways to maximize the quality of your iPhone is to use something called the
Black Magic camera app, which is luckily free. There are other paid apps out there that can do
the job as well, but the Black Magic
Camera app honestly does close to everything you
would probably want already. After you download
it, let's go through the same process of optimizing and explaining the settings. Alright, let's go
through some settings for the Black Magic camera app. Let's go ahead and
turn it on. I have it set to the action button. Right now, when
you open the app, you're going to have it
in this orientation, but you'll want to just turn it over to actually see what
it should look like. And then let's go ahead and change some stuff
up in the settings. Everything right here
is already changed up, but we'll go through
each of them. Let's start off with Codek. So the best setting
for the Codec for maximizing the
image quality, while also maintaining, like, reasonable storage sizes
is the h 0.265 Codec. This Codec still allows you to record in Appolog
while having, like, similar file sizes to normal videos that you
take on your iPhone. Also changed the bit
rate, but for now, I kept it to the default
option, which was high. But if storage space is
really not an issue, then definitely hit
that Max button. Next, we have resolution.
This one is simple. Just choose four K that
is the best option, and then color space,
make sure that you hit Epilogue HDR. For me, I don't do
anything with time code, and I don't need time
lapse recordings. But those are cool options
in case you need it. Alright, moving on to camera. For me personally,
I don't record vertical video using the
Black Magic camera app, so I keep it off, but if you do, then you have the choice
of turning it on. And then I set the trigger
record indicator to none, and then we can see
some similar settings right here to the
native camera app, which is to use the volume or camera control
button to record. And a different setting that
they're introducing here is while recording swipe
write to dim screen. To be honest, I hardly
ever use that one, but it's there if you need it. Next, we have the
shutter measurement. For this one, there's a rule for shutter speed called
the 180 degree rule, and that is to try
to keep whatever your frame rate is
and double that. So, for instance, if
you're recording in 24 you want your shutter
speed to be 1/48. But if you have it
set to angle instead, all you need to do is see
something that says 180, and that is basically keeping to the most realistic and cinematic shutter speed
or shutter angle. That's because it replicates, like real life
motion blur versus something that if
you were to set it to a different setting, the motion blur would look
very different overall. It's too high like
this, for instance, you will definitely see
my hand way too much. There's not enough motion blur
for it to look realistic. So going the other way,
it just looks better. So that is what
shutter speed is for. And one nice thing
about this app is that when you hit
camera and settings, it goes back to the settings
that you were just on. So that's really, really
nice. So I set that to angle just because it's easier
when you change frame rates. Like, you don't have to
do any calculations. You just know that you need
to set it to 180 degrees. And for a flicker free shutter, this is useful if you ever are in a place like
Tokyo or in Japan, where their ts for the electronics and
lights are different. So in Tokyo, it's 50 Hertz. In Kyoto, it's 60 hertz.
That's something to know. In America, it's 60 Hertz as well, at least
in most places. It just helps with trying to
make things flicker free. It doesn't always work, though, so controlling the shutter
speed and shutter angle definitely helps as well.
Lens correction on. And then for the other settings, the only other one
that's important is the lock current orientation. So, for instance,
if you know that you're always going to record in this orientation
and not this one, for instance,
flipping it around, then you do want to
lock the orientation. It'll make it easier for you to always just enter
the app like this. But personally for me, sometimes I record with just one hand, and I find it easier to
record one hand using my left hand because the lens
choices are like closer. Lenses were the last
thing that you clicked, you should be able to just swipe left away from the record
button to access them again. However, if you are, like
if FPS was the last thing, then you're kind of screwed. You can't really reach
that lens with one hand. But of course, most of the time, you'll probably want to be
getting shots with both hands. So it's not a huge deal, but just something to note that I've noticed because sometimes, especially in rain or something, you're holding an
umbrella and you're trying to capture some
footage at the same time. It's easier to use with your left hand than
it is your hand. So that's why I
don't really keep lock current orientation on. It's not necessary for me, but it's there if you need it. Okay, let's go into audio. And audio is pretty
important because if you do connect an external one, you have to change it here. Sometimes it doesn't
change on its own, so you need to make sure you go into Audio
before recording. Otherwise, you'll
be recording with your iPhone
microphone instead of the external one
that you attached to for everything else, I pretty much keep
at the default. All right, moving on to monitor, we'll hit the most
important ones first. Basically, everything
except for upload status, I turn to on because it's pretty important to
view a lot of these things. Battery indicator
as well as NIE, and then display histogram, storage status, all that stuff. You can see them right here. Like, bottom middle
is storage status, top right is the
battery and so on. So those are pretty important. For focus assist and whatnot, I don't really use
it very often, but it's there if you need it. And then for the guides, you want to turn them on using
this option right here. Now I have the rule of
Thirds Grid turned on. You can turn it off
if you want, but it's pretty useful
and nice to have. There are also some other ones
right here if you want to align things properly and whatnot. But that's
basically it. Moving on, media. So having the settings here
is actually really important. I don't record proxies,
but right here, Auto Upload to selected
Project is very important because save
clips to whatever you set. I set it to a file that's in my ICloud that I
titled Black Magic. Default, it's in app only, and you could set it to INAp and Photolibrary so that
it gets imported to where your normal photos and normal videos
get uploaded to. But I prefer setting it to a file in my ICloud like I said, because I then can
just access it on my MacBook Pro pretty much immediately after
it's done uploading. And right here, enable
upload only over Wi Fi. That's definitely a
good option to check so that you don't use
data by accident. And then we also have the file name convention right here, which I just set to
Black Magic camera so that there's a
difference between my IOS native camera stuff
compared to the Black Magic. Next is ts. So for this one, we'll talk about this
a lot more later. But for sure, make sure
to hit display Lutz. It definitely helps with,
you know, that flat profile. If you don't have it, it's
going to look very, very flat. If you do have it,
then the image will look a lot more like, you know, what you want
to look like at the end. For me, this is the
lot that I created, and I'll talk about
it more later, but it should come
with this one, which says Appoog to
Rec seven oh nine. So that's the normal
one right here. But I have it set to the one
that I just did and created. Want to import more, you
can hit that Import button, and it goes to the files. I definitely highly recommend
that if you want to create more than just the
boring Apple Log to Rec 7091. And then here is the option to record the t into the clip. So this is like baking in the t so that whatever
you're recording, it is now set to that. So it's not going to
be the flat profile. So for instance, just
to give you guys a demonstration if we don't have record t
into the clip on, even if you record it like this, let's go ahead and
set the lens Okay. Even if you record it like this, that's kind of a
glitch right now. If you have this set to
anything beyond standard, it goes back to the flat
profile while you're recording. Very unfortunate, but it's
kind of what happens, and it is quite important and nice to have
some stabilization. So, for instance,
if you were to turn it off or go standard, then it actually records
with the let shown. But unfortunately, cinematic and extreme are definitely better
options, and I prefer them. So right now, we still kind of have that glitch that
we have to deal with. For this app, hopefully in
the future, it changes. Let's go ahead and set the Elode to be a bit better of a value, so the image looks
better overall. But this is with the
lot that I created, and if we were to
record it, again, because of stabilization, it goes to that flat profile look. But once we go into media, we can see that it's
fully baked in this time. We can turn off display lot, and it'll still be really good, so we don't have to
worry about that. So that's just an option and definitely something to consider sometimes, not all the time. If you plan on editing
the footage at all, this is not a good idea
because it's as easy as just dragging and dropping the lot in the editing program instead. But if you plan on not
editing the footage at all, this is a really
good option to have. Alright, moving
along to presets. Presets is actually really nice. Right now, I don't
have it set too much. Right here, sometimes
it glitches, you can see right now,
I said it to Slomo. The app is not perfect. It definitely has
some glitches left. So let's get out of this
glitchiness real quick. So I'm going to
delete this preset, and yeah, okay, it's
back to normal. So for presets, what you can
do is set something like, for instance, really
good slow mo. So right now I have
the FPS set to 120, but it's recording
into a 30 FPS, like, that's the final amount. So it's going to be like
slow mo, for instance. So let's go ahead and
just show you guys. It's recorded into
this, and you can see that the exclamation
point did light on, which means that some
frames were dropped. It's not a huge deal, as you can see. It's now slow. It's not a really great example, but that's how this
one works right here. It's called off speed. So by turning off off speed, this is the actual value
that I'm recording into. And I do recommend recording 30 FPS if you're going to do 30. I know 29.97 technically
matches like my Sony a 74 and other mirroriss cameras and other more, like,
professional cameras. But honestly, whenever I record with the Black
Magic camera app, it drops a lot of frames to
the point where it becomes 29 point like 98 or 99 or 97. So it doesn't really make that much of a
difference, to be honest. Your editing program
definitely makes up for it. But these are the
options that you have. If you want to
record just straight 120 FPS and have it real time, then that's how you do it. But if you want what I
just demonstrated earlier, then that's how
you do off speed. So it'll basically be
four times a slomo if you do what I
just did earlier. So once again, I set
this to a preset. You set you can just click Save New Preset and from
there, just type in Slow Mo. And whenever you click on that, that's when you get that off
speed thing right there. Of course, it's as easy
as just, you know, clicking FPS and then
hitting off speed. So both are sort of the same
similar number of clicks. It's probably just easier to just change it
here, to be honest. But if you want, like, a
specific lens as well, that's what presets are for,
and they could be useful. But for now, I don't
really use them too often. The last thing that
we're going to talk about is the remote
camera control. So if you have another
device that can run the Black Magic camera
app, like, for instance, I have an iPad, you can
turn remote camera control on and then set the thing to either remote
camera or controller. The iPhone is going to
be the remote camera and then the iPad is going
to be the controller. And then from there it
connects it and you can monitor basically your iPhone with your iPad, which
is really cool. For now, I don't really
do that that often. I kind of have recorded enough
to the point where I trust that this is recording as long as I set up
everything correctly. Alright, and we're finally
on this view right here. So, as you can see, right now, we have the exposure
set to auto, and it looks really bad. Unfortunately, the auto is not very intelligent
for whatever reason, and you can't seem to
lock shutterspeed at 180 degrees and turn on ISO for automatic
at the same time. It's either one or the other. You either turn on automatic
both of them, which again, you end up with an
image like this one in comparison to what I
showed you guys earlier. But setting the auto
one to negative 0.7 as well is definitely
going to help you get there. So highly recommend doing that if you're going
to be on auto. Most of the time I am on
auto when I am traveling, but if I do have
that extra moment or two and I have the time
and I'm not rushing, then I will adjust the settings manually sometimes by just clicking them and
then adjusting them. That will definitely
guarantee that you get the best settings each time
compared to the auto setting. Although another option
is to definitely hit that exposure button and then
adjust it to your taste. That could potentially produce similar results and
is a bit faster. We already talked a little
bit about sibilization, but overall, I prefer
the cinematic one. Extreme one, it does
crop in a fair amount. So I don't really
use it as often. I find that the cinematic one
is definitely good enough, but feel free to use
whichever one that you like. And then the way that
you change lenses is by clicking here
on the top left, and from there, you have the option of
changing your lens. And you can see my recording
setup at the current moment. Definitely prefer the native
camera apps like you know, it moves for you and it looks kind of cool
when it happens. And you can change lenses while you're recording,
which is cool. But having it blink like this isn't exactly a good transition. So I hardly ever do that. You just set one lens, you record, and then you
turn off the recording. That's most of what I do with
the Black Magic camera app. And a 48 millimeters
is definitely, my favorite amongst
all of these. But when you're outdoors and
you have a lot of light, the 120 millimeter one is
also really, really cool. Be careful not to confuse, changing lenses with
zooming in and out. There's like a zoom
right here that you can actually I guess it's emulating and it's similar to the native camera apps one,
but it's not the same. It's not actually changing
the lens for you. So I hardly ever use that thing. And then we have some
focusing stuff right here. So if you want to
adjust focus manually, you can change that, but I
pretty much keep it to Auto. And that is basically
everything. As an extra tip, I
highly recommend putting the Black Magic camera
app as the action button. If you happen to lock your
screen orientation a lot, I recommend setting up a
shortcut that turns off the orientation lock first,
then opens the app. And that is pretty much
a full breakdown of the Black Magic camera app
and how I personally use it. The assignment for this
lesson is to make sure that you have your
own settings adjusted and optimized so
that you can take out your phone and
just film immediately, knowing that you have
the best settings.
4. Final Cut Camera: Before we move on to
talking about color, there's another app that also has potential that I
wanted to mention, which is the Final
Cut camera app. This app is probably the
simplest app there is and can be a good choice if you want the cleanest
user interface, especially when
compared to something like the Black Magic camera app. And it seems like this app is
continuously being updated because it recently
added the h 0.265 Codec, which now allows us to record in a much
smaller file size. So here's a quick walk through of how to just set up this app. Right, so we are now in
the final cut camera app, and this is the
way that it looks. So, as you can see,
it kind of looks similar to the
native camera app. But instead of zooming
in and out like that, and it's also missing
the 48 millimeters, which is very, very
unfortunate, to be honest. Hopefully, they
add it eventually. This is what we have right now. But if we change orientations, it also changes as well. And like I said, it's
a much cleaner look. But let's go ahead and change a few settings. There
are only a few. From right here,
you can see that there's AperPs or h 0.265. Again, we do want H
0.265 because it's gonna smaller file size with pretty much 99% of the image quality. Then
we have log right there. We do want to record Epilogue. Then we have four K and whatever frames per
second that you want. For me, it's 30 FPS. Then we have the settings
on the top right. From there, we can change
similar stuff right here, but make sure that
stabilization is turned on. And then for tools, we have the grid
overlay level and over exposure indicator,
basically like zebras. And then we have the audio, and you can change the audio if you have an external device. Also when you click
into Log right here, you can see that
there's something that says preview with t, and you can turn that on or off. Definitely keep it
on just to have a better idea of how it's
going to look at the end. Unfortunately, you can't
do the same stuff as importing ts and whatnot
or baking it in. So this app is definitely not as useful as the Black
Magic camera one, but there is the potential of it getting better over time. So the final settings are
right here in the bottom. You can change the exposure, and then you can also change the exposure manually by
changing the shutter and Io, with these settings
right here, and you can adjust it to taste. And right about there,
it looks pretty good. But normally, I just
keep it on auto. We have focus right here, and then we have
orientation lock, as well, and then white balance. So as you can see, this
is definitely a very, very simple app
with nowhere near as many options and settings as the Black
Magic camera app, but that could be the appeal of this app for you if you
prefer to keep things really, really simple and at the
same time record into a smaller file size
like the H 0.265 Codec. It's definitely
nice to have, like, three different
apps to choose from with sort of three
different specialties in a. Unfortunately, the
most recent version, for whatever reason, sometimes resets those settings that
I just showed you guys. So just be sure that whenever you open
the app and use it, those settings are intact. That's probably the
number one reason right now that I
don't use the app, but hopefully with updates,
it fixes that issue. For now, we work
with what we got.
5. Essential Gear: Alright, so even
though we aren't going to talk about ND
filters or cases, there are a few
pieces of gear that I find pretty helpful
that I wanted to share. The first one is a tripod. Thanks to the iPhone
being extremely light compared to a mirrorless
camera with the lens, it can be held up by
very cheap tripods. I personally use this lanzi
54 inch tripod a lot. It costed me less than
$30 and is super compact, can fit in a small size backpack and serves my need pretty well, although I wouldn't
feel safe enough to use it on a super windy day. Anyways, I have a big preference
towards MAGSAf tripods, since it makes it really easy to attach the iPhone
and take off. You can also just buy
the magnetic attachment and place it on a normal tripod. I personally recommend
this heavy duty one that magnetizes quite strongly, so your iPhone won't
just come off links to all my recommendations on gear in the class
worksheet, by the way. Another piece of gear
that I use often with my iPhone is the
Road wireless mics. Unfortunately, the
iPhone mics are still not quite good
enough for my tastes. So having some sort of
external mic helps a lot. I bought a U shaped USBC two USBC adapter that
costed about $5, and it connects perfectly
with the unit barely. And luckily fortunately, I don't get to see
the front side, but the other unit records
internally into the device as a backup that I can just import just in case
something goes wrong. This is a pretty
pricey mic, though. So a cheaper alternative
that can achieve similar results is
the Holy Land Mark two that is pretty popular. I believe Marques Brownlee, MKBHD uses it for
one of his channels. Lastly, if you do
want to record using ProRes instead of H 0.265, then you'll want an external
hard drive to record into. There is that LxarPfessional
Go portable SSD that seems pretty neat. But I personally
already have an SSD called the SanDisk exxtreme SSD, that is 2 terabytes. Thanks to the 180 degree adapter that I
mentioned earlier, it allows me to just
connect the SSD to my iPhone easily and record
ProRes when I need it. I mainly do it for my logs, since I like zooming in
and out with the button. Those are the more
iPhone specific pieces of gear that I personally
use quite a lot. An extra consideration that I probably don't have to
mention is that investing in good lighting equipment will definitely help
if you're planning on using your iPhone as
your main camera indoors and in low light conditions. It definitely makes
a huge difference, since the iPhone is the
weakest in low light. The action steps for this lesson is to go ahead and purchase the essential equipment
you need to make your workflow as efficient
and optimized as possible.
6. Color & LUTS: In this lesson, we finally talk about one of the
biggest reasons why the iPhone 15 Pro and beyond is so great at producing
quality images, and that is Apple Log. If you've been following
along and watching, you know that we've
been using a lot of Bureau footage that's been
recorded using Apple Log. To put it simply, log
is just a format that allows you to capture an
image using a flat profile, which makes it
easier to manipulate the tones and colors
in post production. If we do a comparison with the iPhone's normal
HDR recording mode, you can definitely see the
digitally sharpened phone like look that's baked into the footage due
to the software. Not a terrible look exactly, but it definitely screams, I took this video from a phone. Apple Log, on the other hand, gives you the freedom
to choose your look. The simplest way to correct
the footage in post is to just use Apple's official let that you can
download for free. However, their t is
generally pretty boring and doesn't quite
have that film look. Achieve it, you'll need to
do further adjustments. Most people simply buy lots other people have created
and drag and drop them on. But in case you don't
want to do that, here's a quick rundown on how to adjust the footage after
you've corrected it. We'll use vinci Resolve since it's a free
editing program. Open resolve, dump
in the footage, and then go to the color panel. From there, add the correction
let that you got for free, and then adjust the lift
Gamma and gain to your taste. The lift is similar
to the shadows, which are the darker
parts of the image. The Gamma is similar
to the midtones, and then the gain is
similar to highlights, the brighter parts of the image. Look that I personally
enjoy is creamier shadows, so we can just increase
the lift by a bit and use the curve tool to lift up the
blacks at the bottom left. Also, going into
key and decreasing the strength of the let by
a bit creates a pleasing, less saturated and more
film like look sometimes. Take note, I'm not
a pro colorist, but by simply adjusting a lot of the different tone settings and color settings and just
having fun with it, messing around with it, you
will usually end up finding a look that you like better
than the normal correction. Way, all of this is a
bit too much work for me to do every single
time personally. So what I did instead
was create a lt based on everything we talked
about and imported it into the Black
Magic camera app. And occasionally, we do bake in that lut to the footage
depending on what it is. For most Bro footage I take, I don't bake it in
because I know that eventually I'll be putting
it into an editing program, and I can just drag and drop it on from there and make
more adjustments. But for most other
videos I take, I tend to just bake in the ut to save some
time for later. I'll explain this more
in the workflow section. Anyways, you can create your
own Luts in DaVinci Resolve. But if you don't feel
like doing the work, I've added an attachment
to this class for the let that I created,
absolutely for free. So you can just drag
and drop it into the Black Magic camera app
and use it right away. If you find it useful, consider giving the class a
review at the end. I will say, though,
different settings and colors really change the
usefulness of certain luts. So regardless of which
luts that you use, they won't work for
every situation. So just be cautious about
that when baking in the ut. I will say the
neutral lot that I created should be a
good general use one. Anyways, that's how I deal
with color for my footage. The assignment for this
lesson is to collect your own lots and then import them into the
black magic camera.
7. Optimize Your Workflow: In this lesson, we
combine our knowledge to discuss the ultimate
workflow of achieving maximum quality
while maintaining convenience and
minimizing effort. When we're talking about
the most optimal workflow, it really depends on what you're doing with the
videos that you film. So I'll talk about
four purposes that I often try to fulfill
when I record. And they are number
one for B roll, number two, for
talking head content. Number three, for vlogs, when I'm walking
around a cool place, or just want to talk to
the camera while moving. And number four, filming memories with
friends and family. I take a pretty different approach when it
comes to each one. Let's start with the first one. B roll. This is
the simplest one. I take up my phone,
hit the action button, frame up the shot,
change lenses if needed, and then hits record. If I have time, then I also consider the
option of adjusting the shutter speed and ISO if the lighting
conditions allow for that. It definitely does improve the overall image quality if you can minimize ISO and shoot
with the right shutter. Not, then steps can
be done in post, like adding effects to
emulate real motion blur. I personally don't do this since it's not that important
to me right now, but it is an option if
it's important to you. I heard that the effect RSMB as well as DaVinci
Resolve Studio, the paid version, the
motion blur effect there. Both of those seem
to work pretty well. In my head, it's sort of
like you're buying that compared to an ND filter that you kind of have to
bring with you everywhere. Moving on because I record
into a file in ICloud, all I need to do is go to my laptop and then drag and drop the videos I took into my
SSD drive on my MacBook Pro, and then start
editing from there. Since I don't normally
bake in Luts for B roll, I drop in lets instead and adjust them
accordingly to taste. Or I just don't adjust them
at all if I'm in a rush. Next is talking head content. For this one, I usually record talking head content
with my iPhone for fun, so I don't edit it at all. I'm able to do this by
baking in the lot and also attaching the microphone like I showed you guys before. And after that, I just upload straight afterwards from
my phone to YouTube. Do this a lot for
videos where I'm filming myself practicing
piano or creating music. If I'm doing something
more serious, then I use my Sony a 74 with a boom mic or
dynamic mic instead. If I had to use my iPhone
as my main camera, then I would approach
the workflow very similarly to how I do with Bro. Thirdly, we have log content. For this one, I use the
native camera app because I like zooming in and out
on things that I'm seeing. Unfortunately, none of
the other apps have that sort of Zoom effect that
I actually really enjoy. Way I do this is I connect my U shaped adapter with my SSD that I mentioned and then use my road unit as a standalone, which means that I'm
going to have to import the audio from
that unit later on. But it sort of works
out because the iPhone, at least the way
that I'm using it, unfortunately, can
attach one thing. So because I'm recording in the native camera
app in ProRes Log, I will have to edit the
color in post anyways. So importing the audio isn't
really that big of a deal. I just have to remember not
to hit that pause button when I record since
it desyncs the audio. Lastly, for recording fun memories with
friends and family, I actually don't
record in log at all. You're free to do
whatever you want. But I have a tendency
to just record regular vertical videos on my iPhone whenever
it's personal stuff. It makes it easier for
organization and to me, the memory itself is the
most important part, and capturing it in any
way is more than enough. The assignment for this
lesson is to come up with your own workflow based on your goals for filming
with your iPhone. And from there, go practice filming with a new workflow and feel free to post your video in the project section
of this class.
8. Class Conclusion: Congratulations on making it
to the end of this class. Here's a summary of
what you've learned. First, you learned
about optimizing the settings for a
few camera apps, the native one, the
Black Magic camera one, and the Final Cut camera app. Next, we talked about
useful gear and equipment for a better
iPhone filming experience. After that, you learned
how to work with the color for Apolog and
bake it in if you want to. Finally, we discussed how to maximize quality
while maintaining convenience and coming up with the most efficient workflow
based on your goals. Lastly, I want to thank you for making it to the
end of this class. It's been fun showing you how I personally work
with the iPhone. If you learn something
or enjoy the class, I'd appreciate it if
you gave this class a review and hit
that follow button. In the meantime, if you'd like to check out
what I'm up to, you can find me on YouTube. I also talk more about my experience with the
iPhone 16 Pro there. Anyway, best of luck
on your projects, and I hope to see you
guys in the next class.