Transcripts
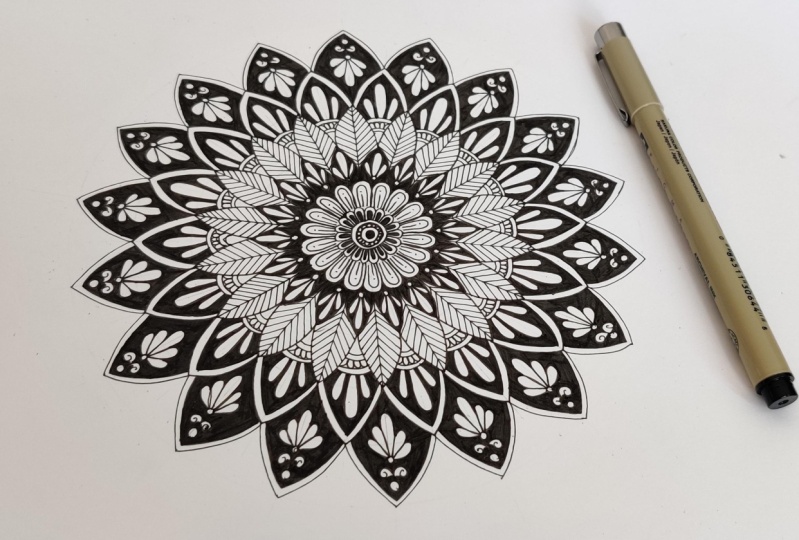
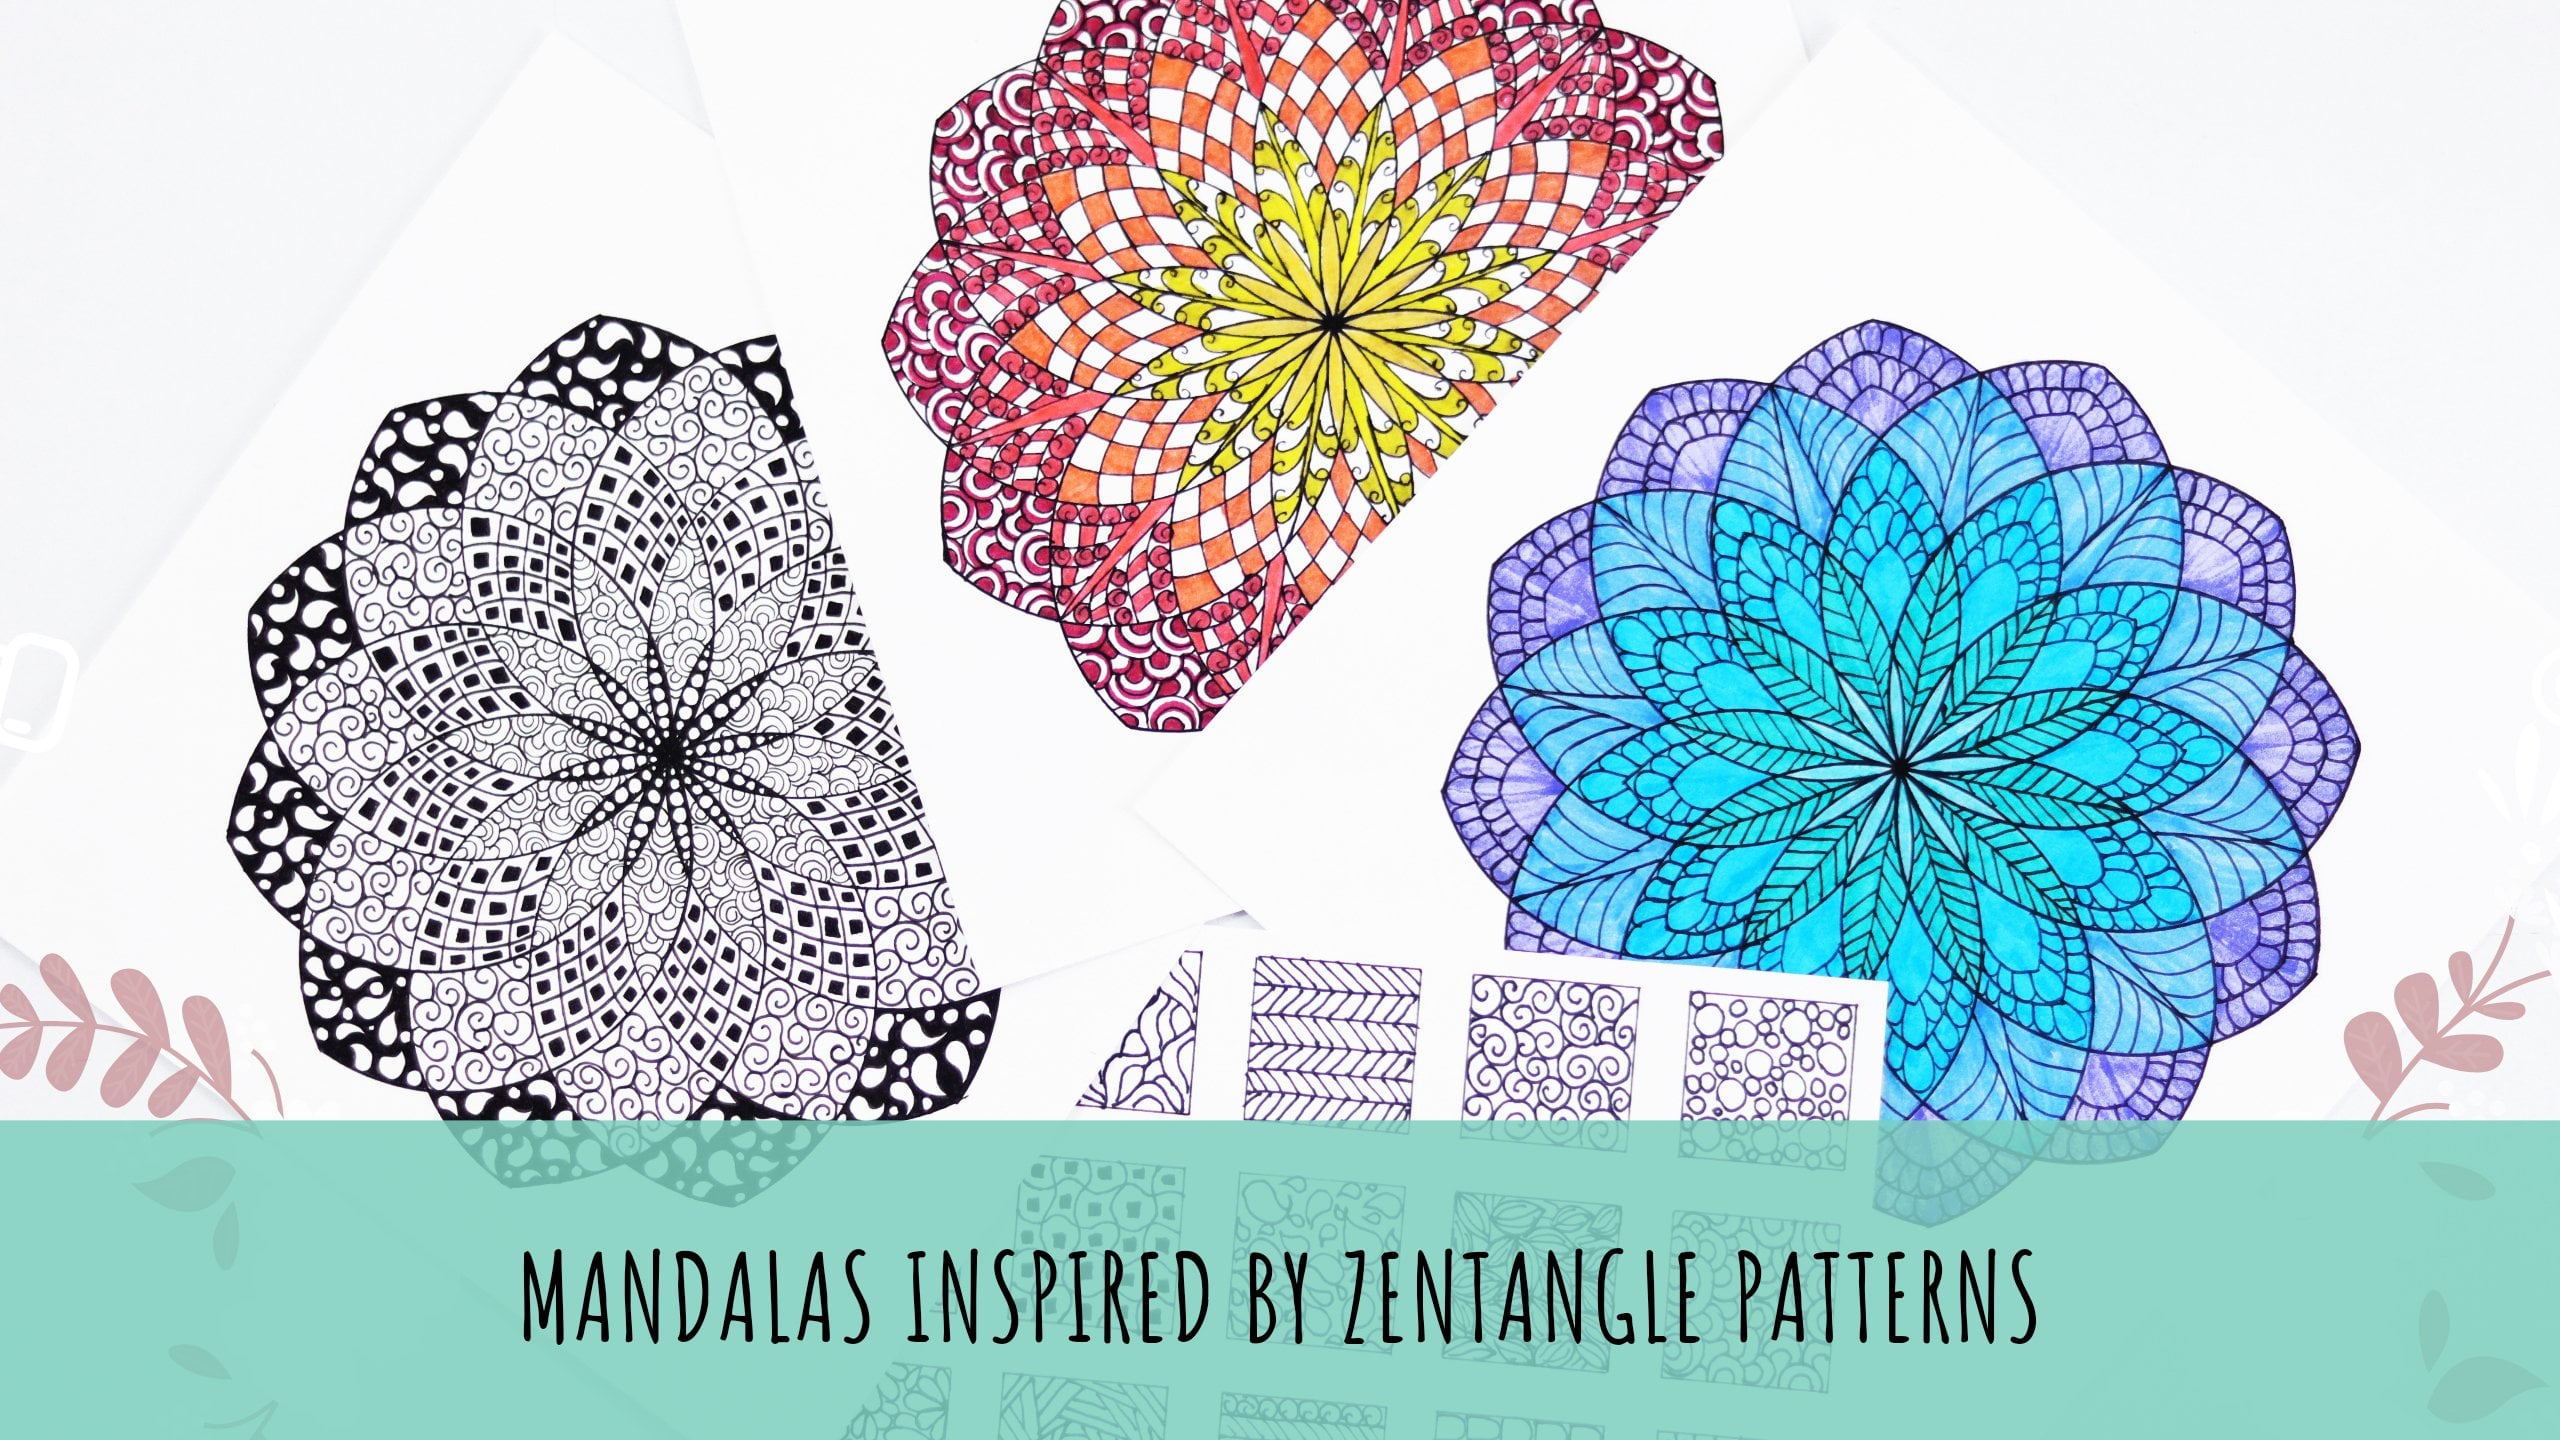
1. Hello there!: Hi, I'm Keith cinema. I'm a watercolor and Mandela test. Welcome to my first class on Skillshare. In this class, I will teach you some Mandela patterns and how to grow a simple Mandela. I hope you will like this glass.
2. Tools Required: Let's talk about the materials we will need for this class. Here I have a 100 GSM paper. I also go extra sheets on which island show some patterns. I created square grid on this for me. Then need pencils. I suggest you use light pencils such as virtual theater, sign line on the black gel pen. I have used glocal blend gel pen in this class. It is. And the sharpness. Here, we'll need a compass that can hold a pen. You can use any one of these.
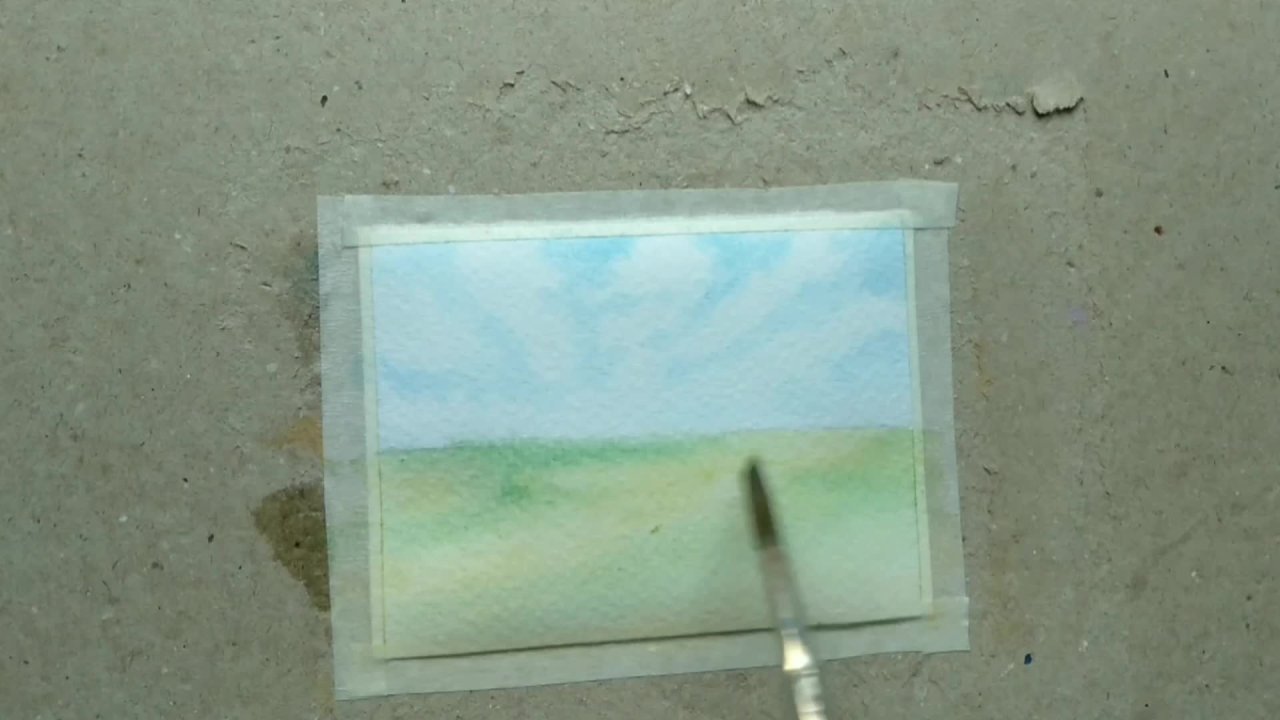
3. Basic Shapes: We will start with the lung. You can use a light pencil, you can use C-H bonds and other gouache. Then trace it with a pen. You can make small changes back down. Here, I think looks with the same shape. Apart from these, you can also draw horizontal or slant lines in the shapes. I'm marking the size of five centimeter. Runtime Demeter. The next button. You can change the size of the circles as per your need. Any other shapes that will look good? D shapes I'm drying. You can use these patterns and just slowly move this. You can find this sheet in the project section. Guns we most commonly use, and then join them. And the perfect symmetry. The last shape is the semicircle shape. The shapes also, you can find them online, on Google or on Instagram. I hope this was helpful. See you in the next lesson.
4. Filling Patterns: Hello, welcome back. In this lesson we will fill in a Python string
made in last class. I always round up,
allow clients to meet the peloton, look clean. The very first
pattern we're going to meet is simple packaging. Start by drawing
a tiny circle in the middle and then
draw petals and ionic. Use a pencil if you cannot
go directly with the pen. Fills us basis in-between the Pericles Fund. The second one, memory draw a curve in the middle
part of the petal. Draw some ten lines
in the lower part. Or you can fill it directly and draw some small
petals and the outer part backend a similar shape as
your logline in a small size. Fell it and cover it
with a double outline. In dropout dose, like
we did in the last one. The spaces in between the factors could
give it a nice look. And this time, I'm not outlining the petal to give an
idea how it will look. Start by drawing a circle in
the upper part and then got more symmetrical
spinal shape again. And then go back those
like we did before. For this extra space left.
5. Extra Shapes: Hello, We learned
some basic shapes, patterns, and last video. In this lesson, I will tell
you some extra shapes. Most common learning
technique is like this. This is the easiest
technique for someone who just started trying. All the shapes and
backends and they end up making seen
patents are lower. In this lesson, I will
tell you how you can get different patterns
without having to remember. In the same place
this spiral shape. Fill that with black pen and do the same with
the semicircle. So like this, you can make small changes in
the basic shapes and draw MD battles and make a small
stroke inside them. And the last one is a single stroke and put a dot
at the end of the stroke. Some extra patterns you can use as fillers are layered partners. First, well, beautiful. Symmetrical pays lease. And the last one. And join them as the initial layer. These were some tips and shapes. To me when I learned
something new. I hope this helped you. See you in the next lesson.
6. Creating A Grid: Hello, Welcome back. In the past few
lessons we learned to Mandela shapes and patterns. In this video, I
will show you how you can create a group
for the Mandela's. Draw a straight line on the people with the
help of schema. Markup lying on the line. Now. And put it like so that it doesn't
just above the monkey. Take your pencil and mark
binds at 10 degrees. Wanting you to keep in
mind while doing the clip, you should use a light pencil. This Mandela, I'm not having specific measurements like
marking off the page. I'm keeping a fixed size from a Nala Nala degree
angle between that. Connect these points with sand. I hope it does. It will look like this. On one centimeter. Draw another circle of
slightly, we go there it is. Again, draw a circle. Keep this radius is 1.5
centimeters this time. Here, I'm lightly sketching the patents so I can
mark for the circles. If you add a beginner, then always decide
the patents first. Nmac Douglas accordingly. Now I will create
bigger circles. And just putting my pencil at the tip of each bag down dead. I heard Martin, while keeping the needle edge center point. You can see how I am drawing
circles of different radii. I hope this lesson was helpful.
8. Outline: Hello again. In this video, we will be outlining
the sketch with a pen. Slowly trace the sketch so
it wouldn't be messed up. In the same way. All
the petals and chips. If you don't have any
practice pencil sketch ready slowly to avoid
messing that up. The sketching part
of our Mandela. In the next lesson, we will be drawing the better.
9. Double Outline: In this lesson, I will redouble
outlining the Vandellas. When we double outline, it gives us a need
and a beautiful look. First, draw with pencil. It will give you an idea
how much space should remain between the two
layers are two outlines. Draw outline on a
single patterns on each layer. Like I'm doing. I am drawing. It gets for
similar length of petals. Draw circles like we did in
the last lesson. Pencil. And now I'm tracing the pencil sketch with Ben. All the patterns driving the remaining
patterns with Ben. But you'll get a first
draw all the patterns with pencil and creates it later
with pen as I've shown you. The layout often
Mandela isn't already.
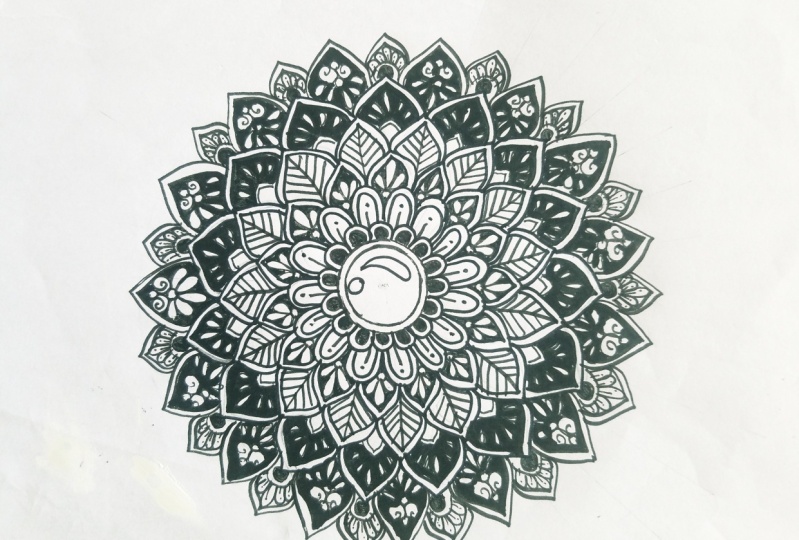
10. Patterns: Hello. Today we will drop
items further, Mandela. When you knew it can
be a bit complicated to draw patterns that match
with each other perfectly. First draw with pencil to get an idea of how all these
will look together. I hope the patterns
and visible to you. Let's have a closer look. Okay.
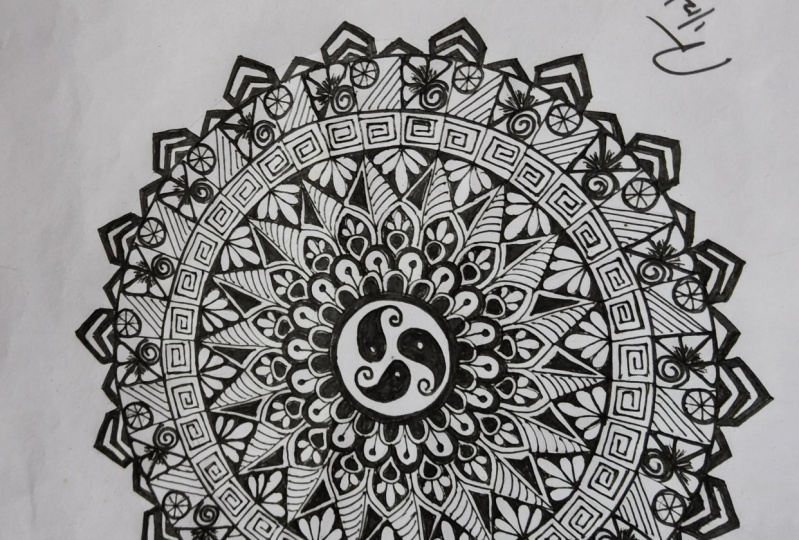
11. Patterns Part 2: Let's start. You can draw with pencil in every petal
or you can use paint. The first layer, I'm filling it carefully, draw the outline. You can see the
patterns clearly here. The second layer
is a simple one. Just draw a stroke
in their way back. When you fill patterns, always note that there should be a balance between the layers. If you'll fill in one
layer with black mostly, then try to leave
whitespaces and next layer, so there will be a
suitable contrast. Goes third layer, draw
a circle, empty petals. Carefully fill the extra space
while drawing the petals. Don't feel like
going directly with Ben Dan first draw with pencil. The next. Draw a center line, then sidelines like
window and leaves. Moving on to the next
layer. The same pattern. I am, smart triangle
and then petals likely replaced with triangle. And then draw petals around it. Now for the last live. And then put in
whatever base list, then dropped by two-thirds. This one is a little complex. I will recommend
you to use pencil. Mandela is almost done.
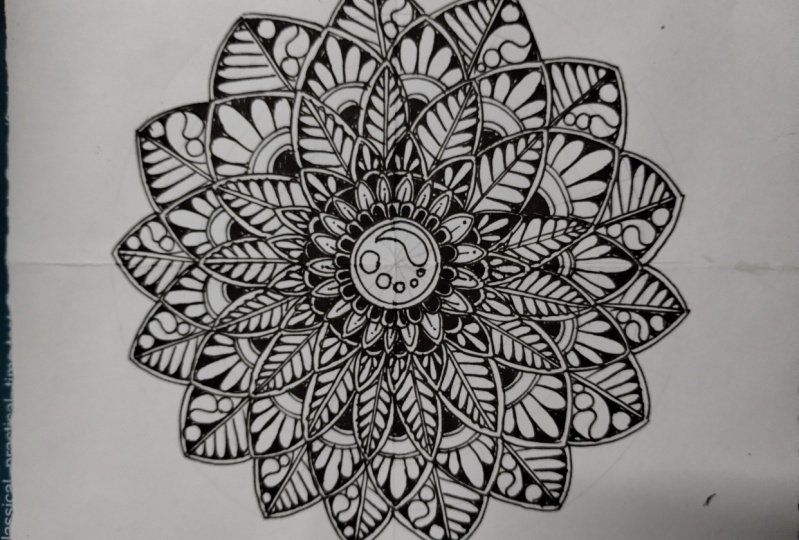
12. Final Details and Final Thoughts: Welcome back. This is the
last part of our class. Grades the shape
drawn by pencil. Filter that stuff's
piece with black. If I don't like the shape, you can also go a small flood
in-between the circuit. Now take it is, it is the pencil marks. It is completely done. Thank you for joining
my first glass. Follow me to get
regular updates.
 Kirti Nama