Transcripts
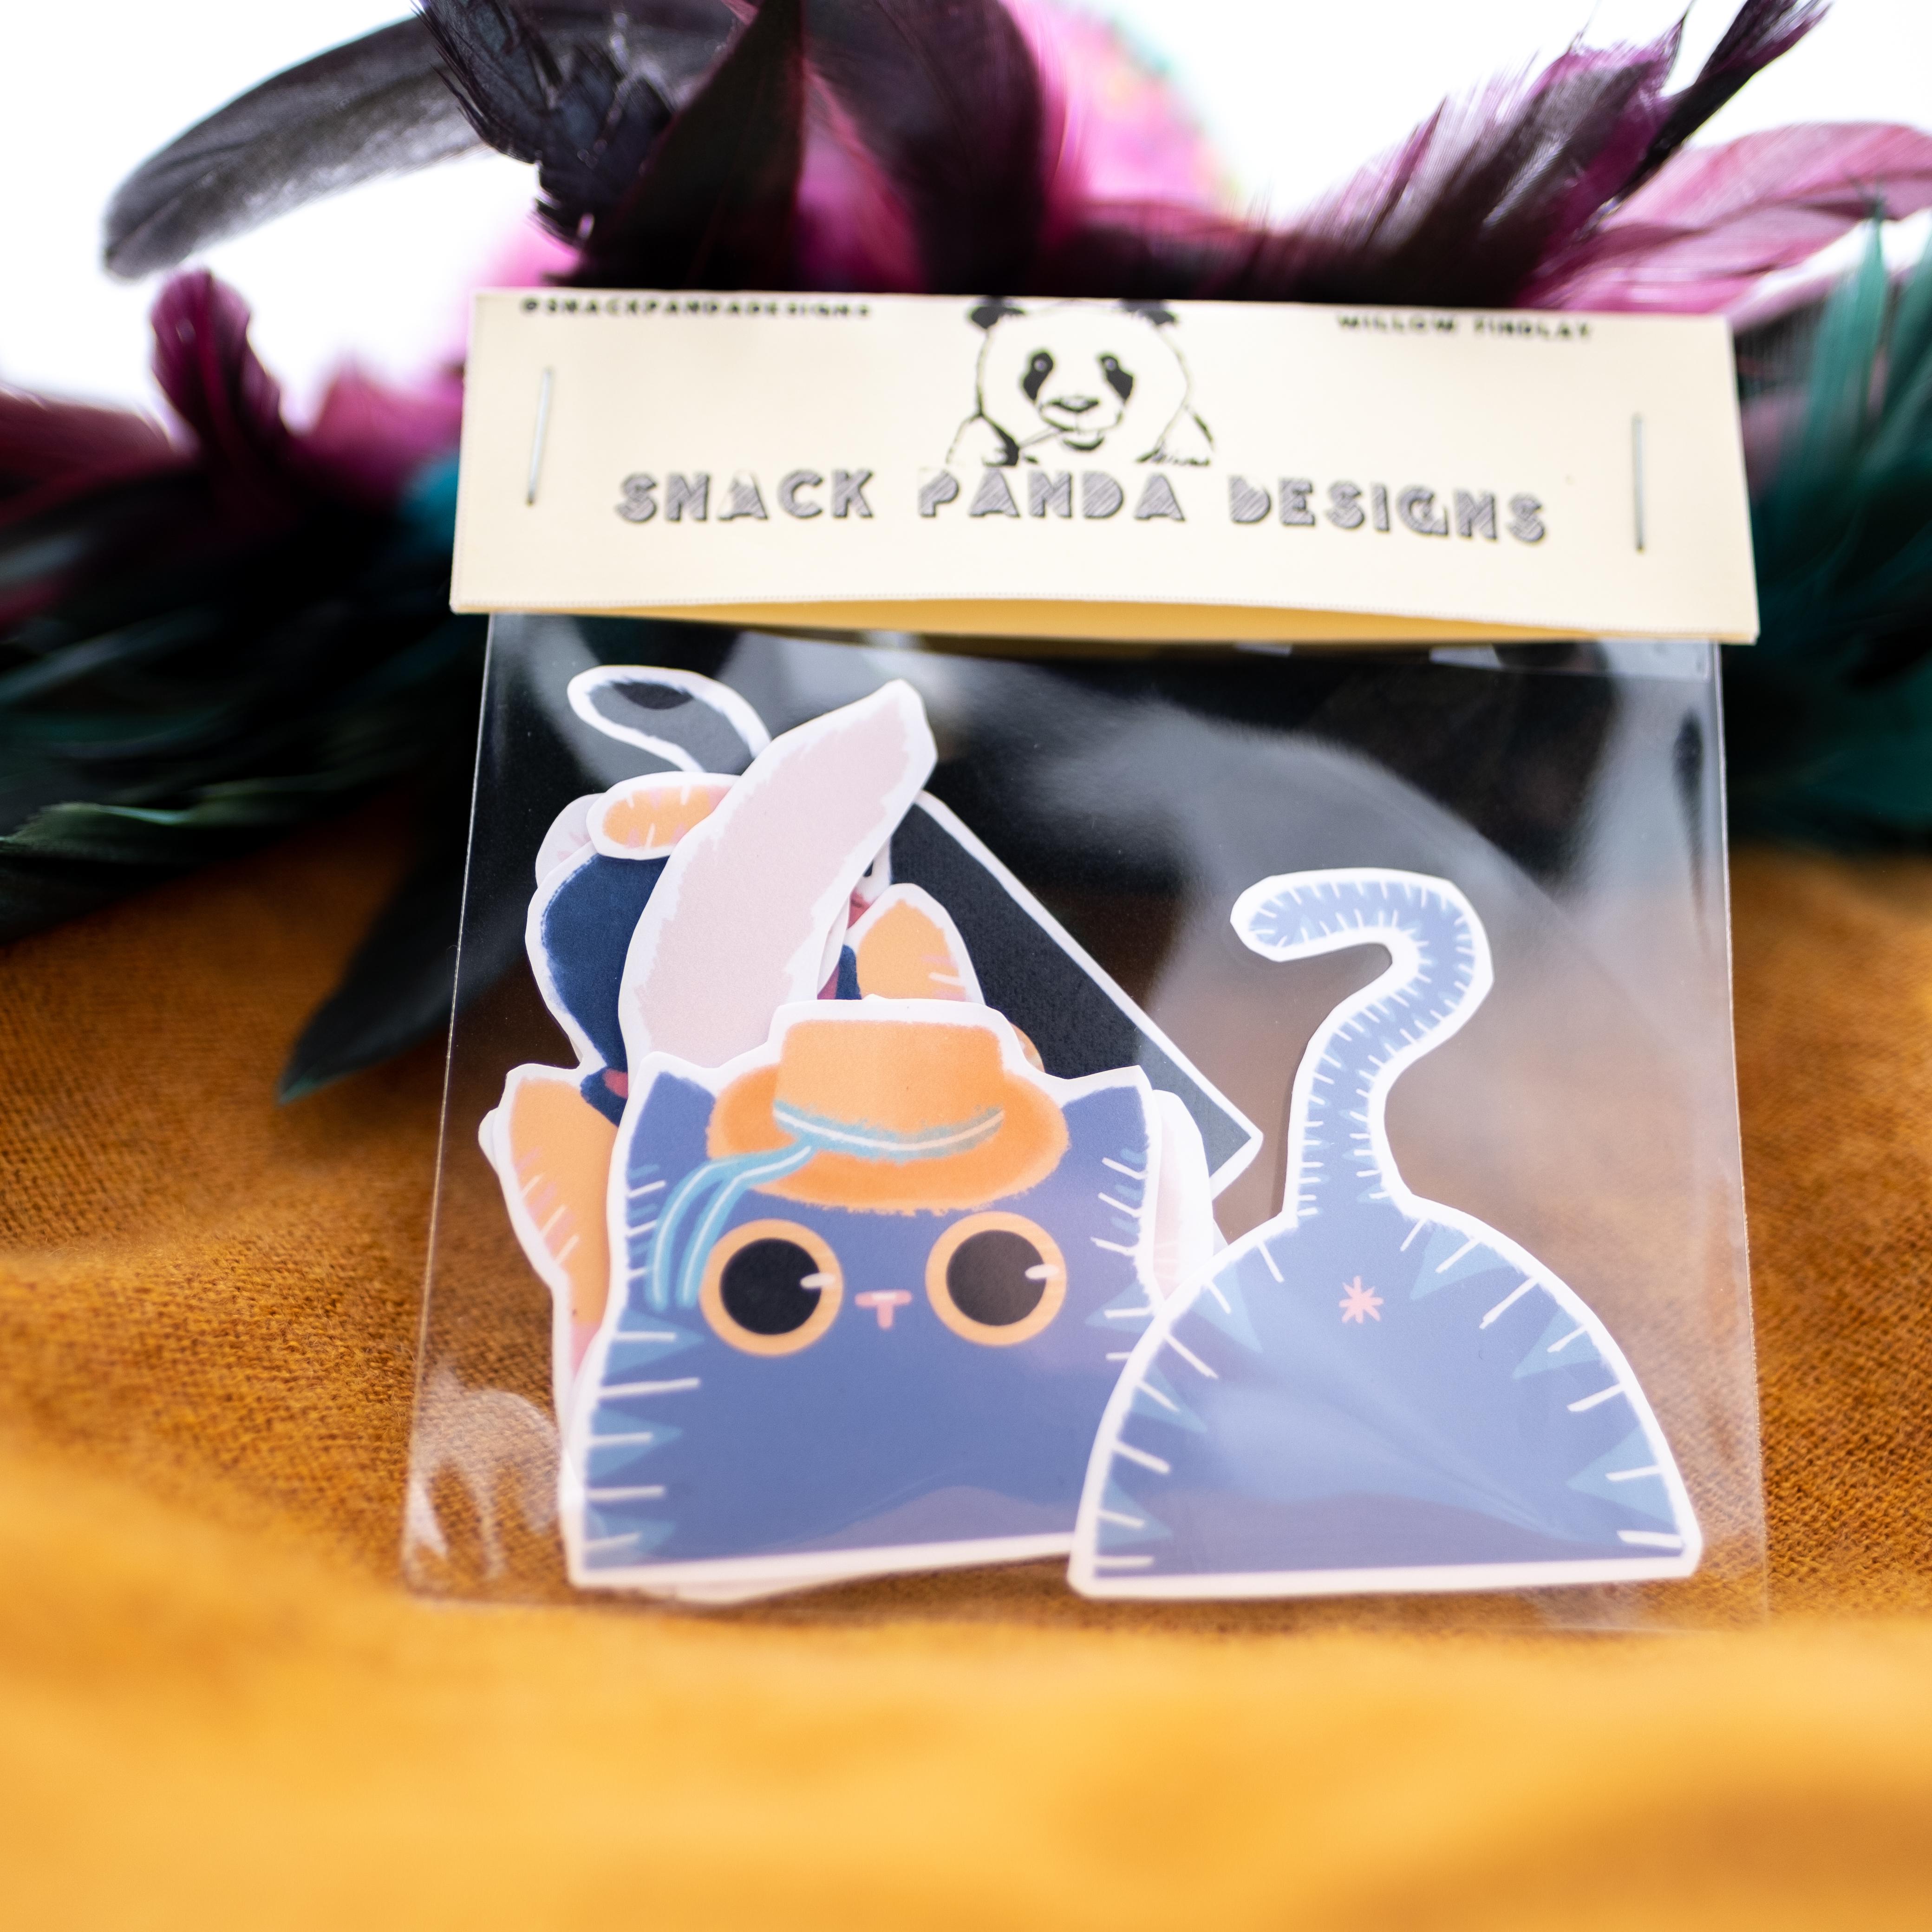
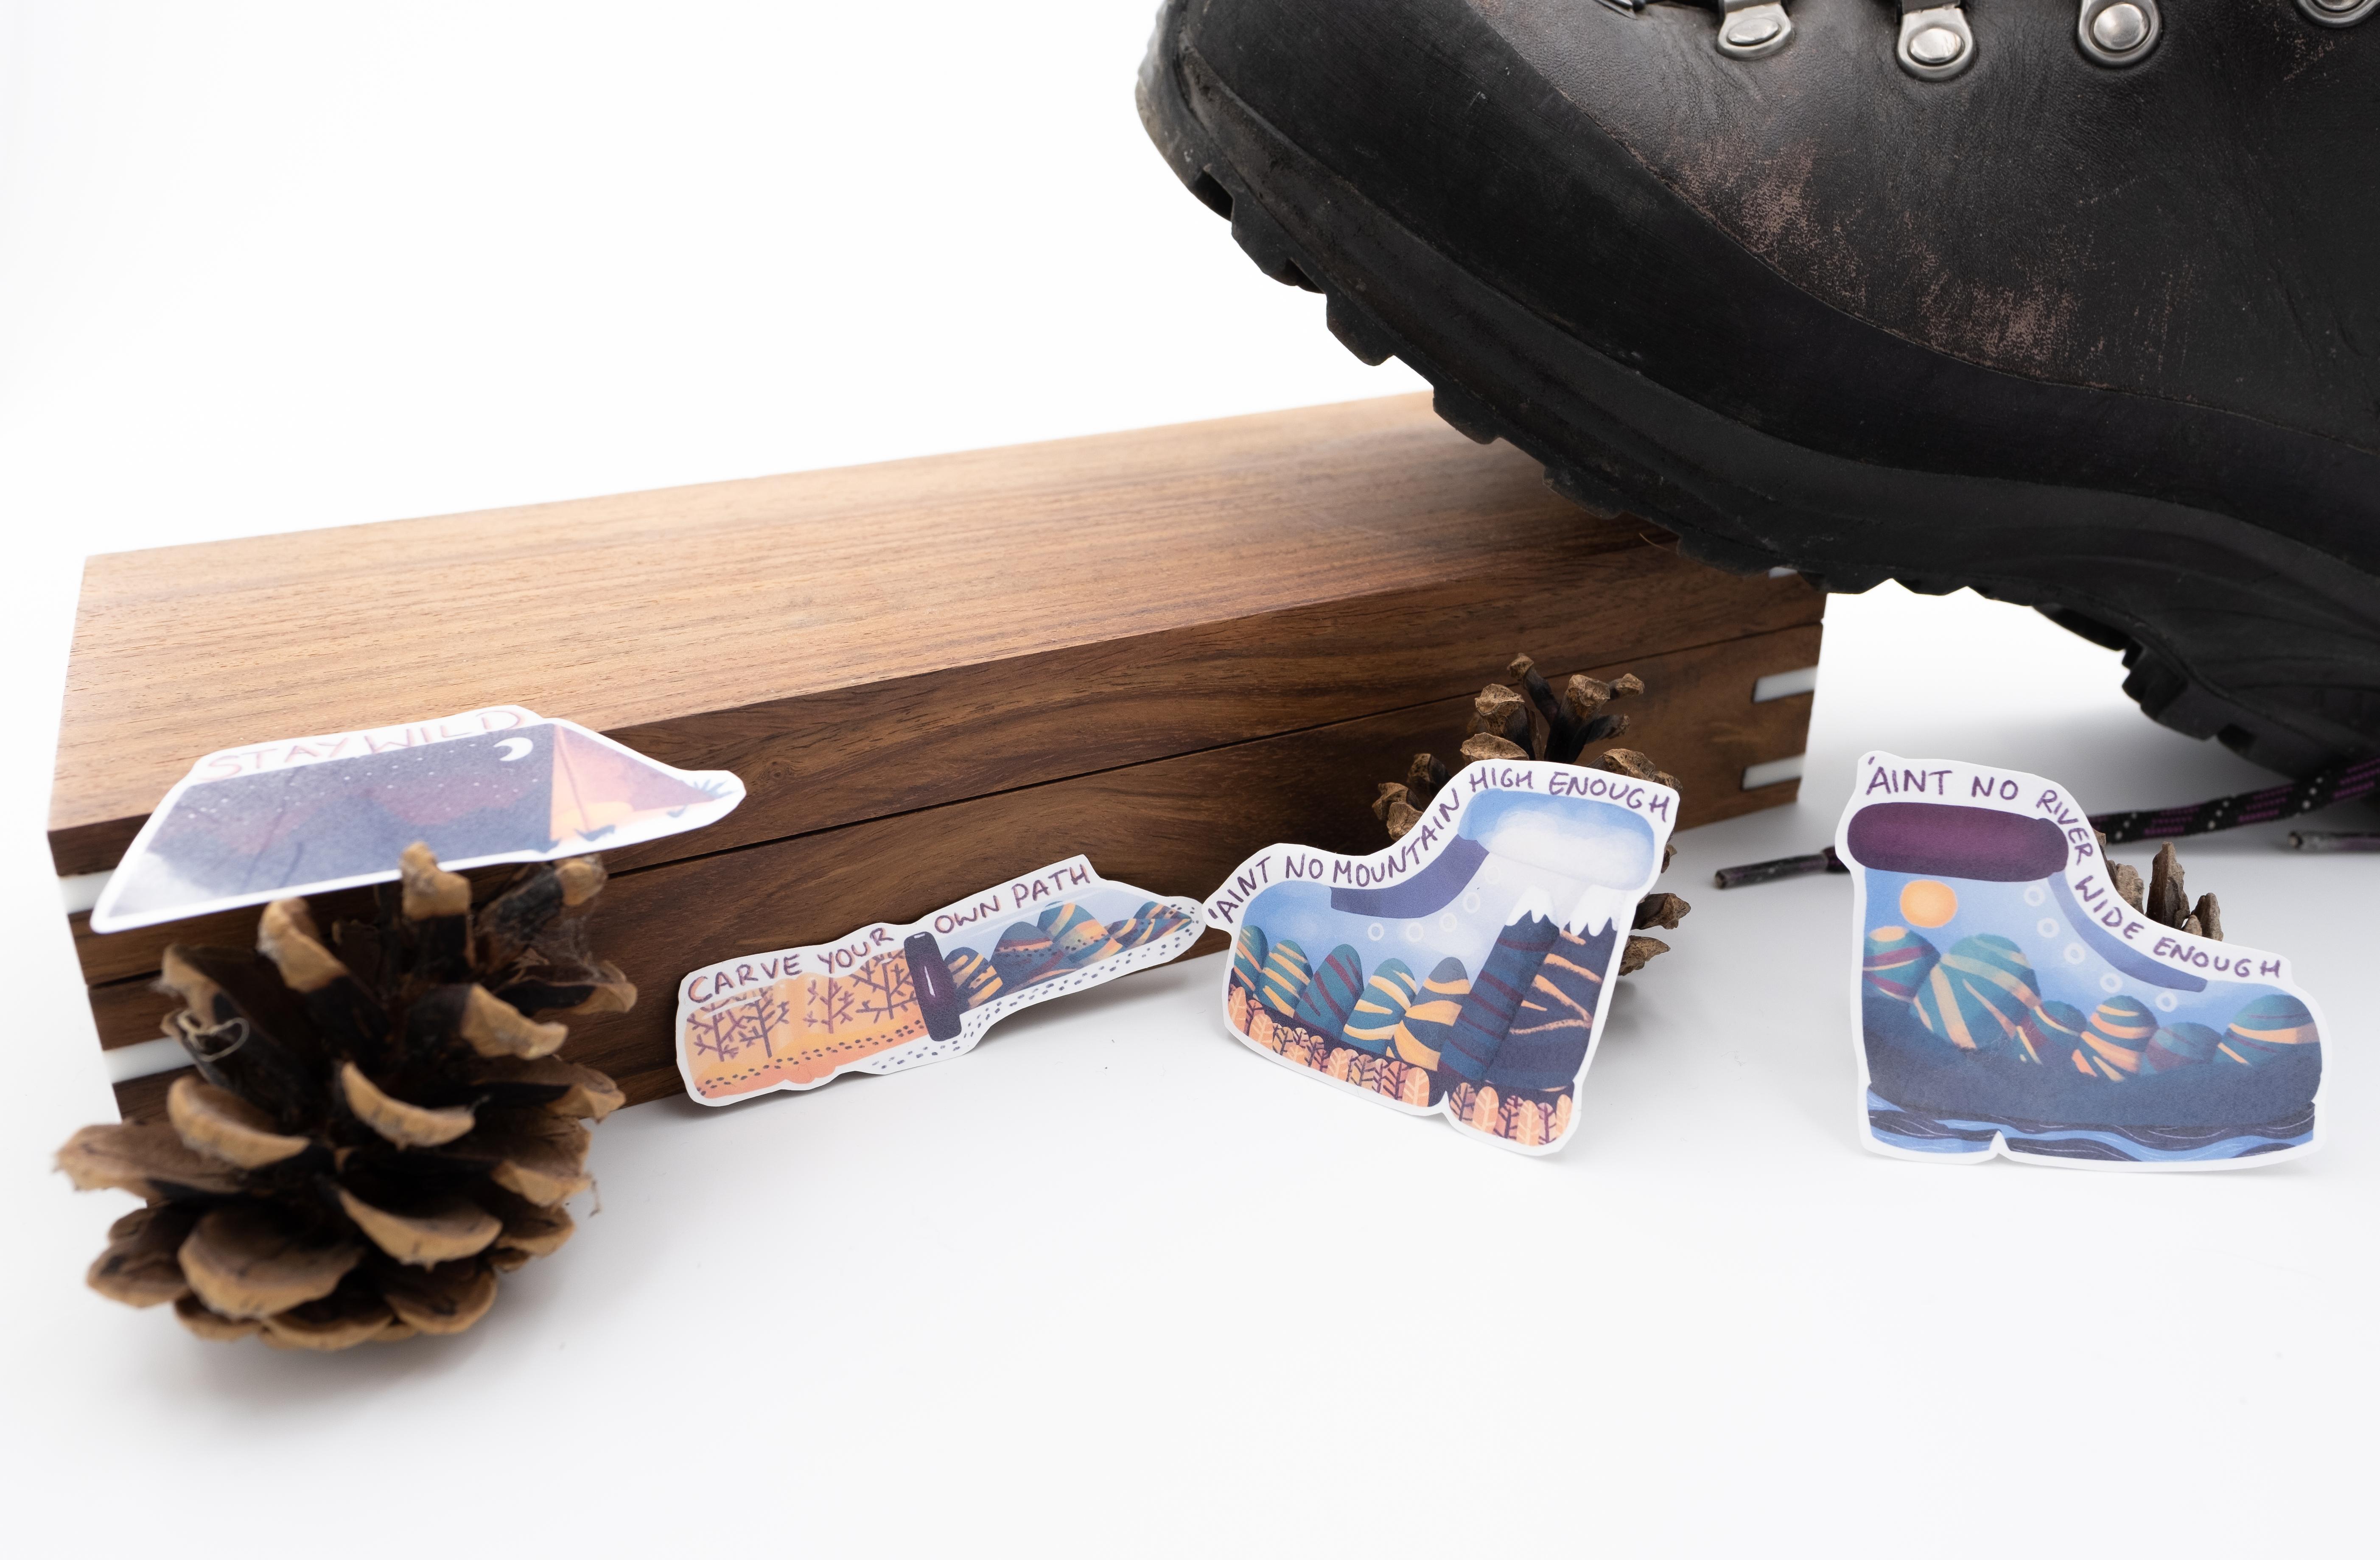
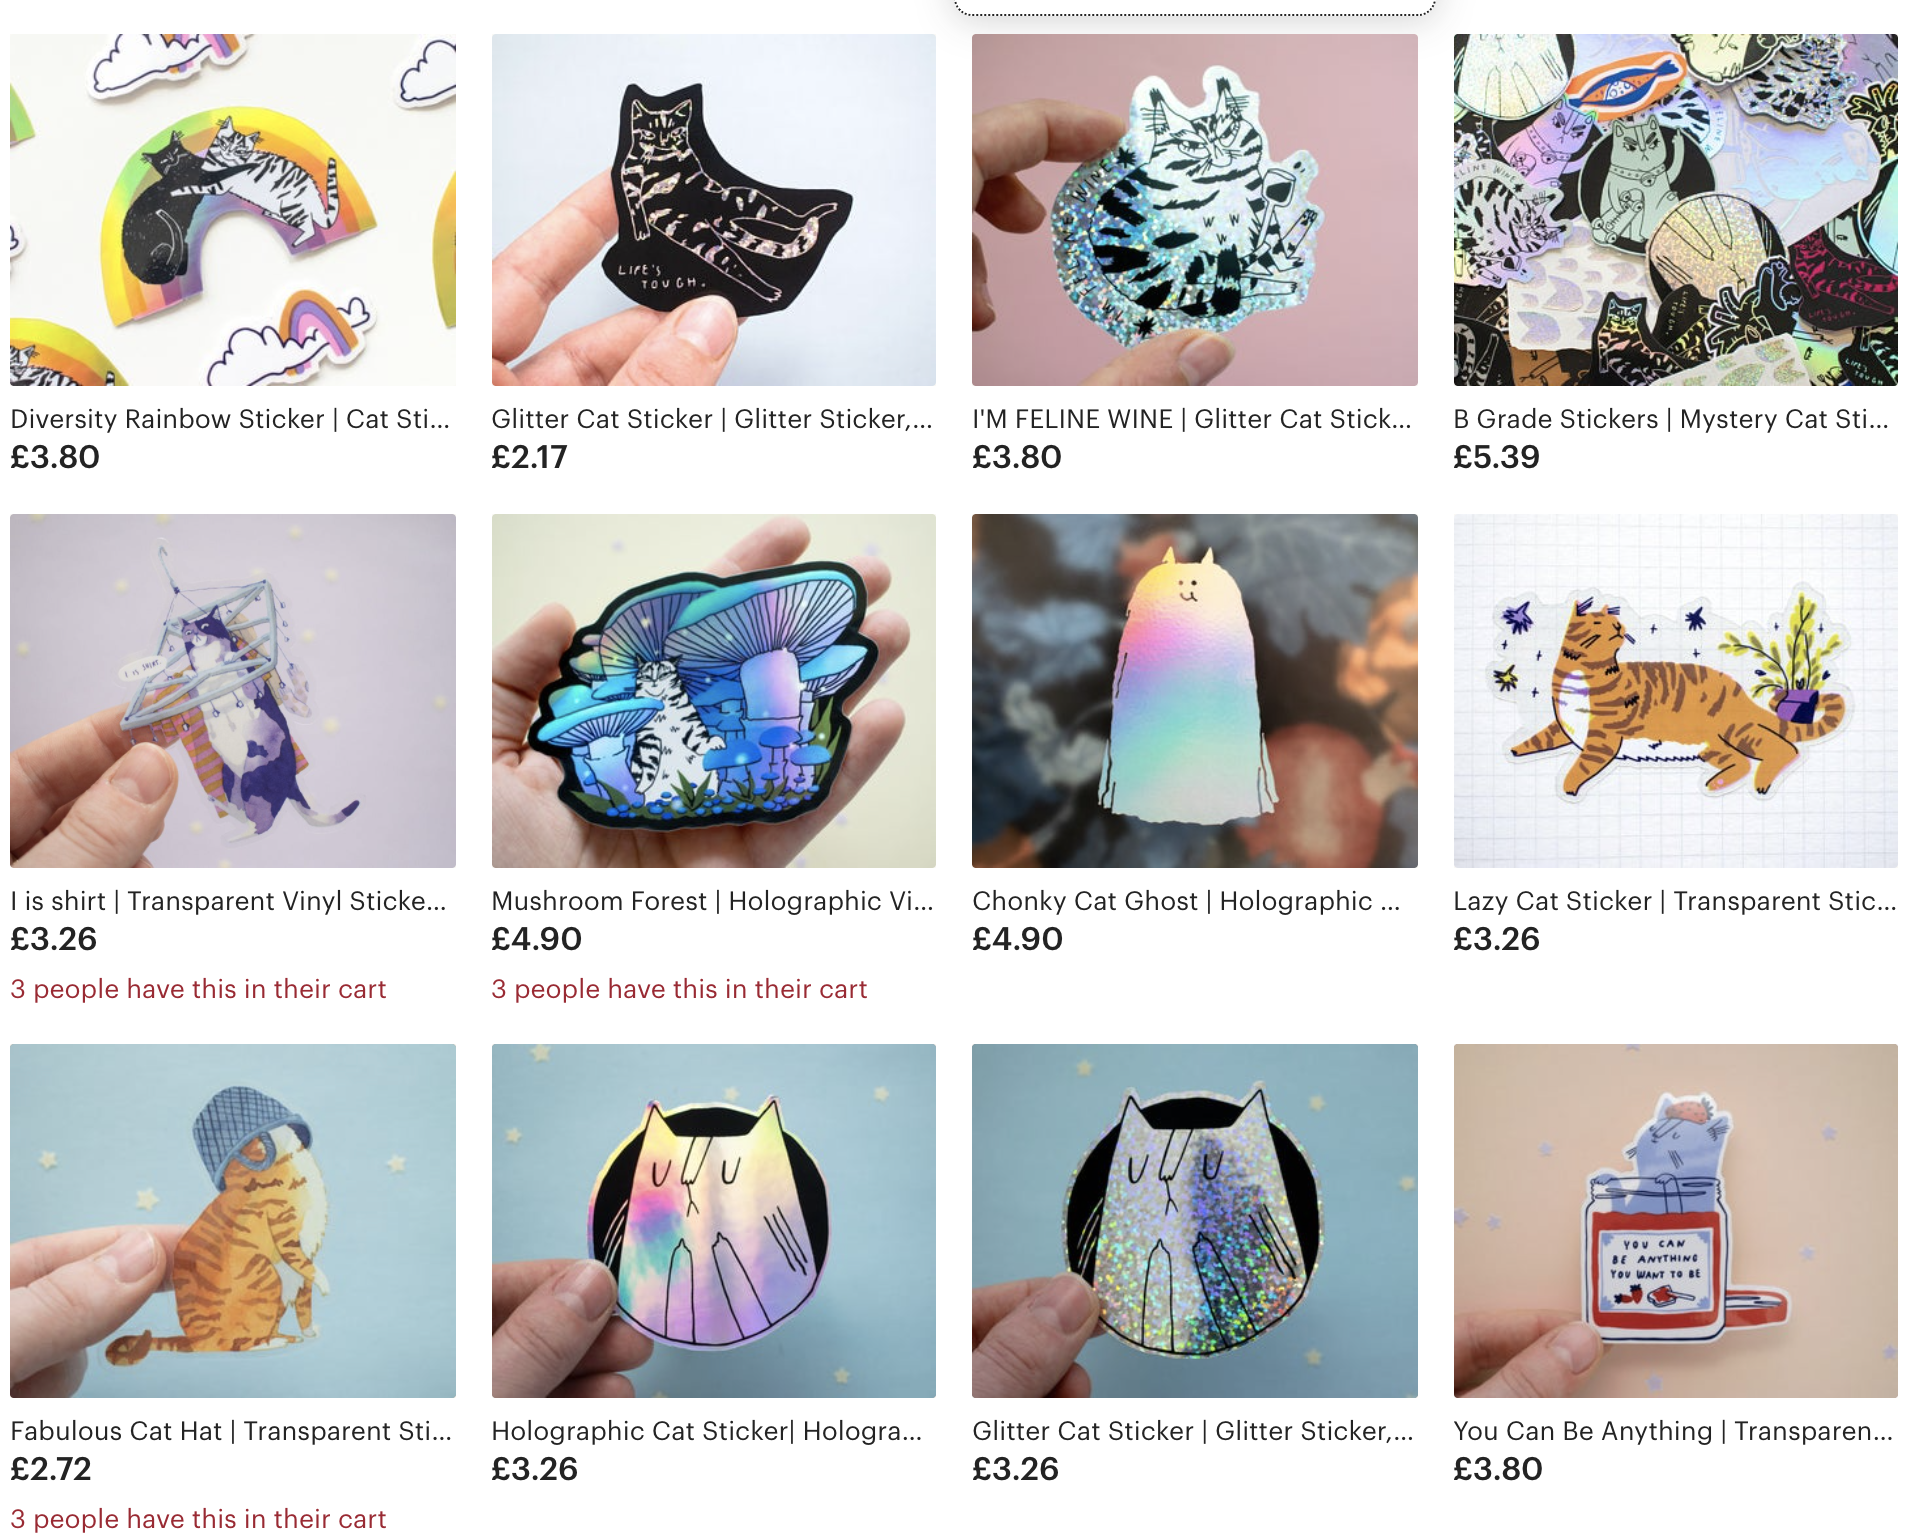
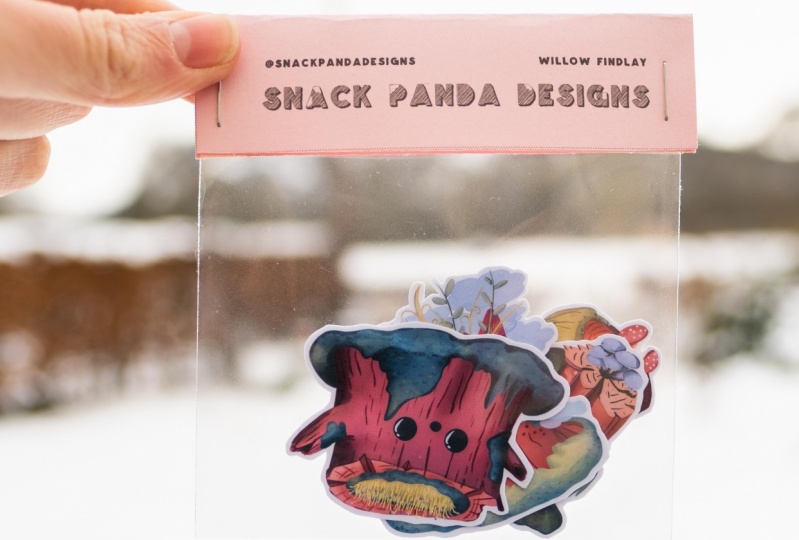
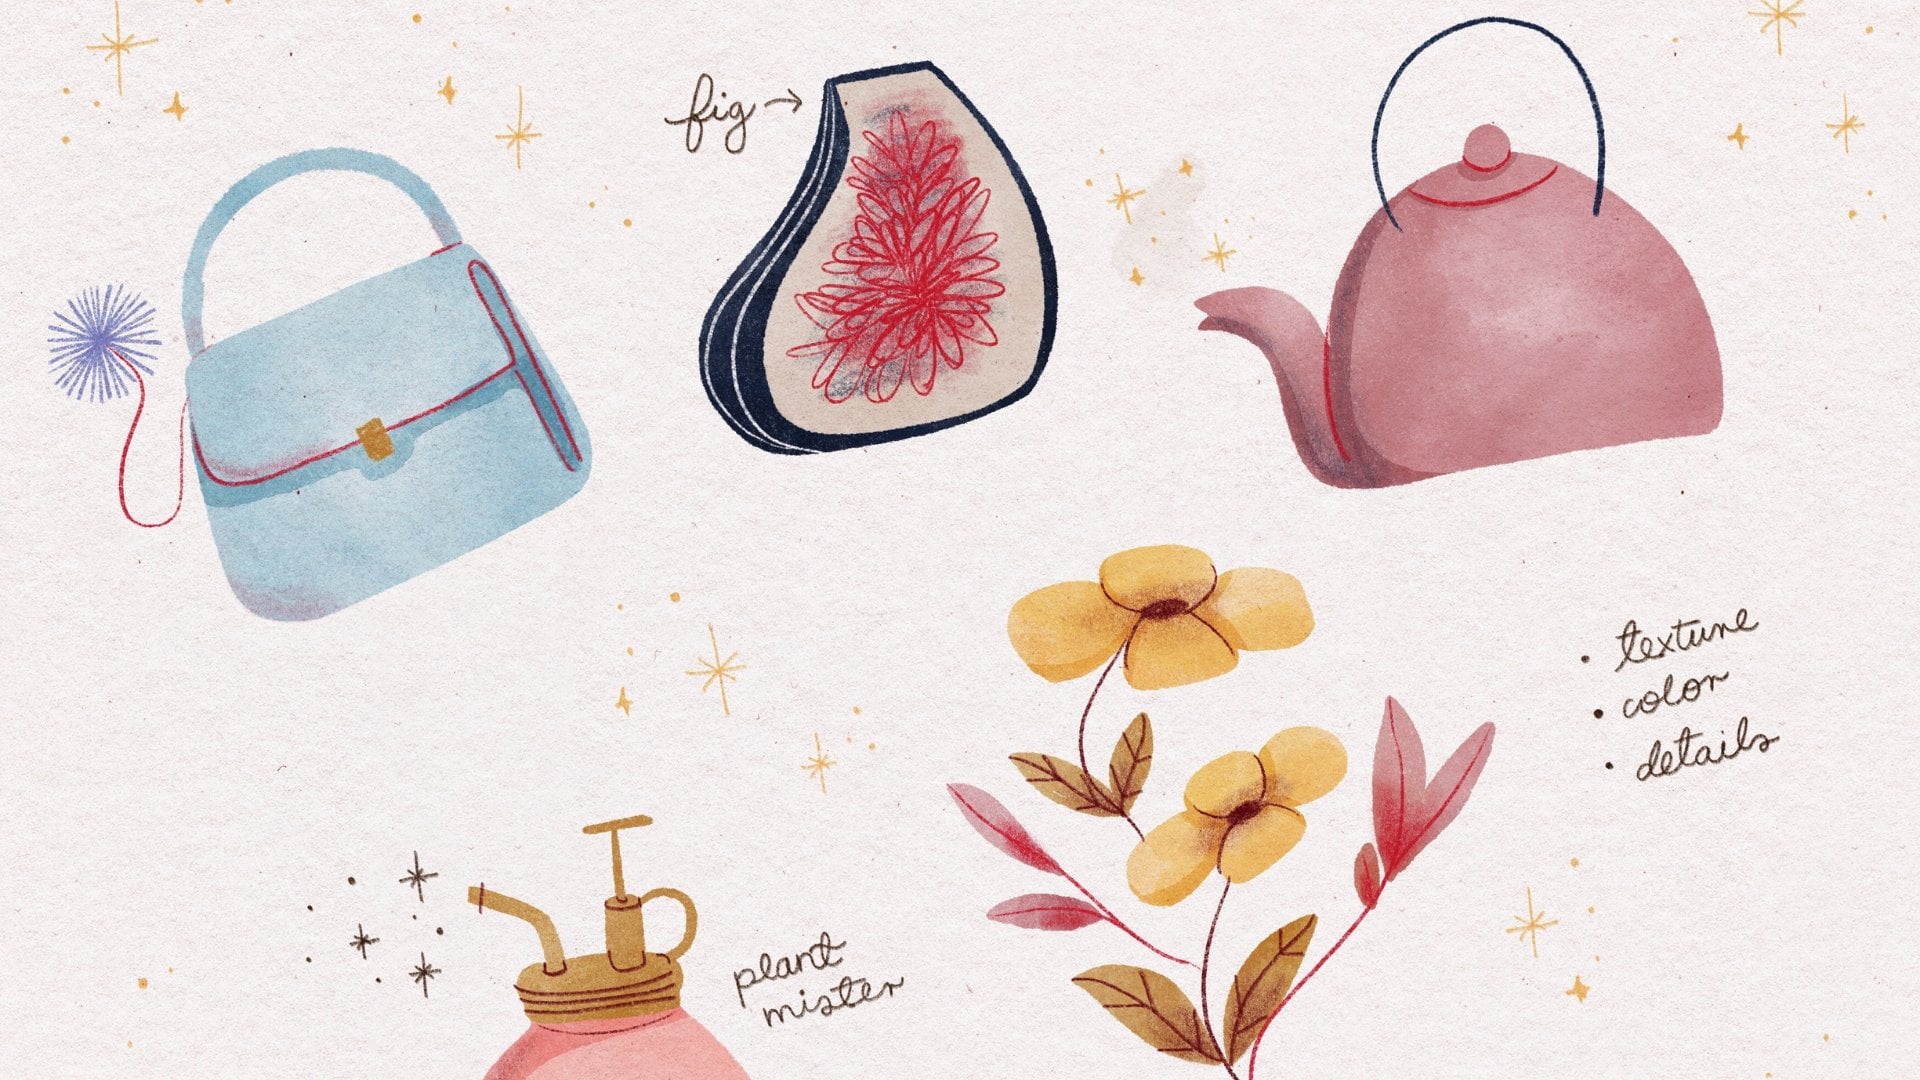
1. Introduction: Hi, my name is Willow, and I'm an illustrator and all-around creative person. Illustration became a full-time passion of mine in 2020 when my other job as a touring camera technician became impossible due to the pandemic. I started making stickers as a way to support my illustration journey and also to cheer up my friends and family in a pretty tough time. These are some of my favorite designs that continue to sell well and consistently in my Etsy store. In this class, I will share my process of making stickers from home without using any fancy equipment or large-batch printing. The class will be as follows. I will go through my design process on Procreate. You can follow along with me, or you can use your own design in any medium that you like. There will also be templates you can use in the resources section. Next, we'll be setting up the document in Photoshop, then printing, and then finally covering the stickers and cutting them out. This class is for anyone who wants to make stickers because it's fun, but also for any illustrators or creatives who want to see their own work in sticker form to share with their audience. This class will teach you a skill that can help financially support you on your creative journey. If you want to share physical copies of your work in a fun and accessible way, then this is a great place to start. After this class, you will no longer have to rely on other companies or expensive equipment to make beautiful, high-quality stickers. I can't wait for you to join me in this class.
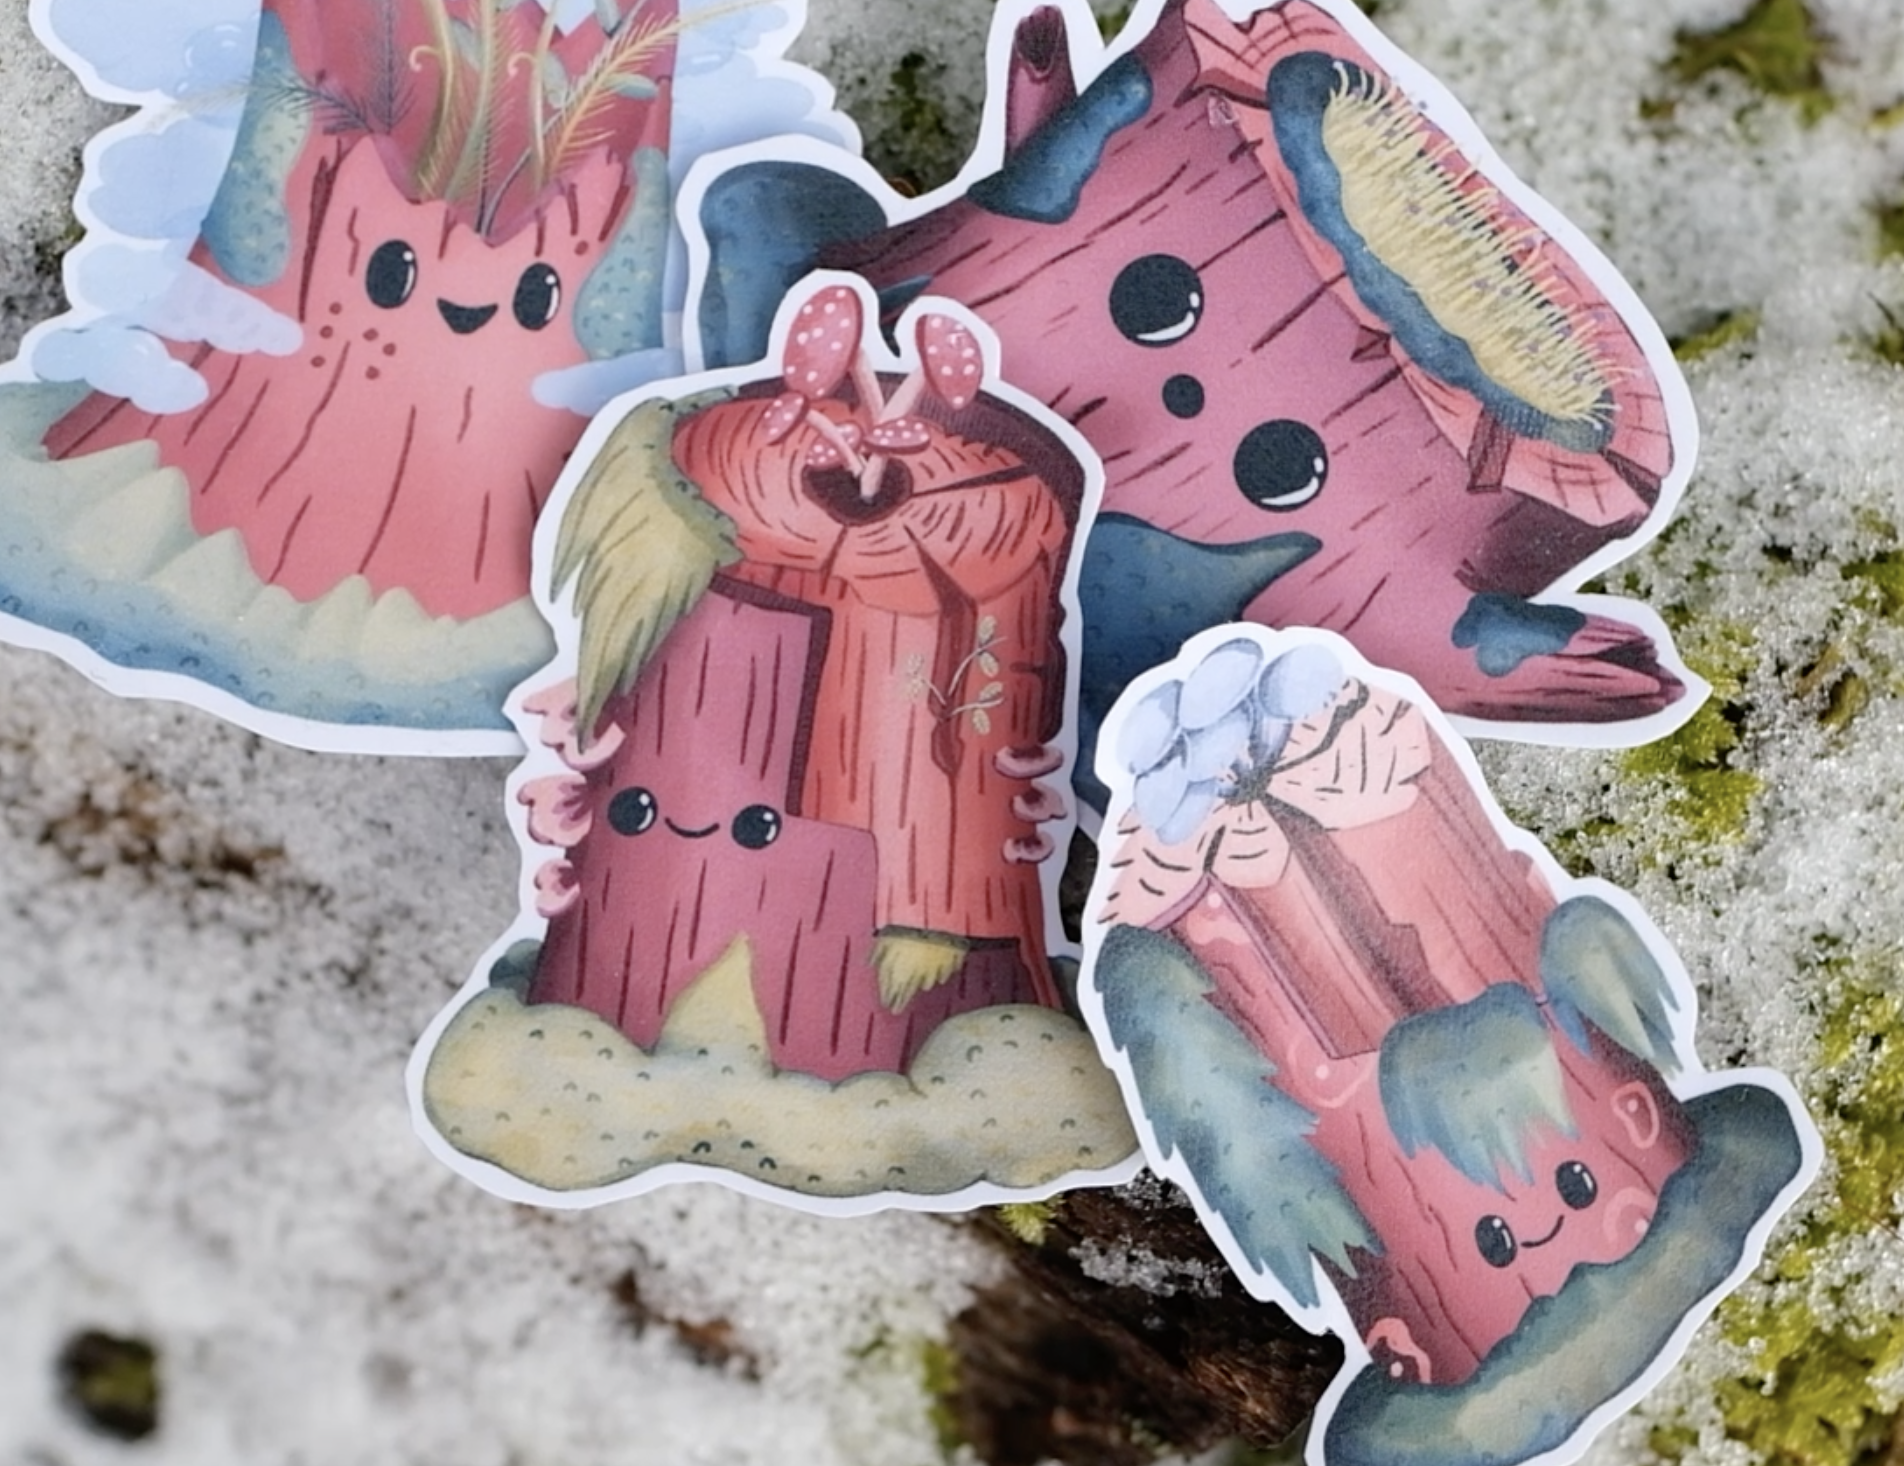
2. Class Project: The project for this class is to make a set of full woodland thin stickers. I chose this broad subject because I want you to be able to come away from this class with something that you feel ownership of and I'm really proud of making. Also, I love woodland walks and my life is really inspired by the world around me. There are so many little details in woodlands that you can draw inspiration from. No matter what your skill or competence level, you're likely to find something that you're comfortable creating. In woodland birds and other animals to kindle icons, there are plenty of options. A couple of questions to ask yourself before you get started would be, what sticker would I want to buy and what would I feel excited to give to my friends and family as a gift? Think ahead to cutting the sticker out. How will it physically where to cut out the blank parts of your design? I would advise staying away from designs that require you to cut out the center of something unless you're particularly talented with the scalpel or just really patient. In the resources section, I've provided links to other artists whose work I think translates really well into stickers. Before we get started, there are a few things that you will need: transparent sticky plastic, a full vinyl sticky paper. I prefer the matte finish because the plastic is a bit glossy and the matte paper strikes a nice balance with this. A pair of scissors, the sharper the better and an inkjet printer. Any printer capable of printing photographs will be able to manage printing small stickers. Optional extras are a scalpel and a cutting mat. Remember to share your progress in the project section, as this can really help other people get inspired for their own work. Get your tablets, your pens and your pencils ready and let's design some stickers.
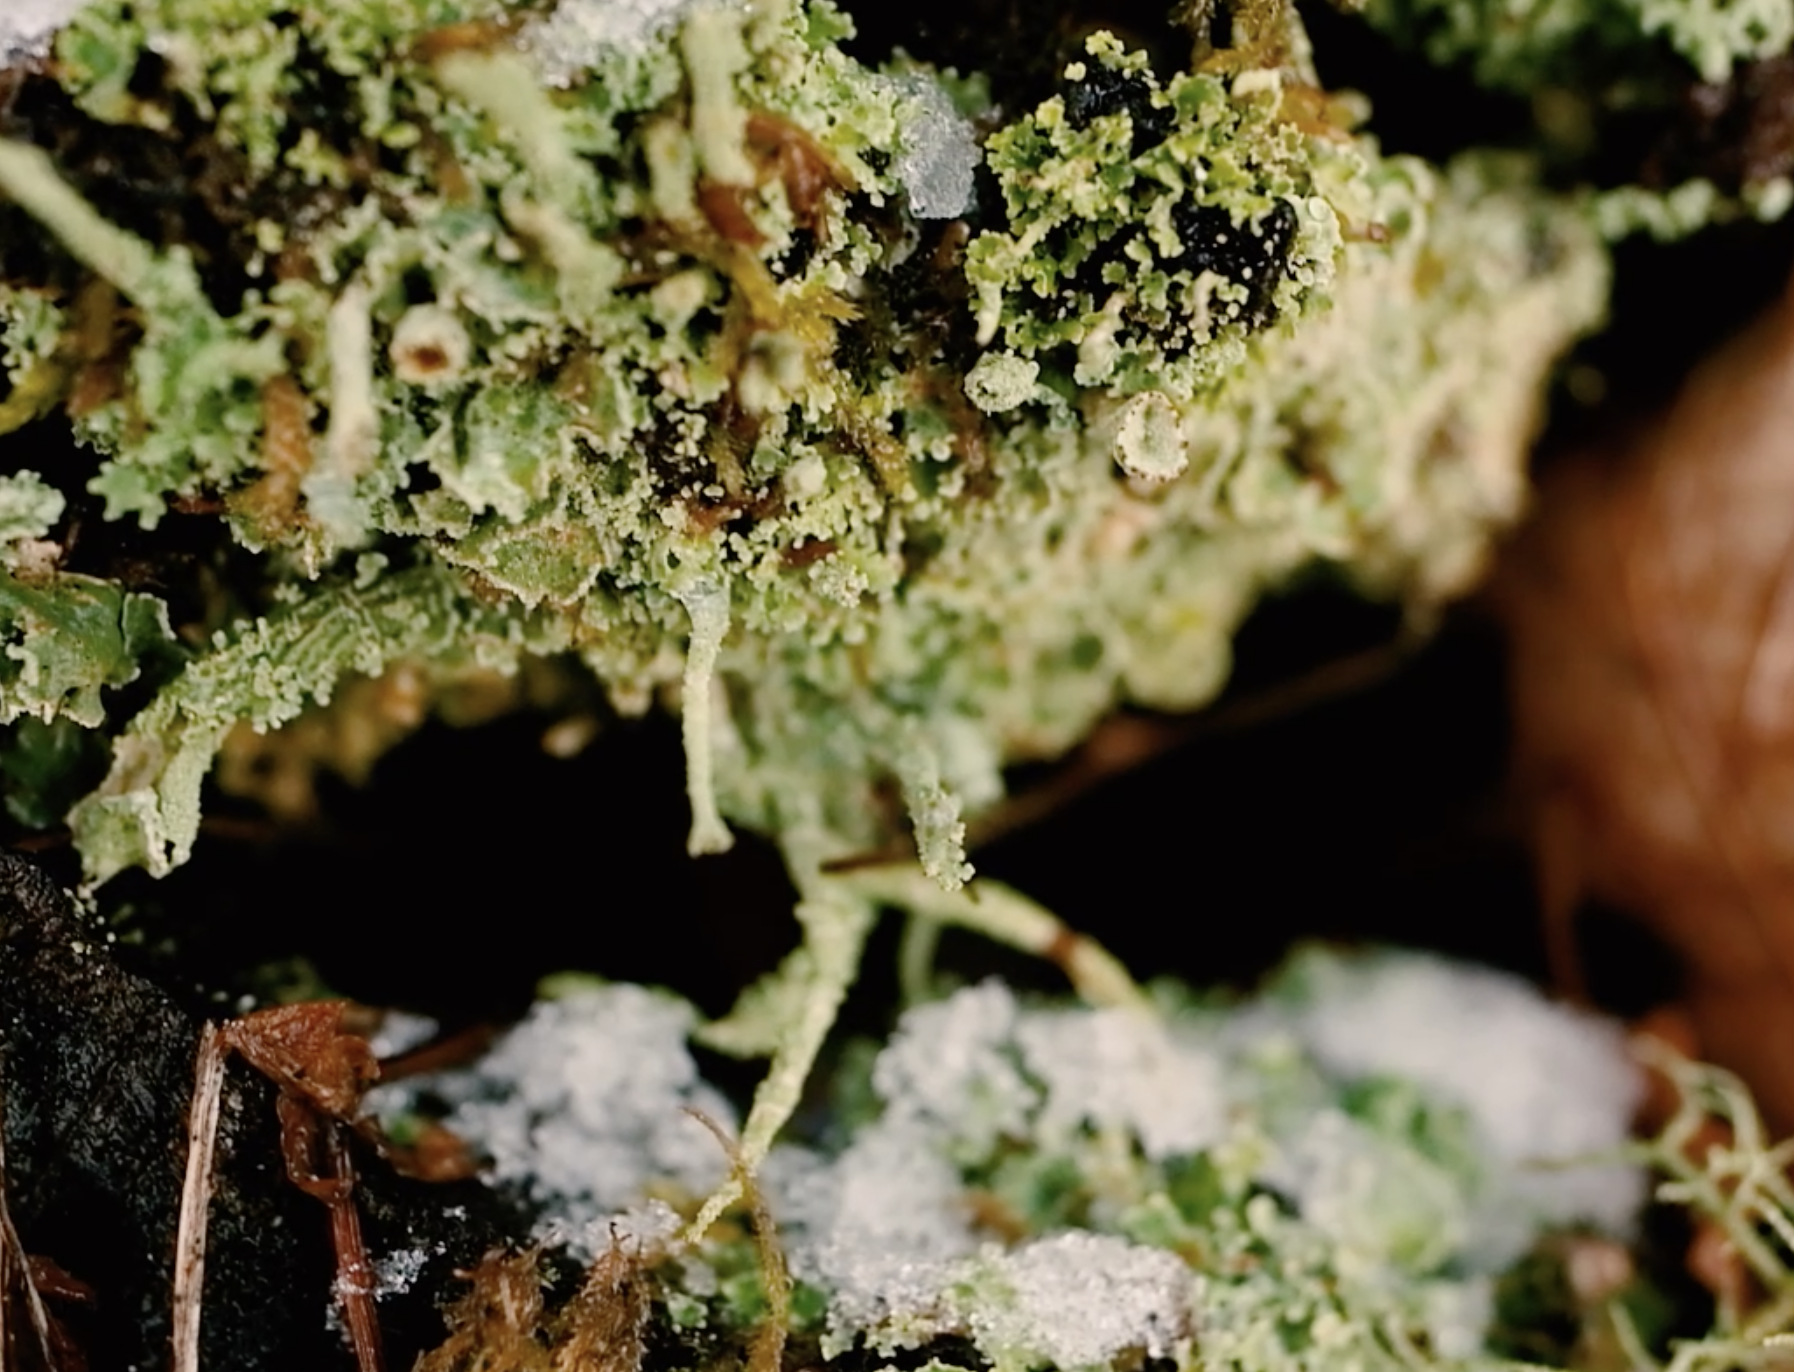
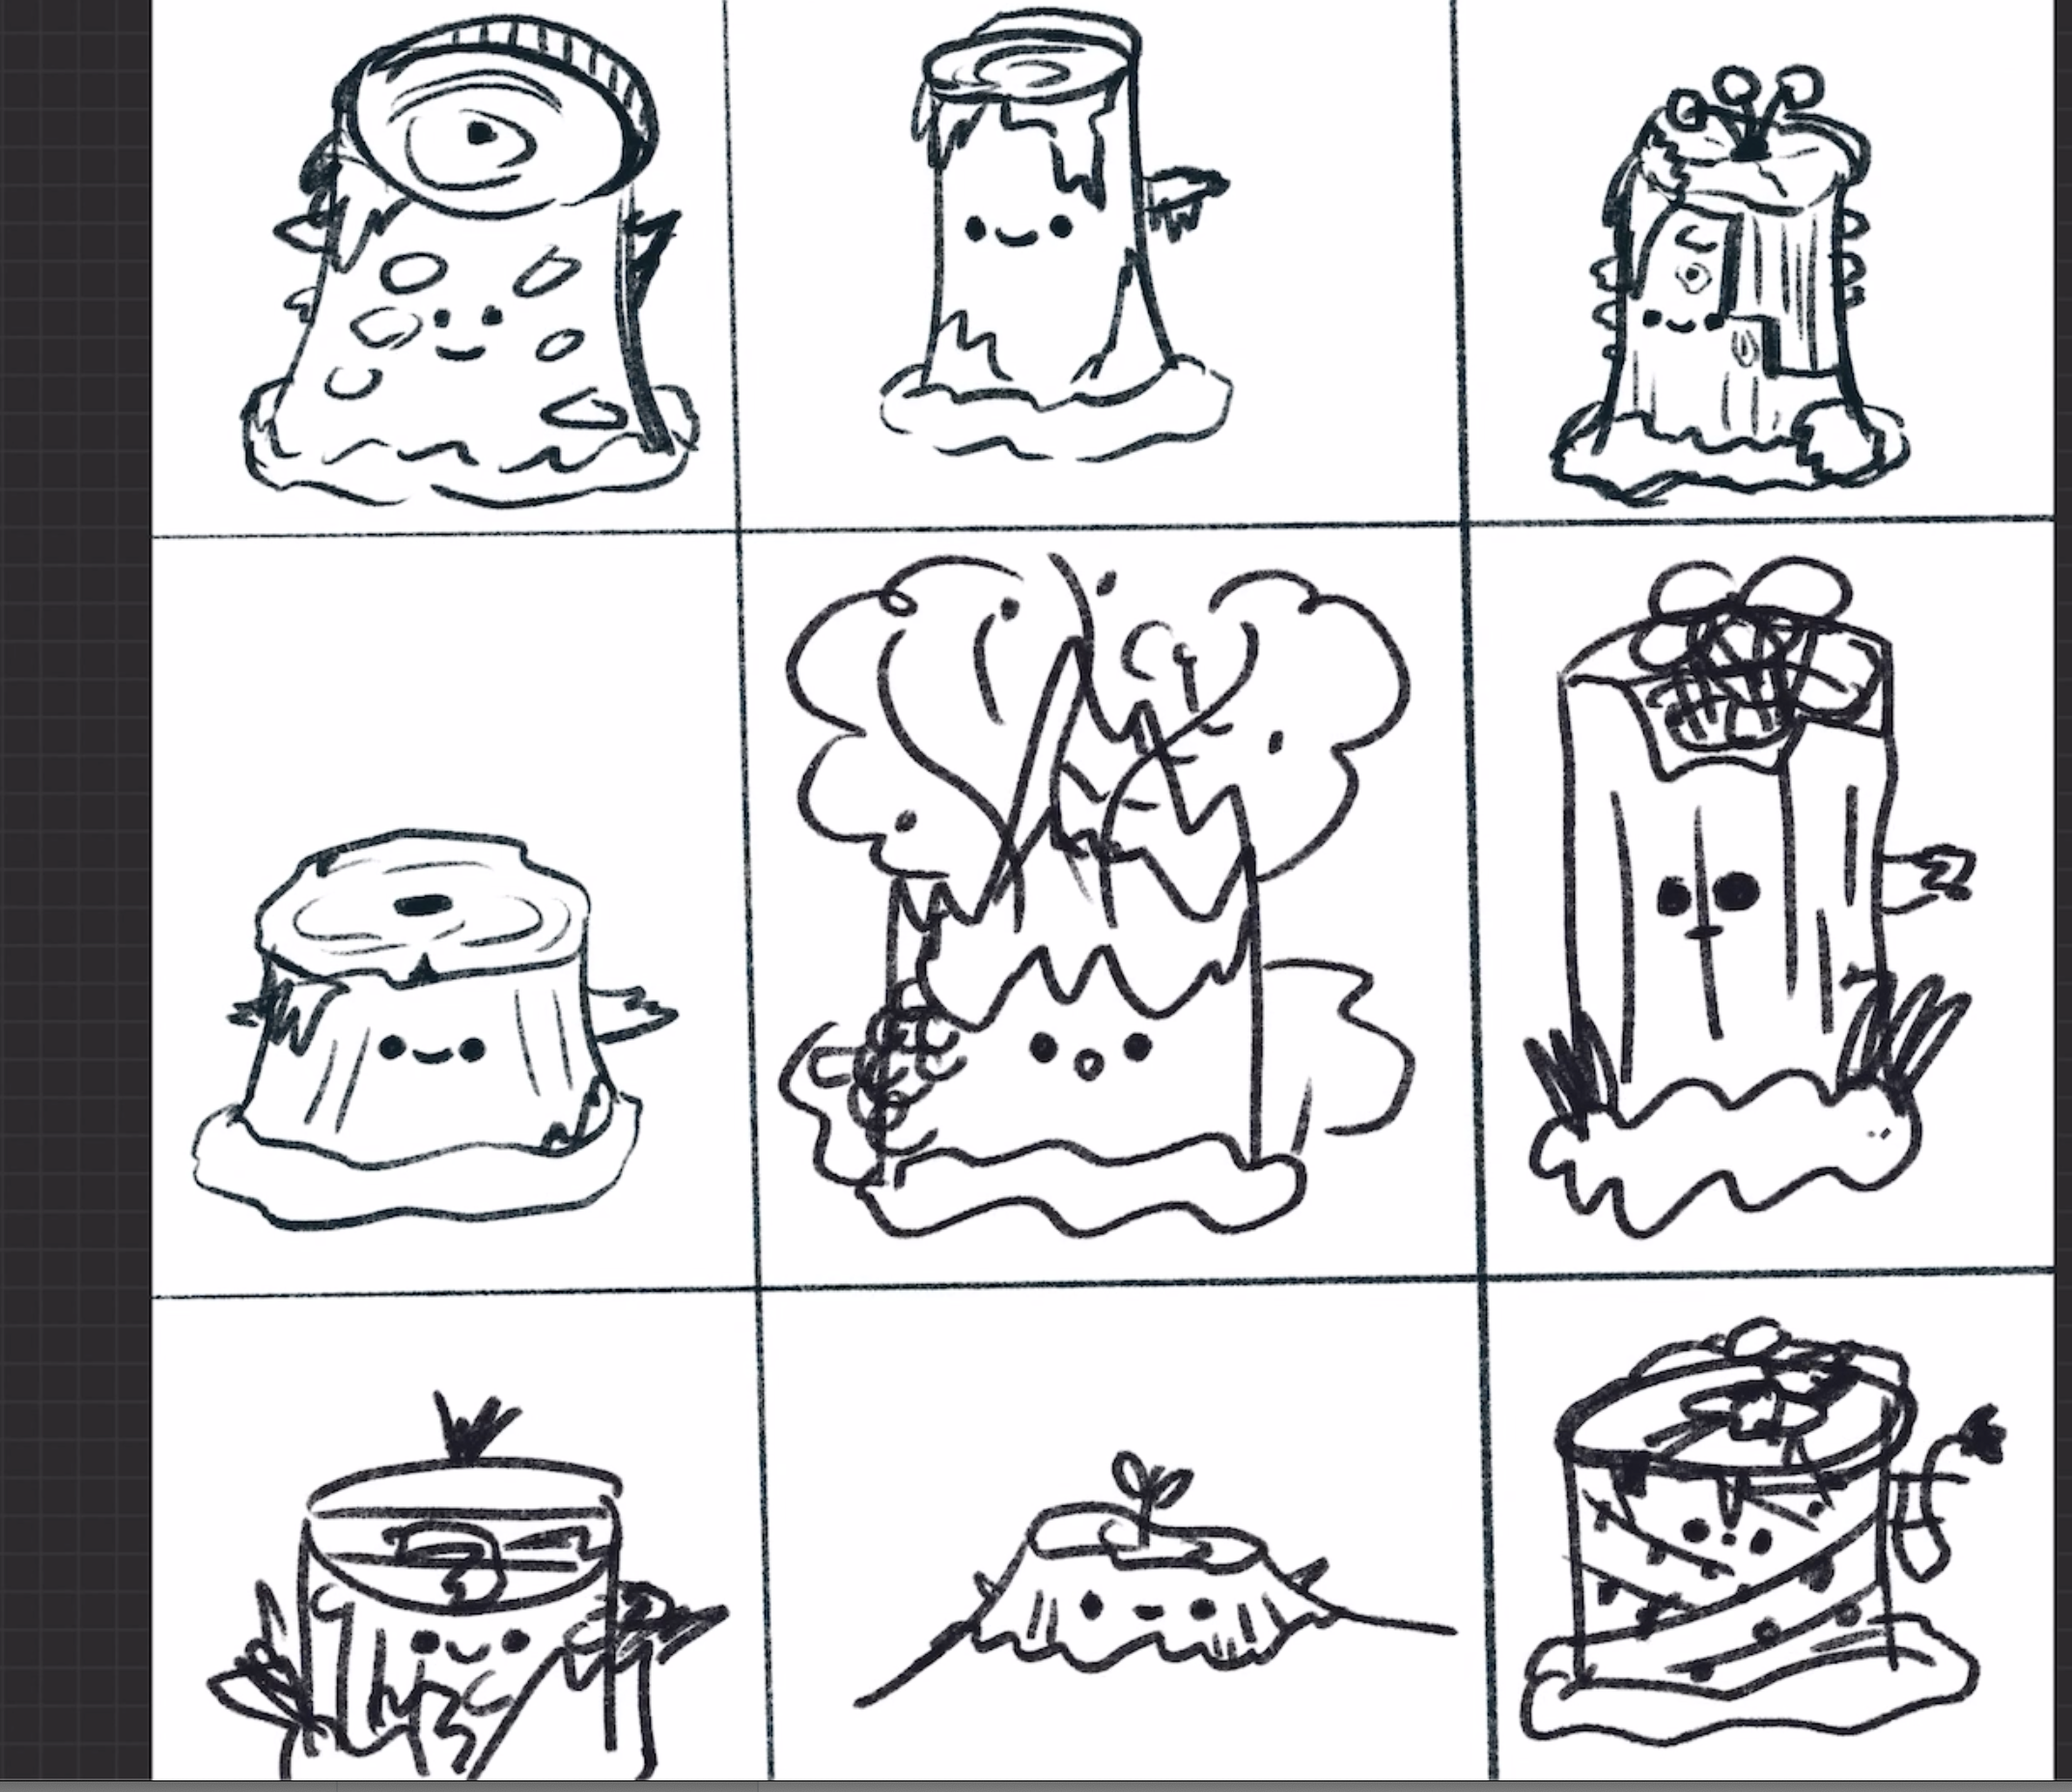
3. Designing Your Stickers: In this section we will be designing the stickers. This is what we'll be covering in this lesson. If you already have a design, then feel free to skip this lesson and join us in the next one. Every Illustrator has their own process, and right now I'm going to show you mine. To find inspiration, I started by going for a walk and then came back and started looking at Google images on Pinterest to fill my brain with ideas. I'm going to take screenshots of the images I like and save them for later. I really like these images of these tree stumps, I think they could make really cute little characters. I like this one that's got the mushrooms coming out the top of it. Now I'm going to collect these images of the tree stumps and put them into a Procreate document. From these images, I'm going to make some quick reference sketches. You can also use a pencil and paper for this, and don't be afraid to make mistakes. These are not your ideas, they're just a way of teaching your brain how to interpret these objects. This is especially useful if it's something you haven't drawn before. Feel free to take as much time as you need. Now that I've downloaded the information into my brain, I'm going to take away the reference photos, start another document and make some quick sketches for my ideas. I like to make a grid, so I have a set size for all of my sketches. They also helps me to keep them small, stopping me from getting preoccupied with details at this early stage. As mentioned, I'm going to turn these little stumps into characters. I'm doing this by adding some simple facial features and expressions. I try and spend as little time as possible on each sketch. They're just the foundations of an idea. At this point, I'm trying to think about how these would work as stickers, and how much time I'm willing to spend on the cutting phase, bearing in mind, I could potentially have to cut out a few of these. If you run out of inspiration at this point, then don't worry, take a break and come back later. Or if you feel you have enough to start on one design, you can come back to this stage at any point if you think of something else. Once I have all the sketches I want, then I'll walk away, make a cup of tea and give myself time to consider which ideas I want to use. Once I have a few sketches that I'm happy with, I can start building on them. I'll take the first one that I want to do and copy and paste it into another document. My work tends to start off very sketchy. So I use layers to build up an image until I'm happy with it. If you're using pencil and paper for this, then you can use tracing paper or even baking parchment to achieve the same technique. I'm building a line drawing so I have a clear structure to follow for the rest of this process. Slowing down like this often means I'll make alterations to my designs that I wouldn't have otherwise considered. Once I have a line drawing, I'm happy with, I can start to make shapes. I change my line drawing to a multiply layer, and leave it at the top, so it's always visible. I put each element of my drawing onto a new layer. For example, the back and the front of the tree will be a top layer, and the back at the back will be lower. The shapes, I use the studio ink brush. This is probably the most basic brush in Procreate, and it's the one that I use the most. I'm making all the shapes now so I can easily decide on the color before adding shading and texture. I have color palettes that I use regularly and that I'm really happy with. So I'm going to apply one of those in this today. I build up my color palettes by just saving images that I like, and also just playing around with color, it can take awhile. Even within my chosen color palette, I try and limit the number of colors I use in one piece. Now we're done with our color, we can start shading and adding texture. When applying shading, I start the edges and work my way in. But making the edges darker, I give my little tree an outline so it has more impact. Clipping masks are secret weapon on Procreate. I use them to contain the texture and the shading within the shape. I build up my shading using multiple layers. I'll set the clipping mask layer to Multiply to instantly get a darker tone within the same color. This technique with the most play option, doesn't work as well with lighter tones. In these instances, I'll pick a darker shade, still within the same color palette. Brushes that I use regularly in Procreate are the gouache brush for shading and to add a bit of texture, and then I use the 6B pencil to add in sketchy details. Now I've finished the tree, I'm going to work on the mossy sections. I'm using the same shading technique I used for the tree, starting at the edges and working my way in. I want to make them look nice and rich, so I'm using multiple shades of yellow and green to achieve this. I'm going to use the 6B pencil with some darker green to add some bumpy textures. Then I'm going to use the same techniques for all of the mossy sections. Finally, I'm doing the smallest elements, the mushrooms in the plant. Because they're going to be so small and the printed, I'm going to choose a 6B pencil rather than gouache brush on the shadows. This will make them more obvious and defined on such a small scale. I got way too excited about being on the homestretch. The point where I can see my illustration coming together, and finally the face, and again, I'm using the 6B pencil for this. Once you've finished your first design, go back to your sketches and make three more to be part of your sticker forest. In the next section, where we'll be saving our designs and setting them up in Photoshop.
4. Printing Your Stickers: In this class, we'll be making sticker sheets and printing our stickers. Once you have your final designs, you should export them as PNG files. The background needs to be transparent. When you export them, just make sure that you have the background layer hidden. Once you have your files on your computer, you need to open a new A4 or letter size document. If you don't have Photoshop, you can also use Microsoft Word or any other software that allows you to move or resize images. Next, drag and drop your PNG images into Photoshop. Then resize so you have a road of four across the top of your document. This will give you a sticker that is approximately five centimeters. Repeat this line across the rest of the page to fit in as many designs on the page as possible. It's always good to have backups in case there any mistakes. Save your document as a JPEG or PDF file. The images are the less compressed as JPEG, so this is my preferred option. You should now have your stickers setup as JPEG or PDF files. Open that file and preview or a printing software of your choice. Make sure the printer is set to scale to fit. This will make sure that you won't lose any edges from your document. Make sure the printer is set to the highest quality it can be. Next, use a plain piece of paper to check your print quality and size. If you're happy with everything, then repeat these printing steps with your vinyl sheet. In the next class, we'll be applying the coating and cutting out the stickers.
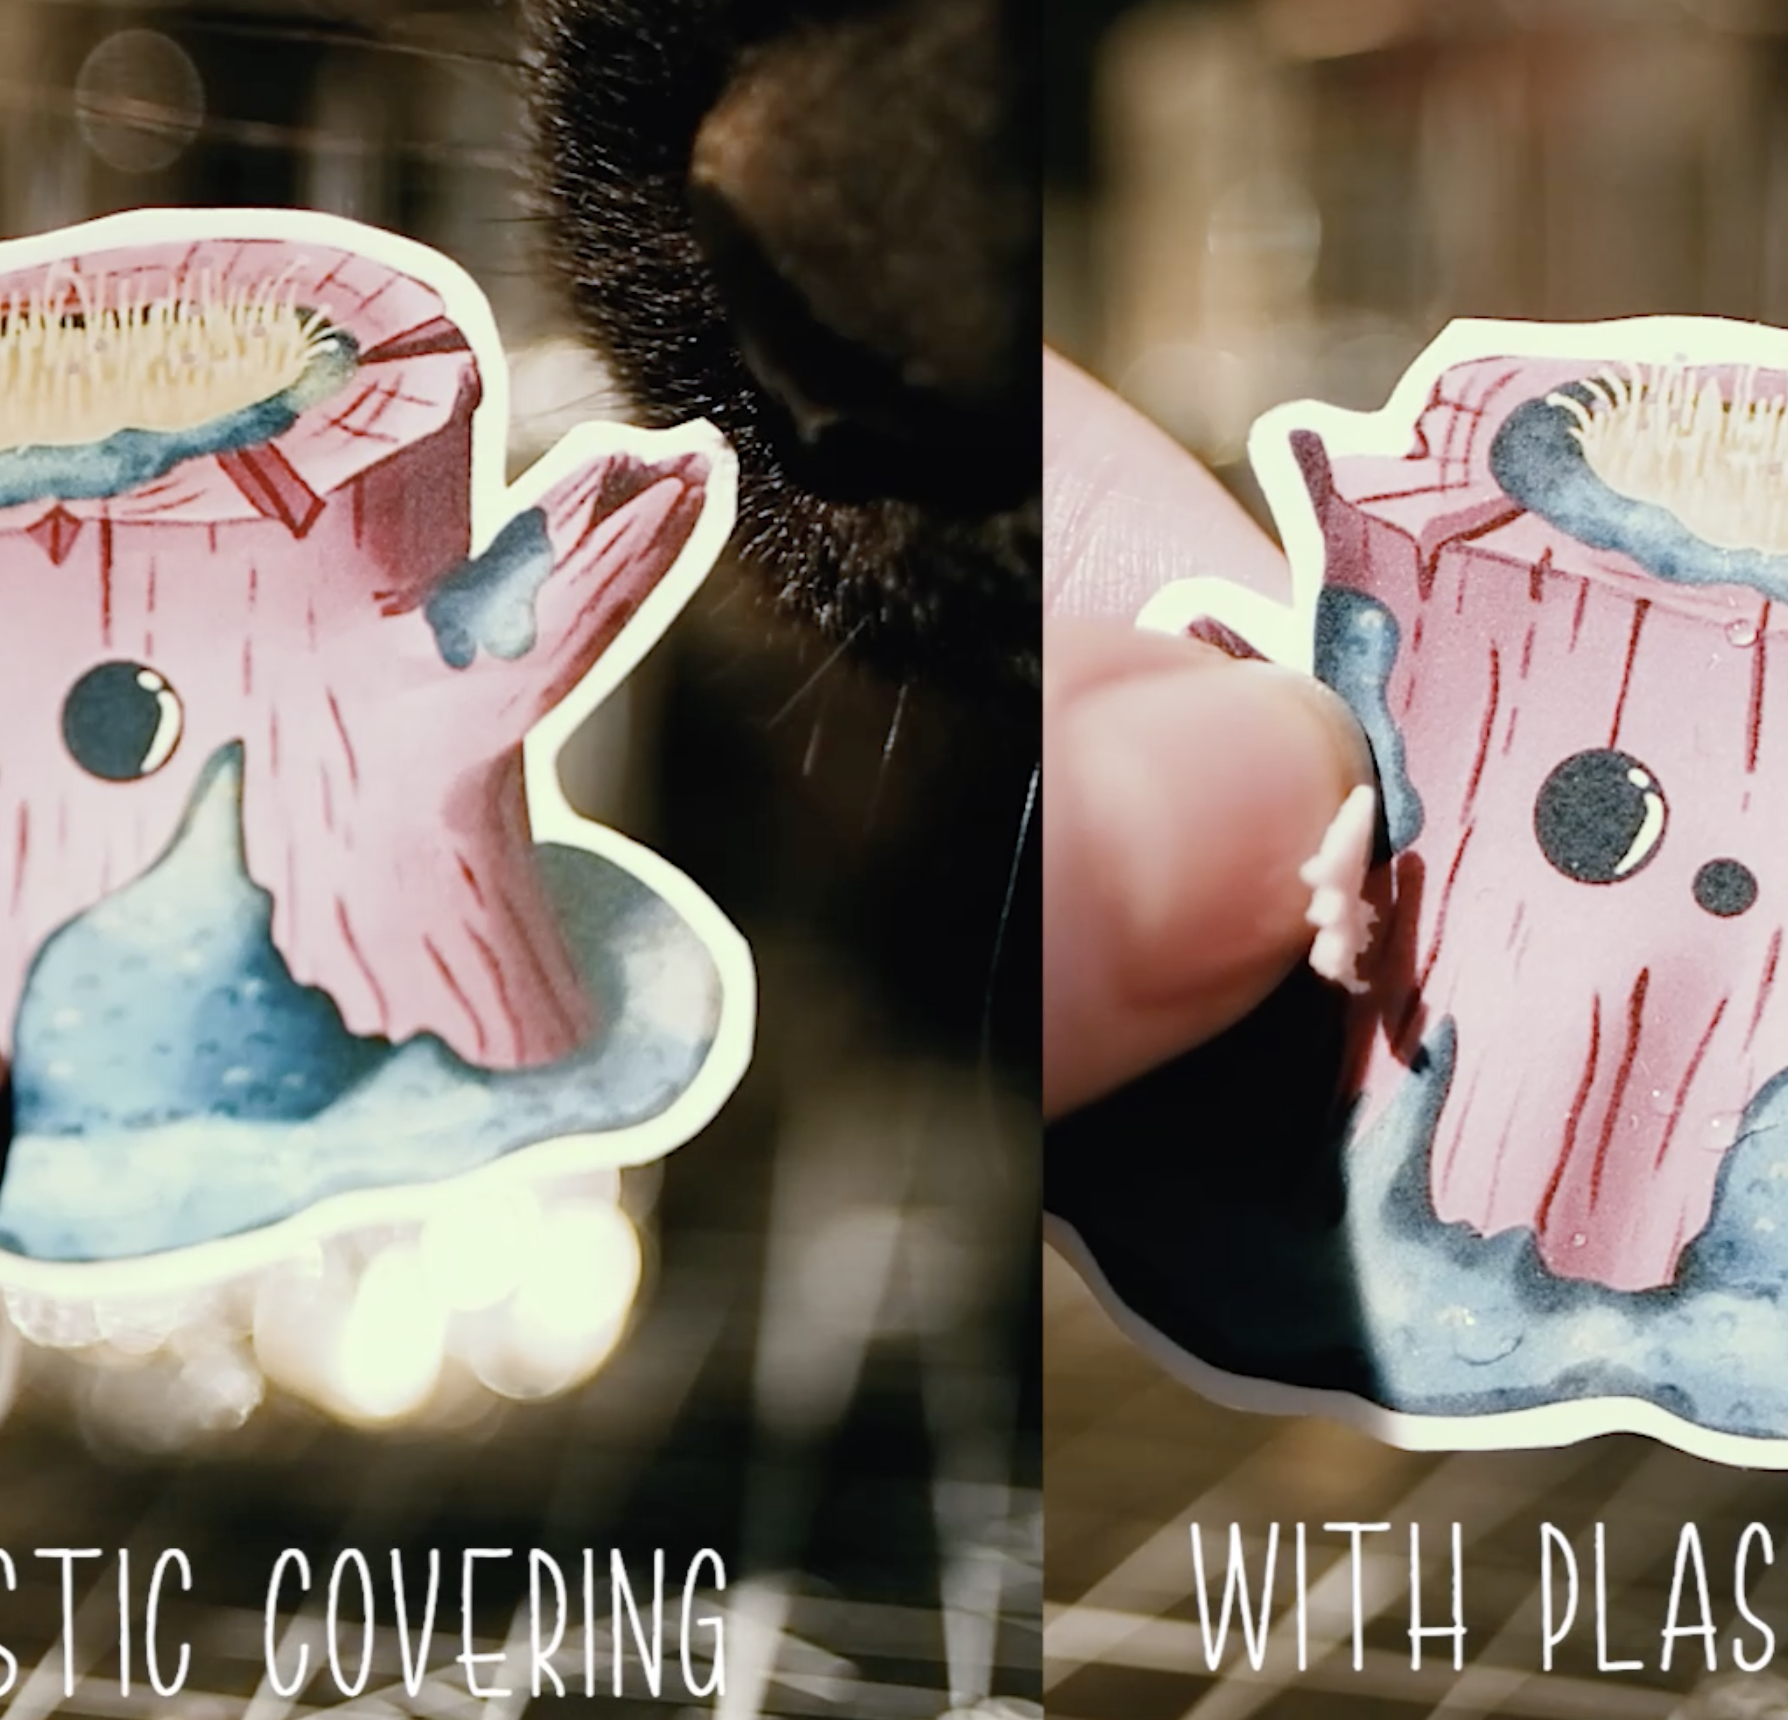
5. Covering and Cutting Out: In this class we'll be protecting and cutting out stickers. Covering the vinyl paper in this plastic layer is how we're going to make our stickers super waterproof. This is what happens when you don't put the plastic layer on. As you can see, they're not waterproof. First step is to take your draft sheet and cut around it to measure out how much plastic you'll need. Second, use your scalpel or scissors to cut around the shape leaving a border. If your plastic is particularly curly, a good way to counteract this is to roll it in the opposite direction or place under heavy book for a bit. Next, take the sticky transparent side away from its backing, exposing the glue. This can be a little tricky and I found is a lot easier if you're somewhere warm. Unfortunately, I live in Scotland, so I just have to practice a lot. Once you get the paper away from plastic, the plastic should lay flat on the table, sticky side up. You don't want to stick it to the table. Next, take your sticker sheet and make sure there's no dust or dirt on it. Don't blow on it as this can leave watermarks. Then lay the sticker sheet on top of the sticky plastic with the printed side sticking to the glue. Start at one end and move your hand to the other. Try and chase out any air gaps as you go. Remember to take off any hand jewelry and make sure your hands are clean and dry. Turn your page over, then run your hands along the plastic making sure there are no little air bubbles you've missed. If there are then try and push them out to the side or to a place in the paper where there's no print. This was actually quite successful. Sometimes it can take couple of attempts. Next, take your scalpel or scissors and cut away the edges so there's no overhanging plastic. Double-check again that there are no bubbles or dust under the plastic. Finally, we're going to start cutting them out. Grab your scissors. I'm going to cut out one row at a time. I'm putting an edge around my stickers because I think it looks quite nice. You have to be careful when you're cutting them out if you want an edge to keep it consistent. The more detail you have around the edge of your piece, the harder it is to cut out. This is why it's important to consider this in the design phase. However, I have also learned that it's much easier to cut out squiggly lines than it is to cut circles. There you have it. At least four beautiful stickers ready to be stuck on your stuff.
6. Conclusion: Thank you so much for taking part in this class. We have managed to make four useful stickers. I really hope you found it constructive and interesting, and I hope that you came away with something that you're really proud of, as well as a skill that you can apply to your own creative journey. I can't wait to see your progress on final sticker sets. You can add them to the project section, as well as tagging me on Instagram. Thanks again and happy sticking.
 Willow Findlay, Illustrator