Transcripts
1. Pattern 17 introduction: Hi everyone. I'm Eva from
Hannah crochet design. Thank you for joining
my class today. In this class I'm
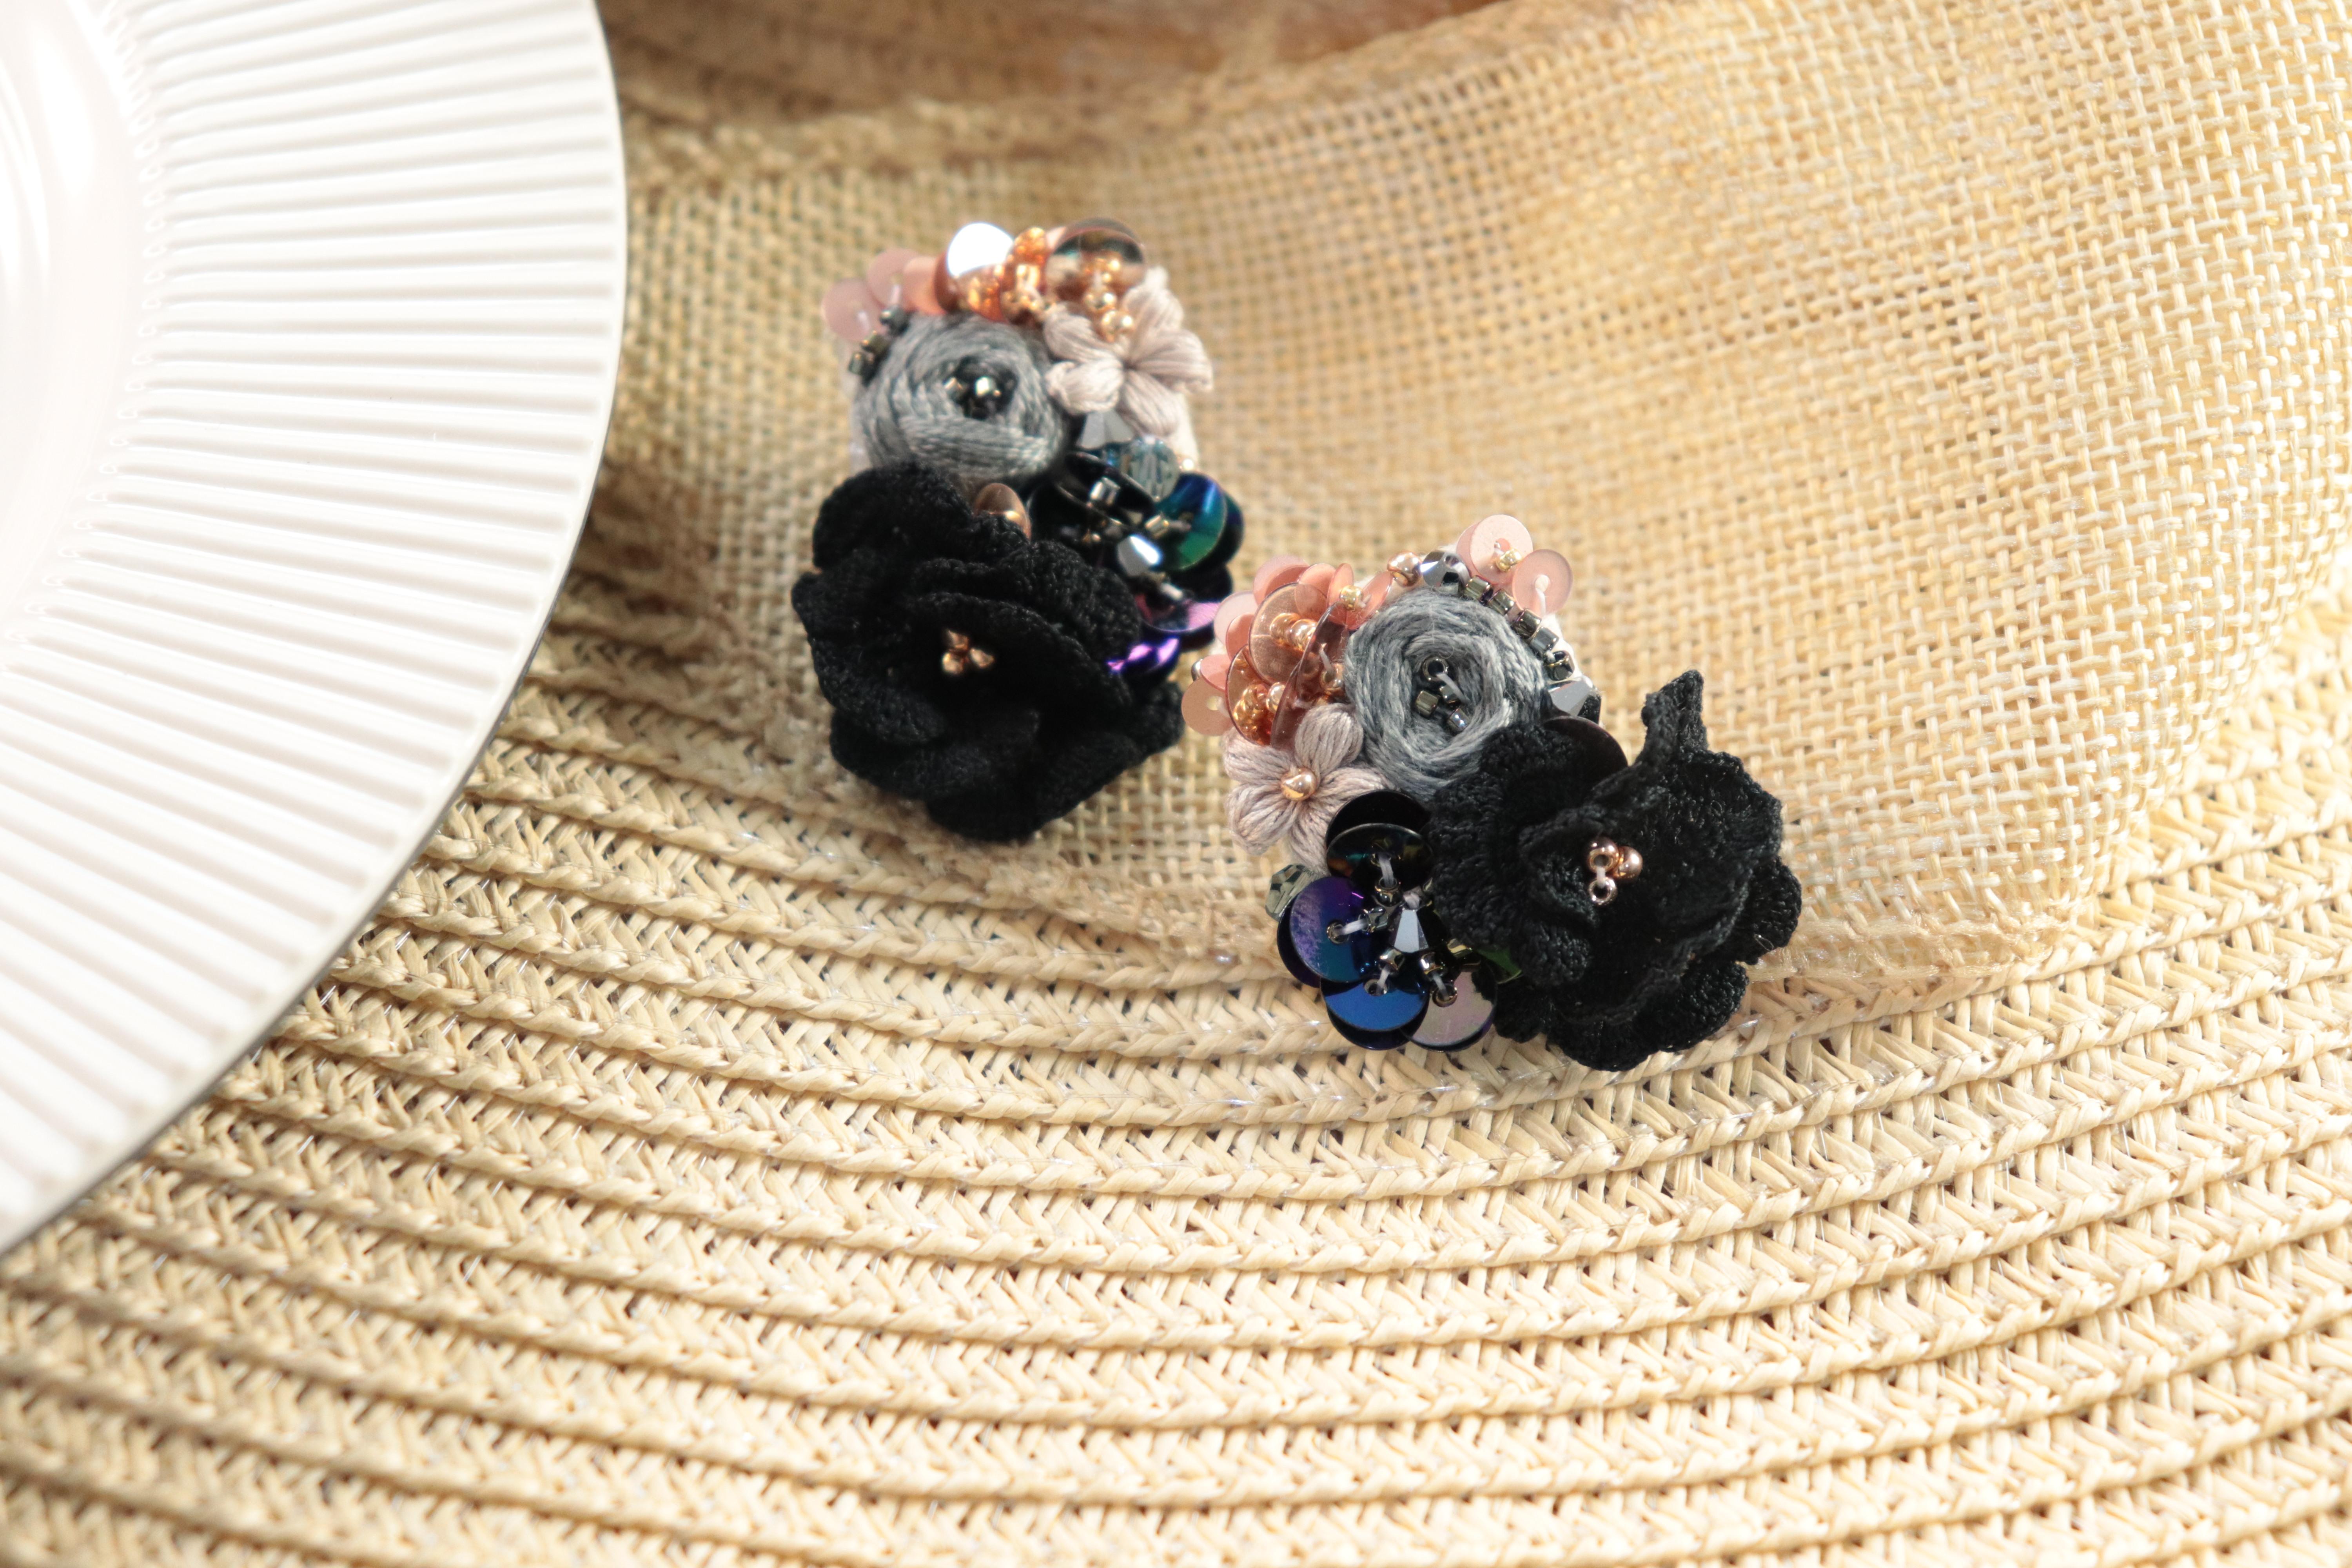
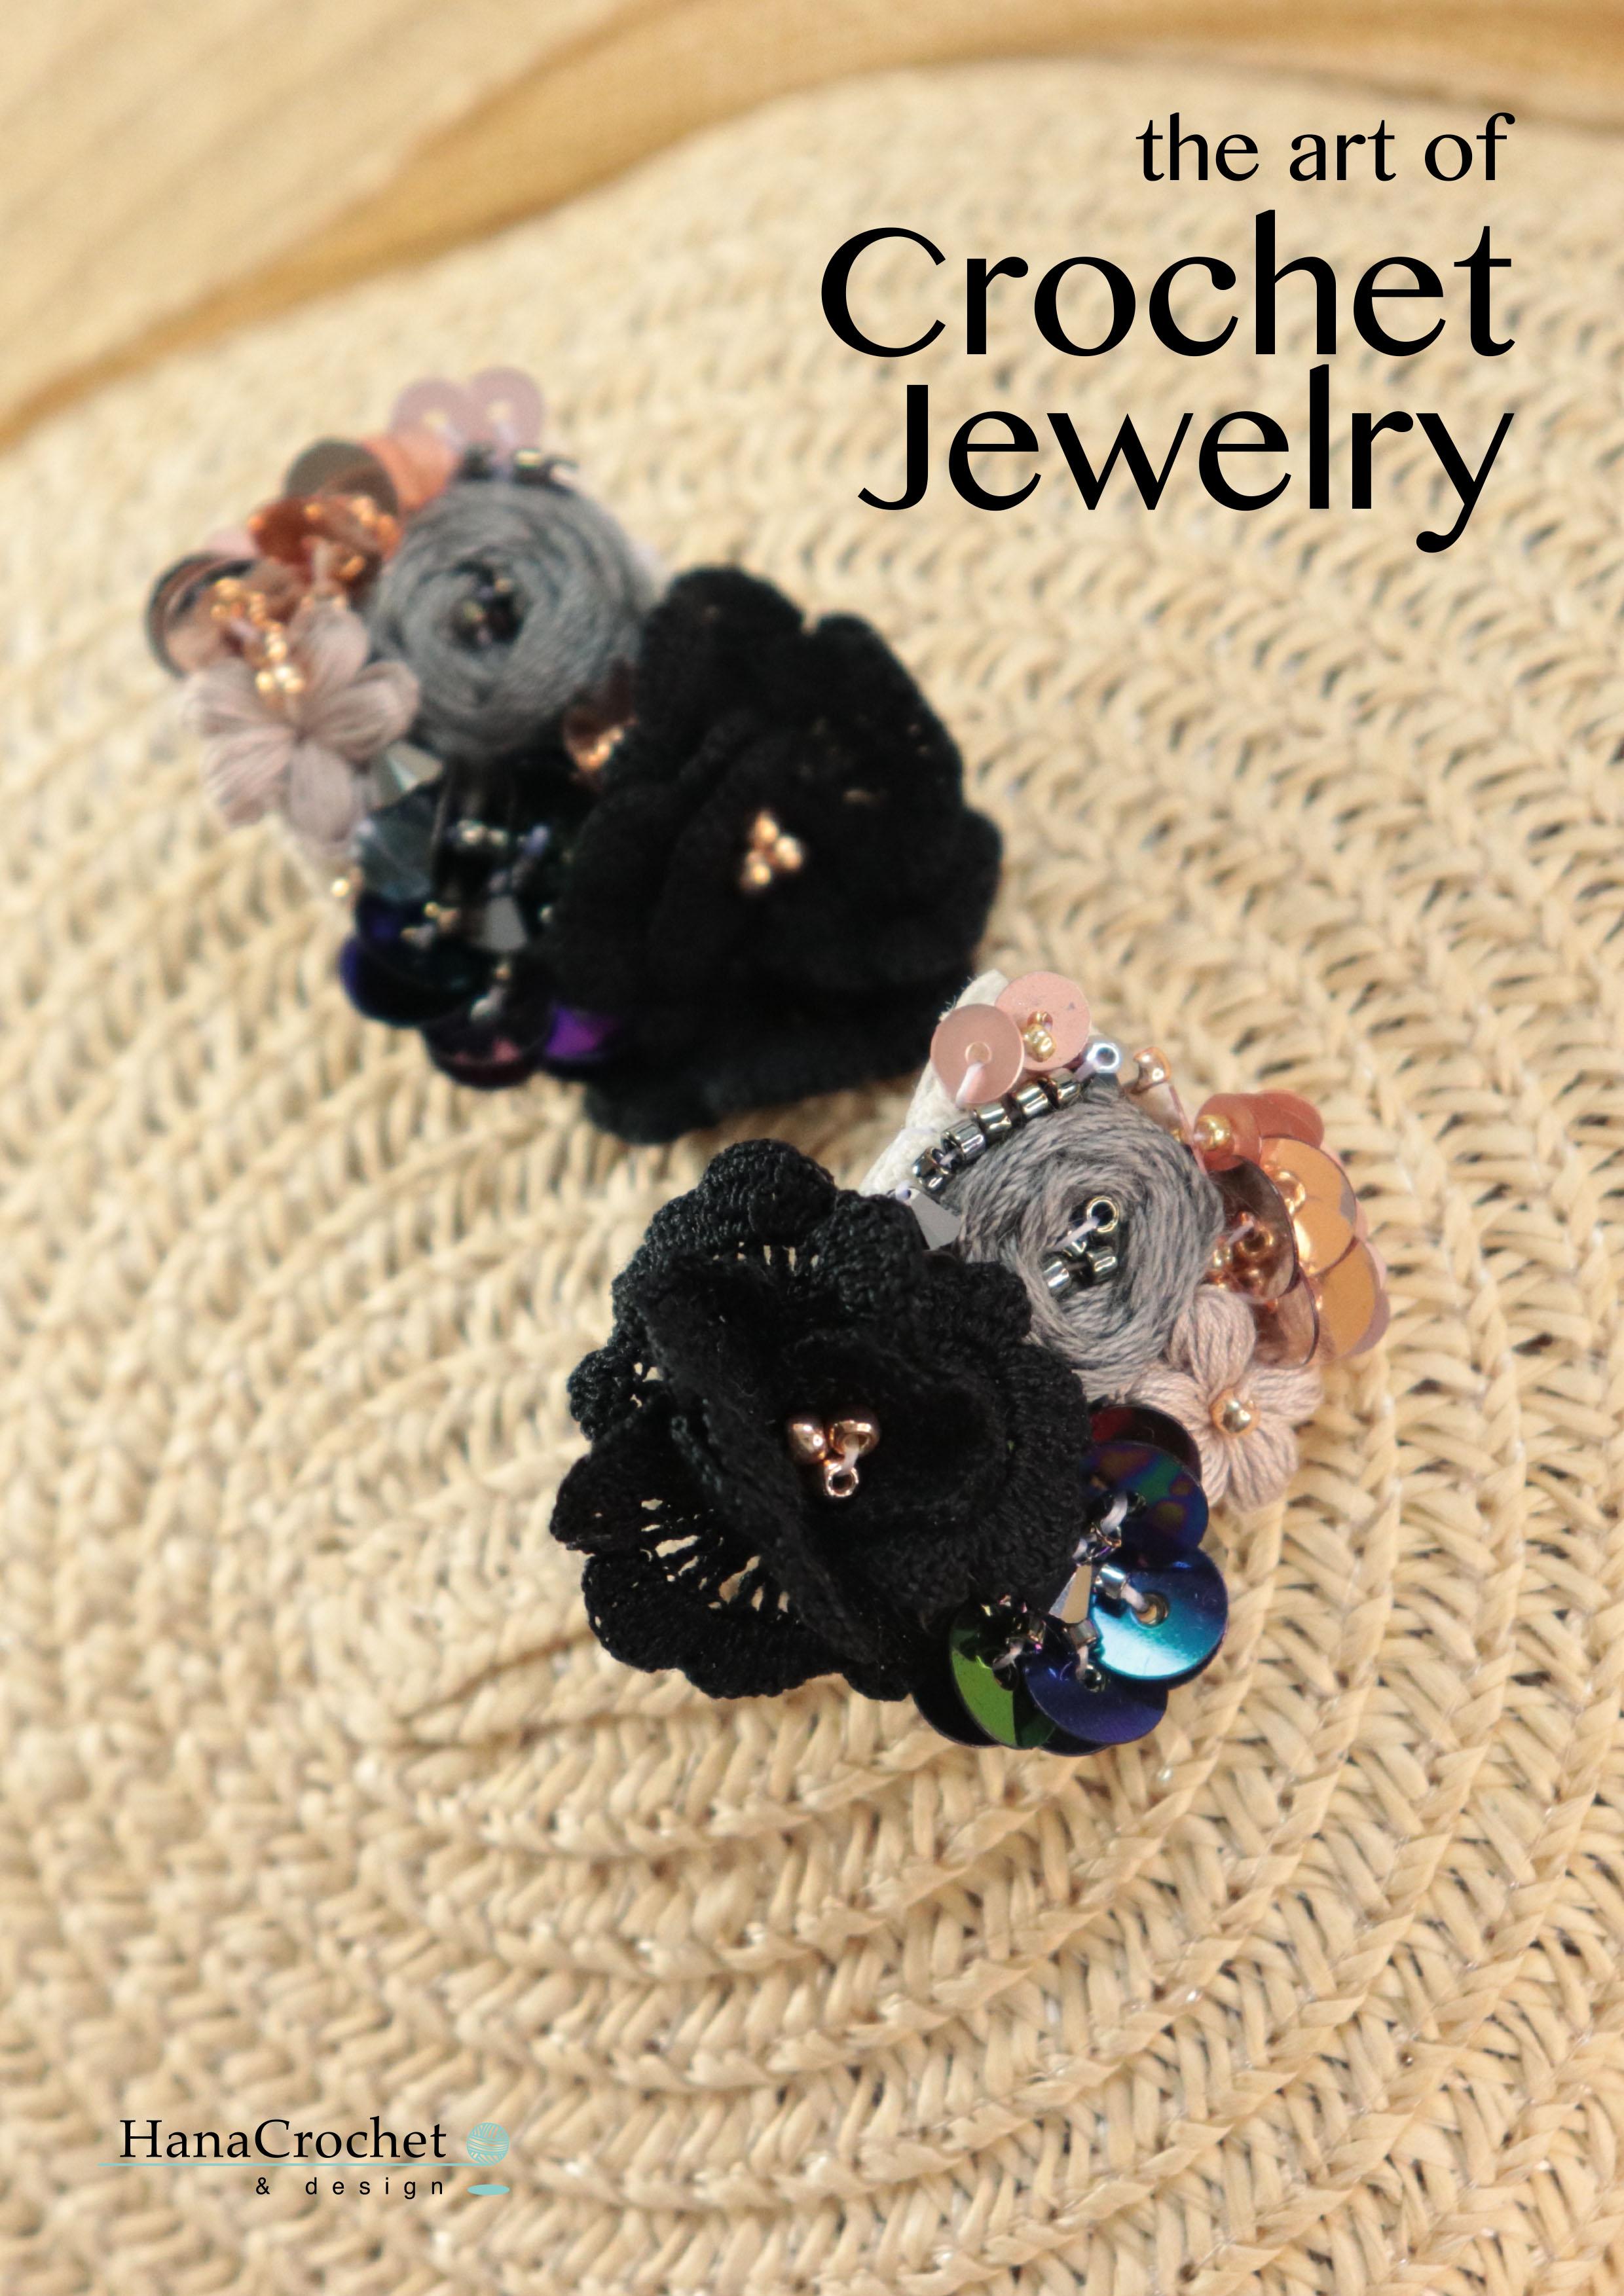
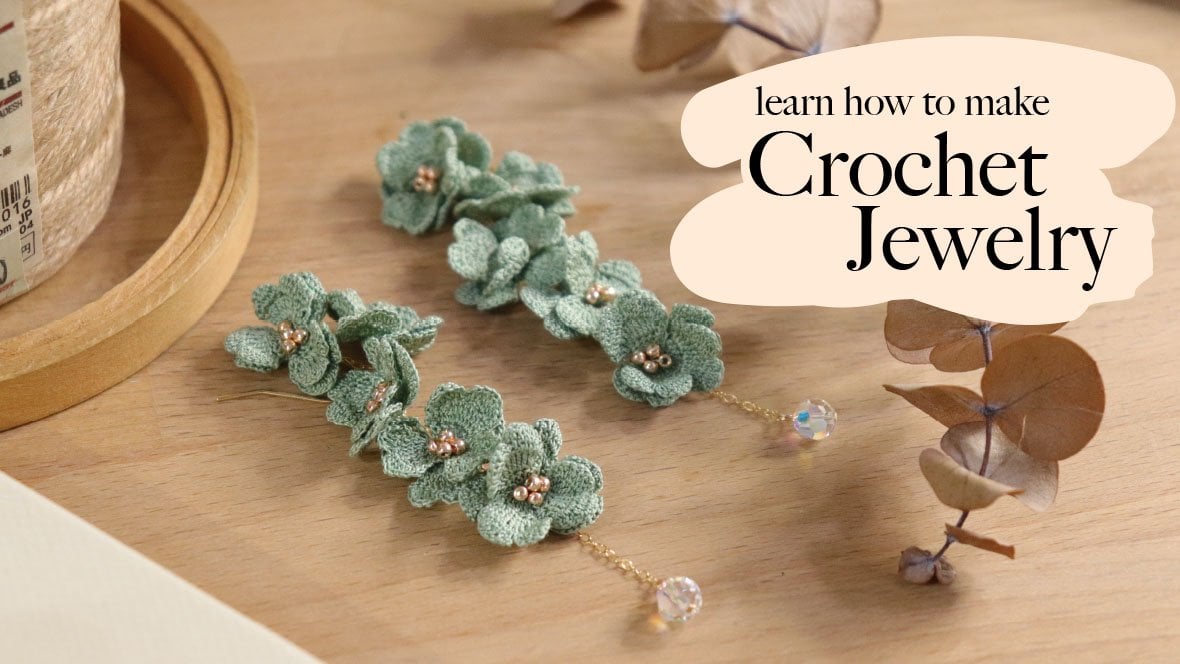
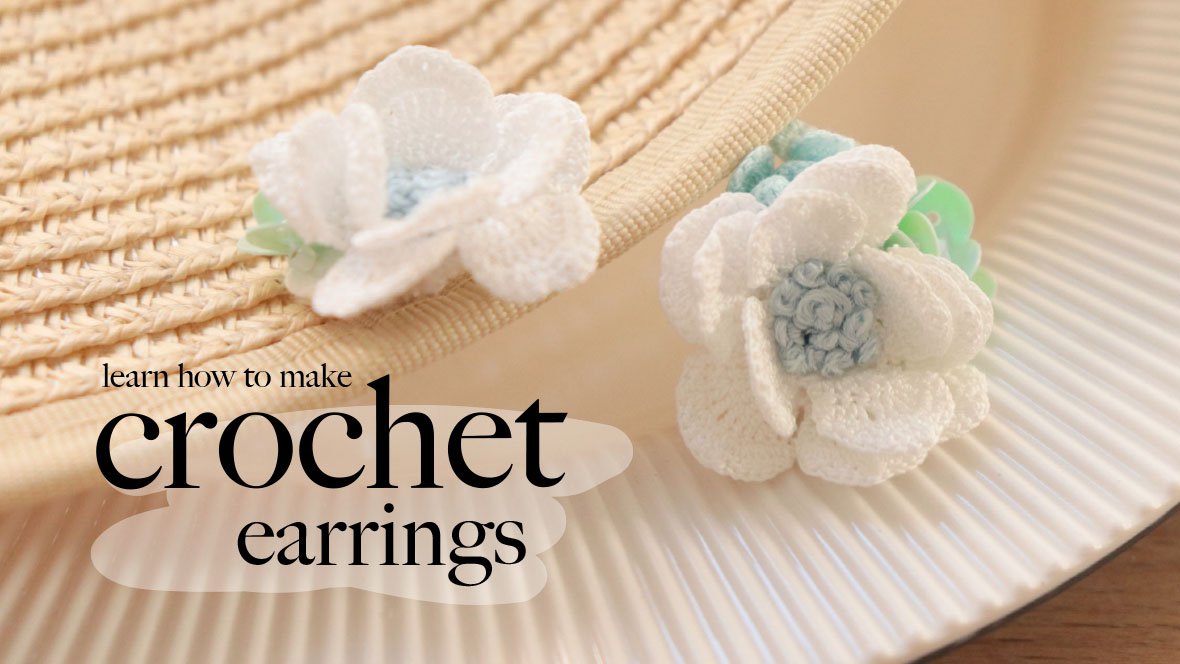
gonna teach you how to make these
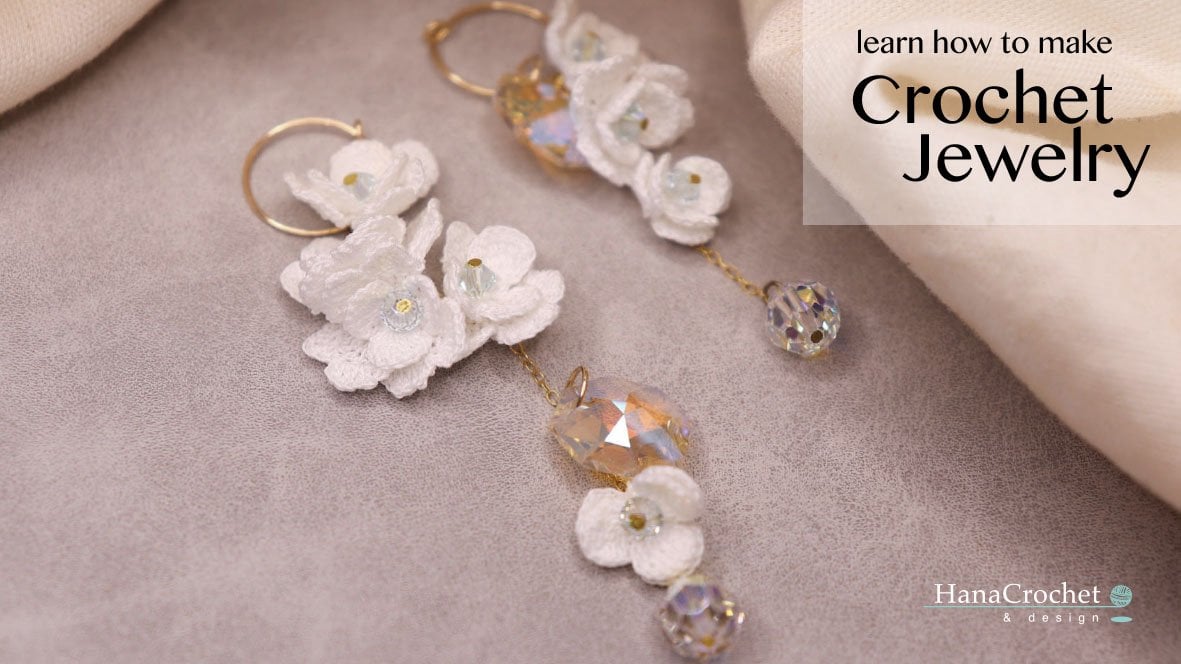
crochet black earrings. We're gonna incorporate
cruciate and embroidery stage in this design. Then we're gonna add
Swarovski crystal as well as sequence. I will also demonstrate how
I crochet all the flowers, which is this crochet per flower as well as the black flower. I will share all the
tools and materials such as the Crochet thread,
crochet hook number, and guide you step-by-step
from making the Crochet flour, making the rows embroidery, then put the events together. I can't wait to
share with you how I make is crochet earrings. So check out my class
and I will guide you step-by-step to make this.
2. Pattern 17 tools and material: Hi everyone. In this lesson we're gonna talk
about all the tools and materials that
you're going to use to make these
crochet earrings. You're gonna need a piece of linen fabric with
an embroidery hoop. We're going to need
a hard fabric. It says feasible
interfacing fabric with heavyweight thickness is about the same as cardboard
like felt fabric. You can actually purchase
Lacey Steve stuff which is the perfect material
for meeting foundation. But unfortunately I couldn't find that in my
local craft store. You will also need this 0.5
millimeter crochet hook. Depreciate a black flower. I'm using this crochet
thread number 80 by neuroma is a Japan
run crochet trap. If you can find this, you can always replace
with other brands such as this black DMC **** tells
number AT for the flower, I'm using the same brand
in light gray color. If you can find this,
you can replace with Kotlin sewing thread or a single strand of
embroidery thread. Now let's talk about
the beats and sequence. I'm using different types
of kits for this earrings. I use this mucus. It midsize 11, the
color is metallic, dark gray, almost like black. And I use this for
the center part of my embroidery roles as well
as for my sequence flower. Next time using this
the whole rounds it via its size 11 in raw score color. I use this photo Santa part
of microtia black flower, as well as a spacer for
my six MM flat sequence. I also use gold good size, 15 SIC, smaller than
the previous bits. I use this as a spacer
for, for MM sequence. We also need is for MM round transparent
blue Swarovski bits. For MM Swarovski crystal
in metallic gray. For the sequence, I'm using these six millimeter
AB black sequence. Six MM light gold
color flat sequence. This is for MMF gold sequence. I use this smaller
sequence or fill in the empty part
or my earrings. And you'll also need
a stop frame fabric, liquid strong glue. You also can use fabric Blue, a piece of fabric, and a pair of Air Force. So about the tools and
materials in the next lesson, I'm going to show you
how to appreciate basic stitches to
make the flower.
3. Lesson 1 : learn the basic crochet stitches: Hi everyone. So today I'm
going to demonstrate some of the basic speeches
that we're going to use the meat flowers
on this tutorial, I'm using Microsoft Threat
size for this one is Clover hook size one mainly because you'll start with sleep, not wrap the yarn over. Insert your hook and then either drawn a second
year for each row. Then you go into, let go the urine on your finger. And then the Python asleep
not you pull the tail of the track, Meet the chain. You wrap the yarn over your
hook and then you pull it should wrap the yarn
over your hook. Yarn over. The next stage
is called single crochet. Already made my first
single crochet here. You have to do is you insert your hook into the next stage. And then you yarn over. True. When you have two loops on
your hook, yarn over again. For each row, two loops. Insert your hook into the
next stage. Yarn over. Pull it true. Now you have two
loops on our hook. Yarn over, pull each room. The next stage is called
half double crochet. You're going to yarn over. Insert your hook
into the stitch. You're going to yarn
over and pull each row. You have three
loops on your hook. Going to yarn over. Pull through three loops. We do it one more
time. Yarn over. Insert your hook
into the stitch. Yarn over, pull each rule. Now you have three loops on
your hook. Yarn over again. Pull through three loops. The next feature is called
double crochet. Yarn over. Insert your hook
into the stitch. Yarn over, pull through. You have three
loops on your hook. Yarn over, pull
through two loops. Now you have two
loops on your hook. Yarn over, pull short tubes. Let's do it one more
time. Yarn over. Insert your hook
into the stitch. Yarn over. Pull through
two loops on your hook. Yarn over, pull
through two loops. Yarn over. Cholesterol tulips. The next stage is
called trouble crochet. You're going to yarn
over two times. One. You're going to insert
your hook into the stitch. Yarn over. Pull through the stitch. Now you have four
loops on your hook. Yarn over, pull
through two loops. Now you have three
loops on your hook. Yarn over, pull
through two loops. You have in two loops
on your hook yarn over, pull through two loops. Let's do it one more time. You're going to wrap your yarn around your
hook two times, 12. Then you're going to insert
your hook into the stitch. You're going to yarn over. Shrew. You have for loops on your hook. Yarn over, pull
through two loops. Now you have three
loops on your hook. Yarn over, pull
through two loops. Now you have two
loops on your hook. Yarn over, pull
through two loops. The next stage is called
doubled trebled crochet. You're going to yarn over
three times 12 tree. You're going to insert
your hook into the stitch. Going to yarn over and
then pull it through. Now you have five
loops on your hook. Yarn over, pull
through two loops. Yarn over, pull
through two loops. Yarn over, pull
through two loops. And the last one, yarn over, pull through two loops. Let's do it one more time. We're going to yarn
over three times 12. Tree. Insert your hook
into the next stage. Yarn over, pull through. You have five loops
on your hook. Yarn over, pull
through two loops. Yarn over, pull
through two loops. Yarn over, pull
through two loops, yarn over, pull
through two loops. Next one we're going to learn
how to make magic circle. Wrap your yarn around
your finger like this. Insert your hook and
then in the first yarn, and then draw the
second year for ritual. Twist. Gene one. This is your magic circle. I'm going to make
six single crochet into this magic circle. I just made six single crochet
into the magic circle. And the magic circle,
you're going to pull this. Then you're going to
make a slip stitch. These are the basic structures
that we're going to use to make our pushy
flower children. Me. Thank you for watching everyone.
4. Lesson 2 : how to crochet puff flower: In this lesson, I'm going
to teach you how to crochet this path
flour to make this. So I'm going to use crochet
thread number 80 from Dodoma. I will leave their website
link in the info box below. If you can find this brand, you can use single-strand of embroidery thread or regular
cotton. So interrupt. For the crochet hook,
I'm going to use 0.5 millimeter crochet hook. I'm going to start
with a magic circle. I'm going to wrap the yarn over my finger and then
grab the hoop, insert underneath
the first yarn, and grab the second year
and pull it through. I'm going to twist and
I'm going to change. I'm adjusting the magic circle, make it a little bit bigger. Then I'm going to pull
up the hook so you will have a loose
loop on your hook. Now we're going to yarn over, insert your hook through
the magic circle, yarn over and pull it back
through the magic circle. I'm gonna make the
next loop now. Same thing again, I'm
going to yarn over, insert your hook
pseudo magic circle, yarn over and pull it back
through the magic circle. We're going to do this
ten times for each petal. As you can see, I always push the loop to the back
part of my crochet hook. All the loops have
the same size. This is the last step of
look for the first petal. All the loops here are
gonna be my first petal. The next part is a bit tricky. I'm gonna push all the loops to the middle part of my cool. Then I'm going to
yarn over and pull it through all the
loops like this. Then I'm going to make
six change teachers. This is the first
12345 and last 16. Then from here we're gonna make a sleep stage in
the magic circle. And this is how the
first petal looks like. I'm going to show you how
to make a second petal now. Same thing again, I'm
going to yarn over, then I'm going to
insert my hook through the magic circle and over and pull it back
through the magic circle. And I'm going to push the loop back to the back
part of my hoop. This is the second
one, yarn over, insert your hook through
the magic circle, yarn over and pull it back
through the magic circle. Same thing as the first petal. We're gonna do this ten times. The number of loops part of the petal depend on the
thickness of your track. If you use thinner threats
such as single-stranded of embroidery thread or regular
cotton, so interrupt. You might want to add more loops up to 15 sets for each petal. I'm using crochet
thread number 80 here. So the thickness of tread is slightly thicker than
regular sewing thread. So I just need to make
pen sets of each petal. After with the loops. Next I will push all the loops to the middle part of the hook. Yarn over and pull through
all the loops together. Next we are going to make
six change teachers. Then after that
we're going to slip stitch in the magic circle. That's how the second
petal looks like. The next step is
exactly the same. We're gonna make a pen sets off, looks for it that petal. Alright, I've done
with the loops. Next I will push all the
loops to the middle. We're going to yarn over and
pull through all the loops. Next I'm going to make
six change teaches. One. Tree, 456. Never gonna make a slip
stitch in the magic circle. This is how it looks like. Next I'm going to continue
to the fourth petal. Since the slab is exactly the same as the previous petals, I'm gonna crochet
slightly faster. All right, I've done
with the last loops. Next I will push all the
loops through the middle, go into yarn over and pull
through the loop altogether. I'm going to make
six chain stitches. This is the first one. Tree 45 and last 16. Next time I'm going
to make a slip stitch in the magic circle. We're gonna make
the last petal now. Alright, I've got
with the last loops. Next I will push all the loops
to the middle part of the whole gonna yarn over and pull through the
loops altogether. Next I'm going to make
six chain stitches and slip stitch in
the magic circle. I'm going to type than a
magic circle and I'm holding all the petals
with my other hand to keep them stay in place. There you go. It's
just our puff flower.
5. Lesson 3 : how to crochet the black flower (front layer): Hi everyone. In this class
I'm going to show you how to crochet this front layer
of the black flowers. This flower is slightly smaller than the
second layer flour. To make this, I used this black
crochet thread number 80. This is crochet
track from the Roma, our live their website link
in the info box below. And I'm using this 0.5
millimeter crochet hook. But for this tutorial I will use thicker thread so you can
see it better on screen. I will start with a
magic circle rep. They are over your index finger. Insert the hook underneath the first yarn and
grab the second yarn, pull it through and chain one. After that I'm gonna
make to change teachers. Then after that I'm gonna make five double crochet
in the magic circle. This is my first double crochet. Second double crochet. Double crochet. This is the fourth
double crochet. Last one, this is the
fifth double crochet. After that, we're gonna
start with a second round. I will start by making
to change teachers. Then flip your crochet work. I'm going to make two double
crochet in the first stage. This is my first double crochet. And then the second double
crochet in the same stage. The treble crochet
in the next pitch, I'm going to yarn over twice. Insert your hook in the
next stitch, yarn over, pull through, yarn over, pull through two loops. Yarn over, pull
through two loops. And last one, yarn over
pull through two loops. This is the second
trouble crochet. In the same stage. I'm going to make
another to travel crochet in the next stage. So this is my first
trouble crochet. This is the second trouble
crochet in the same stage. Same thing again. I'm gonna make the treble crochet
in the next stage. This is my first travel crochet. This is the second trouble
crochet in the same stage. Lastly, we're gonna make two double crochet
in the last stitch. This is gonna be the last
stage for this round. And next we're going to
start with a third round. I'm gonna chain one and then
flip your crochet work. Then I'm going to start with a single crochet in
the first stage. Two double crochet
in the next stage. This is my first double crochet. And this is the second
febrile crochet you're going to yarn over once, insert your hook
in the same state, yarn over, pull through, yarn over, pull
through two loops and yarn over, pull
through two loops. In the next stage I'm gonna make two treble crochet and
one double crochet. We're going to start
with a treble crochet. This is the second trouble. Crochet yarn over twice, insert your hook in the
same stitch, yarn over, pull through, yarn over, pull through two loops. Yarn over, pull
through two loops, and yarn over, pull
through two loops. Next I'm going to make
one double crochet in the same stage. In the next stage I'm going
to make one double crochet. And to trouble crochet, we're going to start
with a double crochet. Then after that
I'm gonna make TO trouble crochet in
the same stage. Trouble crochet and
two double crochet. In the next stage, I'm gonna start with
this treble crochet. Next I'm going to make
two double crochet in the same stage. This is my first double crochet, and I'm gonna make the
second double crochet in the same stage. Next I'm gonna make to trouble crochet and a double crochet. In the next stage, I'm going to start with
this trouble crochet. And this is the second trouble
crochet in the same stage. Double crochet in
the same stage. In the next stage I'm gonna
make a double crochet. And to trouble crochet, we're gonna start with
a double crochet. And then after that to trouble
crochet in the same stage. This is my first
troubled crochet. This is the second trouble
crochet in the same stage. Next, I'm going to make two double crochet and
a troubled crochet. In the next stitch, I'm going to start with my first
double crochet. This is the second double
crochet in the same stage. Trouble crochet, also
in the same stage. Trouble crochet and
a double crochet. In the next stitch, I'm going to start with
my trouble crochet. Then after that, a double
crochet in the same stage. All right, there's
one more stitch left. I'm gonna make a single
crochet in that last stitch. Then after that I'm gonna
make a slip stitch. In the same stage. We're almost done
with our first petal. Next, we're going to connect this last stitch to the
magic circle below. Make that I will make
to change teachers. And I'm gonna make
a slip stitch in the fifth double cruciate that we made in the first round. Alright, then after that, I'm gonna make three chains,
teachers and slip stitch in the magic circle with them with the first petal. Next, I'm going to show you
how to make the second petal. To make the second petal our start by making three
chains teachers. Then after that
I'm going to make five double crochet
in the matrix circle. Basically the second
petals pattern is exactly the same
as the first one. I'm almost finished
with the first round. This is my fifth double crochet. Next I'm going to
make two chains. Teachers flip my crochet work, and I'm gonna start
working on the next round. I will start with two double
crochet in the first stage. This is my first double crochet. This is the second
double crochet. Since the pattern is exactly
the same as the first petal, I'm going to speed
up the video and come back after I
finish this round. I'm at the last stitch now. And I'm gonna make a
two double crochet in the last stitch. This is my first double crochet, and this is the second
double crochet. In the same stage. After that I'm going
to change one, flip my crochet work, and start working
on the third round. And again, since the pattern is exactly the same as
the first petal, I'm going to speed
up the video and come back after I
finish this round. I am at the elastic now. I'm gonna make a single
crochet in the last stitch. Then after that I'm gonna make a slip stitch in
the same stitch. Same thing as the first petal. We're going to connect
this last stitch to the magic circle. So I'm gonna make
the change teachers. Then I'm gonna make
a slip stitch in the fifth double crochet that
we made in the first round. Then after that, I'm
gonna chain tree. Then I'm going to make a slip
stitch in the magic circle. This is how the flower
looks like so far. Next, I'm gonna start
with a third petal. The pattern is exactly the
same as the editor petals. I will start with three chain stitches and then five double crochet
in the matrix circle. Since the pattern is exactly the same as the editor petals, I'm going to speed up
the video and come back after I finish with
my third petal. Alright, I have finished
my third petal. And then after that
I'm going to tie it on a metric circle
and Pi not twice. This is how small
the flower looks like if you're using
crochet thread number 80 for a pair of earrings unit
the crochet, two of these.
6. Lesson 4 : how to crochet the black flower (back layer): In this lesson, I
will show you how to crochet the second layer
of his black flower. The second layer of flower is slightly bigger than
the front layer one. And the cruciate is, I will use this crochet
threat number 80 by diorama. I will put the website link
in the info box below. If you can find this brand, you can actually
use other brands such as this DMC number API. Or you again, you a single
strand of embroidery thread. For the crochet hook. I will use 0.5 millimeter crochet hook. For this tutorial, I'm going
to use thicker thread. I'm using full strand of embroidery thread so you can
see it better on screen. We're gonna start with Magic
Circle Rep there and over your finger in your whole
underneath the first year, rep per second yarn
and pull it through. And we're gonna
twist and chain one. Next I'm going to make
for change teachers. Then after that
we're going to make a treble crochet in
that magic circle. This is my first
travel, crochet. It's just a second trouble
crochet yarn over twice. Insert your hook in
the magic circle. Yarn over, pull
through, yarn over, pull through two
loops, yarn over, pull through two loops and yarn over, pull
through two loops. This is my third trouble, crochet. Forth, trouble crochet. Fifth trouble crochet. And sixths, Treble crochet. Seven travel crochet. Last 1, eighth, trouble crochet. This is gonna be our last
stage in the first round. Next I'm going to make
three chains teachers. I'm going to flip
my crochet work and start with the second round. I will make good trouble
crochet in the first stage. This is my first
troubled crochet. This is the second trouble
crochet in the same stage. Doubled trebled crochet. In the next stage, I'm going to yarn
over three times. Insert your hook
in the next stage, yarn over and pull it through, yarn over, pull
through two loops. Yarn over, pull
through two loops, and yarn over, pull
through two loops. And last one, yarn over
pull through two loops. This is the first
doubled trebled crochet. And I'm gonna make
a second doubled trebled crochet in
the same stage. Doubled trebled crochet in the next stage is my first doubled
trebled crochet. And I'm gonna make a second doubled trebled crochet
in the same stage. Doubled trouble crochet. In the next page. It says my first
doubled tropic crochet. And I'm gonna make the second
doubled trebled crochet in the same stage
and overtreat times. Insert your hook in
the same stitch, yarn over, pull
through, yarn over, pull through two
loops, yarn over, pull through two loops, yarn over, pull through two loops. And last one yarn over, pull through two
loops and added to doubled trebled crochet
in the next stage. This is the second
double trouble crochet, also in the same stage. Doubled trebled crochet
in the next stage. This is the second
double trouble crochet. Doubled trebled crochet
in the next stage. And this is my second
double trouble crochet in the same stage. At the last stitch.
Now I'm going to make to travel crochet in that stage. This is my first
traveled crochet. This is my second
troubled crochet. I'm going to yarn over twice, insert your hook in the same stage II and
over, pull it through. We're going into yarn over, pull through two
loops, yarn over, pull through two loops, and yarn over, pull
through two loops. This is the end of
the second round. Next I'm going to chain
one and then I'm going to flip my crochet work and we're going to start
with a third round. I will start with a single
crochet in the first stage. Double crochet in
the next stage. This is my first double crochet. This is the second double
crochet in the same stage. Tree trouble crochet in the next stage is my
first travel crochet. It's just a second trouble
crochet in the same stage. This is the treble crochet
in the same stage. Another tree trouble
crochet in the next stage. This is the first
trouble crochet. And this is the second
troubled crochet in the same stage. This is the third trouble
crochet in the same stage. Next, I'm going to make
two double crochet. In the next page, I'm going to yarn over, insert your hook in the next stitch. Yarn over, pull
through, yarn over, pull through two loops and yarn over, pull
through two loops. And this is the second
double crochet, also in the same stage. After that I'm going to change, make a slip stitch
in the same stage. Next, I'm going to make a slip
stitch in the next stage. Then after that I'm going to
make the change teachers. Then we're going to make two
double crochets teachers in the same stage. This is my first double crochet. It's just a second double
crochet in the same stage. Tree treble crochet. In the next stage, I'm going over twice. Insert your hook in
the next stitch, yarn over, pull
through, yarn over, pull through two
loops, yarn over, pull through two loops, and yarn over pull
through two loops. This is the second troubled
crochet in the same stage. This is the treble crochet
in the same stage. Trade trouble crochet
in the next stitch. That's my first trouble crochet. And this is the second trouble
crochet in the same stage. This is the last trouble
crochet in the same stage. After that we're gonna make two double crochet
in the next pitch. This is my first double crochet, and this is the second
double crochet. In the same stage. Trade trouble crochet
in the next stage. Is this my first
troubled crochet? This is my second
trouble crochet. This is the last trouble
crochet in the same stage. Another tree, trouble
crochet in the next stage. This is my first
trebled crochet. This is gonna be the
second trouble crochet. This is the last treble
crochet in the same stage. A double crochet and a half double crochet
in the next stitch. Uf double crochet, then a half double crochet
in the same stitch, yarn over, insert your hook in the same stitch
here and over. Pull through yarn over and pull through three
loops altogether. Half double crochet,
double crochet, and a trouble crochet. In the next stitch, I'm going to start with
a half double crochet. After-death, a double
crochet in the same stage. Last one, a treble crochet
in the same stage. It'll travel crochet and a double crochet
in the next stage. Is this my first travel crochet? It's just a second
trouble crochet. Double crochet in
the same stage. Two double crochet
in the next stitch. It says my first double
crochet. It's just a second. This is gonna be
our last stitch. I'm going to make a single
crochet in that stage. Then a slip stitch
in the same stage. We're almost done
with the first panel. Now I'm going to connect the last ditch to
the magic circle. I will make treat change teachers were going to sleep stage in the
last travel crochet that we made in the first round. And then after that we're gonna
make for change teachers. I'm going to make a slip
stitch in that magic circle. This is how our first
petal looks like. From here I'm going to
continue to the second petal, which has exactly the same
pattern as the first one. To make the second petal, I'm going to start by making
four chains teachers. Then after that we're gonna make a treble crochet in
that magic circle. This is my eight trouble
crochet in the magic circle, and this is gonna be the
end of the first round. I will make three
chains teachers. Then after that
you're gonna flip your crochet work and
start with a second round. I'm gonna make to travel
crochet in the first stage. This is my first
trouble crochet. This is the second
trouble crochet and going into yarn over twice, insert my hook in
the same stage. Yarn over, pull
through, yarn over, pull through two loops and
over, pull through two loops. And last one yarn over
pull through two loops. And since the second
round pattern is exactly the same
as the first petal, I'm going to speed
up the video and come back after I
finish this round. Commonly are working
in the last stage of the second round. I will make good trouble
crochet stitches. In that last stitch. I finished my first
trouble crochet. And this is the second
trouble crochet in that same stitch. All right, we're gonna
continue to the third round. I'm going to change one, flip my crochet work and start working with
a third round. I will start with a single
crochet in the first stage. Then after that two double
crochet in the next stitch. This is my first double crochet, and this is the
second double crochet also in the same stage. Trade trouble crochet
in the next stitch. This is my first
troubled crochet. I'm gonna make the
second trouble crochet. Now, also in the same stage. This is the treble grocery we're going to yarn over twice, insert my hook in
the same state, Jian over post rule. I'm going to yarn over, pull through two loops, yarn over, pull through two
loops and yarn over, pull through two loops. From here, I'm going to
speed up the video since the pattern is exactly the
same as the first petal. And I will come back at the
end of this third Brown. I am at the last stitch now. I'm going to make a single
crochet in that last stage. Then after that
I'm going to make a slip stitch in the same stage. Then after that we're going to connect this to
the magic circle. So I'm going to make
three chains teachers. And then after that I'm
going to make a slip stitch in the last trouble crochet to be made
in the first round. And then make for
change teachers. Then we're going to slip
stitch in the magic circle. This is how my flower
looks like so far. Next, I'm gonna show you how the cruciate the third petal. For petal, the pattern is slightly different
from the other two. I'm going to use different
color yarn so you can differentiate is petal
with the other two. I will start by making
for change teachers. Then after that we're gonna make seven trouble crochet in the magic circle,
yarn over twice. Insert your hook in
the magic circle, yarn over, pull
through, yarn over, pull through two
loops, yarn over, pull through two loops, and yarn over, pull
through two loops. This is my first
trouble crochet. And I'm gonna make the
second trouble crochet. Now. Next I'm going to make the treble crochet. This is the fourth
troubled crochet. This is the fifth
trouble crochet. Six trouble crochet. This is the last
trouble crochet, which is the seven
trouble crochet. This is gonna be the
end of the first round. Next I'm gonna make
boot change teachers. And then I'm going to flip my crochet work and we're gonna
stop at the second round. I'm going to make two
double crochet stitches in the first stage. This is my first double crochet. It's just a second double
crochet also in the same stage. Treble crochet stitches
in the next stage. This is my first
trouble crochet, and this is the second
trouble crochet. Trouble crochet in
the next stage. It's just a second trouble
crochet in the same stage. Another to trouble
crochets teachers. In the next stage. It says my first
troubled crochet. And I'm making the
second trouble crochet also in the same stage. Trouble crochet in
the next stage. This is my first
troubled crochet. This is the second
treble crochet, also in the same stage. Another two treble crochet
in the next stage. This is my first
trouble crochet. And this is the second one. Yarn over twice, insert my hook in the same stitches
over, pull through, yarn over, pull through
two loops, yarn over, pull through two
loops and yarn over, pull through two loops. In the last stage I'm going
to make two double crochet. This is my first double crochet. And I'm gonna make the
second one now Yan over once inside the hook in
the same state j and over, pull through, yarn over, pull through two
loops, yarn over, pull through two loops. Okay, this is gonna be our last ditch in
the second round. Next I'm going to change one. And then we're going to flip the Crochet work and we will
stop with the third round. I'm gonna start with a
single crochet stitch in the first stage. Double crochet stitches
in the next stage. It is my first double crochet. It's just a second one. Tree trouble crochet stitches. In the next stage. Is this my first
trouble crochet? This is the second
trouble crochet. This is the third
trouble crochet. A troubled crochet,
and a double crochet. In the next stitch, I'm going to start with
the treble crochet. Then this is a double crochet
also in the same stage. Then after that I'm
going to change to I'm gonna slip stitch
in the same stage. We're gonna slip stitch
in the next stage. Then after that I'm
going to change though. Then I'm going to make
a double crochet and a troubled crochet stitches
in the same speech, we're gonna start with
a double crochet. Then after that is just
the trouble crochet, we're going to yarn over twice. Instead the hoop in
the same stitch, yarn over, pull
through, yarn over, pull through two
loops, yarn over, pull through two
loops and yarn over, pull through two loops. Tree trouble
crochets teachers in the next stage is the
first trouble crochet. This is the second
trouble crochet. This is the trouble crochet, treble crochet and a double
crochet in the next teach. My first trouble crochet. The second trouble crochet. Last one, a double
crochet, yarn over. Insert your hook in
the same stitch, yarn over, pull through. Yarn over, pull through
two loops, yarn over, pull through two loops.
A double crochet. And to trouble crochet
in the next stitch, I'm going to start
with a double crochet. And then after that
I'm going to make a trouble crochet
in the same stage. Then the last treble
crochet in the same stage. Troubled crochet
in the next stage. This is my first
trouble crochet. This is the second
trouble crochet also in the same stitch. Trouble crochet and a double
crochet in the next stage. And we're gonna start
with the treble crochet. This is the double crochet. In the same stage, I'm
going to yarn over, insert my hook in
the same stage, yarn over, pull through, yarn over, pull
through two loops. Yarn over, pull through
two loops of the day. So I'm gonna make
to change teachers. And then I'm going
to make a slip stitch in the same stage. I'm going to make a matter slip stitch in the next stitch. Then after that I'm going to
make food chains teachers. Then I'm gonna make
a double crochet and a trouble crochet
in the same speech. Sound, get us started
with a double crochet. Then after that,
a treble crochet, also in the same stage. Trouble crochet and a double
crochet in the next stitch. This is my first travel crochet. It's just a second
trouble crochet, double crochet, double crochet. In the next stage. This is my first double crochet. And this is the
second double crochet also in the same stitch. All right, moving on
to the last stage, We're gonna make a single
crochet in that last stage. Asleep stitch in the same stage. Same thing again, we're going
to connect the last stitch, did a magic circle. I'm gonna make the
change teachers. And then I'm going to
make a slip stitch in the last rebel crochet that
we made in the first round. Next, I'm going to chain for and, and make a slip stitch
in the magic circle. After that, I'm going to tighten the magic circle
and Pi not twice. This is how the
flower looks like. If you're not at all a slightly smaller than
the other two petals. This is how small the
flower looks like if you're using crochet
threat number 80. So you need the crochet two of this for a pair of earrings.
7. Lesson 5 : how to sew all the parts together: In this video, I'm gonna show you how I would approach it. Flowers sequence and
embroidery robust. You need to prepare
your linen fabric and embroidery hoop. This is a few Sibyl
interfacing fabric that I had been to square. It is pulled by 2.5 centimeter. I will place the square, the back of the hoop
and we'll go into Haenszel are running
stitch around the square. I'm doing this so
the square will not move and stay on its place. When I saw the Crochet flower and other earrings
part later on. I'm just going to pay
not twice to secure it. You're gonna do the same
thing with the other square. Just remember to give
space in-between square at least about
three centimeter. And this is how it looks
like from the front. Next we're gonna solve
the Crochet, flowers, the sequent, and all the
parts on that square. Next I'm going to
plan out my earrings. Basically there are three
main parts switches, the embroidery rows, the black Prosci flower and
the second flower. I roughly draw a
circle with pencil so I know where I should solve
those three main parts. Embroidery rows will be
at the top right corner. Small circle on the left corner is for the sequence flower. The circle next to it is for
the black crochet flower. I'm going to start
with Sequence flower. I will mark seven
dots like this. Ascender dot is going to be the center part of the flower. And the sixth dots around it
are florida sequence petals. I'm going to bring my needle
up through the center dot. Tried in a four millimeter
Swarovski crystal. Insert facts are
the same though. Alright, rid of it. The
center part of the flower. Bring your needle
up again and try to be as close as possible
to that crystal. Next we're going to try out
some CYP bits and sequence. It says six millimeter flat
sequence and Neo keep it. First we're going
to try the CPS and then the sequence and an
a bit again and sequence. And last one is the beep. Make sure the bits
and sequent order looks like what you've
seen on the screen. I'm going to insert
the needle down on one of the dots around that
Swarovski crystal. And this is how the
first petal looks like. Next, bring up again
the needle up, tried to do it as close as possible to that
Swarovski crystal. We're going to try the beats
and the same sequence. The order should be the same, which is sitting at sequence
it yet again sequence then at the end and insert your needle
down through the second. The second secret papular should overlap the first
sequence petal, you're gonna do the
same thing with the rest of the sequence petals. I finished my flowers sequence on the circle next to
the flower sequence, we're gonna solve it, a
black crochet flowers. They are totally apart. We're gonna start
with a wider petals. I'm going to solve that on and on top of this, I'm gonna solve the
smaller petals. I'm going to show some bolts. It gets in the center
of that flower. It is the host ID. It says
11 in rose, gold color. Now we're gonna do
the embroidery rows. I'm going to start
by making a circle. Then I'm gonna draw
five lines like this. Then I'm going to use this dark gray embroidery thread from DMC. The color code is 169. Not going to split the strands. I'm going to use the
whole strands together. We're going to start
from the center. I'm going to bring my
needle up and I'm gonna cover those five lines
with my trend like this. After that, I'm gonna
bring my needle up near the center of that five
lines that we just made. And we're gonna start weeping over and under the stickers. I'm going to go under
the first stitch. We're going to go
over that stage and go under the next stage. Go over to the next stage. After that, go under
the following stitch, skip the next stitch, and then after that go
under the next pitch. Company weaving
around the spokes until you have
completely covered up. I have a full
embroidery rows here. Next, I'm just going
to bring my needle down and we're going to
secure it with enough. All right, this is how
it looks like so far we have three main parts
of the earrings already. So on. Next I'm gonna so some mucus it gets in the center of their
embroidery rules. This is the same mucus it fits that I use for flowers sequence. I'm going to solve
this cruise ship of flower next to that
embroidery rose. And I will add a goto hobby, its size 11 in Rosco, in the center of the flower. Then we're gonna cover up
the remaining empty space with eats and sequin. I'm going to sort these four millimeter blue
Swarovski crystal next to that path flower. You can use whatever
you have on hand, just play around with
the color combination. I'm using this six MM flat
sequence in light gold color. For the base, I'm using
the same toehold, its size 11 in Roscoe color. Now I'm going to show a
smallest size sequence is this four millimeter
rose gold sequence. And as a spacer, I'm using this, the hobbits round
15 in gold color. I just continue filling the empty part with
some hits and Crystal, I'm using four millimeter
source key crystal here. And it says milk is, it aids in the same tone color. Alright, I finished with
my earrings designs. In the next lesson, I'm going
to show you how to pattern fabric and attach the airports
behind these earrings.
8. Lesson 6 : how to assemble the earrings together: In this lesson, I'm
going to teach you how to put the
earrings together. After you finish sewing all
the flowers and sequence, we're going to remove the design from the embroidery hoop. This is how the front
view looks like. This is how it looks
like from the back. I'm going to cut out the design. I'm going to give about
seven MM allowance from the design because we are going to fall is bad at the end. Next we're going
to apply this stop friendly quit around the edges. You can get this from
Shopee or Amazon. After you apply the liquid, you need to wait for three to
four minutes until it gets harder and that way it's
easier to fold the fabric. Never the sharp scissors. I'm gonna cut the
edges like this. Going to apply some go and
we're gonna fold it inward. And you can see there
are still empty space on my earrings and I'm gonna cover it with bits and sequence. Another way, you can use darker color fabrics such
as black instead of white. I'm so in some state bits and
more sequent on that gap. Once you're done,
we're gonna cover up the back part and
glue the ear posts. Alright, this is how
it looks like now, all the gaps are covered up. This is optional,
but I'm going to do another heart fabric
which I already cut into square on the
back of the earrings. So it feels more sturdy. This is the same heart fabric that I use for the earrings. Your sweet fabric. I've
got this from AliExpress. You can also buy
this from Amazon. We're gonna cut
into square shape, same size as your earrings. With a pencil marking
on that square about six to seven
MM from the top. It's just where I'm
gonna grow my airports. Forget to bulk the air polls
showed that swiped fabric. Put some glue on that
square and we're going to glue this on Jedha
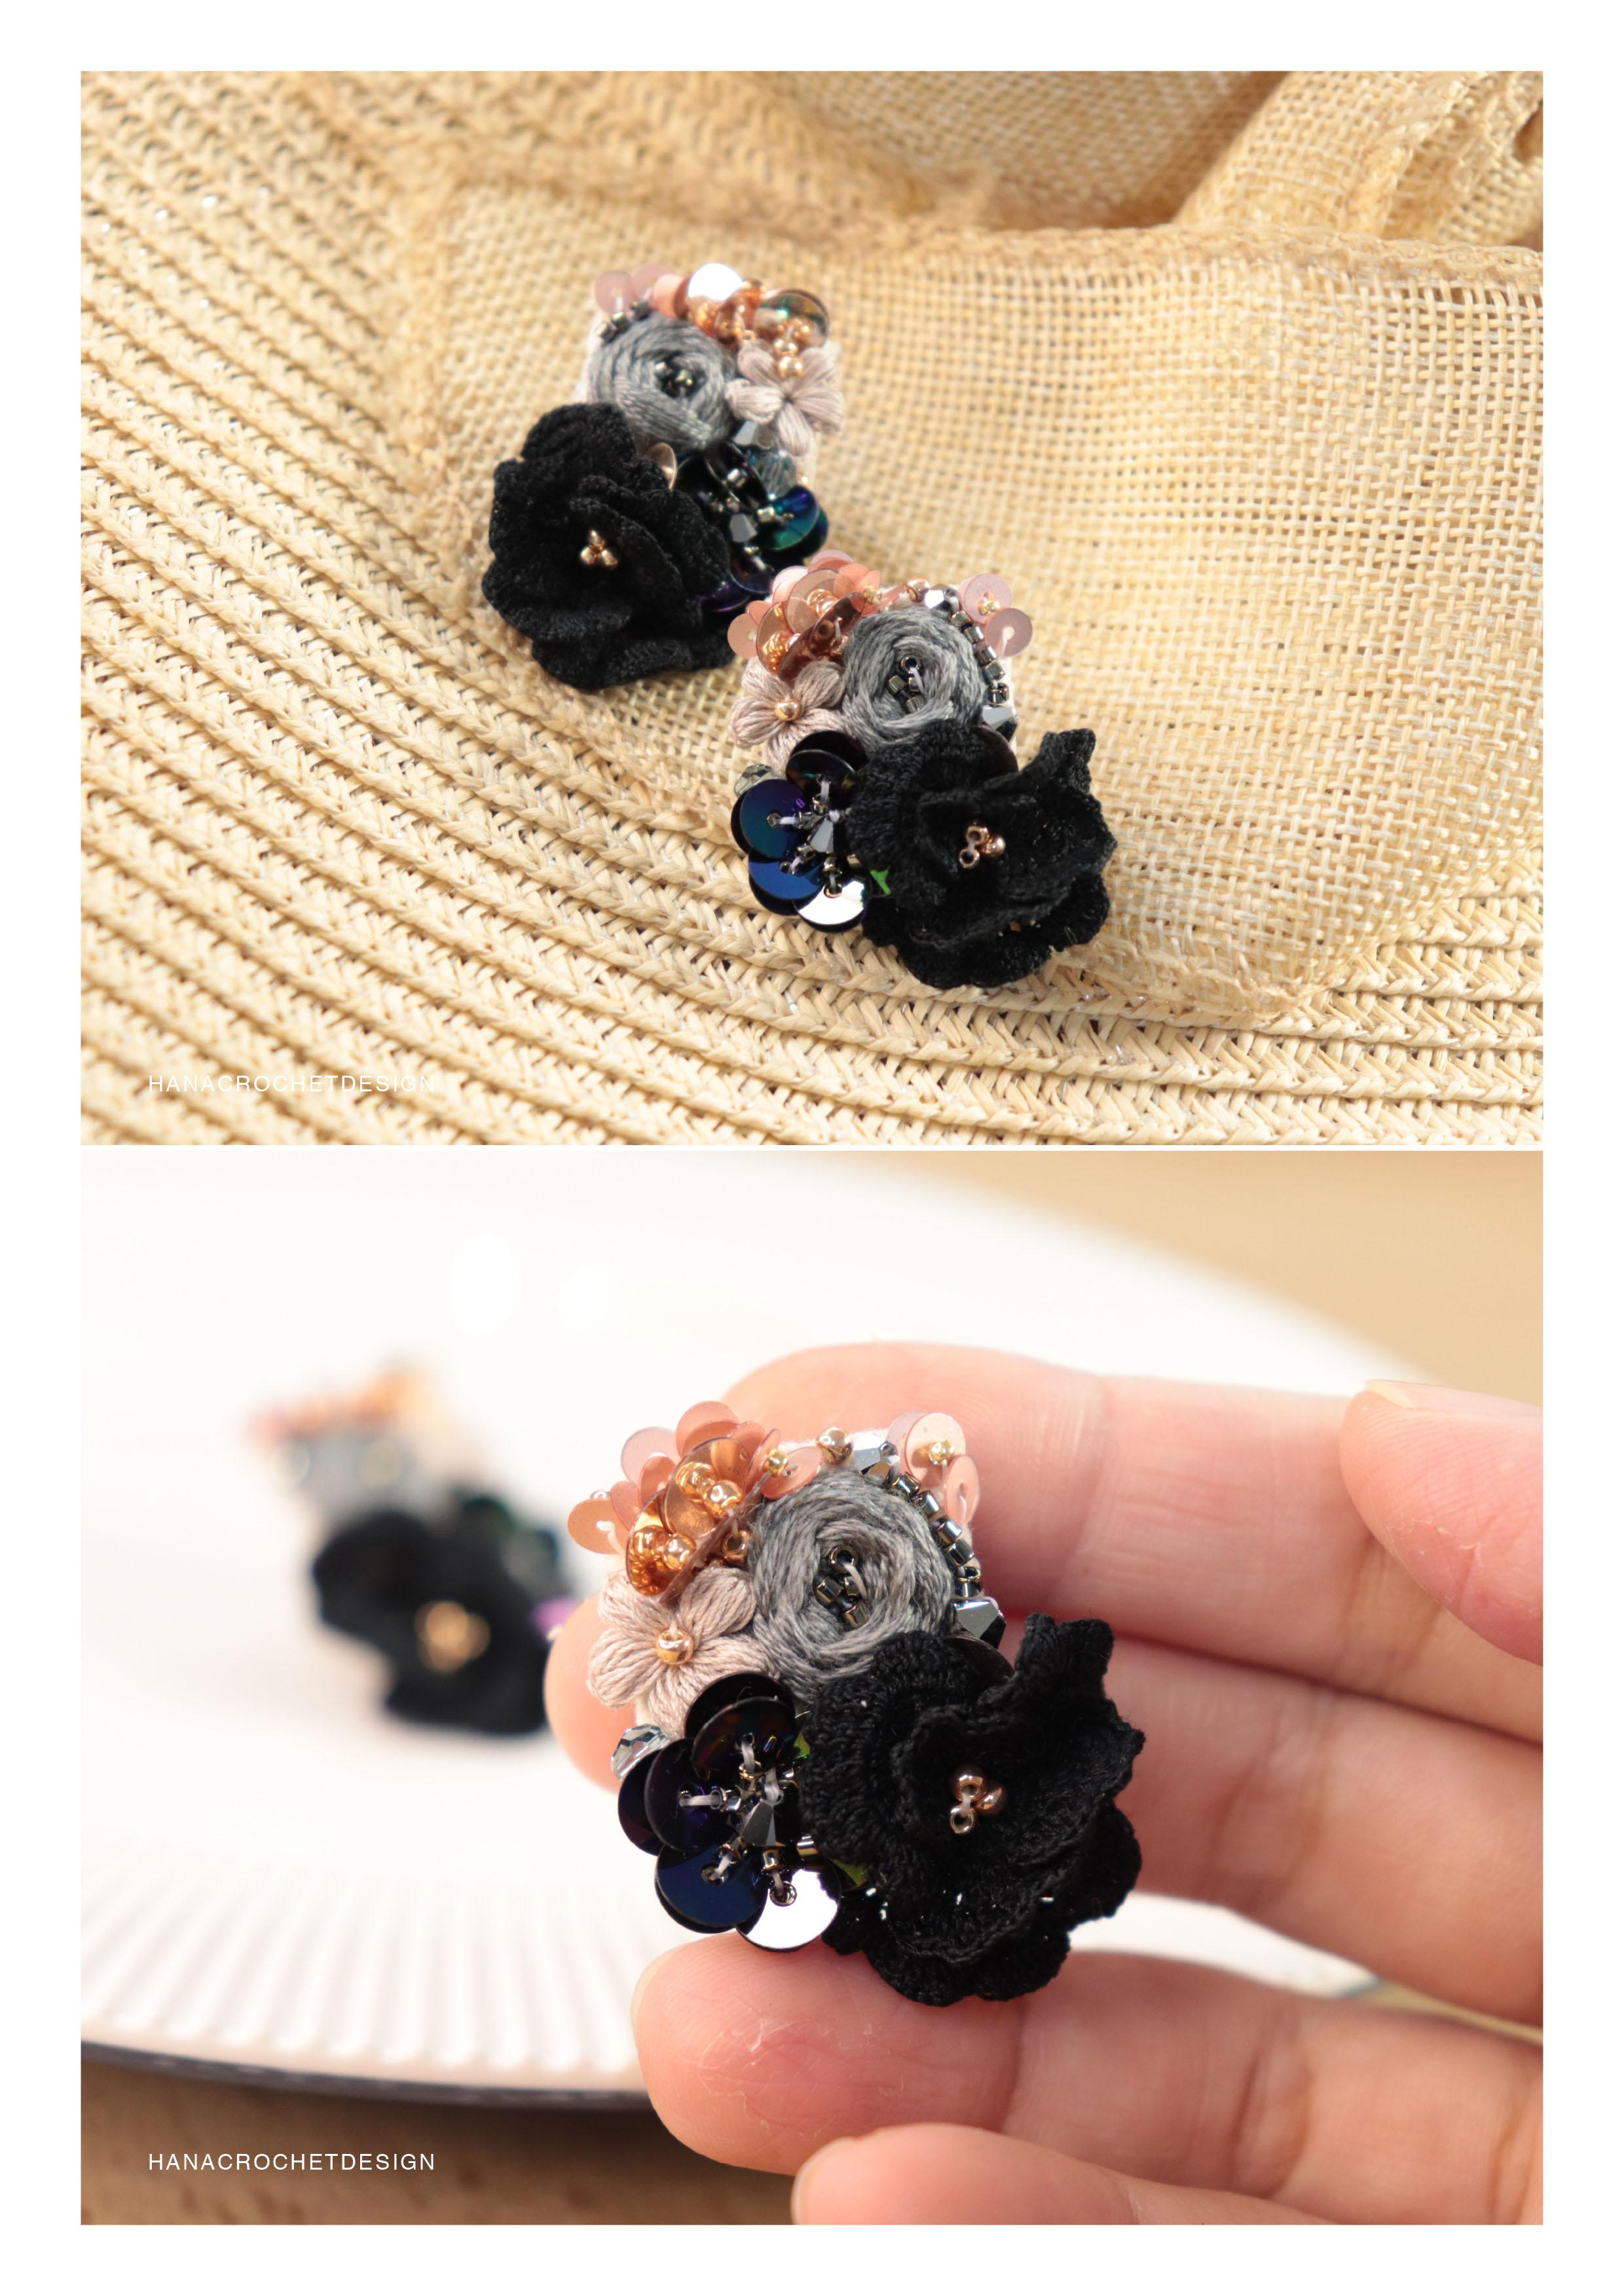
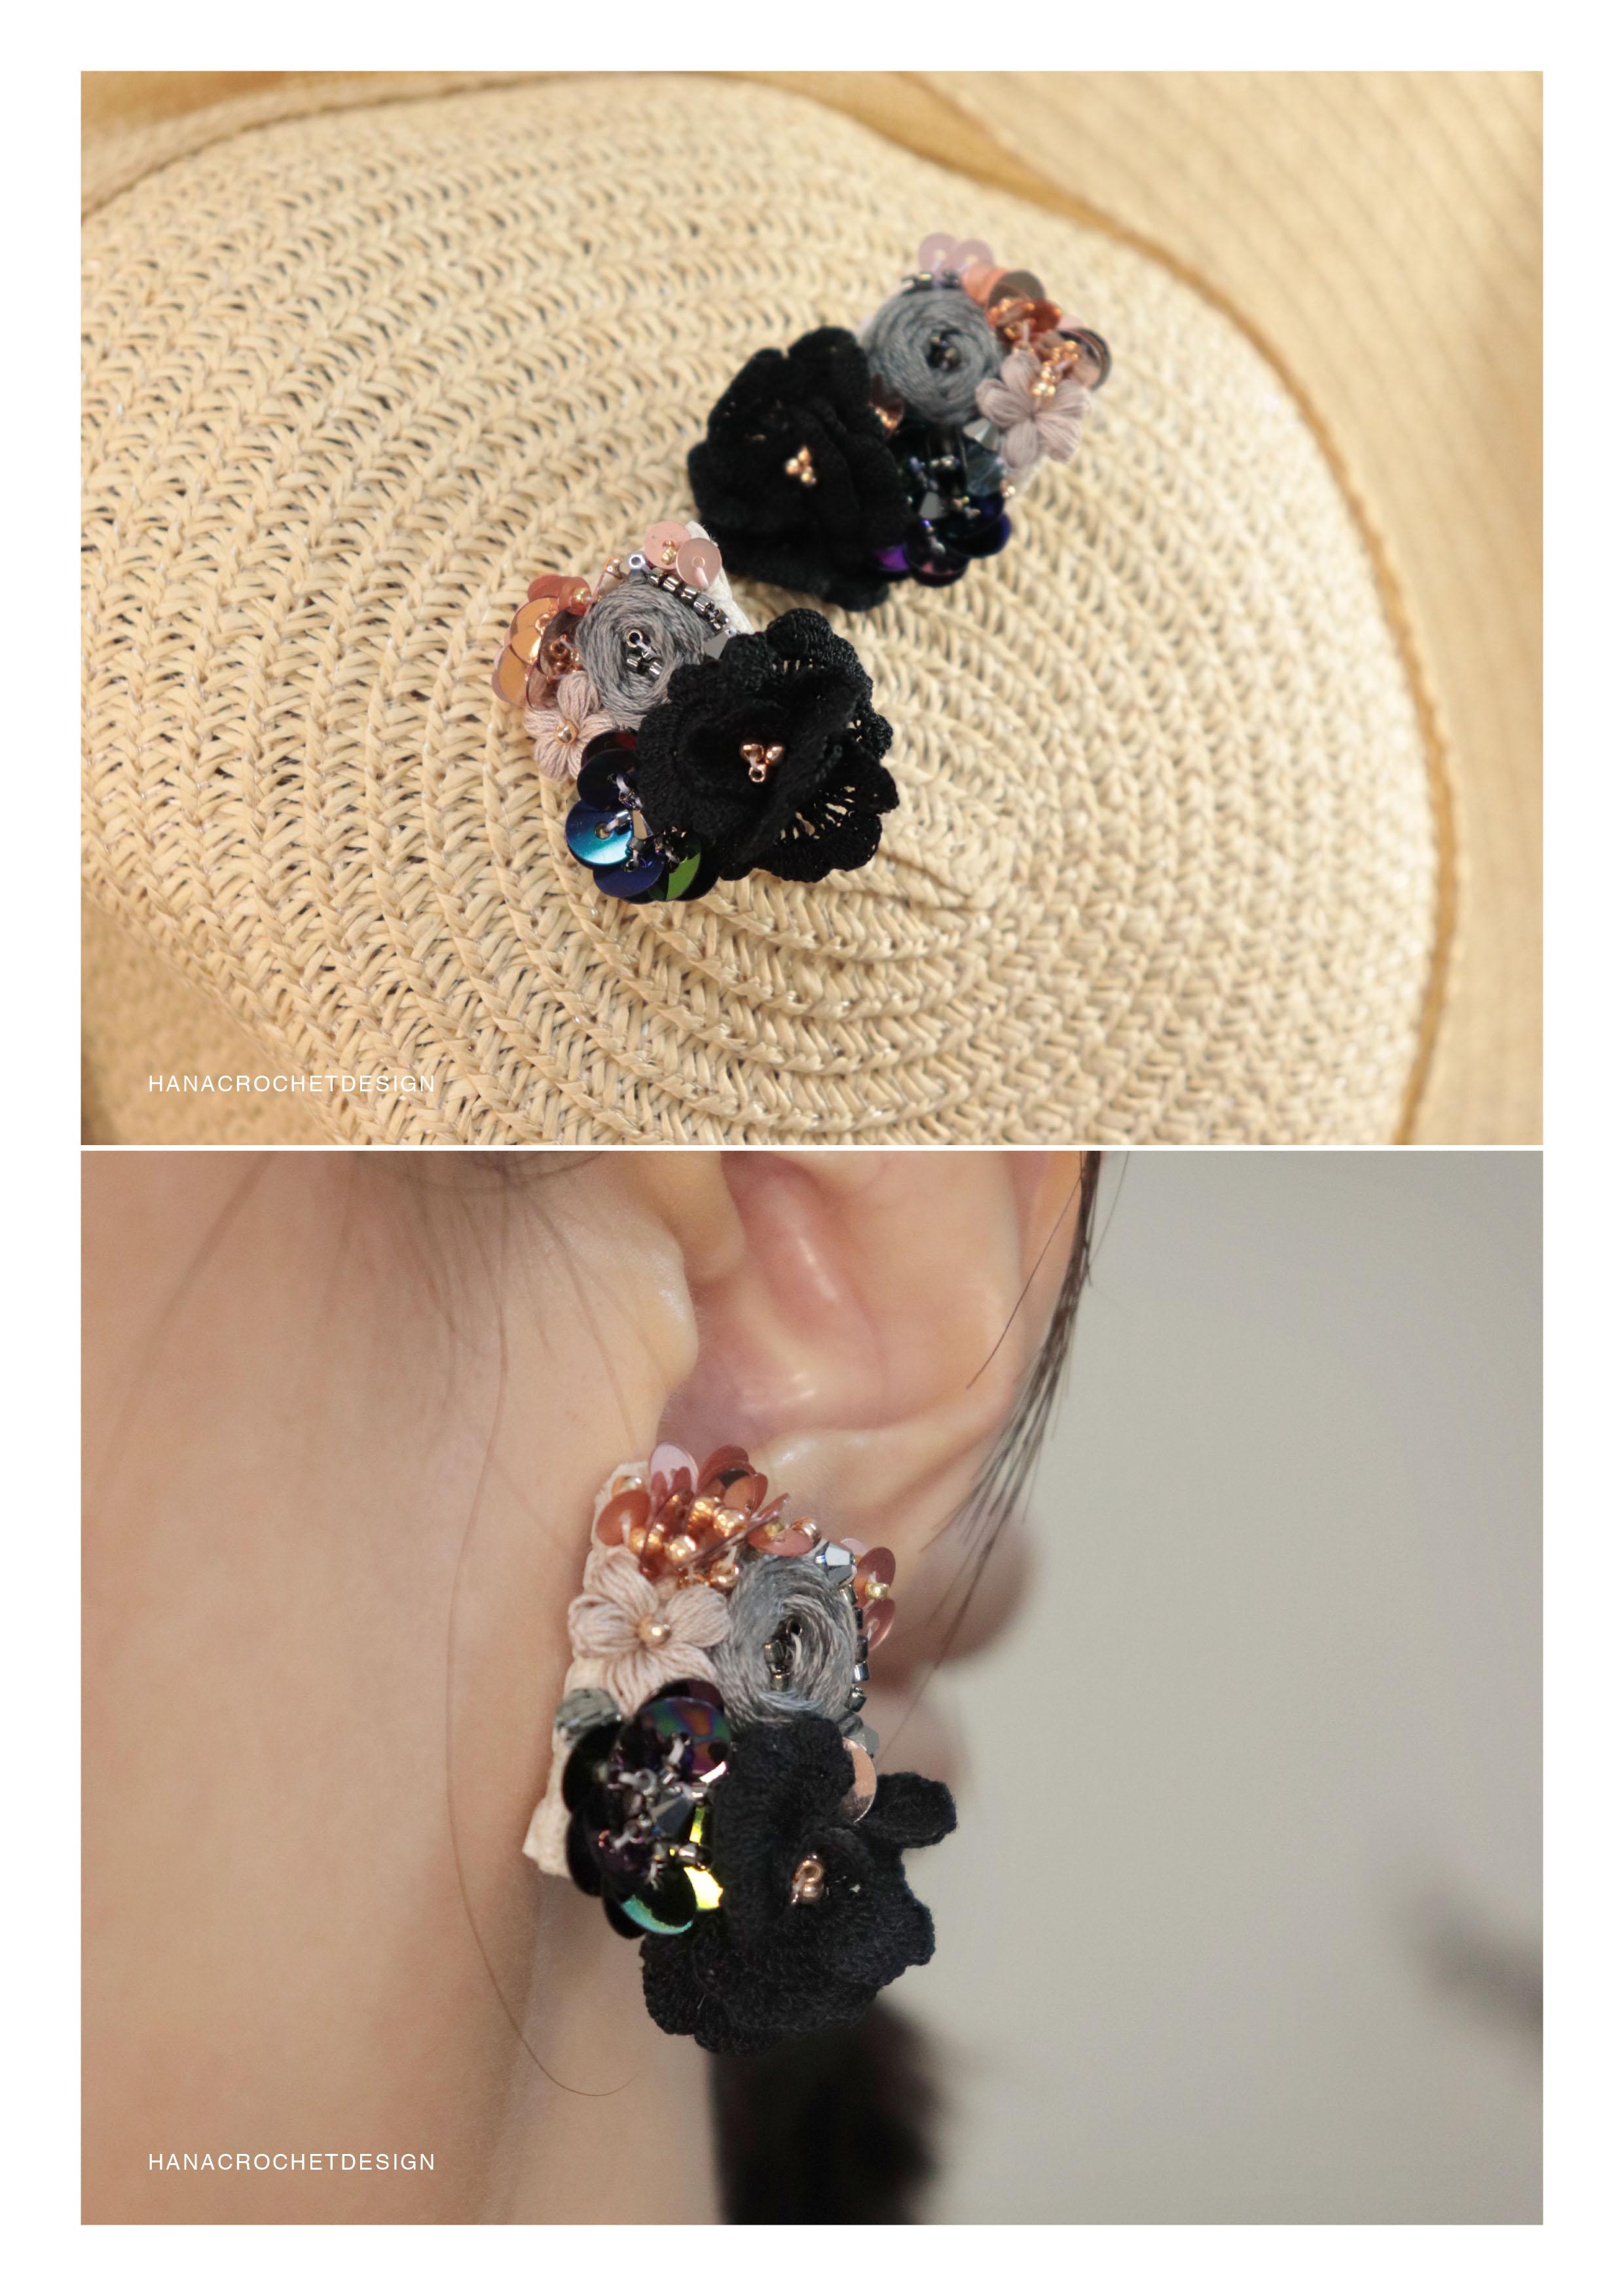
backoff the earrings. After that, I'm going to sort a room together. That's it. This is how the finished
product looks like. I hope you enjoy making crochet earrings
together with me. For more inspiration, you can
check out my Instagram had not brochure design and see you again in my next tutorial.
 Hanacrochetdesign Eva Widjaja, hanacrochetdesign