Transcripts
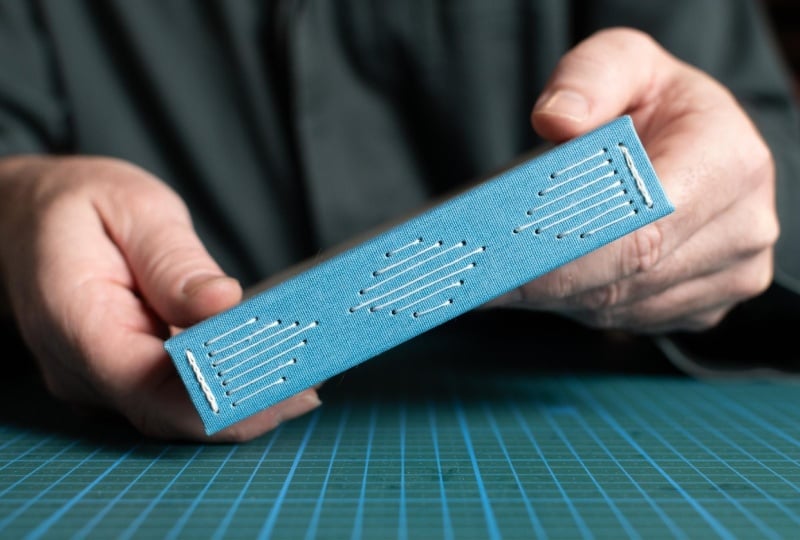
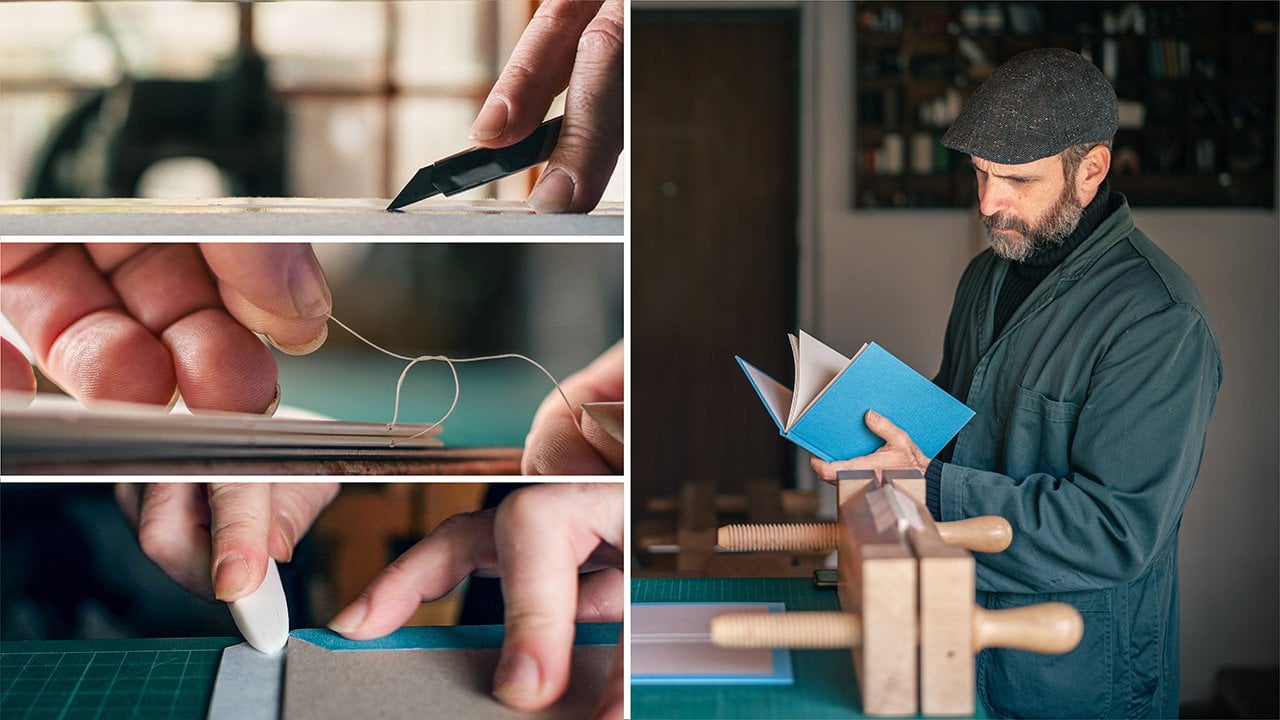
1. Dimond Stitch Intro: Have you ever seen such a spine? Hello, and welcome to my studio. My name is Ido Agassi, and today I want to
challenge myself and you with a more complex
nonadhesive binding. I call it the Diamond Stitch, and the complexity
is to make the holes exactly like the design and
then follow with the thread. So this class is going to
be filmed in one take, but it is going to be
divided into lessons. So with an idea in
mind, let's bind.
2. Tools & Materials : Before we begin, I
would like to go through the tools and
materials that you would need. I will put a gray board on the table so we will
have a nice background. And we're going to
start with a ruler. This is 30 centimeters. I'm going to use
also a craft knife. This is with a 30 degree blade. I really recommend that. Moving on to the bone folder, you would need
scissors, and all. But you can also improvise
with a push pin, a needle, linen thread. This is number 40, but you can also use
synthetic thread, but just don't forget to fuse the edge of the thread
so it won't fray. A pencil. You would
need a glue brush, some PVA or white glue, whatever works for you, you would need two
bookbinding boards, 14 on 10 centimeters and a spine that is the same length
and 2.5 centimeter wide. I'll move on to the paper. We need 28 sheets of paper
for seven signatures, and the size is 20 centimeters
on 14 and the strip of cloth 18 on 8.5 and
for the inner spine, we would need 13 on 8.5 as well. You will need two
decorative papers, 18 centimeters on ten, and for the inside, I use the same paper, and this is 13 on 9 centimeters. So these are all the tools and materials that
you would need. I will also make a list of everything here,
so you'll have it, you'll make sure that you have everything in
the right size. So with an idea in
mind, let's bind. I'm going to clear everything
and we will start working.
3. Connecting The Boards: So I'm going to start
with making the binding. I'll bring a 2.5
centimeter weight, put it on the edge
of the binding, and just mark a
line with a pencil. I'll do it to the other side. And now I'm going to
take a waste paper, one underneath, and one
until my line here. I'll bring the glue and
glue up until the line. The wastepaper helps me
give a straight line. Take it off. And now I'm going
to take a piece of cloth and connect
up until the line. Making sure on top and bottom, it's smaller the same. Flip it over, and now I'll bring a weight to act
as a straight line, and I'll take a gap
of 5 millimeters, and I'm going to
connect the spine. And bring it to my gap and to the straight
line here. I'll take it out. And now I'll bring
the other one. And I'm going to mark
with a pencil until where my previous marks
are on both sides, bring my ruler and
knife and cut it. And now I know I'm exactly
in the place I want to be. I'll bring back the
weight and the gap. I'll bring two
waste papers again, one for the bottom side, and one for the top. And again, I'm going to glue it from the paper
towards the board. Take the waste paper off and bring it to the gap
and to my straight line, take it out and flip it over. And now have exactly
the places I want it to be 2.5 centimeters
from the binding. I'll flip it over, and now
I'm going to glue the turn ends Take a waste paper out, bring my bone folder, fold it, and go
inside the gaps here. Flip it to the other
side, another wastepaper. Take the wastepaper out and connect go inside
the gaps here. So this is the first stage.
4. Covering The Boards: Now I'm going to flip over
the binding like this. I'm going to take my weight see them on a
straight line here. I'll bring my paper. This is a very special
fabriano paper, but the outside has a little
bit of lamination on it. This is leftovers from a
project I did for menus, and that is why I took a very expensive paper but added a layer so it
could be washable. I'm going to make a cut 2
centimeters on top and bottom, and that's more or less here. I'm looking at my cutting mat, and that's how I
know where to cut. And as you can see,
the cover material is going up until this point, so this is the point
I want to glue. And what I'm going to do is I'm going to prepare the paper. This is the side and put a
weight on it so it won't move. And I'm going to bring a piece
of paper underneath here. I'm going to glue
up until my cloth. The whole board. And take
the waste paper out. And I'm going to glue only
the edge here of the paper. I'll bring the
paper to my weight. See I'm straight here. I'll move the weight, take
my bone folder and connect. And what I actually did
is covered with paper, the edge of the cloth. I'm going to flip it over. I'll bring a two centimeter
ruler and trim the edge here. And let's do it to the other
side and taking my weight, making sure it is
where I want it to be a piece of waste
paper underneath, waste paper for the
paper that's going on, making sure that's
the right side. I'll put a weight on it. I'm going to glue only the board because I'm always aiming to glue the thicker material first. And the board is
thicker than the paper. And now I'm going to glue
only the edge of the paper. I'll take the waste paper out here and I'm going
to lift my paper. Take my bone folder. I'm going to bring
it into place, see that it is touching my
weight up until the line. I'll move the weight aside. And with the bone folder, I'm going to go over it and all around. Flip it over. Take my two centimeter
ruler and trim the edge. Now I'm going to
take my corner jig, and I'm going to trim
the edges all around. The last thing I need to do for this stage is turn in the paper. So I'm going to glue the
alongside of both parts. Take the waste paper out, bring my bone folder and go on the edge of the
board and connect. Let's do the other
side on the edge and connecting and
working the corners. I'll flip it to the other
side, wastepaper underneath. Glue the alongside, take
the wastepaper out and connect. Work the corners. Short sides.
Wastepaper underneath. I going on the edge,
and then connecting. Make sure that the
corners looks good. And the last side. Take
the waste paper out, go on the edge of the
board, and then connect. So we have ourself binding, and the next step is to line
up the inside of the spine.
5. Lining The Inside: I'm going to bring a strip of cloth glue it up until the end. Lift it, and I'm going to locate it equal
on top and bottom. Connect first the
middle side and then go to one side and to the other and connect to the cover. Now the last stage to finish the outside cover is to
line the inside with paper. I'm going to use the same paper. It is half a centimeter
less all around. I'll bring a piece
of waste paper and put a weight
so it won't move. I'm going to glue only the board and then all around
the paper here. No. Lift the paper, take
the waste paper aside, and now I'm going to bring
it half a centimeter all around and connect. Let's do the other side. G to bring it half a
centimeter all around, have still time to move
it if I need and connect. And while I'm dealing
with the inside paper, I'm going to put it
inside the press, so I'll open the press. Put the binding inside. I'll take the board, put
on it, and press it.
6. Preparing The Signatures: Now I'm going to move on
to folding the papers. I'll bring a weight so it
would act as a stopper. I'm going to fold four
papers each time. In this binding,
I'm going to use white paper around 90 grams. It is called Zeta. And I'm going to make
seven signatures, each one constructed
from four papers. While folding these papers, I'm thinking about
the best way to show you the piercing
and sewing procedures. That happens quite a lot
that my thoughts are drifting away while working
on something repetitive. So I have seven signatures. Now, what I'm going to do
is trim the edge here. I want to 10 centimeters. I will locate it
on my cutting mat. I'll bring my ruler and a knife. See I'm straight
on the line here, and then trim the edge. You see I'm not letting
go of the ruler until I see everything is cut. Let me do the rest. Of course, you can also
use the paper as is, but then take into consideration
the outside cover. And because my cover is
ten centimeter wide, the inner paper needs to
be in the same width. As you can see, I like to
locate the paper each time on a different point and not to cut everything in the same location on my cutting mat.
And I'm finished. Let me see. Everything
is exactly the same, and I can move on to making
the holes inside the cover.
7. Piercing Holes In The Cover: Going to bring some
boards to protect my cutting mat and let
me bring the cover. I'll put it on it like so. And now I'm going to
bring my template. I marked it with the
location for the holes. So if you are interested in making this
binding technique, what I'm going to do
is in the description, add a link to this template. I'm going to connect two pieces of masking tape just for
the template, not to move. So one here and one
on the bottom side. And I'm making sure it is
straight because you need to be very precise
in this stage. I'm going to bring my all, okay? If you want, you can also
try to use a push pin, but the all is the
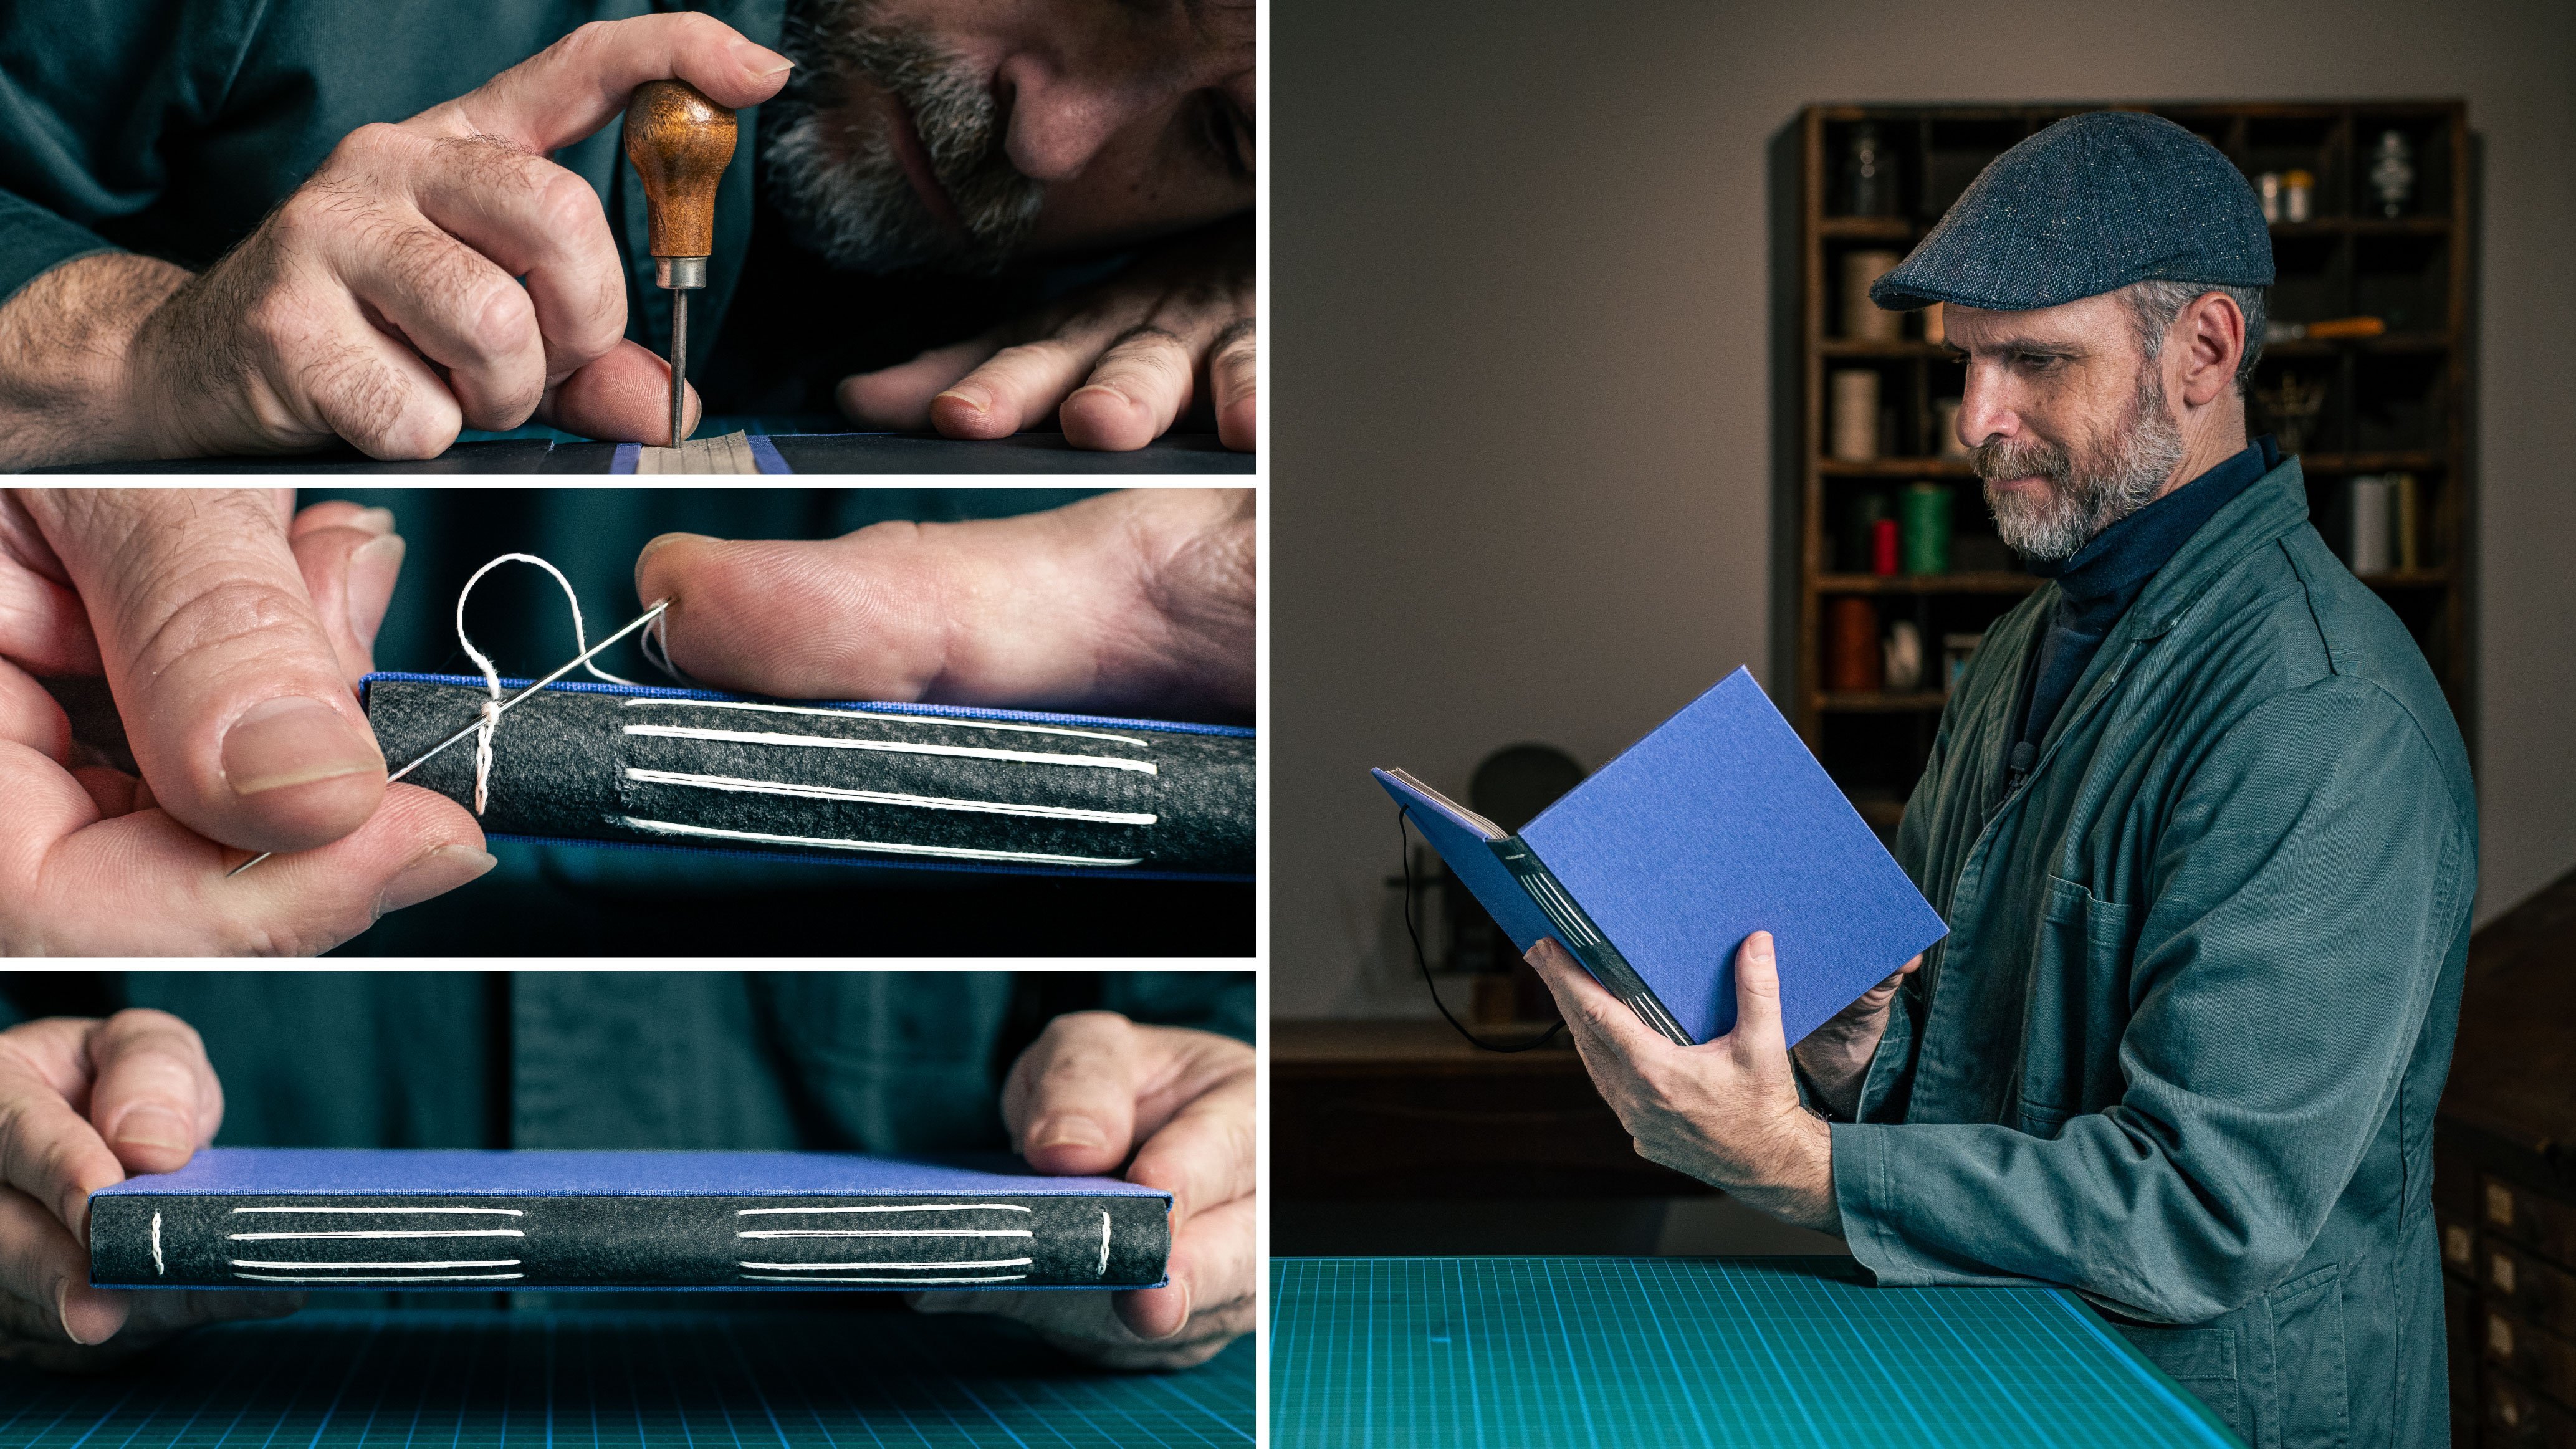
right tool for this. I'm going to start by making
seven holes on the top side. And now on the next line, you need to take your time
with this and be very precise because
that's what people are going to see on the spine. And now I'm going to move on
and doing the bottom side. And now let's do the pattern. Okay. I'll move on to these. When I'm finished, let
me open a masking tape. I'm going to lift it. Wow. Look how beautiful.
8. Piercing Holes in The Signatures: Now let me start making
holes inside the signatures. And here the template is
quite complicated because not all of the
holes are going to be inside each and
every signature. It varies between
if it's the middle, if it's the first one,
the last one, and so on. So I'm going to start
with the first signature. And here I need to be in focus. All of them are getting
the top and bottom holes, but other than that,
they are different. So I'm going to start giving the bottom hole and
the one next to it. And let me do the top side also. And now I need to
do one over here, one over here, here and here. So that's the first one. The second one. Again,
I'll do top and bottom. And now, this one, this one, one over here. And here, Third one. Again, you need to
concentrate here. Let's do the top and bottom because they are all the same. And now, this one, this one. This one, and Great. So this was the third one. Number four, that's the middle. Top and bottom? No. Mm. Two. Three, and four. Okay. Number five. Number five, we'll get top and bottom and the same
location is number. Three. Moving on to number six, you see why I said this
is a more complex one. I think that's the
most complex thing to make the holes in
the right location. Here, here and here. And the last one. Connect it, tap it
a bit. Up and down. And now we want number seven. And here. Great. You see the diamond?
9. Sewing Procedure Signature 1&2: I think I'm ready to
start sewing, are you? So I'm going to bring
my linen thread. Let me bring the signatures. And because I have
seven signatures, let's do eight times one, two, three, four, five,
six, seven, and eight. I'll cut it and
thread the needle, make my needle trick. Now I'll bring the cover. I'll move this aside like sew. And let's start working. I'm going to take
the first signature and go out in the second hole. I'm going to leave a tail and go inside the second hole
of my first line. Pull the thread nearly
up until the end. Now I'm going to go
in the next station. The third one in the cover
and go inside the signature. Next station outside to the spine and pull the
thread. So I'm here. Let's go on to the next station. Try to go directly inside
the signature also, make so and pull the thread. Outside to the spine. Pull it a bit and
to the next hole directly inside the
signature. Give it a pull. And now going out to the spine, pulling the thread,
pulling everything. Let's see how it looks. Nice. I'm going back in but
not inside the signature. Creating a loop going
in the next one, catching the loop,
pulling and back inside. The first signature
is always moving a bit and could be quite
difficult than the rest. But we did okay. And let's take the second one going
inside the signature. Pulling the thread.
Now going inside the second station and
outside to the spine. Pulling the thread.
Nice. Let's go on to the next station,
pulling the thread. Next station into the spine, pulling a bit from the outside. See how it looks.
From the inside out. Nextation. Pull it a bit and inside the spine. Now I'm going to go inside
the first signature. Are you keeping track? I'm in the first signature, and now I'm going to
make a double knot and tie the beginning of the
thread with the rest. Lock the knot, trim
the beginning, and go back outside. And now I'm going inside
the second hole again, and it appears to
be a chain stitch. I'll jump to the third station. I'm going to go with
a needle inside the first chain back
inside the third hole. And let's go on with
our binding. To
10. Sewing 3rd Signature Until The End: Take the next one.
Inside the first hole. Into the next one
into the spine. Pulling Nextation directly
inside the signature, you see. Pull it. The next one. Pull it. I'm here, right? Flip
over, go inside. Pull the thread. I'm
going to the next one. Go inside. That's exactly the
reason why we made the holes for each
signature separately, and then you are
not confused while sewing when you need
to go out and when you are not supposed
to go out because you have just the holes
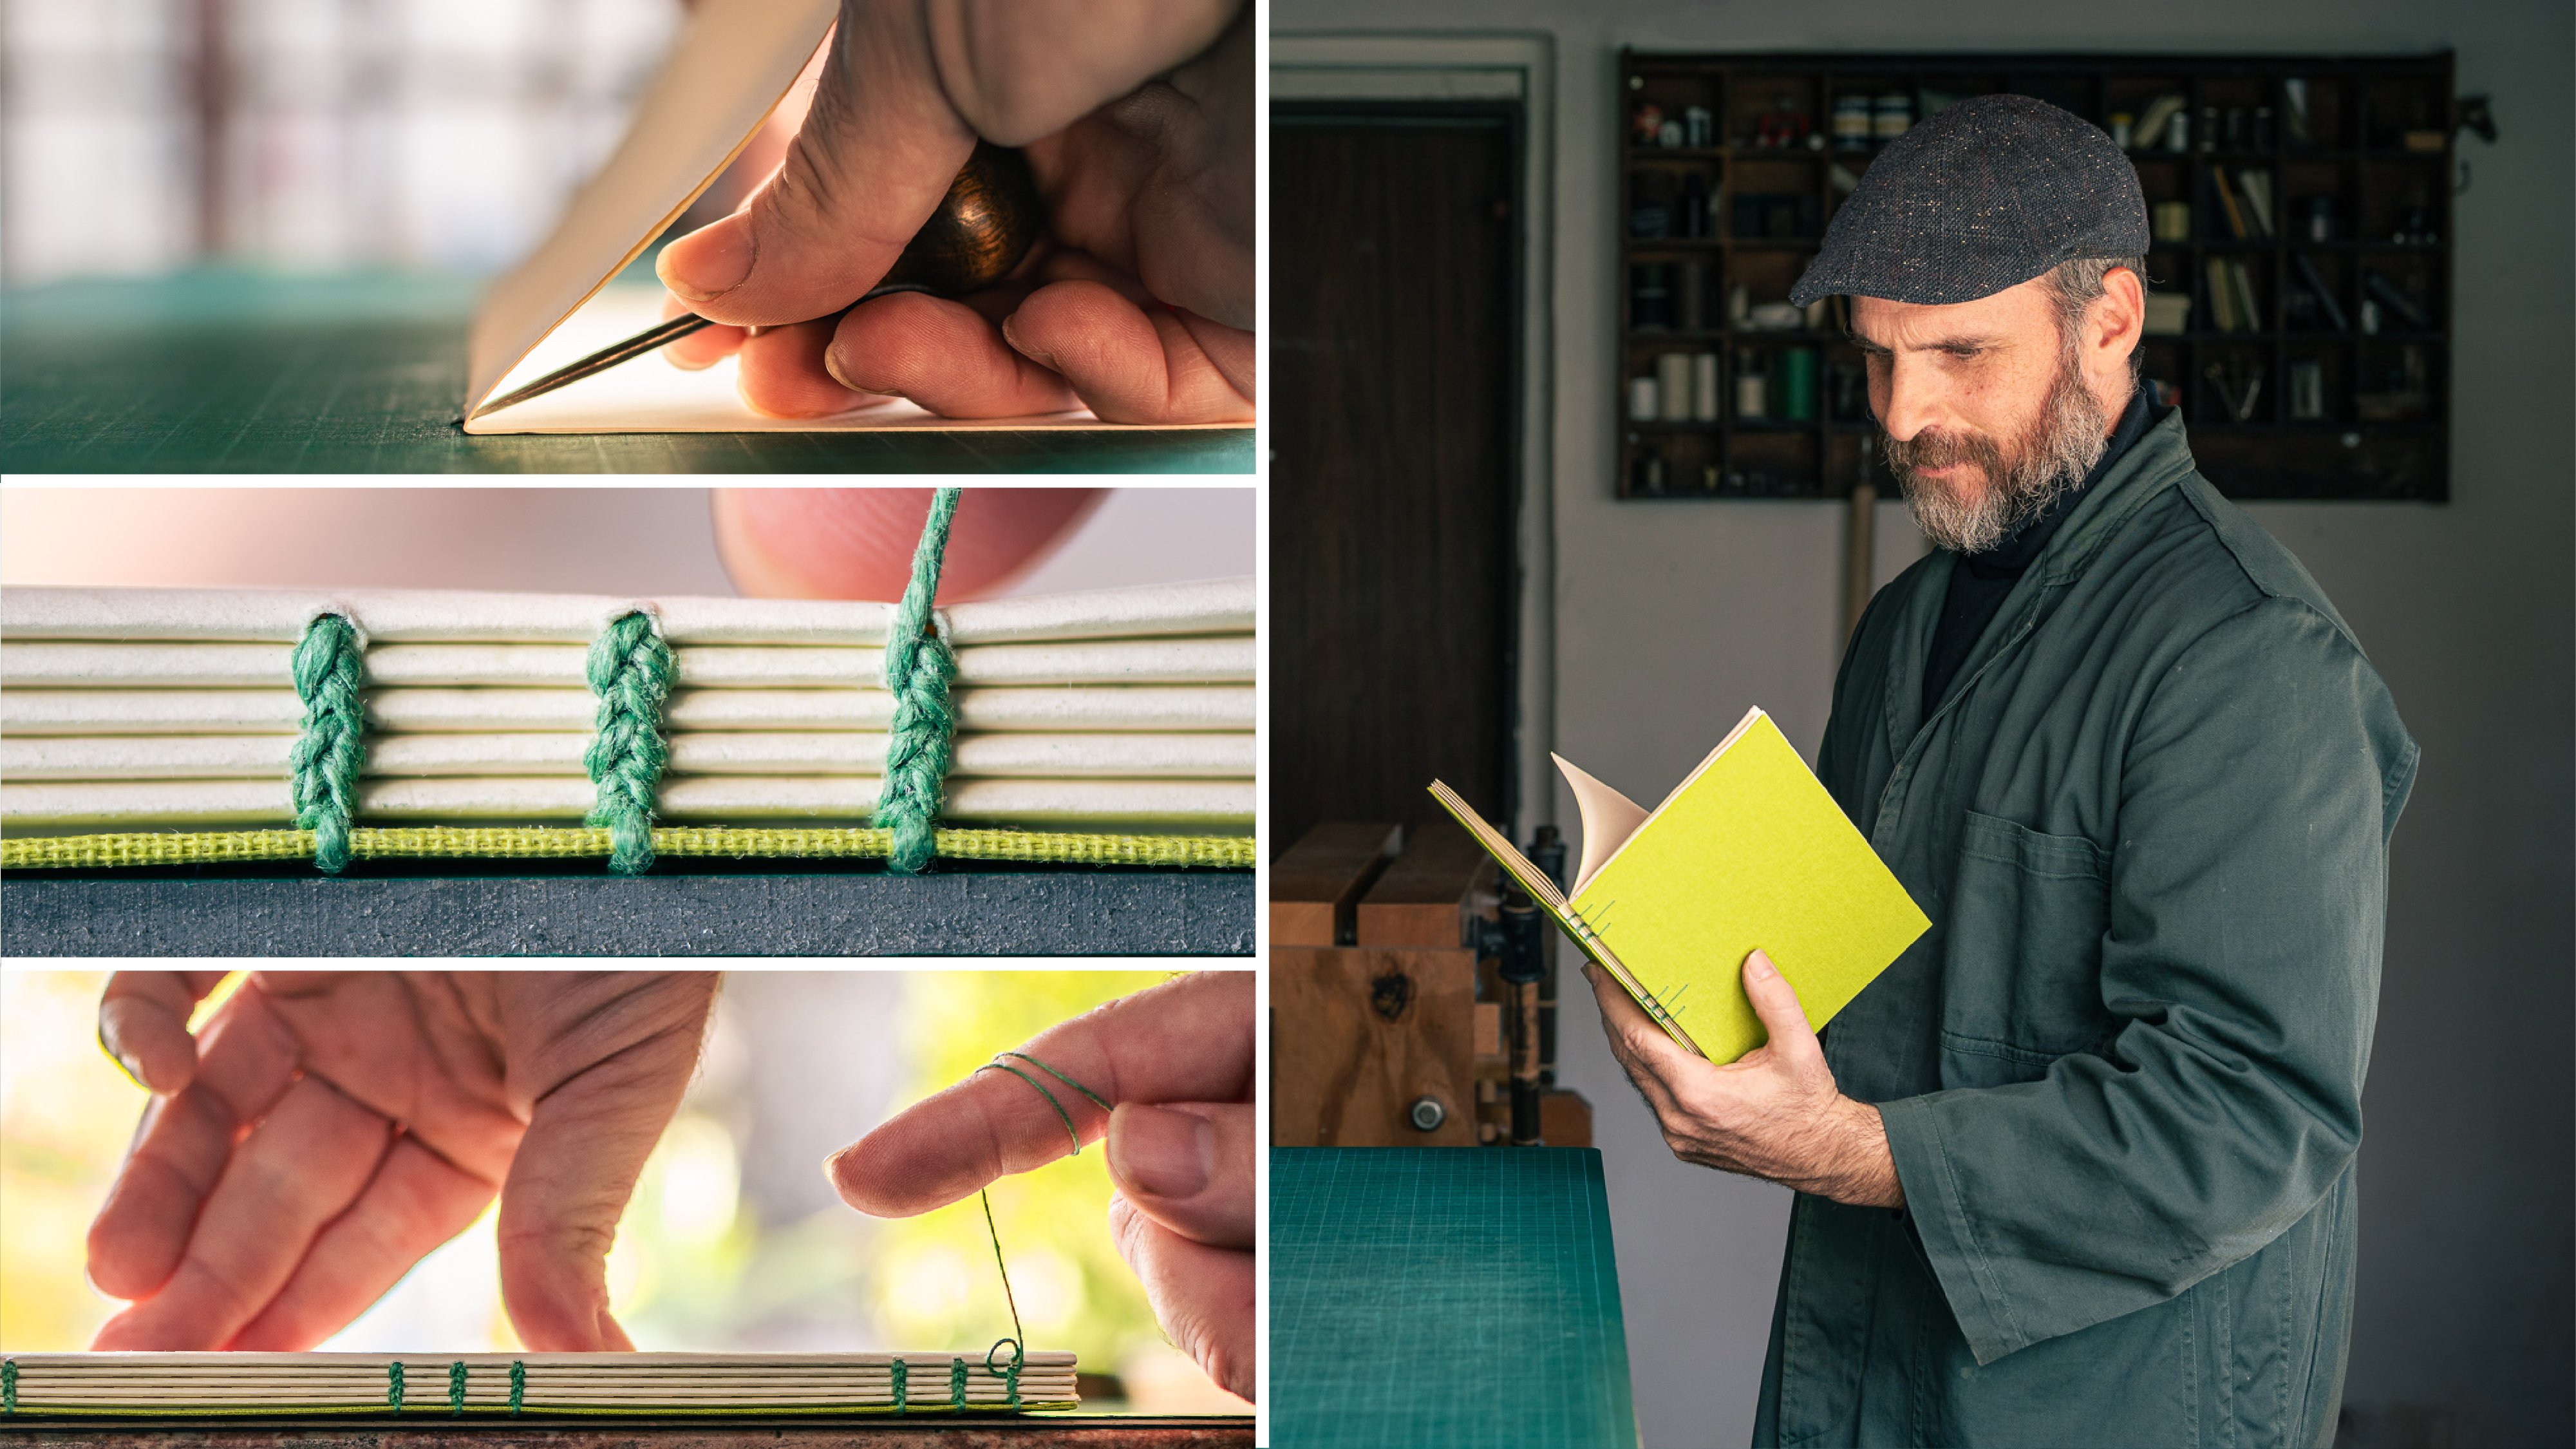
for this signature. And the last one pulling. We now going to make
a chain stitch. That's back inside. We'll go to the next one. Make another chain. Back inside. And let's continue. Take the next one. Cite the signature.
Back outside. Next station. Now it is quite close. We're going to take this one. Now we're doing number four. That's the middle one. The
middle of our diamond. You see that it's loose a bit, I'm going to tighten it here. Yeah. Now it's better. And I'm going to go back
inside the next hole, inside the signature, pull
the thread, and back outside. If the marks are okay, then the sewing of them
both would be much easier. Pulling a bit and
to my last hole, Make a chain stitch. Back inside. Jump one. And let's go on. We'll take the next one. First hole. Second hole
to the spine, pull it. Next one. Ambulance. There's so
many ambulances today, and I need to stop and then continue and stop and continue. So this is a bit of
behind the scenes for me. You're completely focused on
trying to teach something, and then that's what happens. So let's wait a couple
of second more. Okay. I'll pull it and outside
in the next location. We are here now. Look how
beautiful it's becoming. And let's go on. Next station, inside the signature.
Did I cut it? Yeah, pull it a bit so
it won't dance and move. And to the next one
directly outside. You see I'm pulling
each time. Next one. Pull the thread, and
to the last one. As you can see, the last one, I like to take it just
outside the signature. Make sure I'm going out in
the spine at the right place. Yeah, I'm in the right place. Pulling, that's
the time to pull, going inside the stitch before. Back inside. Jump to the next one. Back inside. And let's do. Number six. Going inside and
outside the signature. Let's find our place. Back inside. Mixed one. I love how it's
turning out to be. The next station, pull it back from the spine inside into the last station. Make my chain
stitch back inside. Let's start the last roll. Last one. Put this inside. Go on to the next
station. Oh, here now. Now I want pull it so
it won't be loose. Nice. Next one. Inside from the
spine. Back outside. Pull it side one before the
last inside the signature. Pulling it tight, going
out the last hole, so I'm outside, making
sure it is tight. Wow. Now I'm doing the
last chain stitch, going inside the station before and now I'm going
inside the signature. When all I have left to do
is just tie a knot here, so I'm going inside
station here. And with my needle
inside the loop, let's do it another time. And because this
is the last one, I like to take a couple of pages after something like this, but not at the end
of the signature, I'm going to lift it,
take out the needle, like in the middle
of the signature, and then I'm going
to trim the edge. Let's see the result. Wow. It's a true diamond. Look what a beautiful spine.
11. Conclusion: I'm eager to see what
you have made and which kind of materials you
chose for your binding. So please share it with
us in the class project. Also, if you have any questions, just write in the discussions. Thank you for watching
and for being here, and I'll see you
in my next class.
 Ido Agassi, Book Artist