Transcripts
1. Introduction and overview : Hi, everyone. Don C here, Artist, designer,
holistic health educator. And I just wanted
to come on with a short little class that celebrates the fact
that spring's arriving. It's going to be
wedding season soon. We've got festivities
already starting. And I thought it'd
be quite a fun thing to just turn some of our art images into little
boxes and little baskets. These are such a fun thing to do and so quick to do, as well. And once you've made one,
you'll get the hang of it and be able to
make quite a lot. And, you know, it's a great
thing to do with friends and family and just have some
kind of activity together. Uh, brilliant to do in
the school holidays, if you've got kids,
they would really, really enjoy doing
this project as well. I'll take you
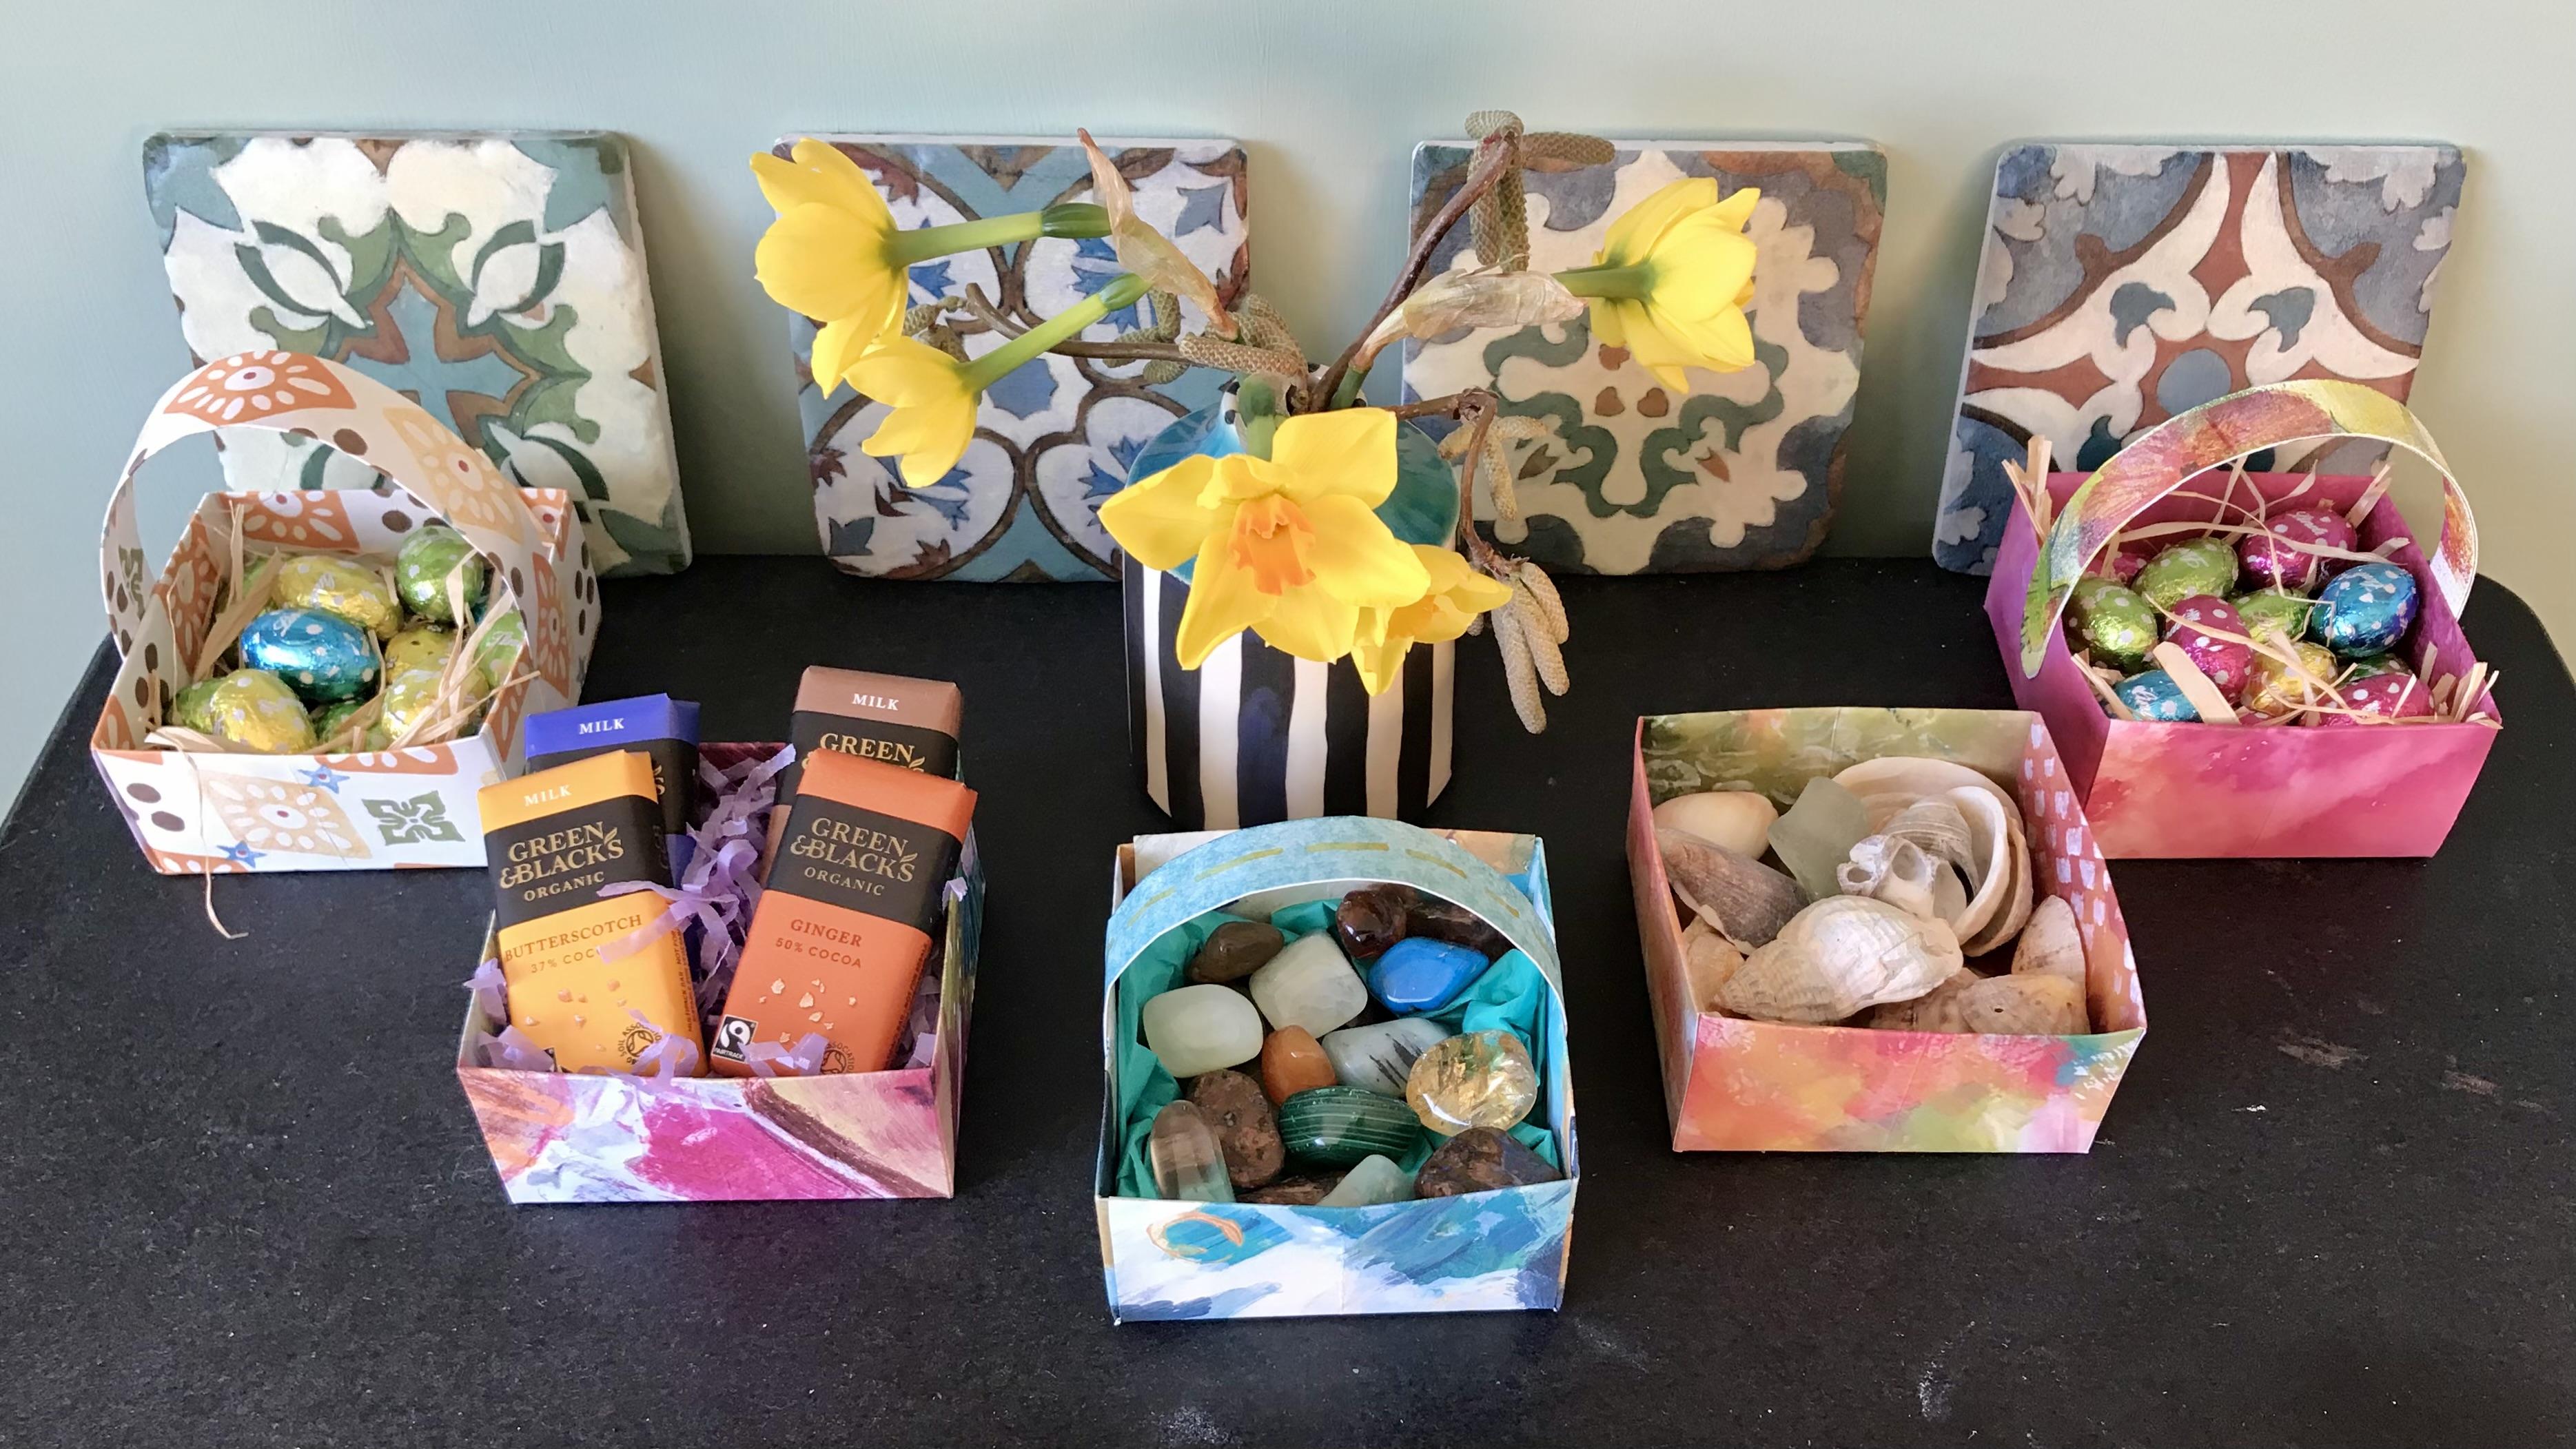
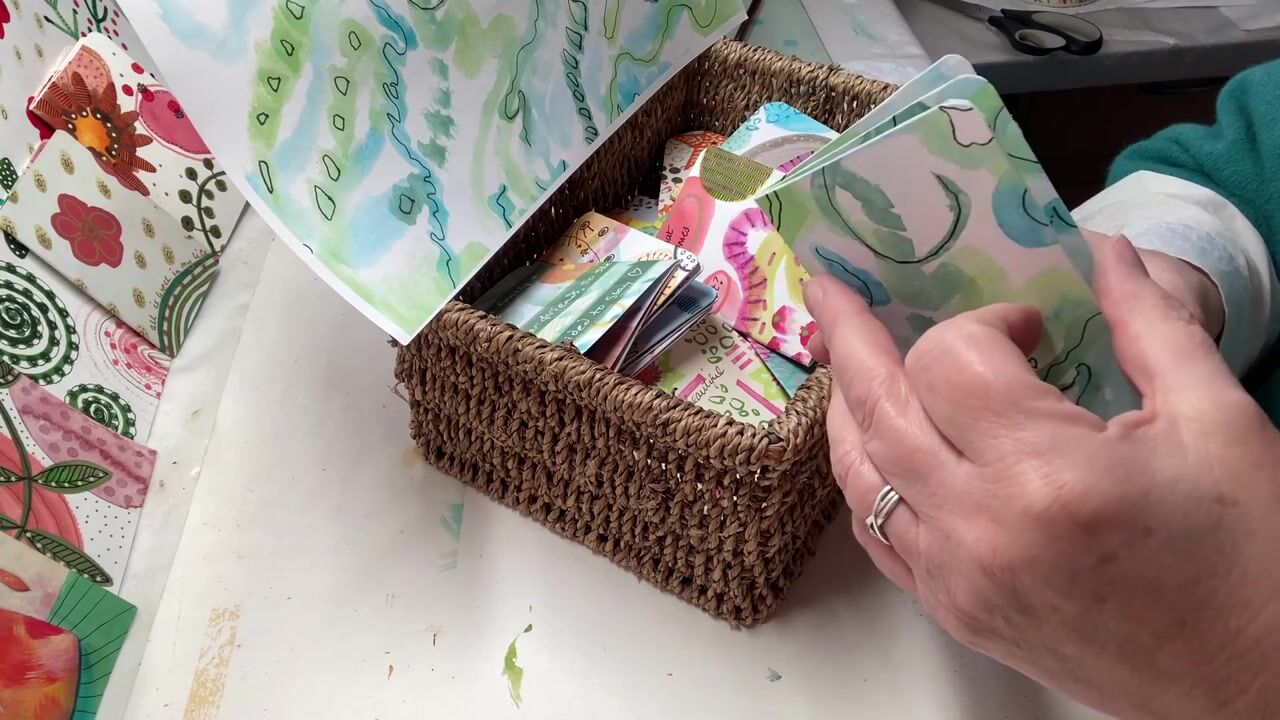
through the process of how we choose the papers, and I will take you through the process of how we make them. And then it's up to you
what you fill them with, what little treasures
you can find, what little beach
finds you can find, what little chocolates you
might be able to find. And I'll just let you something here that it's been
really tricky for me because as I've been filming this with chocolates
in the basket, I had to go out and
buy more chocolate because I ate some of them, and there you go. No, no.
2. Materials : Making these little baskets
and boxes couldn't be easier. You don't need much
at all. You just need a square piece of paper. Now, to get this size here, it needs to be 20 centimeters
by 20 centimeters. You're gonna need a
pair of scissors, a ruler, a pencil
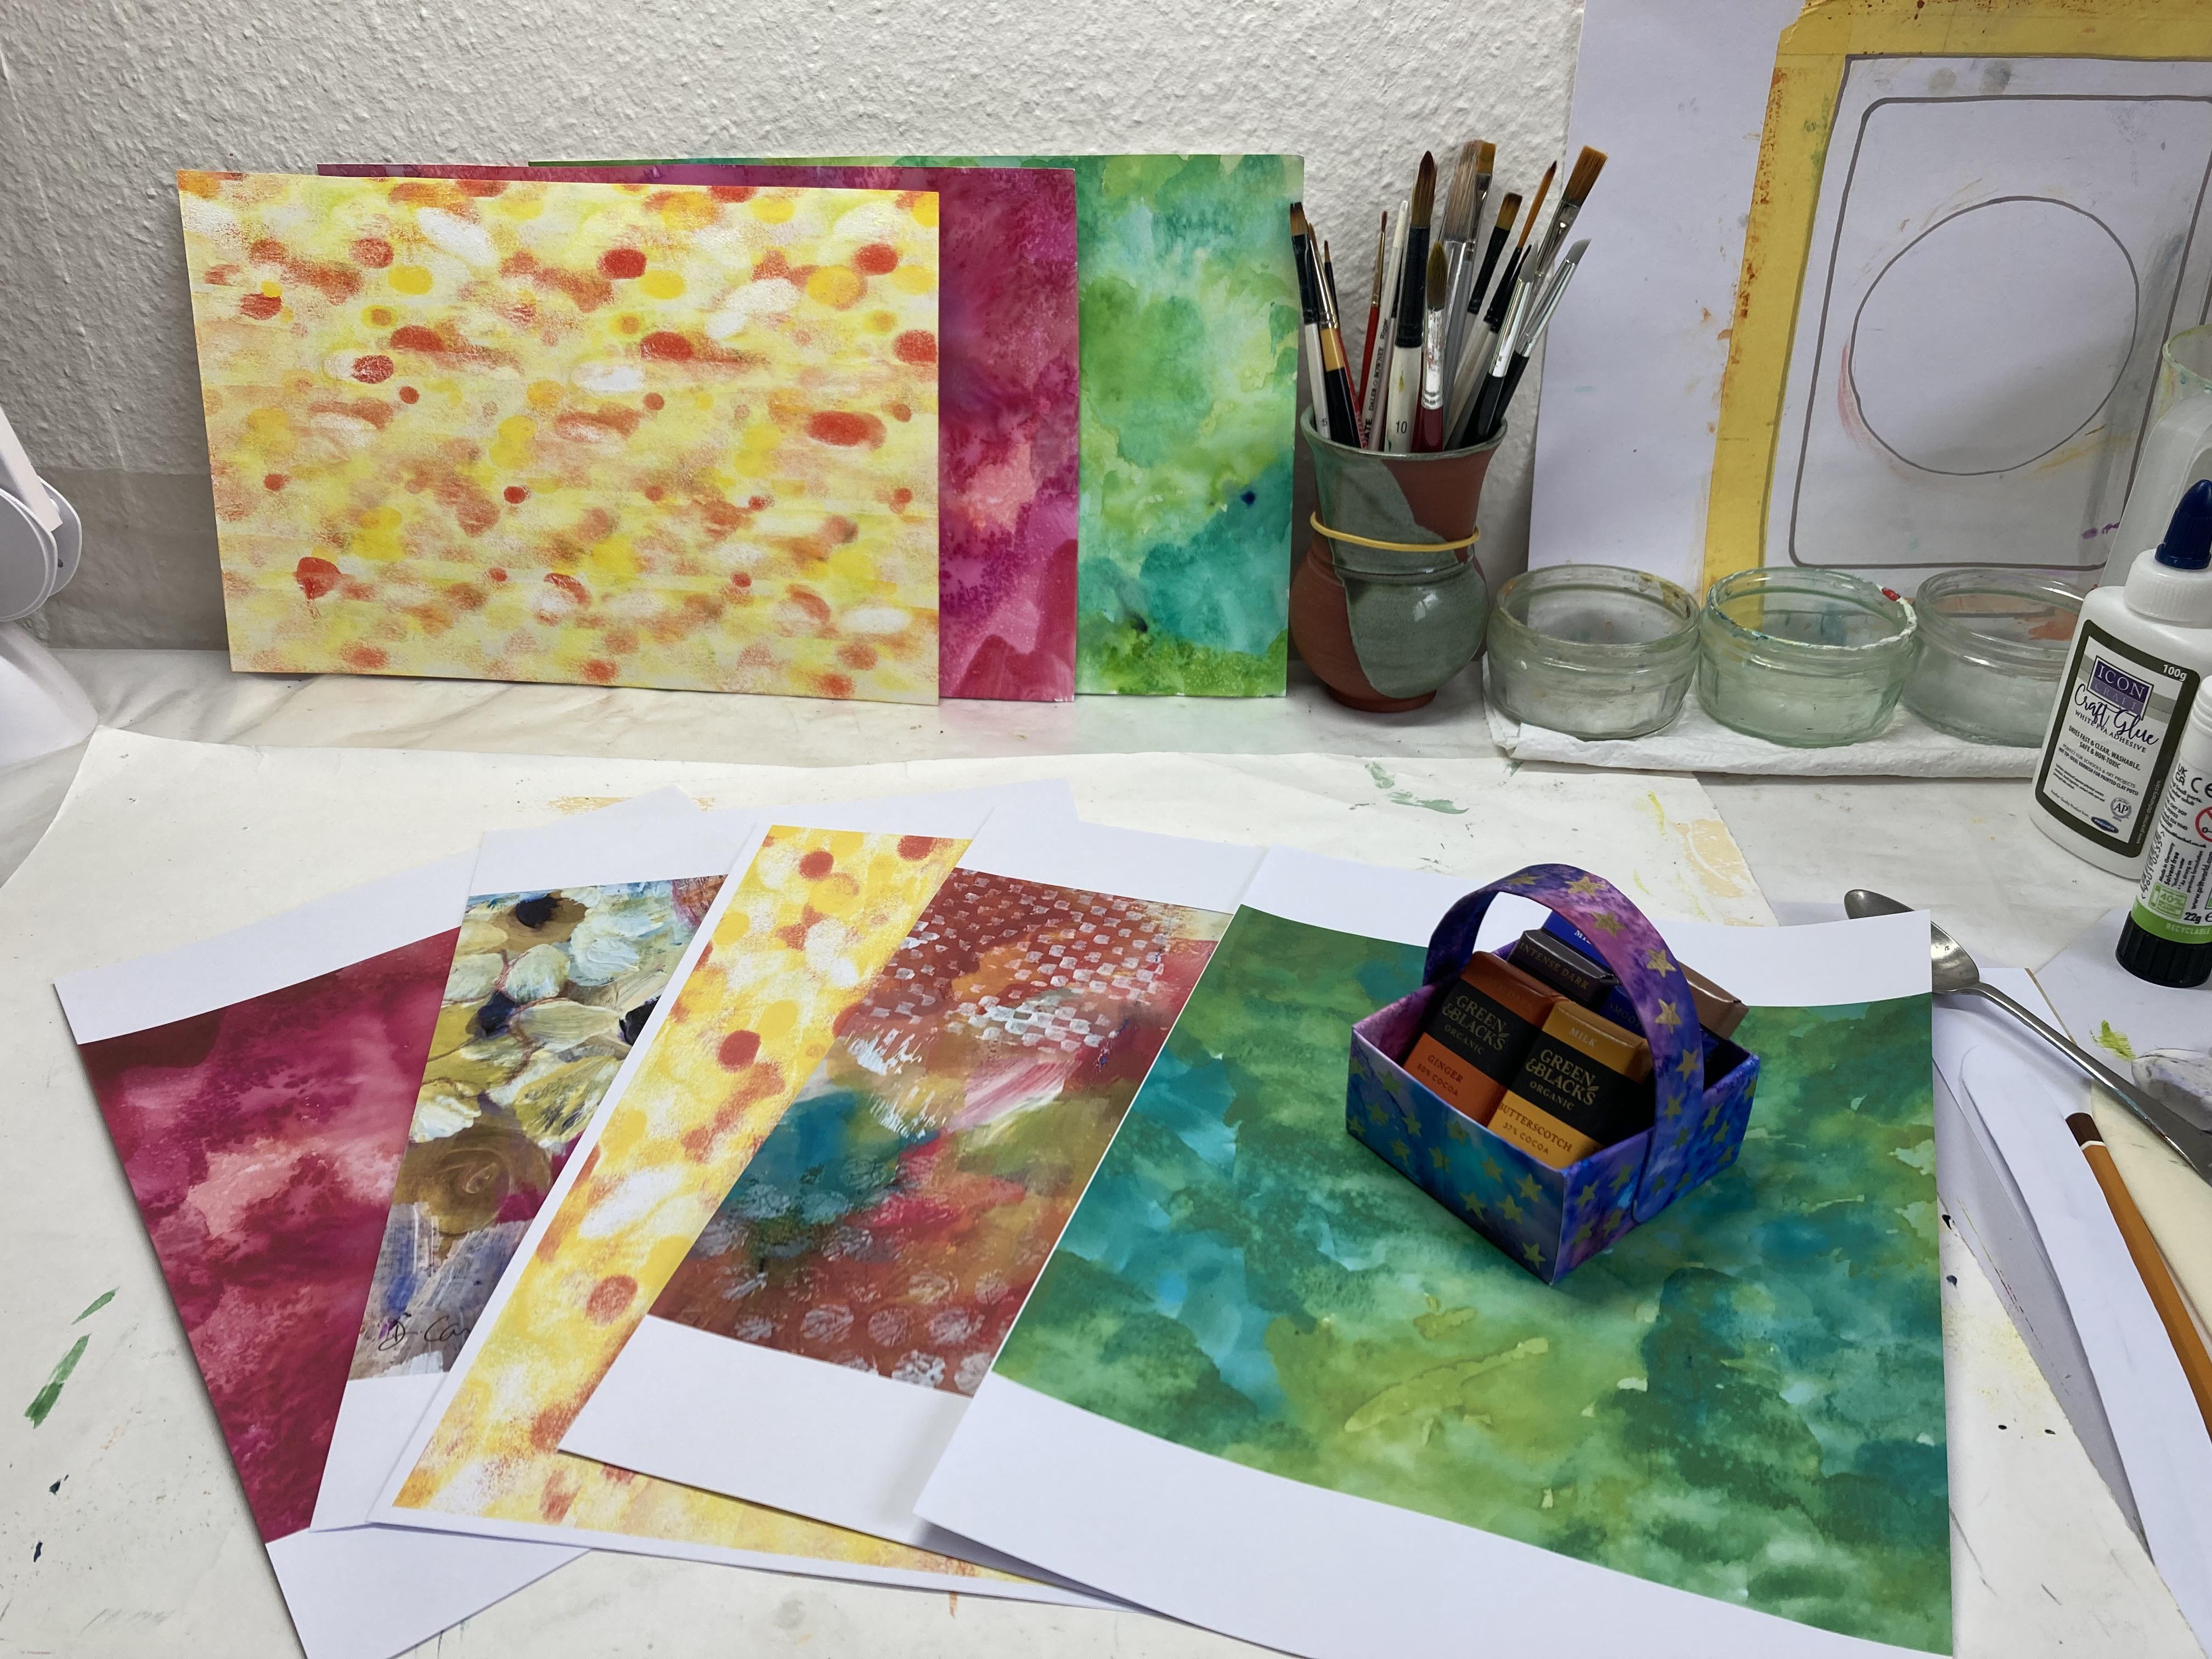
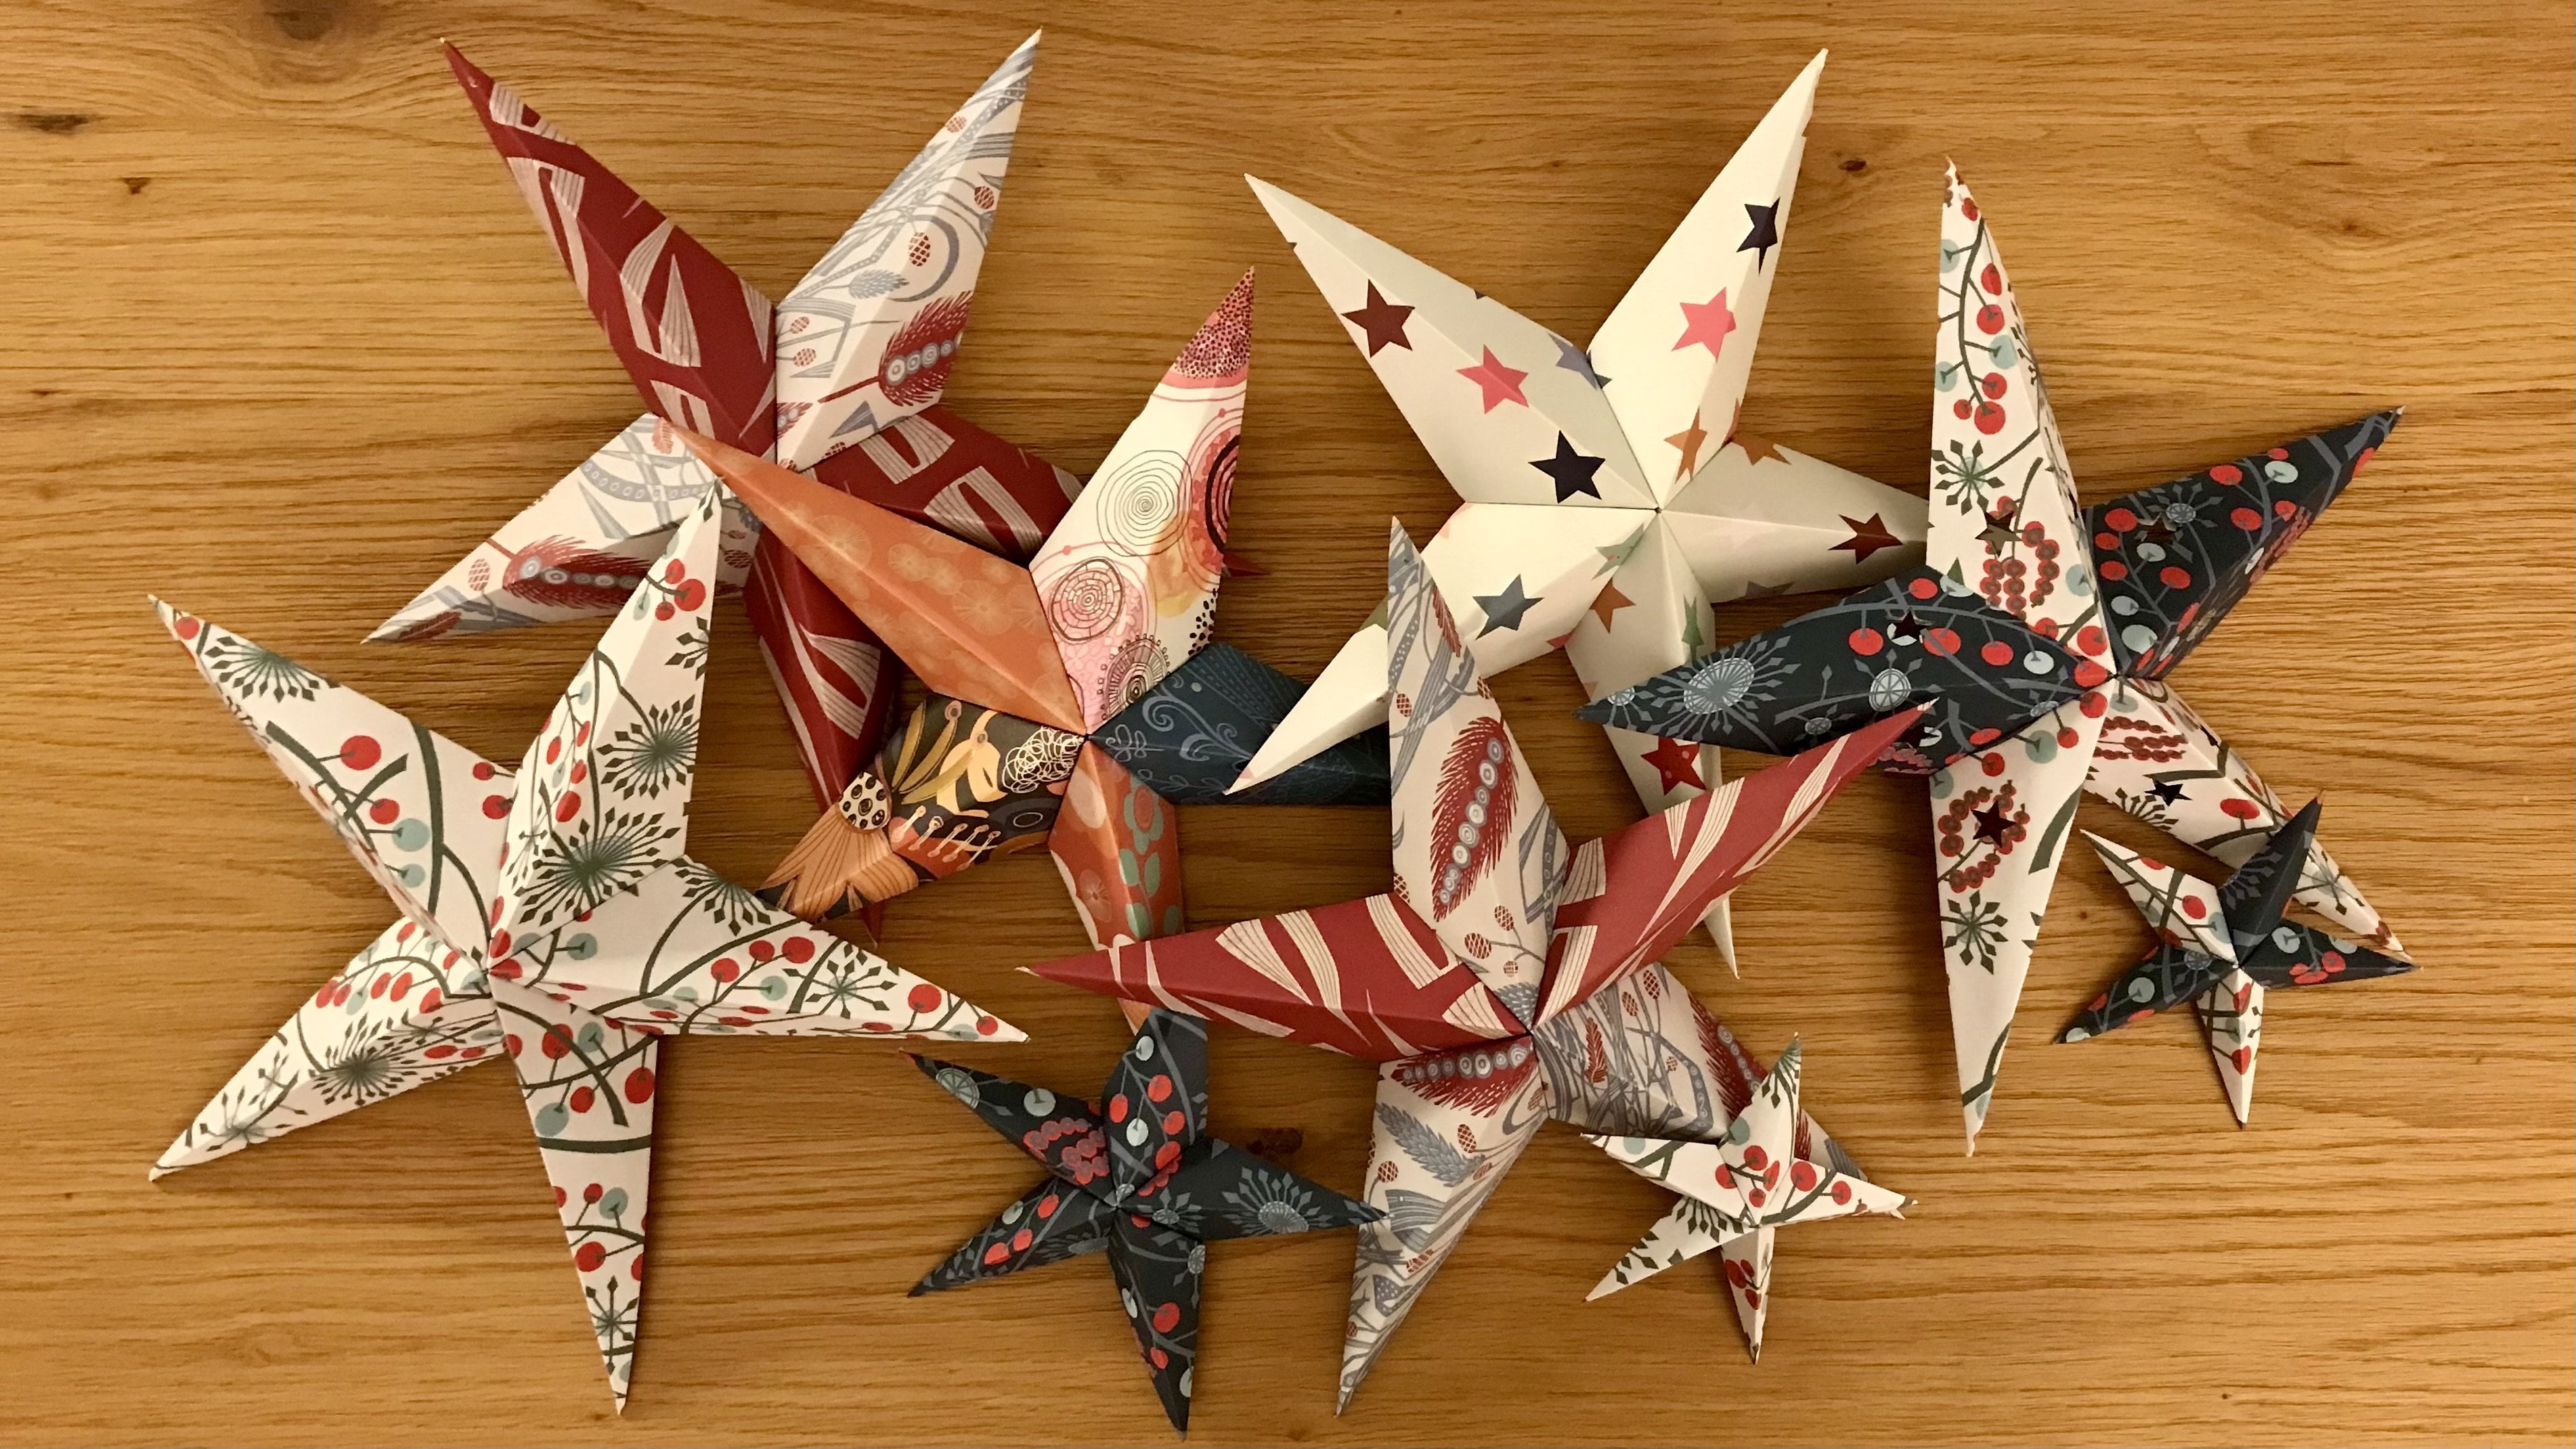
and a glue stick. Now, obviously, you can
paint your own papers, like I've done here
as a background, or you could print them. I used some gorgeous
little stamps for doing a printed pattern on here or you can just
buy ready made papers, but there's something really
satisfying about, you know, painting your own paper and turning that into a
little basket or box. Now what I like to do
as well, actually, because I like to keep
my original papers. And so I tend to photocopy them. I've got a good deal with the
printer here, so, you know, it doesn't cost me an awful
lot in printing costs. But obviously, that's
not for everybody. You know, if you don't
have that facility, then you might
just want to paint your own paper and
use that directly. But I like to take a copy of the painting
that I've done and then use this really good
quality photocopy paper and make my baskets out of that. Now, this comes out here
at 21 by 21.5 centimeters. So basically, I shall
do it by 21 by 21. So all I need to do is just trim a little bit off
the bottom here. Obviously, you know, cut
that edge off there. And the quickest way to
make sure you're getting a square is to let's just move those
out of the way a moment, is to fold that over
to that corner there. Like so cut that
along that edge. I mean, you're going
to be using this fold anyway to make the little boxes. So you're already partly,
you know, ahead of yourself. And you can see that
just needs ever such a slight trimming
down there. Not much. You start there. Basically, you just need your paper to be square and at least
20 by 20 centimeters. So there I've got my square and I've even done
the first fold. So let's have a look now at the rest of the
folding pattern.
3. Folding: So we made the first fold
there, just like that. And now we're going to make the opposite fold so that we end up basically with a cross
in the middle like that. And what I'm going to do here is I'm going to mark that X. X marks the spot, A, B, C, and D. Now, then, I'm going to take
all these four corners, and I'm going to fold them
into that middle point there to the X, just like this. I like to work with
the opposites. I'm going to make that mark
a little bit clearer look, put a big.in it so that
I know that that's exactly where that
middle point is. The more accurate you
can get your folding, the better the box
will come out. So you can see here that these sides are
meeting really nicely. Good way to make
an envelope look. And the final one there. So there look. There we go. Now, you can use a bone folder, or you could use the
edge of a spoon to just get those folds
really nice and sharp. You can use the back
end of a spoon lick, but backside of a spoon. So we've got those
folds nicely like that. The first four folds. Now, what I've done
is I've actually created all the folds
underneath here and marked them so that it's a
little bit easier for you to see where the folds
actually are. I'm going to open that up. Ignore what I've done
there just for the moment. You've got A again
at the top, B, C, and D, X there in the middle. And that bit there where we folded over
into the middle there. I'd like you to mark
that as letter Y. And the bottom bit
that we folded over into the middle
so that it met the X. I'd like you to mark that
line as the letter Z. Excuse me. So what we're going to do
then is we're going to take this point
down at the bottom, this letter C, and
we're going to take it all the way up to
where that Y is. So we're going to
do that. Give that a nice sharp fold and
open it up again. Then we're going to take
this letter C again, and we're going to take it up
to where this letter Z is. So that's that fold there look. So C to Z, mark it off, like that. And basically, what
we've got there then is we've got these folds
here look like this. And what we're going to
do is we're going to repeat that all the way around. So if I turn that
round that way now, let's go back to that fold there look where it meets
the letter X. We're going to take
this letter B, and put a little dot there. We're going to put B up to
that dot there look like that. Mark it off again,
as in mark the fold. Then let's take that fold there where we had it
going to X in the middle. Going to put a little dot there. And we're going to take this B to that dot there
look like that. And mark that fold again
to keep it nice and sharp. G to turn it round again now. And this letter A,
that's upside down, is now going to go all
the way up there to Z. I hope you're
following this, okay. Slow the video down if you need to I'm trying to go
as slow as I can. Pull that one back out, and
then we're going to take this upside down A and mark
it onto that upside down Y. Like that. Then we're going to turn it
around for the last fold. So you should have B at the
top now and D at the bottom. We're going to take D right
up to that point there. Remember, that's the fold that comes over and
meets at the middle. So we're going to
take that D right up to that point there. And then we're going
to take this D. Remember that's the fold there
that meets in the middle. We're going to mark that with
the bone folder just there. So basically, you should have where all these
lines are drawn now, I'll move that background away. Then basically, that's how
many folds you should have. So just double check. I mean, you don't need to
mark them like I have. I just wanted to do
it so that it was a bit clearer on the
video for you. So once you've got
that in place, then it's time to
do the cutting.
4. Cutting & Shaping: You might find it helpful
to mark where you folded. If you don't feel
that you need to do that, that's absolutely fine. But what we need to
do now is focus on this bottom square
here that's created. I'm actually just going to take a different colored pencil, and I'm just going
to draw that out a bit stronger so that you can see which folds I'm actually
talking about here. Whoops very good, is it? I'll turn it round and do
that there as well. Okay. So basically, you've got a square box like this
between the letters A and X, and then you've got a square box here between the
letters C and X. And these two side bits here of the box going to draw
them away a bit stronger like this on both boxes because that's where
we're going to cut so you'll need your scissors and we're just
going to take the scissors and cut along that fold
line up to there like that. So that you end up with
that kind of shape. Turn it round, do the same. You're only cutting
the side marks, not the top and the bottom of
the boxes, just the sides. So this is what you
end up with like this. Okay. Back to A. So we've got these bits here
that we've just cut out. What we're going to do now
is we're going to bring the letter D to where the Xs and the letter B on this side to where the X is so that we end up with
two folds like that. Now, just open them up
slightly. Get your glue stick. You might want to use
a little bit of paper underneath just to not
get your glue everywhere. And I want you to
just put a bit of glue onto that triangle there. Fold it over like this, so you're bringing that
B to the letter X, but you're gluing
that bit down, look. Then you're going to do the
same on the other side. Just bring that triangle with the letter D.
Give that some glue. Hold that over so that it
meets that other point there. Then we're going to stand well, let's lay those down and just fold those over so they meet
in the middle like this. Get your bone folder
or your spoon, give that really
nice sharp fold on that side and a really
nice sharp fold on that side so that
basically you've just created the first
sides of your box. Then you're going to bring
the sides in here. Like this. So that's creating
the third side. You see what I've done there. So I've brought
those two pieces out there and I've connected them
in the middle like that. So again, what we're going to do here is we're
going to just put a little bit of glue
onto that bit there. Sorry, I'm trying to
do this in such a way that you can see what
I'm doing a bit easier. Hopefully, you can. Let's take that back there because what I've just
done there is I've glued the painted side
of that last triangle, and that is going to stick inside there like that so
that those two corners meet. And I'm just going to put a little bit more glue
onto that one like this. And stick that down
there like that. So you've now got basically
three edges made. So now we're going
to do exactly the same with this bottom bit here. I'll turn it round so that
you can see it a bit better, and we need to be putting
some glue onto this bit here, the outer edge
triangle, like this. Folding that there
into the middle. Gonna there it go and attaching that to that bit
there, like that. Now we go. And then on the
inside of that triangle, a bit more glue and attaching
that to there like that. So you can see now that
we've got all four sides. And this is where then we need to just pull this
flap over into here, pull this flap into here, and that creates our box. So with the last two triangles, we've got triangle C here. Last bit of glue. Take this z line up to there, fold it over the top, push it down and put that bit
right there in the middle. Isn't that lovely? Same
again now with triangle A. Last bit of glue. Pull that piece over
the top, push it down, get right into the fold line there and glue that
bit in place so that you end up then with all four corners
meeting in the middle. And there you've got
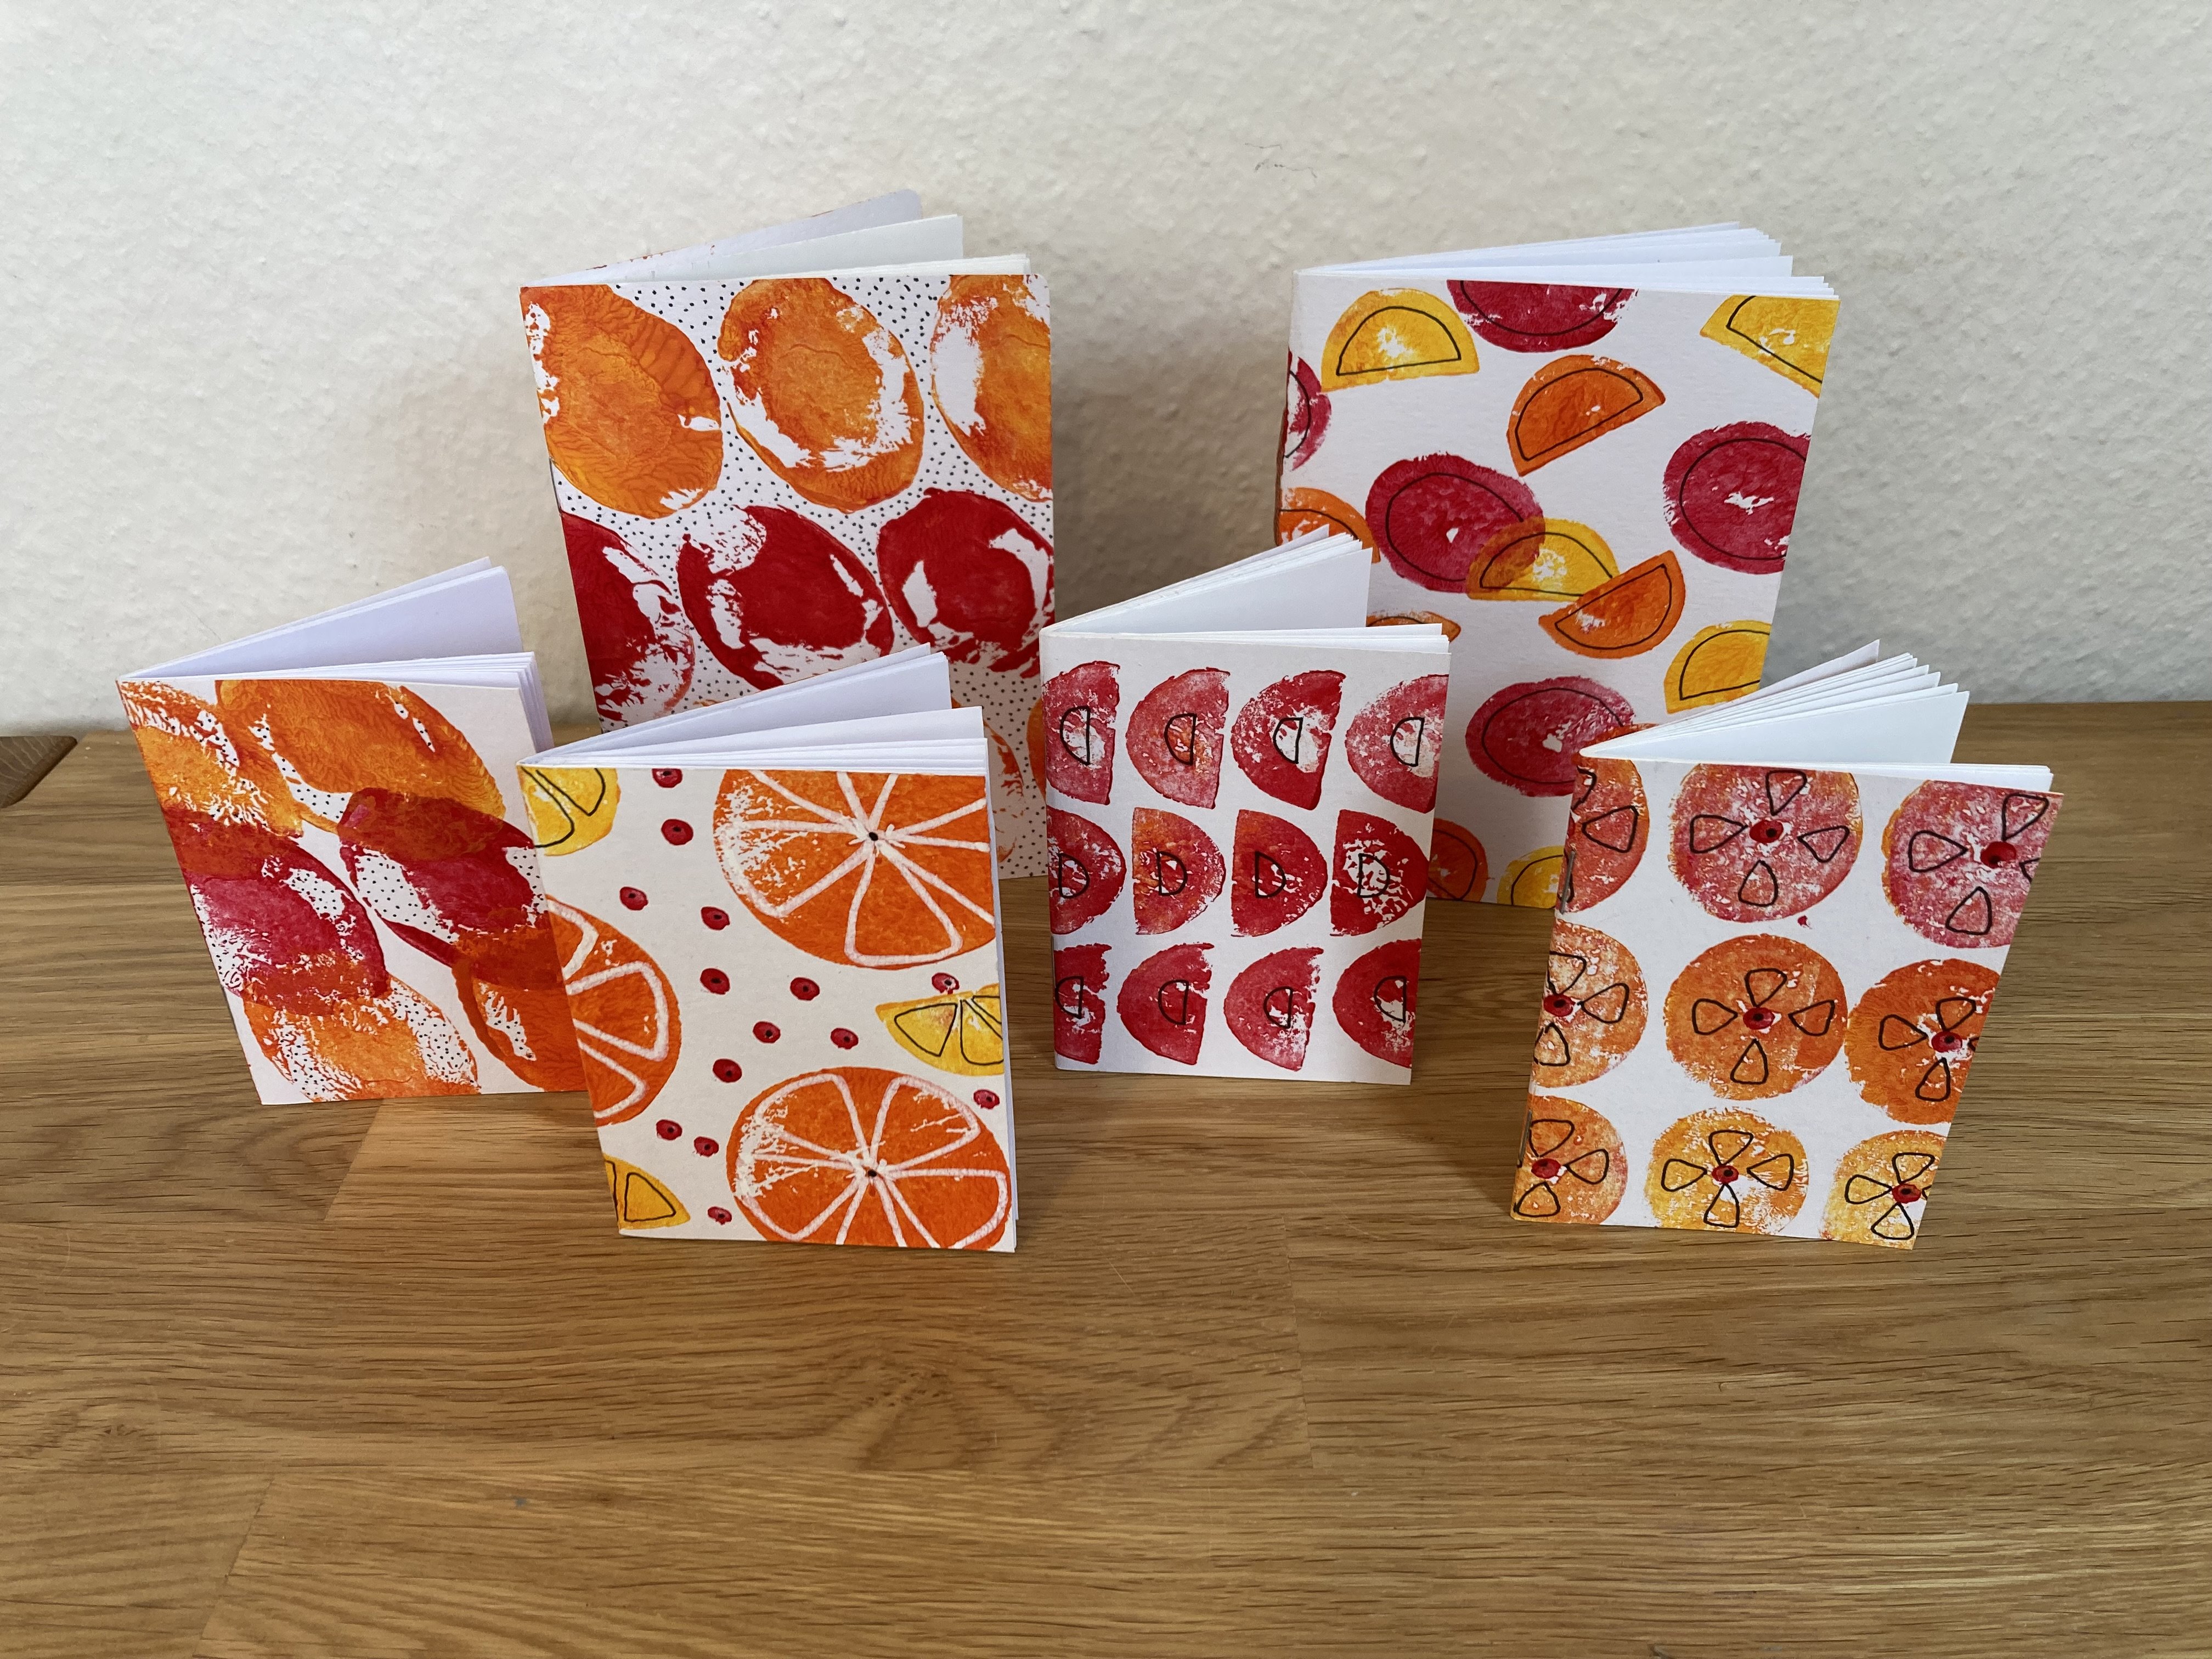
rather a sweet little box. So if you want to turn
your box into a basket, all you need to do is
add a little handle. You can do it as narrow
or as wide as you want. I've just done it here with
a little strip of paper that matches the color and
decorated it a bit on top. Now, this little basket here, that was 2 centimeters
wide for the handle there. This one is just
over 1 centimeter. All you need to do then is to decide what length you want it, curve off the edges, and
then glue it in place. And a voila, you've got
a sweet little basket.
5. My invitation to upload a project: Have fun with this project. Do it with your kids, do
it with your grannies, do it with your
brothers, do it with your sisters. Just
have fun with it. It's such a lovely way to
create a gift for somebody, whether it's a birthday, whether it's for Easter or wedding favors or for no reason at all other than
that you love somebody. It's a lovely way to you know, do something that's handmade that doesn't take that long to do and show your love to somebody actually by giving
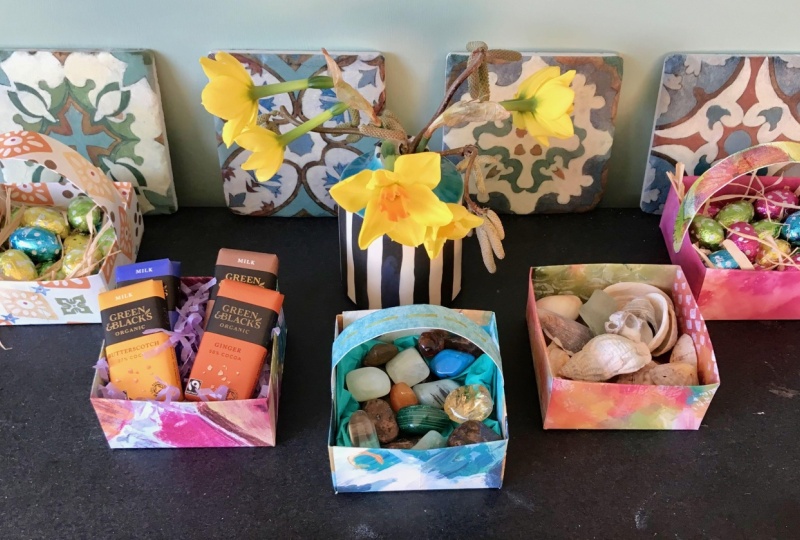
them something like this. It might be a box
full of chocolates. It might be a basket
full of treasures. It could be some
little sea fines on a beach walk, wherever it is. Fill your box or your basket
with whatever you want. I would really love to
see what you create. So please upload a project by just hitting the projects tab and following the
instructions on that. And I would also love it if you would leave a review
of the class as well. That would be very helpful. So enjoy the class until I
see you in the next class, which actually will be
coming up very soon, take care as always. Look after yourself. Lots
of love. Bye for now.
 Dawn Cawthra, Artist, Designer, Holistic Educator