Transcripts
1. Introduction and Project Overview: Hello, everyone.
I'm Dawn Cawthra, artist, designer,
holistic health educator. And it's a delight for me
to be able to just share this minitutorial with you in how to make folded paper stars. Where I live in the
North of Scotland, we have some really
big dramatic skies. And the other night,
I was out there watching gorgeous stars in the very inky black darkness and happened to see shooting stars as well, which was a delight. And a couple of
weeks previously, we'd managed to see the
aurora borealis, and, of course, we have some
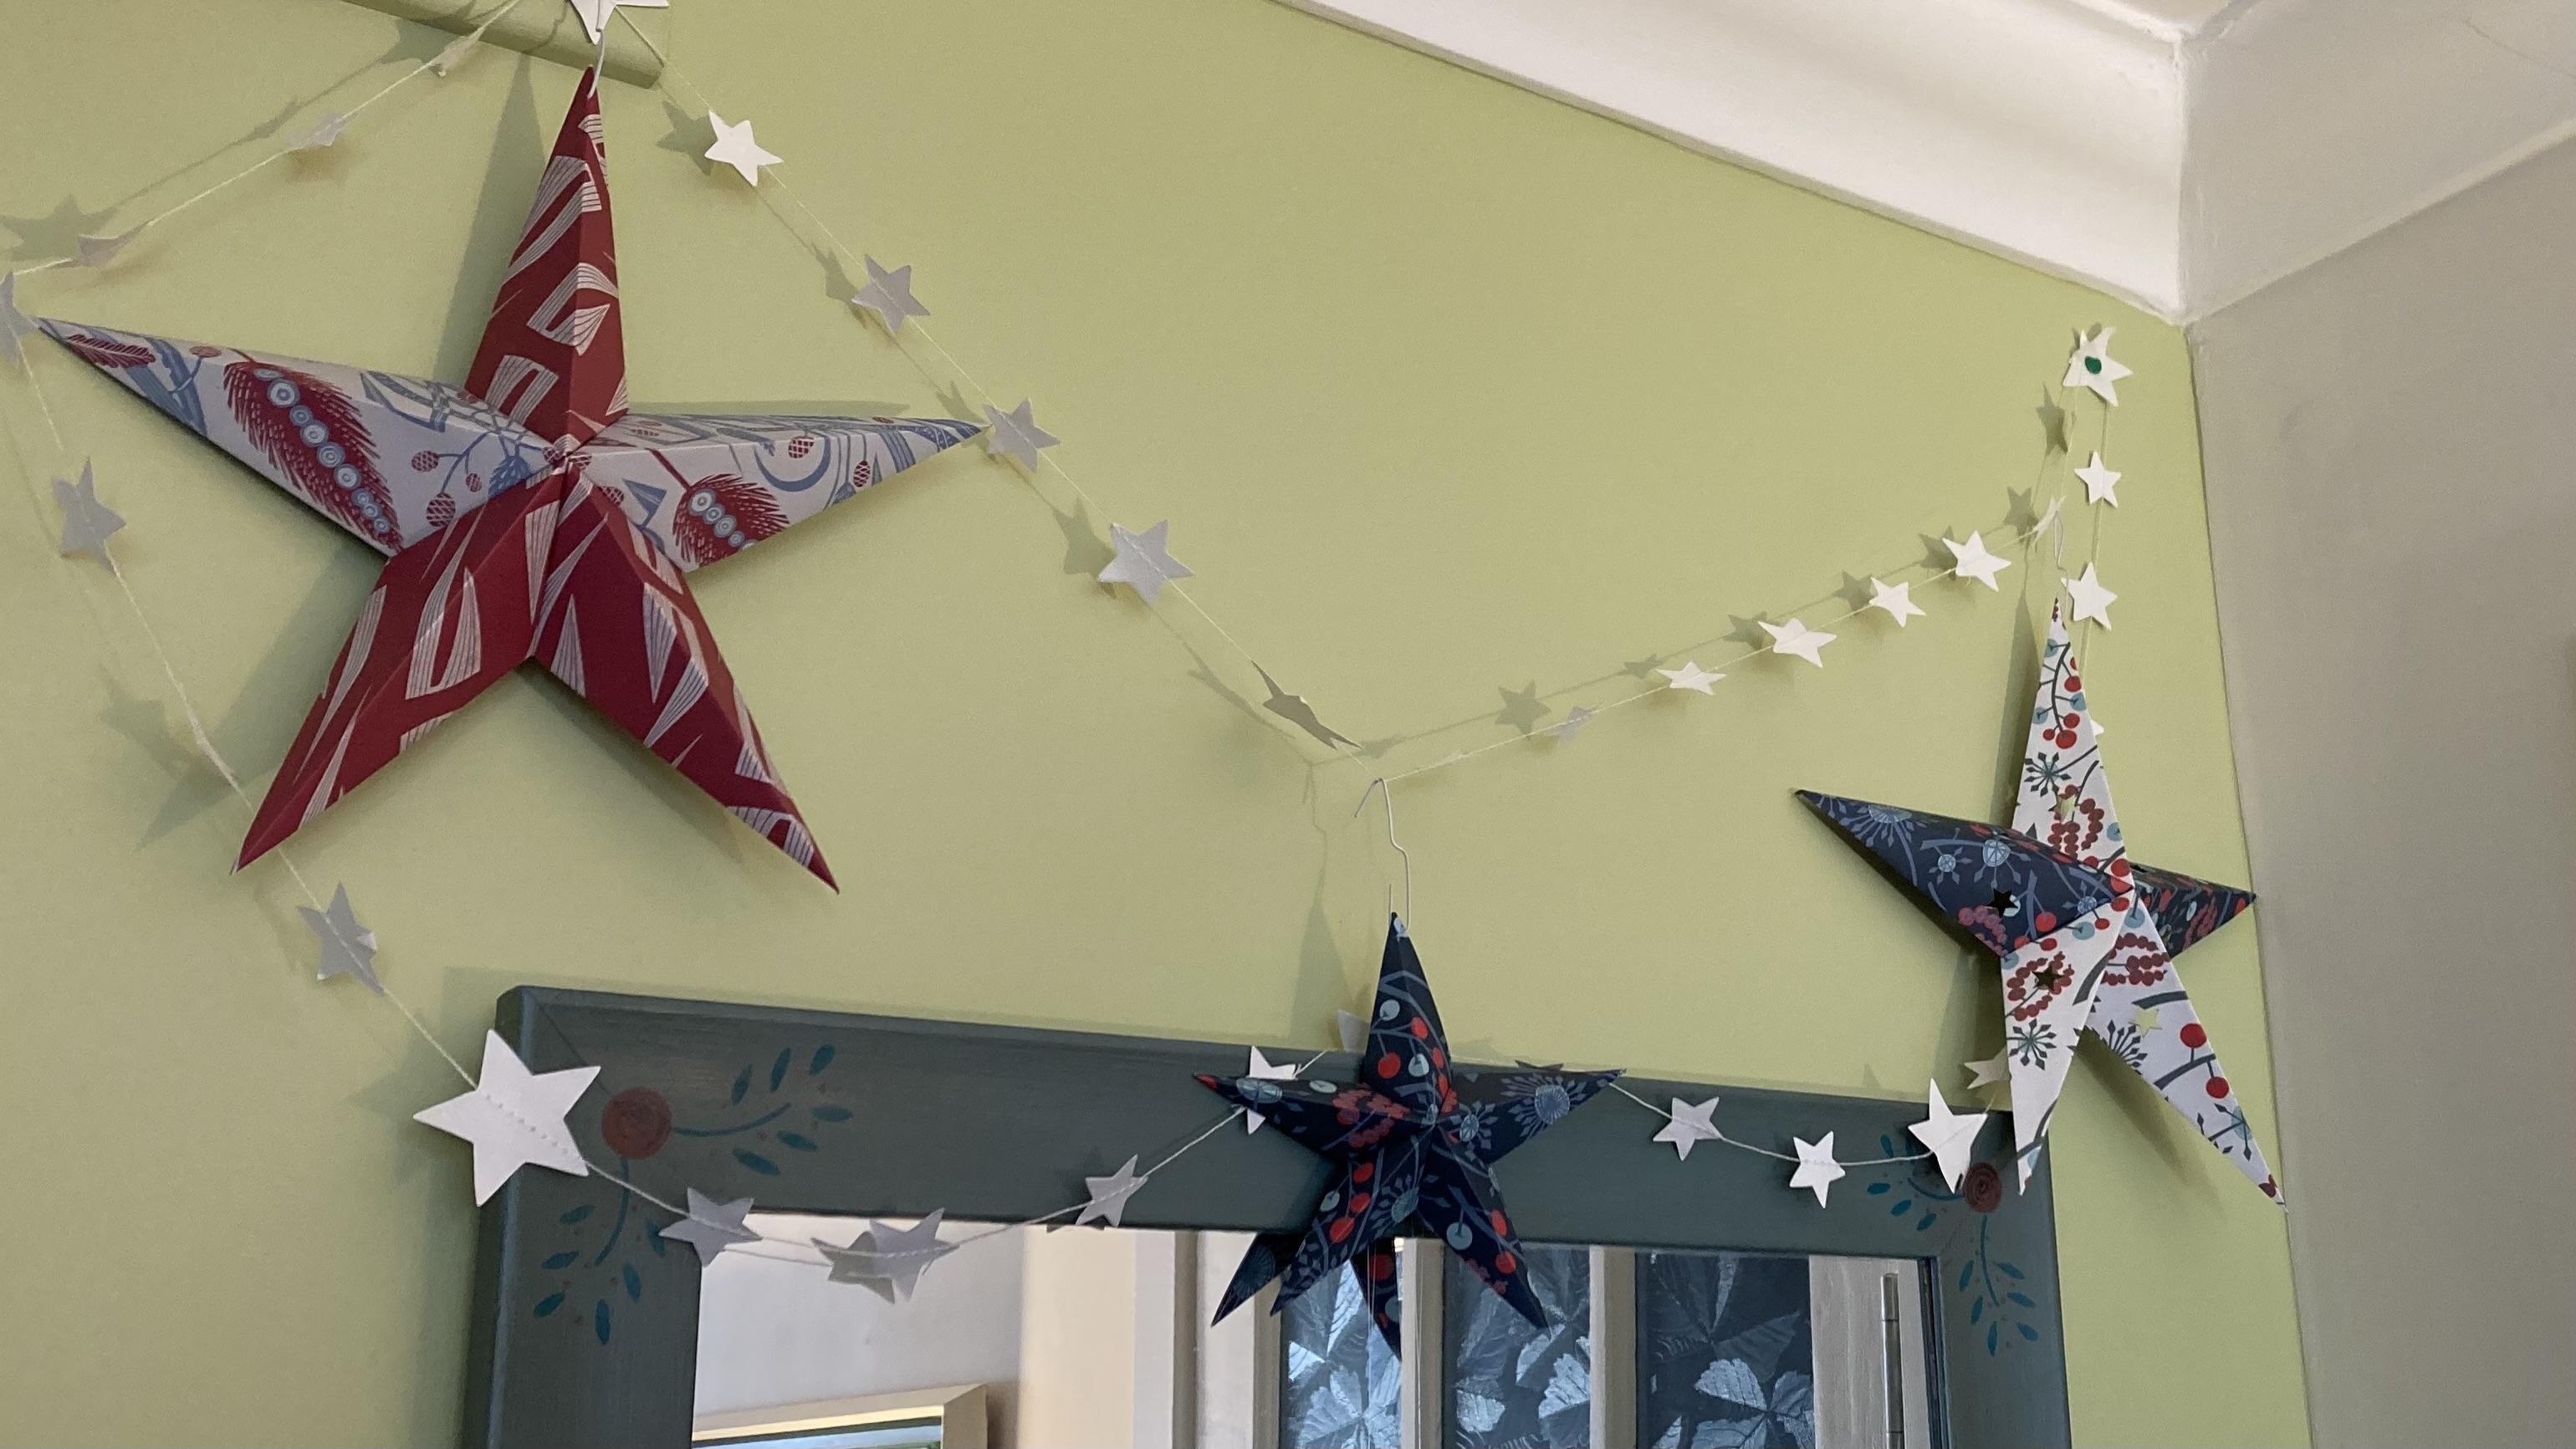
fantastic sunrises and sunsets. So it prompted me to make
these lovely paper stars, which I've now got
hanging throughout the house in various places. In fact, once you've made one, you probably will want to
carry on making a few more. So I hope you'll join me in
this little short class. And so let's take a look and see what materials
we might need.
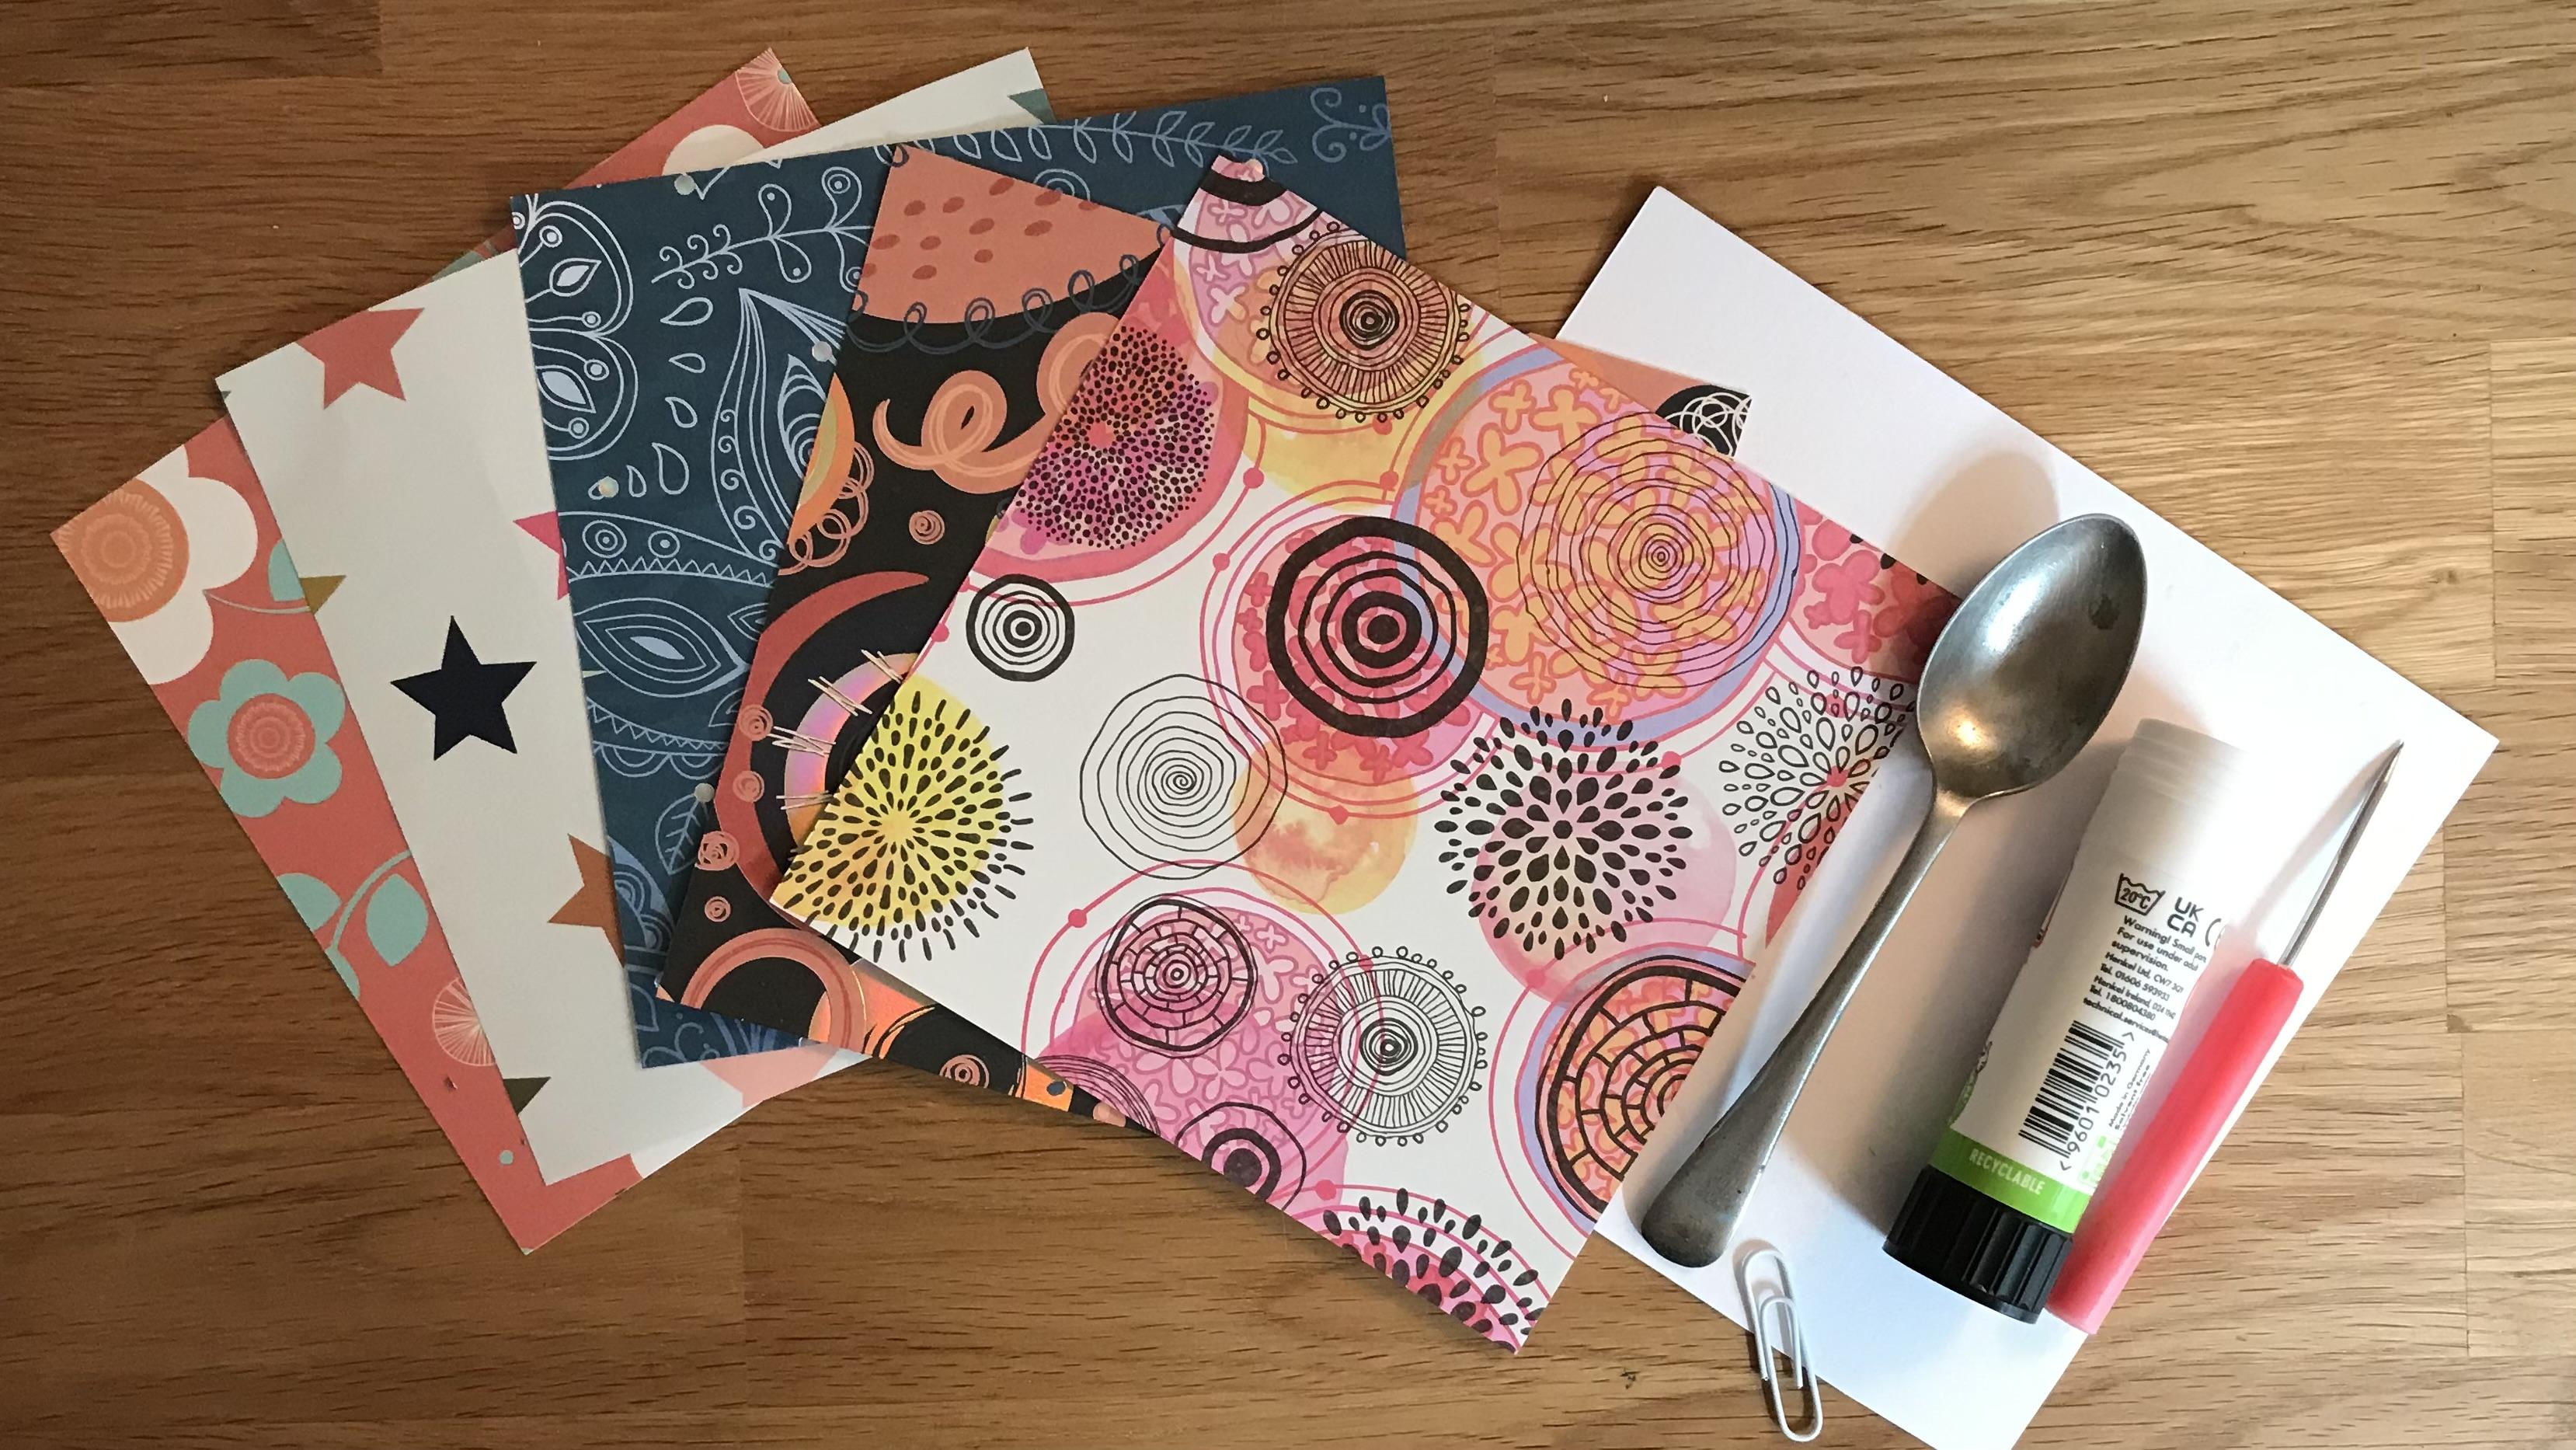
2. Materials For Making The Stars: Like I said earlier, this
is such a simple project, and all you're going to need
is a little stash of papers. So I am using 15 by 15
centimeter square here. The papers, you can do them any size that you want so
long as they're square. So you can do smaller ones, which obviously will give
you these little this size, 15 by 15 centimeters
will give you this size. And obviously, you can go anywhere larger,
anywhere smaller. You just need to make sure that your paper is completely
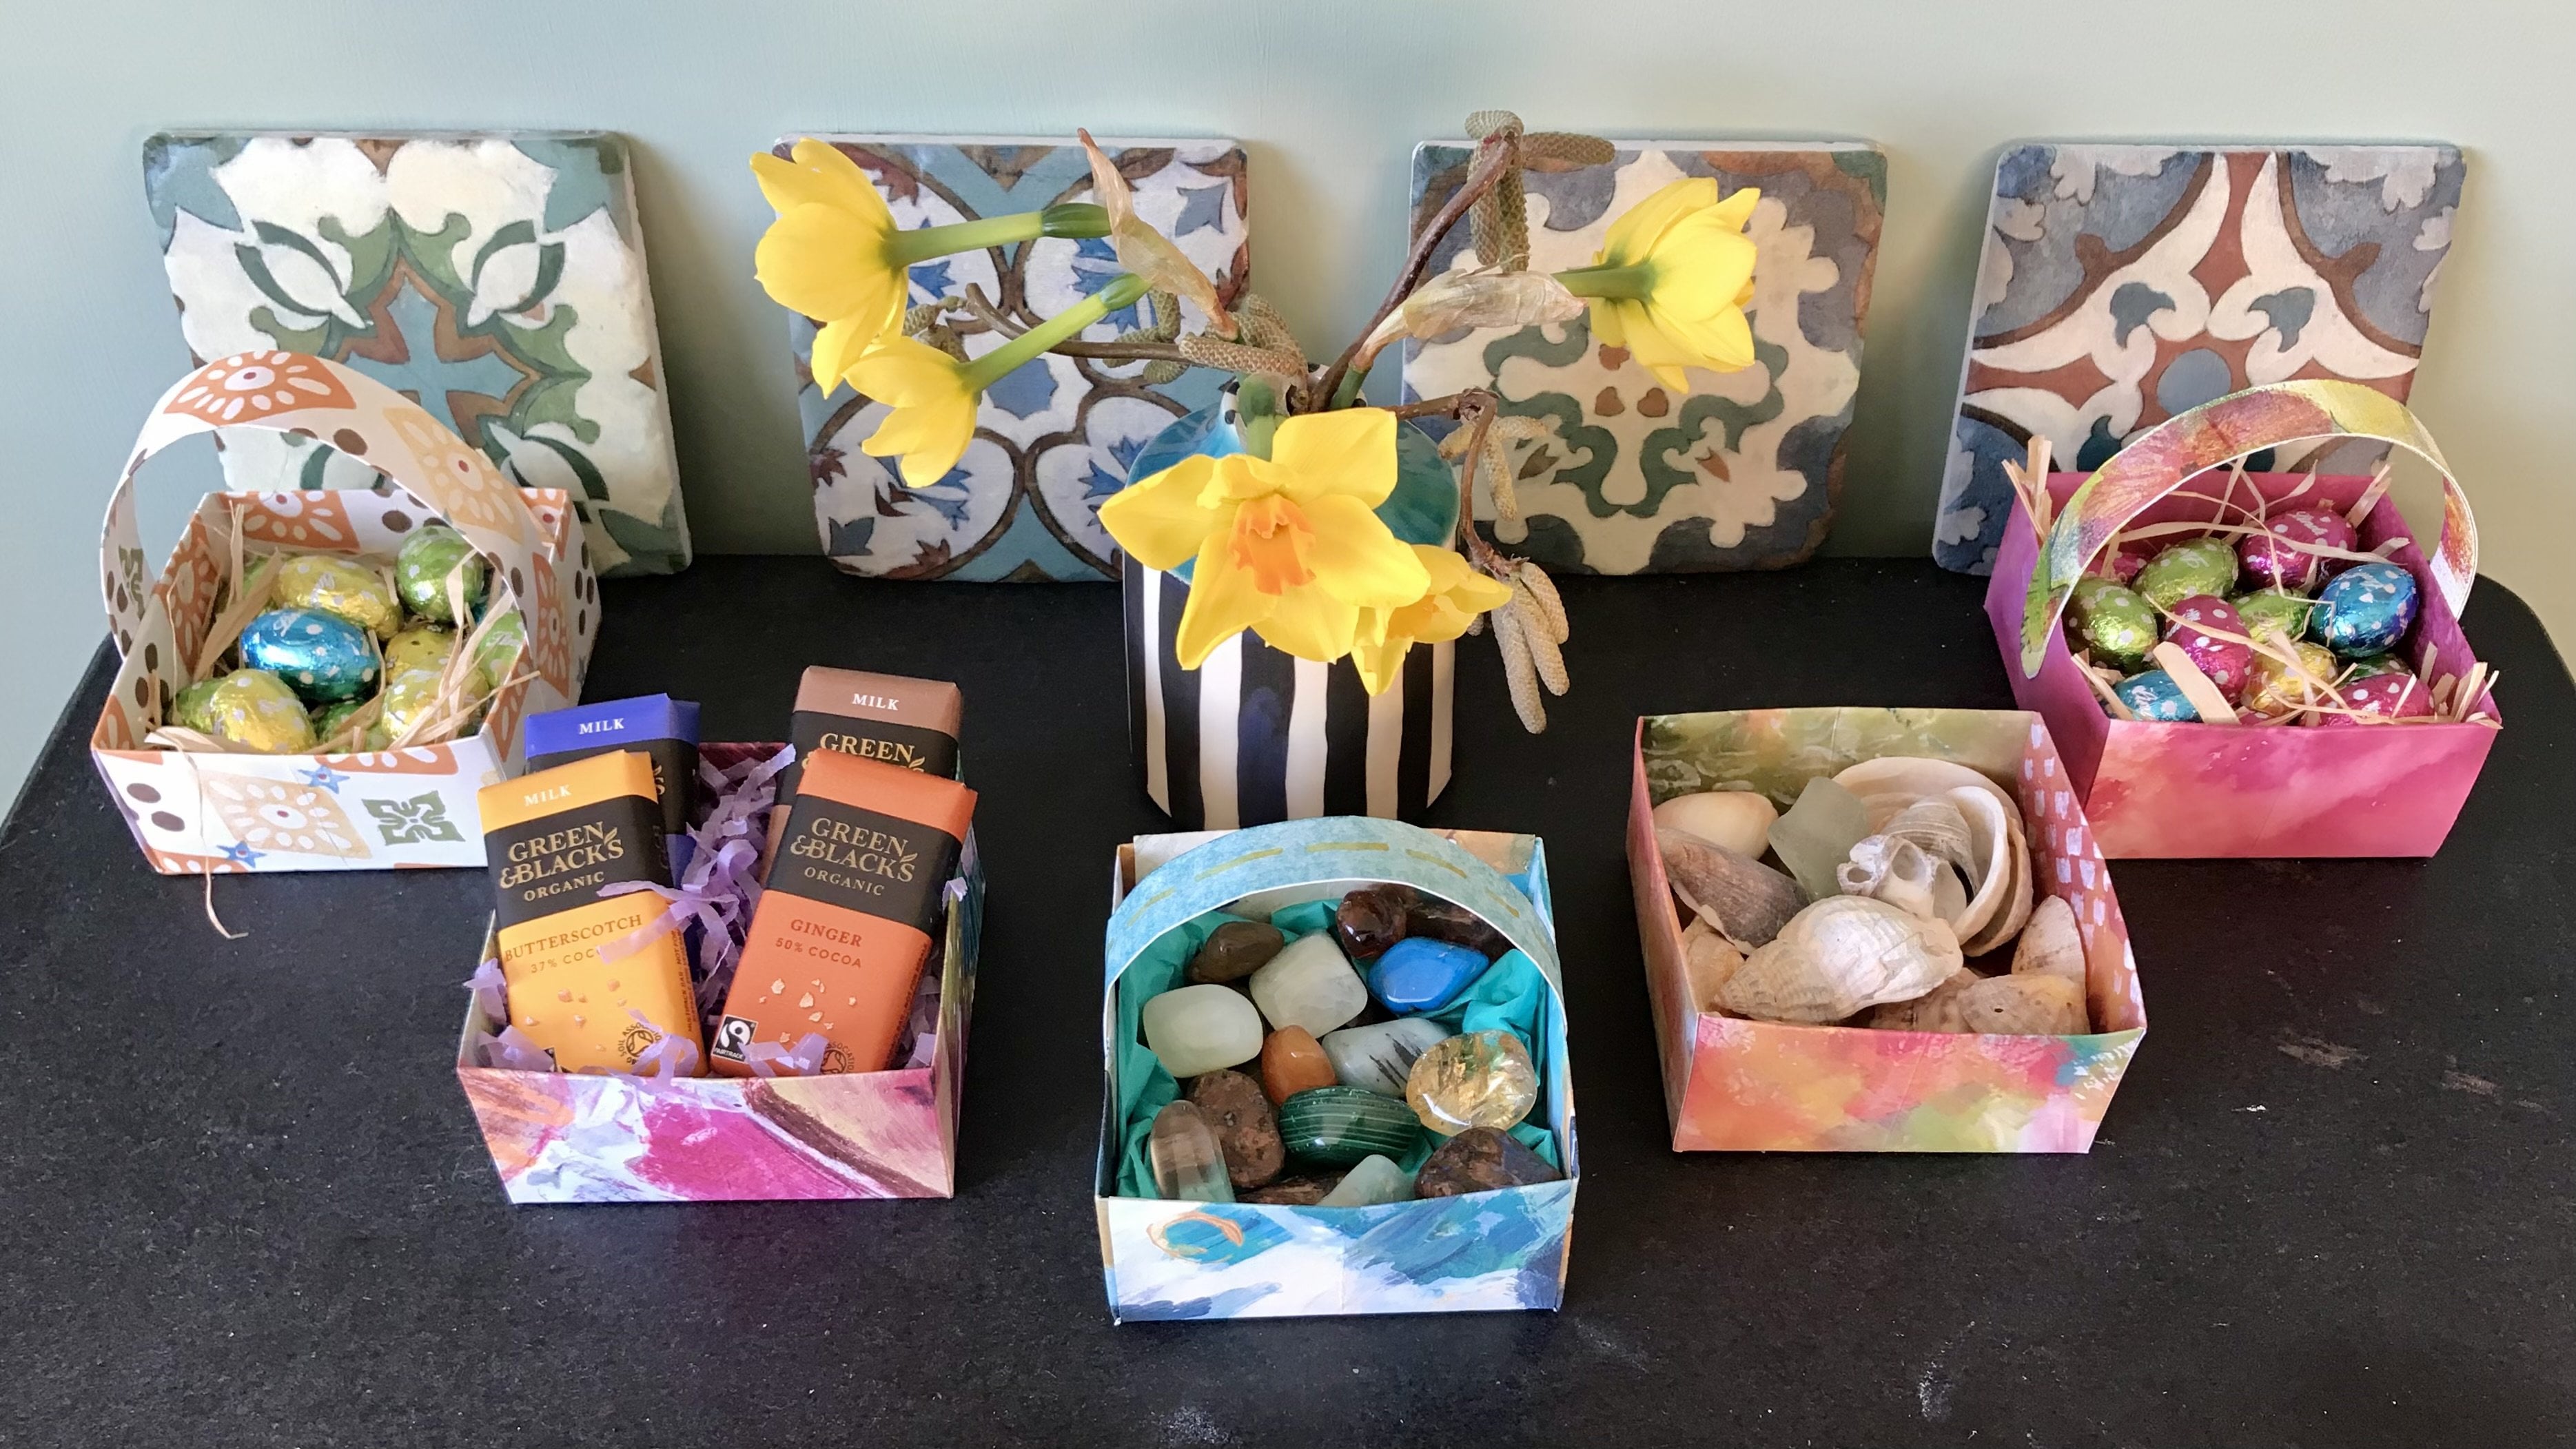
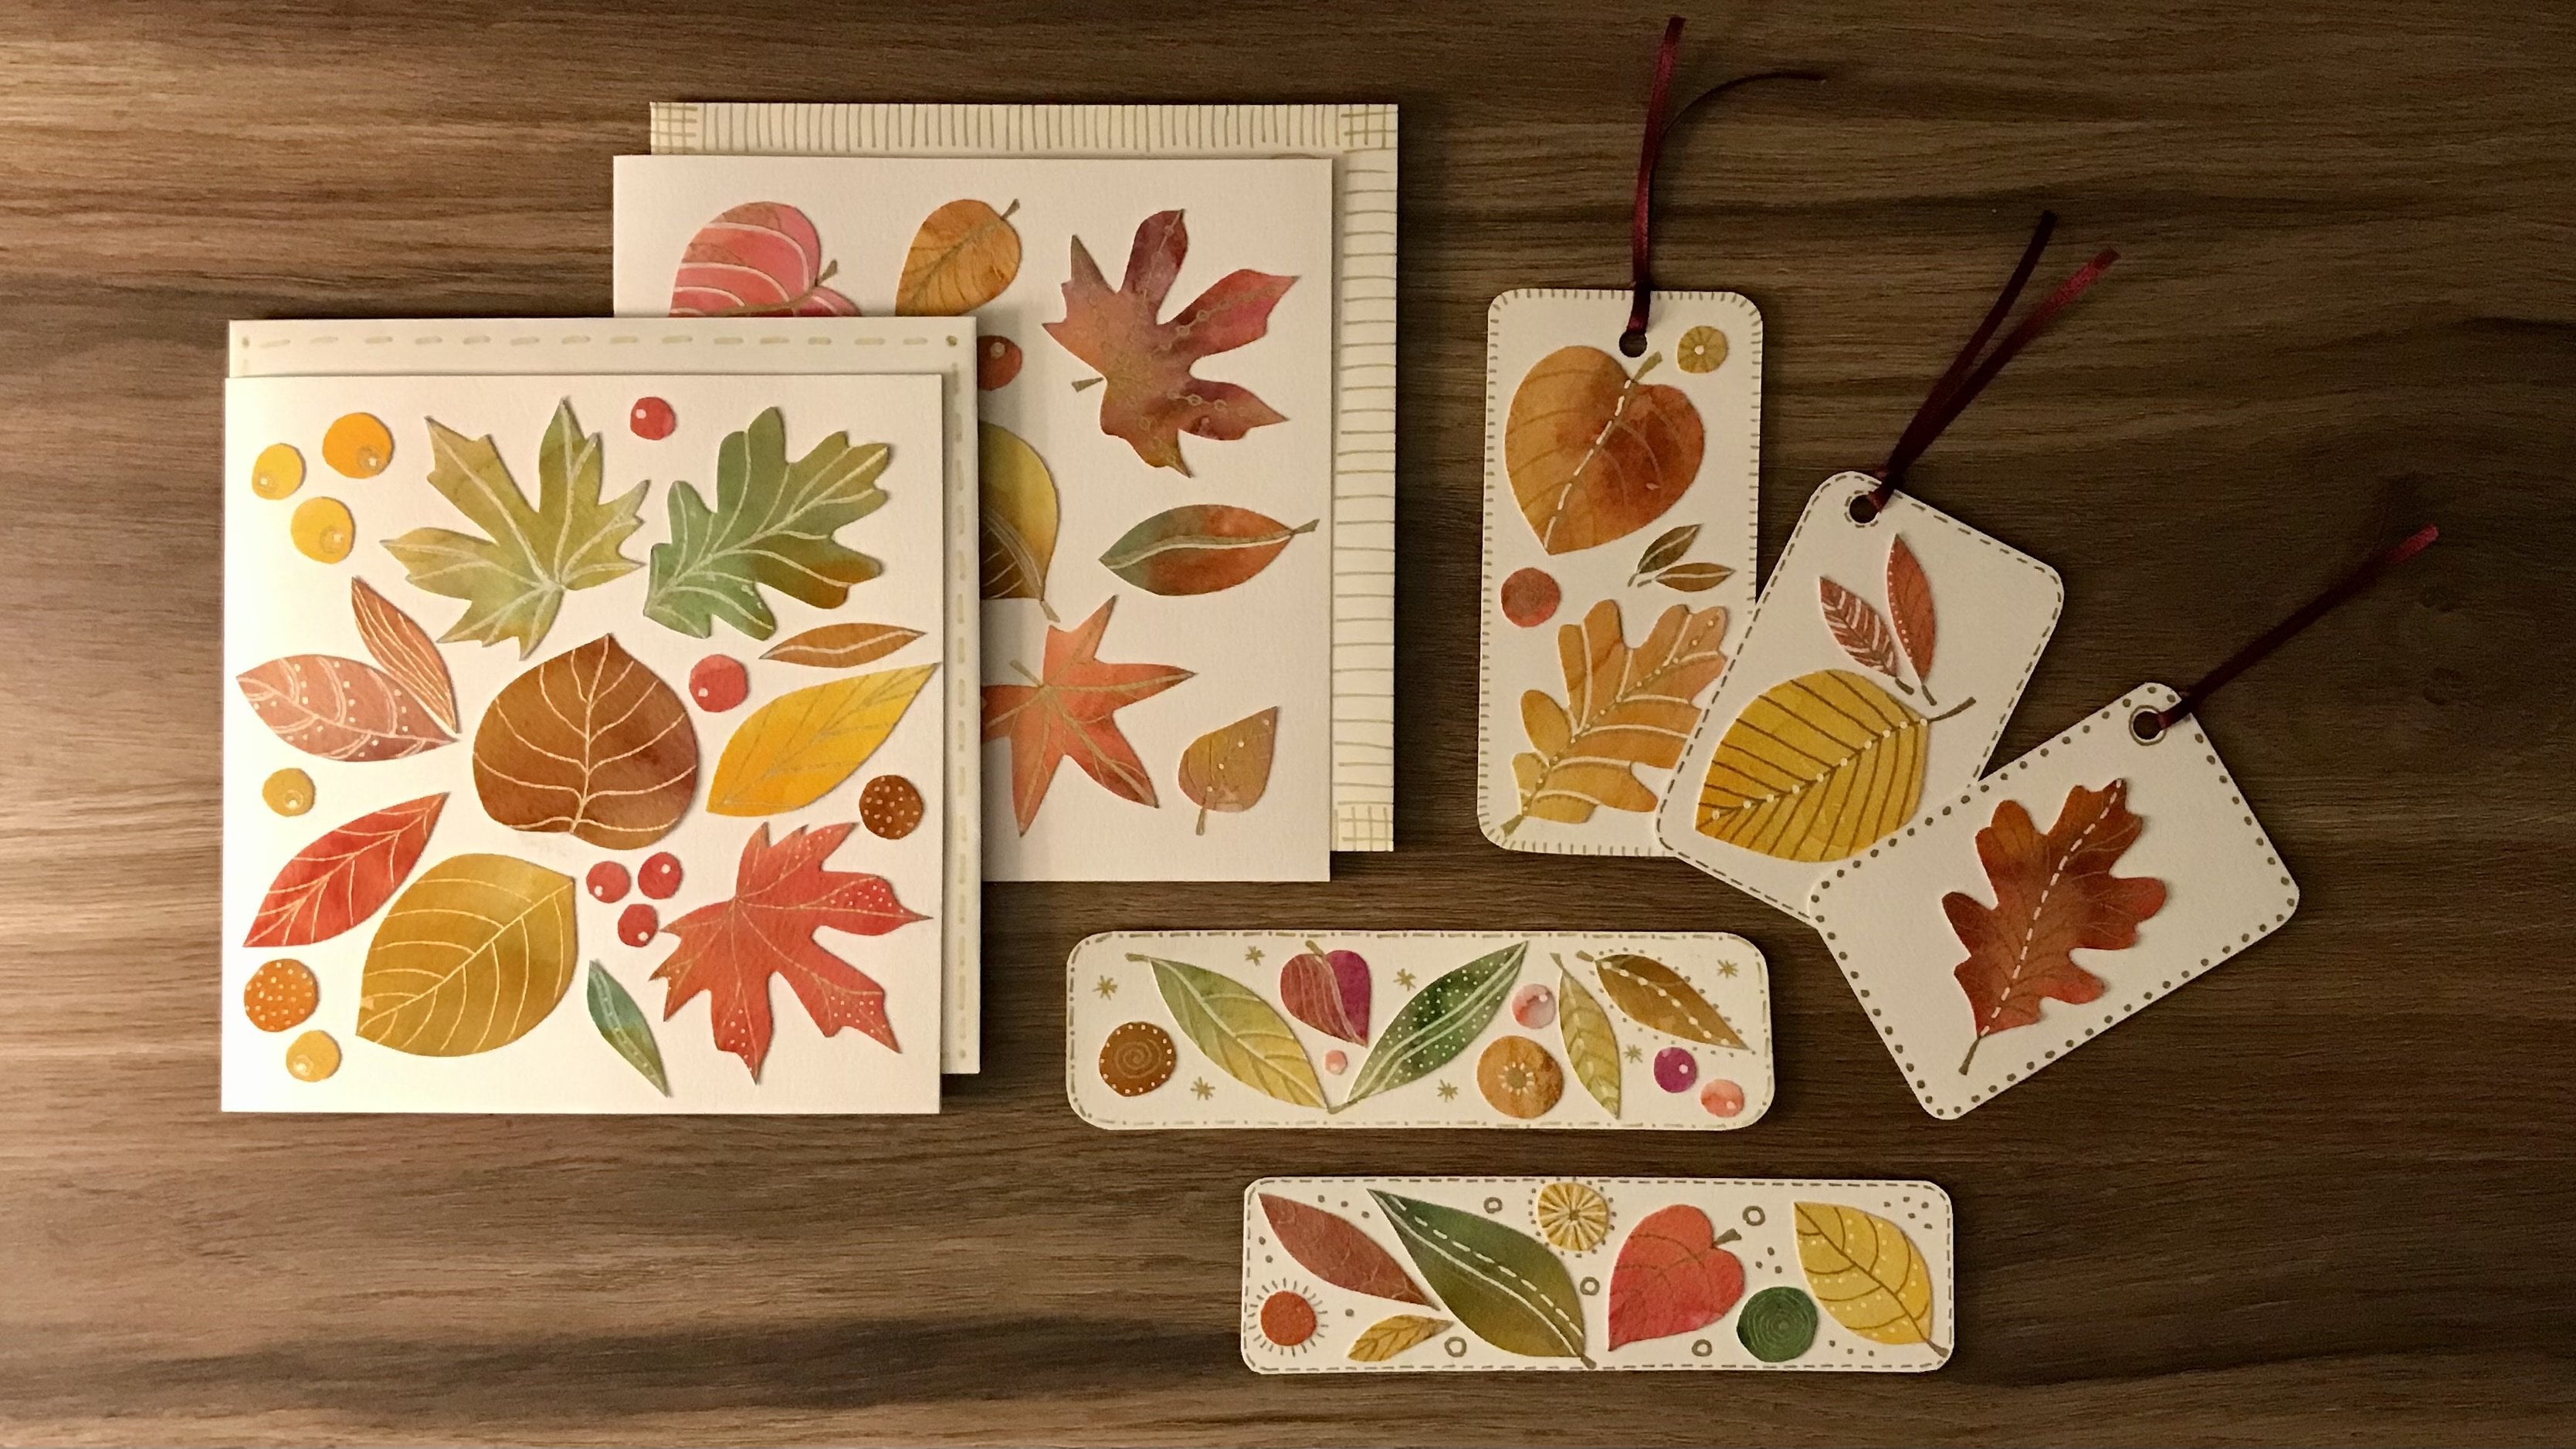
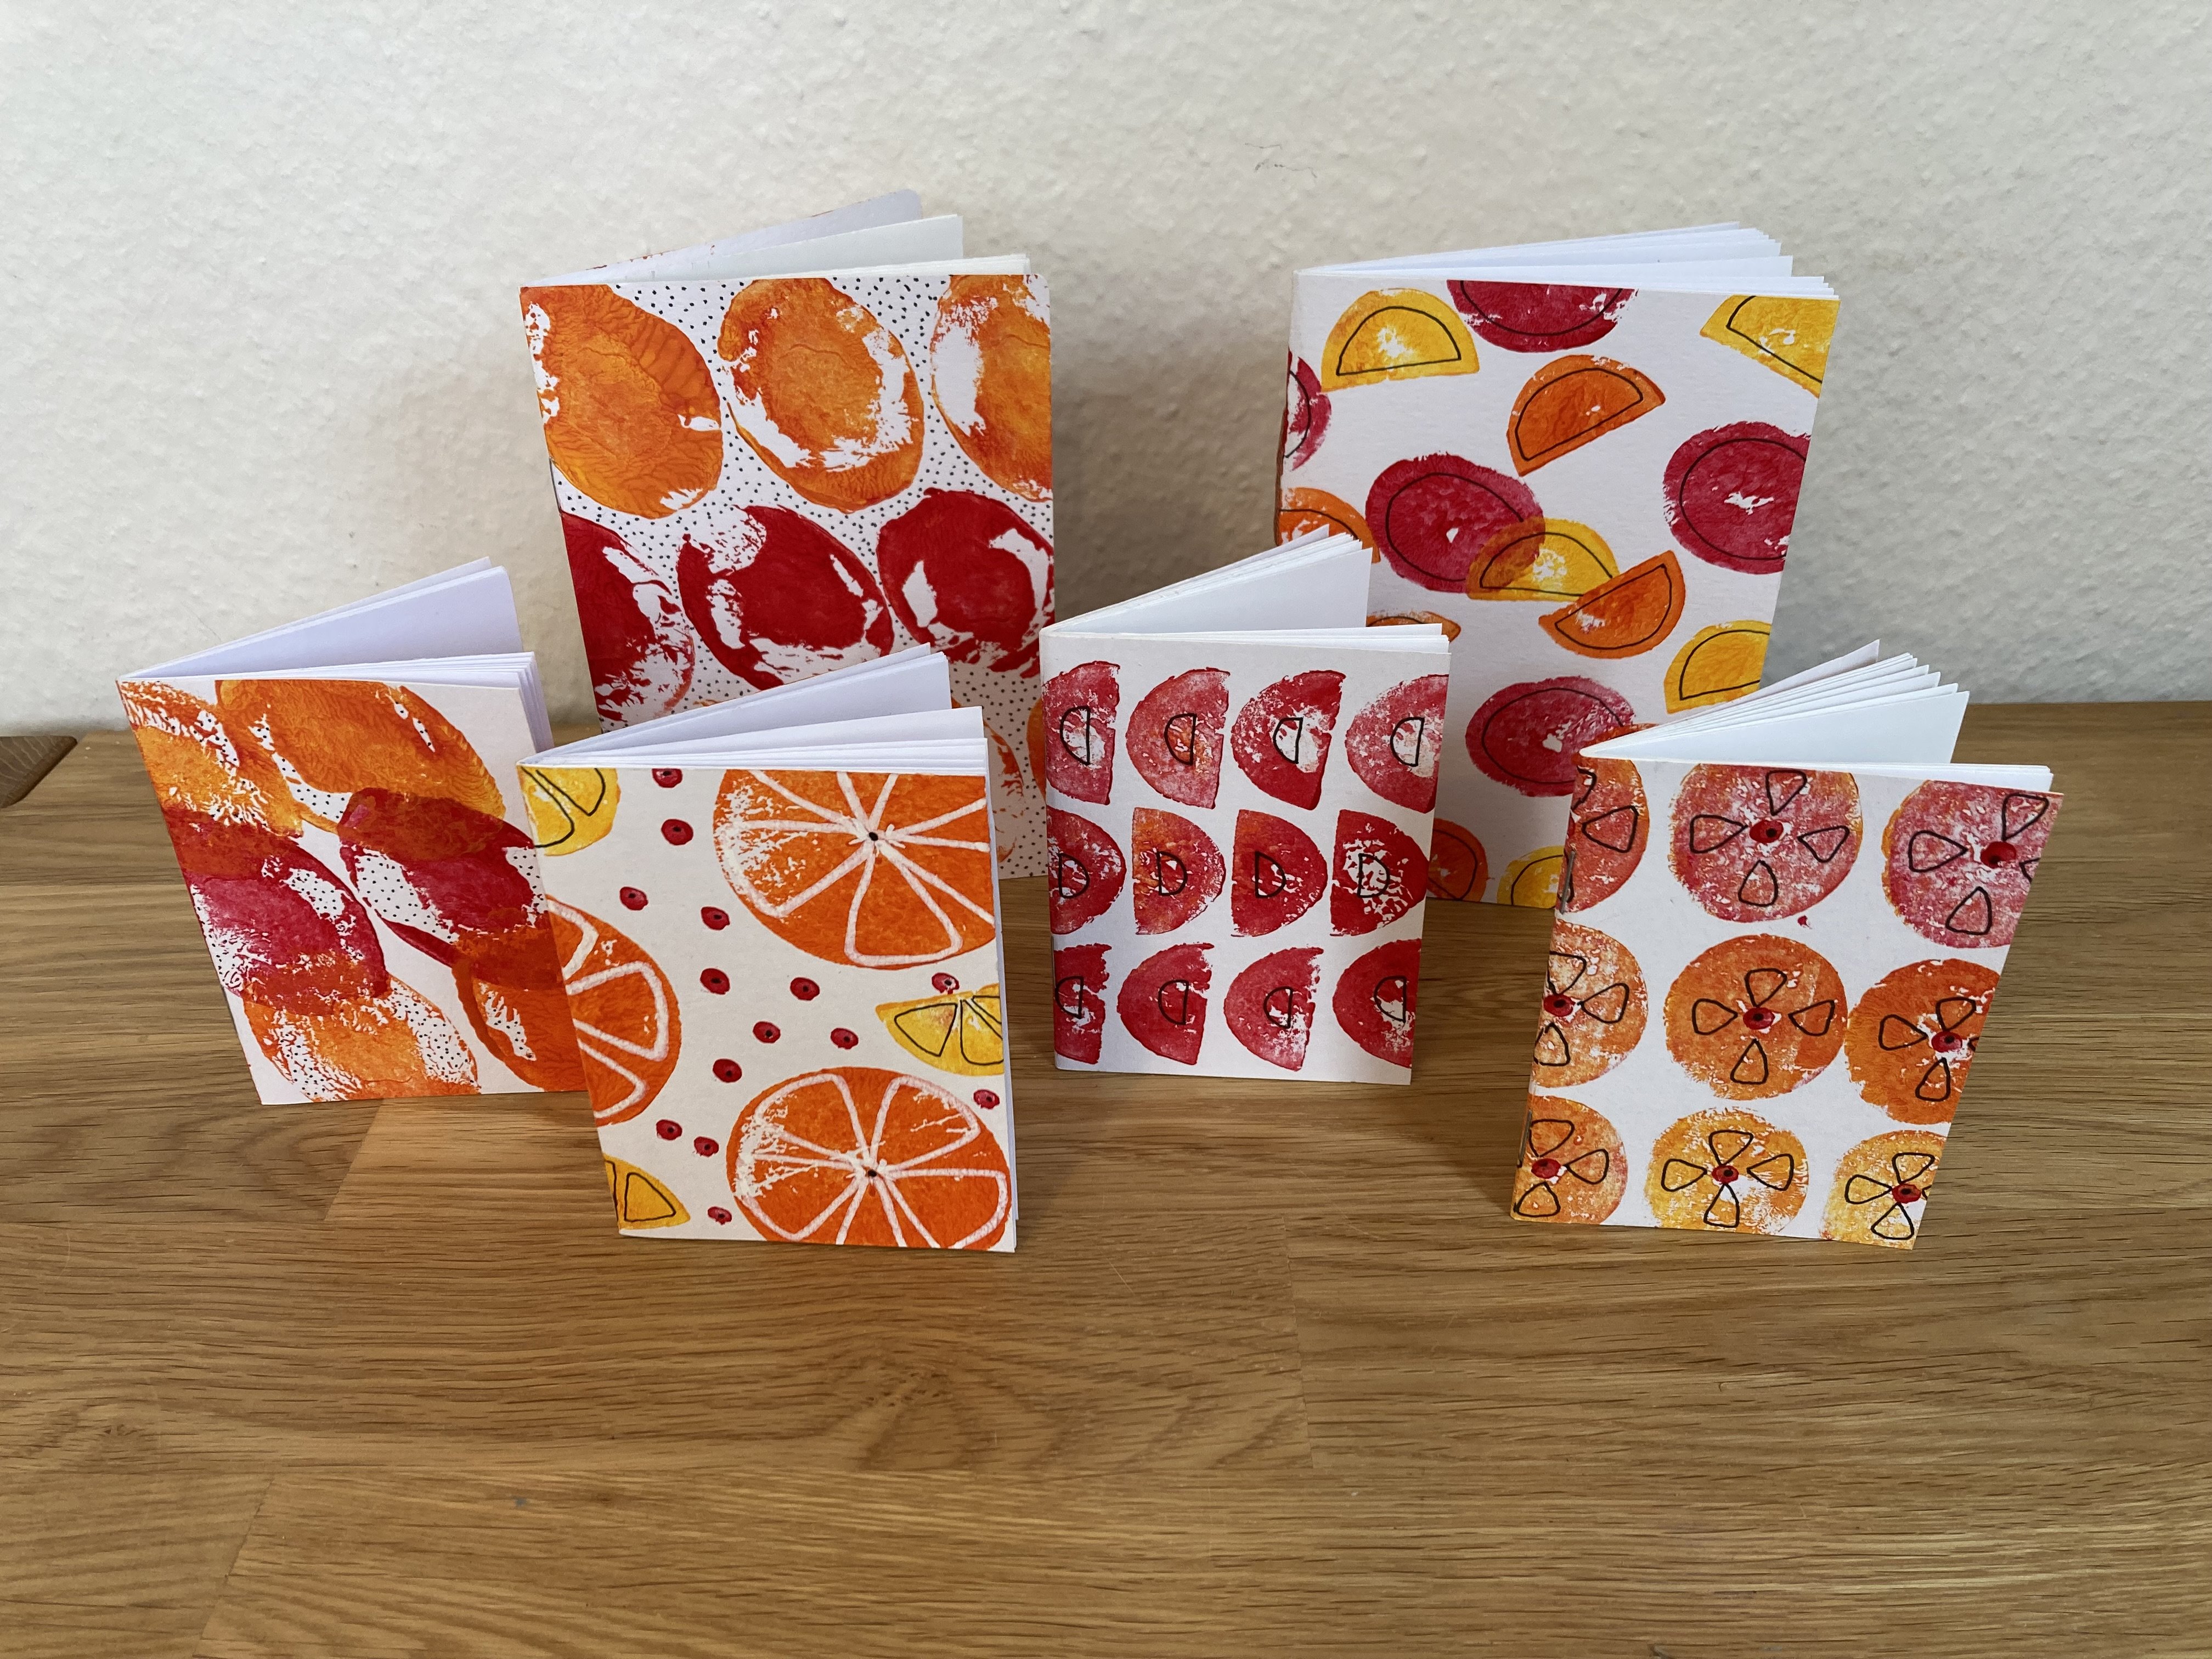
square. That's all. If you want to use papers
that you've created yourself, then head over to my
classes exploring color contrast and pattern
parts one and two, because there
you'll find lots of inspiration for creating
your own patterned papers, which not only can you use those for creating
these gorgeous stars, but you can also use them for other craft projects as well. Now, for every star, you're
going to need five squares. You need to have a
little something that you can make a hole with to be able to then put
your little tag at the end, either a ribbon, or I have literally just used paper clips, unfolded them, and
threaded them through. And I've made the hole here
with this little brad all. If you don't have a brad all, you can use a punch or
just the end of a pencil. It's useful to have either a bone folder or the
back of a spoon for when you're folding so that you
get some really neat edges and a glue stick for gluing, and a little bit of kitchen roll just for wiping
the glue off the edges, and then a piece of square card that we use when
we're doing the gluing. And that's it for materials.
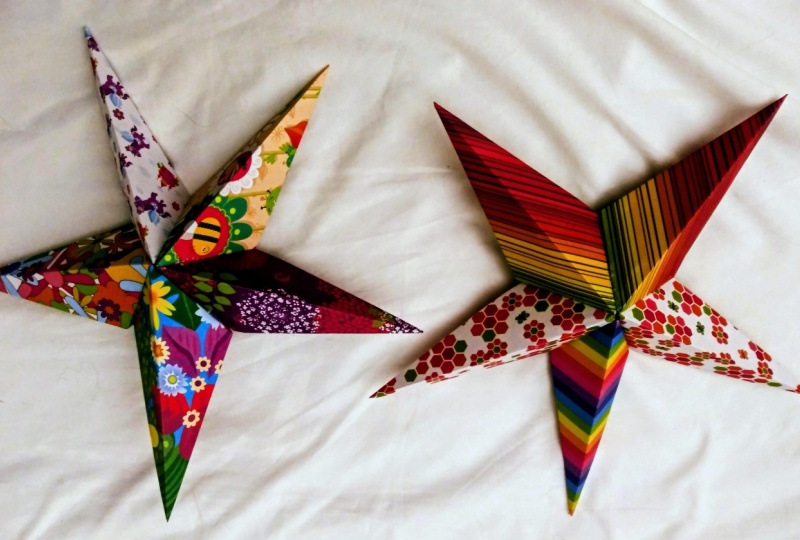
3. Folding The Stars: So I've chosen five squares
here in different patterns. Obviously, you could do them all in the same pattern
if you wanted to, like I've done with this
one and this one here, or you could do a combination
of just a couple. Or you could do a
completely separate color for each leg of the
star as it were. So let's get started folding. Now, basically, you have
to decide because I've got some paper here
that is double sided. So you have to decide which side obviously you want to work
with to be the outside. So I want this to
be the outside, so that means that I'm
going to do my folding. So that it produces that
pattern on the outside. Now, what we're
going to do to start with is we're going
to with this square, is we're going to fold that
corner over to that corner. And the more accurate you
can be in your folding, the better it will turn out. Now, that said, you
can see on there, but I've just missed
it a fraction. It doesn't matter if that's, you know, if you just that web it out there, that's
absolutely fine. So this is where
I'm just going to use the bone folder to just, you know, really get that
crease nice and sharp. Okay, then we're
going to unfold it. And we're going to take
this corner here into the middle like this
and bring it all the way down to that point so that basically that edge
there is lining up with the middle
of that square. And again, get your bone
folder or the edge of your spoon and get
a nice neat fold. Turn it round and then take this corner
here to meet that one. Like so. Get it as close to the
middle as you possibly can. Bring it down to that point. I go slightly over there, so let's just pull it
back a little bit. That's better. So now we've got a kite shape with those two
folded into the middle there. So what we're going to do
now is we're going to bring that top point over to here and make a fold
line across there. I'm going to turn
it round, though, because I find it easier to
do that slightly upside down. So now we've created a triangle, almost like a triangle envelope. Now we're going to
take this point here right at the edge of
this triangle here and we're going to fold
it over to join that point there like this. And then do exactly
the same with that one so that we've come back
to being a kite shape again. And then we're going to
just open those flaps back a bit and take that
piece of card that we had get a clean side and slot
it just in there like that. Open those flaps and that square then that
you're left with. You need a bit of glue on it. Make sure you get it
all around the edges. And this is why
it's useful to have this little piece of card
underneath because then you're not gluing onto the other bits of the star that you don't
want to be gluing. Take that out. Wipe that off a little bit and glue
those two flaps down. Make sure you get them
glued nice and tight. And then we're going to just
pinch these two edges here, hold onto the bottom, and fold that back
out on itself. Now, these might pop up
at the top a little bit, so just squeeze them shut again. Give that another press down with your spoon
or your bone folder. And basically, that is the
first leg of your star. How simple is that? So let's do it again
with another one. So I'm going to I want
that as the outside. So I'm going to take
this bottom corner and turn it over
to the top corner. Oh, now, you can use
any paper you want. Obviously, the
thinner the paper, the easier it is to fold. But the thicker the paper, that helps you to actually
stand up, you know, to stand up and be a bit firmer, if you're just wanting to stand it somewhere rather
than hang it. So just to bear that in mind. So we're folded now onto
the first triangle again. Going to take this
bottom corner to that mid line and get this line here to come down
that mid line as well, just like we did
on the last one. So basically, we're repeating exactly the same
process five times. Turn it round, bring the
other side in as well. Whoops, I've torn
it a bit there. It doesn't really
matter. Just get that as neatly as you
can to that button bit. And to that, that's it. Give it another crease again. Turn it round
upside down so that your kite is now
upside down and fold that bottom corner
right over the top there so that we're now creating
that triangle envelope. There you've got
your flat there. Take this corner
to here like that. This corner to here. Like that. Press them down again. Now you're back to
your kite shape. Open it up, slight
your piece of carding. Give that a bit of glue. Pull out. Stick down. Open it back up
again and squeeze it so that the two
sides are meeting, you've got that long
triangle again. Just give that a bit of a squeeze down with your
bone folder or your spoon. Make sure the glue
has glued on the top. And there you've got your
second part of your star. You can see how this is going to start fitting
together, can't you? And so on and so forth
until you've done all five.
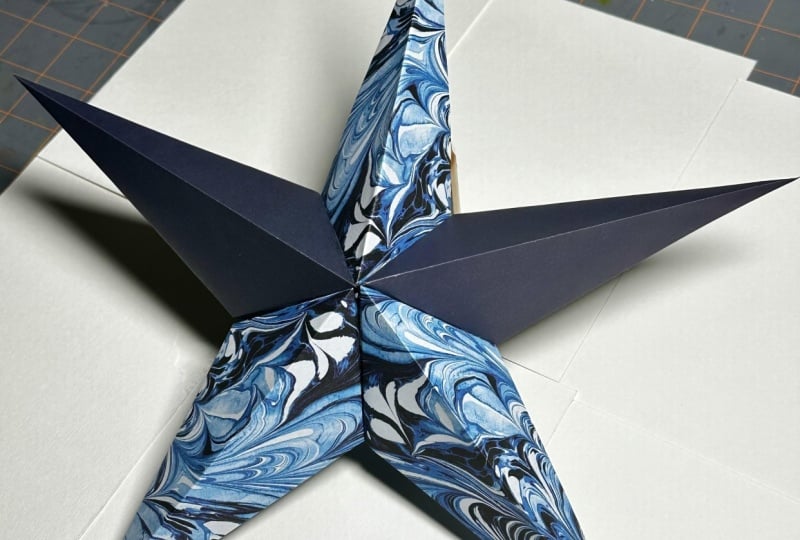
4. Putting It All Together: So that's all five
arms of the stardom, and I've decided that that is the arrangement that I want to be that I want to put them in. So I'm going to
take the first leg. And in this little
bit of triangle here, you can see that end
bit of triangle there, then that's where we're going to glue on that triangle there. Make sure you do get your glue right up to the edge
of that triangle. And I'm going to
take this bit now of this triangle of the next leg
and stick it on top of it, making sure that they're both
lining up nicely like that. And this is where it's useful just to have
a little bit of kitchen roll because the glue spreads out a bit at the end. Then I'm going to glue
that bit of triangle now. And attach that one to it. Lining up the points,
lining up the top, taking off any of
that excess glue, making sure they're all
nicely glued together, and so on and so forth until I've glued all
of them all around. So you can see there, I'm
lining them all up really well here. Last one. There we have all
those lined up really nicely. I can see that there. Then of course, this is when you see the whole star come into being and
see how lovely it is. All I need to do now is to get some glue
on that last piece there. Fan it round. And with your finger and thumb, just pinch those two
last pieces together. Get your finger and
thumb right inside there and just pinch
those last two together. And there is your lovely
star that you just created. So that's going to be the
top of my star there. That's where I'm going to hang. So I've got this
little brado here, and I'm just going to flatten
that end a little bit, poke a little hole through it. Like so I could have just as easily used
a hole punch as well. And then I'm taking a
paper clip and basically unfolding it and using the smaller end and popping
that through the hole. And then that's the
way I will hang it. So there you have all
these lovely stars, which can be used for all sorts of things birthday celebrations, parties, weddings, cultural
celebrations and festivities. I mean, you can use
these stars for lots and lots of different
occasions all year round. So I hope you've enjoyed
that mini tutorial. If you manage to make any, then upload them for me so
that I can see them. Just upload a project, and I can see what
you've managed to create. I'd love to see them. And if you'd like
to leave a review, that would be lovely, as well. In the meantime, until I see you in the next set of
classes that I offer, I've got lots of ideas
bubbling away here for you. So in the meantime, I'd like
you all to just take care, and I send you all
love and best wishes.
 Dawn Cawthra, Artist, Designer, Holistic Educator