Transcripts
1. Intro: Yes.
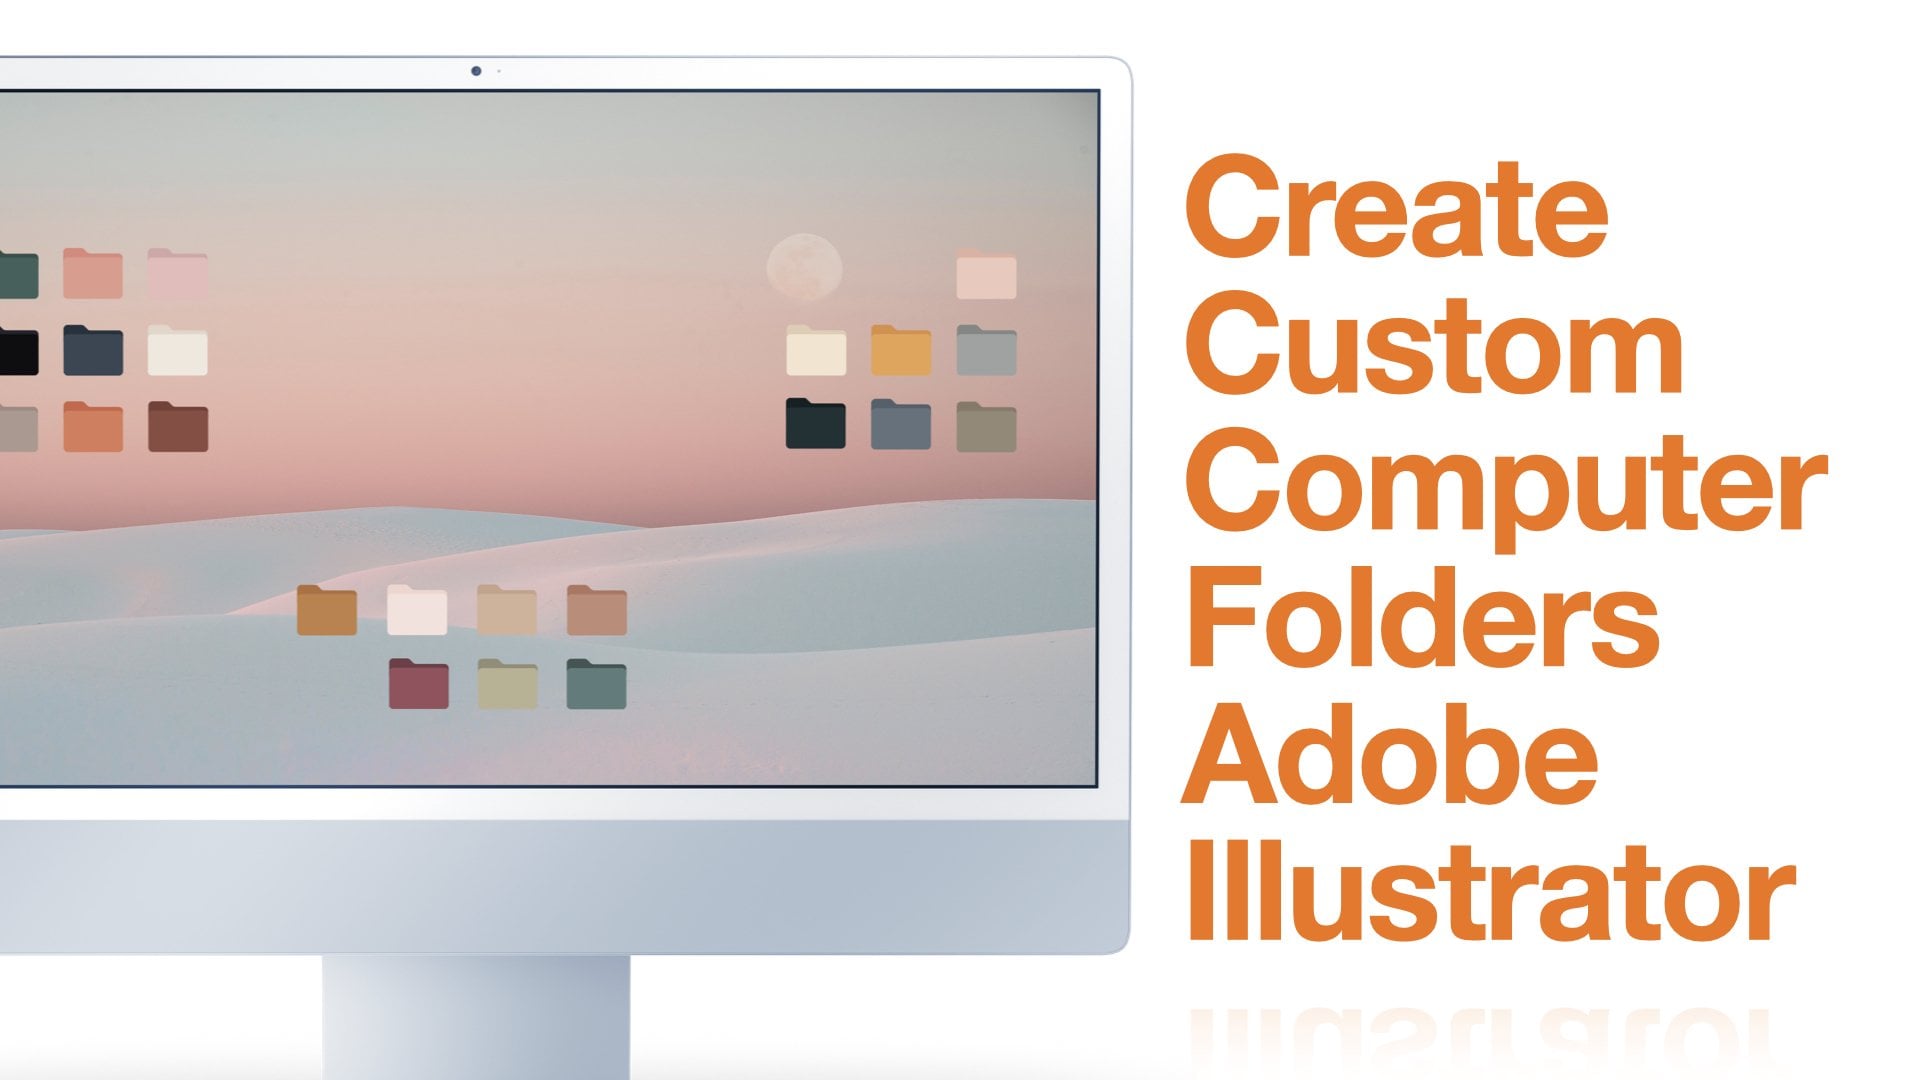
2. Get to Know your Workspace: Here we are in our Adobe Illustrator. So let's go ahead and open a new document. You can do that by going here on the left side and going create new, or here from this box. Or you can go here, File New, and do new window pops up. And then we are going to select the lighter size. But as you can see, we have so many options right here depends on what do we want to make. So today we're going to make expense planners. So we're just going to choose the letters size and click here, create. Okay, So this is our first page. As you can see here, on the left side, should, just like in Photoshop, we have our toolbar, and here we have all of our tools. And here on the right side we have options. Now. Options like one, we want to change the appearance of a text or anything else. Also here we have our layers, which will be open for now. And up here on the top, we have our color selection, our stroke selection. And depends on what kind of stroke we won and everything, capacity and other stuff. So we today are working in this workspace just in case. If you can't see it just in case your workspaces and the same as mine. You will go here up and click on this little window and click essential classic. So your, yours might be an IRA like printing and profiling. And as you can see, the the workspace changes. But today we are using essential classic and just in case if you close off and you Windows or make any changes by accident, you can always go up here and click Reset Essentials Classic. Now let's create our first X past tracker. So first of all, we will do the budget planning spread. I'm thinking of something very simple so you can use it later on. When you need to make other planners, because we are planning to sell these planners and we want to make this broads is as easy as possible because this is going to be our passive income. Of course, it needs to be perfect and as best as it can be because you are going to sell it. And it will make a process layer so much easier. So let's go and make our first finer.
3. Layer 1 - Rectangles : So the first thing that we are going to use is rectangle tool. And it is the most common tools are going to use right now. So we will first make a rectangle here. And let's say we wanted like this. So here we will change the color, click on this little arrow and change the color. Let's use light gray like this. Ok. Now we don't want the stroke around, so we will click on this outer rectangle and click on. Okay, so the none is this little white rectangle with a, with a red stroke just in case you don't know. Now we'll go back here to our selection tool. Click on it. And let's position this rectangle. Like here. Yeah, that should be fine. Now, let's hit Command C and Command V. We are going to make another rectangle here. And we will make one more. So command C, command V and drag it down. As you can see, it is too big for the spread. So we will just adjusted by clicking on that little anchor. Now, if you want to keep the shape and just as adjusted in size, make it bigger, you will hold Shift and drag it. Okay. But if you want to resize it in other ways, like make it thinner, make you bigger or anything. It will just release the shift because it doesn't hold the anchor points altogether. So this is what we want. And now we'll do like little two rectangles. So we'll go again, hit our rectangle tool and make two of our rectangles like that. Put them down. As you can see, I made them the same width, just like all of them. Because we want to keep the consistency. Now, I'll drag this one down here. Okay, so we will also shorten the swan event that and use our smaller one. As you can see, they're not the same width. Oh my God. So we're going to zoom in and we're gonna make it the same with this being climbs means everything is center and centered and everything is the same width, or know that those are the colors. So these are not the same. So we'll select both of these. And by holding shifts. So we will click on one and hold Shift and click on the other. That's how we select them. So we're going to drag and make them the same way. There it is.
4. Layer 2 - Lines: Now we are going to click here on this plus and click Create New Layer. So what we wanna do in this new layer is make little white lines. So we will go here and click on this slide Line Segment tool. And also we will lock the layer one. After a locking delay or one. We will make little lines here. Okay? So hold Shift. So it's 0 degrees and it's a perfect line. And that is our one line. And we're gonna make it white. So make sure that this line is selected. As you can see, it doesn't have fill and it doesn't have a stroke color. So we'll go ahead and make this slide white or black depends on you. I'm going to make it black. And I want this line to be a dotted line. So I will go here to this tree lines which say it's a stroke. So we'll go here, click Dashed Line and make every single one of these 1 dash gap. Okay? Now, let's go here on this two arrows and remove that window because we don't need it right now anymore. So again, I'm not sure about this. I will just resize it like here. Yeah, until here. And I'll go ahead, copy this line, hold Command C, command V. And here it is. Okay. And lights a little bit further from the edges. Select both of them. And I'm like, yeah, it does much nicer this way. So we will now select both of these lines, command C, Command V, and paste. More of them. Select both of them. All four of them. Command C, Command V. Now, as I said, you'll want to watch out for these pink lines that appear when you are placing objects because that means everything is nicely placed and everything has the same distance between them. So we're going to move them like this and leave them like that. Also, let's select four of these. Click a line here up and we'll click. The, this one, like that means there are centered. We wanna centered central. So these, they are also send there. So let's click Command C, command V, and let's put them down below, as long as they are all selected. I'm going to fast forward this process and I'm going to clients and other and other rectangles. Okay, Now that we make, now that we have made all of our lines, we are going, we are going to unlock our gray rectangle layer. So we are going to click on this lock again. Just want to adjust this like that. It's good now. Also, we want to edit all three of these. So we'll go ahead and click on the first one. Click up here on our stroke color. Click Black, and we will remove the fill. Now, that's how we are going to do it. Now we're going to go here to the right side, click to our stroke. Click dashed line. We want to make this dash, this camera angle with the same dashed lines as we have above, that. We will do the same to both of these. So we're going to hold, click on the first one, hold Shift, and click on the other one. That's how we select both of them. We will remove the fill and we will call color the stroke black. Also click Dashed Line. Check that box. Yeah, that's good. Now, also, I want to add here the one more dashed rectangle. So I will just resize this a bit. Okay? Click on our dashed rectangle. And as you can see, if you click in this empty space because now our fill is nothing. It's, we don't have a fill. It will not select a direct angle. So we have to go and click on this little line. As you can see, those blue lines suddenly appeared. And click Command C and Command V. And we will put that right there. Okay, We wanna make sure it's aligned with our gray rectangle. That's good. Now, I'll put these a little bit closer together and select both of them and make sure it aligns with our right there. Okay.
6. 1. Daily Expenses Spread: Okay, so here is our new file, and we will go ahead and start working on our expense tracker. So let's do it. We are again going to use our rectangle tool. Drag down there. Yeah, maybe like that. And this is going to be our date box. So again, we're going to use the same gray color. You can use any color that you like really. And if you want to change the color for some color that you cannot really see her, you'll just go ahead here on these two rectangles and click, double-click, and you can choose any color you like. I'm going to stick with the gray. And I'm going to go back to my selection tool. And I'm going to remove the stroke. I will Command C, Command B. I will resize this, make it a bit bigger. I'm going to do the same. Two of these. This should have been number bigger, that I'm going to select them, move them to the right. That yeah, that's good. Track them a bit down. Now let's make those squares. Okay, hold shift, so the square is perfect. That command C, command V. We will have five of these. Four. Make sure these clients again appears so everything is this dance should be like that. Same distance and copy just one more because we are doing five of these. Okay, Now, again, we will lock this layer and now we are going to add some text. Make new layer here, this little plus hit T on your keyboard or here on the left side and you can click on the Type tool, the thing. Now let's do the type day. And I'm just gonna arrange them like this. So I'm going to change the style here on a window. So I'm, again, I'm going to use saying, here it is, gone and do the tracking to 200. Size to nine wines. That, that's good. Now let's do others. E. So I want to make these a bit on wind somehow. So I'm just going to select all of them. Here. Go a line like that, vertical align center. Good. Let's align them altogether. Select all of them. Go up here to align. Wind goes. I want to make them the same distance, right? Okay, So this is okay. Now let's unlock our layer one and we'll select cash. And it's little square. Horizontal align center up here, click so it's aligned. Again. Do here. Select debit and click again to the line y. Click need and it's will where it's aligned and do the want. And there it is. Now, click on the squares. Drag them a bit closer. That looks good. Again, go up to the Align and click here on Horizontal Distribute Center. So everything is centered nicely.
7. 2. Daily Expenses Spread: Okay, so now we are going to copy all of our little squares down to the end. I'm going to fast forward this so it is not. So that's good. Okay, so now let's lock both. Both are layers so we can make lines again. So we'll go Make Layer 3. Go to our line tool. Drag a line, will shift drag line. There it is. They'll make the stroke, sorry, make the stroke black here on the right side on our panel. Click these three little lines, make them dashed. Check that dash line box. Okay. Now here we have a day to make it a bit bigger, longer. Okay? It is. Now, let's Command C, Command V. So we can copy Command C, Command B, because two of these are the same. As you can. Remember, we just copy them are exactly the same. Okay. And this can be a bit shorter. Now, let's select all four of them and align them to our little square here. And that everything is aligned. Select again, command C, Command V, aligned, check. Okay, let's all, let's again copy all of these down to the act. Okay, Now that we're done with creating our lines, we will unlock all of our layers and select every rack angle by itself like this and align it to make everything centered. That select letters, rectangles, and our lines. Good, Awesome. We will also remove these lines at the end because we don't need them right now. Click on it and hit Delete to remove it, re-size them to that size. But we're gonna do it by selecting all of our gray rectangles and just resizing it on till our client appears. And now here on the layer 1, we will create another rectangle like that. Okay? And here we will remove the fill, will put stroke to black, go to our right. Go to Window. Click Dashed Line, click on these three little lines, dashed line, height that go to our layer to add some text. And when you will write total expenses that and put that right there. Okay, On the top, we want to add the, we want to add the title. So we will click Command T on our keyboard and write daily expenses. And again, we'll change the font right here to our script one. And we will remove the tracking. Put it. Actually it will put just a little bit smaller, like 25. And then we're going to hold Shift and resize our title. Center it. Okay, that's too big, maybe a little bit too for this. So it will shift, make it a bit smaller. So we have our will, daily expenses spread. Again will you will go up, up to the Tools and let's say Save As or Save or command S and save it. And expenses. Adobe Illustrator, yes, say we're good. Okay, So next thing are the stickers, and we are going to add them on our iPad. But first of all, we're going to make them. So you can also sell them separately or in a back as a bonus, which could be a great marketing trick. Let's go do that.
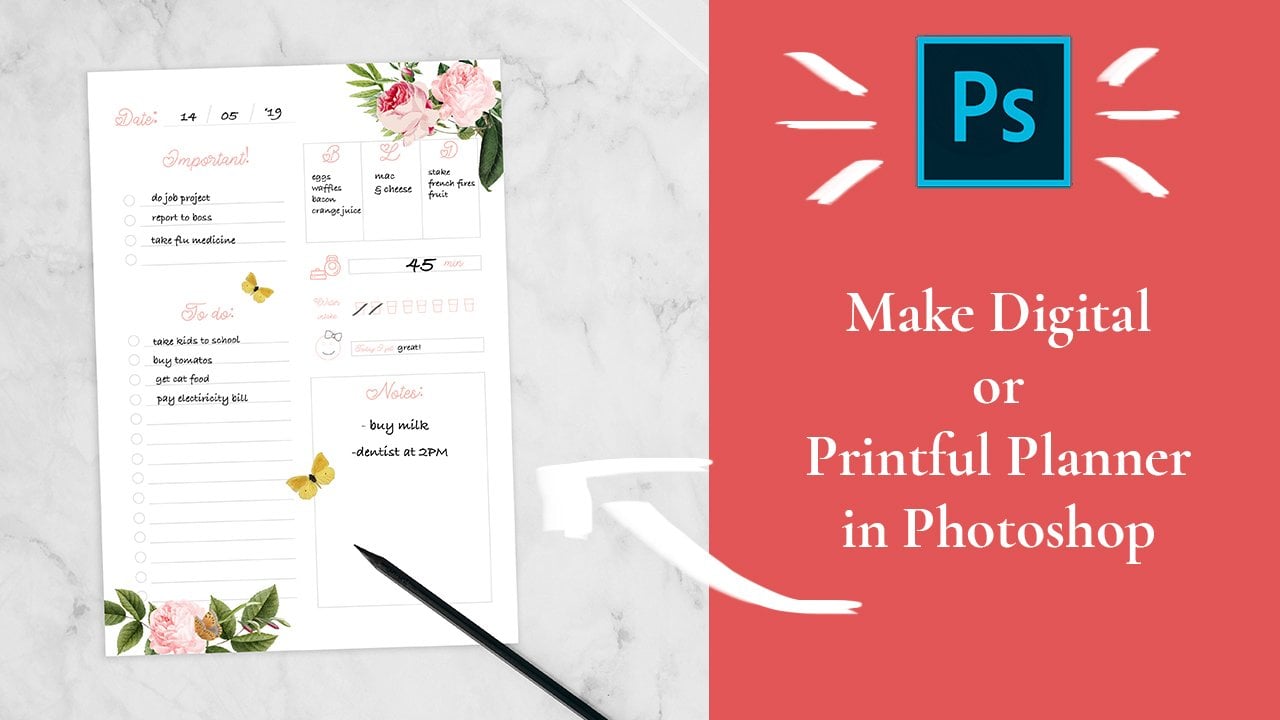
8. Creating Sticker Sheet: Okay everyone, so here I have some of the stickers. There are all PNGs. Now, you can send them like this to your iPad or just upload them like this. But what I like to do is make a spreadsheet in Photoshop. So we'll just go and open our Photoshop here. We will just go file new, same as our Illustrator. Create will use the letter size. And we will go ahead and paste some of these stickers. Okay, Let's see. I want maybe this one only thing that you have to make sure about these stickers is to leave this pace in between. So later on, you can actually cut them out if somebody is using the free version of the Arctic GoodNotes. So here we have. Also, when you put your sticker into Photoshop, hit Enter so it's place, and then you can drag it and play around with that. Now let's go to our sticker. All of these files are from Envato Elements, and of course, you can use them for your personal use. You cannot sell them on their own. So you can make, I don't know, some changes to some of these stickers and then you can sell them as sell them on their own. Okay. I will leave this sticker spreadsheet and all of these files are all down below. So you can use them. Please. Do not sell any of these. They are definitely enough for sale. You can make your own planner and your own sticker spreadsheet, and you can show me what you've made. I'd be more than happy to see it. And if you have any questions or anything, please, you can always ask me. You can always open up the discussion or put it down in the review and I'll be there to answer it. However, this is our sticker sheet. Let's say this is our sticker sheet. Will go Export. Export As. And we'll use a JPEG kids export textile and rename it to stay safe. And there it is. Now let's have the iPad and see how we can use our planner.
9. Using your planner: Shoes are good notes. And here's my goodness. Opened already. So we'll go up here and go to Import. And here I have my planner and is loaded here. So here it is. And you will write, you can write on here with this ten ever her life. She gives him into amount. But we are here so I can show you how to insert some stickers on here. So we'll go here on this Foursquare's. Like. Then we will go up here to this little plus button, go plus go import photos. And we have our sticker sheets right here. We're going to click down and exit that by clicking anywhere on the screen. And we're going to slide our finger like we are sliding those. And we will click on this little white selection tool. And I'm going to go ahead and mark this photo. Then I'm going to take a screenshot. When I do this, Let's try again. You want to go as close as possible to the edges of our sticker. Then again, take screenshots. Let's go up here. And then we will click copy and move that. And we'll go again and select our writing and slide our fingers to our previous page. And then we will hold our finger on the I tag until it disappears. And we'll go paste. And here it is, we have our little flower, which we will place here. And now we can agree on the screen so the marks appear. Also. If you want to add a PNG sticker, you will have to use them separately, so you can use it in a sheet. So here I will go to this plus and go Image and quick recap photos. And I can't find. Here it is. Okay, so here is my PNG stickers. Select it. And I'm going to rotate it by holding my finger entertaining off on this little green circle here. And now you have your PNG, right? Taker. You can place it wherever you like. Click. And when you're happy, just press anywhere on the screen so everything disappears when you insert your stickers. I guess that will be it for this class. I hope you liked it. Leader platters down below. I would love to see them and I will love to see how did they graded them. I hope you like this class. Please leave a review.
 It's N Essentials, Empower Your Digital Creativity