Make copper and resin earrings
 Art School, Became a better artist
Watch this class and thousands more
Watch this class and thousands more
Lessons in This Class
-
-
1.
Introduction
0:33
-
2.
1 materials
1:09
-
3.
2 transfer sketch on sheet
1:16
-
4.
3 preparing tools
1:48
-
5.
4 cutting copper parts
2:31
-
6.
5 preparing pieces part 1
3:11
-
7.
6 preparing pieces part 2
1:44
-
8.
7 preparing resin
3:16
-
9.
8 pouring resin
3:12
-
-
- --
- Beginner level
- Intermediate level
- Advanced level
- All levels
Community Generated
The level is determined by a majority opinion of students who have reviewed this class. The teacher's recommendation is shown until at least 5 student responses are collected.
126
Students
--
Projects
About This Class
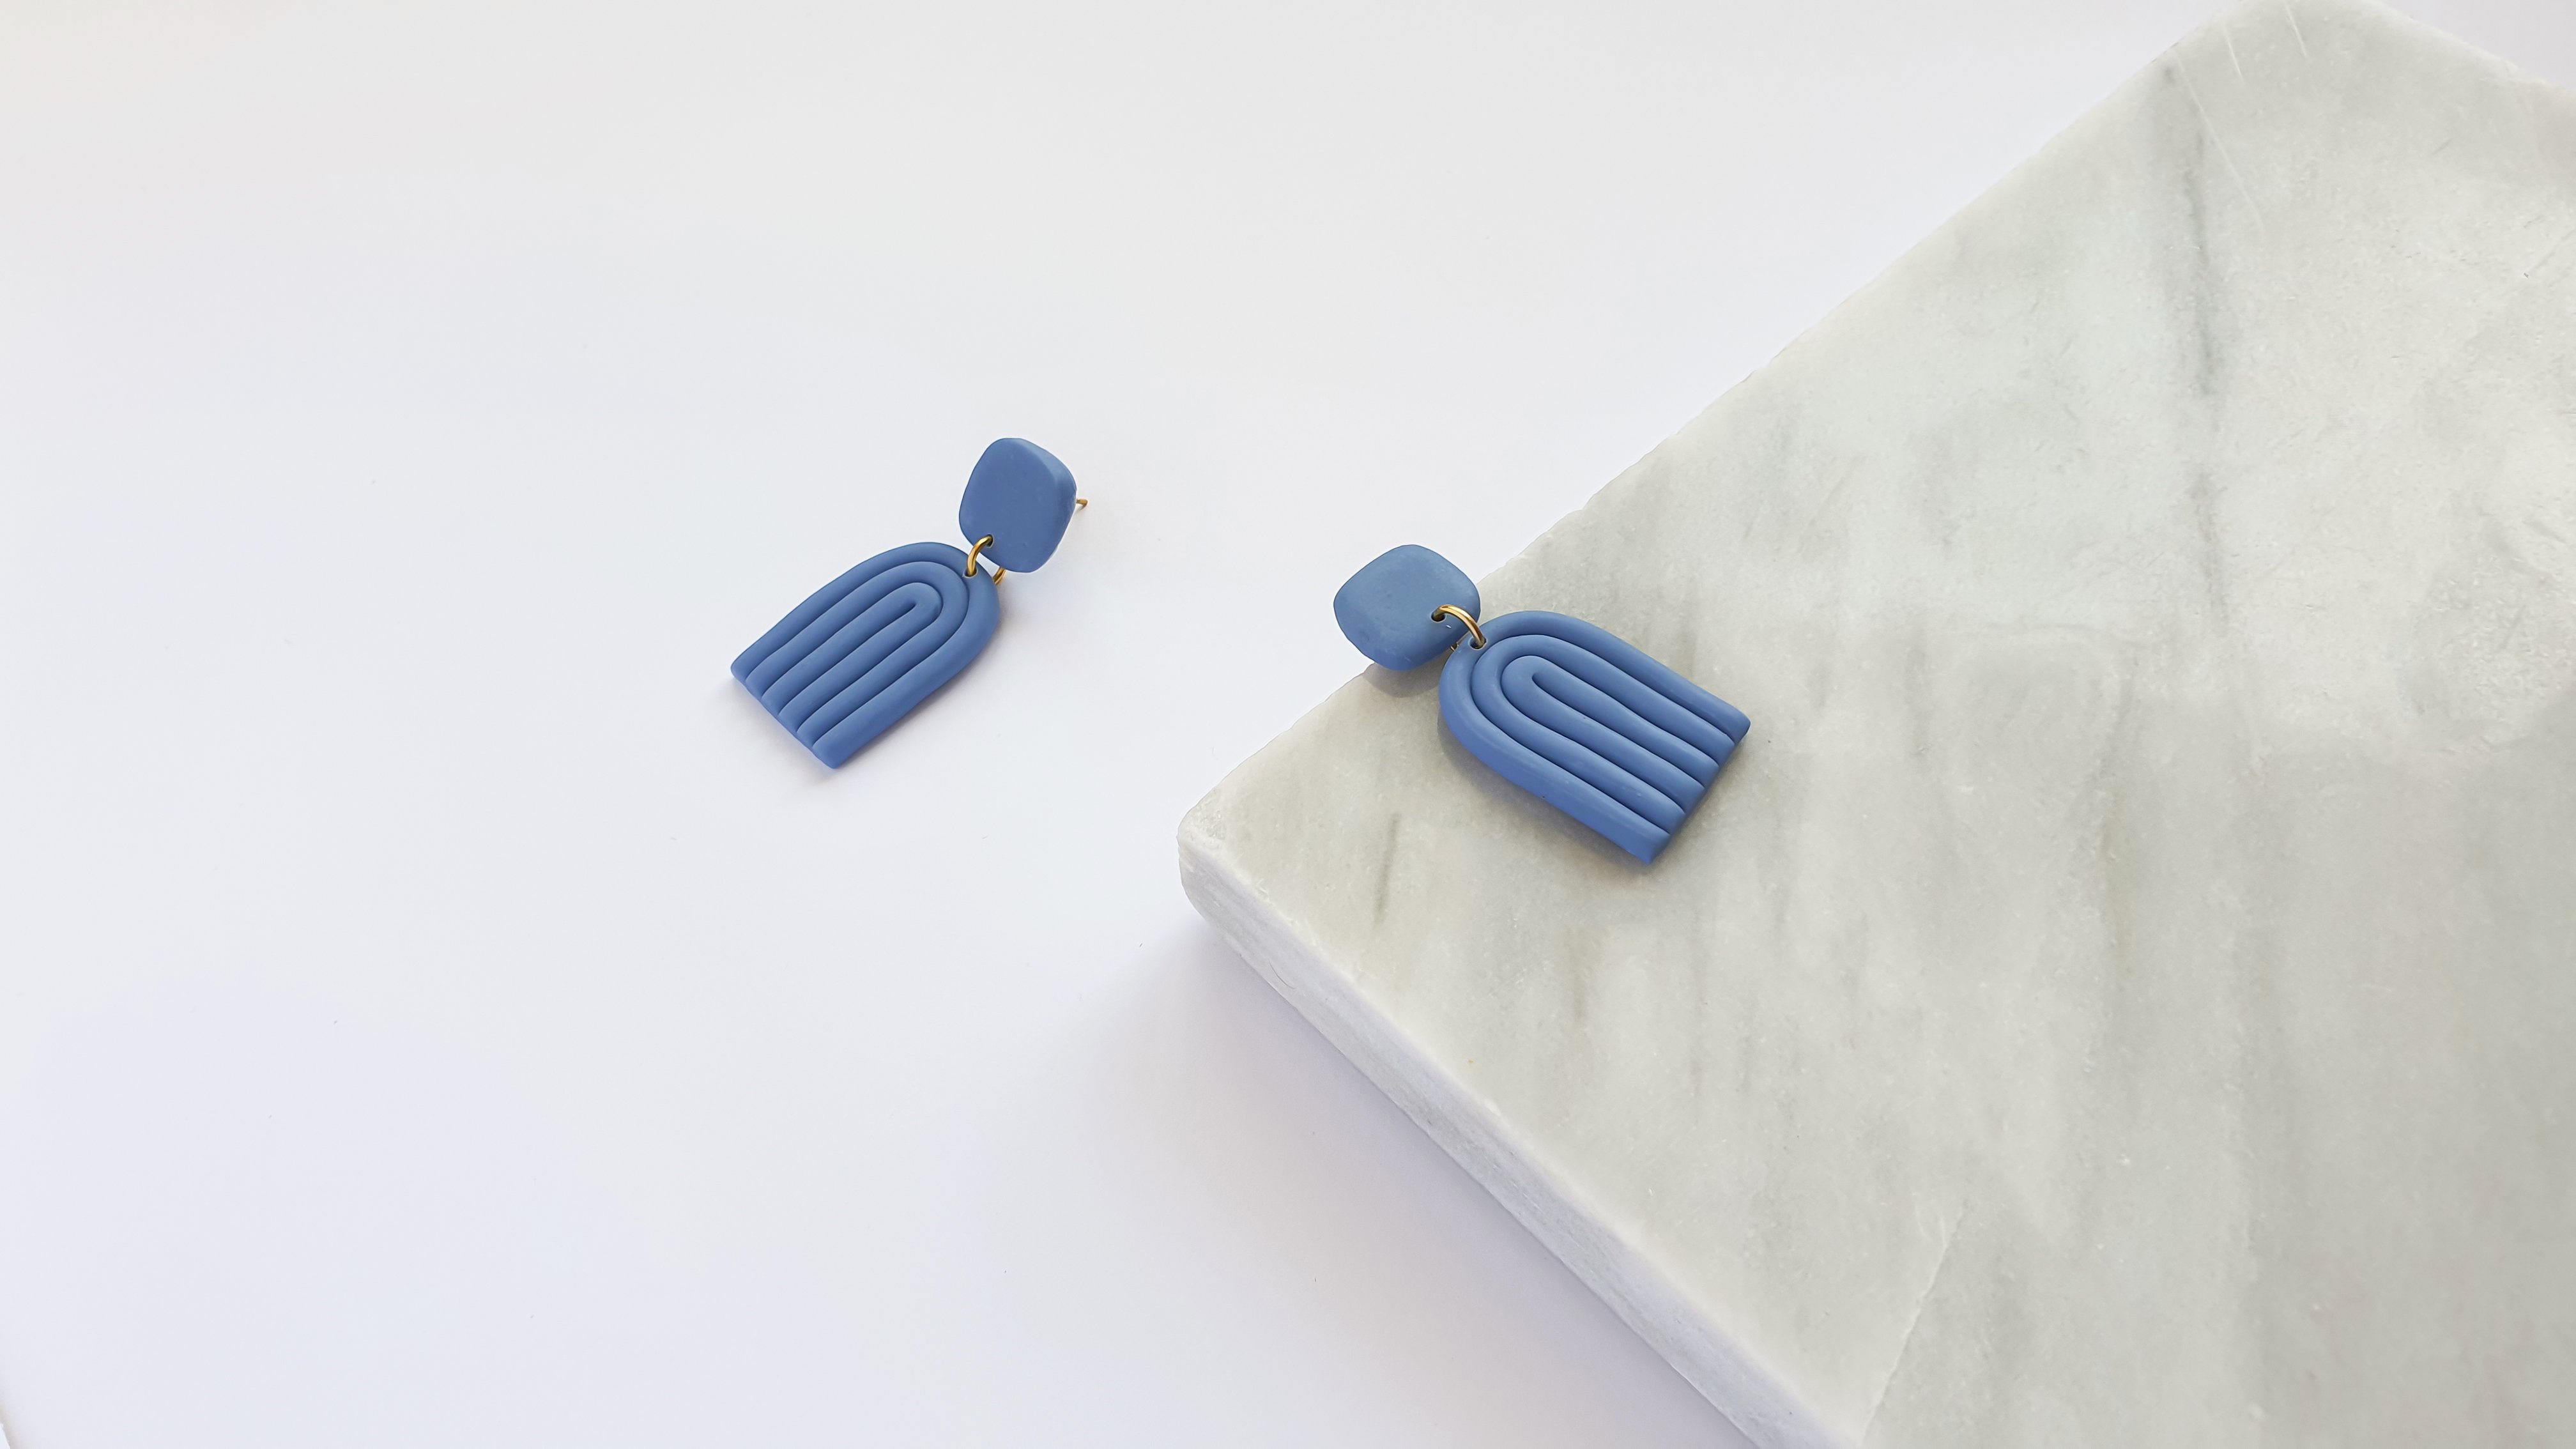
In this training course, I am going to teach you how to make these earrings. Earrings that you can make at the lowest cost and at home. You do not need any background to make and you can make easily and in the shortest time. Join me, I hope you enjoy watching this training course

Meet Your Teacher

When you get a new skill, you can have a better life
We gathered a team of online masters that provide our years of experience to you to make you leading future artists. We teach you lessons and tutorials that you can't find it anywhere else.
Teachers of Design, Arts & Crafts, Development, and more
Let's find out together!
See full profileHands-on Class Project
To create a new project, click on "Create Project" and share your awesome work with us!
Post your Projects Below
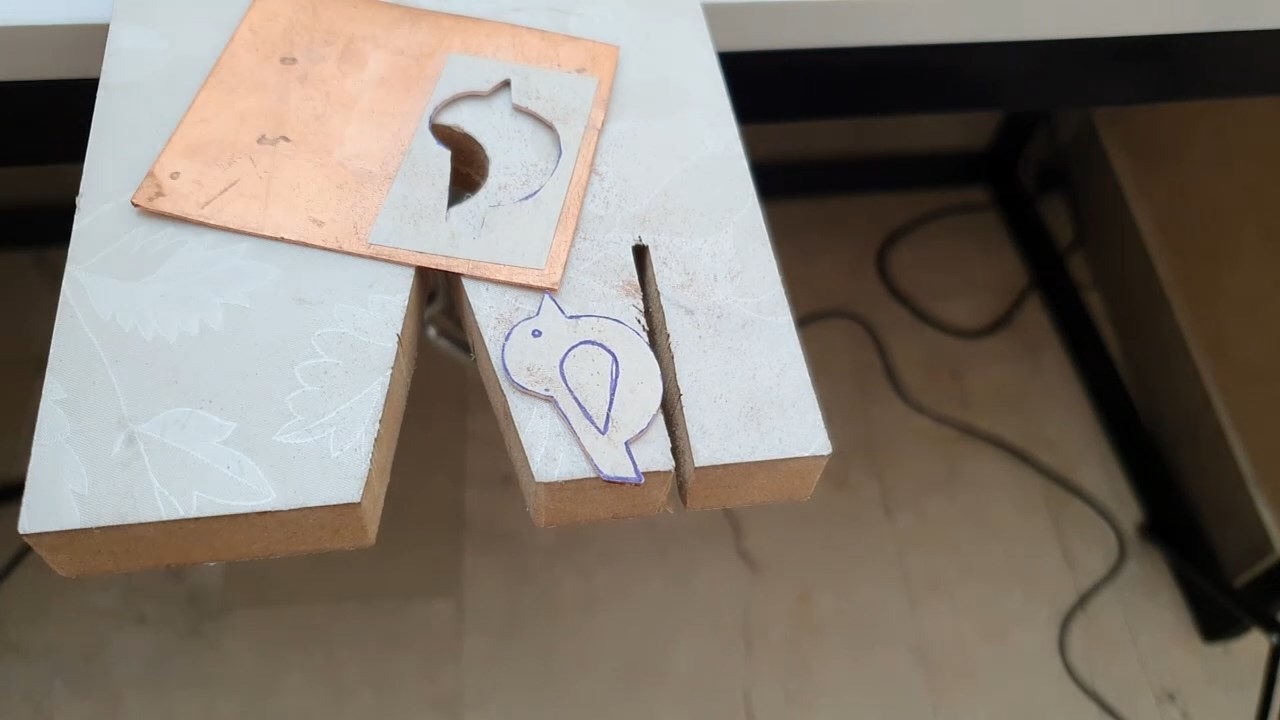
Now let's get started making your earrings using the tools and tips in class
materials :
resin
copper sheet
resin color
techniques :
1-cut copper sheet
2-hammered copper
3-coating resin on copper
The main focus of this class is jewelry making with copper and resin for beginners . As you try these techniques see how you can create some lovely earrings .

Class Ratings
Why Join Skillshare?
Take award-winning Skillshare Original Classes
Each class has short lessons, hands-on projects
Your membership supports Skillshare teachers
Learn From Anywhere
Take classes on the go with the Skillshare app. Stream or download to watch on the plane, the subway, or wherever you learn best.


Related Classes