Transcripts
1. Be Inspired to Create a Website: At the end of this class, you will know exactly
how to create a fully functional
WordPress website. Why create a website? Perhaps you need one for
your business or to create an income stream by running advertisements or
promoting products. You might want to
create a website so you can sell it for profit. Websites built with Wordpress, they're easier to
grow, to change, to monetize n to fill the website's built
using our software. Building a website from scratch. You used to be difficult
and expensive, but these days it's
fast and easy. I'm a middle age man from Australia with no
coding experience. I'm not a developer, but I've built many
WordPress websites. Some of them might be up
for my own businesses, and some of them to sell. My online businesses have earned me more than
$100 thousand, all using websites
powered by WordPress. In this course, I'm going
to walk you through a website building
process step-by-step. You can follow me on screen as I genuinely set up a new site
completely from scratch. We'll start with a
quick introduction to hosting and domain names. Then you can follow me as I
get a website hosting account and set up a brand new
WordPress website. Finally, I'll show
you how to create web pages and posts
on your news site. Join me and see how
easy it is to create a WordPress website as
a complete beginner.
2. Key Concepts: In a minute, we'll
jump into the doing. But first I need to
quickly introduce the concepts we'll be
discussing in this class. I'll start by explaining what
domain names really are. What we're posting is exactly
what WordPress is two. So what is a domain name? Every website has a URL. This is a URL. You can see it in the
address bar of your browser. The browser is the software that helps your computer
connect to the Internet. The browser knows which
part of the Internet to access by using the URL. The first part of the URL
is usually the domain name. The domain name of Skillshare. Skillshare.com. There is a global system for
managing domain names to make sure that different
websites have unique URLs. To set up a new website, you will need it to have
a unique web address is different from all the other
addresses on the internet. You need to get a
unique domain name. And you need to purchase the rights to use
that domain name. You purchased the
rights to a domain name from a domain name registry. After you pay them money, they let other domain
name registrars know that the domain name
is not available anymore. Next up, web hosting, exactly youth web hosting. Well, or website hosting. It's performed by companies
that use servers, big banks of computers to store all the computer code that
runs to make a website. When you purchase a
web hosting service, you're paying one
of those companies to store your website's code. To run the systems that allow computers to access the
code that they're storing. Web hosting companies charge a monthly or yearly
fee to do this. And the price depends
on whether the website, your website has a
server of its own or is sharing space
with other websites. Also things like features
like security certificates, this speed of the
connections and the geographical
location of the servers. Security features are
really important these days because of the way that search engines find websites. That means that your website
should definitely have an SSL certificate, a
security certificate. Ssl certificates help computers to communicate safely
with each other. And you can see on the cURL addressed that there
is a lock symbol. That means that this site
has an SSL certificate. You can also say the S on the HTTPS in the
address as well. We're posting packages
usually include email services so that you can create email addresses with
your website's domain name. And many web hosting services
also provide domain names, which can be super
convenient if you can get your domain name and your web
hosting all in one place. Changing website host isn't
always an easy thing to do. So it's good to start
off with a reliable, repeatable host that you think that you're going
to want to stick with. Having said that it's pretty
easy to change plans. So it's fine to start with
a cheap place to start with and then upgrade
as your website grows. Let's talk about
traditional versus only one hosting services. Most traditional website
hosting companies will provide hosting for websites
built types of software. But some companies provide and only one service in
which they provide you with the software to build your website as well
as hosting it for you. Here are some examples. In this course, I'm going to use a traditional website
host called Bluehost, and I'll be on my
platform with WordPress. Wordpress is free software
and Bluehost makes my job easier by setting
up WordPress for me. But they would
also let me create my website using other
software if I wanted to. On the other hand, all in
when companies are really let you build your website using their own building website
building software. Weeks, Squarespace,
Shopify are examples. These companies provide
their customers with hosting and with the tools to build
the website that they host. When you use an
only one service, even locked into
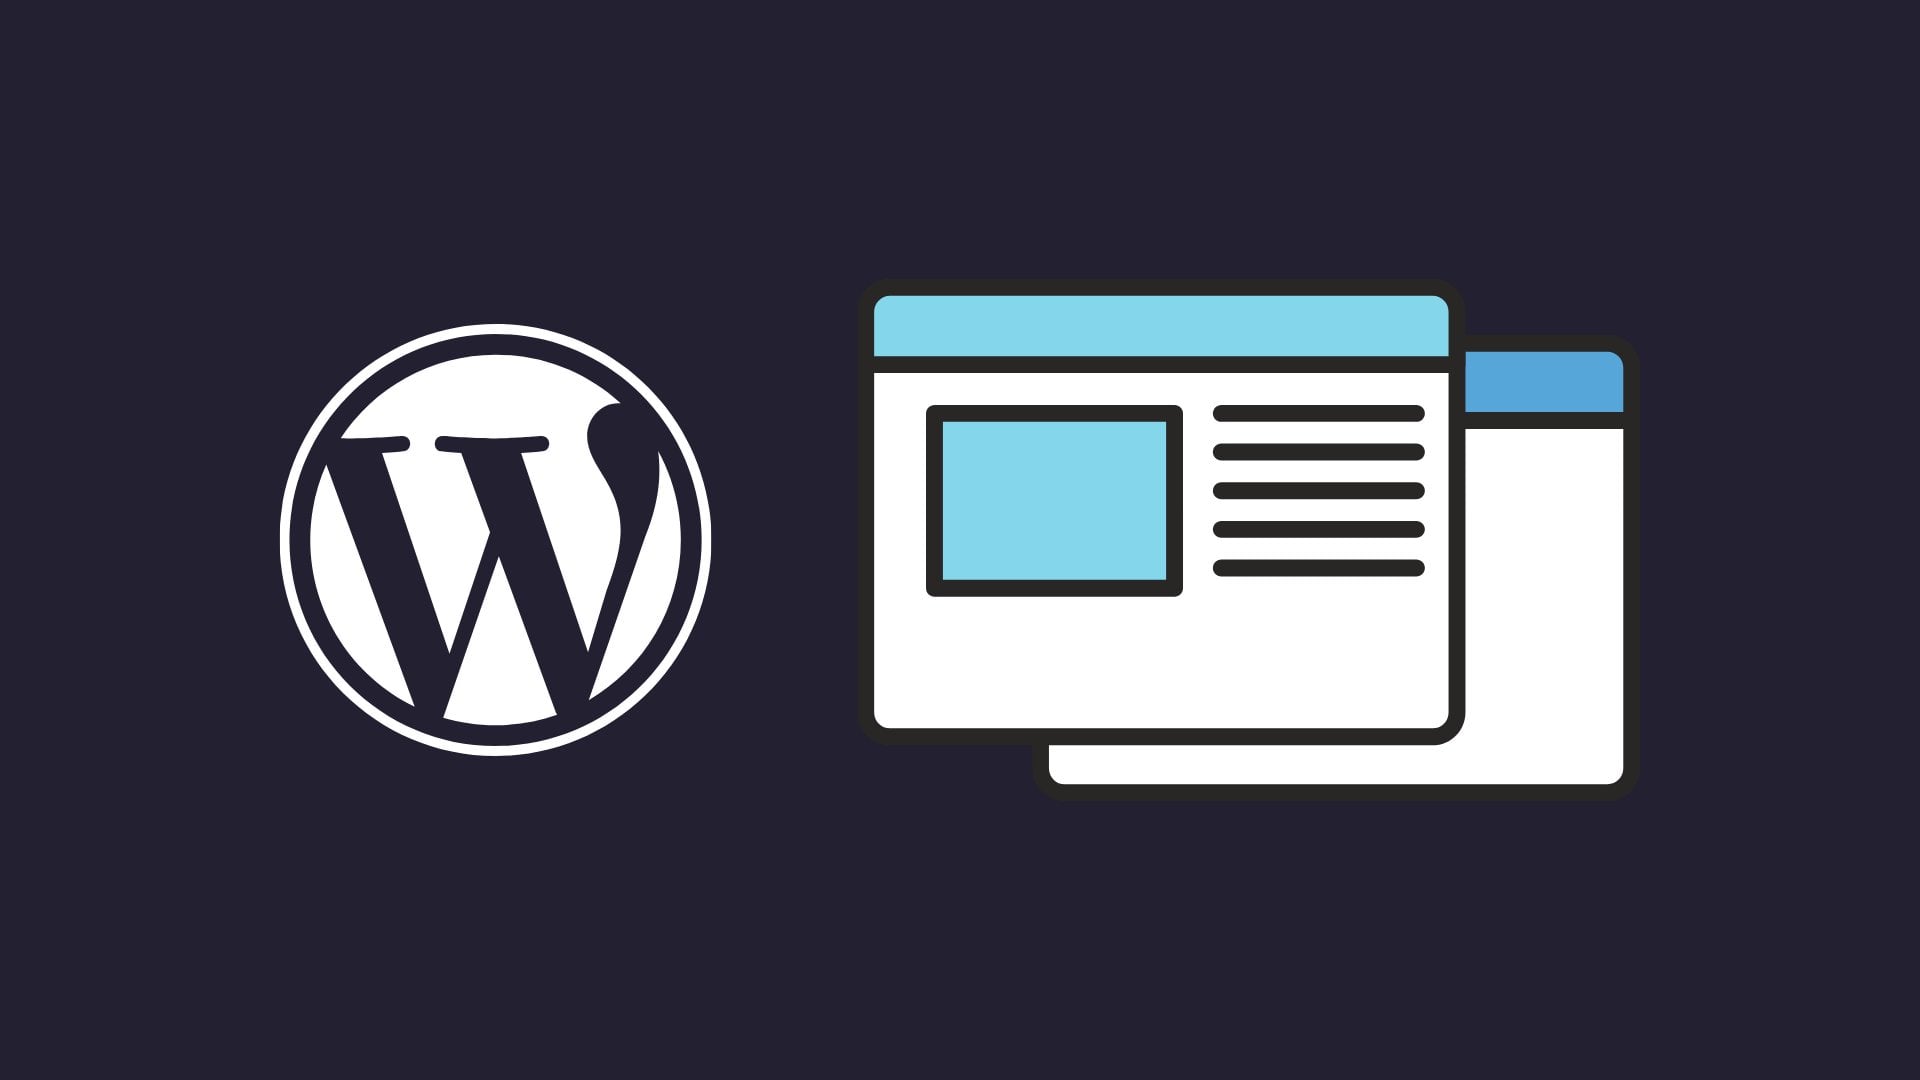
their hosting and their website building software and cannot easily change it. Wordpress. Wordpress is a software
system that works like a framework on which you build
the pages of your website. Around 80 per cent of the world's websites are
powered by WordPress. Since I'm not an IT specialist, I can't tell you exactly how WordPress is different from
other website builders. But I can vouch for the
fact that WordPress sites are readily flexible
and powerful. With WordPress, you can
start small and grow, and grow and grow and grow. Wordpress things allow you to make a website
that is completely different from any
other websites straight out of the box. As your website grows, he can easily add other features like
online shopping carts, membership features on
multiple languages. Or you can keep it simple. Now that you understand
the building blocks, we can jump in and start
actually building. So let's get started.
3. Get Hosting and a Domain Name: So I'm going to
start by going to my favorite cheap hosting
provider, Bluehost. And we'll check out their plans. They are giving me plans
in Australian dollars, so it'd be a little bit cheaper if you are
spending American dollars. The cheapest way to get
hosting is shared hosting. And that means that other
companies are also in other websites are also using the same actual
computer machines, the actual same servers as you makes everything
really cheap. But it does have the
disadvantage that if the other websites on that
server are doing spammy stuff, that it can affect your
email deliverability. So here's implants to choose. I think this one is
about $2.95 Americans. So again, we're saying it's
trending prices there. Sorry about that.
It's the basic plan. It's going to give us one
website, some storage, which will be enough
for a small website with a few blog posts
and some images. And it's going to give me a
free domain for one year, which is fantastic, and
a free SSL certificate. This is a really important
element that you should make sure that you're
going to get in your plan. Because Google really wants websites to have
SSL certificates. And those sites
that don't have SSL will be punished by
the search engines. Okay, So I like this one because it's really cheap
now one other thing to watch out for is
that after you've paid your first term's
worth of hosting, the price is gonna go up. So it's always worth reading the fine print on this
cheaper hosting plans just to see what sort of
price you're going to have to pay going forward. That's an auto-immune
at the regular rate. So I'm going to choose this plan and we're going to
set up a new domain. Your domain will be
your website to dress. You can create a
new domain or use one that you already own. Now, I would normally, if I wasn't going if I wasn't planning to sell this website, I would normally go and
register a domain name. We might ordinary domain
name registry provider. But it's much easier
if you're going to sell a website to have the
domain name with the host, so that you don't have
to actually transfer ownership separately for the
domain name and hosting. This time I'm actually
going to use blue highest to create
register my domain name. And I'm going to call it
warfarin support.org. I'll just see if it's available. There we go. It's
already available. And I'm going to set up a new
account for these Bluehost hosting into some details. There don't be tempted to
into incorrect details for privacy reasons because
if you're going to go ahead and fill this website, couldn't cause really
big problems with the actual legal aspects of transferring the
ownership of the asset. Be accurate with your
personal details. I'm going to choose a basic
12th month plan here, which again, I
think that's about $2.95 American per month. That's an Australian dollar
price that you see there. And so it's telling me I'm
going to pay $48 all together. I've got my free domain
name, which is fabulous, and my free SSL, which
was also really fabulous. Now, this one is the
option that you choose if you want to protect from having your name listed on the website,
ownership registries. This one is a little
add-on when that try and get more money out of you. We don't need it for a
low earning my flight. We don't need any of that. And we are going to say
it's $71 Australian, which will be about
55 or 60 US dollars. So for my payment, me and I'm just reading the fine
print here and checking that the rights won't go
too high when I renew, agree to the terms and
conditions and submit. Okay, I now get to create
my account password. That is it. We've now got a hosting
account and a domain name. And we're ready to start
creating the website.
4. Starting with WordPress: Welcome back. In the last video, we created our hosting account with Bluehost and got a
domain name as well. Let's go back to Bluehost
now and start building our website and logging
back into Bluehost tier. And normally we take
me to my website, will give me an option if
I have more than one side, it knows I don't
have any slides. Here we go. So let's create one. Create a new website. Wordpress is offering
me the option to use a beginner way to build a
website using WordPress. And in this case, it's going to guide
us right through the process, make
it really easy, or make it fully customizable
site using WordPress, which is also pretty easy. But since you're a
beginner, we're going to use WordPress for beginners. Many of the host that you might want to choose for
your hosting will have the same sort of option
where it actually will build the site for you and
guide you through the process. Let's go with this one. Here is my site ready to sit up? I can manage it here. I've got two ways to build it. I can use the Bluehost
built in, site builder, or I can log into WordPress
and do it from there. What I'm gonna do
is I'm going to log into WordPress now
from Bluehost. What we're doing now
is we are inside the back end of our website. You can see here the URL
is warfarin support.org. And then you can see in the
address here, WP admin, this is what we need it
to type in it to get back into our Press page. So Bluehost, it's talking to my WordPress site when
presses, a popular platform. And it's going to
guide us through the process of
setting up the site. And it suggests that we start by customizing our homepage. Okay, So this is Bluehost offering to help
me with WordPress. We don't need that and
I'm going to press Exit. So this is what a new page
will look like in WordPress. Going to type in my company
name here, website name. So I've changed some
of the words here. And now I'm going to scroll up. This is a picture. When I click it, I get a
blue border around it. Press replace here. And now I get to open
my media library. So the Media Library in
WordPress is where you keep all your
photographs and images. You can also store things like PDFs that people will be able to download
from your website. My Media Library. It's brand new,
completely empty. There are a couple
of ways I can put some photographs into
my media library. I can either press this
button and go into the oldest don't like computer and select
files to upload. Or I can go to upload
files and I can actually go to my computer and drag
and drop files in here. So I've got some
files off screen, which I'm now going to
highlight and drag and drop. Just dragged and
dropped a bunch of files that quite a few images. I am using royalty-free images that I downloaded from a
website called Unsplash. Using Unsplash images
means that I do not have to pay royalties when
I paint on my website. However, if you use
Unsplash images, you should be very
careful to check the license terms
and conditions for the pictures that you are
not accidentally breaking any copyright rules
on the Internet. You're not allowed
to just randomly put immunogens that you
don't own onto your website. Come back to my image. I want to replace it with a new picture that I've
got in my media library. Or I can also just
upload one directly. So in this case, volume disappointing for those
other uploads to process, I will press Upload. I'm going to choose
a picture here. And now I have got the
bare bones of my homepage. So you can see the title of
the page at the top, home, behind the image block that
I've got a heading here. We've got a Contact Us button, and we've got some news
which is a post there. So in WordPress we
get to save a draft, which means we save our work. Always press that
we can publish, which means that the
post is going to be available to anybody
on the website to see. Or we can press preview, which will show us what
it will look like to somebody who visits this page. But websites, I'm going
to press preview. And we get to see what it
looks like on a desktop, tablet or mobile device. Like a fine. I'm going to preview
it in a new tab. And WordPress is
generating me it previously that I know what
my new page will look like. And so when people
go to this page, which will be the homepage, this is what they get to say. If I'm happy with that page, I can press publish. It asked me whether I'm ready. Visibility is public means
that anyone can see it. You also have the choice
to make it private. You can also choose to have
a password protected page. You can schedule publishing
for the future if you like. This thing down here
is called Yoast SEO. Yoast is a type of plug-in which is a little app
that works with WordPress that is supposed to make
your posts better for search engines to find it. Click Publish. So a homepage is now alive. Now I'm going to click this little WordPress
button up here. This will take me to my
WordPress dashboard. The WordPress
dashboard is where you can change all of your pages. You can add new pages and
you can create posts. So pages or this static parts of your website that should always
be pretty much the same. They don't change. Very often. They are the backbone of
your web page, if you like. So you might have a homepage, you might have a
privacy policy page. You probably should have a contact page and About
Us page on there as well. Over here you can see posts person thought
are the same as pages, but they are more likely to be things that change
quickly and often. You can add many, many poets. And depending on the way that
you set up your website, you can show your post as
if they are a blog feed or a news feed and share them in different
parts of your website. So just going through blue
highest is my hosting. Platforms. Website builder is a Bluehost feature to make
creating a website easier. Media is where you keep all your photographs and your
other downloadable files. I'm clicking on that now. In our media library, I can see the pictures
that I uploaded earlier. Pages I've shown you
comments is where other people can comment
on posts that you make. And if you click here, you
can mediate the comments. Turn them off and on. If you don't want them
or you like them. There's appearance. Now, when you click in here, it lets you change the
look of your website. Next, Plugins, these
are extra apps that you can use with your website
to make your life easier. Uses. This is important.
These controls who has access to get into the
backend of your website? There are tools he, which are sort of developers
tools if you like, you probably won't need to use those very much, if at all. And settings change the way that the dashboard and your
editing process works. Right now the most important
thing that I can say is this thing up here. It says coming soon as active. Now, that means that if we went to our webpage
in another window, we wouldn't see the new web homepage
that we just created, or we would say is coming soon. In fact, we might even
do that and have a look. I'm going to create a
new incremental window. Type in my dress,
my new website. And you can say here
that if somebody came to visit my new website, all they would say
is coming soon. We don't want that. We want to make it active. So let's click here. And we're going to go to settings and get rid of
the coming soon page. Coming soon pages here. Let's turn that off. And now when we go into
our incognito page, we should be able to see our
website looking really good. I'm going to refresh that. And here is a new website
that we just made.
5. How to Log Back In with WordPress: Welcome back. In the last video, we
made our homepage. The next thing that we wanna
do is make sure that we know how to log back in to our
website if we need to. So I'm going to click
on Users down here. I'm going to click on all users. These shows me who has got access to the
backend of my website. This is me, this is my
e-mail address here. Making either the e-mail
address that you have got here, which will be your
main admin entry to the email, to the website. It's really important that you know what that address these. And if you don't know
what the password is, which you want, if
your highest test set up your WordPress
site for you, you need to click
into your profile, scroll down, and then what you need to do is
set a new password. You click on there. And WordPress will make a
brand new strong password. Keep a copy of it somewhere
else so that you can login. And then I'll show
you how to login. So I'm going to log out
of the website now. And now we're gonna go ahead and log back
into the website. So I'll type my dress, afford slash and
then the letters WP. Let's turn to WordPress,
hyphen admin. Click on that. And you get a
page that looks like this. This paint is remembering
me, of course, you type in your email address
and the password that you set when you were inside
your WordPress dashboard. This will take us back
to our dashboard.
6. Make a Post: In this video,
we're going to add a new page to our website. So I'm going to pages, I'm going to press O pages here. So already we've
got our homepage, Privacy Policy and
a sample page. I'm going to click
this. And this one we're going to
make a contact page. So it will type
some words in here. Preview it. I'm going to preview it
for tablet. It's time. It looks pretty weird
to me. Let's change it. Key. You want this to be
called contact page. And now we'll publish it. And we can press the page to see what our page looks like. So they're the ones
that I just typed in. Right? Let's get back to the dashboard. Dashboard. And I will show
you how to make a post. I'm going to click Add new. The title of my tries to obey. Got some content that I've typed out in a Word document
on my other screen, which I'm just going to
copy and paste in here. Can I say this mountain there? And I can publish
that personnel. You know what? I'm going to add a
photograph image, sorry, here on press plus. You get to choose an image. And I will choose one
from my media library. Choose this one. I can add a caption if you like. And now I have an image. Let's press publish. And I'm going to click
Post and we can see what it looks like two
visitors off the website. So right now, the Internet noise that my website
is called Wellcome, which is of course not great. We will fix that and we'll look at the website
in the next video. Here's my posts that
I just made her way.
7. Change the Look of Your Site: Welcome back. In the last video, we made this post that you can see here. In this video, we're going to change the look and the
feel of the website. So let's go back
to the dashboard. First thing we need to do
is change our websites. That's not called
welcome Anymore. Going to General Settings and I'm going to the site title. And we'll call it by name. And we will save it. So you can see up here now that the crate sign
name is up there. Now let's change the
look of the website. We're going to go to
Appearance and click themes. Themes are the magic
part of WordPress. You can click on a
theme and make it your WordPress turn into a totally
different looking website. We'd like literally
the click of a button. It's really cool. So if I want a WordPress, if I want a website
that looks like this, I click that theme. When a WordPress that
looks like this, I can click that thing or you
can add a brand new theme. I'm gonna choose this
thing here is called 2022. And it's got this look to it. And I'll press to activate. That was wanting things like Bluehost and sent me out
with a different thing, thought was warning
me not to change it. So it's installed this
theme on my side, and I can now customize it here for styles. And we might want to make
it a different style. Let's make it pink. There we go. So we've just
changed the look of all the font and the colors. Let's choose that one. That looks very professional,
which is this one. And that looks blue.
Oh my goodness. I like the professional one. Will change, change it
to that default style, and we will press Save. And now when we have look at the actual site so we can
click here to visit the site. We will say that it has got
a different look to it. So you can see the font
is a bit different. And the way that the menu is organized,
it's a bit different. Buttons of change color to it. It's really quick. And then
you can say down here, this is the post that I created. And in this particular theme and this particular
default layout, it will show the post
under here as news. But the dashboard now. And having a look at Appearance
and Themes and customize, you can say that there is
an almost unlimited number of ways that you
can change the look and the feel of your website.
8. Introduction to Plugins: In the last video, I showed you a really
quick introduction to how you can change the look of your website using themes. And in this video, I'll give you a really quick
introduction to plugins. So this page shows you which plug-ins are working
with your website. I have got a Bluehost
plugin because I created the website with
Bluehost hosting provider. I've got an acousmatic
anti-spam at. These would be things that Bluehost would have
installed for me. Jetpack, creative male. You can see creative
male has made it, has got its own little menu
item over and the dashboard. Yoast SEO has got its own menu item on
the dashboard as well, where you see a
little red thing. That usually means that the plugin is trying
to get your attention. Sometimes it is because
it needs to be updated. So you've got your website now, the most important thing you
can do is populate it with high-quality content so that the search engines
will start finding it. So I suggest that you go to posts and create a bunch of new posts like I showed
you in the previous video. Don't fall into the trap of playing around
with the look and the feel of your
website too much. In the beginning of the most
important thing is to get the words and the images
into your website quickly. In the next video, we're
going to wrap it up.
9. What We've Achieved: This is the final
video of this series. We've got our domain name. Now. We've bought that from
our hosting provider. We created a hosting account and then we created a
word press website. I'm going to click on
the WordPress website. And this is the homepage
that we created, a contact page that we created, and the sample page that
came with the website. We change the look of the fonts and the
layout of the pages. And we've created one
priced down the bottom. As they showed you by going
through the dashboard, by clicking this button here. And by clicking
that button there, you can make almost unlimited
changes to the look and the feel and the layout of your website using WordPress. Congratulations on starting
your first WordPress website. There's heaps and heaps of information on Google
and on YouTube that can help you
really finesse and get the look and the feel of the site that you really want. And I really encourage
you to just learn as you go, break things. It's quite easy to
change the look and feel of a website without actually losing
any of your posts. In fact, I was just going to really quickly show
you what happens now. We've got this post here. Let's just quickly
show you again. You've got your postcode. What is warfarin with
all the words in it? I can go ahead and completely changed the look of the
website altogether. And the actual content that I've created is still
going to stay there. So I'm going to, I've already
got the active theme, 2022. I'm going to change to 2020, which has got a really
different look. Like Activate, just ignoring
that Bluehost wanting there. And now that the
Twenty Twenty theme is activated at my site will
look really different. I'm going to click
on it to visit. It's got a different
set of colors. It's got a different font. It's got this colored
background T. And you can say
most importantly, that the words that I created, I still hear that
hadn't been lost. And that's really
important to know. So I really encourage you
with your first website to play around with the look and feel using the
customized buttons. Try different images,
try different colors, try different options, do
things with the minis. You can see here I can
change where remind me, disappear and what sort
of minimise their him. And don't feel bad about changing things around
when a website is new, it won't be getting any traffic
for the first few months. So no one's really
going to say it anyway. So feel free to just
learn as you go, play around with this site and make it as good as they can.
10. Wrap Up: We've reached the end of
this short introduction to building a WordPress website. Here is what we have learned. I told you what a domain name was and introduce you to what website hosting really ease a brief introduction
to WordPress. And then we started a WordPress
website or their own. We built a page and I showed you how to use the
Media Library and use images. In WordPress. We built a post. I touch very briefly
on themes and appearances in
WordPress as well. And plug-ins really briefly
to this is the web's, the WordPress website
that we created. I hope I've really inspired
you in this class to see how easy it is to create a
WordPress website for yourself. Your project for this class
is to share a screenshot of a website that you created or one that you wish
he had created. If you have any tips or hints to share with
your classmates, be sure to include those too. I can't wait to see
what you've made. And as always, have
lots and lots of fun. See you next time.
 Karen Cherry, Successful biz owner, accredited trainer