Transcripts
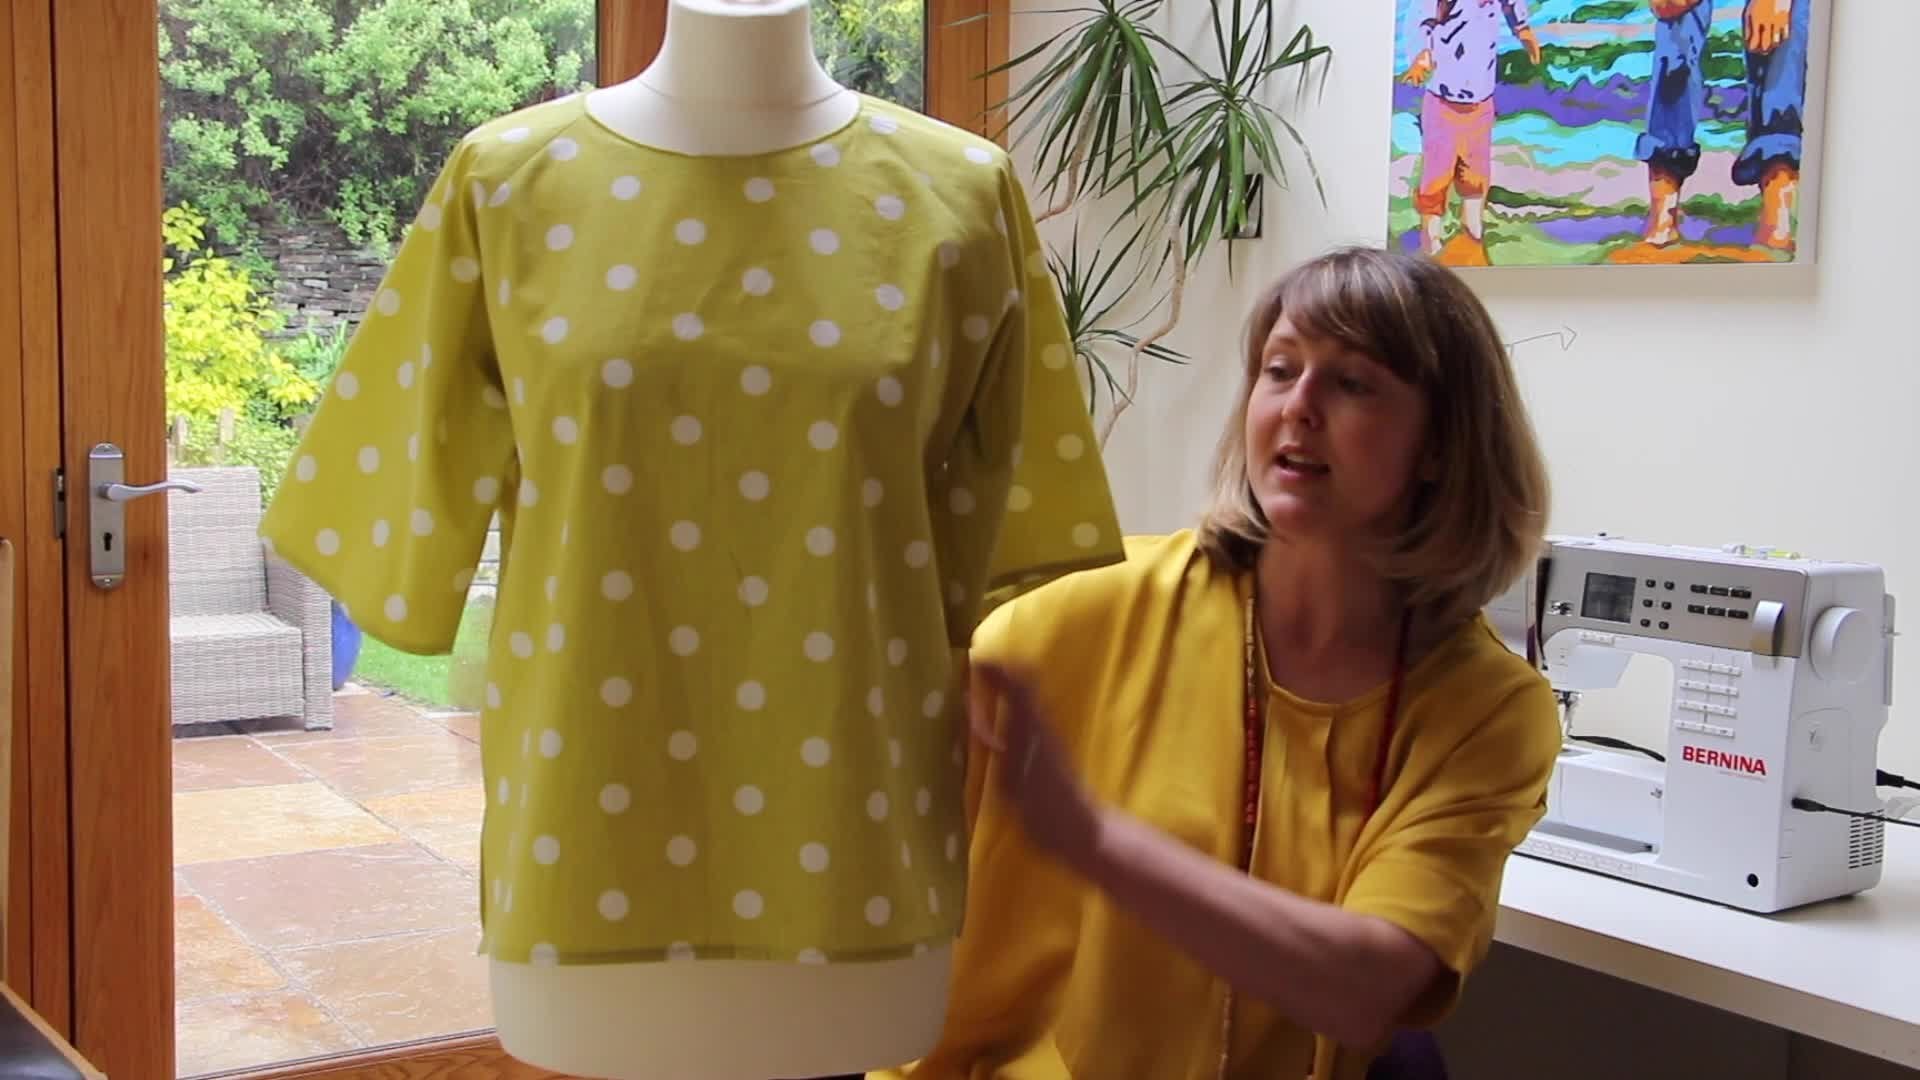
1. 1 - Ruffle Top - Intro: I want to show you today how you can make this pretty ruffle Top my tutorial considered a free pattern that you can download and print at home. So I said Pattern, our UK aged 34 as a U. S. Size 4 to 20. This is a great pattern to make for beginners. It's really easy. It goes very simply on is actually based on my previous tutorial for boxy top Patton. This is just a different variation with the addition off high neckline on front ruffles. In my previous tutorials, you can see exactly how to damage print it out and put it together. It also talks you through how to put a basic shape together. In this tutorial, we're going to cover the variations, which is the frills on that line. Now I'm gonna show you everything you need right from your list materials toe what fabric to buy and techniques you're going to need cutting it out, put to get together. Now the rifle talk is a loose fitting top for a node up. It just has really nicely. It finishes about hip level, but this is really easy to also, if you want to go shorter or longer sleaze, our elbow length and again because they're very straight shape. You can get a short week except doubt bullet if you want to. There are some pretty frills court in the rack and sleeve. Here on this is 19 sticks. Is that which I really love is actually very, very easy to make, so get coming out Well, so what we're going to need 50 toil is home print up is this sticky type fabric and threat A small bottom at about three inches of America Coordinating ribbon under seven machine so time to get started.
2. 2 - Ruffle Top - Fabric: For this top, I'd recommend a light and floaty fabric. I'm using a crepe here. It's a single crate, and as you can see, it moves nicely on. It will allow those frills to sit really well. You don't have to use crepe. There are other fabrics that would also work well. You need to have something with a nice floppy feel. Something like a discos or silk or even a light jersey would work well. How much fabric do you need? Well, it depends on the width of your role. If the weight of your fabric is 150 centimeters, then you need 1.25 meters. That's also 1.25 yards, and if you're fabric is 112 centimeters wide, that's 1.5 meters, or 1.75 yards. There are other fabric wits around, but these are the two most commonly found ones in the UK
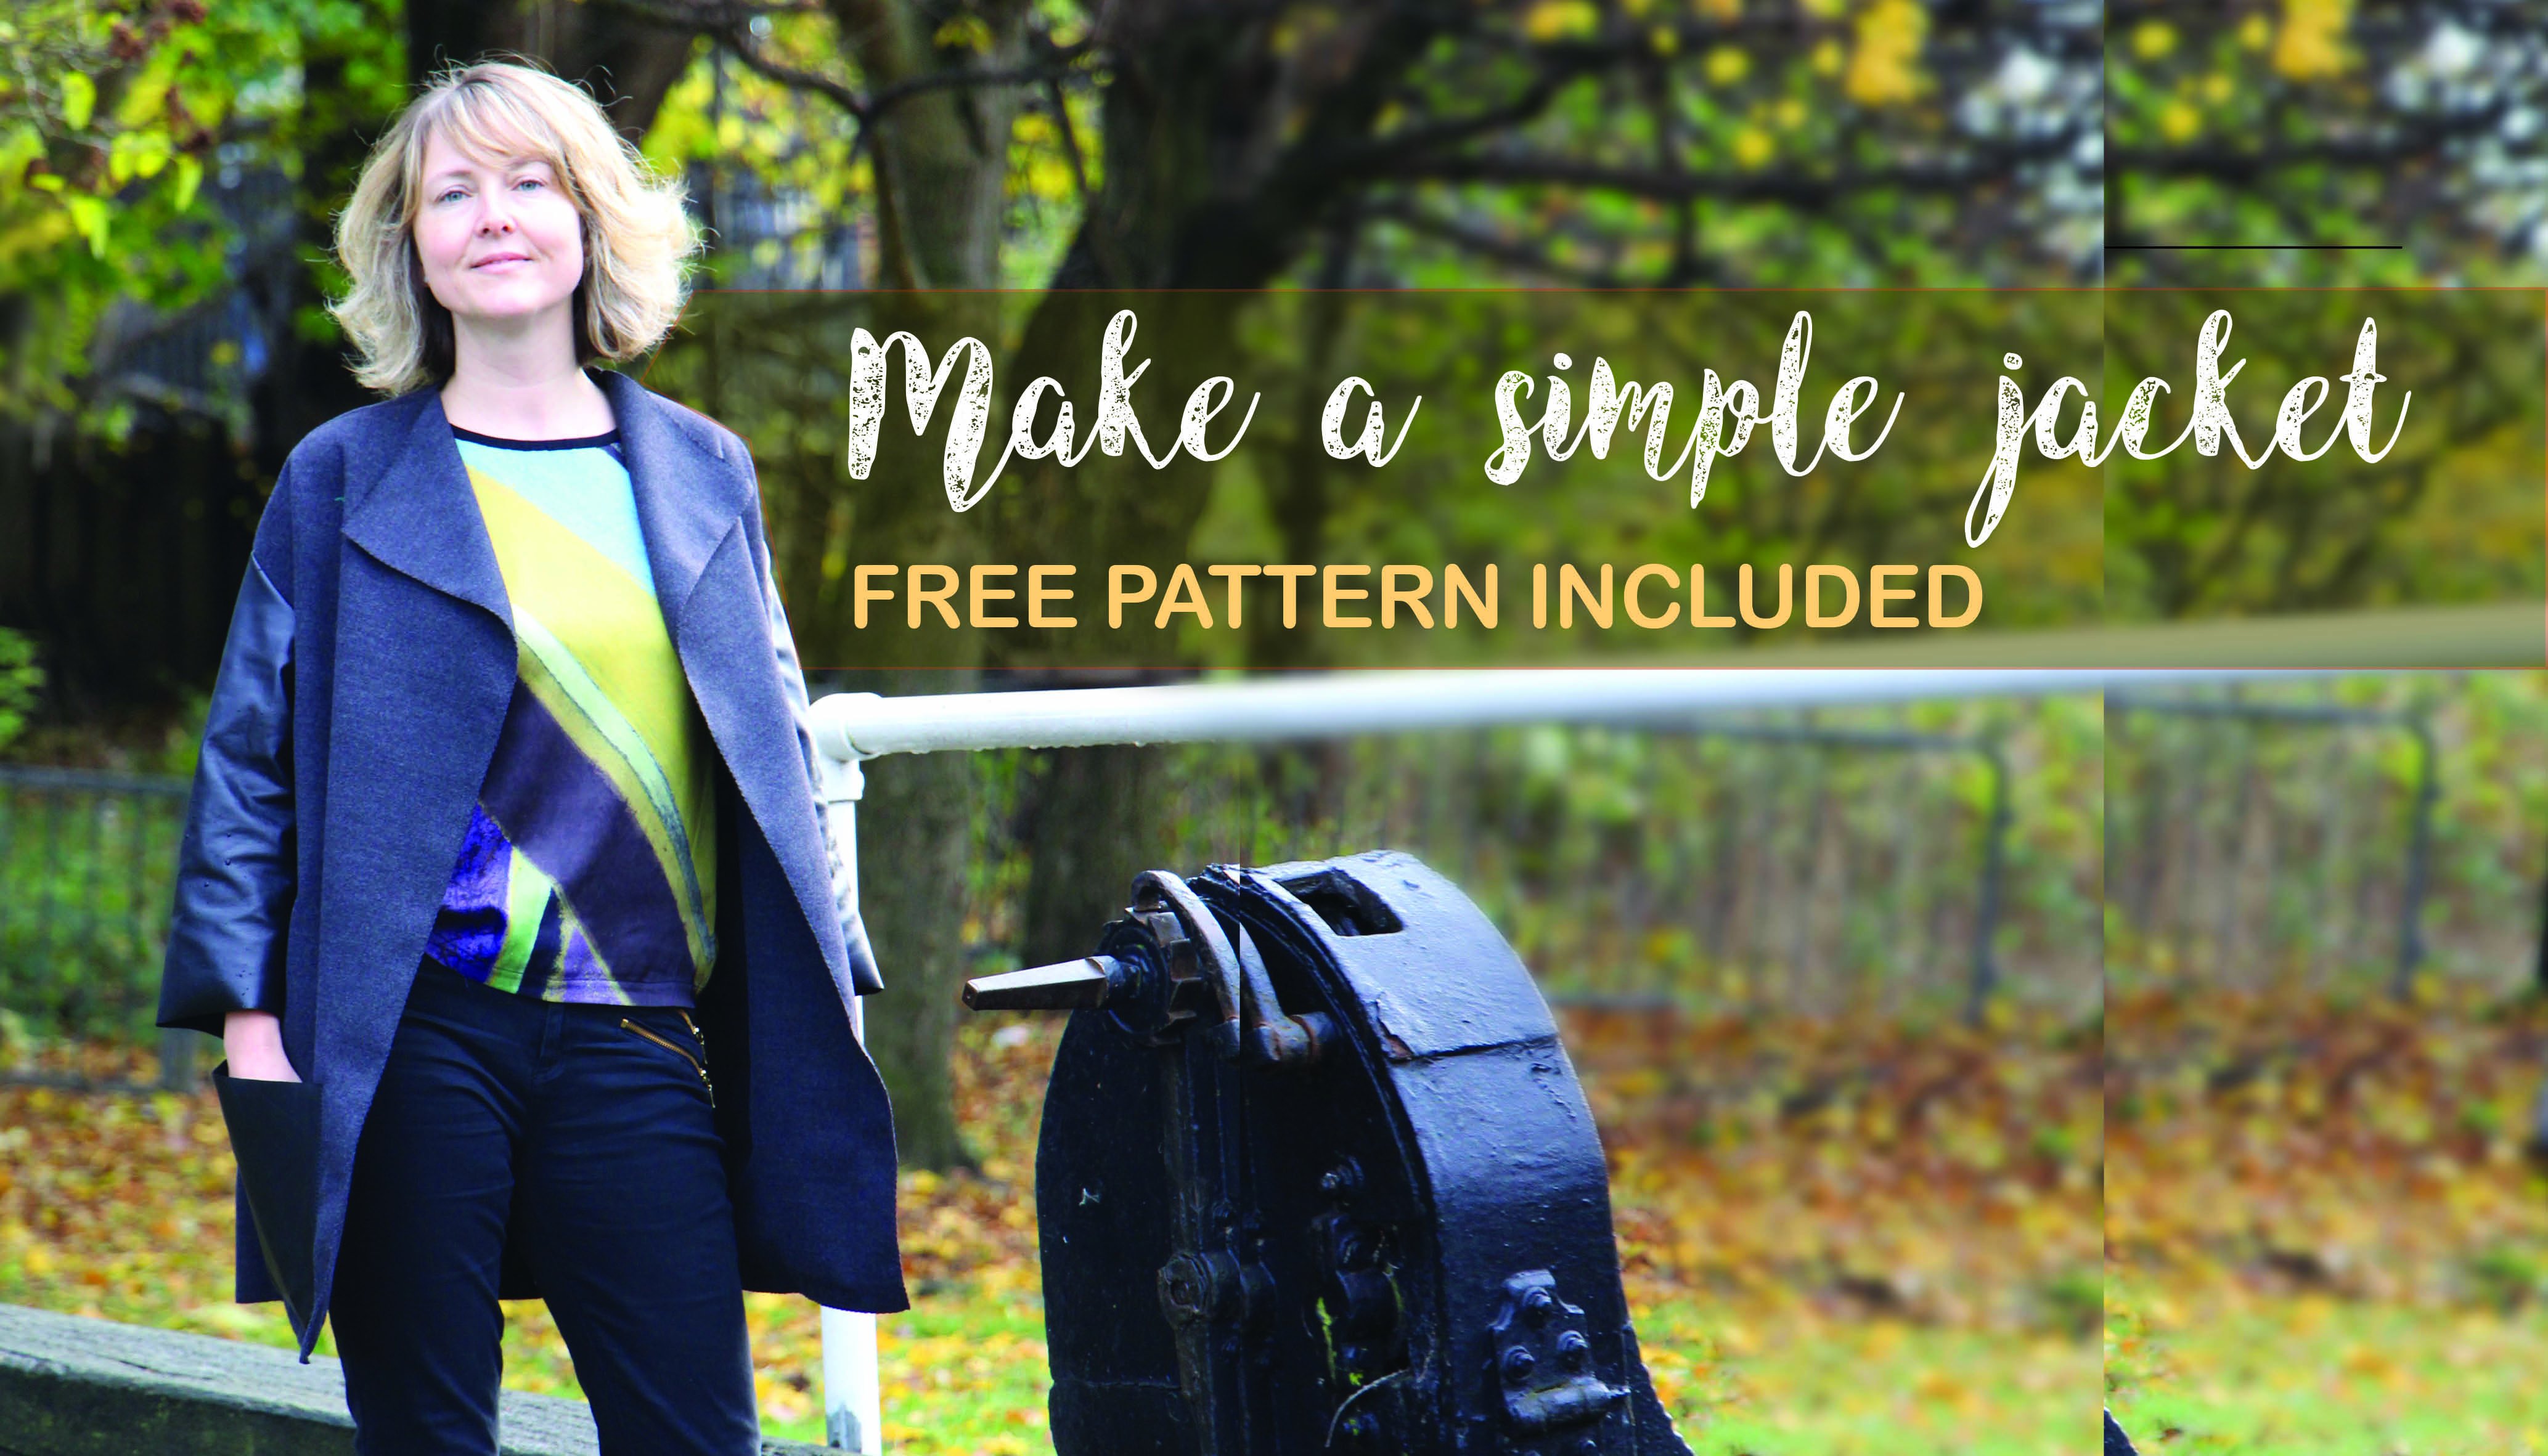
3. 3 - Ruffle Top - Pattern: First of all, you'll need to download your pattern. You can find the pattern here at this address. If you've got any problems with putting your pattern together, just have a look at my other tutorial for the row red jacket. In this tutorial, I talk you through the pattern assembly process in detail. So once you have downloaded, printed out and stuck you're putting together, you'll be ready to choose your size. You'll find this so different sizing quite in line with marks and Spencer sizing. So if you're a marks and Spencer size 12 you'll probably be a so different size 12 as well . So once you chosen, cut out your patent to the correct size. What, you've done this well, Benny To lay it onto your fabric and cut it out. The details of how to do this could be found in the boxy, rag around top tutorial. The only difference is that in this one we have two extra pattern pieces, which are the slave riffle on the color. The front back piece on the sleeve. Both need to be placed on the fold of the fabric. However, the ruffle on the collar could both be placed somewhere in the center of the fabric unfolded fabric, so that you end up with two mirror images
4. 4 - Ruffle Top - Starting: So when all your pattern pieces the cut, we're ready to start sewing. The first thing you need to do is toe edge. Finish the sleeve ruffle. Now we're going to finish the longer outer edge, which is here. There are two ways of doing this. You can either double fold it into a tiny hem, as I've done on the black top here. This is quite fiddly, but it does give a really nice finish. If you search narrow hem on the Internet, you'll find some techniques to help you with this. But for these, because many of you are beginners, I need to use a simple zigzag stitch. Now, if you have an over locker that works really well, too, but it isn't necessary on the things I will work just fine. So set your stitch length to a wide zigzag on edge. Finish the outer edge of both of your sleeve ruffles
5. 5 - Ruffle Top - Ruffles: So, as you will see, we have to front and back pieces shown on the pattern is an alternative neckline. And we cut this lower neckline into one of those pieces to create the front again. The details of exactly how to do this could be found on the boxy Ragland top tutorial. If you're a tall and sure so once we've got our from priest cut, we were They're not going to lay out our frills. You need to put the very sliver edge of the frill to the top of the neckline and then pin it in place, as you can see is the roar edge of the frill, not the finished edge that we're pinning to the front panel. Now we're going to So the frail to the front piece going to do this inside the usual semen ants so that when we put the top together, stitching doesn't show. So, as you can see from this close up, I'm saying really close to the edge of the fabric. The normal seem, alas, is 1.5 centimeters. But as you can see here from the markers on the foot plate, I'm actually saying a much smaller seem allows in this maybe, nor 0.5 centimeters. Now, in a record on top, Sleeve actually creates part of the neckline, so we also need to alter our sleeves so that one side of each leave comes down to a lower neckline to join the front piece. As you can see, this is marked on the pass in peace on again for details. Look at the right land top tutorial. So in the next stage, we're going to join the sleeve on the front with its ruffle. Together, we're going to put the three layers together with pins carefully, just making really sure that that ruffle lies flat underneath so that when we so through, all three layers were not catching it up awkwardly this time when we so the three letters together, we are going to use the normal seem glance off 1.5 centimeters. This way, the stitching that we did toe hold the roughly in place isn't going to show. So after we've done the ruffles on the sleeves on both sides of our top, it should be looking something like this. We then need to attach the back edges of sleeves to the back panel and then pin and stitch the undecided SMEs and down the sides are shown in the diagram here
6. 6 - Ruffle Top - Collar: I'm Finally, we're going to touch the color. Take your call. Appease unfolded in half lengthwise. We're going to so down just one end of the color, then turn it the right way out on the open end will just leave us with some flexibility for adjustment of length. Once we've settled down this one end, then we're going to turn the color back out the right way. Impressive. Now, this press line is gonna be really useful to us. So don't skip depressing now to attach the color to our top. Turn your top over. We're going to start at the very center of the back, starting with the closed end of your collar, him one of the raw, open edges to the center back of the body and then work your way around when you get to the sleeves seen. Just make sure that the seam allowance on the other side is pressed open. This allows shell seems to sit nice and flat once the garments finished. As you're pinning, when you get to the sea, whether ruffle is attached, make sure that the seam allowance of your ruffle expressed in the direction that allows the ruffle to go in the direction that you wanted to go like this. In other words, the fabric of the ruffle is sitting flat rather than bending back on itself in the seam allowance. Work your way all the way around the neckline. When you get to the end, you should have some overhand. We're going to use this to make our color fits perfectly. Using the usual 1.5 sent to me to see Milan you can now. So the color into place just leaving that end open for the moment.
7. 7 - Ruffle Top - Fastening: before we finished the end of the color. We need to think about our fastening. I'm going to do a small button and hook. You need approximately three inches off a thin river. Alternatively, you can make yourself a piece of ribbon from the scraps of your fabric. Now this piece of ribbon here is actually a bit too thick, but it works better in this demonstration because you can see exactly what's going on. First of all, we're going to cut off some of the over home for the open end of the color. Depending on the give and stretch of your fabric will probably depend how much extra you've got, but we're going to cut it down so that it overlaps the existing color by 1.5 centimeters, and that's going to be our seem alarmed. So your college should look like this in the moment with one closed end on one open, and we're going to sew up the open end to line up with the closed end along here like this . But before we do that, we need to position the ribbon so cross over the ends of your ribbon and placed this cross over 1.5 centimeters in from the end of the open end of your color, he needs to be on the right side of the fabric and close to the body of the garment with right fans together. Fold over the fabric of the collar and pin it in place. Now, when we close up this end of the collar, using our 1.5 centimeters seam allowance, the line of stitching is also going to hold our loop of ribbon in place. So once you have stitched this line, remove your pin trim off the excess, my see your corner slightly so that when you press that it's going to sit really flat. Next, we're going to finish the inside of our collar Now. I haven't done it here, but you can edge finish that raw edge, either with zigzag or an over locker. If you've got one, this will just give you a really nice finish on the inside of your guard. Before you go any further, I would iron your color. This will just give you a nice Crist finished and make it much easier to work with. When you're pressing it makes sure that you press the joining seem of the collar and the body upwards into the collar in your collar down on the inside, making sure that it overlaps your line of stitching. If you've done your semen louts correctly, then it should overlap by 1.5 centimeters. Next, we're going to do a really careful slow bit of stitching, which will give you a really nice on always invisible finish. This is called stitch in the ditch. We're gonna do a line of stitching along the sea where the collar and the body meat as you're stitching. You want to have the right side of your garment facing upwards so that you can stitch along the joint line in the ditch if you like. Where the two pieces meet after two fabrics already, joining this line of stitching barely shows when the garments finished, and finally we're going to sell on our button position the button toe, a line with the river and so on by hounds with the bustling place. All there is left to do is to hem the bottom of your top and then there you are, finished
8. 8 - Ruffle Top - Round Up: So you've made it to the end. Well done. Congratulations on finishing your top. Now it's no excuse to stop doing. This. Pattern will go loads of ways. You don't have to put the ruffles on. You could extend sleeps. You could shorten the sleeves and you could actually extend the whole top. Make it chew it or even a short shift dress. So keep going. I look forward to your next project on to my next project.
 Laura Casey, Sewing blogger & pattern designer