Transcripts
1. Introduction: Hi, I'm Nadine. Thanks
for joining me today, we're going to do
a little exercise designed at loosening you up. So if you're getting
a little bit tense, a little bit tight
in your painting, this is a really good exercise for letting you relax.
It's really quick. So we've got a couple
of minutes sketching, 5 minutes chops painting. Very, very easy class. And what I want you to
do is see that you're using some ink first up to
get a few solid lines in, then when you come
to your painting, you don't have to
worry about staying within the lines and being really careful about the shapes. You can just throw some paint down, leave some white paper, get some wet and wet,
get some hard edges, get a real mix going
on on the page. And I want you to
see the lovely kind of effects you can get
when you let the paint mix on the page rather than mixing up a flat
color in the palette. So really fast paint. We'll go through quick
little pencil sketch with then some ink over the
top and then really, really fast paint after that. So there isn't really much
to say about this one. We'll get into the sketch.
2. Materials: Okay, so materials
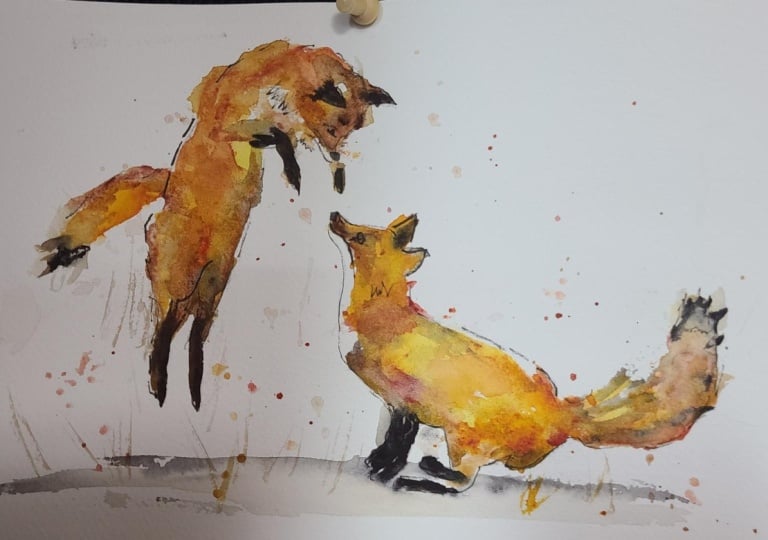
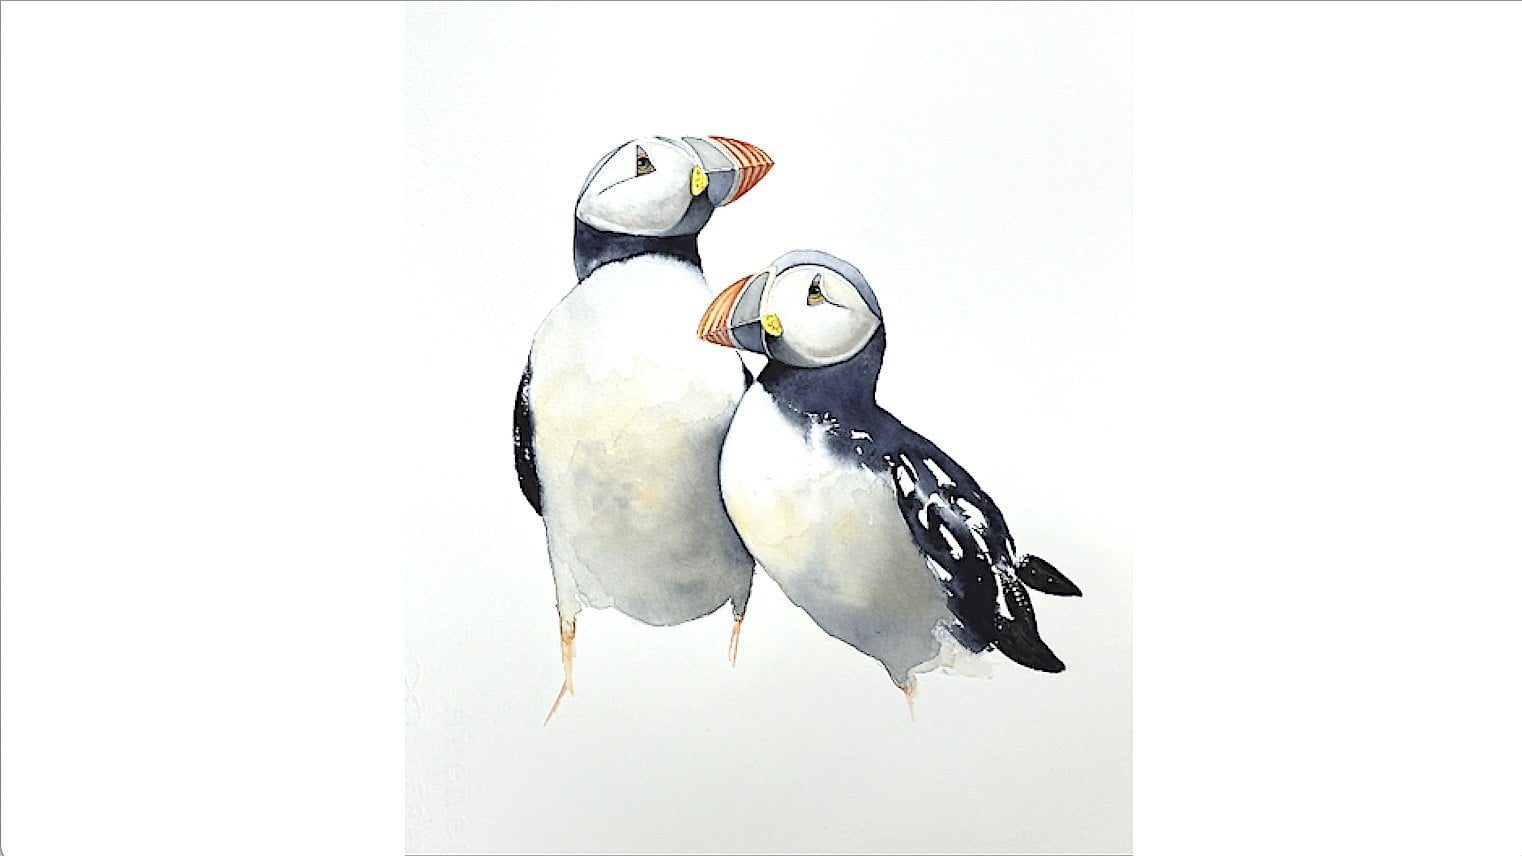
for today's class. First up the reference photo. I've actually taken two from Unsplash and I have removed the backgrounds
and pasted them together. I've got this for you to download straight from
the Skillshare site, but I've also included
under the materials the links to each of these individual photos
with their full background, which you might want
to have a look at. You can put the
brightness up and down so you can see any of the details that you can't see on this. The foots cut off on this one, but it doesn't
matter because we're doing it with a single stroke, don't get too hung up
on the detail here. I'm painting on 300 gram
Arches cold press paper. I'm painting on a
board, but I'm not taking it down and
I'm painting flat. I've used HB pencil
for the sketch. I haven't used an
eraser because if there are any messy lines,
I'm just leaving them in. I'm not rubbing out any of
the pencil lines with this. The other thing that you
will need is a black pen. I've got, what is this? It's a water-fast
favor Castle pen. This one's a 0.5. It doesn't
really matter what you use other than you want
it to be watertight. You don't want it to spread when you put water on the page. Then in terms of paints. I've just the four. I've got a red and yellow
from Daniel Smith. Actually, I've got all
Daniel Smith today, Hansa Yellow medium. Pyrol red. I've got some Indigo and some Transparent Brown Oxide or you could use
some burnt sienna, or you could use van **** brown. Doesn't really matter which
dark you use for that. For the brushes,
I'm just using two, big one to wet down the
page a little bit and get the ground in and
then this smaller one. I've picked this
because this shape of the brush gives me this
nice stroke in the foot. That is this. Test out your brushes and make sure you've got one
that will give you a nice round bottom and a nice single
stroke for the foot. The only thing that
I'm using that I don't normally use for this one is I've got a little spray bottle. This one is from the art shop, it doesn't have to be a
whole bean spray bottle. You should be able to
get these from the $2 shop pretty easily. We're just going to
move a little bit of water around on the
page with this. Other than that, you'll
need your collet, some jar of water, and I don't even think I use
any tissues in this one, so pretty simple today. We'll move on to the sketch.
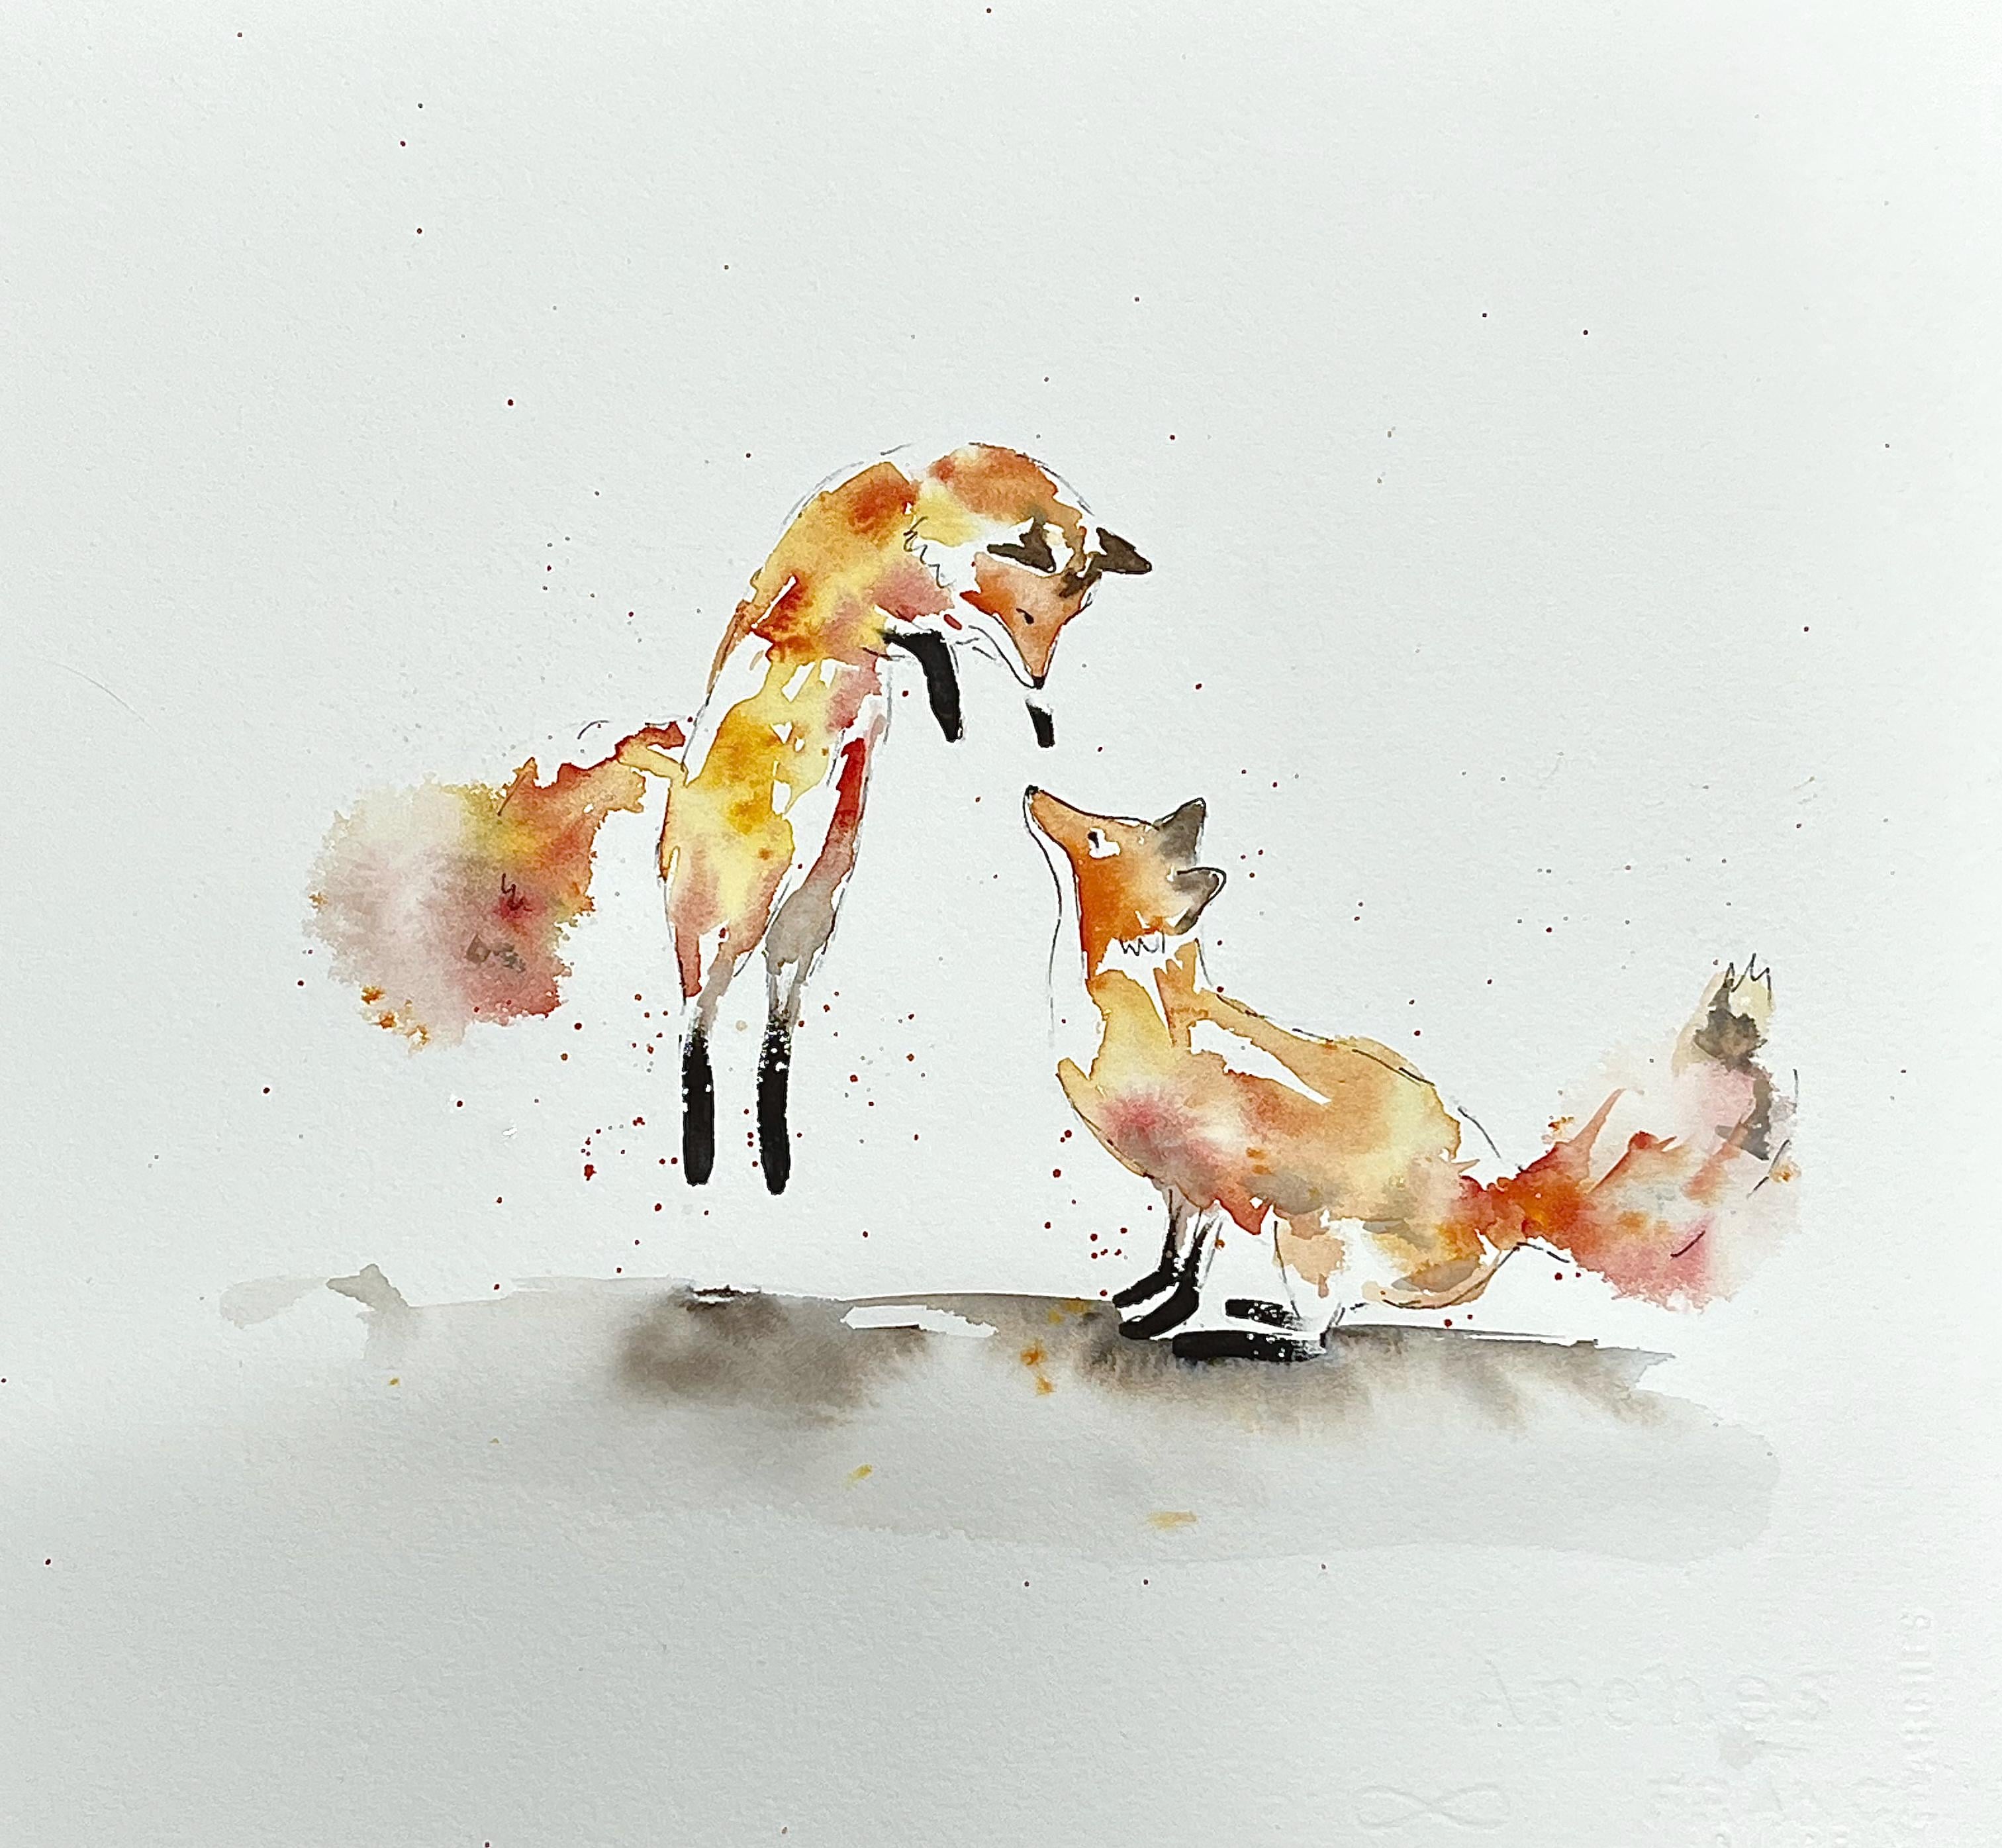
3. Pencil and Ink Sketch: Okay, so here's the sketch. And what I'm going
to do, you won't be able to see it very
well with a pencil, but what I'm going to do
is go over a little bit of it with a black pen. And so I want you
to be careful in the areas around the face. Doesn't matter so much
around the rest of the body. So say here in the tails, I just want a few strokes. I don't I don't want you
to draw the full line. We're just trying to
get the rough outline. I will be careful
on the ear shape. On the feet, that's going to actually be a whole brushstroke. I just need where
they end really. The tighter you draw this, the tighter you'll be
when you paint it. Try and not get too hung up. Now for the eye, I'm going to
just pop in a little dark. Now, this bit is important. Is the mouth and the stripe, that little white stripe. Be careful on that bit
and then I'm going to put in a bit of a nose. What's happening in
here? That's a foot. That's the other foot. That's about all I'm
going to do for that one. Same thing on this one,
being careful around that nose shape because
I want that white. Drawing the nose, careful of the shape of the head,
a bit of the eye, just a bit of a dark bit of a ruffle around the
face and then again, not too fussy around here, bit of an indication
of where the tail is. Now, the legs are a little bit
hard to see on that photo. I'm just roughly putting in. Again, this will be
more on the shape of the brush than anything
on the back leg. There's another one
in there somewhere. So we'll just about that. That's really all the ink
that I'm going to put in. I have that up as a template
if you want to use that, but just keep it nice and loose. I'm not going to bother
rubbing out the pencil lines. I'm not worried about those, so we'll get on and paint.
4. All in One Go: Okay. So I want this
to be really fast. And I find for me, having
just those few inclines in, they're almost like a guardrail, it gives me permission
to be loose, and it doesn't stress
me as much as when I'm using a pencil drawing
and trying to be loose. So initially, I'm
going to wet down a couple of areas
messy with some water. So I've got my big brush, and I'm just going to
throw a little bit of water around on both. I'm staying out of the little
white bits under the mouth. I'm not too stressed about
keeping fully in the lines, but just to get me
started, where are we? There. Just throwing a
little bit of water. Then I'm going to go
to my smaller brush. I'm going to start with
some Yellow and some red. I want this to mix on the page. This exercise, I want you
to get an idea of what the pigments do when you
let them mix on the page. I'm not coming to all the lines, I'm just throwing it on. Both working on both
at the same time. Chuck a bit in the tail. If there's no movement,
there's not enough water, I can throw a bit more water on. I want to leave some gaps, and I want to mix on the page. Coming into the face, because I want to be I want to keep that nose
shape for both of them. Really messy chucking
in a bit of red. Now I'm going to go a couple
of things we're going to do. First of all, I'm going
to see if I can flick. I've picked up some red and yellow in a
fair bit of water, and I'm going to
click some paint. I'm tapping my brush. Now, some people I'm doing it
with one finger. Some people really
struggle with that. You can tap it with
the other one. You've just got to
have enough liquid on there for it to
be able to move. I want to look at these
feet. I'm going to pick up a bit of pretty solid. I've got some transparent
brown and some Indigo. Going to push my brush
down and pull up. Foot, this one. So you can see why
I didn't bother too much with the drawing. Oh, I've had three coffees
and my hands are shaking. Right? Okay. And then in the
ears, same color. If you can't this brush is brushed might
be on, it's okay. You can move to a smaller brush if you find it hard to get the ears in using this one. And don't worry
about the bleeds. I'm going to pop a bit of
that in the tail as well. Then I'm going to get
my big brush again. I'm going to paint some water, a bit of a ground underneath. I'm going to come
up and touch that one and then give maybe
I'm going to throw. I've just thrown a bit
more pigment underneath. There wasn't enough
movement there. To help suggest that this
one's off the ground, so I can put chuck a little
bit more dark in there. Get back maybe a bit more going to chuck into that web page, a bit
more red on this one. I'm just wanting them
to balance up a bit. I've got some red here,
I've got some red there. I think I'm on a bit of red in the tail. Maybe this one too. If you put it on nothing
much is happening, you can also get a spray bottle and just spray a bit to get
a bit more movement. Alright, so as you can see, it doesn't matter if it
comes out of the line. I sort of helps
with the movement of it. I'm just sitting back. Just sitting back
and I might just chuck a little bit more
red underneath now. Yeah. And then I'm just going to grab. I'm going to just do a few more now that I've got some
of that page, we, bit wet sprinkling, flicking paint really forces you
to not overthink it. Alright. I might just strengthen up that little bit on the
other side around the face. And then before it's fully dry, I'm going to take a
little bit of that dark, my blue and my brown. I'm just going to add
just a little bit into that web page just to get a little bit
more of the leg in. I think that's probably all I'm going to do. I rec that fit. I
5. A Final Word: Okay, so that's about
as fast as it gets, but I want you to remember
while you're doing this. Don't draw a whole
lot of heavy lines, concentrate on a couple
around the face. Don't be afraid to
leave white paper. Make sure you let the
pigment mix on the page, and don't feel you have to stay completely contained
in the lines. So do it a couple of times. You'll find that it looks
different each time you do it, but I want you to see how
the pigments interact, and it's really helpful for your larger paintings
to see, you know, these sort of bleds that
you get by allowing the mix on the plage
wet and wet and then going on to the sharp
hard edge lines onto the dry paper are really effective and a really nice
thing to have a handle on. But this is meant to be
fun, so please enjoy it. And when you're finished,
upload a couple of photos for me to have a look at under the project
section so I can see. So thanks for joining me.
 Nadine Dudek, Professional Watercolour Artist