Transcripts
1. Introduction: Sometimes access of something becomes an obstruction for us. Limiting ourselves to
certain elements help us to be creative and think
beyond the regular approach. I often try to use a variety of different ways to get
into the creative mode. Limited color palette is one of my most commonly used
approach to get creative. A limited color palette is a technique where we
limit ourselves to using two or three colors to
complete the entire artwork. Today, we will create an
artwork using limited colors. This is a great way
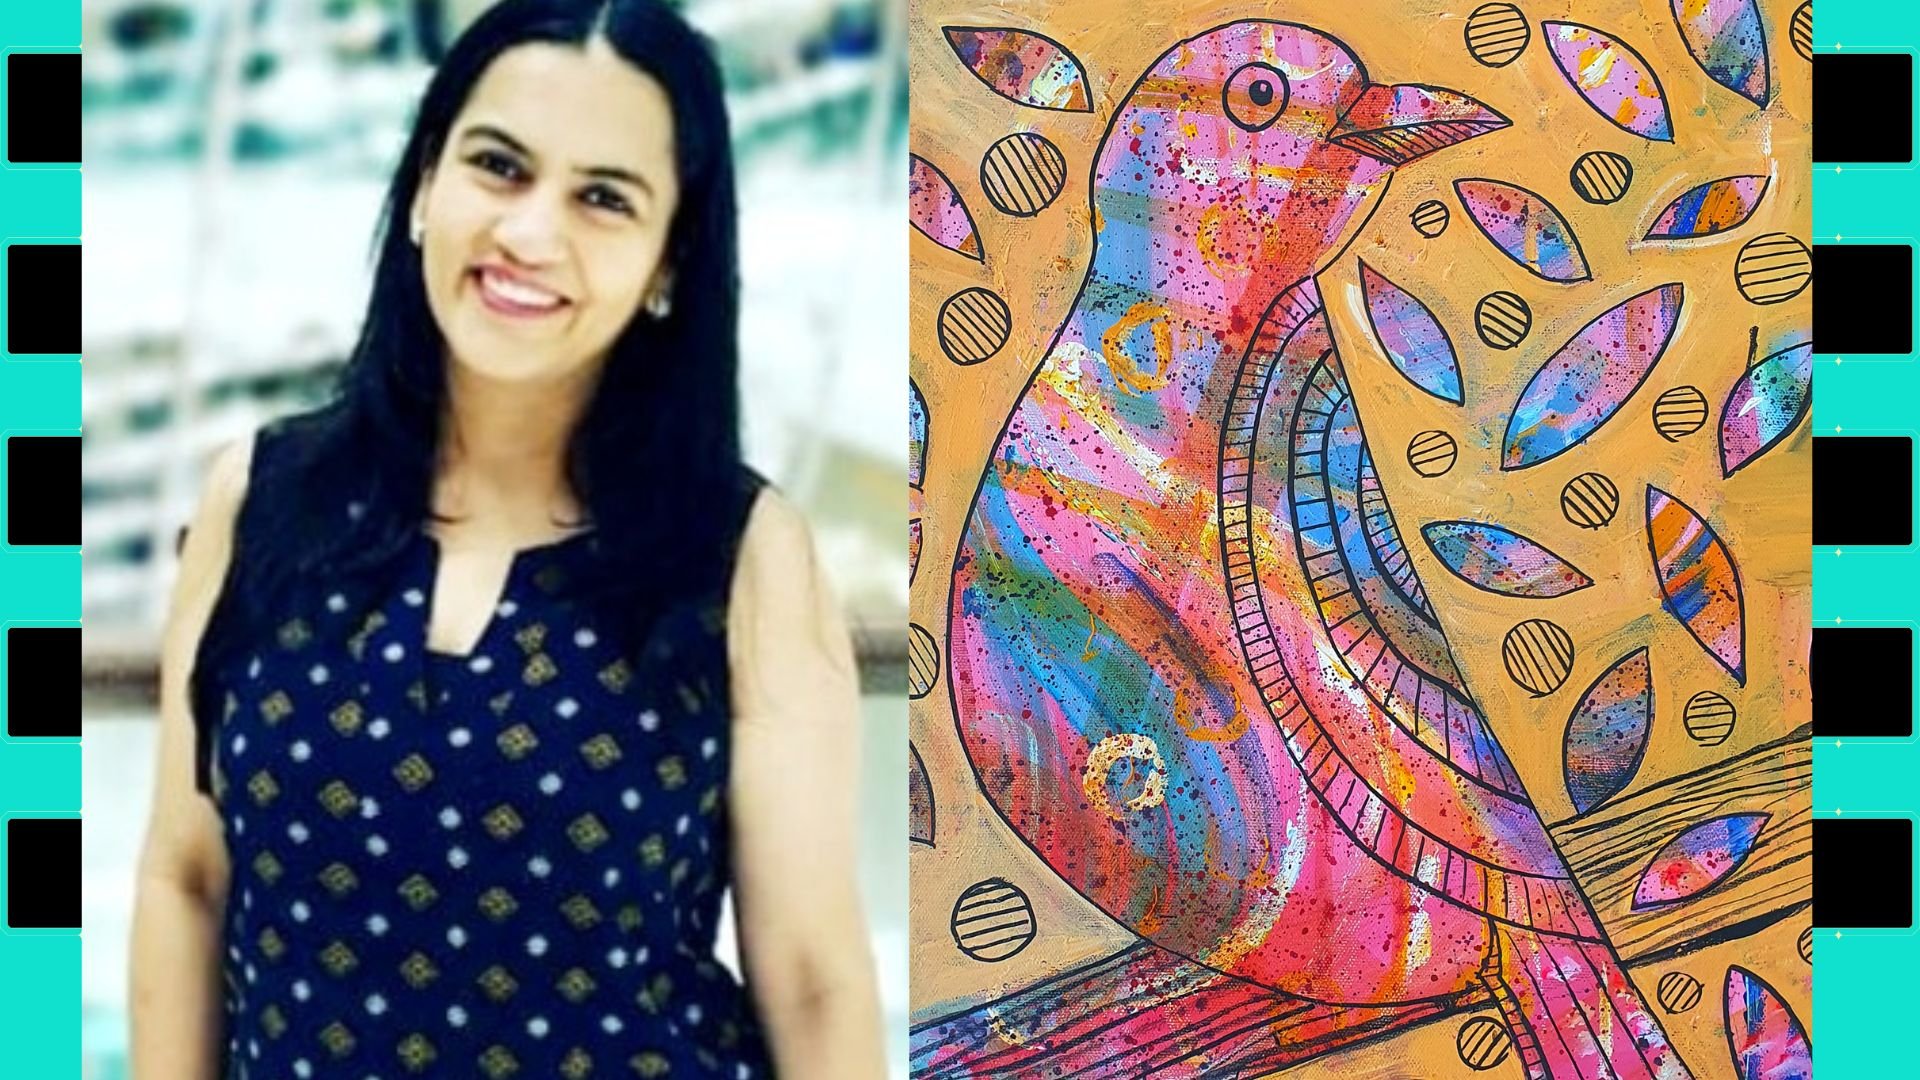
to get creative. Hi, I'm Tina Ker Pal. I am an artist, art enthusiast, and an art educator. Over the years, learning
about art and understanding the technical aspects of art has helped me become an
established artist today. In today's session, we
will understand all about creating art using
a limited color palette. Just a few colors in our palette really
helps to bring out our creativity and helps to create a beautiful
piece of art. Today, we will learn to create a background using splashes
and splatter technique. I often use simple technique to create my unique background. I truly believe in the
power of simplicity. The simple techniques not only help my artwork
to stand out, but also helps me to enjoy
the process of creating art. The benefits of this technique are that it allows the artist to make painting without
any prior knowledge of technical aspects of art. Some people think
they need to be an expert before they try
their hands on Canvas. That's not true for
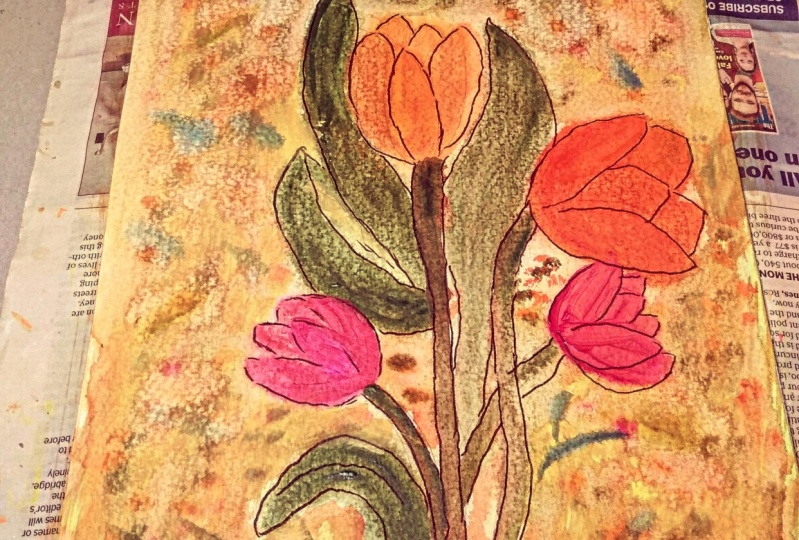
this technique. In this lesson, we
will paint tulips on a splatter background using
a limited color palette. Color speaks volume of
emotions and a depth. When using limited color, we evaluate each and
every color and also understand their qualities and focus on what they
are communicating. It is easier for the viewer to recognize the subject in
a limited color palette. If you use too many colors, the viewer gets
confused and it makes it harder to tell what
the image is depicting. It helps creating
harmony in the piece. When you use a limited
color palette, you are making a conscious
choice to keep things simple and to make each
color really count. In this lesson, we
will understand how to create an artwork
using just a few colors, how to create an
abstrac background, importance of base layer, how to create tulips and techniques for
shading the tulips. Tips and tricks shared during the lesson
will help you create your future paintings
independently and with confidence. If you have a passion to paint and not show
where to start, this is a right place
for you to create your beautiful unique creation to become an established artist.
2. Class Orientation: Welcome to my session. I'm extremely happy
to see you here, and I can't wait to share
with you my process, my techniques, and my approach to creating a
successful artwork. Starting from prepping a canvas, using Gesso to provide a strong foundation to applying an
underpainting to canvas, which adds depth to the canvas. The process of creating an
abstract background using simple yet expressive
technique of splattering, creating our tulips
and leaves around it. All of this and a lot more using the limited
color palette process. For this lesson, you will need some acrylic paint of your choice plus black
and white colors. Here, I'm using yellow, orange and blue,
water container, and some brushes. That's it. Those are the only
supplies you will need, limited colors and
limited supplies for this class.
Isn't it amazing? Aren't you excited
to see what you can create using
just a few supplies? One of the main reason
for me to choose this style is whenever
I feel stuck in life, I believe the solution
lies in less and not more. If we are surrounded
with art supplies, canvas, paintings,
brushes, paints, and a lot more around us, we aren't being creative as we are too lost
in the supplies. The moment we allocate only
limited stuff to ourselves, we start thinking
outside the box. I want you to make
sure that you have decided your limited color
palette before the class. During the session,
I want you to think what more can you do
using these few colors? What are other ways to use these color supplies creatively? And do share your ideas
with me in the comments. I would love to hear them. I truly believe creativity
is in each one of us. Some of us are not aware of it. If you are as excited as I
am, then let's get started.
3. Gesso Layer: The night before I start
painting a canvas, I always apply a layer
of Jesso on my canvas. Jesso gives a
professional finish to my art and also adds
a protective layer between my canvas
and paints so that the paint remains
bright and lively. When you paint, you want your
painting to stay bright and vibrant for a very long time and Gesso make
sure that happens. Gesso also seals the
unevenness of the canvas. Gesso comes and are
ready to use bottles. In case if Gesso is
not easily available, you can use thick white
paint and wait for it to dry completely before
moving on to the next step. There are many
different ways to apply Gesso like using a
palette knife or a brush. Try using different tools to achieve a variety of
different textures. In the following video, we will understand all about
limited color palette, so let's get started.
4. What is a Limited Color Palette: Or Art is a form of
self expression. We find our artistic style as a way to communicate
with the world. Often we use more colors to create a vibrant
piece of art. What does it mean when you say painting with
limited palette? Well, it means that you
are limiting the number of colors used in a painting
to bear essentials. To create an artwork, artists sometimes
limit themselves to the number of
hues they can use. Choosing just a few
colors to create an artwork takes away the
confusion of choosing colors. It makes the color
selection process a lot more convenient. Now the question is as to why a limited
palette is preferred. There is a power in
working with simplicity. Limited color palette
encourages students to look closely at colors that they
are available to them. Learn to distinguish between
similar colors such as burnt umber and burnt sienna
or indigo and purple. It also helps students
learn about how colors interact with one another when they are placed side
by side on a canvas. This helps them become
better at mixing colors within the chosen palette in
order to create new shades. This way, artists can show their artistic expression to the world with the colors
they love the most. Also, by doing this
method, a few times, artists can discover
the combination of colors that they
are most attracted to. It is important that
teachers include students to the idea of limited color
palette from an early age. This will not only
help their creativity, but will also help them
understand the colors better. In the next video, we will start with our first layer
of applying paints. I can't wait to see you there.
5. The First Layer: For this layer, you can use
any one color to paint. You can use two or three
shades of any color as well. This is the base of your
splattered background. It will be visible
underneath the splatters, so it's important to
choose the right color. I'm taking my color
and applying it on the canvas in a gentle
smooth movements. You need to have a thick
paint for this layer. I have sometimes observed
that artists use watercolor style wash with
acrylics for this layer. That can actually
spoil your painting. Too much of water on
the canvas during the starting stages isn't a good thing for
the future layers. Take your acrylic paint and
add a little water to it. Just enough to give you a smooth movement when you
apply it on the canvas. You do not want this
layer to be transparent. Instead, a thin layer of paint to hide the
white background. In case as a bigger, you are not able to
decide how much water to mix in your acrylic before
you start painting, then my tip is after you
apply paint to the canvas, make sure the
colors do not drip. Move your canvas and check. If the color is dripping, add more paint to it. The main purpose
of this layer is that the white
blank canvas can be overwhelming for big nurse and sometimes even for a
professional artist. The white background
staring at you, especially if you
have a creative block can't be a good
thing for artist. Artists often get a layer of colors on the canvas before
they start painting. It also gives a good
contrast to the painting. To add extra dimension
to my painting, I'm creating texture on my wet paint using
the back of my brush. This is so calming and relaxing. Keep going on till
you are satisfied. When you are done
with this layer, wait for it to dry completely before you move on
to the next step. That is plattering. In case, if you want it to dry
faster, use a blue dryer. Once your canvas is
dried completely, I will see you in
the next lesson.
6. Splattering: Splatter art or splattering can be a stress free
creative process. Using this technique, artists can create unique masterpieces. If you want to create your beautiful unique
background for your art, then splatter art is the answer you have
been waiting for. With this splatter. With this plattering technique, you can create stunning art that's simple enough
for big nerves, but sophisticated enough to keep more experienced
artists on the toes. With this plattering technique, you can create stunning art that is simple enough
for big nurse, but sophisticated enough to keep more experienced
artists on the toes. The most beautiful aspect of this technique is
its simplicity. This technique is all
about creating marks on the canvas using
the flick of a brush. It can be used by almost anyone. While splattering
is more commonly associated with
abstract expressionism, it can be seen in
modern art as well. A few colors and basic art
supplies like brushes, palette, and a canvas is all you need to create this
kind of artwork. Once your previous layer is completely dried, we
start splattering. In this technique,
paint is flip with a brush loaded with color
onto the painting surface. This technique is used to create beautiful
textured effects. I'm choosing three
colors yellow, orange and blue for this dip. I have diluted all three colors before I start working
on my background. I'm also choosing a variety
of brushes to do this. The idea here is
to do splashes and splatters in variousthickness
to avoid the uniform look. Take your brush, dipped in your canvas and start
splattering on the canvas, your brush is loaded with color. Splatter art adds a
unique texture effect and a lot of excitement
to your art. It is a simple way to get your artistic
expression on a canvas. Keep going on till you are
satisfied with the look. While splattering, you
can also tilt your canvas a little to add colors flow
in different direction. Using this technique as
a background is great, especially when you don't want to focus too much
on the background. Instead, you want the entire
focus on the subject. Keep working on till
you are happy with it, and then leave it
to dry completely. In the next video where we will sketch our tulips on the
canvas, I will see you there.
7. Sketching: Time to sketch my
tulips on the canvas. Did you know tulips are most common flowers to
draw second to roses. Whether you are
an amateur artist or a season pro drawing, this lovely blossoms
can be fun and easy. I'm creating a quick sketch
of tulips on my canvas. Don't be afraid to improvise. That's one of the key
elements of creativity. Always try and add your little version to
anything you create. I'm using my pencil to
quickly sketch my tulips. Some leaves attached to it
to get a nice composition. When you are trying
to draw a tulip, there is a lot more than just scribbling down the
outlines of the petals. To start out, it's
important to think about the composition and
put the tulips in a place where it has
the room to breathe. Tulip is composed
into many parts, the stem, the leaves, the petals and while creating, make sure everything is well proportioned and looks natural. As you work on the drawing, remember to pay attention
to the details. With the understanding of composition and
care for details, you'll be able to create
an eye catching sketch. Sketching is an essential skill for artists of every kind. It is a way of getting
your ideas onto the paper and giving your
ideas form and shape. Sketching is the fastest way
to get better at making art. The more you draw,
the more you improve. If you are an artist
who loves to draw, but sometimes find it
hard to get started, the process of creating the complete artwork looks
overwhelming to you, there is no need to worry. Just need to start sketching. Sketching helps you explore new styles and techniques,
and importantly, sketching helps you to develop
hand eye coordination, which will make all the
future drawings better. Start with a simple
object around the house, a teacup, even a stack of books. This will help you see
things in perspective. The best part about
sketching is that you don't have to make
everything looked perfect. Sketches are quick and lose as you practice different
shapes and angles. Just keep practicing. You will be surprised with
what comes out of it. Once I'm happy with
my composition, I will use my black paint to
sketch the entire outline. Since nothing in
nature is uniform, I don't want my lines to
be uniformed as well. I'm making these broken lines. I'm creating these lines
while twisting my brush. This is one reason I like to
use brush instead of a pen. While creating these lines, brushes never give me a uniform. It always give a
lot of character to a painting if I use a brush
and do my lines with it. Once you are done sketching the entire two lips and
leaves, time to paint them. In the next video, we will paint lips with
limited color palette. I can't wait to see you there.
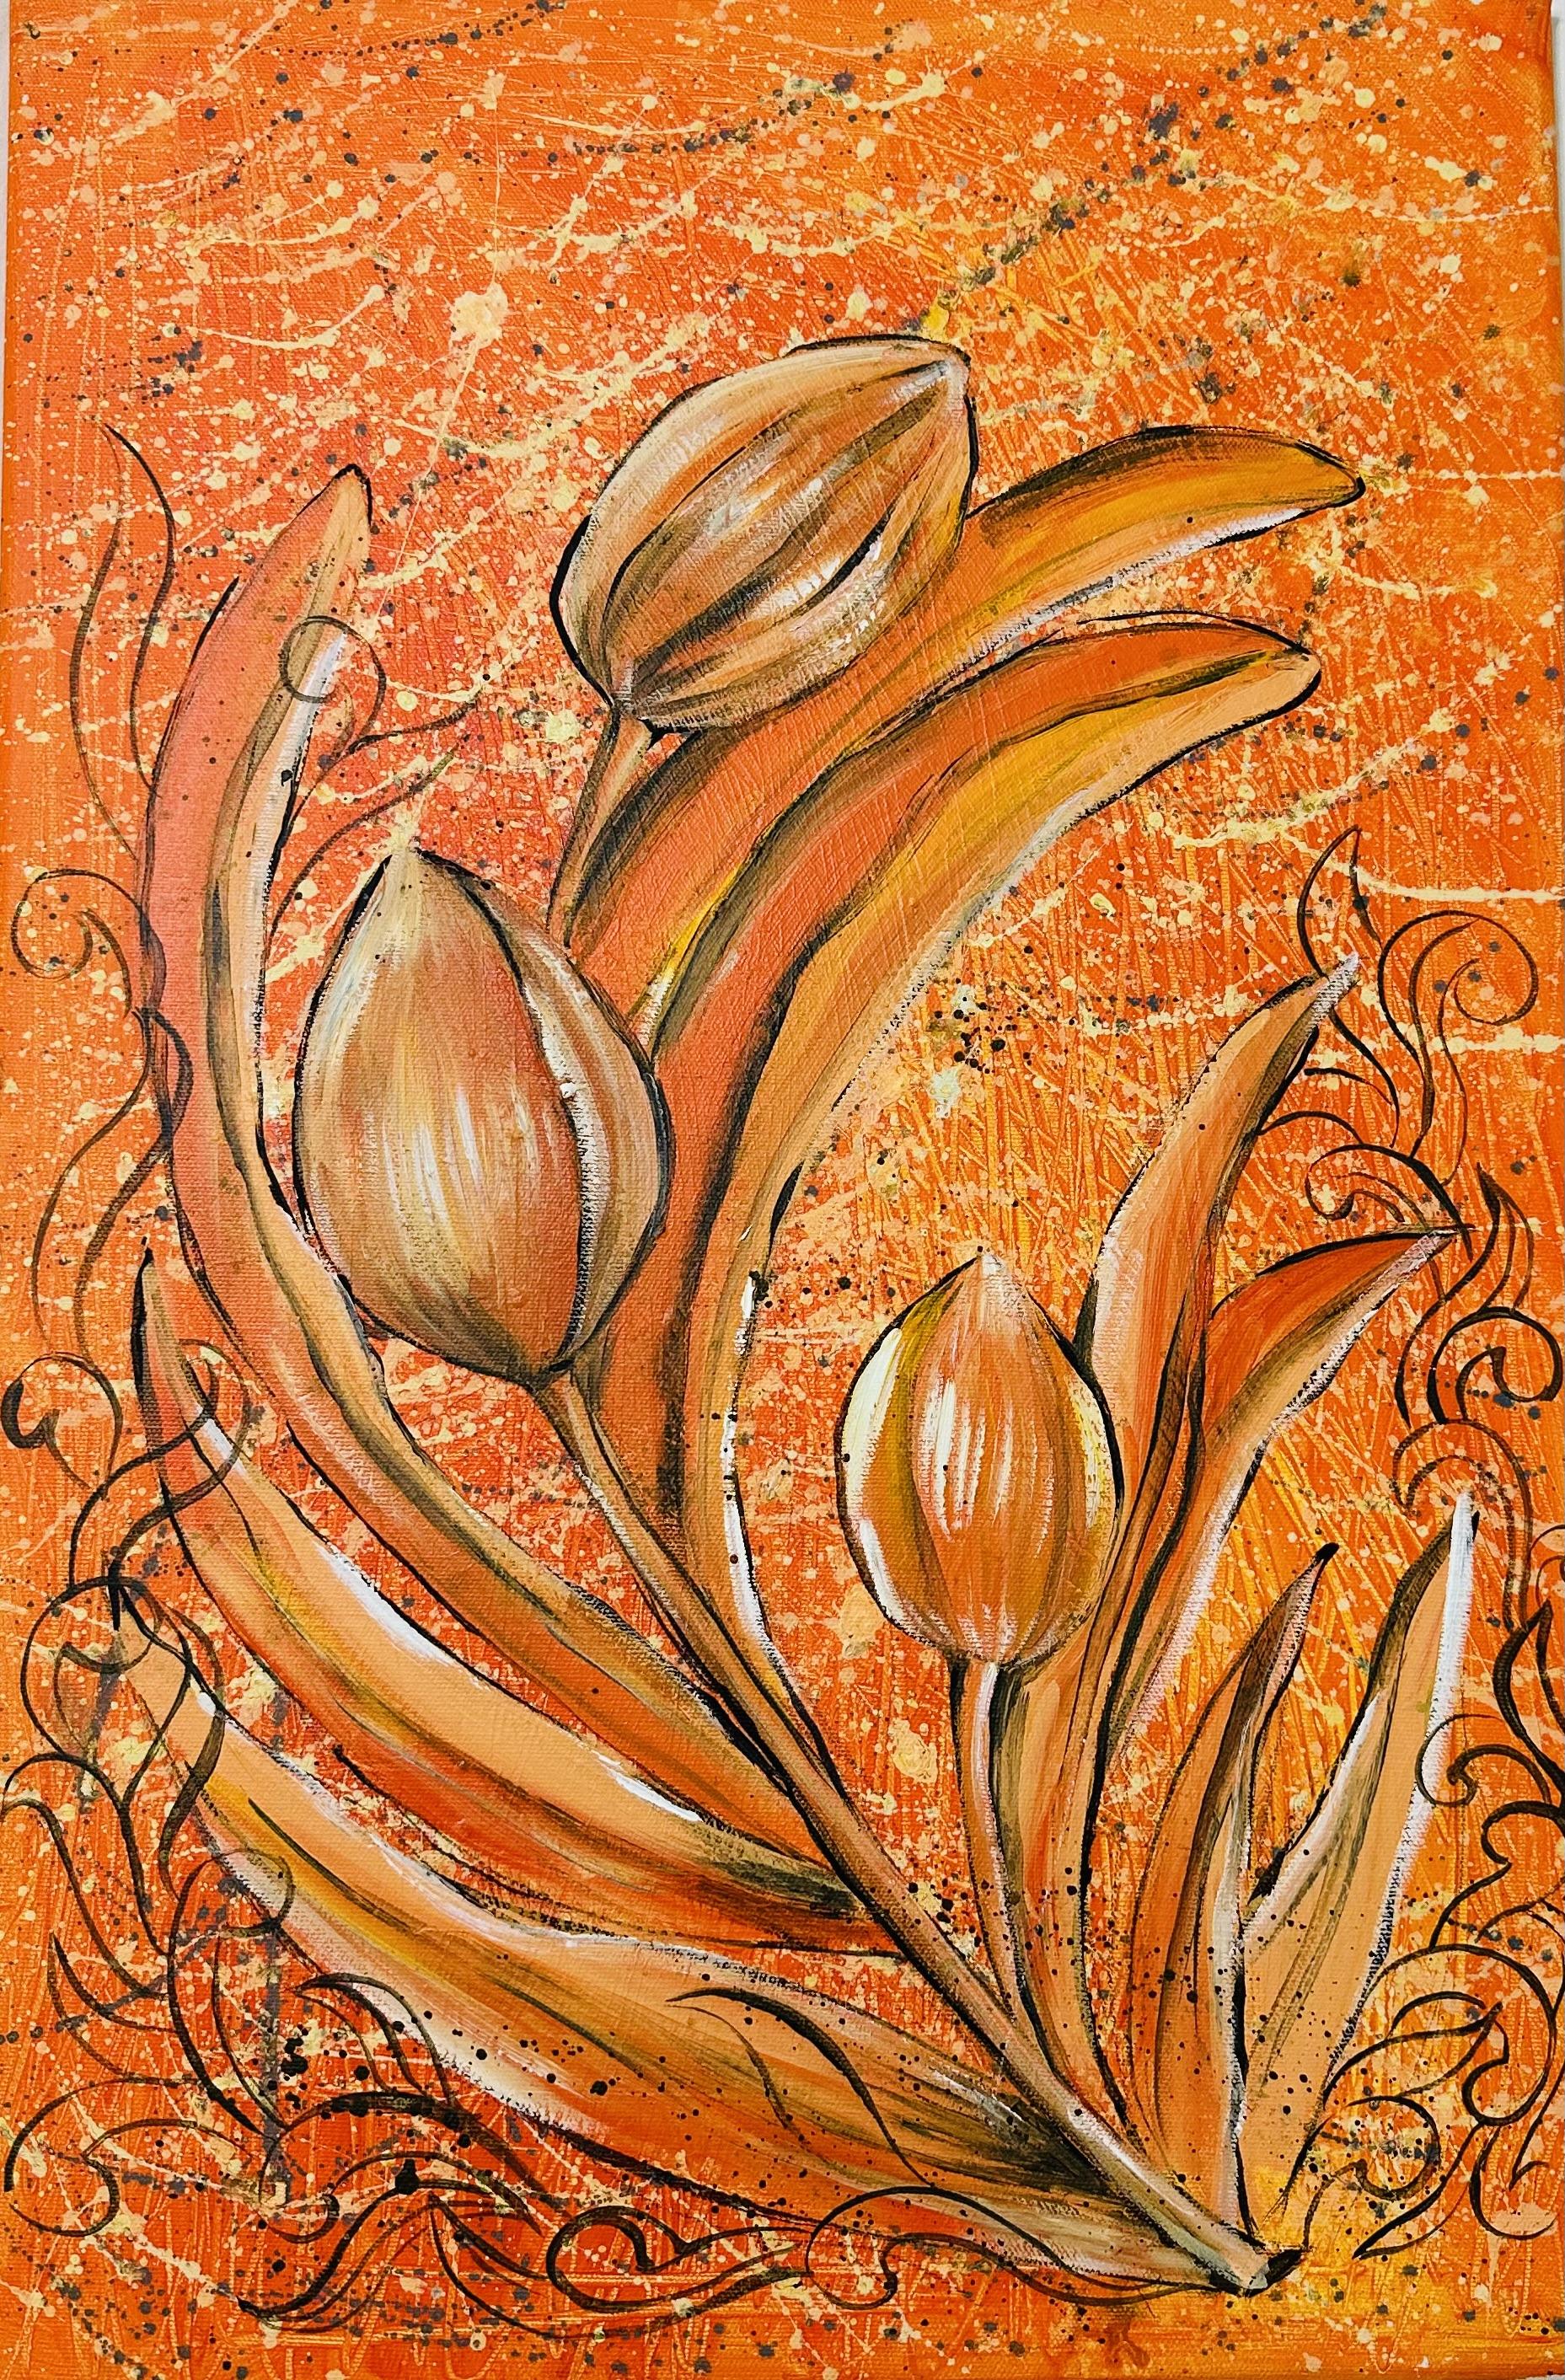
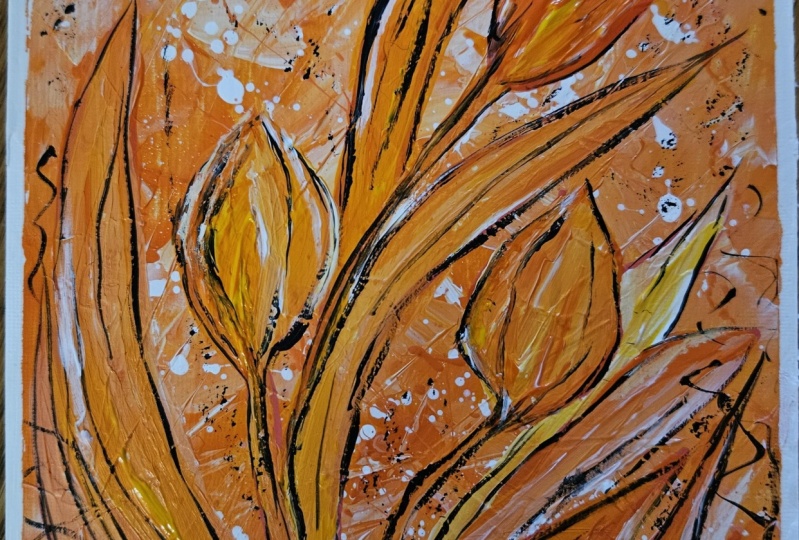
8. Lets Paint The Tulips: In this lesson, I'm going
to walk you through the process of painting
a tulip using yellow, orange and white, as
well as some tips on how to create shades and tones
using just a few colors. For painting the tulips, I mainly use three tones, light tone, middle tone,
and the darker tone. For my lighter tone, I'm mixing yellow and
orange in equal proportion. Now I'm dividing this mix
into three equal parts. In each part, I'm adding white
in different proportions. In the middle tone, I'm using yellow and orange mix as
it is too, not too light. For my darker tones, in my yellow and orange
mix, I'm adding blue. To create different
tones of my dark shade, I'm adding white
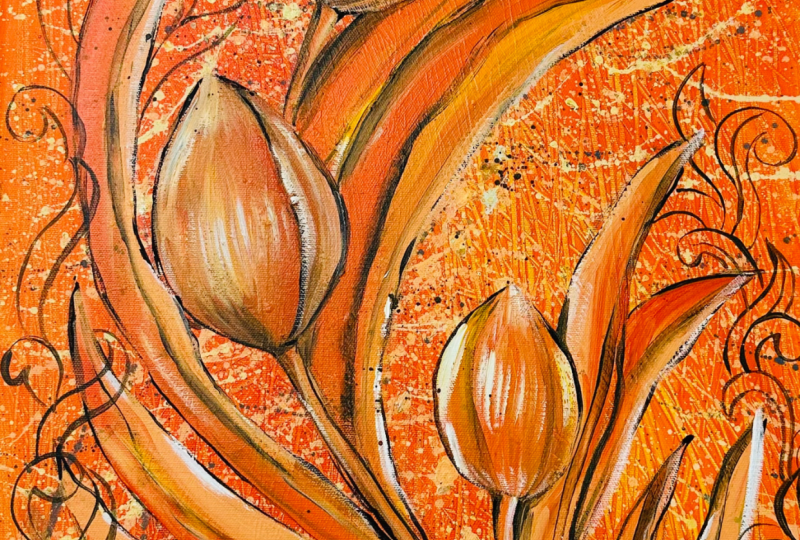
to my darker tone. I will start by painting the base of the flower
with my middle tone. Painting flower is one of the most gratifying
experiences I have ever had. I am adding the darker tone at certain places to make the flower stand
out a little more. The process is simple
but meditative. It's always amazing what you
can create from so little. Painting a tulip is a
great way to learn how to shade and how to create
tone in your artwork. The things to keep in mind while painting a flower
is to always start painting with a
middle tone and then add your lighter tone
followed by darker tone. Then in the end, add the highlights with
your lighter tone, or you can use white
for highlights. I am doing all these steps
in quick, bold movements. I don't want to blend
the paint too much. It's all about how
you see your colors, adding depth and highlights, make your tulips eye catching. You are not adding
too many details here as we are not going for a
hyper realistic effect. You can see with
some simple colors, we can achieve amazing results. I used yellow and white color to create lighter shades
of the tulip petals. You can see by starting
with a strong yellow and then adding white for the
gradual shift in the tone, you can create some really interesting texture
in your artwork. Painting a tulip using just a few colors takes
a bit of a practice. Don't be afraid to
use your fingers or tissue to blend in the areas that seem too stark and bright. Use your black paint to go over the two lips to
define each petal. Just a quick recap. To paint our tulips, we will take yellow and orange, mix them in white to
create some tones. Once our tones are ready, we will apply them
on the tulips. Then apply the
light tone and then apply the darker tone
and gently mix them. Keep doing that
for every section. Once you are done
with the tulips, add the white highlights on top and adjust the
tones if required. Do the same thing
for the leaves, two different tones
of yellow and orange and apply them on
the leaves and blend them. Just and work on each leaf to your satisfaction
without spending too much time fussing
over each section. Keep doing it till you are completely done after it's done. Leave it to dry, and I will
see you in the next video.
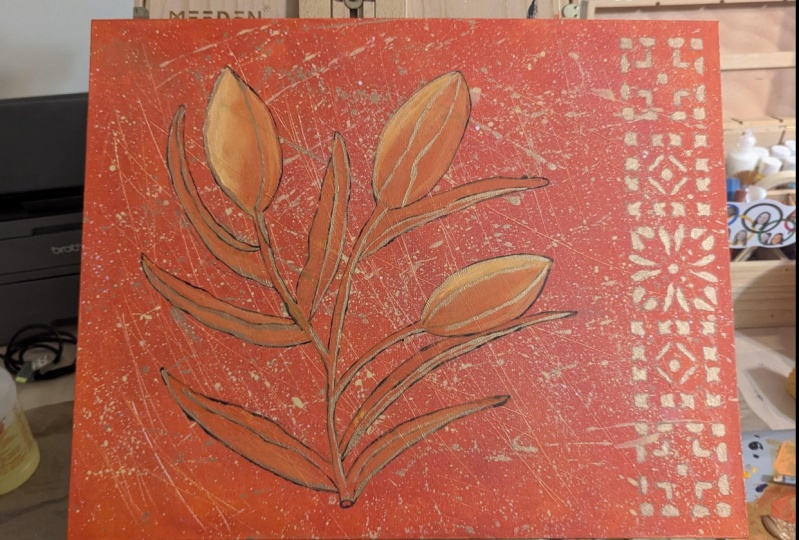
9. Some Extra Details: Once your tulips and
leaves are done and to get a better composition
to our artwork, we are adding this design to the base of the
artwork. No detailing. Just outline this design onto
the base of our artwork. Dip your brush in
the darker tone created by mixing
yellow, orange and blue. Dilute this mix a little bit to get flowing
lines very easily. If the mix is too solid, the lines will break. When we use acrylic paints, without enough water, the
pain gets stuck in our brush. While creating lines,
the block paint in our brush restricts us from
creating smooth lines. In this situation,
the best option is to wash the brush properly
before you start painting. I'm often asked by students
what happens with practice. The thing is with practice, you develop your memory to improve your drawing
skill considerably. Memory keeps improving while we keep repeating the process
over and over again. This will not only
improve your drawing, but will also make your
drawing a lot faster. Just a few minutes of practice, every single day will
show you amazing results. If you want, you can use a stencil to do
this part as well. It saves time, gives a
nice finish to our art. But I generally like
to paint it myself. It gives me immense
satisfaction. Keep working on it till
you are completely done. Just add some extra
splatters with the darkest shade before we
call our painting finished.
10. Final Thoughts: Congratulations. You
did a wonderful job. Isn't it amazing to look at an artwork and say, I did this? Do say it loud and clear. I did this, and this
is truly amazing. Tulips are one of my
favorite flower to paint, they are so simple and elegant, but they are also
bold and beautiful. In this session, we learned
about painting tulips. In this session, we
also learned about limited color palette
and its benefits. We understood that
limited color palette not only makes us creative, but also gives us a
sense of balance. The concept of choosing
just a few colors to create an artwork forces
us to be creative. If you are ever stuck in
your artistic process, try limiting yourself to just a few colors
and see the magic. Do upload the picture of your artwork in the
project gallery. I can't wait to see
it. Have a nice day.
 Tina Khetarpal, Artist, Illustrator, Art Teacher