Transcripts
1. Introduction: Negative style painting is a simple yet highly
creative style of painting. Negative painting
with acrylics add an extra dimension
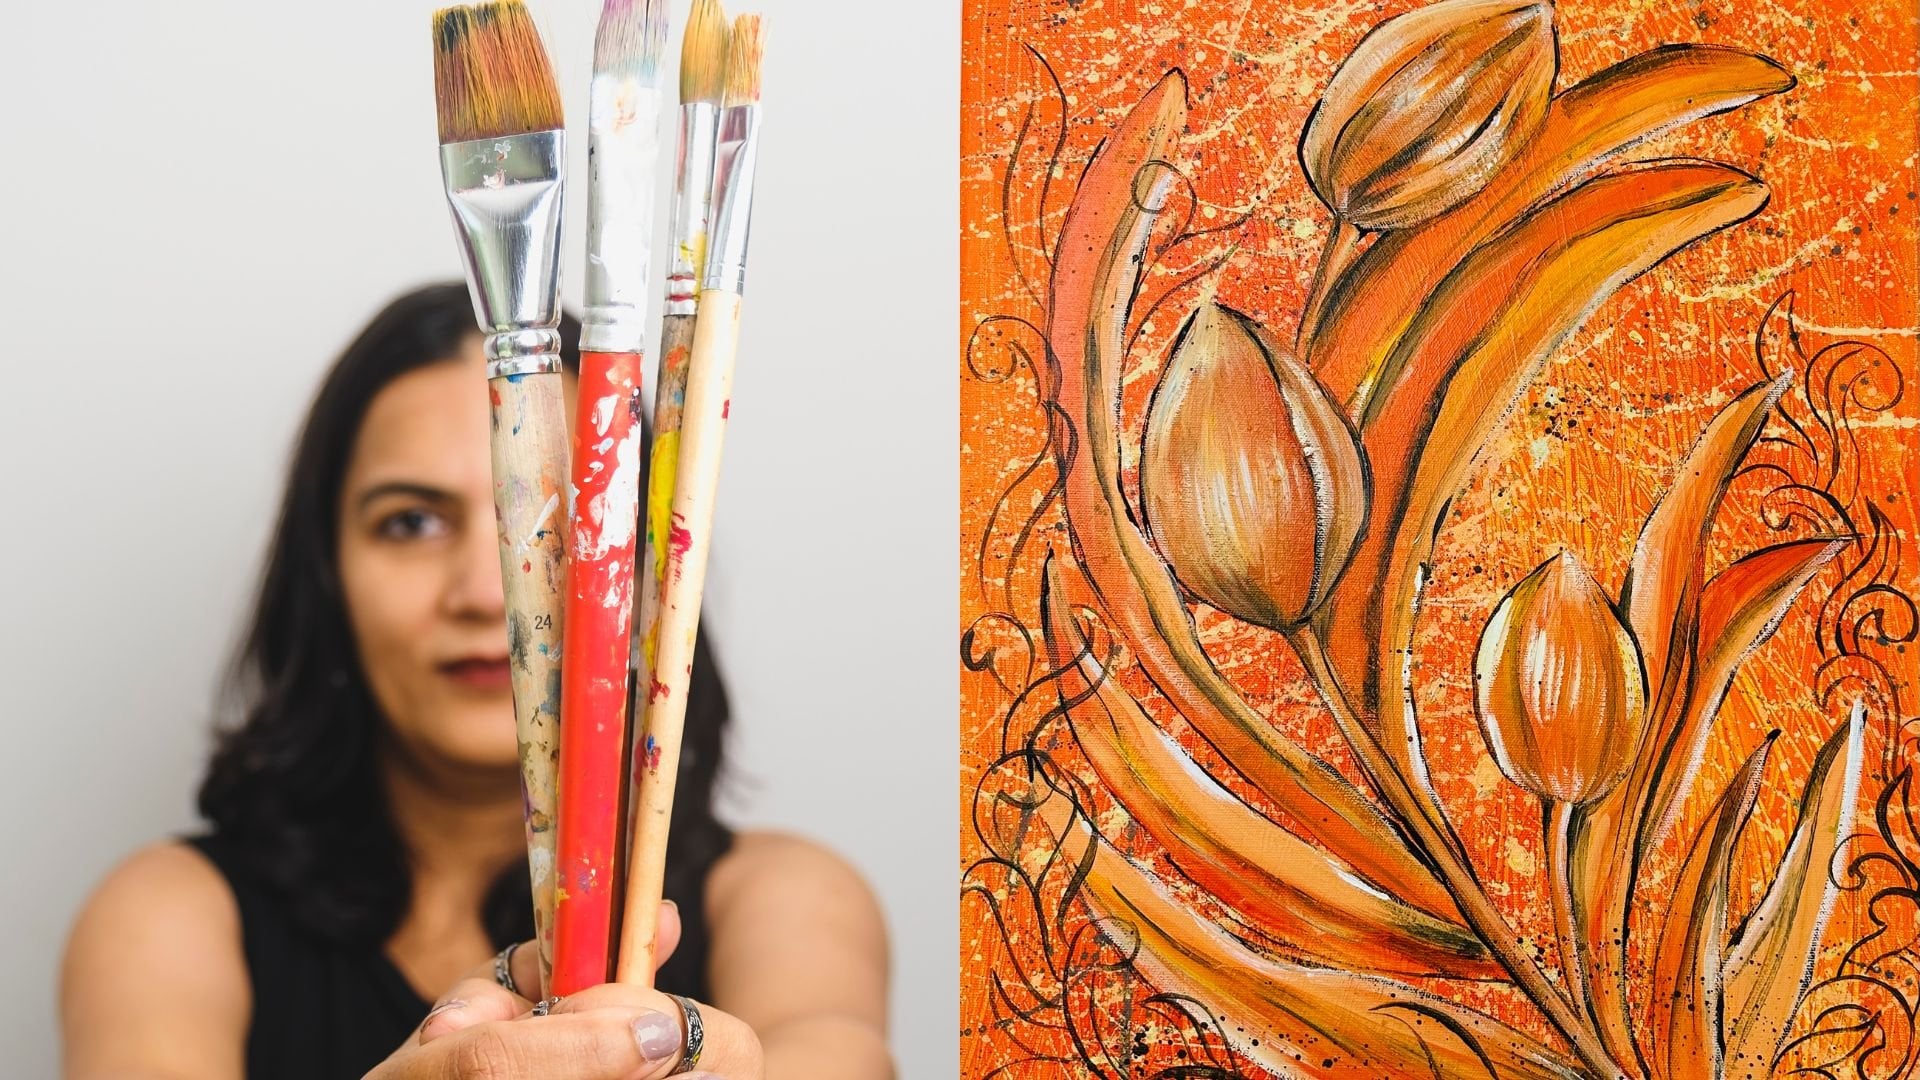
to your artwork. Hi, I'm Teena Khetarpal I have been painting my original artwork
in acrylic paints ever since I can remember. I mostly like to work
in acrylic medium. I absolutely love acrylics as they are the most
versatile art mediums. You can use them as thick, opaque medium or as
translucent as watercolors. They can be used both ways. Over the years, I have taught
lots of established artist, kids and adults in a variety of art mediums and art styles. In today's session, we
will understand all about creating art using
negative style of painting. In this session,
we will understand all about creating a
negative painting, how to paint freestyle
background , technique of mark-making, sketching our subject before
painting on a canvas. Importance of composition
and underpainting. While understanding
negative painting, we will also understand
the technique of layering and the
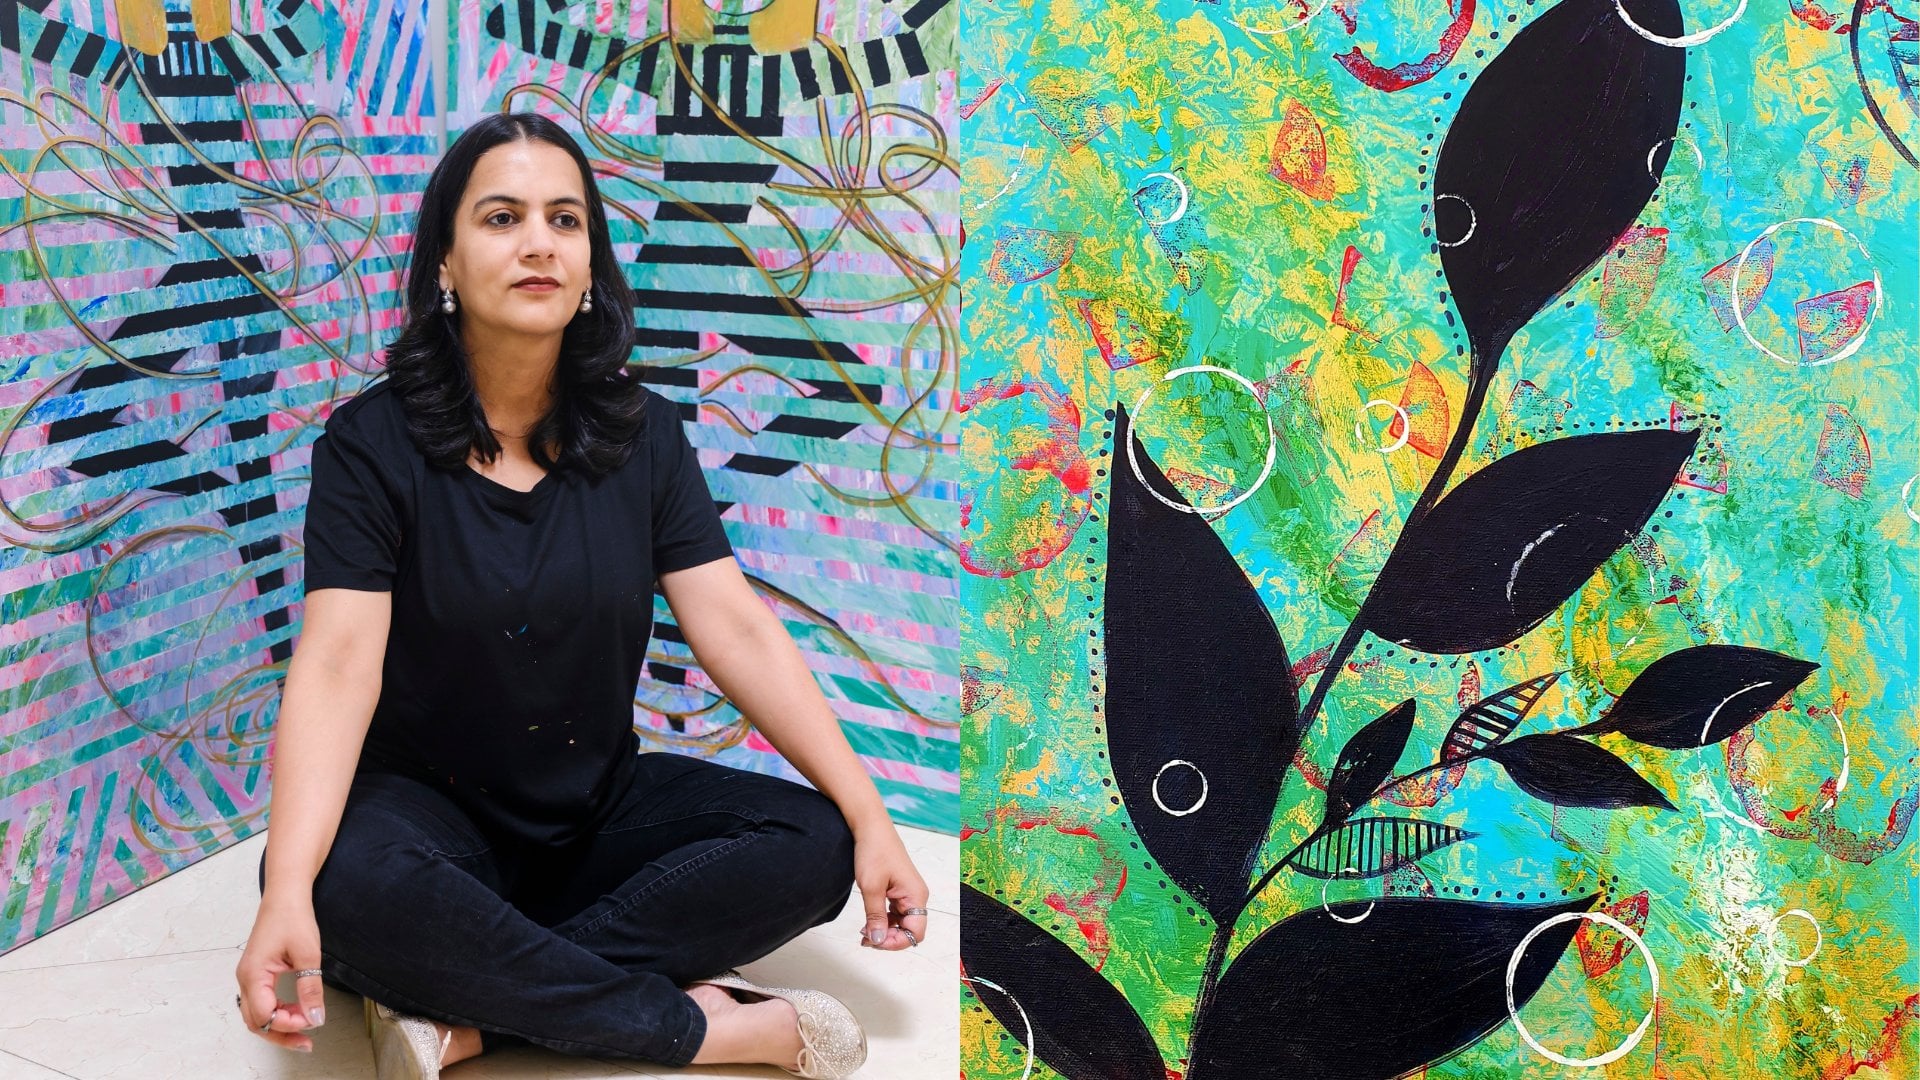
benefits of letting go. In most art styles I paint, I always start with painting
the background first. That's my style. I think backgrounds are
the soul of any paintings. Let's get started and
create some magic.
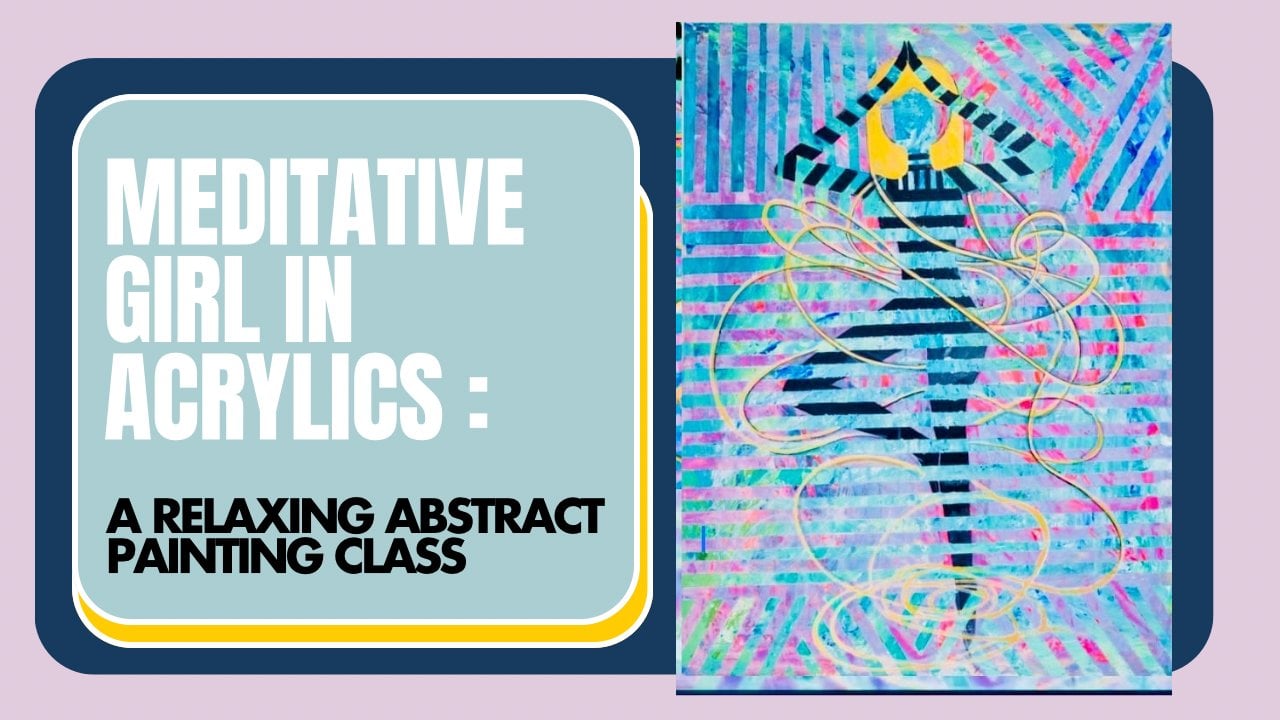
2. Class Orientation: In today's lesson, you will
create an artwork with me using a negative style
of creating an artwork. We understand this technique
in depth and how to creatively use this technique to create our future artworks. This style of painting is
extremely close to my heart, and I have used this in
a lot of my artworks. I absolutely love the effects
created by this time. Not only do I love the artwork
created using this method, I also enjoy the process of creating negative
style paintings. The process of creating
depth using layers in the negative style is
quite mesmerizing. In this lesson, you will
understand the importance of an underpainting and how it is the backbone
of an artwork. You will understand how mark
making impacts an artwork, how to finish an artwork, and how to embrace mistakes
while creating an artwork. For this lesson, you will need some acrylic paints
of your choice, plus black and white colors, golden paint, water container, some brushes and some
stencils , some lids, etc. You don't need to have all these things in case
if you have them great, otherwise try and find
alternatives in your space. Alternatively, you can use
fruits and vegetables, old mugs as stamps, foil or tissue paper, combs, etc, to
create some marks. The idea here is not to
create identical art, but to learn an art style and
create your vision of it. Once you are ready and relaxed, See you in the next step. Prepping the canvas. See you there.
3. Gesso Layer: The night before I start
painting a canvas, I always apply a layer of
Jesso on my canvas. Jesso gives a
professional finished to my canvas and also adds
a protective layer between my canvas and paints
so that the paints do not get absorbed in the
fabric of the canvas. If you are using a
pre-primed canvas, you can skip this step. While applying Jesso do
not dip your brush in water. Take your dry brush
and straight dip it in the jar of Jesso and
applied on the canvas. It's really as simple as that. Jesso is a mix of
paint, chalk, and binder. It comes in ready bottles. You just need to
take it out from a jar and applied on a canvas. Jesso is not only used
on Canvas as a base layer, you can also use layer of
Jesso to any surface and the surface is ready
for acrylic painting. Options of creativity with
Jesso are limitless. Just imagine being able to paint on any surface with
acrylic. Isn't it amazing? Jesso comes in a
variety of consistency. There are some
extra thick Jesso, thin Jesso, some brands
also provide with a medium consistency of
Jesso. You need to work with different ones to know which ones you really
want to work with. You need a thin one if you want an extra
smooth effect, if you might choose. one with great texture
base for your artwork. Generally, I'm most comfortable using medium Jesso
for my artworks as I mostly do not intend doing an extra smooth or highly
textured effect to the base, because I add texture
on top of my artwork, but experiment and
find the one that's best for you and share
your experience about it. I always love to learn new
experiences from my students. In case if Jesso is
not easily available, you can use thick white paint and wait for it to
dry completely. Apply Jesso paint smoothly
to the canvas and leave it overnight for it to dry completely before
we start painting. So far. So for this step, choose the right
Jesso for you, apply it on the canvas in smooth movement and wait for it. Wait and wait overnight
for it to dry completely before moving
on to the next step. Once your canvas is dried, I will see you in
the next video. In the next video we'll
understand all about negative painting and the
process. See you there.
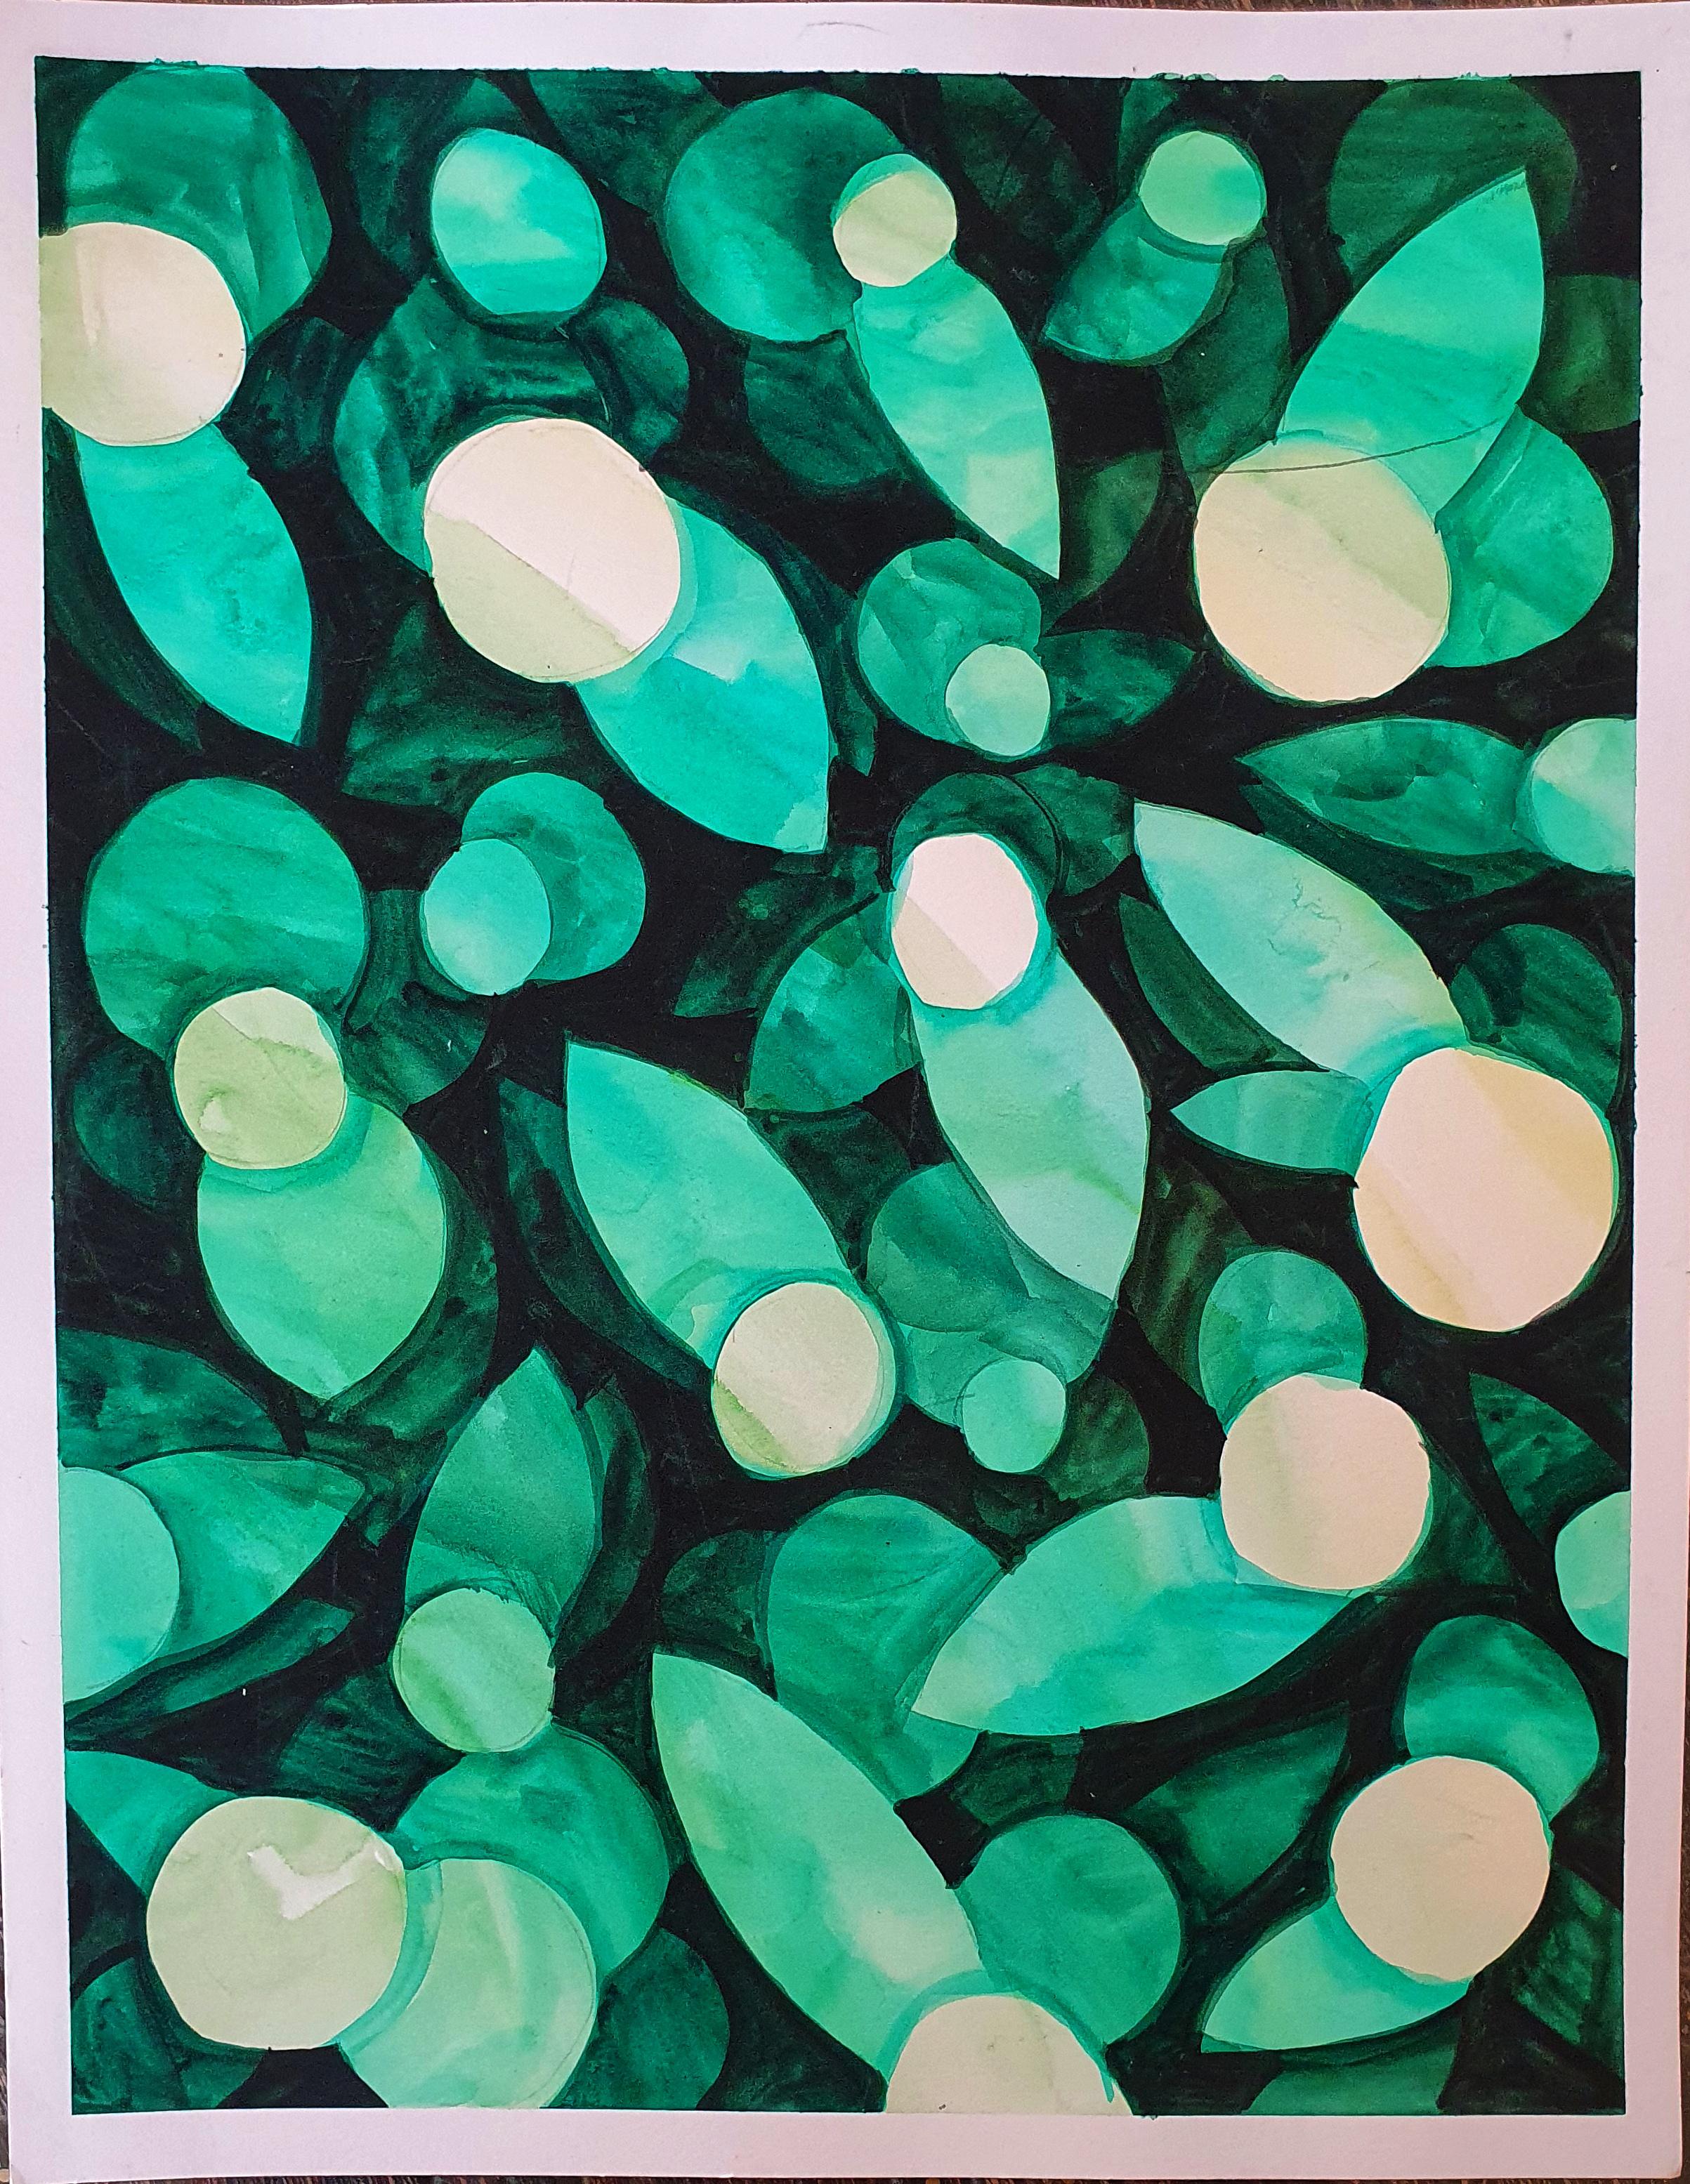
4. What Is Negative Painting ?: Any artwork consists
of two types of space, negative and positive space. Positive space is
our main subject and negative space is
the space around it. Usually we paint our subject
to create our artwork, but this time we
don't paint our subject, but instead we paint the area around it, the negative space. This technique is usually
done in multiple layers, but today we will not do
more than two layers. Background plus one more layer. More layers make it
more complicated, but the effect comes
out really magical. Before doing the advanced level, let's understand
this technique and create wonderful
artwork using this one. Once we are able to create beautiful artworks
using this method, we will learn advanced level, but for this session we
will only do two layers. Negative painting is a technique
where we work in layers. But by the time the
artwork is finished, these multiple layers
come together and become one unit, one artwork. But when the viewer
isolate each layer, he can clearly see a wave of emotion shared by the
artist in each layer. When you work in
negative painting, each layer shares different
sentiments with the viewers. Negative painting is
a simple technique, but when done in layers, it adds a lot of dimension
to your artwork. This style can add a lot of depth to an ordinary art work. So to understand, negative
painting is done in layers when you paint the background
and not the main subject, it helps to bring out a lot
of emotions into an artwork. I'm sure you will enjoy this technique to create
beautiful artworks, to share with me in
the project gallery. So let's get started
with the first layer.
5. First Layer : For this layer, you can
use any color to paint. You can use two or three
sheets of any color as well. Don't worry too much
about this step. This layer might not be seen
underneath the top layers. Just take any color and applied on the canvas
using a brush. The idea here is to apply
a layer of paint all over the canvas so that
you don't start a canvas with a
blank white piece. While applying the paint, make sure each and every section of the canvas is
covered in paint. Any area left without
the paint will affect the overall look
of the finished painting. To get a painting
perfectly finished, make sure you do
this step properly. This is a simple step, but often ignored
by many students. We don't want to compromise
the final result. So try to get a smooth finish. This layer is called
an underpainting. Underpainting is a
layer of paint we applied to a Canvas
before we start painting. The purpose of this layer is to add extra dimension to our art. Once the entire surface is
covered with our paints, leave it to dry completely. Our first layer acts as a
base of all the future steps. It adds depth to our
painting and also sets the mood of an artwork depending on the color we choose
for our underpainting. So we can change the mood or the tonal contrast
of a painting. This step is most
under-appreciated by artists, but is usually extremely
important step. It is a foundation layer
to make a painting look more professional and more
appealing to our viewer. The concept of an
underpainting is a traditional method
to start creating art. And lot of New Age artists have this misconception
that underpainting is only required if
you are painting realistic painting or when
you are using oil paints. On the contrary to
that, in my opinion, underpainting is required even while using acrylic paints. And also when we are not
doing a realistic painting, especially while creating
abstract backgrounds, underpainting plays
an important role. Apply the paint in the smooth uniform layer and
leave it to dry completely. In case if you want
it to drive faster, you can use a blow dryer. In the next step, we will create an
abstract background and understand all
about mark making. I'm sure you are as
excited as I am for learning and creating
these techniques you in the next video.
6. The Abstract Layer: Once your previous layer
has completely dried, you can take any color of your choice to
create marks on it. To create these marks, I'm using variety of tools. You can choose what's most
conveniently available to you. First to understand mark-making, it's actually a process to express emotions
into the canvas. It doesn't have to relate to or express anything
in particular. It is purely abstract. It has to express how you
feel about that moment. The idea here is to create a background using our
subconscious creativity. So it has to be intuitive. Don't give too much thought
about this process. Go with the flow and don't
think about the results. Instead, share your
emotions onto the canvas. Explored your emotions
onto the surface. Don't control them. Use different ways to
convey that emotion. Backoff a brush, bottle, thermo, coal papers, tissues, vegetables,
leaves, your fingers. Foil cling film sponges. Options are unlimited. Don't buy stuff fine
things in your space and experiment to
create these marks. Let's start with
using our fingers. If that's not what you're
most comfortable with, you can even gloves. My favorite mark making
tool is my hand. The best mark making happens by directly applying paint on
the canvas with fingers, pickup beans from
your fingers and start creating these
marks on the canvas. Keep going as much as you
want to understand this step. The idea here is to cover the
entire surface with marks. We are going to use a variety
of marks for this step. More than marks, the
better the results. Honestly, there is
no strategy here. I am just trying
to fill my space with lots of marks while
having loads of fun. No judgments here, no
rights, no wrongs. You can use stencils, stamps, the back of a brush,
bottle caps, absolutely. Anything that works
well for you. Adding some drips of
certain paints at certain places also adds a little drama to your
art while using stencil. I never like to use
the entire stencil, only a section of it, like an incomplete version
of my stencil on my canvas. It kind of brings Miss
Sri to an art work. Unfinished marks,
dry brush marks, drips of paint flowing unevenly, all add to the mystery. We are creating an effect in which we need to look at it for some time to absorb
all that's happening here and appreciate
the little madness. Each one has a unique
style of creating marks. Don't try to hide that. Express that unique style. I like to create stencil
marks which are incomplete, but you may want your
entire send stencil on your background or
creating background using, using Justin says or
using finger marks. Some like me may want to use a combination just
to what you like. Create multiple backgrounds
and experiment, then decide which
appeals most to you. This is my tip. While creating art, do not
make decisions beforehand, experiment, and then decide which ones you like for
your future. Artworks. Don't be scared to experiment. Keep working on it till
you are happy with it, and then leave it
to dry completely. Do share the peak of your
beautiful magical background. I'm always excited
about the stage. Backgrounds are the
soul of an artwork and this abstract
background at magic to it. Next step is getting
an artwork on paper before we draw
it on the canvas. See you in the next video.
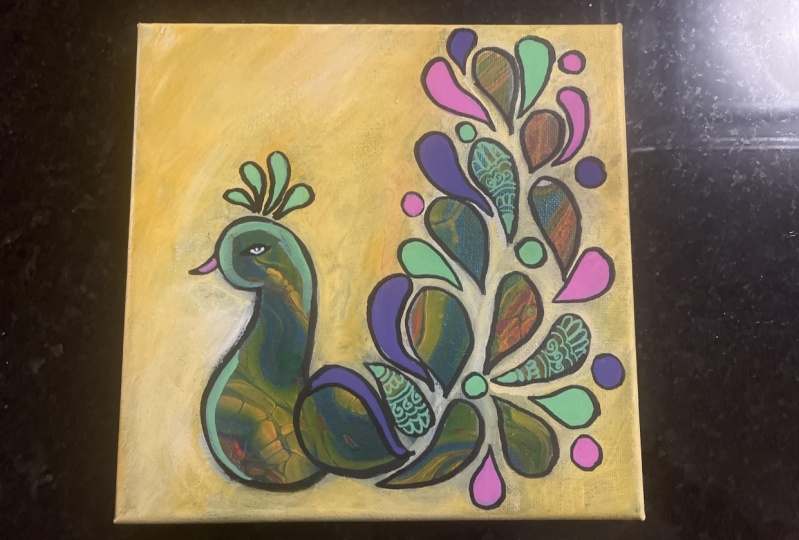
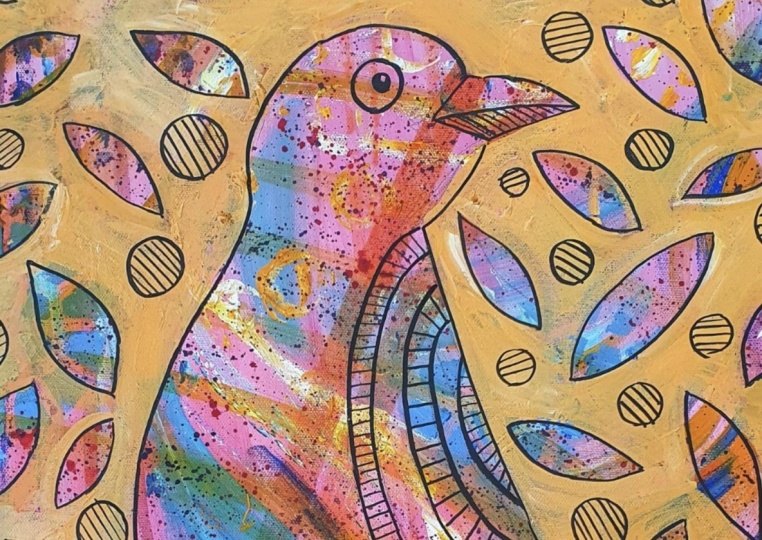
7. Sketching: I'm already liking how this
artwork is stoning out. You can see beautiful colors
in harmony with each other. The texture created by them is giving extra
dimension to our art. Now, it is time to sketch
our subject on it. Before painting the
sketch on the Canvas, I have created these
rough sketches on paper. I really like how
this turned out. And I'm thinking of going
ahead with this one as I feel, this goes really well with
the abstract background. The leaves and the
circles are making the art book look
really balanced. I'm sketching this on the
canvas using my black paint. I use a thin brush to
avoid getting thick lines. Just keep going till
the sketch is done. Once a bird is sketch is done on the Canvas plan other
elements of your composition, I'm using leaf shapes and circles to add around my bird to get a
balanced composition. Right now, I'm only adding leaf shapes, circles,
and circles. Right now I'm only
adding leaf shape. So cuz I will add
in the next step. You can use triangles, ovals, hearts, crescent moon, abstract shape, or even a combination of shapes like this to
your background. Only thing is to keep it simple. Don't make complicated shapes. Also do not keep the
drawing very small. Make the size of the
bird and the leaves big enough to see our
beautiful background. This is very common mistake. Students sometimes
make the drawings too small for negative painting, you need to make your
subject large to get the overall nice
finished to your art. Once my leaf shapes are done, I'm ready for my next step. All the work we have done so far will come together
in the next video, where we will paint our
artwork in the negative style. I can't wait to see you there.
8. Negative Painting: Now it's time to paint
the negative style. As I mentioned earlier, we are painting the background
and not the main subject. Basically, I will not
paint my bird and leaves. Instead, I will be in
the space around it. So let's get started. Negative style painting
is a great technique as it teaches a difficult
element of letting go. We have created such
beautiful textures and shapes all
around the canvas, but we can't keep
the entire thing. We have to let go
of some elements. But letting go always
come with an added bonus. When we let go of something, something happens in our lives. Something new,
something different, exactly the same thing
is happening here. We're letting go of
some shapes and marks. In return, we are getting this beautiful bird and
leaves all around it. We give something,
you get something. So painting our rough sketch
or even in our Canvas, we mark the areas
we're supposed to paint so that we're
not confused. While isolating our shapes
from the background, we will see beautiful
textured effects created from our sketch. It is so wonderful. Sometimes I can keep looking at these shapes and beauty it
contains in this style. Every time I look at an artwork, I discover something new, something different, and
that's an amazing feeling. To finish this step, I will add black outline to
the entire artwork to bring all the elements together to enhance the overall
look of the artwork. Looks like I have
made a mistake here. I was not supposed to
color this section, but I made a mistake and
it's okay to make mistakes. But fiction is an illusion. Mistakes are part of
a process, really. I have never create a
perfect artwork every time mistakes happen
and we learn from them and we're ready
to make mistakes, new mistakes every time. As long as we learn
from our mistakes, it's okay to make mistakes. Since I have made, made the mistake and
color this section, I will continue with
this just the way it is. I'm still happy with
the way it turned out, and I'm all excited about it. I will not let my mistake
steal my excitement. This looks amazing
and I will see you in the next step to
add final details to the artwork and
don't forget to share your process so far
in the project gallery. See you in the next video.
9. Balancing: Towards the final step
of creating an artwork, we need to check if all the elements of
our arts and balanced, balanced artwork means to
distribute all the elements of art in such a way that it
provides a visual stability. Sometimes rightly placed
small element placed on one side of the canvas
creates balance to the large, intricate painting
on the other side. In this artwork, we
have distributed all our elements
evenly on the canvas. But as you can see that all elements have
the same effect, same background to it. To break this loop
and to make sure it doesn't give them monotonous
look to our painting. We are creating other
elements on top of it. Once you are done
with the coloring, the entire space
around the subject, it's time to add circles
around our leaves and bowed. I'm again using this black
paint to add the circles. Hello. Don't add too many circles. I'm adding some detailing inside the circle to
finish this artwork. One of the things I've
always experience is that when I'm
working on a painting, I never want to
disconnect with it. Calling an artwork finish is the most difficult thing for me. But I think it's time to let go and call this
painting finished. I'm sure you are as excited
as I am for the swat work. The negative painting style is especially due to me
and I'm sure you will create amazing artwork
in this style and you will use this technique
for your future artworks. In the next video, we'll do a quick
recap of what we have learned in today's
session. See you there.
10. Final Thoughts : Congratulations, you did it. You learned a new
technique of creating art and you created
this amazing artwork. Take a moment and appreciate this beautiful artwork
that you have created. In this class, you will
have learned about painting an abstract background
using acrylic paints, Understood the process
of mark-making, importance of underpainting and application of Jesso
before we start painting. We have also learned the
technique of negative painting. And most importantly, we have learned the
importance of letting go and how making mistakes
is the process of learning. Don't get afraid of mistakes. Instead, learn through them. Create more magical creations, and don't forget
to share with me your creations in
the project gallery. Nothing gives me more pleasure than seeing my students artwork. I'm looking forward to seeing your magical creations. In case if you enjoyed
today's session, do follow me to be notified
about my future classes. Thank you.
 Tina Khetarpal, Artist, Illustrator, Art Teacher