Transcripts
1. Introduction: After finishing a wedding shoot, sitting through thousands
of photos can be daunting. If you've ever felt
unsure of how to kick, start the editing process, then this is exactly
where you need to be. Hey, there. I'm Clara, a seasoned photographer with over nine years of experience. I remember my first wedding
shot like it was yesterday, Getting back home
with over 5,000 pictures and feeling like I might try sorting
through them all. But as I've upgraded my
editing process along the way, it's become way
less overwhelming. And today I'm here to guide you through the workflow of sorting, editing, and delivering
wedding photos seamlessly. Mastering this workflow
is essential for streamlining post
production and saving time. Effective photo selection
can shave off hours of work. And because editing may not be every photographer's
favorite, why not to make it easier
and more efficient, let's take a sneak peek at
what's in store for you, designed for photographers
of all levels. We will cover organizing large volumes of
photos in light room, using ratings and
adding keywords. We'll dive into editing
and creating presets. We will not explore individual
editing tools in detail. If you're just
starting with editing, you can check out
my previous class. And finally, we'll
conclude the class by exploring methods for delivering the final gallery
to your clients. Practice makes perfect,
so you'll have the chance to apply those
techniques to a class project. Your project will be to create an online gallery from your
photos and share it with us, ready to unlock the secrets
of editing work flow. Let's get started.
2. Project: In a class project, you'll do an eye catching online gallery
using your own photos. Choose your favorite pictures, whether they're snapshots from a wedding or travel memories
collected over the years. It's up to organize these
photos into a nice gallery. You can use Pix Set, Pick Time or any other
online platform, add personal touches or
branding to make it unique. And remember to blend details
with white angle shots and include both landscape
and portrait orientation. Once your gallery is finished, capture screenshot and upload
it to the project section. This is your chance to show off everything you've
learned in the course, from sorting large
volumes of photos, to editing them with
similar presets and styles, and delivering in a stylish way. Go to the project
section and read the description to
help you get started. I'm excited to see
your creations. Have fun and I'll get
you in the next lesson.
3. Organizing Photos: Culling and Rating: In this lesson, we'll
tackle the challenge of handling a large
volume of images. I'll guide you through
efficient techniques to select the best
shots quickly. Learn how to use
flex ratings and other tools to streamline
your kelling process. After importing all the
photos to light room, start by doing a quick
initial sweep through images. This is not the time
for in depth analysis. It's about gut reactions. Use flax or star rating to mark potential
keepers or rejects. In the first round, I
basically give a rating of one star to all the shots
that I could potentially use. The photos that end
up without the rating are usually where nothing works. There are no emotions
in the photo. People have closed eyes
or they are out of focus. Now let's get a bit
more strategic. Go through your flexed
or rated images, and this time pay closer attention as
you review each image. Consider factors
like composition, exposure, and the overall mood. And give a two star rating
to those chosen images. I have reduced the
number of photos, but there's still too many. Often we end up with multiple shots of the
same scene or moment. In the next selection round, I compare these similar
shots and choose the strongest ones based
on factors like sharpness, expressions, and
overall visual appeal. Don't be afraid to
cut duplicates. If you have several shots
of the same pose or scene, choose the best and
discard the rest. The number of photos you sent
to your clients can vary. It depends on multiple factors. For how long you
stayed at the wedding, how many people attended, or how many group
shots were taken. But try not to overdeliver, most of the clients don't
want to go through hundreds of similar images from
a full day wedding. I usually deliver about
300 to 400 pictures now that we have the
final selection, it doesn't mean
we have to delete the rest of the
photos immediately. I never delete anything
until the job is completed and the gallery
is approved by clients. You never know which
photo they'll miss. Only after that, I feel comfortable deleting
some of them. If you want to know
how to delete a batch of images directly
from light room, I'll quickly explain it. I want to delete all the
images without rating. Go to Grid View. And
above the grid of photos, you'll find the
library filter bar. Click on the attribute
option to reveal filter criteria in
the dropdown menu. Choose Unrated, and this will filter all the photos that
don't have any rating. Make a quick review. And if you're sure you want to delete them permanently,
select them. Right. Click on one
of the photos and choose Remove Photos Light Room will ask you if you want
to remove them from the light room catalog only or delete them from your
hard drive as well. Now just confirm
and they're gone. Remember to always double check the selection
before making any major changes to prevent losing your
data by accident. That's it about photo selection. By following these
steps and continuing to repeat this process
with each project, you'll not only improve your
skills of being organized, but also sharpen your talent to choose standout
images quicker.
4. Organizing Photos: Keywording: In this lesson, I'll share additional effective
strategies for keeping your photos organized. Making it easy to find what
you need when you need it. The secret lies in
using keywords, which are crucial for efficient searching and
organization later on. Keywords are like labels
that you attach to your photos describing
their content, theme, or any other
relevant information, such as the couples
names or venue location. This system will help you avoid endless scrolling or digging
through folders in future. To add keywords to
specific photos, go to the library module
within Lightroom. Choose a set of photos that
you want to add keywords to. Just hold control or command key while
clicking on the photos. Now go to the keywording
panel on the right hand side. If you don't see it, go to the window menu first and ensure that keywording is checked
in the keyboarding panel. Click on this empty field and
start typing your keywords. You can add keywords
like bride, groom, reception, venue,
name, location. Or words like
emotional portrait and similar separate each
keyword with a coma. After typing each keyword, you'll notice that it appears as a tag below the text field. You can click on these texts
to edit or remove keywords. As you see light, Rum also provides
keyword suggestions based on existing keywords
in your catalogue. That's making the
organization even easier. Lightroom automatically
saves your changes. You'll see the
keywords listed under each photo in the
keywording panel. And now just keep going with
the rest of the photos. The more you make yourself
comfortable with keywording, the more efficient you'll be in organizing and searching for
your photos in the future. If you want to search for
photos using keywords, you can do it by going to
the library filter bar, choose the text search option, and start typing the keywords
you want to search for. For example, if you're looking
for photos of the bright, you just type the word bright in the search field and you'll
see all the results. You can also combine
keywords with other search options
like ratings. Once your photos are
imported, organized, and labeled with keywords, we can move on to editing, which we'll discuss
in the next lesson.
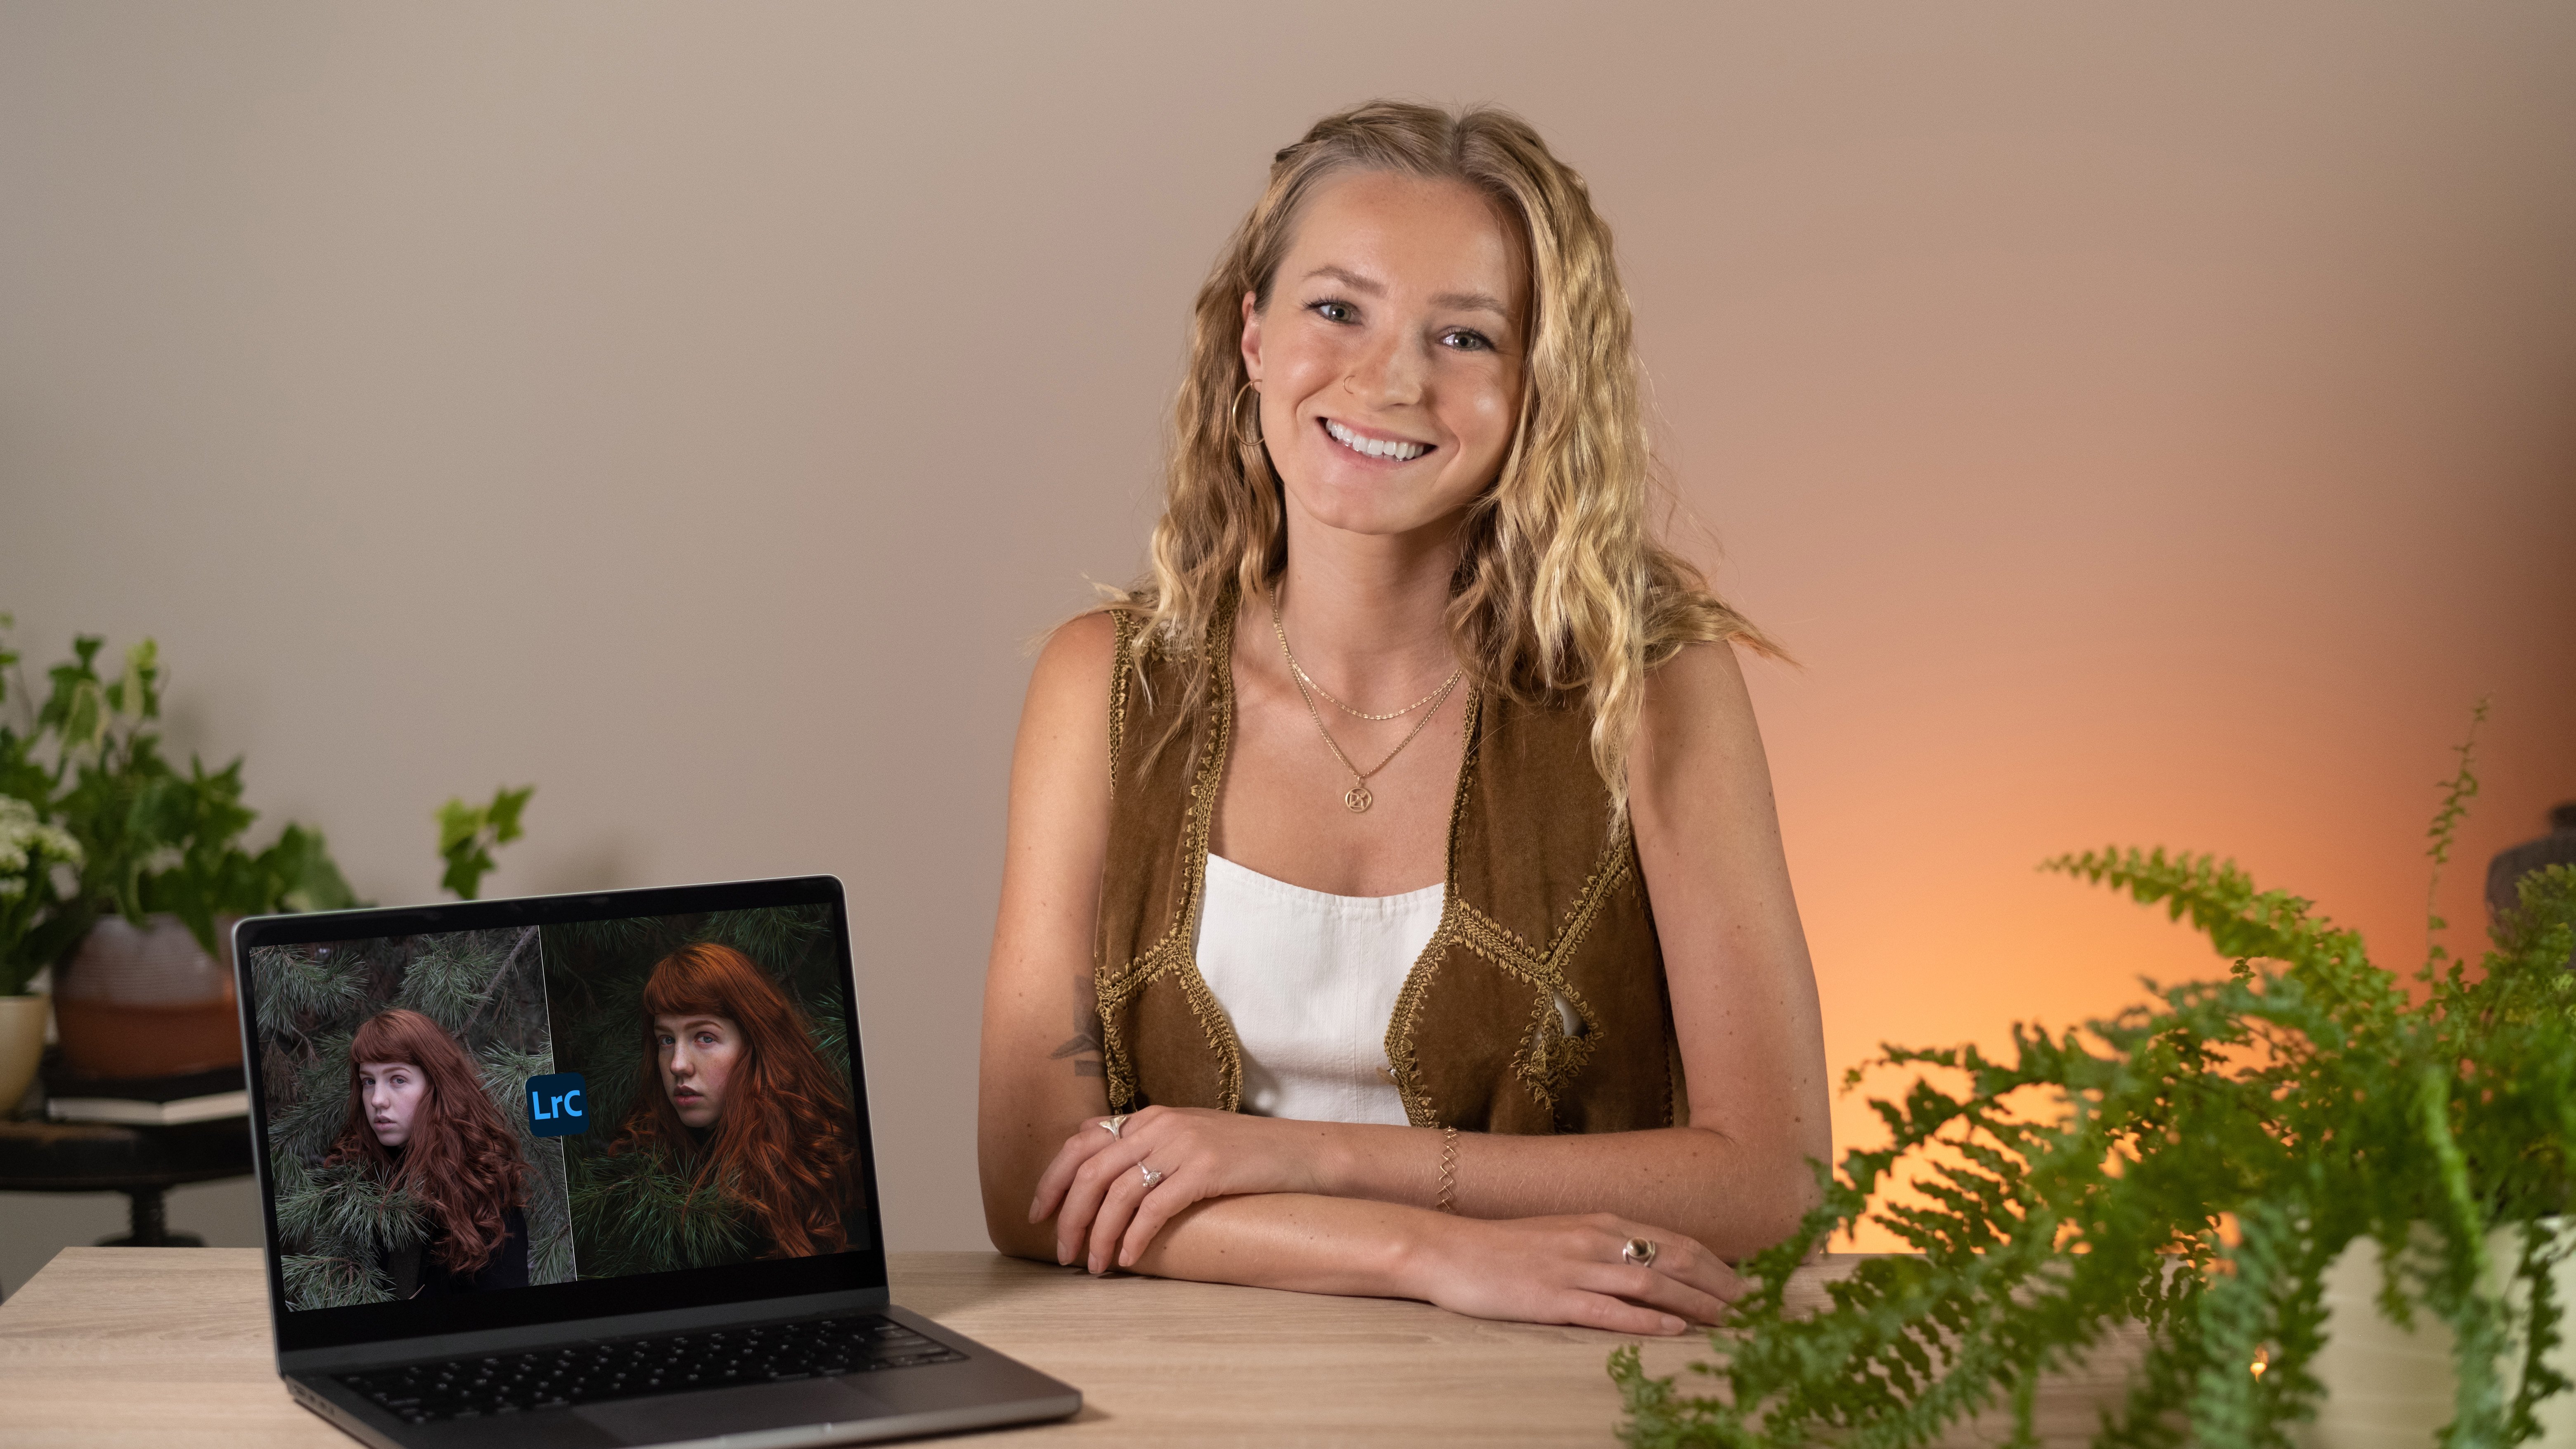
5. Basic Postproduction: Create Presets in Lightroom: In this lesson, we'll
explore the power of presets for basic retouching. Presets allow you to achieve consistent and
professional edits across all your
photos much faster. They're important
for simplifying your editing workflow and also maintaining a
consistent visual style. They save you time and effort, especially when working
with batches of photos shot in similar
lighting conditions. You can choose to
purchase presets from your favorite photographers or develop your own
presets in light room. Personally, I use
my own presets that I've created over
time and tailored to different lighting scenarios and the specific mood I want
to evoke in my images. Let's get started and
create our own presets. Step one is editing
a simple photo. Start by editing a
simple photo using your preferred adjustments
such as exposure contrast, white balance, and tone curve. When editing, I usually
stick with the basic panel, Correcting highlights shadows, adding some blacks and whites, and playing with curves to
get the look I'm after. Curves are my main editing tool. I use it to create
depth and contrast, but also to play with
the colors a little bit. Once you're satisfied
with the edits, we'll save these as a preset. Go to the presets panel
within developed module. Click on the plus icon
and select Create Preset. From the drop down menu. Name your preset and choose the settings you
want to include, such as exposure, tone, curve, and color adjustments. And click Create. To save the preset, select a batch of photos showed in
similar lighting conditions, and click on the preset
to apply to those photos. Take a quick look at the photos to see if
any need tweaking. You might need to
adjust some to be a bit brighter or darker. It's basically helpful if you shoot in manual mode and keep consistent camera settings when your photos have similar
white balance and exposure. Applying the preset is easier, as you won't need to manually
adjust settings too much. Try to use this
preset on a photo taken in different
lighting condition, such as this indoor shot. You'll see that it
doesn't quite fit. Try adjusting the exposure
and white balance while sticking to the preset. But if it still
doesn't look good, sometimes it's easier to
begin editing from scratch. Now keep going and creating presets for different
lighting scenarios. The more presets
you make over time, the higher the chance that some will match your future shoots. Create presets for different lighting scenarios
like cloudy skies, suny days, backlit portraits, indoor settings,
parties and more. And you can reuse these
for future weddings. Using similar presets throughout your shoots will help you establish a distinct
editing style that will become your signature.
6. Enhancing Portraits: Spot Removal & Masking: Shows hold a special place
in wedding photography. They're often printed
and displayed, so we need to spend
some extra time making them just right. We've already applied presets
to these portrait shots, and the colors look pretty good. We might need to adjust
the skin tone a bit to keep it looking
natural and fluttering. You can play around with
highlights and shadows to give the portrait more depth
or lowering the contrast. You can also change the
tone curve if needed. Since I'm happy with the colors, let's move on to the next step, which is perfecting the
skin switch to light rooms. Retouching tools to fix any
imperfections like blemishes, wrinkles, or straight hair. Use the spot removal tool. Simply click on the spot
and light room will automatically erase it while maintaining the skin's texture. You can adjust the feather
and transparency settings, which control how smoothly the removal blends with
the surrounding area. If there are other unwanted
things in the photos, like people walking by
colorful signs or lens dust, remove those as well. Once the retouching is finished, we can move on to
the masking panel. Within masking mode, you have
various options available. We can choose to use the
brush tool gradients or select different color
or luminance ranges. Personally, my
favorite option is the brush tool and I
use it all the time. The adjustment brush in light room is a
powerful tool that allows you to make
selective adjustments to specific areas. You can first adjust
the size, feather, and flow of the brush to achieve
natural looking results. You can use this
tool to brighten or darken certain
parts of the image. For example, I like to brighten the subject's face to
draw attention to it, and slightly darken the background to
reduce distractions. This selective
adjustment helps to lead the viewer's focus exactly
where you want it to be. I usually make subtle
adjustments to enhance the eyes, such as brightening them and reducing dark
circles underneath. I also sharpen the eyes
and make them more vibrant because I want them to become the main
focus of the image. Additionally, I add a definition
and contrast to the face by carefully highlighting
areas like the nose or lips. You can also enhance the definition of the
hair and much more. I love masking. I feel like it moves
your portraits to a new level and bring out the full potential of your images with
basic editing panels, spot removal and masking. We've covered the most important editing techniques
I personally use, but evenly important is the way you combine the photos
to tell a story. And we'll talk
about storytelling in the following lesson.
7. Storytelling & Details: Before delivering the
photos to your clients, take a quick look at the
final selection and edits. Consider making
adjustments to add more detailed shots or
black and white edits. Wedding photography is more
than just capturing moments. It's about telling a unique
story through images. Photographers often blend
variety angles, perspectives, and editing styles by combining close up shots
with white angle views, as well as colors with
black and white edits, you can evoke different emotions and moods within
the wedding album. Consistency is crucial in maintaining a visual story
that holds together, but if you include variety, it adds interest when creating the final
selection of photos, it's essential to make sure that no details are overlooked. If close up shots or specific
details are missing, you can use cropping as
a creative solution. For instance, let's
have a look at this photo of bride and groom. I love this picture, but I don't want to include
it in my final selection as it is because I already
have a similar shot. I can use this one and
crop it for detail. Massive cropping like this
shifts focus on their bond. As you can see,
extensive cropping may sometimes result in
a loss of sharpness. But you can turn
this limitation into an opportunity for
artistic expression. If you embrace the
imperfections and experiment with editing techniques such as adding crane or motion blur, you can transform cropped images into visually striking
detail shots. Converting photos
to black and white can further enhance
the artistic touch. As you review your
final selection of photos one last time, ensure that the chosen images narrate a captivating story. If you're selecting
photos for a client, try to see things from
their perspective. Think about what they might
value and find enjoyable. Even if blurry
artistic shots can add an artistic flair
to your collection, it's likely that
clients wouldn't want their entire gallery to
consist of these work with the final selection and blend traditional shots with artistic
ones and detail shots. And don't hesitate to include both color and black and
white edits for variety. Taking amazing wedding
photos is important, but what I want to
emphasize is that editing and storytelling
are evenly important. They can completely transform
the mood of the photos. And another crucial aspect is the method of
delivery itself. We'll explore this
in the next lesson.
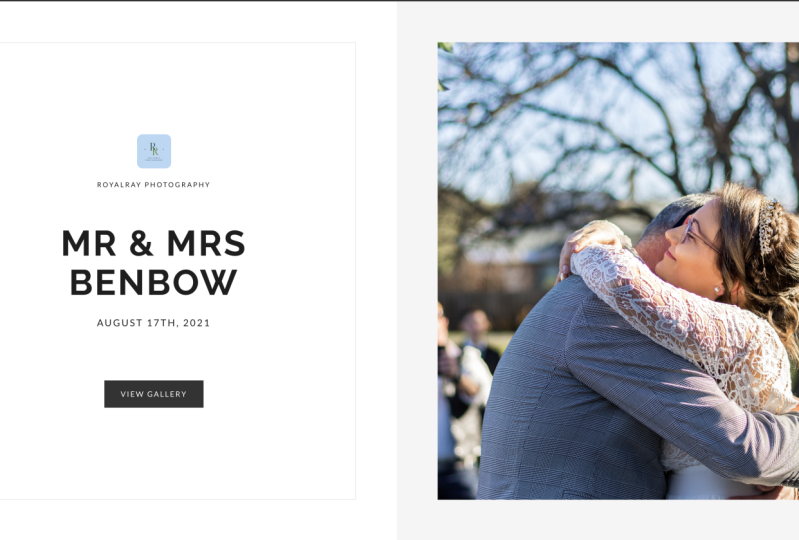
8. Deliver the Photos: Stylish Online Galleries: Welcome to the final lesson
where we will tie everything together as we finalize and
deliver the wedding gallery. To streamline the
delivery process, I recommend using online
gallery platforms like Pixi Set or Pick Time. These platforms offer a lot of benefits for both photographers
and clients alike. They allow you to create stunning online galleries where clients can view, download, and share their photos with S. You can customize the gallery
to match your branding. You can easily
organize the photos into categories
and subcategories, which makes it so much
easier for clients to navigate through large
collection of images. You can showcase different
segments of the wedding day, such as getting ready,
ceremony, and reception. It's entirely up to you. You can arrange the
photos to tell the story of the wedding day from
beginning to the end, or you can feature
the best shots. Typically the couples photos at the beginning of the gallery, followed by the rest. Customize the gallery with
your branding elements such as your logo colors and a
personalized welcome message. After you finish
setting up the gallery, give your clients
the link so they can download their photos
in high quality. You can also let them order prints right from the gallery, which makes it easier for them. Making the delivery process easy and professional
helps make clients impressed and bolster
your reputation as a competent and
trustworthy wedding photographer from now on. Deliver the photos through
a beautiful gallery, rather than using
basic folder links, it can truly make a difference. This is an opportunity
to differentiate yourself and elevate the
entire client experience.
9. Final Thoughts: I just wanted to take a
moment to say a huge thank you to each and every one of you for joining
me in this class. Let's do a quick recap
of what we've learned. We started by diving
into organizing large volumes of photos covering
techniques like writing, sorting, and keywording to
streamline our workflow. After that, we moved
on to editing, where we explored creating presets and applying
advanced techniques. We talked about storytelling
and wrapped up by discussing the importance of delivering our photos in a way that
leaves an impression. Remember that the power
of persistence is key. Mastering these skills
takes time and practice, but I have no doubt that each one of you has what
it takes to succeed. Before we part ways, I want to leave you with
a few final reminders. Don't forget to share your
work in the project gallery. It's important to help you
grow as a photographer. Also, if you enjoy
this class and want to stay updated
on future courses, feel free to follow me here on skill share or on social media. If you have a moment, leaving a review would mean
the world to me. All right, that's a rep. Thank you once again
for joining me. Keep creating, keep learning, and until next time,
happy editing.
 Klara Zamourilova, Photographer/Videographer