Transcripts
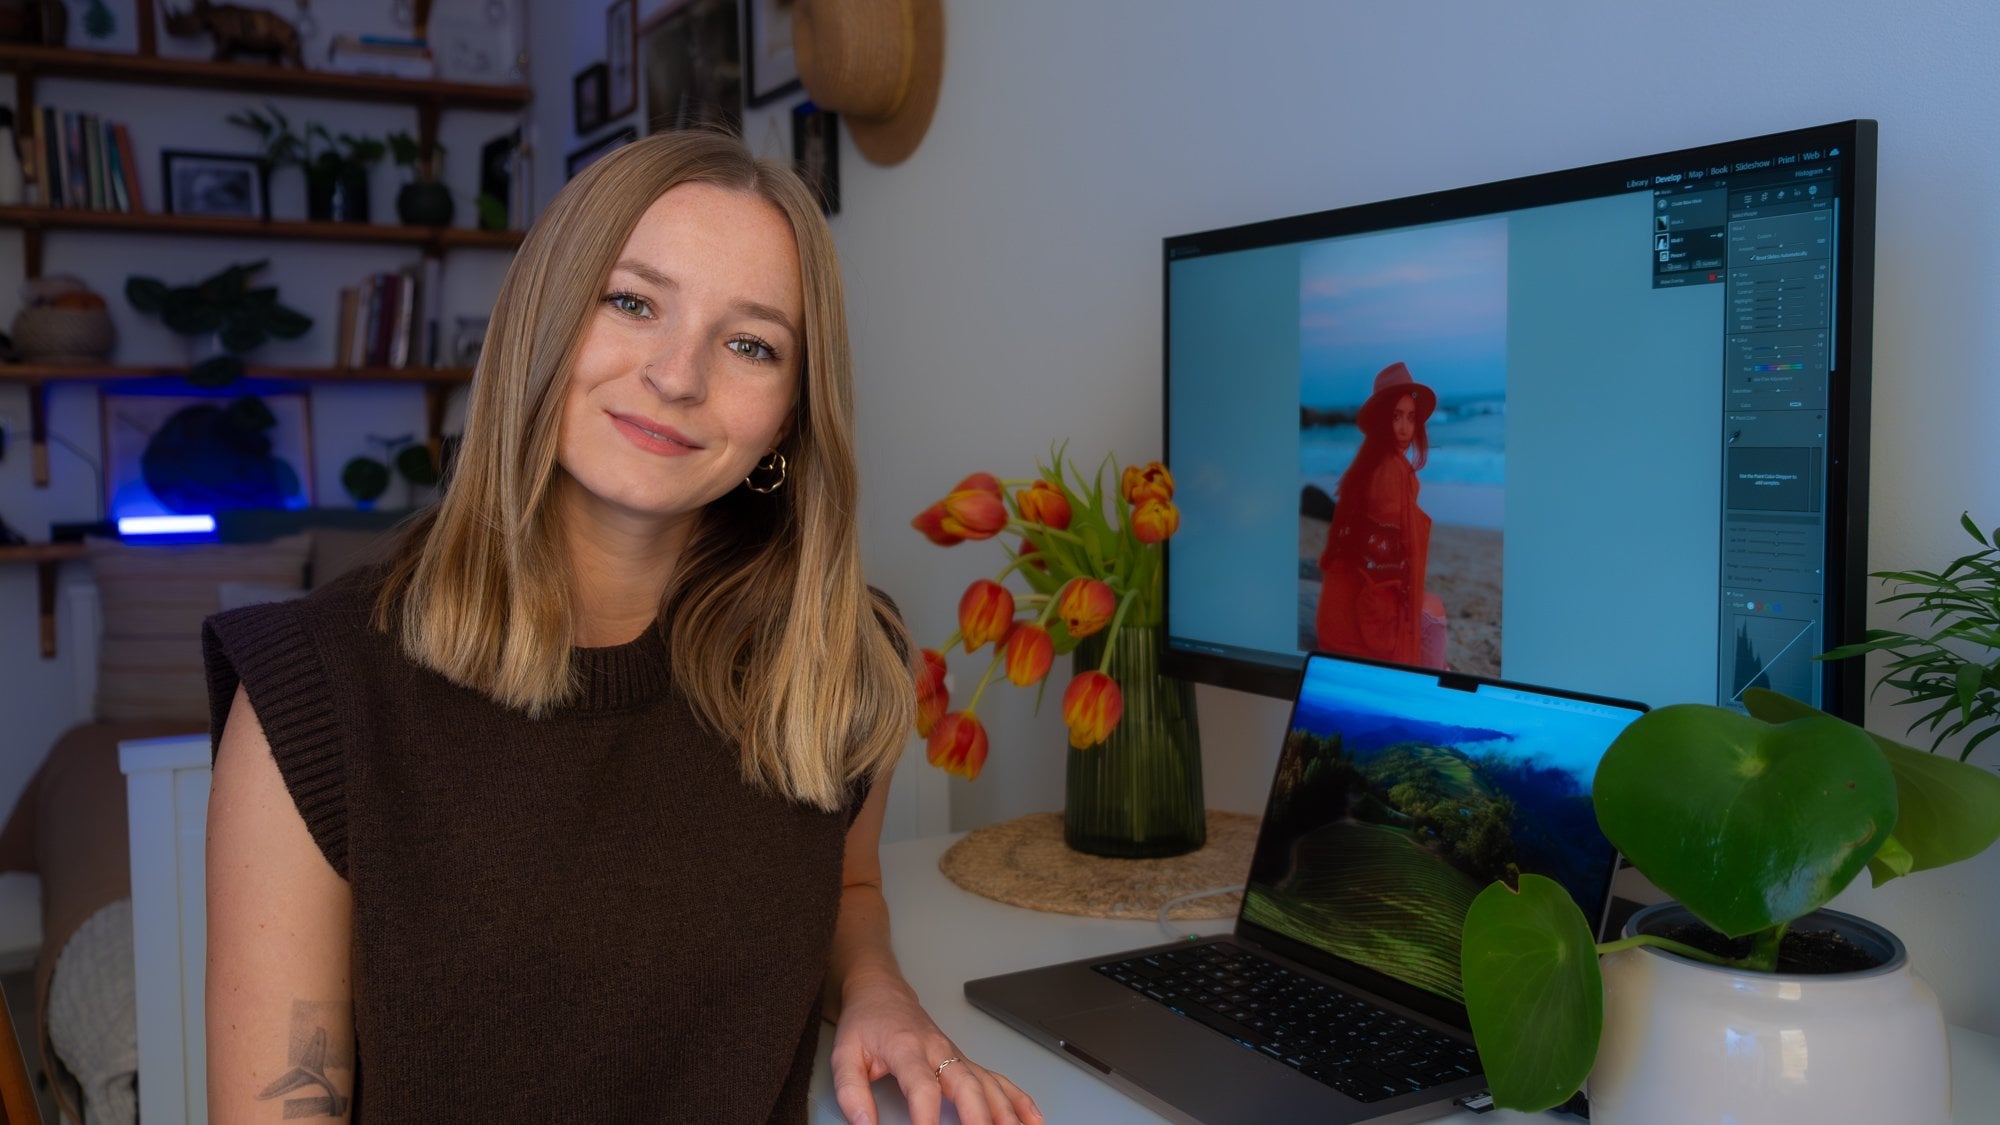
1. Introduction: Neighbors. Hi, I'm Clara, a
photographer and filmmaker. And in this class,
I'm going to show you how to edit amazing images right on your phone using
light room mobiles, AI tools. By. This class continues from my AI Lightroom
classic class where I covered portrait
editing using AI tools. Here we move the
workflow to your phone. I love to travel, and I will use my travel photos to
show you the AI tools. But these tools
work on anything, portraits, landscapes,
pets, you name it. Whether you shoot for
fun or professionally, you'll be able to
follow along easily. Lightroom's mobile app now
gives you access to editing features that used to require
a full desktop setup. That means you can
create pro level edits anywhere even before you've left the beach or the airport. If editing feels slow or
confusing, this class will help. Lightroom's AI does
most of the work. I will guide you step by step. You will learn how to use AI to find and edit just your subject, replace or fix the sky, blur or dark in the background. Use smart presets. Healing and much more. You only need the
Lightroom mobile app. Just a heads up. Most of the AI tools are part
of the premium version. No laptop, no big setup, your phone and this class. Ready to make your edits faster and easier than
ever. Let's jump in.
2. Project: The project, you'll
get three photos from me to practice with, or you can also use your
own images if you prefer. Your task is simple. Open your photo in
Lightroom mobile and use any of the
AI tools we covered. Select Subject sky or background using adaptive
presets and recommended edits. Healing tool or adding
lens blur Experiment, have fun and try out
different looks. And when you're done, upload your favorite edit to
the project gallery and add a short description of the tools you used and what
impressed you the most. I can't wait to see your edits.
3. AI Masking Made Easy: Select Subject, Sky & Background: This lesson we'll
explore AI masking tool. Light room makes it
really easy with smart masks for
the main subject, the sky and the background. We'll look at two examples, one with a person and
one with an object. Let's start with people masking. Start by opening your photo
and tapping the masking icon. Here you'll see options like
Select Subject, select Sky, select background, and brush
linear or radio tools. Select Subject works on anything Lightroom recognizes
as the main focus. It creates a mask automatically
so you can adjust light, color, effects or clarity
just for that area. This is perfect if you want your subject to pop without
touching the background. While these masks
use smart detection, remember that in
light room mobile, you don't have separate sliders
for features like eyes, lips, or hair that's only
on desktop light room. In mobile, you can apply smart presets to
these body parts, which we'll cover
in the next lesson. Now let's look at
the second example with a subject that
is not a person. The detection works on
animals and other subjects, so I wanted to try something
a bit more challenging. Here's a photo with a tree and some ferns in
the foreground. You can see that light room
still correctly identified just the tree as the main
subject, which is impressive. The AI handles tricky
compositions surprisingly well. Once your main
subject looks good, you can move on to the
rest of the image. Another tool within the masking
panel is sky detection, which works on the
same principle. The sky tool masks only the sky, making it perfect
for adding drama, adjusting color temperature, boosting contrast or
de hazing clouds. Sometimes the mask
isn't perfect, but you can refine it
manually with the brush tool. It lets you add or
subtract areas, and light room automatically blends edges for
a natural result. The last tool is
select background, which masks everything
behind your main subject. This makes it simple
to add color, drama, or blur to the background
without touching your subject. You can soften distractions, simulate depth of field, or recolor the background. But what if you want to edit just the grass and leave
the sky untouched? Lightroom Mobile doesn't have a dedicated select
ground option, but here's a neat trick. With your background selected, tap the minus icon and
choose subtract select sky. Now the mask includes only the ground so you can
make adjustments freely. This is a great way to
keep both your subject and the sky looking natural while
changing just the ground. The key takeaway is that masks
are your editing helpers. AI detection speeds
up the process, but you're always in control. Combining select subject,
sky background and brush edits let you achieve professional looking results
quickly and creatively, whether you're
working on portraits, pets, landscapes,
or travel photos. That's it. The sky and
background masks give you a lot of creative
control with minimal effort. In the next lesson,
we'll explore AI powered presets to quickly try out different styles
with a single tap.
4. Smart Presets & AI Suggestions: Edit Like a Pro in Seconds: Hello, and welcome
back. In this lesson, we're going to explore
the easiest way to edit your photos using AI powered presets and
recommended edits. These tools are excellent
when you want to save time or try different styles without
editing everything manually. They work surprisingly
well for portraits, pets, landscapes, and more. Let's look at recommended edits. Lightroom uses AI to analyze your image and suggests
edits that might look good. Lightroom looks
at your photo and suggests a balanced
edit automatically. To find them, open your photo, go to the preset stab, and then tap recommended. Here you'll see a set of suggested looks that you
can preview with one tab. Light room will instantly
adjust things like exposure, contrast, and color to give
you a good starting point. Think of it as a smart automde. It won't always be perfect, but it often saves
time and gives you a base to work From here, you can keep editing manually or explore presets for
more creative styles. Now, let's move on to presets. More exactly adaptive presets, these use AI to
adjust to your image. They find subject, sky, or other areas and apply the
effect only where it fits. At first, these can feel a bit confusing because
you'll find them in more than one place under the preset step and
also under actions. Let's break down what's really happening and how
the two differ. If you use them from
the preset step, it works like a
quick one tap style. You scroll through categories, pick a preset, and
Lightroom applies it. Your main control here
is the amount slider, so you're changing how strong
the preset looks overall, but not its individual parts. This is great if you
want a quick look, but it's not very customizable. For more control, light room
gives you another option, and that's through
the action step. Here's where it gets a
little more professional. Open actions, and you'll
see sections like scene, subject, background, and sky. These are essential
adaptive presets, but with more flexibility. Underseen light room analyzes the whole image and lets you brighten or darken specific
areas like the subject, background, vegetation,
or even ground. Under subject, you'll see creative presets similar to what you find in
the preset step. But here you can fine tune
them with extra sliders for things like exposure or
saturation, not just the amount. With Sky, you can apply sky
specific presets and then customize them further with controls like
exposure or dehaze, which is great for adding drama or clearing
haze in clouds. And under background, you can
add blur, lower exposure, or adjust saturation, all while keeping your
subject untouched. There's even a handy option
to fix angle with one tap, which is perfect
if your horizon is tilted or your photo
needs a quick straighten. This makes the action step a much more powerful
way to work with adaptive presets because you're not limited to one
simple slider. Instead, you can customize the effect to really
fit your photo. Now let's see what happens when we use a photo with a person. When I open the action table, Lightroom analyzes the photo and detects different features. This time, instead of
just scene subject, background and sky, we
also get a new option. Retouch. If I click on Retouch, Lightroom gives me specific
masks for things like teeth, eyes, skin, hair,
and even clothing. It's really smart,
creating masks automatically for each area so you can enhance
them individually. This is very similar
to what you might already know from
the desktop version, and even the classic
masks we looked at in the previous
lesson, couldn't do this. But now with adaptive presets, it's possible right here on your phone. Pretty
amazing, right? The key takeaway is
this recommended edits give you a fast AI
starting point. Preset step gives you one tap styles with a
simple amount control. Action step gives you those
same adaptive presets, but with much more flexibility
and professional control. That way you can decide
whether you want a quick, simple edit or a deeper,
more customized workflow. You might be
wondering if you can change the preset
after applying it. The answer is yes. After applying an
adaptive preset, go to the masking panel. You will see the AI
mask that was created. Tap on it, and then
you can adjust it, for example, by changing the color or the
subject's brightness. This means that even
though it is just one tap, it is still fully editable.
Here's a fun tip. You can mix recommended
edits with adaptive presets. For example, start with a recommended edit for the
whole photo and then use an adaptive preset like one for the sky to adjust
certain areas even more. That's it for this lesson. AIPoed preset and
recommended edits are perfect when you are short on time or when you just
want to experiment.
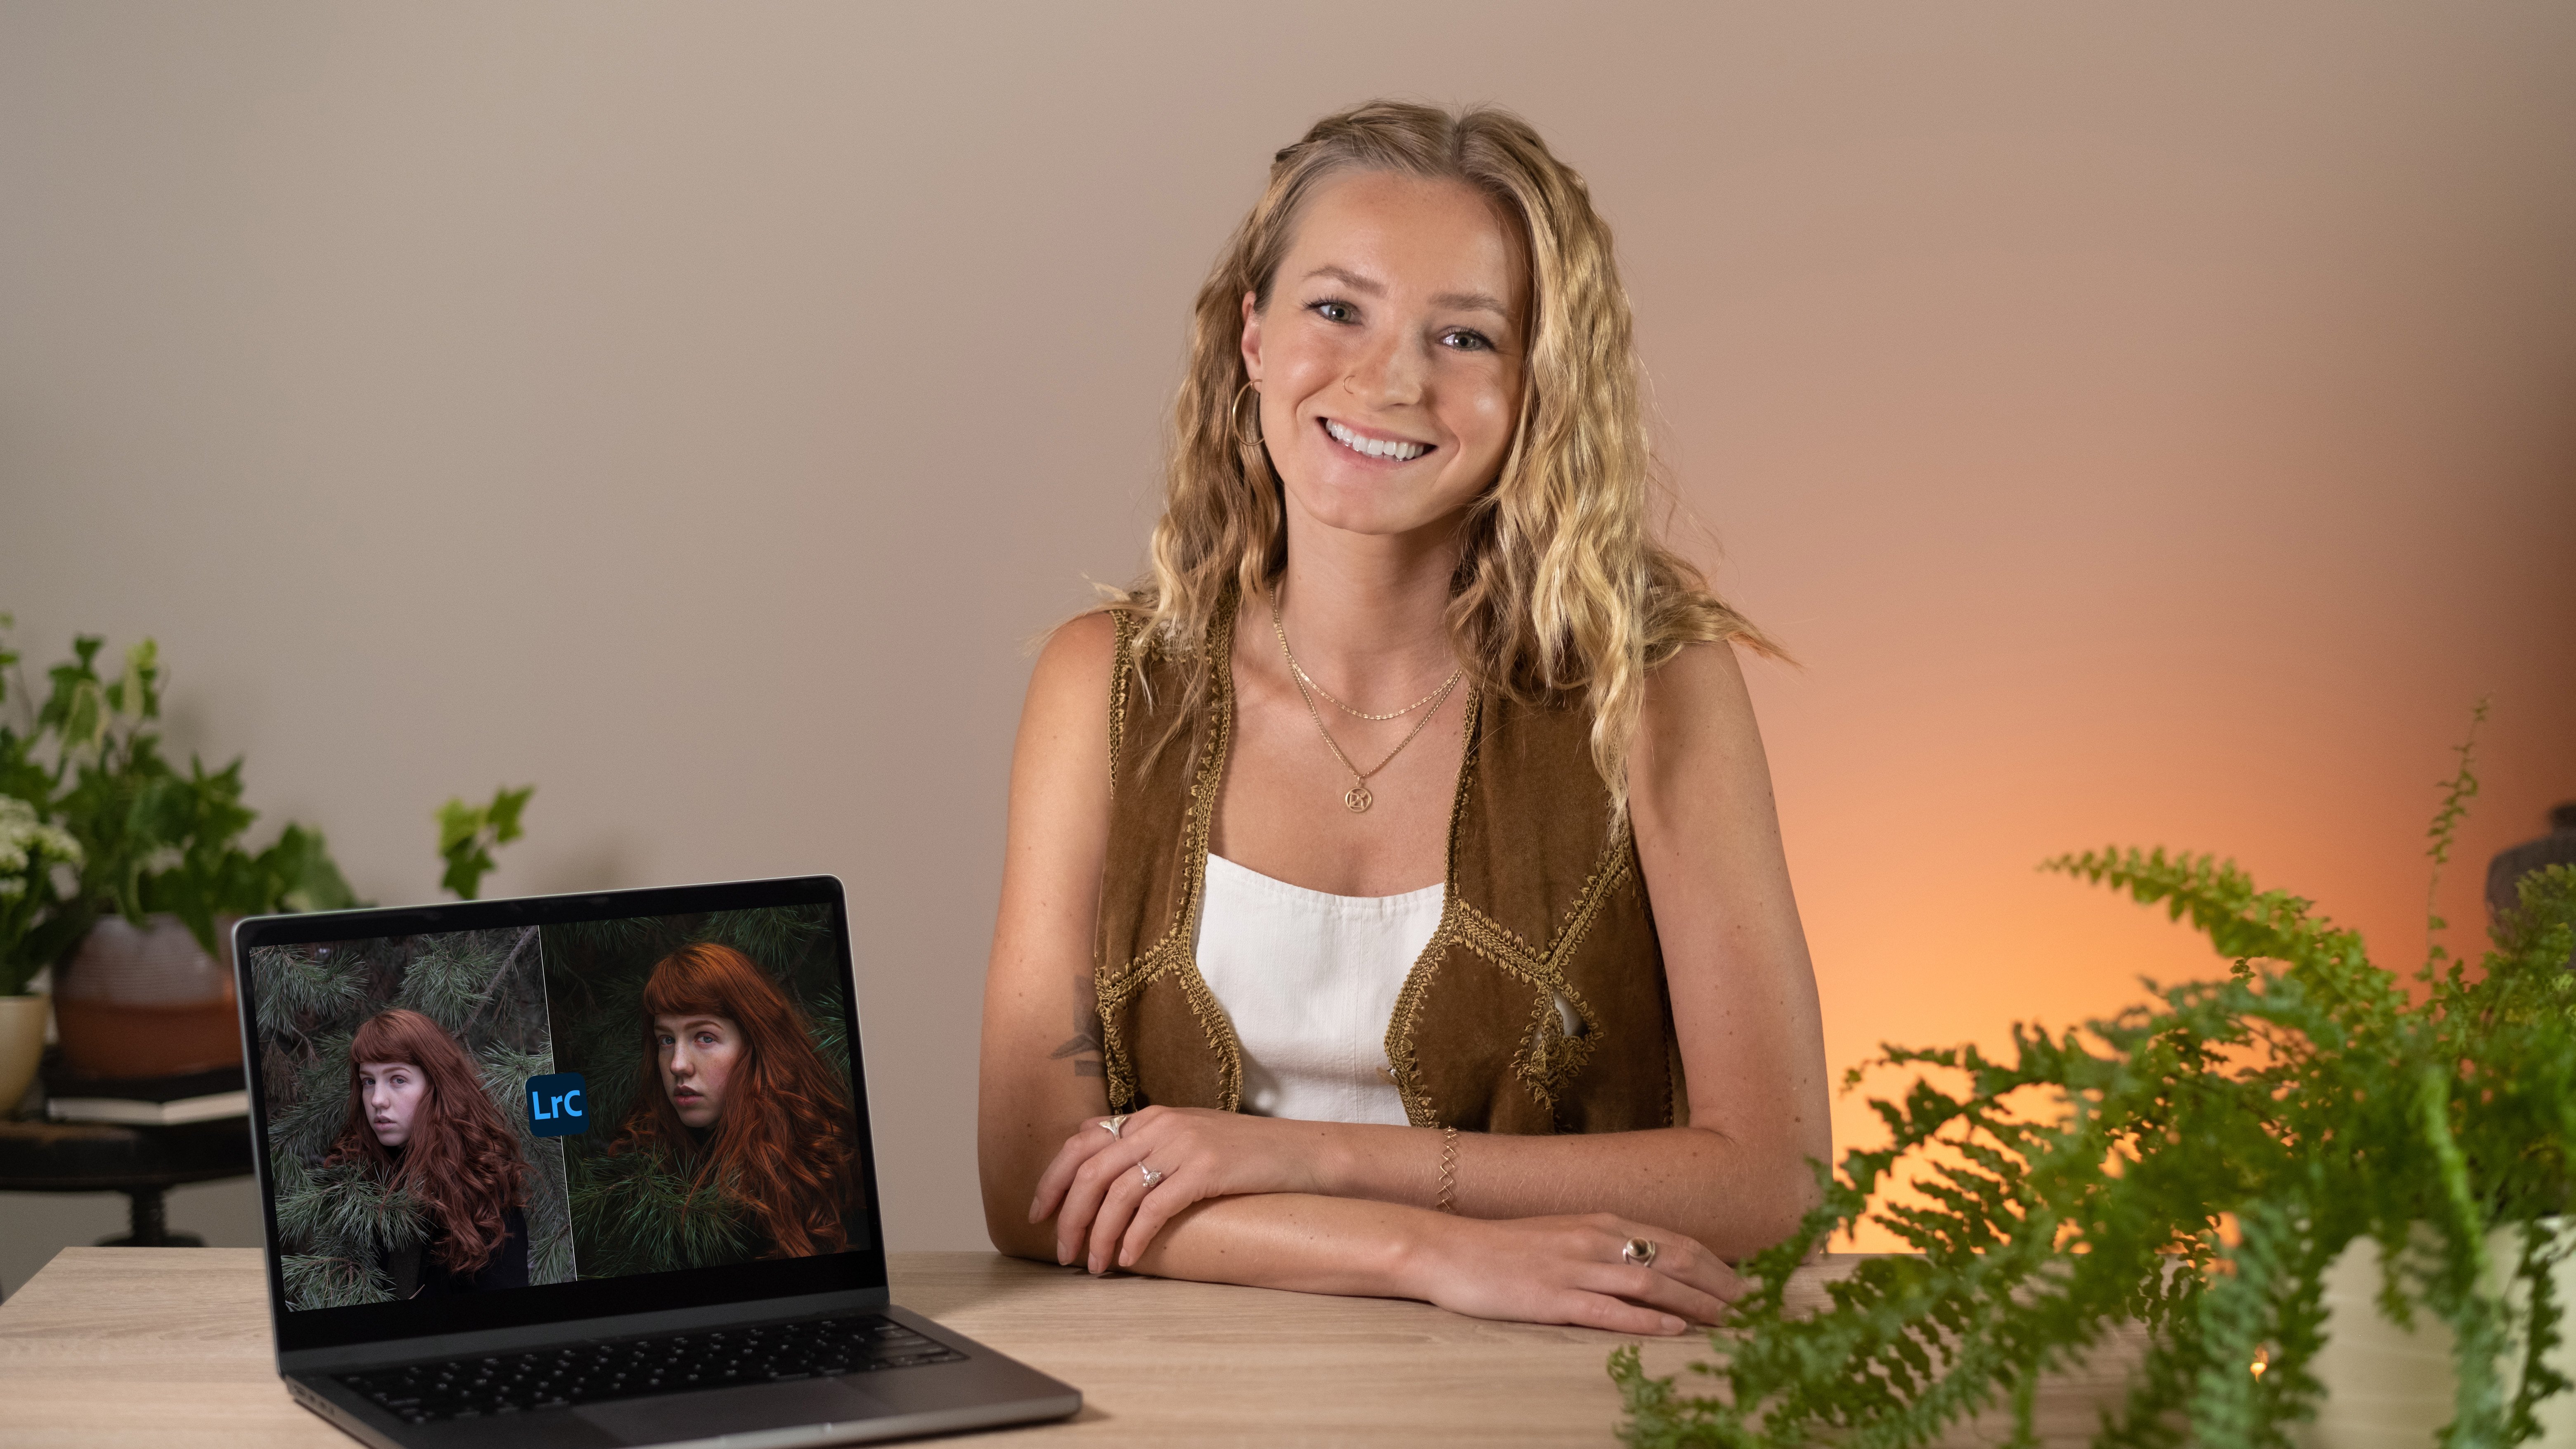
5. Subject-Aware Healing: Remove Objects with One Click: One of my favorite AI tools in Lightroom mobile is healing
with subject aware fill. With this tool, you can
remove things like people, power lines, objects,
or small blemishes. Light room then fills the space, so the photo still
looks natural. First, open your photo in Light room mobile and tap the healing icon in the toolbar. One really cool feature is that Light room now detects
people automatically. Sometimes as soon as
you open the tool, you'll see an option
to remove people with just one tab and they're gone. It works surprisingly well. Now, let's try it on a more challenging photo
with a bigger crowd. I'll use the remove extra
people button again. And as you can see, it detected most of the
people quite well, but it missed a few details. That's no problem. I can easily
remove the areas the A I guessed wrong.
Pretty impressive. But there's still one person left that the AI didn't catch. Let's remove him manually. Pinch to zoom in
for better control. Make sure the remove
tool is selected, and then brush over the object
you want to get rid of. Light room will automatically
fill it in with matching textures from
the surrounding area. If it doesn't look
perfect at first, just brush over it again and
Lightroom will try again. Looks much better now. For bigger objects, it's often
better to remove them in smaller sections
that way the blend looks smoother and the
edges stay natural. To work more precisely, you can also adjust
the brush size. Use a small brush for fine details and larger
brush for bigger objects. This helps you control exactly
what light room replaces. The AI does most of the
heavy lifting for you, which saves a lot of time. Let's try one more photo to see what else this tool can do. Just like before, I'll start
with remove extra people. And as you can see, it actually
works on animals as well. If you tap refine
People removal, Light room gives you options. If the first attempt
isn't perfect, you can refine the result. Light room often generates
a few variations, and you can simply pick
the one that looks best. And if you're still not happy, just paint over the area again. Each pass improves the fill. One final tip. It's best to do your healing before making
strong color edits. That way light room can match the colors and textures
more accurately. And that's it. With healing
and subject aware fill, you can remove almost anything from a photo in just seconds.
6. AI Lens Blur: Add Depth & Professional Focus: Alright. In this lesson, we're going to explore one of Lightroom Mobile's most visually impressive AI tools, Lens Blur. This feature simulates a
shallow depth of field, giving your images
that professional dreamy background blur. Even if they were shot
without portrait mode, it's fast, it's creative, and it works on
almost any photo. With your photo open, tap edit, scroll through the toolbar
until you find Lens Blur. You'll recognize it by
the small droplet icon. Once you tap it, Lightroom's
AI immediately starts analysing your image to detect depth and separate the
subject from the background. Light room will apply an automatic blur
effect right away. This first pass is
usually spot on. The subject stays sharp, and the background gets
a smooth, natural blur. Think of it as a starting point which you can adjust
to match your style. Use the blur amount slider to control how intense
the effect is. Remember, less is often more. One of my favorite parts is experimenting with bogus styles. Try out different
styles, circle, bubble, five blade,
ring, or cat's eye. Each one changes the way background lights and
highlights appear, giving you different
creative moods. This is where you
can really have fun and personalize the look. By default, lens blur keeps the main subject in focus
using subject focus, but you can easily
change this setting by moving the focus point
to a different area. This is perfect for
creative shots. For example, shifting
focus completely to the background and
blurring the foreground, which isn't something
you could normally do. If you want to see
how light room is separating focus from blur
tap visualized depth, you'll get a color map
where warm colors show the areas in focus and cooler
colors show what's blurred. While you can't manually paint focus or blur in
the mobile version, this view helps you check
that the effect looks natural and that your
subject stays sharp. And if not, you can always
make subtle changes to the focus point or blur
amount to get it just right. It's especially
useful if AI misses a detail like hair edges
or a tricky background. Tap and hold the photo
to see the original, then release to see
the lens blur applied. It's often a night and
day transformation, especially for flat,
evenly focused images. Lens blur isn't
just for portraits. Try it on product shots
or food photography, where you want the subject to pop against a
softened background. It can instantly give your image a high
end editorial feel. That's lens blur, an
easy AI powered way to add depth and style to
your photos after the shot.
7. Batch Editing & Quick Exports: Save Time : Of my favorite time
saving picks in Lightroom mobile
is batch editing. After you edit one photo, you don't need to start
over for the others. Lightroom lets you copy
your edits even with AI masks and paste them
onto other photos. When your first photo is ready, tap the three dots
in the top corner, then select copy settings. This saves all your adjustments, including exposure,
colors, and masks. Next, open a similar photo, tap the three dots again
and choose paste settings. Light room will even rebuild the AI masks for
the new subject. For example, if you
edited a person's face, blurred a background
or removed objects, it will adjust automatically
for the new image. This feature is perfect
for portraits from the same shoot or a series of vacation photos taken
in the same location. You can also choose
multiple photos and paste the effect onto them
through batch editing. Just tap the three dots and under the batch edit
menu, tap Select. Now choose the photos you
want to apply the effect to. Then tap paste and
you'll see two options. Replace or merge. Replace will overwrite
any existing edits on the selected photos with
the edits you just copied. Merge will combine
your copied edits with what's already
on the photos. This makes it easy to apply
a consistent style while deciding whether to keep or
replace previous adjustments. Your photos are now
ready to be shared. You can easily export them and choose the
format of the photo, adjust the size and
adjust the quality. And that's it. From one edit, you can now quickly
make a whole series of edited images that
are ready to be shared.
8. Final Thoughts: Thank you so much for
joining this class. Now you know how to use
Light room mobiles AI tools, people and subject masking, sky and background masking, healing, and batch editing. These tools make editing
on your phone faster, easier and more fun. If you'd like to dive deeper
into AI tools on desktop, check out my first class AI
powered portrait editing in Lightroom Classic. Together, both classes give you a full workflow from
computer to mobile. Don't forget to work
on the class project, download the three free photos I shared or use your own
images if you prefer, edit them with any AI
tools we talked about. Then upload your favorite before and after in
the project gallery. I'd love to see your
edits and share feedback. If you enjoy this class, explore my other
Skillshare classes on photography and editing. You can also find me on
Instagram and say hi. And finally, if this
class helped you, please leave a review. Your feedback means a lot and helps more students
find the class. Thanks again for
being here and now go have fun editing
with light room mobile.
 Klara Zamourilova, Photographer/Videographer