Transcripts
1. Equipments & Shooting: Class is to help you understand the basics of taking a
true to life daking model, the modifiers are used,
the lights are used, and also camera setes
that can help you achieve true to
life dusking tunes. Michel will be helping us out with the poses for this class, and I'm sure it's going to be an amazing one for you
to watch to the end. I will be using a Godox speed
light and Godox trigger. The good thing about
Godox speed light is they have in built receivers, so you just need to get only
a trigger and you are good. Also I'm using a flash bracket. This is a flash bracket, and I will put my speed light into the flash bracket this way, and I will not it down. I have my trigger speed
light and flash brackets. This is the S M L 85. This modifier is really nice. It has a silver inner and
also has a dish here. So I'm having a
dish, one diffuser, and another one, Michel
delight is soft and amazing. I will also be using a
several feet umbrella. This is several phase
impact umbrella with a diffuser to give me
soft light for the model. You can use a dist
camera or mirror less. It all depends on what you have. But I would advise
you to just get 50 MM or an five MM
for good portraits. If you have a Zoom lens, which is 24 70, you can also use that to
achieve amazing portrait. I want you to shoot
on so you can have more leverage on working
with the pictures. That means you can actually
manipulate and make sure you get the best when
working with a Das model. Right here, I have my the
fire and my speed light. So I'm going to put this light
right here at 45 degrees. Now, it all depends on
where you're standing. I'll put the light from
either my right or my left, depends on the model and how I want the
light to look on here. I'm going to take
this light now and put it around this axis here. So that's like here. And I'll make sure that the front of the light is like hitting the model over here. So I'll take this light
up in a little bit. One ha I used to do is, I used to have a builder
tape or a measuring tape. Now, this will make me measure the distance from the
background to the model. And right now, I
can see that she's about two feet from
the background. And but also measure
the light to the model. This is just a normal
hap I do to make me get epa distance from the light to the model and the model
to the background. She is six feet to the light and two feet to the background. That means I can
move her 1 ft to the front a little bit
and get a nice portrait. So take a step at the
phone. Okay good. Now, right here, let's
see how it looks. Approximately three
feet, almost good. So right now, I have
Rachel five feet to the light and three
feet to the background. Now, I'll be taking
off this main light. I'll be killing this
main light to make you see how it looks like without the main light in
the scene and take a shot and show you how it looks like without
the main light, using only the speed
light on my ISO. Right now, the light
is only hitting her from the head to the side. If I want to make sure
the light hits her from top of her
head to her feet, I need to take this light
back. That's the thing. And that means I need to
increase my flash power, the get 1/2 and also my eye so. If you don't have
enough flash power, you try to use a speed light, but you need to understand that you need to increase your eye. The good thing about eye is that cameras nowadays have
really good eye sos, so you're hundred percent safe. I'm going to take
this light back a little bit and show
you how it looks like. For this light set
top, I'm using the several feet impact
umbrella and a diffuser. The inner of this
umbrella is white. That's why I love this umbrella.
You can see it's white. I'm using it from 45 degree
to Rachel the model. I'll put the light
over, let's say here. This be 45 degree for me. And I will take it
to the top atle bit. You can actually use your
measuring tape to reconfirm the distance from the lights to your model and a model
to your background. This will help you have consistent light fall from the beginning to the
end of your shot. A big light source will
give you softer light, and a small light source
will give you light.
2. Retouching Video : Doesn't know how to use Litrum, how I import my pictures. You can check out my first skill share class
and I can go to the editing section where I show my process for editing in
Capture one and L litrom. Now, I have four p
sets for skill share, and you can use
anyone that you like. But I'll go with the eboin
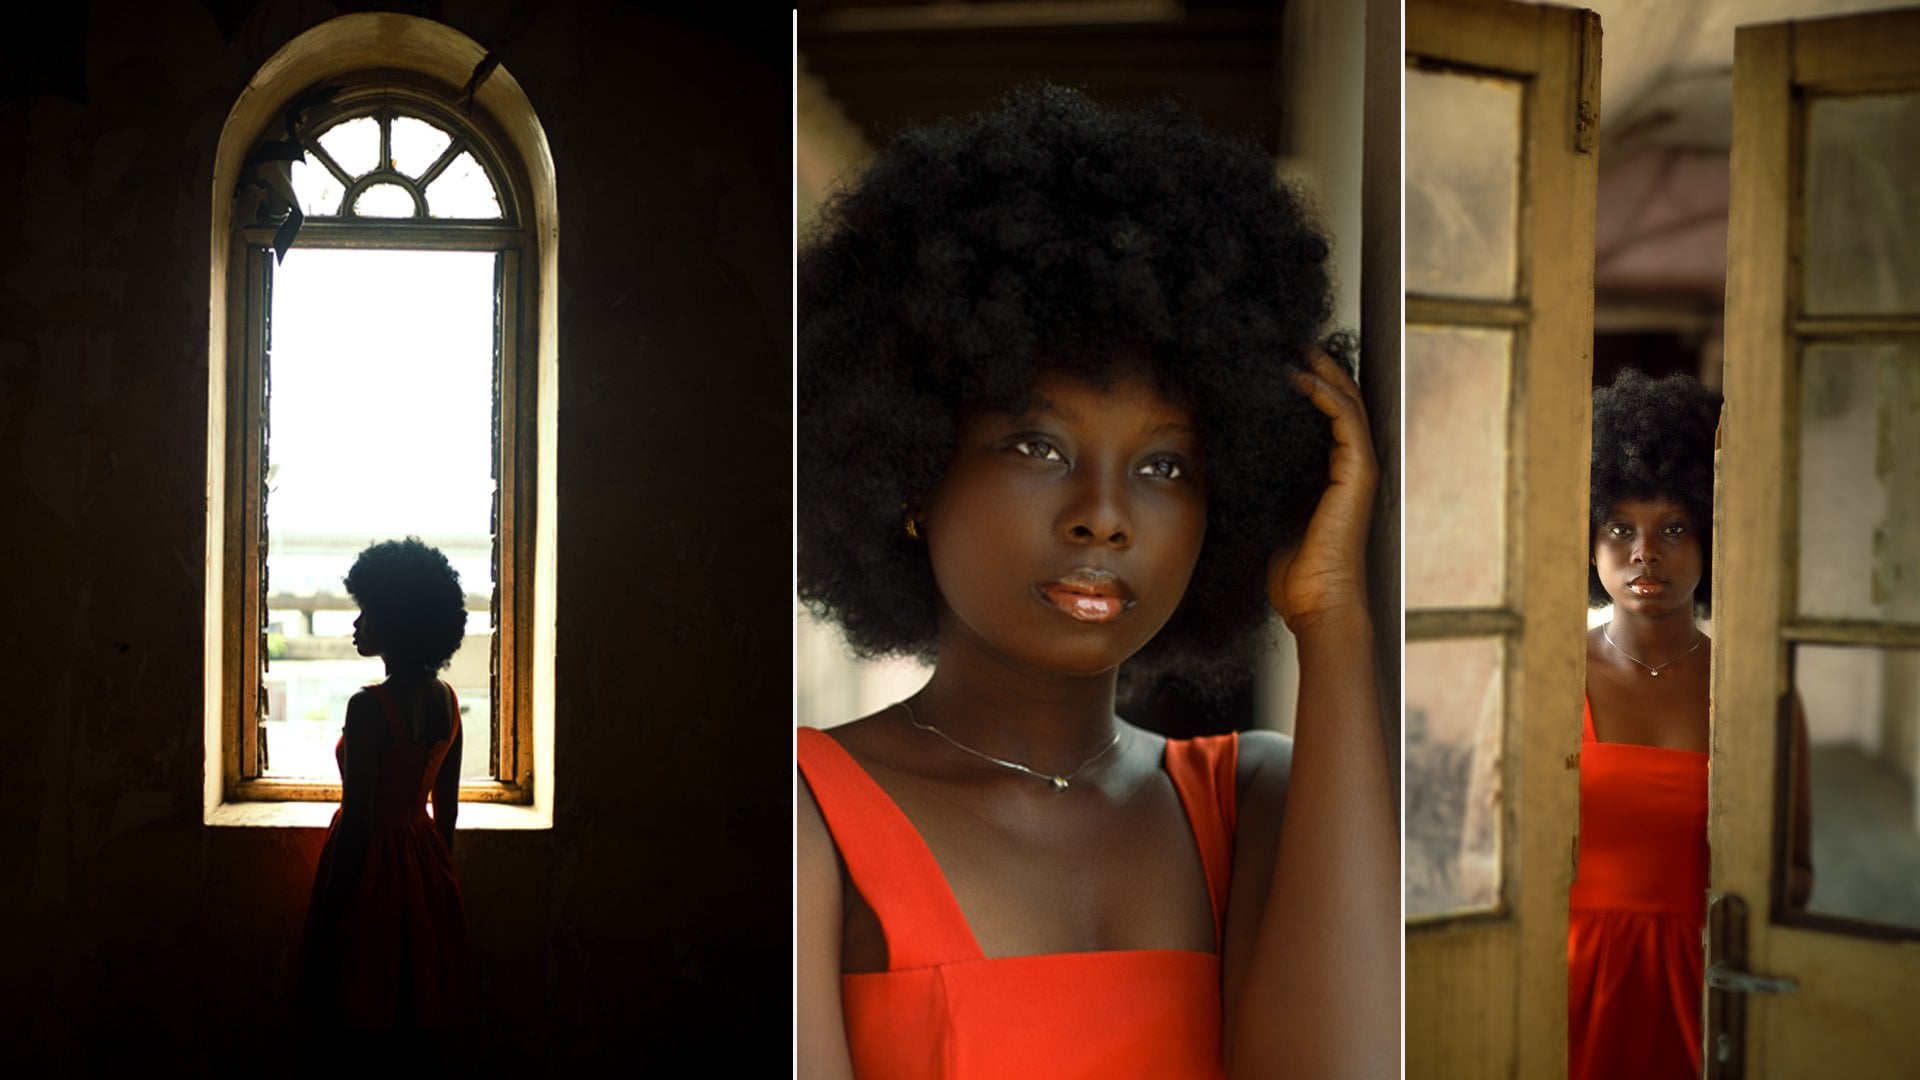
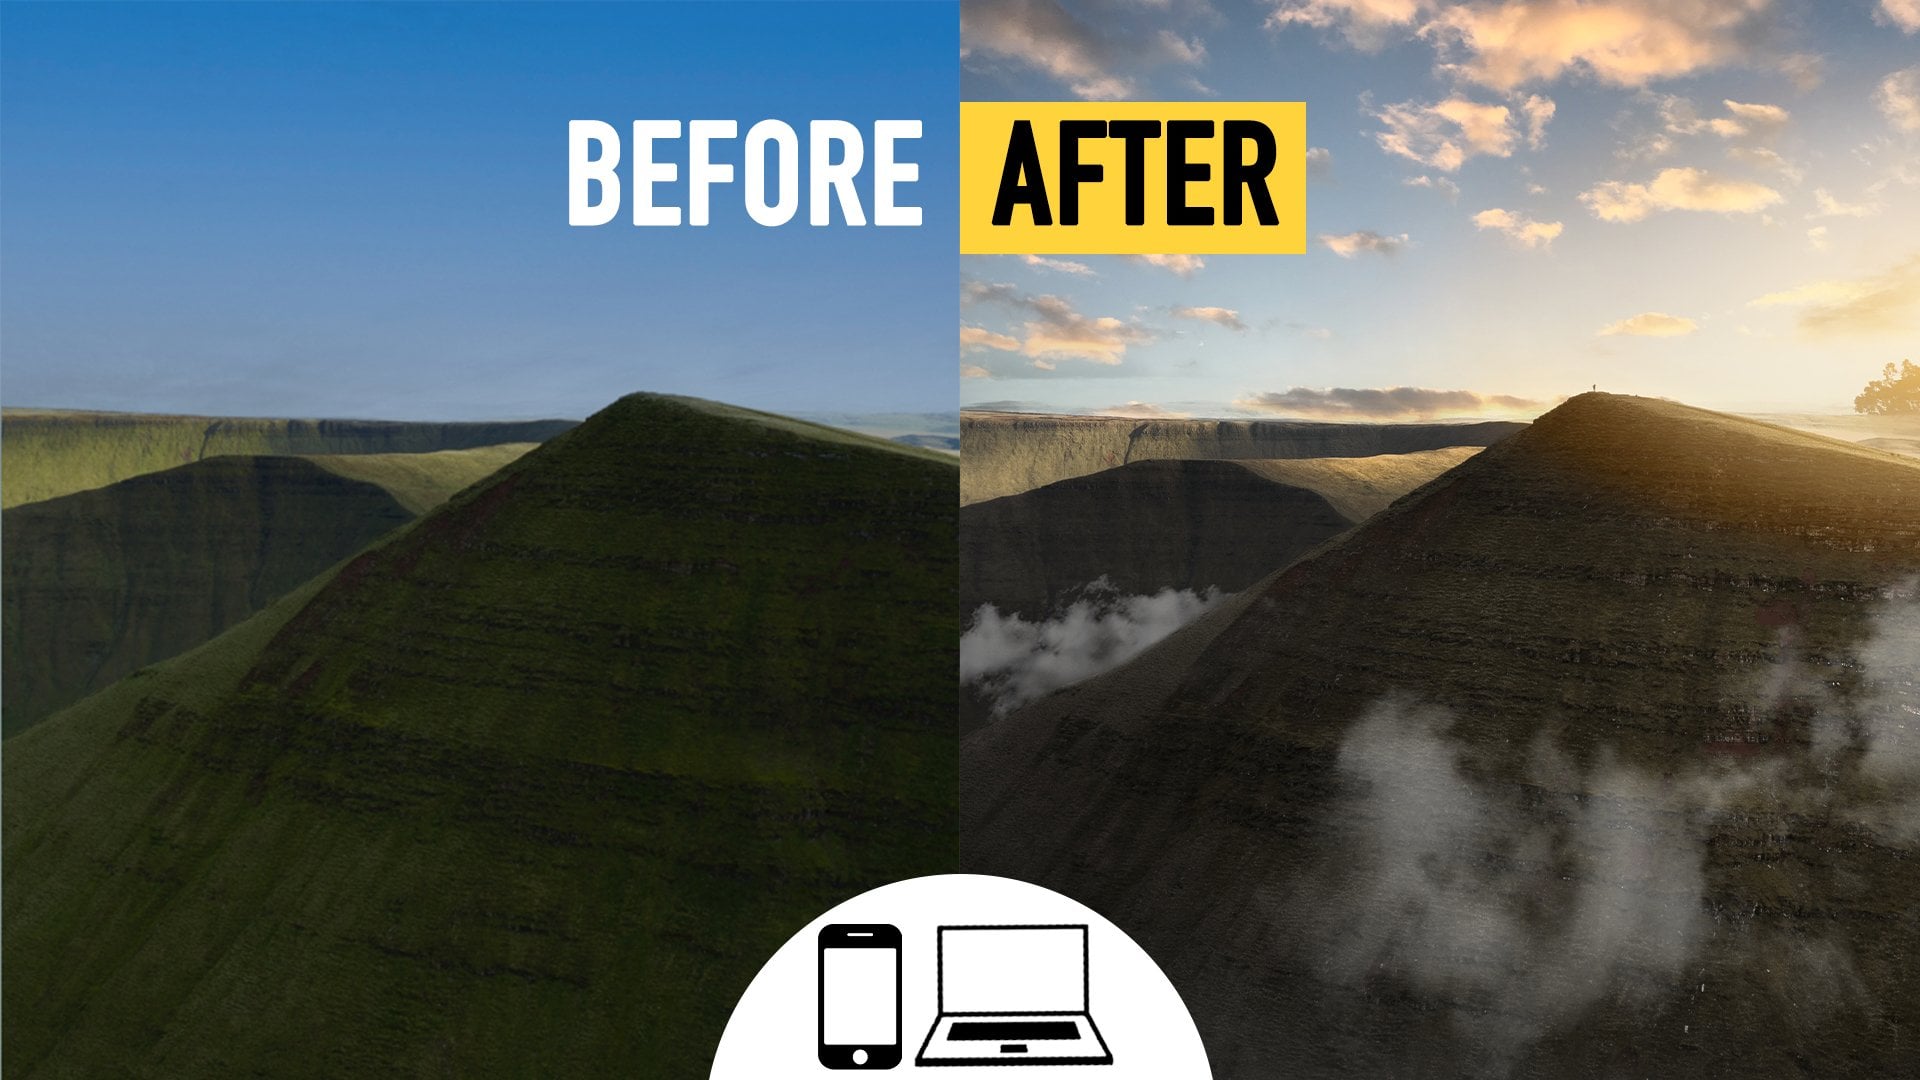
neutral skill share. This is before,
this is the after. Now, right here,
I think I'll dose the little bit of
exposure att bit. And yes, I am good. Now look at this before, after. This is the full screen of it, and you can see it's looking
really nice already. Next is that I'll export it, I'll go to file export. I already have one folder here. Click on this and
click on that folder, let me call this
Skillshare. It one oh one. Q and I'll go to hers. Make sure you go to
P the file here, and this should
be on system bits so that you can edit better. But you have a slow system, please use eight Bits
and you're good to go. So I'm good with this export. I'll go to file, I'll go to po. Remember, you can
click a drat and you're good to go. Tsk model. Yes, it. Net is that, I'll go to the spot
healing brush here and just quickly remove basic Ts. I don't really like I
just quickly remove it. Okay. Now go towards asking, little blemishes here and
there, and we are good. Okay. So I also use
liquefy for it. Go to filter liquefy. So let's go quickly adjust this, put it in quickly. Okay. And we are go. Next thing nowadays, I'll
go to this year actions. Go to flan fig separation, system bit, click on play, continue, click on seven. Enter and I'm good. So here, I'll just
work on my HF, HF is for skin texture. Low F is for skin, and I think I will
just work on this. Low F quickly, go to Mason here, select Lot, Lasso T. Then
click over here quickly, a skin to just adjust. Filter, go to blow, blows on seven, click. Click on command
D to the select. And I'm good C here.
Click on this. I'm good with this. Next
thing that I will do is the mix up brush come right
here. But the mixer brush. I'm good with how skin
tone and the way it feels, but just adjust a few things. Please, remember, you
can always go and spend more time editing just to what you want,
educative director. Anything you do is fine, make sure you retain
the skin tone and enhance the way you want. For this, I am good. It says before, a, before, after, and
this is night. Now, I could come over
here to adjustment here, go to color barels, and just play with the colors
to see what I can get. You have a lot to play with
it to see what you can get. You don't like it, go
ahead, go to the shadows. So this is nice. This
is before, after. As you can see
it's coming alive. Come here, go to levels, and just this quickly. This is good. Now
this, I put it on too, just for a pop. And
there we have it. We have this before, after. Now this is really nice. You can also just go ahead and work on the background.
We just select her. If you don't have
the new photoshop, you may have to
do that manually, but I have the new photoshop, so I won't be doing
that manually. I'll just click on
select subject, click on it, and I'm good. Yeah. So click on common. Take this up. The right here, then I'll go down here, take on calls, and work
on the background. Yes, you can see this
is how it looks like. The bangon is too
dark. I'll just place command I on the mat. I'll go over here
to my brush and just paint this place
only does the background. O here, I'm about to use t of let's say 20, just
for the ground. You can go ahead and
spend more time in ho putting other things there. Just do what works for you. But this is a quick edit
of how to get this picture out and put it online
for my portfolio.
 Olusola Abisagbo, Professional Photographer and Educator